
At the heart of every cross-stitch project, from a simple bookmark to a sprawling, intricate tapestry, is one simple thing: the humble 'X'. This is the foundational stitch, the single building block you'll use to create every pixelated masterpiece. Getting a feel for this core stitch and its common variations is your first real step toward creating beautiful, polished needlework.
Mastering Your First Stitches
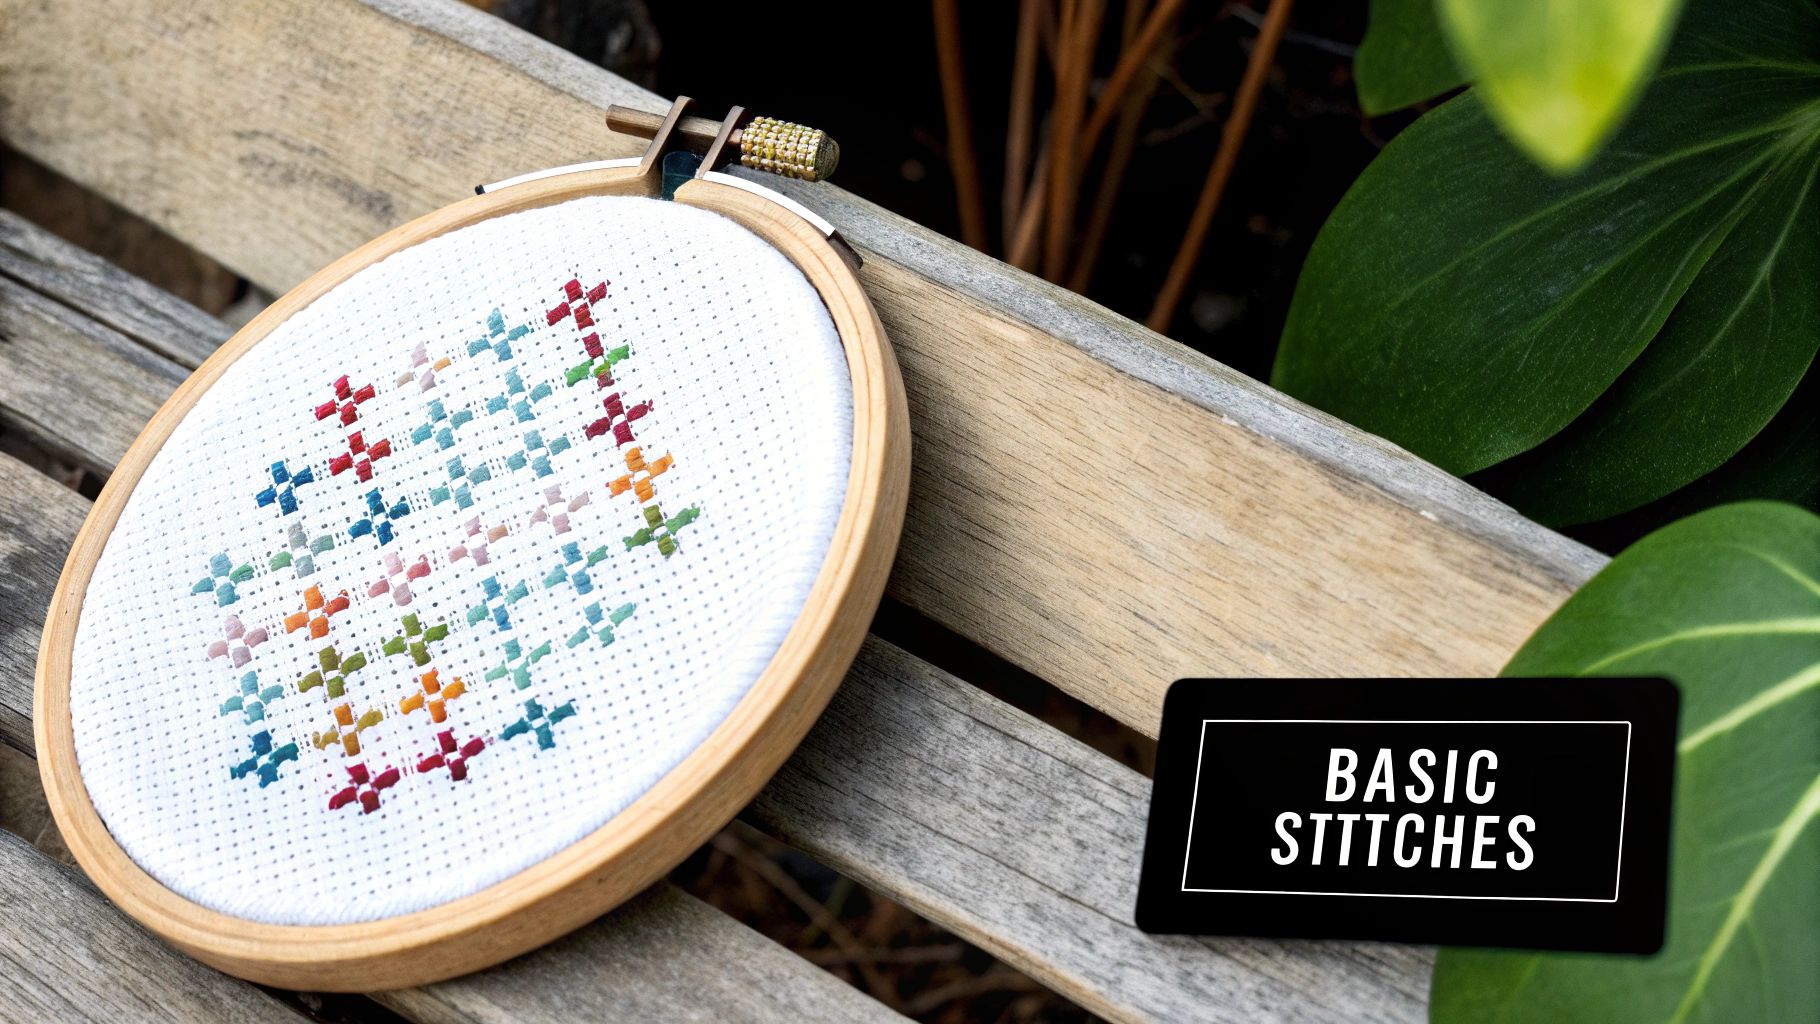
Every incredible journey starts with a single step. In cross stitch, that first step is just a simple diagonal line. Think of the basic cross stitch like a primary color on a painter's palette—it's the one you'll use more than any other to fill your fabric canvas. Its beauty is in its simplicity, letting you fall into a meditative rhythm that brings designs to life one 'X' at a time.
This craft’s quiet appeal is surprisingly strong, and it's not just a niche hobby anymore. The global cross-stitch market was valued at USD 0.15 billion in 2024 and is expected to grow to USD 0.22 billion by 2033. That growth shows just how timeless these stitches are, continually drawing in new generations of makers. For a deeper dive into the numbers, you can explore the full research about the cross-stitch market.
What Makes a Full Cross Stitch?
The full cross stitch is the absolute star of the show. It’s what creates that classic, gridded look we all recognize. It’s made of just two diagonal stitches that cross over each other right in the middle of a single Aida fabric square. The secret to a smooth, professional-looking piece? Consistency. Your top stitches should always lie in the same direction across the entire project. No exceptions!
It’s a pretty straightforward process. You make one diagonal leg, then cross it with another.
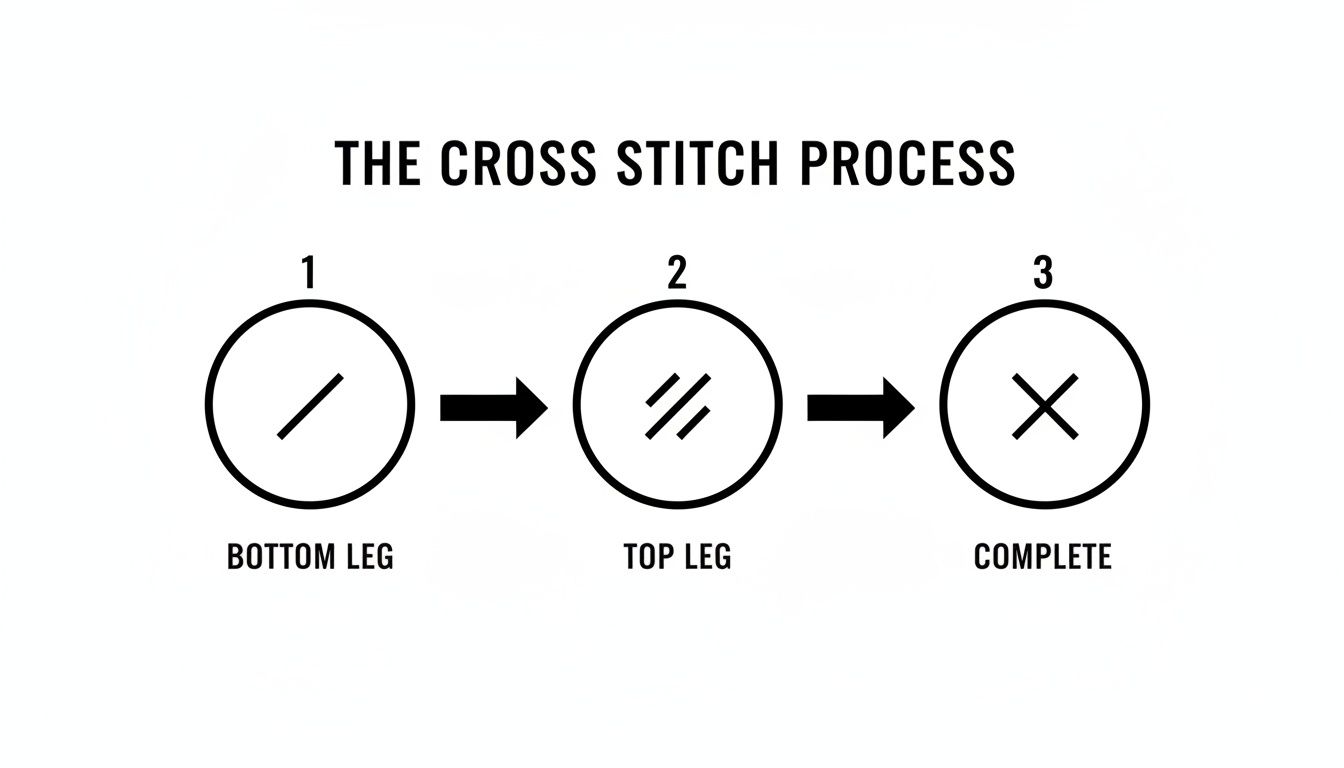
As you can see, making that perfect 'X' is as easy as stitching one diagonal line and then coming back over it with another. Once you get that sequence down, you've mastered the most fundamental skill for a neat and tidy finish.
Adding Detail with Fractional Stitches
While the full cross stitch is your workhorse for filling in big blocks of color, some designs need a bit more finesse. This is where fractional stitches save the day. They’re what let you create smooth curves, sharp angles, and delicate details that just aren't possible when you're stuck with full squares.
- Half Stitch (/): This is literally just the bottom leg of a full cross stitch, made by itself. It's fantastic for creating subtle background shading or giving a design a sense of distance and texture.
- Quarter Stitch (¼): This tiny stitch is just a diagonal line going from a corner to the very center of a fabric square. It’s absolutely essential for creating gentle curves and softening blocky edges.
- Three-Quarter Stitch (¾): This one is a combination of a quarter stitch and a half stitch. It’s the ultimate tool for fine detail work—perfect for defining tiny facial features, creating crisp lettering, and handling intricate patterns.
Think of it this way: learning to use fractional stitches is like learning how to "draw" with your thread. You're no longer just coloring in squares; you're breaking free from the grid to add a whole new level of sophistication and realism to your work. They're what turn a pixelated image into a piece of art.
Core Stitches at a Glance
To quickly see where each of these foundational stitches fits, here’s a simple breakdown. This little chart is a great reference for figuring out which stitch to use when.
| Stitch Name | Primary Use | Best For | Beginner Friendliness |
|---|---|---|---|
| Full Cross | Filling in color blocks | Main subjects, backgrounds, geometric shapes | ★★★★★ (Very Easy) |
| Half Stitch | Shading and adding texture | Skies, water, creating a sense of distance | ★★★★★ (Very Easy) |
| Quarter Stitch | Creating curves and fine lines | Rounding edges, tiny details like eyes | ★★★☆☆ (Moderate) |
| Three-Quarter | Intricate detail work | Lettering, facial features, sharp points | ★★☆☆☆ (Challenging) |
Keep this in mind as you look at patterns. Recognizing when a designer has used a fractional stitch will help you understand how they achieved a certain look, and you'll soon be able to apply those same techniques to your own projects.
Defining Your Design with the Backstitch
If full cross stitches are the paint you use to fill in your design, think of the backstitch as the fine-tipped pen for all the final details. It's what turns a group of colored squares into a sharp, recognizable image. This simple line stitch is the secret to creating crisp outlines, defining shapes, and adding delicate features like lettering, whiskers on an animal, or tiny facial expressions.
It's a lot like the outlining stage in a coloring book. Your cross stitches lay down the color, but the backstitch draws the lines that give everything structure and clarity. Without it, many designs would just look a bit soft and unfinished. For a polished, professional look, it's one of the most important finishing stitches to master.
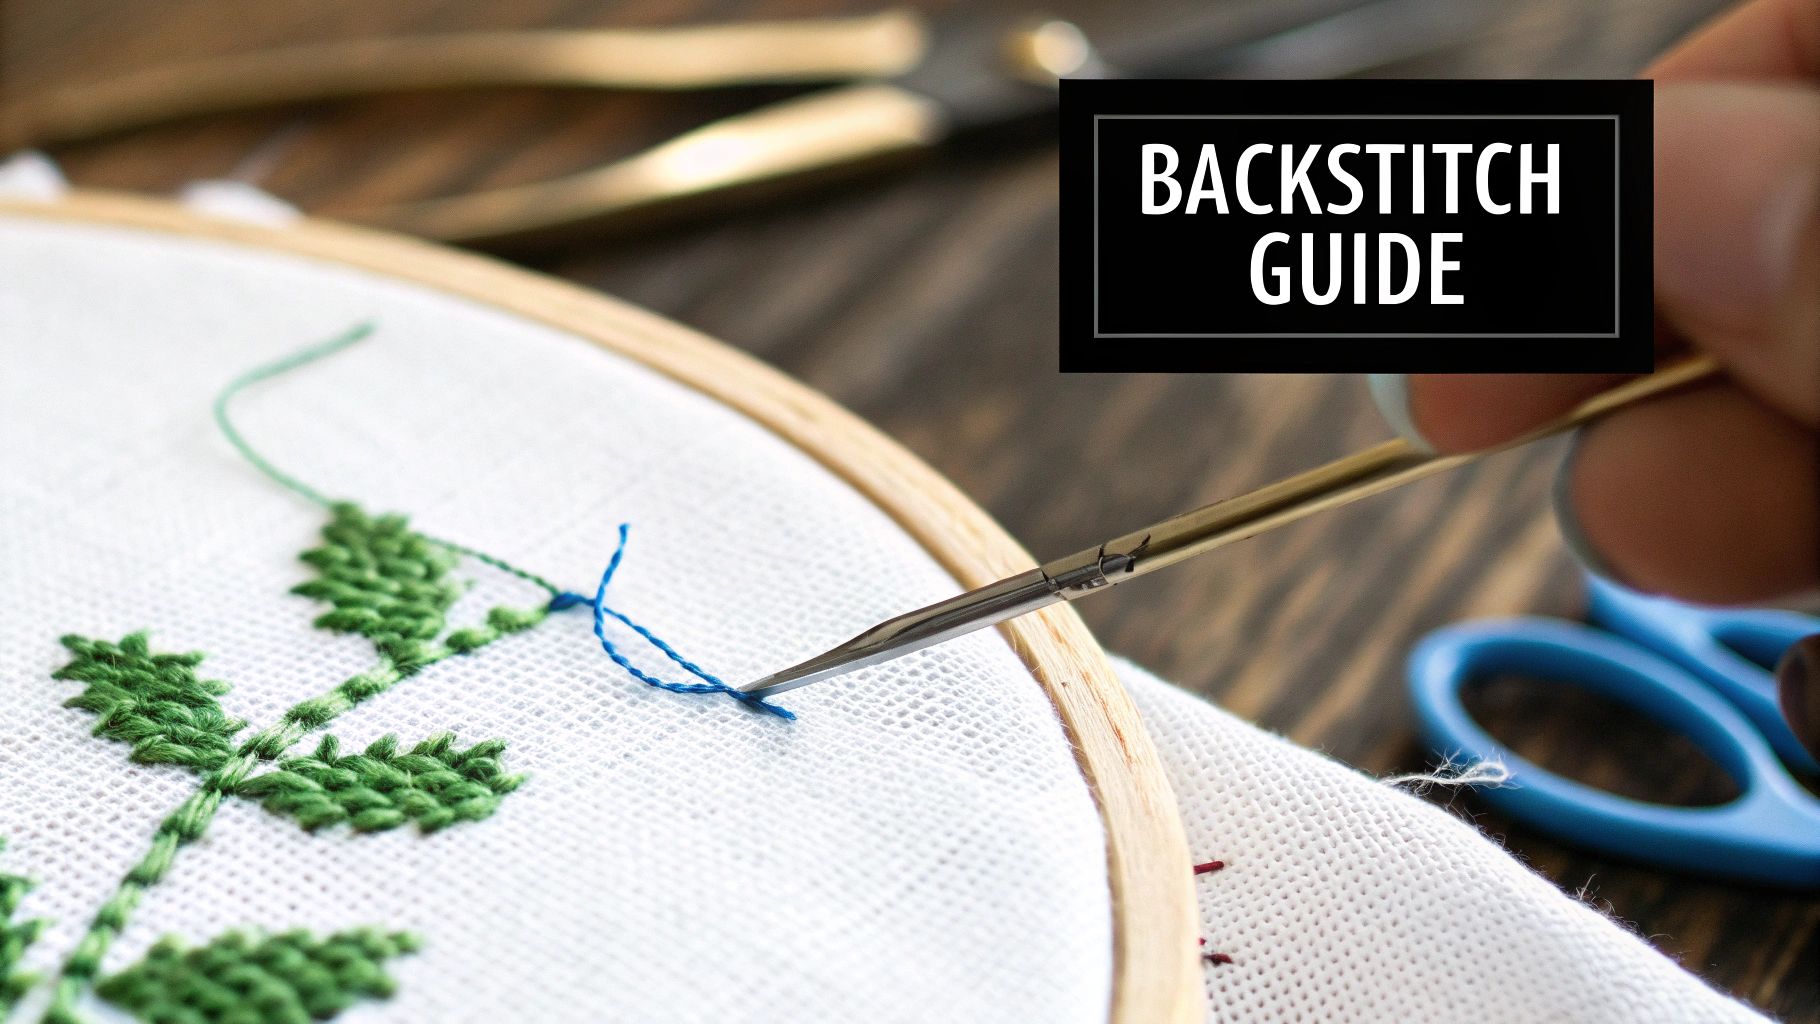
Executing a Perfect Backstitch
The technique itself is pretty straightforward. It’s like a basic running stitch, but you work it in reverse. You'll bring the needle up through the fabric one stitch length away from your starting point, then go back down into that very first hole. That simple motion creates a single, solid line. From there, you just repeat the process, moving forward to build a smooth, unbroken line.
The real key to a neat backstitch is keeping your stitch length and tension consistent. If your stitches are too tight, they can pucker the fabric. Too loose, and they’ll look floppy and uneven. Just aim for a relaxed but firm pull with each stitch you make.
When to Use Backstitch
Backstitching is almost always one of the very last things you'll do on a project. You'll want to add it after all your cross stitches are complete so the outlines don't get distorted or accidentally covered up while you work.
You'll see it used everywhere for:
- Outlining Shapes: Making a central figure pop right off the background.
- Adding Fine Details: Creating facial features, delicate flower stems, or intricate patterns.
- Stitching Text: Forming clear, precise letters and numbers.
- Creating Texture: Suggesting details like the grain in wood or the direction of animal fur.
A great tip is to play with the number of thread strands you use. A single strand creates a delicate, fine line that's perfect for subtle details. Two or more strands will give you a bold, thick outline that really commands attention. Always double-check your pattern's key for what it recommends!
Learning to handle this stitch well is a true game-changer. For a more detailed walkthrough, you can learn more about how to backstitch in cross stitch in our comprehensive guide. Getting this technique down will add an amazing, professional finish to all your future pieces.
Adding Texture with Specialty Stitches
Once you’ve gotten comfortable with your full cross stitches and neat backstitching, you’re ready to really have some fun. This is where you can start adding a new layer of artistry to your work. Specialty cross stitch stitches are how you move beyond a flat, two-dimensional piece and create something with real texture and visual pop.
These are the stitches that make people lean in for a closer look. They add that 'wow' factor, turning a simple design into a more tactile, engaging piece of art. If your basic stitches are the sketch, think of these specialty stitches as the sculpture. They add dimension and intricate details that you just can't get with simple 'X's.
The Famous French Knot
The French Knot is probably the most famous specialty stitch out there, and for good reason. It’s perfect for creating tiny, raised dots that are ideal for little details like the eyes on a character, berries on a winter branch, or the center of a flower.
It has a bit of a reputation for being tricky, but it's all about mastering the tension. You bring your needle up, wrap the thread around it once or twice (more wraps make a bigger knot), and then gently pull the thread taut. Re-insert your needle right next to—but not in—the original hole. The secret is keeping that thread tight around your needle as you pull it all the way through to the back. For a closer look, we have a complete tutorial on how to do a cross stitch French Knot.
The Elongated Bullion Knot
If a French Knot is a dot, then the Bullion Knot is a raised line. Some people even call it the "caterpillar stitch" because it creates this wonderful, worm-like coil of thread that sits right on top of the fabric. It's a fantastic stitch for bringing texture to things like flower petals, rosebuds, and little tree branches.
The technique starts similarly to a French Knot but with more wraps. After bringing the needle up, you'll insert it a short distance away and bring the tip back up through your starting point. Then, you wrap the thread around the needle tip several times before carefully pulling the needle through to lay down the coil.
Troubleshooting Tip: The number one problem with both French and Bullion knots is getting the tension right. If your knot ends up loose or pulls straight through to the back, it means you're not holding the working thread taut enough. It really helps to practice a few on a scrap piece of fabric first to get the feel for it.
The Decorative Algerian Eyelet
The Algerian Eyelet is a stunning, star-like stitch that radiates out from a central point. It creates a neat little textured square with a tiny hole in the middle, which makes it perfect for decorative accents, snowflakes, or repeating geometric patterns.
For an Algerian Eyelet, every stitch works into the same center hole. You'll create eight straight stitches that form a square, with each one starting on an outer point and going down into that shared central hole. The finished look is a beautiful, symmetrical stitch that adds a touch of elegance to any project.
Stitches like these are a big reason why needlecraft continues to thrive. In fact, the market for needlecraft patterns is projected to grow from USD 34,026.8 million in 2025 to USD 63,872.9 million by 2035, all thanks to stitchers looking to create beautiful, unique projects.
Creating Smooth Fills and Elongated Shapes
The classic 'X' of a cross stitch is fantastic for that iconic, pixelated look we all love. But what happens when your pattern calls for something a bit more fluid? Not every design element fits neatly into a square grid. Sometimes you need to create silky smooth color blocks or long, elegant lines.
This is where you get to move beyond the grid and start painting with your thread. These more advanced cross stitch stitches are your ticket to adding a real touch of sophistication, perfect for rendering things like flowing ribbons, strands of hair, or the clean lines of a building. Learning them helps you break free from the blocky nature of Aida and add a new level of realism to your projects.
The Lustrous Satin Stitch
If you need a glossy, seamless block of color, the Satin Stitch is your secret weapon. It's essentially a series of straight stitches laid right next to each other, so close that they completely cover the fabric underneath. It’s the perfect choice for filling in shapes where you want a solid, smooth area with a beautiful sheen.
The technique itself is straightforward, but getting it just right takes some practice. The real trick is keeping your stitches perfectly parallel and maintaining even tension so the fabric doesn't pucker and you don't leave any gaps.
- Best For: Giving a smooth, shiny finish to elements like banners, clothing on figures, or bold, solid lettering.
- Pro Tip: To help keep your stitches straight, you can lightly draw some guide lines on your fabric with a water-soluble pen.
- Tension is Everything: If you pull the thread too tight, the fabric will warp. Too loose, and the stitches will look messy and can easily snag.
The Satin Stitch really shines on smaller, contained shapes. When used on larger areas, the long threads can become a bit vulnerable to snagging. It’s all about achieving that gorgeous, uninterrupted flow of thread across the fabric.
The Versatile Long Stitch
While the Satin Stitch is all about smooth fills, the Long Stitch is a master of creating lines and textures with a sense of direction. Just like its name implies, this is a simple straight stitch that can jump over several squares of your Aida fabric, either vertically or horizontally. Its true power is in its incredible versatility.
You can create a huge range of effects just by changing the length and direction of your Long Stitches. Think long strands of hair, individual blades of grass, the texture of wooden planks, or even the rays of a sunset.
Since these stitches can be quite long, it’s a good idea to make sure they’re secured well on the back to keep them from sagging over time. A few small, anchoring stitches can help keep everything taut and neat, making sure your beautiful linear details stay crisp for years to come.
Choosing the Right Tools for Perfect Stitches
Even the most beautifully executed cross stitches can look a little lackluster without the right foundation. It helps to think of your fabric, thread, and needle as a team—the unsung heroes of your project. When they work together properly, every single stitch you make looks its absolute best.
Your fabric choice is where it all begins. For anyone just starting out, Aida cloth is fantastic. Its clearly defined grid of holes makes it almost effortless to form those perfect little 'X's. Stitchers with a bit more experience under their belt often graduate to linen or evenweave. These fabrics have a smoother, tighter weave that's brilliant for tiny, detailed fractional stitches, but they do require you to count threads rather than blocks.
Remember, the fabric’s “count”—how many stitches you can fit in one inch—is what determines the final size of your design.
Needles and Threads: The Perfect Pair
Once you've picked your fabric, it's time to choose the tools you'll be working with. For cross stitch, a blunt-tipped tapestry needle is non-negotiable. Unlike a sharp embroidery needle, its rounded point is designed to slip cleanly through the holes in the fabric without piercing the threads. This is key to preventing split floss and distorted stitches.
The needle's size should always be matched to your fabric count. If the needle is too big, it will stretch out the holes in your fabric. If it’s too small, you’ll struggle to thread it, and it will drag on the thread as you pull it through. For a complete guide, our embroidery needles size chart will help you find the perfect match every time.
Just as important is the number of thread strands you use. Too few, and your fabric will peek through, making your work look sparse. Too many, and your stitches will look bulky and crammed together.
The sweet spot is achieving full, lush coverage where the color is solid but the stitches aren't overcrowding the fabric holes. Simply adjusting the number of strands is one of the easiest ways to control the whole look and feel of your work.
Here’s a quick-reference table to help you get started with standard six-strand cotton floss on the most common Aida counts.
Fabric Count and Thread Guide
This simple chart is a great starting point for figuring out how many strands to use for both your main cross stitches and your finer backstitch details.
| Aida Fabric Count | Recommended Strands for Full Cross | Recommended Strands for Backstitch |
|---|---|---|
| 11 Count | 3-4 Strands | 1-2 Strands |
| 14 Count | 2-3 Strands | 1 Strand |
| 16 Count | 2 Strands | 1 Strand |
| 18 Count | 2 Strands | 1 Strand |
Keep in mind that this is a guide—feel free to experiment! Sometimes a project calls for a slightly different look, and that's part of the creative fun.
Finally, don't overlook a good thread conditioner or a small block of beeswax. A quick swipe through one of these can make a world of difference, smoothing the fibers to prevent those frustrating tangles and knots. It’s a simple trick that leads to a much smoother, more enjoyable stitching session.
It's clear that stitchers are eager to learn, as the needlecraft patterns segment is projected to hit USD 776 million by 2033, with online guides playing a huge part in helping people master their tools and techniques. Discover more insights about the needlecraft market growth to see just how much this wonderful craft continues to thrive.
Common Stitching Questions Answered
As you get more comfortable with different cross stitch stitches, you're bound to run into a few tricky spots. It happens to everyone! Whether you’re just starting out and hit your first real snag or you're a seasoned stitcher trying something new, getting a quick, clear answer can save your project.
This section is here to help you solve some of the most common hiccups you'll encounter. Think of it as having a stitching friend you can turn to for advice, helping you get past the frustration and back to the fun part.
How Do I Fix a Mistake in Cross Stitch?
That sinking feeling when you spot a mistake—we’ve all been there. Don't panic! Nearly every blunder in cross stitch is fixable. Your best approach really just depends on when you catch it.
- If you just made the mistake: Caught it within a few stitches? Perfect. Just unthread your needle and use its eye to gently pull out the wrong stitches. Then, you can simply re-thread and do it over. Easy.
- If the mistake is older: What if it's buried under a bunch of perfect stitches? You’ve got options. You can take a sharp pair of embroidery scissors or a seam ripper and very carefully snip the bad stitch, then pull the bits out from the front and back. But honestly, if it's a minor color mix-up that no one will ever notice from a foot away, sometimes the best fix is to just let it be and move on.
Why Is My Thread Always Twisting and Knotting?
Oh, the dreaded thread tangle. It's probably the single most annoying thing about cross stitch, and it usually happens because of the natural twist in the floss combined with the repetitive motion of your stitching.
A simple fix is to work with shorter lengths of thread. I know it feels like you'll be re-threading your needle constantly, but using a piece around 18 inches long dramatically reduces the chance of knots.
Another trick I swear by is to just let your needle and thread dangle every ten stitches or so. Gravity will do its thing and naturally untwist the floss for you. Some stitchers also love using thread conditioner (like beeswax) to help the strands glide more smoothly.
A fantastic habit to get into is the "railroad" technique. This is where you use your needle to guide the strands of floss so they lie flat and parallel on the fabric. Not only does it make your stitches look incredibly neat, but it also seriously cuts down on twisting. It's a game-changer.
Can I Start Stitching Without a Knot?
Yes, and you absolutely should! Knots can create ugly little bumps on the back of your fabric that might show through on the front, especially after it's framed. Instead, most stitchers rely on a couple of clever knotless methods.
- The Loop Start: This is my go-to when I'm using two strands of floss (or any even number). Just fold a single strand in half, thread the two cut ends through your needle, and bring the needle up from the back of the fabric. You'll have a little loop on the back. As you complete your first half-stitch, just pass your needle through that loop to anchor your thread. It's clean and perfectly secure.
- The Waste Knot: This one is great for any number of strands. Tie a knot at the end of your thread and bring your needle up from the front of the fabric, about an inch or two away from where you want to start. As you stitch towards the knot, your new stitches will catch the tail on the back. Once the tail is secure, just snip the "waste" knot off the front.
Ready to turn your favorite memories into a work of art? At Cross Stitched, we make it easy with custom, all-in-one kits. Just upload your photo, and we'll send you everything you need to start creating a beautiful, personalized cross stitch masterpiece. Start your next project today.


