

Quick answer: Backstitch in cross stitch is worked in a straight line by bringing the needle up one stitch-length ahead, then inserting it back at the previous stitch end to create a continuous solid line. It is used after all cross stitches are complete to add outlines, lettering, and fine detail that the X stitches cannot achieve.
Frequently asked questions
What is backstitch in cross stitch?
Backstitch is a line stitch worked over completed cross stitches to add outlines, fine details, and lettering. It creates a solid, continuous line by 'going back' to meet each previous stitch.
How do you do backstitch in cross stitch?
Bring the needle up through the fabric one stitch length ahead of where the line begins. Insert the needle back at the start of the line. Bring it up again one stitch ahead. Repeat, always inserting the needle back into the last hole made.
How many strands should I use for backstitch?
Most patterns call for one strand of floss for backstitch, even when the cross stitches use two strands. Using one strand gives a finer, crisper outline that does not overwhelm the filled stitches.
When should backstitch be added to a cross stitch project?
Backstitch is typically added after all cross stitches are complete. Working it last prevents the outline thread from getting caught under cross stitches and keeps lines neat and uninterrupted.
Before we dive into the how of backstitching, it’s worth taking a moment to understand why it's such a crucial skill for any cross-stitcher. Simply put, backstitching is what creates the clean, solid lines over your cross stitches. It transforms those pixelated little squares of color into a sharp, well-defined image.
Think of it as the final inking on a comic book drawing—it's what adds the clarity, depth, and personality that makes the whole picture come to life.
Why Backstitch Is a Cross-Stitch Game Changer
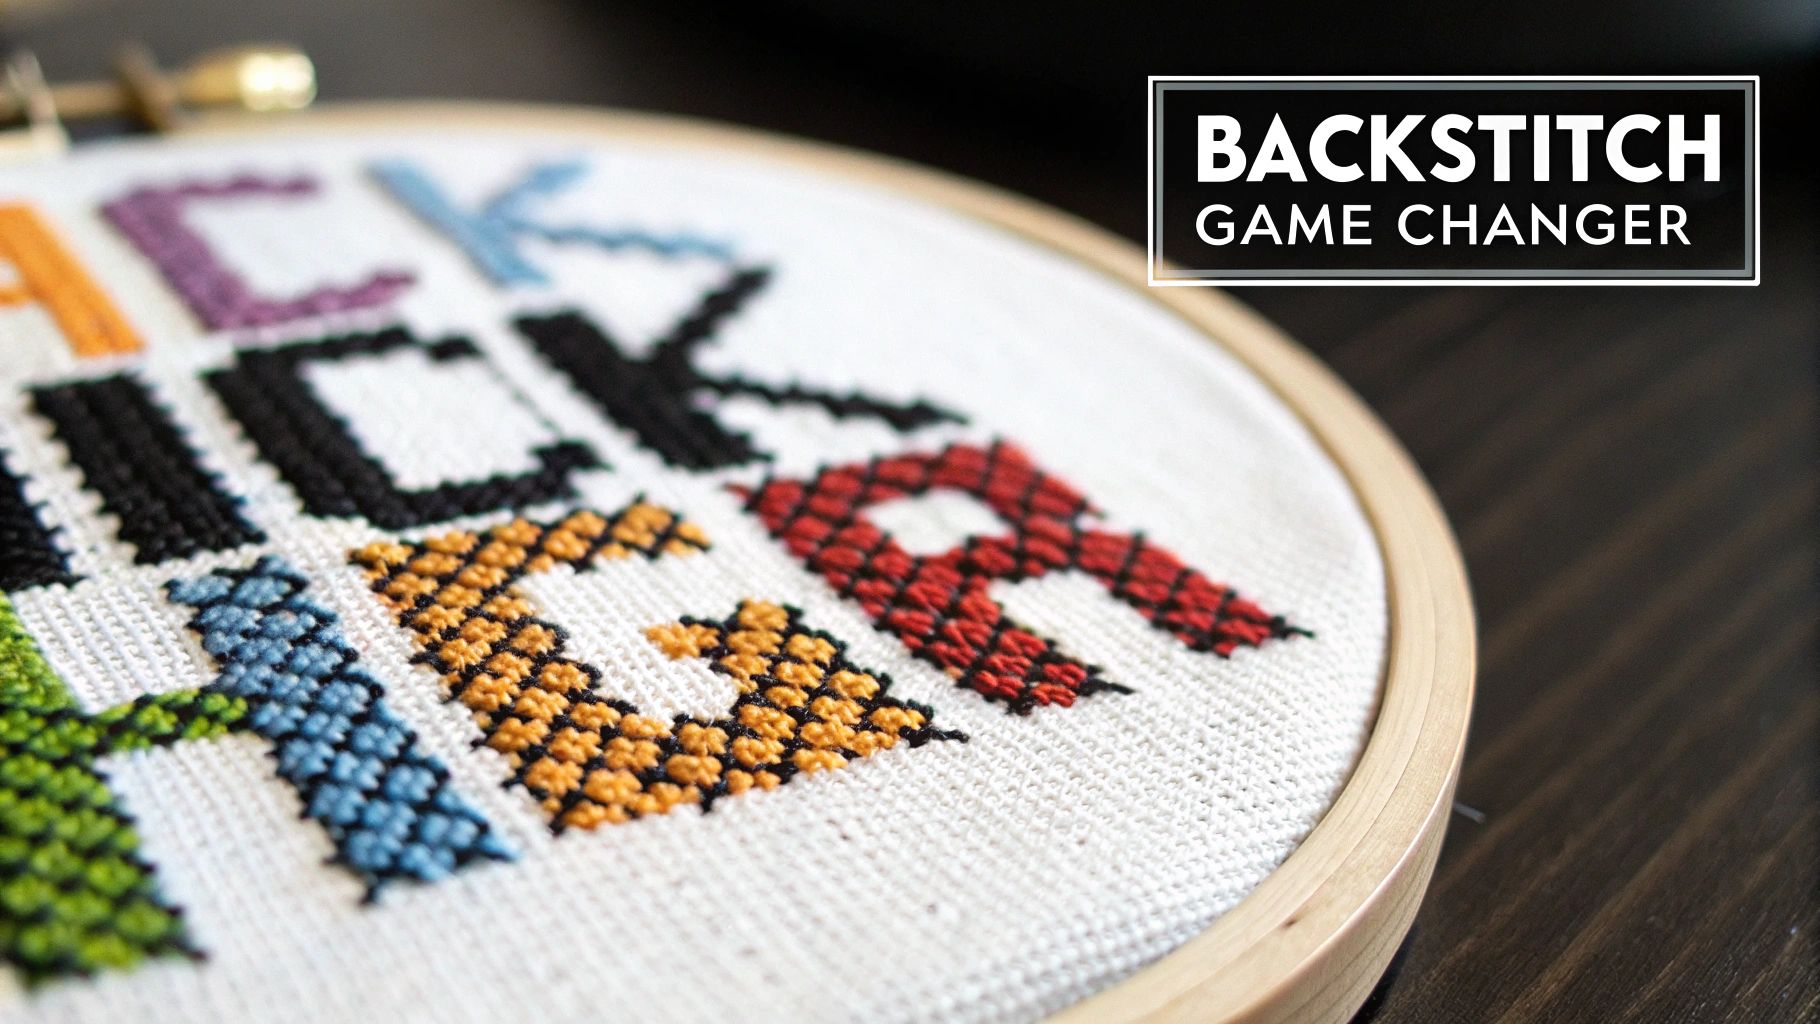
Honestly, without backstitch, a lot of designs can look a bit blurry or abstract. The clean lines it provides are absolutely essential for bringing out those small details that make a project look truly finished and professional.
Defining the Details That Matter
Backstitching is where the real magic happens. It’s the secret ingredient that makes all the tiny elements pop right off the fabric. We’re talking about things like:
- Text and Lettering: It’s the difference between a fuzzy block of color and crisp, readable words.
- Facial Features: This is how you give a character expression with eyes, a smile, or defined eyebrows.
- Intricate Borders: It creates those sharp, clean frames that give a design a polished look.
- Object Outlines: It’s what defines the shape of everything, from delicate flower petals to the sharp angles of a building.
This one stitch can elevate your work from a simple hobby piece to a genuine work of art. The outlines give the design a solid visual structure that guides the eye, making sure every little detail gets the attention it deserves.
A project without backstitch is like a story without punctuation. You might get the main idea, but all the clarity and impact are lost. It’s that final touch that pulls it all together.
A Stitch with Deep Roots
While backstitching might feel like a modern finishing technique, it actually has a long and very practical history. It wasn't always just for looks; it was a foundational stitch used to strengthen patterns and add structure, which is why some pieces have survived for centuries.
The earliest signs of cross-stitch go all the way back to the 6th century BCE. By the 14th century in Europe, backstitching had become a core technique for outlining and reinforcing designs. If you're curious, you can explore the rich history of cross-stitch to see just how these essential techniques developed over time.
Getting Ready To Backstitch
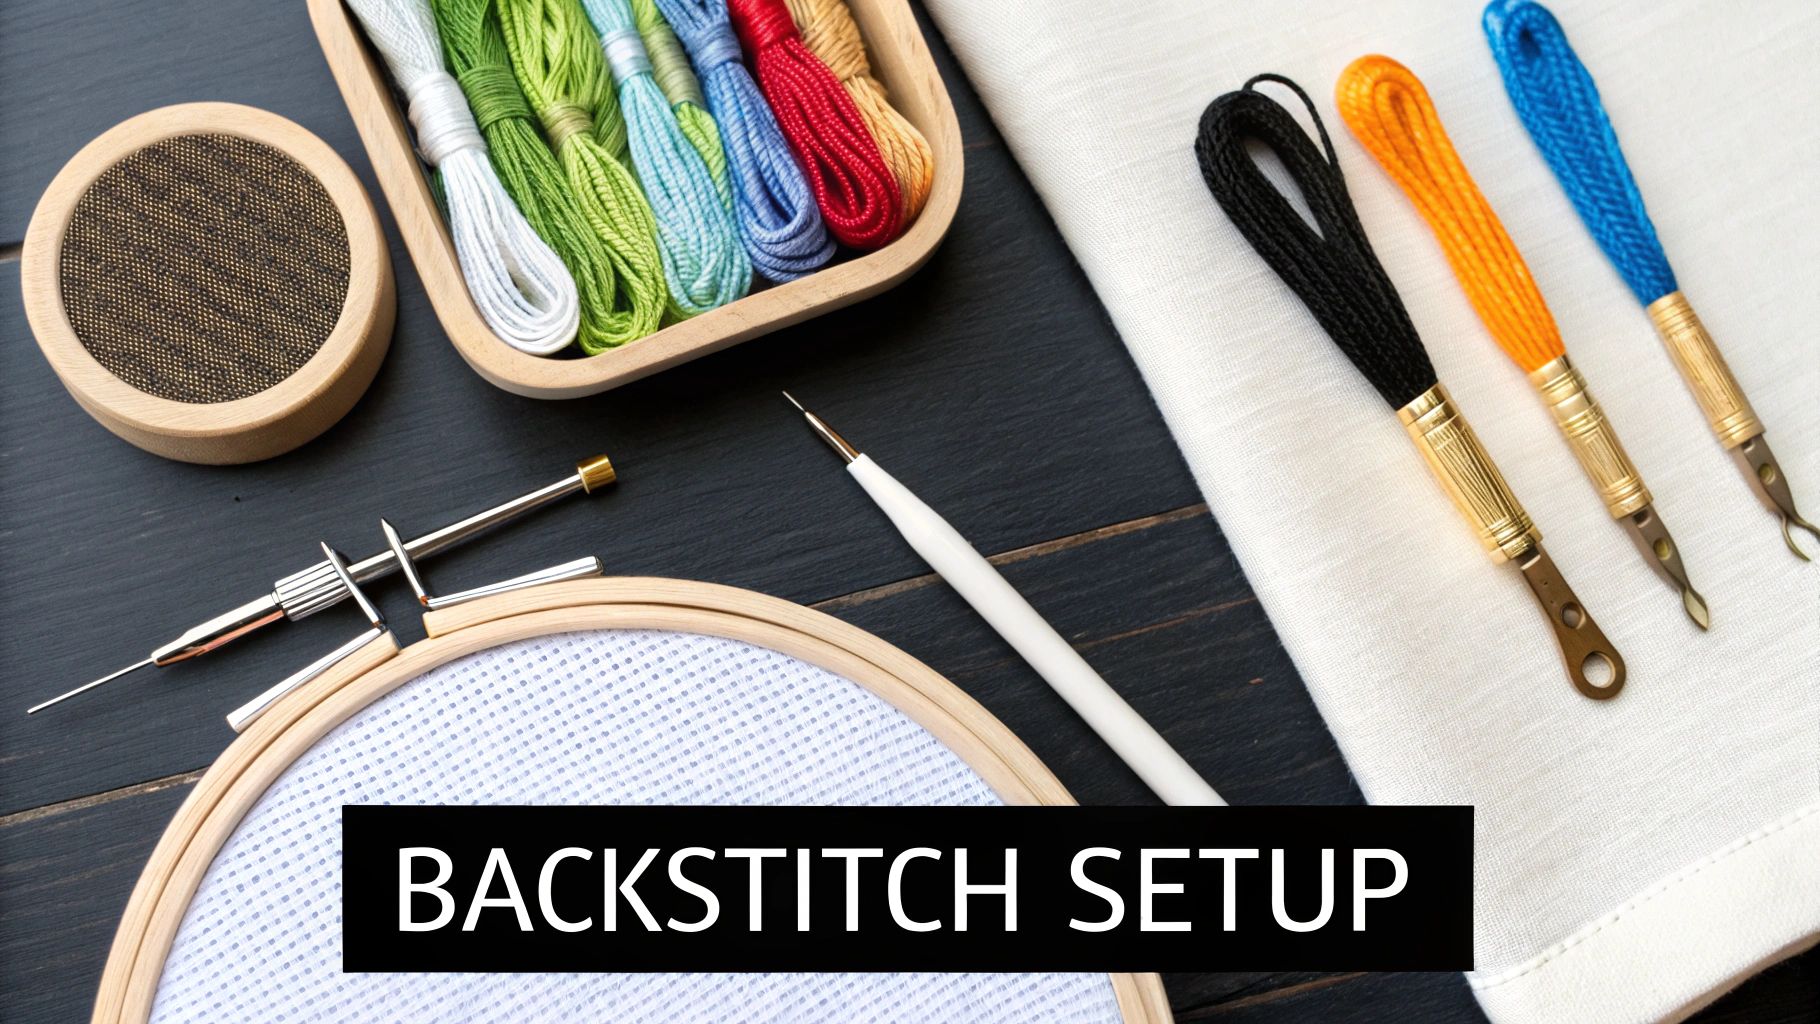
Before you even thread your needle, taking a few moments to gather the right supplies can make all the difference. Think of it as setting the stage. Good preparation doesn't just make the process easier; it's what gives your finished piece that polished, professional look. This is especially true with backstitching, where every line counts.
Choosing Your Thread
The first thing to decide is how thick you want your outlines to be. The number of floss strands you use will completely change the feel of your design.
- One Strand: For delicate, whisper-thin lines. This is my go-to for tiny details like animal whiskers, subtle facial expressions, or fine lettering. It gives a really graceful finish.
- Two Strands: This is your best bet for a bold, crisp outline. It creates a stronger, more graphic look that really makes the different sections of your pattern pop.
Needles and Fabric Matter
Next up is your needle. You might love your blunt tapestry needle for the main cross stitches, but for backstitching, a little more precision can be a huge help. I often switch to a slightly sharper needle to easily find the exact entry and exit points, especially when I'm working on tighter fabric weaves or making fractional stitches.
Picking the right tools is all about gaining control. When you consciously choose your floss, needle, and fabric, you're not just grabbing supplies—you're making artistic decisions about how sharp, delicate, or bold your final details will look.
Your fabric choice is also a big piece of the puzzle. If you're working on Aida, the built-in grid makes backstitching pretty straightforward. If you're not familiar with it, learning what Aida fabric is will show you how its structure guides your needle. For designs with smoother, more fluid curves, a fabric like evenweave gives you a lot more flexibility.
And one final tip that I can't stress enough: always use an embroidery hoop! It keeps your fabric perfectly taut, which is the secret to preventing puckers and maintaining even tension. That's how you get those beautifully straight, neat lines every time.
Mastering the Perfect Backstitch Technique
Alright, let's get down to translating those bold lines on your pattern into crisp, beautiful stitches on your fabric. Forget rigid diagrams for a moment. The real goal is to get into a comfortable rhythm that makes backstitching feel second nature. It all begins with a clean, secure start.
Starting Without Knots
One of the first big lessons every stitcher learns is how to anchor thread without a bulky knot on the back. Knots can create annoying lumps that show through on the front, especially once you frame your piece. A far cleaner approach is the loop start, which works beautifully whenever you're using an even number of strands (like the standard two).
Another go-to technique is to simply leave a small tail of thread on the back of your fabric. As you make your first few backstitches, you just catch that tail underneath them, securing it tightly without any added bulk. This little trick is key to keeping the back of your work looking smooth and professional.
This infographic breaks down the core mechanics of a perfect backstitch, from getting started to tackling those tricky corners.

As you can see, a great backstitch really comes down to three things: a secure anchor, a consistent stitching rhythm, and a smart way to handle corners.
Finding Your Stitching Rhythm
The backstitch itself is a simple, repetitive motion that creates one continuous line. Think of it like you're drawing a line, but one stitch at a time.
- First, bring your needle up through the fabric where you want the line to begin.
- Next, take the needle back down into the hole where your previous stitch ended (or one stitch length behind your starting point if it's the first stitch).
- Finally, bring the needle back up one stitch length ahead of where you first came up.
This "up, back, and forward" movement is the heart of the backstitch. You're essentially filling in the gaps as you go, which is what creates that solid, unbroken line. The absolute key here is consistent stitch length. Do your best to make each stitch cover the same distance, whether that’s over one Aida square or two.
The most common mistake I see is pulling the stitches too tight. Your backstitch should lay flat against the fabric, not sink into it or cause puckering. Aim for firm, even tension with every single stitch you make.
How Many Strands of Floss Should You Use?
The number of floss strands you use for backstitching dramatically changes the look of your project. A single strand creates a delicate, fine line perfect for tiny details, while two or more strands make the outline bolder and more pronounced.
The table below is a quick reference for how the thread count impacts your final design.
Backstitch Thread Count and Its Effect
| Number of Strands | Visual Effect | Best Used For |
|---|---|---|
| 1 Strand | Delicate, fine line | Facial features, tiny text, subtle details, fractional stitches |
| 2 Strands | Bold, defined outline | General outlining, making subjects pop, medium text |
| 3+ Strands | Very thick, heavy line | Creating a cartoonish or bold graphic effect, thick borders |
Most patterns will specify the number of strands, but don't be afraid to experiment. Sometimes, using one strand for distant objects and two for foreground elements can add a wonderful sense of depth to your piece.
Handling Curves and Corners
Straight lines are one thing, but curves and corners are where your backstitching technique really gets to shine.
For a sharp, crisp corner, the trick is to end your line of stitches right in the corner hole. Then, start the new line by coming up in that exact same hole before moving in the new direction. This gives you a perfectly defined angle without any overlapping mess.
When it comes to gentle curves, the secret is to use shorter stitches. Shorter stitches let you follow the curve much more smoothly, preventing that jagged, "stair-step" look. Think of it like drawing a curve with a series of tiny, straight lines—the shorter the lines, the smoother the final curve appears.
The needle you use can also make a surprising difference. To learn more, check out our guide to cross stitch needle sizes and see how the right one can help with precision work.
Pro Tips for a Flawless Finish
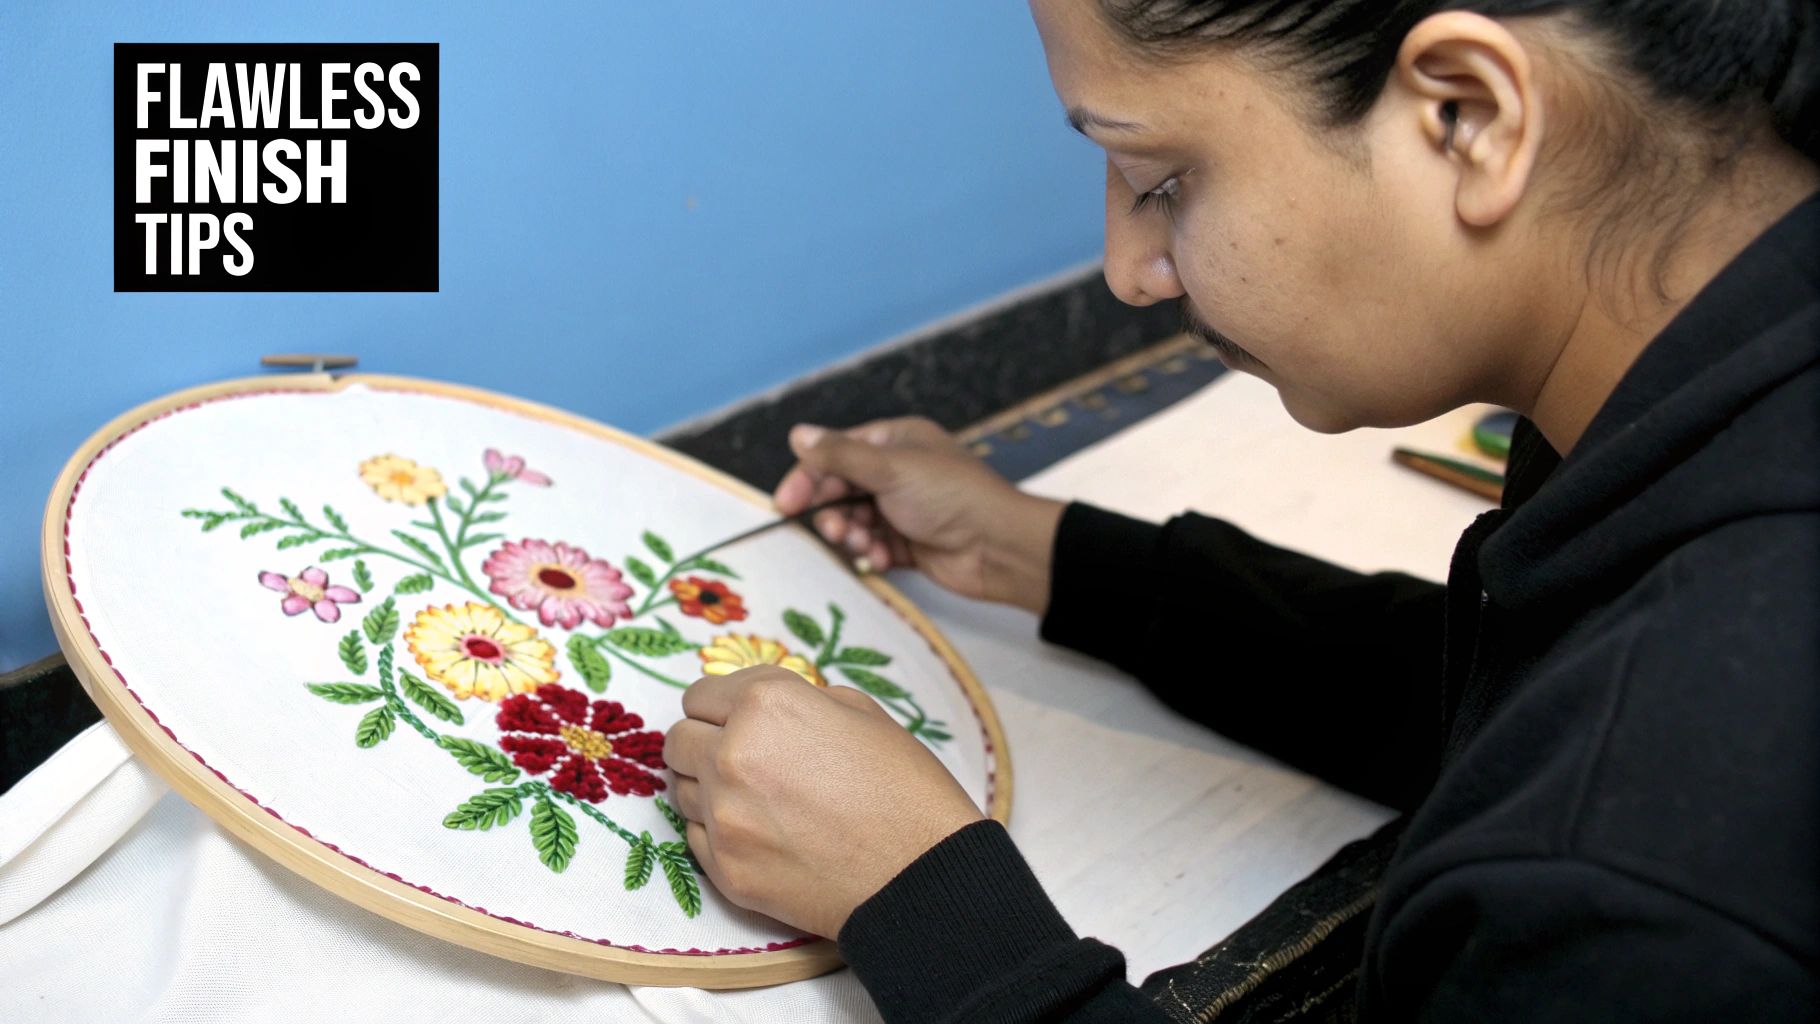
Knowing the basics of backstitching is one thing, but making those lines look truly seamless is an art form. Let's get into the little details that take your work from simply outlined to flawlessly defined. It all starts with getting the tension just right.
The sweet spot is a stitch that lies flat and secure on the fabric without causing any puckering. If your stitches are too loose, they can easily snag. Pull them too tight, and you'll warp the whole design. I always aim for a consistently firm pull on the thread, so the backstitching complements the cross stitches instead of overpowering them.
This focus on sharp outlines has a long history. It was a key feature of Spanish blackwork, which heavily influenced English embroidery back in the 16th century. By the late 1600s, over 70% of English samplers were using both cross-stitch and backstitch to make their designs pop.
Stitching Methods for Different Situations
Most experienced stitchers have two main methods in their toolkit, and they know exactly when to use each one. Learning to switch between them will give you much more control over the final look.
-
The Stab Method: Think of this as your precision tool. You push the needle straight down through the fabric with one hand, then pull it all the way through from the back with your other hand. It's definitely slower, but it’s perfect for tight corners or making sure your needle lands in the exact hole every single time.
-
The Sewing Method: This is all about speed and flow. The needle goes down and comes back up in one fluid, scooping motion. It's a lifesaver for long, straight lines where you want to build momentum, but it does trade a little bit of that pinpoint accuracy for speed.
I find myself using the stab method for delicate details like facial features, but I’ll almost always switch to the sewing method for things like long, straight borders. Don't be afraid to mix and match—it's a sign of a confident stitcher.
Handling Advanced Stitch Types
Sometimes a pattern throws you a curveball that a simple backstitch can't quite handle. This is where a couple of more advanced techniques come in handy, especially when you're dealing with long stitches or tiny, intricate details.
A long backstitch that spans several squares is a common challenge; it can look a bit saggy or get caught on things later. The pro solution here is couching. You just use a separate, single strand of matching floss to tack that long stitch down. A tiny, nearly invisible stitch right over the middle of the long one is all it takes to anchor it securely.
Another tricky one is the fractional backstitch. These are for lines that need to start or end right in the middle of a fabric square instead of in a hole. A sharp needle is your best friend here. It allows you to pierce the Aida cloth or linen precisely where you need to for those ultra-fine details. Perfecting little touches like this is one of the key cross-stitch finishing techniques that will give your project that truly polished, professional look.
Troubleshooting Common Backstitch Problems
Let’s be honest, even the most seasoned stitchers run into a few hiccups with backstitching. It’s that final detail that can make or break a piece, so when things go a little sideways, it can be frustrating. But don't worry, most common issues are surprisingly easy to fix.
https://www.youtube.com/embed/Q4lbAyktXEM
Probably the most common complaint I hear is about wavy or uneven lines. Nine times out of ten, this is a simple matter of inconsistent stitch length. If you make a stitch that covers two squares of fabric and then follow it with one that only covers one, your line will inevitably look a bit wobbly. The trick is to keep your stitches as uniform as you can.
Tension is the other usual suspect. If you pull your thread too tight, it will pucker the fabric and make your beautiful, straight lines look distorted. You're aiming for stitches that lie smoothly on top of the fabric, not ones that are pulling it inward.
Dealing with Shadows and Tricky Stitches
Ever notice a faint, dark line showing through from the back of your project? That's called shadowing, and it happens when you carry a dark thread across a large, unstitched area of light-colored fabric.
- Don't "travel" too far. It's almost always better to end your dark thread and start it again in the new spot rather than carrying it across a big open space on the back.
- Weave it in. For shorter jumps, you can often get away with weaving the thread under existing stitches on the back. This tacks it down securely and makes it much less noticeable from the front.
And what about that moment when you need to bring your needle up through a really dense patch of cross stitches? It can feel like you're trying to find a needle in a haystack without splitting the threads you've already worked so hard on.
My go-to move here is to simply flip my work over. You can see the grid of the fabric much more clearly from the back. Just guide your needle through from the back to the front, and you'll hit the perfect spot every time without disturbing a single stitch.
This little maneuver has saved me so much grief over the years. It keeps your stitches from getting split and ensures the front of your work stays neat and tidy.
Answering Your Backstitch Questions
As you get the hang of backstitching, a few questions are bound to come up. It happens with every new technique! Let's walk through some of the common ones so you can stitch with complete confidence.
Should I Backstitch Before or After My Cross Stitches?
This is probably the most common question I hear. The answer is almost always after. Think of backstitching as the final ink outline on a pencil drawing. You want to get all your main "colors" (the cross stitches) down first.
If you add the backstitch early, you risk accidentally piercing those nice, clean lines with your needle as you fill in the cross stitches. Saving it for the end keeps everything looking sharp and defined.
Does the Direction Matter?
Nope! Whether you prefer to work left-to-right, top-to-bottom, or even diagonally doesn't really matter. What does matter is keeping your stitch length and tension consistent.
Find a rhythm and direction that feels natural to you. That comfort will translate into smoother, more even lines than forcing yourself to work in a way that feels awkward.
Is Backstitch Really That Important?
You might be looking at a pattern and wondering if you can skip this step. While you can, you'll often lose a huge amount of detail. In fact, a 2022 survey showed that 78% of stitchers include backstitch in more than half of their projects, and 62% believe it's essential for defining the finished piece.
The trend is clear in sales, too, with patterns featuring backstitch outselling those without by a 3:1 margin. If you're curious about the data behind cross-stitch trends, you can explore more with these insightful findings.
The bottom line is that backstitch isn't just a decorative extra. It's what gives a design its professional polish and makes the details pop. It truly elevates a project from good to great.
Ugh, I Made a Mistake! How Do I Fix It?
Don't panic! It happens to everyone. The safest way to fix a misplaced backstitch is to unpick it carefully.
Forget the seam ripper—it's too easy to snag your fabric or other stitches. Instead, just use the eye of your needle to gently lift the offending stitch and pull the thread back through. It’s a bit slower, but it’s much safer for your project.


