
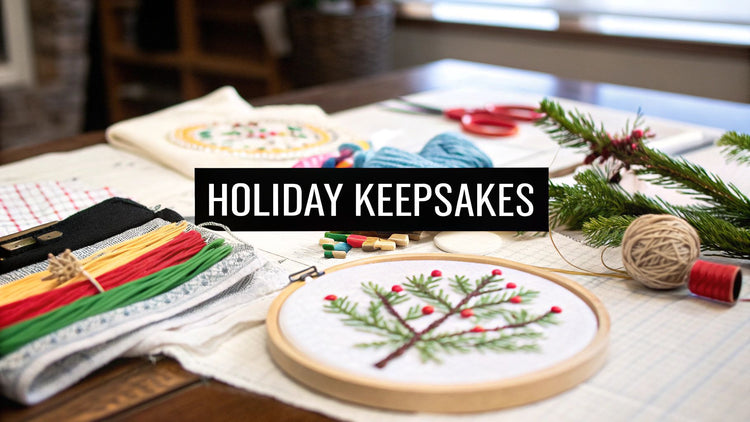
Picture your Christmas tree, not just decorated, but sparkling with ornaments that tell a story—each one a tiny, handcrafted treasure. This guide is all about helping you create those memories, stitch by stitch, with the wonderful world of Christmas cross stitch ornament patterns. We'll dive into everything from classic snowflakes to quirky modern designs, showing you how this timeless craft is easier and more rewarding than ever.
Crafting Holiday Memories with Cross Stitch
Cross stitching is so much more than a hobby. It’s a way to weave your time, care, and memories directly into fabric. Every little "x" is a moment of focus, turning simple thread and cloth into a keepsake that can be cherished for generations. Think of it as painting with thread—where every color you choose and every stitch you place helps build a miniature masterpiece.
These small projects are the perfect way to capture the holiday spirit. They deliver a wonderful sense of accomplishment in just a few hours, which is a blessing during a busy time of year.
Why Ornaments Are the Perfect Project
If you're new to cross stitch, ornaments are a fantastic place to start. Their small size feels manageable, not intimidating like a huge sampler might. They also tend to use fewer colors, which keeps things simple. For seasoned stitchers, they’re a quick and satisfying creative fix.
Here’s why they work so well:
- Quick Completion: You can easily finish most ornament patterns over a weekend. Instant gratification!
- Low Material Cost: Since they don't need much fabric or thread, it's a wonderfully affordable craft.
- Personalized Gifting: Nothing says "I care" like a handmade gift. A stitched ornament is a thoughtful, one-of-a-kind present.
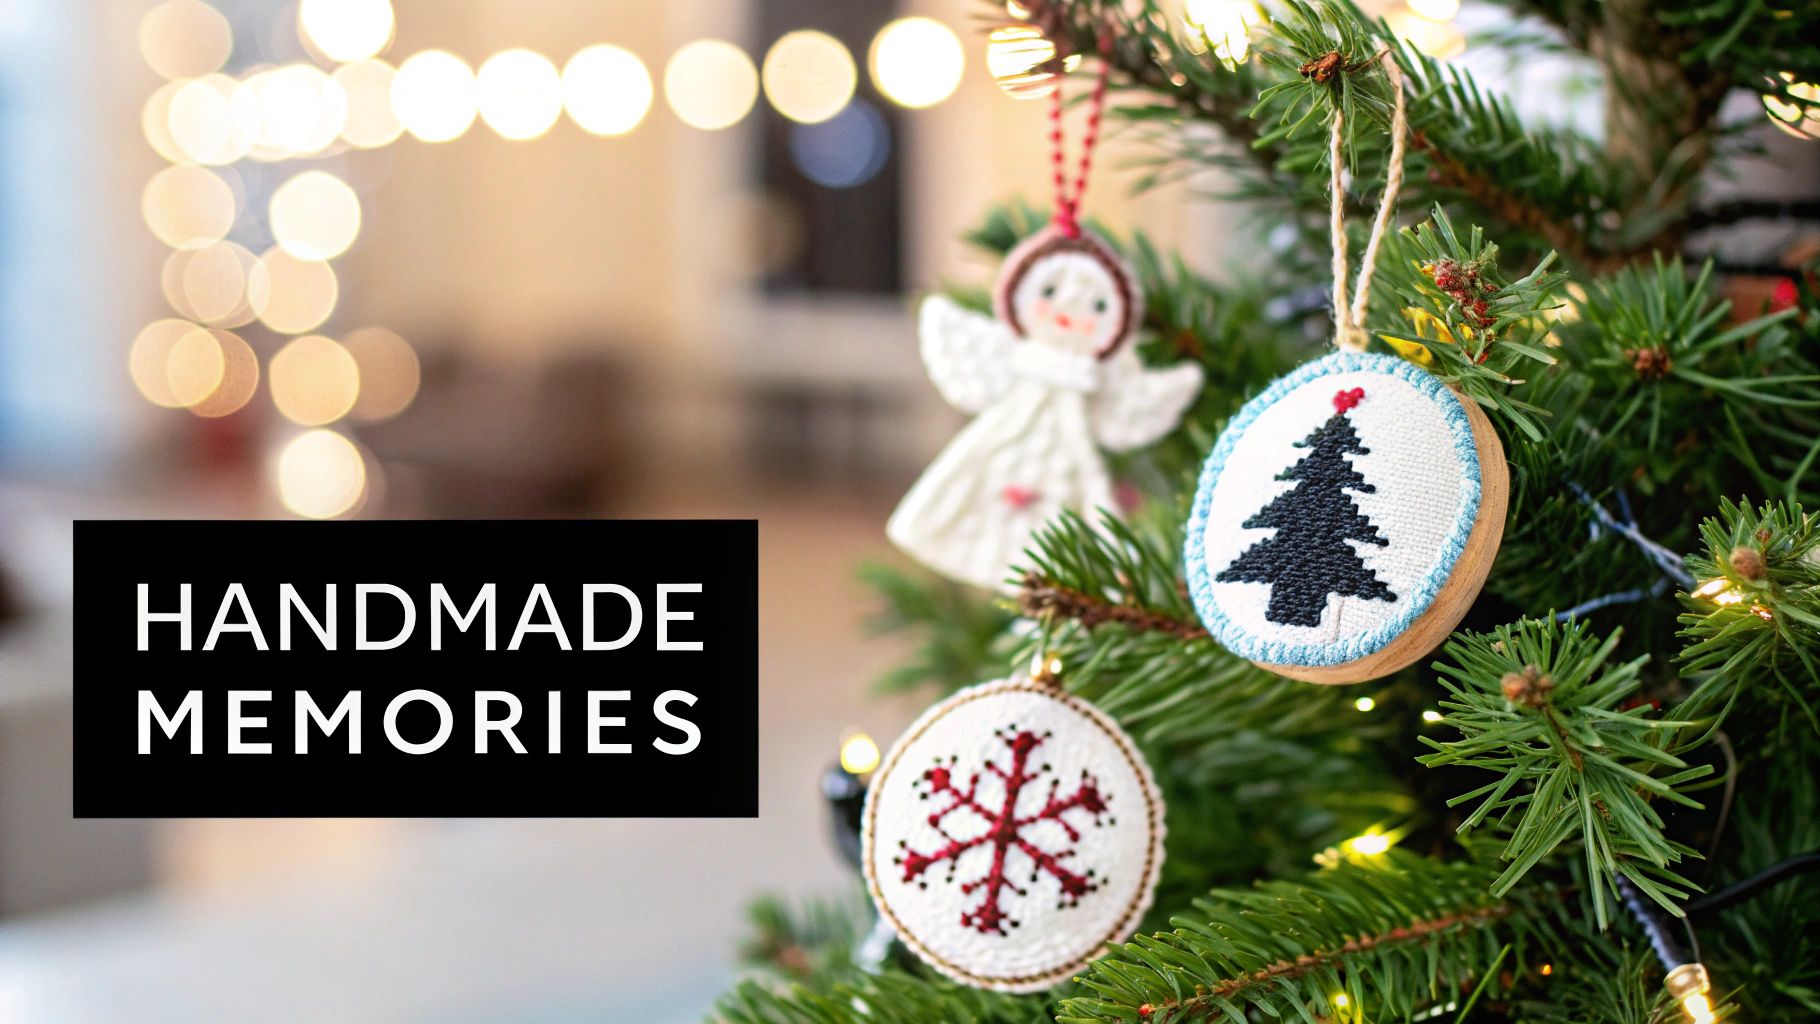
A handmade cross stitch ornament is a tangible piece of holiday cheer. It’s a tradition you can hang on the tree, gift to a loved one, or even use as a festive tag on a special present.
Beyond the intricate work of stitching, you can capture family memories in other ways, too. A personalized Christmas family name print is another beautiful way to celebrate your family's unique story during the holidays.
More Than Just Decoration
The real magic of a stitched ornament is the story behind it. Maybe it commemorates a baby’s first Christmas, honors a beloved family pet, or is just a whimsical snowman that makes you smile. These aren't just decorations; they're tiny heirlooms, each holding its own personal narrative.
As you unwrap them year after year, you’re doing more than just trimming the tree—you’re revisiting your most cherished moments.
Finding an Ornament Style That's All You
Choosing a cross-stitch pattern for a Christmas ornament is a lot like picking out the perfect tree topper—it sets the tone for everything else. The world of patterns is huge, with styles that can feel like a warm, nostalgic hug, a sleek modern statement, or something wonderfully quirky and personal. Figuring out which aesthetic family you vibe with is the first step to creating an ornament you’ll truly love.
Think of it this way: all the different pattern styles are like branches on the great Christmas tree of crafting. Some are covered in classic tinsel, others in minimalist lights. By exploring them, you can stitch a collection of ornaments that tells a story and feels completely you.
Timeless and Traditional Designs
Traditional patterns are the comfort food of the stitching world. They tap right into those classic Christmas memories with motifs we’ve all grown up with and loved for generations. These designs usually stick to rich, warm color palettes and familiar symbols that just feel festive the moment you see them.
So, what falls under this classic umbrella?
- Rustic and Woodland: This is where you'll find charming reindeer, cozy snow-dusted cabins, and bright red cardinals perched on pine branches. These patterns have a warm, natural feel, often using earthy tones to bring a bit of the winter forest indoors.
- Victorian and Antique: Think elegance and intricate detail. This style is all about delicate angels, ornate Santas in grand, flowing robes, and elaborate snowflakes that look like they came straight off a 19th-century holiday card.
- Scandinavian and Nordic: Known for their clean lines and simple color palettes (often just red and white), these patterns feature folk-art snowflakes, hearts, and geometric reindeer. They bring that minimalist, cozy "hygge" feeling to any tree.
These traditional styles are so popular because they connect us to a long history of holiday crafting. In fact, Christmas-themed cross-stitch has been a major part of the craft world for centuries. Today, some retailers report that Christmas kits can make up 25–40% of their annual cross-stitch kit sales in Western markets. This isn't a new trend; it’s rooted in traditions from the 1600s when small, repeatable patterns first became widely available, laying the groundwork for the designs we still love today. You can dive deeper into the fascinating background of festive cross-stitch kits over at caterpillarcrossstitch.com.
Modern and Minimalist Patterns
If your taste is more contemporary, you’re in luck. There’s a whole universe of modern ornament patterns out there. These designs often strip away the fuss for a clean, fresh, and sometimes humorous take on the holidays. They're perfect if you appreciate bold graphics and a bit of wit.
Modern styles often play with:
- Geometric Shapes: Think minimalist Christmas trees made of triangles, abstract snowflake patterns, or simple circular designs with a single festive word stitched inside.
- Witty Quotes and Sayings: Ornaments featuring funny lines from holiday movies, cheeky phrases like "Sleigh All Day," or modern typography add a punch of personality.
- Pop Culture Icons: From your favorite video game characters wearing Santa hats to tiny versions of sci-fi heroes, these patterns are a fantastic way to let your personality shine on the tree.
A modern pattern is basically a conversation starter hanging on your tree. It's a small piece of art that shows off your personality and adds an unexpected, fresh twist to your holiday decor.
Whimsical and Personalized Creations
Beyond the classic and modern buckets, you'll find a world of whimsical and deeply personal patterns. This is where you can let your creativity run wild and stitch ornaments that become true one-of-a-kind heirlooms. These designs are all about capturing a specific feeling, memory, or moment in time.
Get inspired with ideas like these:
- Cute Characters: Adorable gingerbread people, smiling snowmen, or sweet cartoon animals bring a dose of pure joy and are especially perfect for a family tree.
- Stitched Memories: Imagine a tiny pattern of your home's front door with a wreath, a miniature landscape of a favorite winter getaway, or a "postcard" from a memorable holiday trip.
- Personalized Portraits: Using photo-to-pattern software, you can create tiny stitched portraits of family members, beloved pets, or even a baby's first Christmas photo. It’s an incredible way to turn a precious memory into something you can hold.
At the end of the day, the best style is simply the one that makes you happy. Whether you stitch a classic angel or a pixel-art reindeer, you’re not just making a decoration—you're crafting a memory that you'll pull out and treasure year after year.
Choosing the Right Pattern for Your Project
So, you've settled on a style you love. Now comes the fun part: picking your actual project. This is where we get down to the nitty-gritty details that make the difference between a joyful stitching session and a frustrating one. Think of it like picking a recipe—you wouldn't jump into a five-course gourmet meal if you're just learning to boil water. You have to match the project to your skills, time, and the ingredients (or in our case, materials) you have on hand.
Selecting the right Christmas cross stitch ornament patterns is all about finding that sweet spot between your creative ambition and what's realistically achievable. It's not just about what looks pretty on the screen; it's about finding a pattern that feels like it was made for you.
This simple guide breaks down the main styles to help you find your perfect match.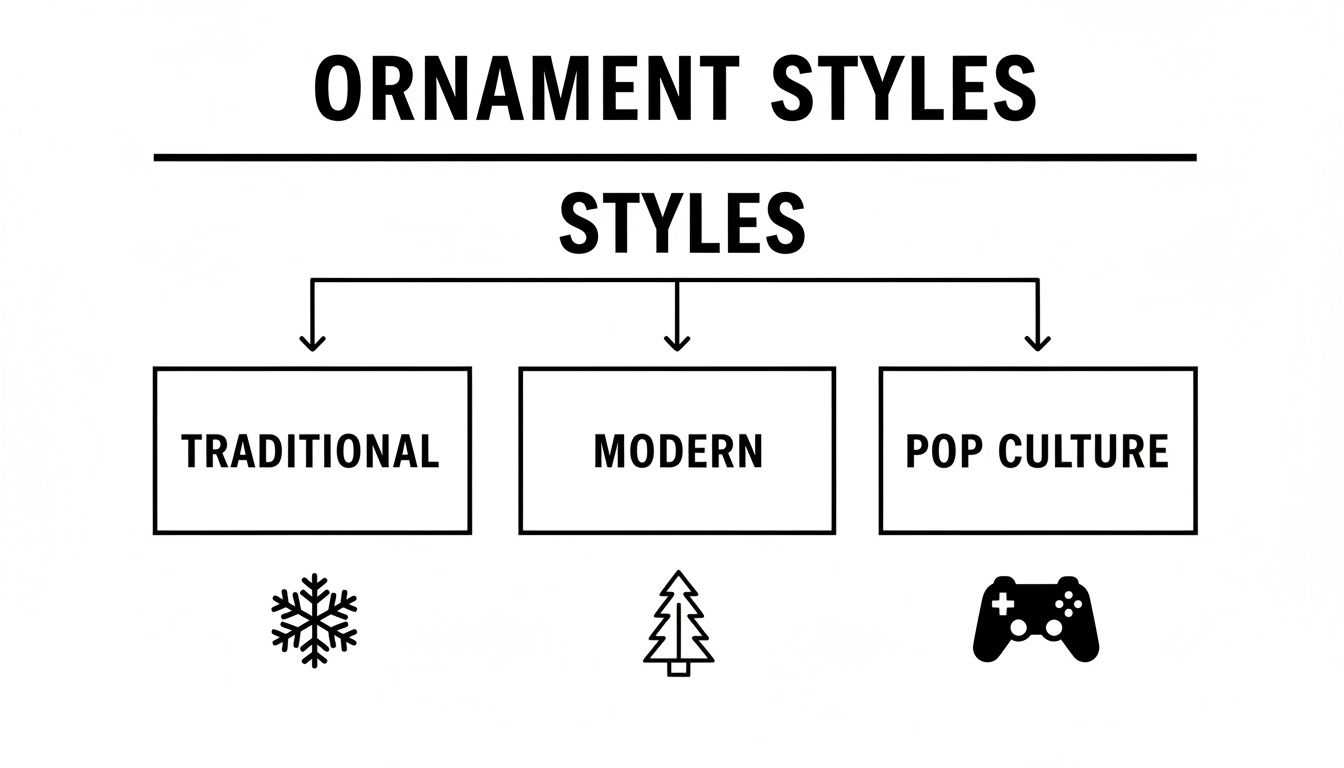
As you can see, you've got three main roads to travel: Traditional, Modern, and Pop Culture. Each one offers a totally different vibe for your tree.
Match the Pattern to Your Skill Level
This is probably the most important piece of advice I can give you. Be honest about where you are on your stitching journey. Picking a pattern that challenges you a little is great, but picking one that overwhelms you is a surefire way to end up with another unfinished project in your craft basket.
-
For Beginners: Stick to patterns labeled "beginner" or "easy." These are your friends! They usually have a limited color palette (think under 10 colors), use simple blocky shapes, and steer clear of fussy stitches like French knots or quarter stitches. A cute, chunky reindeer is a perfect start—a super-detailed portrait of Santa, not so much.
-
For Intermediate Stitchers: You've got the basics down, so you can handle more. Look for patterns with more color changes, a bit of backstitching for definition, and maybe a few fractional stitches to create smoother curves. A beautiful, intricate snowflake or a wreath with lots of different green shades would be a great fit.
-
For Advanced Crafters: Go for it! You can confidently take on complex patterns with dozens of colors (what stitchers call "confetti"), intricate shading, and a whole mix of specialty stitches. These are the showstoppers, the heirloom pieces like a Victorian angel or a detailed nativity scene, that your family will treasure for years.
Consider Your Time and Materials
Okay, beyond your skill level, the practical stuff matters. How much time do you actually have? And what fabric are you using? These choices are fundamental. It’s interesting to think that the standardization of materials like Aida cloth and DMC threads back in the 19th and 20th centuries is what allowed cross stitch to really explode globally. For the first time, stitchers everywhere could follow the same patterns and get consistent results. This history is exactly what made tiny, detailed Christmas ornament patterns possible—a tradition that platforms like Cross Stitched now continue by blending those classic materials with modern photo-to-pattern tools. You can dive deeper into the history of cross stitch materials at caterpillarcrossstitch.com.
The fabric you choose has a huge impact on how your ornament turns out, especially its final size. The key is the fabric's "count"—which is just the number of stitches or squares per inch.
What is Fabric Count?
The easiest way to think about it is like the resolution on a TV screen. A higher count means more squares per inch, which gives you smaller, more detailed stitches. A lower count means fewer squares per inch, resulting in bigger, chunkier stitches.
To make it even clearer, let's break down how different fabric counts will change the same pattern.
How Fabric Count Impacts Your Ornament
This table shows how different Aida fabric counts affect the final size, detail, and difficulty of your cross stitch ornament.
| Fabric Count | Stitches Per Inch | Best For | Final Size Example (50x50 stitch pattern) |
|---|---|---|---|
| 11-Count | 11 | Children or absolute beginners; creates a large, bold look. | Approx. 4.5 inches |
| 14-Count | 14 | The most common choice for beginners; easy to see and work with. | Approx. 3.6 inches |
| 18-Count | 18 | Intermediate stitchers; allows for more detail in a smaller space. | Approx. 2.8 inches |
| 22-Count | 22 | Advanced stitchers; creates a very fine, almost printed look. | Approx. 2.3 inches |
For most Christmas cross stitch ornament patterns, you really can't go wrong with 14-count or 18-count Aida. They hit that perfect sweet spot, giving you plenty of detail without making the stitches so tiny you need a magnifier. The end result is a beautiful ornament that’s just the right size to hang on the tree.
Turning Your Photos into Stitched Ornaments
While classic patterns are always lovely, some of the most meaningful ornaments are the ones that capture a specific memory. This is where the real magic happens—turning a favorite photograph into a one-of-a-kind Christmas cross stitch ornament pattern. Imagine your tree decorated with tiny stitched portraits of your children, a sweet tribute to a beloved pet, or even a whimsical little version of your own home decked out for the holidays.
The process basically transforms a digital image into a stitchable chart, making your craft deeply personal. It’s like creating a tiny, threaded time capsule. And with today's tools, you don't need to be a design expert to bring your memories to life in thread.
Choosing the Perfect Photo for Your Pattern
The first and most important step is picking the right photograph. Think of your photo as the blueprint for your project; a strong blueprint leads to a beautiful result. Not every picture translates well into a cross-stitch pattern, especially for something as small as an ornament where every stitch counts.
For the best outcome, look for these key things in your photo:
- A Clear Subject: The main focus—a person’s face, a pet, a house—should be sharp and take up a good chunk of the frame. If your subject is a tiny speck in the distance, all that lovely detail will get lost.
- Good, Even Lighting: Bright, natural light is your best friend here. Steer clear of photos with harsh shadows, strong backlighting, or dark, grainy settings. These can create weird, confusing blocks of color in your final pattern.
- A Simple Background: A busy, cluttered background will fight for attention with your subject. A simple, out-of-focus, or single-color background helps the pattern generator focus on what really matters, giving you a much cleaner design.
The goal is to simplify, not complicate. An image with good contrast and a clear focal point will always produce a more successful and satisfying cross-stitch pattern, especially for a small-scale ornament.
Using a Pattern Generator Step-by-Step
Once you’ve got the perfect photo, it’s time to use a pattern-making tool. These online generators are surprisingly straightforward and do all the heavy lifting, converting the pixels from your photo into a grid of colored squares that you can follow.
 embroidery hoop, with 'PHOTO TO STITCH' text, floss, and scissors.">
Most of these tools are designed to guide you from image upload to final pattern download without any fuss.
Here's how it generally works:
- Upload Your Image: Simple enough! Just select the photo you’ve chosen and upload it.
- Select Your Fabric Count: This is a crucial step. As we talked about earlier, pick your Aida count (14 or 18-count is usually perfect for ornaments). This tells the software how big your finished piece will be.
- Define the Pattern Size: Now, you'll set the finished size either in inches or by the number of stitches. For an ornament, aiming for something between 3 to 4 inches is a great starting point.
- Choose Your Thread Count: This isn't about the fabric, but the number of different DMC thread colors the pattern will use. For a small ornament, starting with a lower number (around 20-30 colors) often gives a clearer, less "confetti"-like result. Feel free to play around with this setting to see what you like best.
- Generate and Review: The software will create a preview of your pattern. This is your chance to make adjustments. If it doesn’t look quite right, try tweaking the color count, or maybe go back and crop your original photo differently and try again.
This whole process puts you in the driver's seat, giving you control over the final look of your little heirloom. For a more detailed walkthrough and some extra pro tips, check out our complete guide on how to make cross stitch patterns from photos. It breaks down every single step, ensuring you get a pattern you’ll be truly excited to stitch.
Alright, you've picked your pattern, gathered your supplies, and now it's time for the magic to happen. This is the part where thread and fabric become a little piece of holiday art. Let’s walk through how to bring your ornament to life, from the very first stitch to the final hanging loop.
The whole process really breaks down into two main phases. First, there's the stitching itself, where paying attention to the little details makes a huge difference. Then comes the finishing, which is all about turning that flat piece of stitched fabric into a sturdy, beautiful ornament that's ready for the tree.
Stitching Your Ornament: A Tidy Back is Key
When you're working on a big cross-stitch piece that's going to live in a frame, the back of your work stays hidden forever. But with an ornament, it’s a different story. The back is often just covered with a thin piece of felt, so any lumpy knots or messy, carried threads can easily show through on the front. A neat back is the secret weapon for a smooth, professional-looking ornament.
A fantastic trick for starting your thread without a knot is the loop method. It's perfect when you're using an even number of strands, which is typically two for ornaments. Just cut a single strand of floss twice as long as you normally would and fold it in half. Thread the two cut ends through your needle, which leaves a little loop at the other end of your thread.
When you bring your needle up from the back for that first stitch, don't pull the thread all the way through. Flip your hoop over, slide your needle through that loop you left, and pull it snug. Voila! You have a perfectly flat, secure anchor for your stitches—no knot required.
A tidy back isn't just about looks; it’s about creating a smooth foundation for the finishing stage. Every knot you avoid and every thread you neatly tuck away contributes to a beautifully flat and professional final product.
Another pro tip: try to avoid carrying your thread across large empty spaces on the back of your fabric. I know it's tempting, but it's much better to end your thread and restart it in the new spot. This simple step prevents loose strands from peeking through the front or getting snagged later on.
Finishing Your Ornament Like a Pro
Now for the final transformation! This is where you turn your stitched design into a real, hangable decoration. There are a bunch of ways to do this, but let's cover three of the most popular techniques for Christmas cross stitch ornament patterns.
And if you get bitten by the finishing bug and want to explore even more creative options, our comprehensive guide to cross stitch finishing techniques has plenty of other ideas and in-depth tips.
Method 1: The Classic Felt-Backed Ornament
This is probably the most traditional approach, and for good reason. It creates a soft, durable ornament with a beautifully clean edge.
- Prep Your Piece: Once you're done stitching, give your fabric a gentle wash and a good press. To give it some body and stop the edges from fraying, iron a piece of medium-weight fusible interfacing onto the back.
- Cut Your Shapes: Carefully trim your stitched piece into its final shape (a circle, square, you name it), leaving just a small margin around your design. Use this as a template to cut an identical shape from a piece of craft felt.
- Assemble It: Sandwich the felt and your stitched piece together, with the wrong sides facing in. Cut a piece of ribbon for the hanger, fold it into a loop, and tuck the ends between the two layers right at the top.
- Stitch It Closed: Using a single strand of matching floss, carefully sew the two layers together all the way around the edge. A simple whip stitch works great, or you can use a decorative blanket stitch for an extra charming, handcrafted look.
Method 2: The Charming Pillow Ornament
This technique gives you a wonderfully puffy, three-dimensional ornament. It has a cozy, rustic feel and is just so satisfying to squish.
- Cut the Fabric: Trim both your stitched piece and a piece of backing fabric (a festive cotton print or more felt works well) to the same size. Make sure to leave about a one-inch border around your design on all sides.
- Pin and Sew: Place the two pieces of fabric with their right sides together and pin them so they don't shift. Sew all the way around the edge, but be sure to leave a small, two-inch gap open.
- Turn and Stuff: Snip the corners to get rid of extra bulk, then turn the ornament right-side out through the opening you left. Use a pencil or a turning tool to gently poke out the corners so they're nice and sharp. Now, stuff it with polyester fiberfill until it's as plump as you like.
- Close the Gap: Neatly tuck the raw edges of the opening inward and sew it shut using a ladder stitch (sometimes called an invisible stitch). To finish, stitch a ribbon loop onto one of the corners for hanging.
Method 3: The Mini Hoop Frame
Looking for a fast, modern, and stylish finish? A tiny embroidery hoop is your answer. It frames your work instantly and looks incredibly chic.
- Position Your Design: Loosen a small wooden hoop (usually 3-4 inches is perfect for an ornament) and place your finished stitching inside. Fiddle with it until the design is perfectly centered and the fabric is tight like a drum.
- Trim the Excess: Once you're happy with the placement, tighten the hoop’s screw as much as you can. Trim the extra fabric on the back, leaving about a half-inch border all the way around.
- Secure the Back: To keep everything neat, use a needle and thread to run a simple gathering stitch around the edge of the excess fabric. Pull the thread, and the fabric will cinch up tightly toward the center.
- Add a Backing: For an extra-polished touch, cut a circle of felt that's just a bit smaller than the hoop and use a hot glue gun to secure it over the gathered fabric on the back. Just tie a pretty ribbon around the hoop’s screw, and it's ready to hang
Getting Started Easily with All-in-One Kits
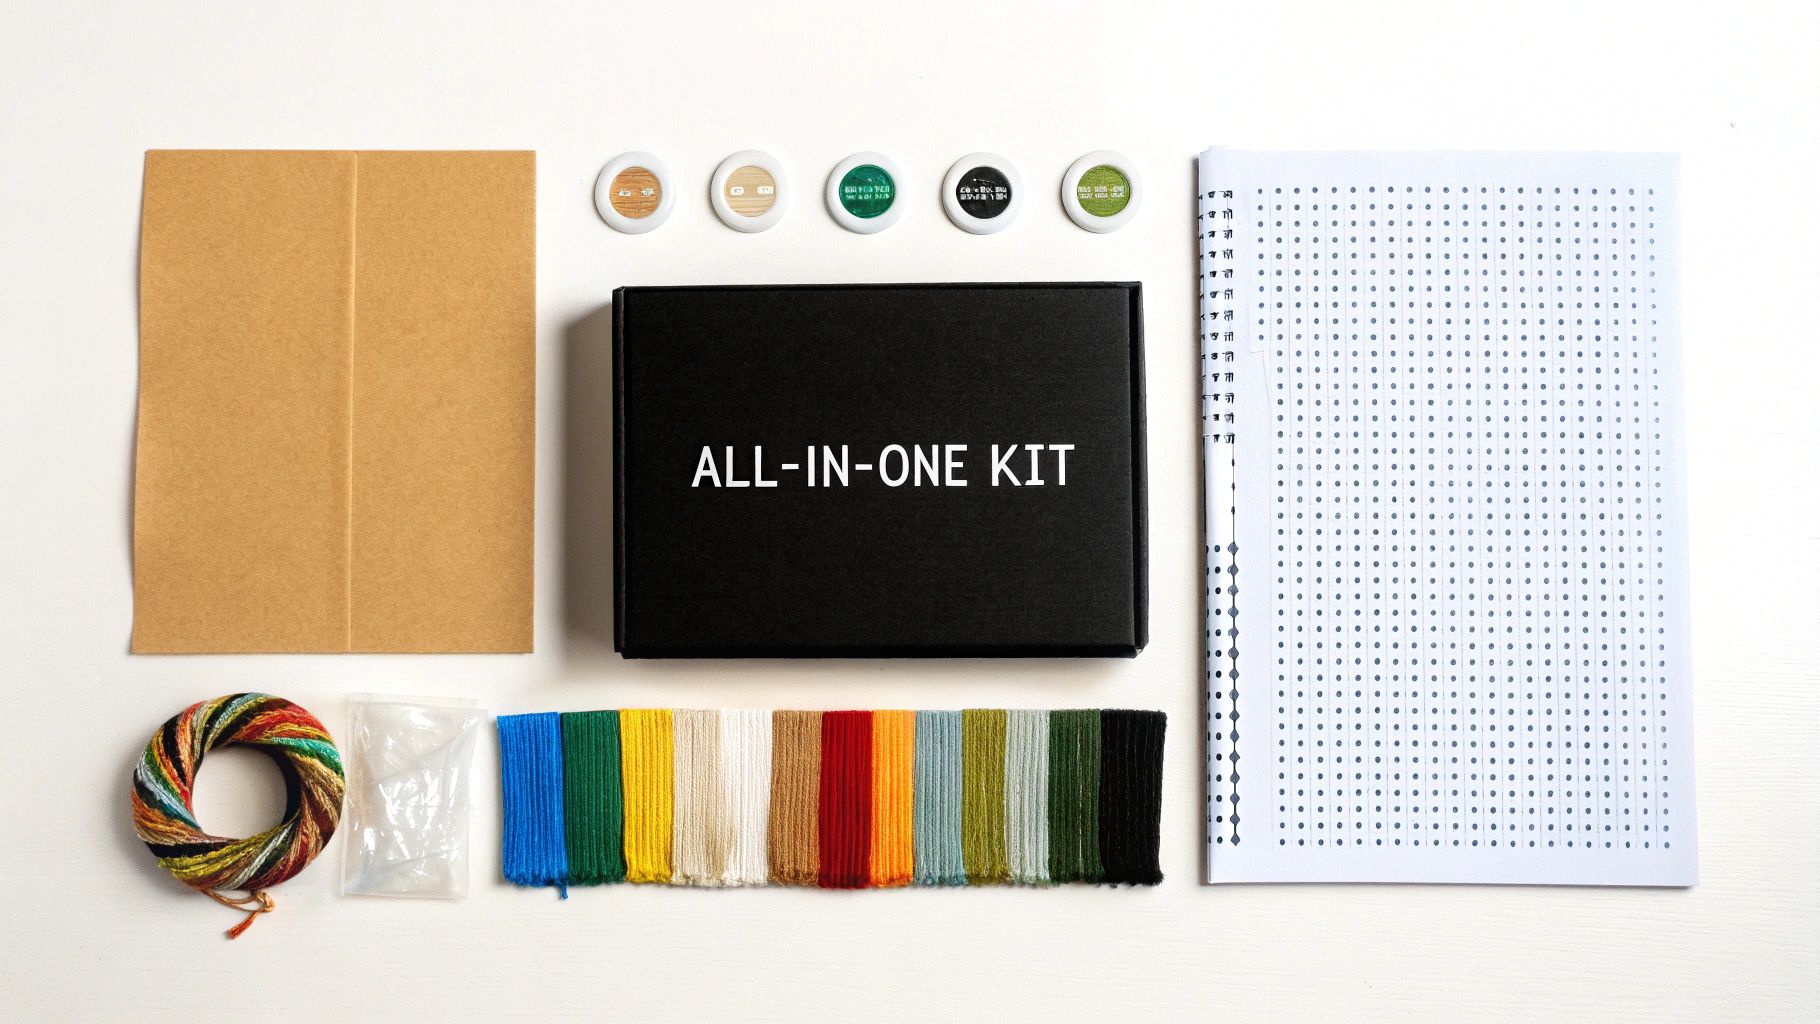
Let's be honest, hunting down all the individual supplies for a new project—the right fabric, the exact thread colors, a needle that won't drive you crazy—can feel like a chore. For anyone who just wants to get to the good part, an all-in-one kit for Christmas cross stitch ornament patterns is your best friend. These kits are put together to take all the guesswork out of the equation.
Think of it as a meal-kit box, but for crafting. You don't have to go to the store and figure out what to buy; everything you need to start stitching the moment you open the box is right there. It’s a huge relief, especially if you’re new to cross stitch and staring at a long supply list feels a bit intimidating.
What You Will Find Inside a Kit
A good ornament kit isn’t just a random bundle of supplies; it’s a complete package where every item is chosen specifically for that pattern. It closes the gap between admiring a beautiful design online and actually making it yourself.
So, what's usually inside?
- Pre-sorted DMC Threads: No more tangled messes or frantic trips to the store for a missing color. The floss comes neatly organized and labeled, ready to go.
- The Right Aida Fabric: You'll get a piece of Aida cloth already cut to the perfect size for your ornament. The best kits even have serged edges to stop it from fraying while you work.
- High-Quality Needles: The kit will include the right size tapestry needle for the fabric, so your stitches will glide through smoothly.
- A Clear Pattern Chart: The pattern is printed clearly—often in color with symbols—so you can easily follow along without squinting.
Having everything matched up from the start makes a huge difference in how much you enjoy the project and how well it turns out.
The Benefits for Every Stitcher
Don't think these kits are just for beginners! While they are an amazing way for newcomers to get started, even seasoned stitchers love them. For an experienced crafter, a kit is a massive time-saver. You get to skip the prep work and dive straight into the relaxing rhythm of stitching.
For someone just starting their cross stitch journey, a kit is more than just supplies; it's a box of confidence. It guarantees you have everything you need for a successful first project, turning potential frustration into a feeling of accomplishment.
In the end, whether you're stitching your very first ornament or your hundredth, a kit just makes things simpler. It’s the most direct path to creating a beautiful, handmade decoration for your tree. If you're looking for that perfect starting point, our guide to beginner cross stitch kits has even more great advice on https://cross-stitched.com/blogs/what-is-cross-stitch/beginner-cross-stitch-kits to make sure your first project is a total success.
Common Questions About Ornament Stitching
Even the most seasoned stitcher hits a snag now and then, and when you're working on something as special as an ornament, you want it to be perfect. Let's tackle some of the most common questions that pop up, so you can stitch your Christmas cross stitch ornament patterns with confidence.
What Is the Best Fabric for a Beginner’s Ornament?
If you're just dipping your toes into cross stitch, start with 14-count Aida fabric. Seriously, it's your best friend.
Think of it as your training wheels. The weave is open and the holes are big and easy to see, which means you're not squinting and hunting for where your needle goes. This makes forming those nice, even 'X's so much easier and helps you build a rhythm without the frustration.
How Can I Stop My Thread from Tangling?
Ah, the dreaded thread knot. We've all been there! The biggest culprit is usually using a piece of floss that’s way too long because you think it'll save time. It never does.
Keep your thread lengths manageable—a good rule of thumb is about 18 inches, or the length from your fingertips to your elbow. Also, every few stitches, just let your needle and thread dangle freely. This little trick lets the floss untwist itself naturally, preventing those annoying tangles before they even start.
The secret to tangle-free stitching is simple: shorter threads and frequent breaks. A little patience goes a long way in keeping your floss from forming frustrating knots.
Should I Wash My Ornament Before Finishing It?
Yes, absolutely! This is one of those little steps that makes a huge difference, taking your ornament from "homemade" to "handcrafted." As you stitch, oils from your hands, dust, or even marks from your hoop can find their way onto the fabric.
Just give it a gentle hand-wash in cool water with a tiny bit of mild soap. Rinse it well, then lay it flat on a clean towel to air dry. This quick wash ensures your colors are bright and your fabric is pristine before you do the final cutting and assembly.
Ready to turn your favorite holiday memories into a beautiful, handcrafted ornament? With a Cross Stitched kit, you get everything you need—from pre-sorted threads to the perfect fabric—delivered right to your door. Create a personalized keepsake today.


