<p>Cross stitch is a beautiful and intricate form of embroidery that involves stitching thread onto fabric to create a design or image. Once you have completed a cross stitch project, you may want to frame it to display and protect it. Here's how to frame cross stitch:</p> <h2>Materials Needed</h2> <ul> <li>Cross stitch project</li> <li>Framing mat</li> <li>Framing backing board</li> <li.Framing tape</li> <li.Framing wire or sawtooth hanger</li> <li.Frame</li> <li.Scissors</li> <li.Pencil</li> <li.Ruler</li> <li.Needle nose pliers</li> </ul> <h2>Instructions</h2> <ol> <li>Start by measuring your cross stitch project and choosing a frame that is the appropriate size. Make sure that the frame is deep enough to accommodate the thickness of the fabric and mat.</li> <li>Remove the backing board and mat from the frame, and place the mat over the front of your cross stitch project. Use a pencil to mark the edges of the fabric on the mat.</li> <li>Cut the fabric along the pencil lines, leaving approximately 1 inch of extra fabric around the edges of the cross stitch project.</li> <li>Center the fabric on the framing backing board and use framing tape to attach it to the board. Be sure to pull the fabric taut to prevent wrinkles or bunching.</li> <li>Place the mat over the fabric and backing board, and attach the mat to the backing board using framing tape.</li> <li>If you are using a sawtooth hanger, attach it to the top center of the backing board using needle nose pliers. If you are using a framing wire, attach it to the top two corners of the backing board using needle nose pliers.</li> <li>Place the backing board and mat into the frame and secure it in place. If necessary, add additional framing wire or sawtooth hangers to ensure the frame is secure.</li> <li>Your cross stitch project is now framed and ready to display!</li> </ol> <h2>Tips for Framing Cross Stitch</h2> <ul> <li>Make sure to choose a frame that is deep enough to accommodate the thickness of the fabric and mat.</li> <li>Use high quality framing tape to secure the fabric to the backing board and mat to ensure it stays in place.</li> <li>Be sure to center the cross stitch project on the mat to ensure it is displayed properly in the frame.</li> <li>Use needle nose pliers to attach the framing wire or sawtooth hanger securely to the backing board.</li> </ul> <h2>Conclusion</h2> <p>Framing your cross stitch project is a great way to display and protect your hard work. By following these simple steps, you can frame your cross stitch project and create a beautiful and professional-looking display piece.</p>
Cross Stitched Blog
How to Frame Cross Stitch
SK
★★★★★
"The quality exceeded my expectations. The pattern was easy to follow and the DMC threads are beautiful!"
5,000+ Happy Customers
Free Shipping
100% DMC Threads
Custom Cross Stitch Kits
-
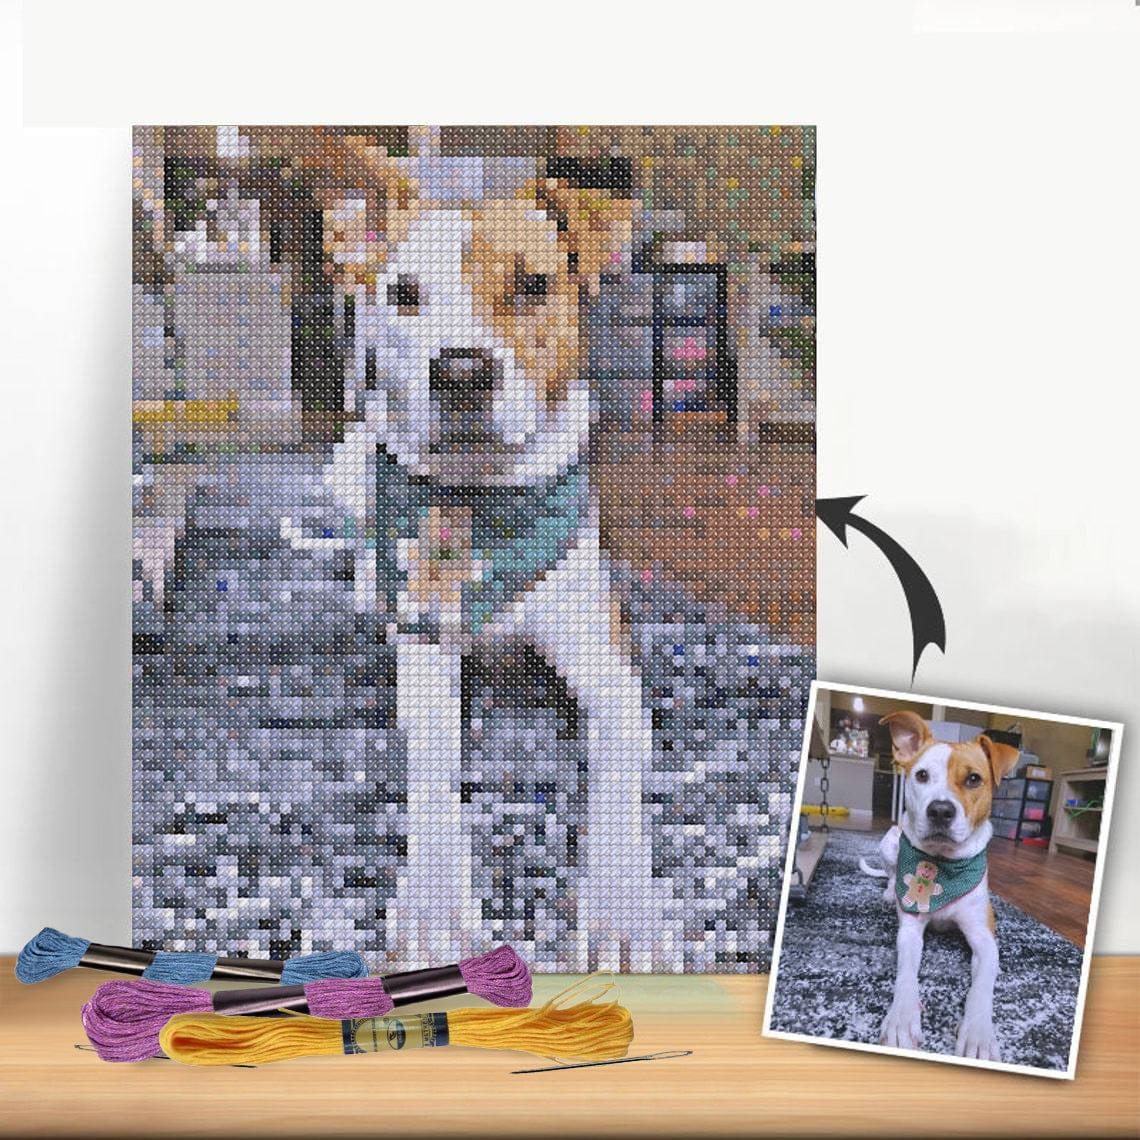
Custom Cross Stitch Tapestry Kit | Just Upload Your Photo!
Regular price From $42.00 USDRegular priceUnit price per$91.00 USDSale price From $42.00 USDSale -
Custom Couple Cross Stitch Tapestry Kit | Just Upload Your Photo!
Regular price From $42.00 USDRegular priceUnit price per$91.00 USDSale price From $42.00 USDSale -
Custom Pet Cross Stitch Tapestry Kit | Just Upload Your Own Photo!
Regular price From $42.00 USDRegular priceUnit price per$91.00 USDSale price From $42.00 USDSale -
Custom Cross Stitch Kit - Preview Your Design
Regular price From $42.00 USDRegular priceUnit price per$91.00 USDSale price From $42.00 USDSale


