
There's something incredibly special about turning a favorite photo into a cross-stitch project. It’s like preserving a memory in thread, creating a piece of art that’s deeply personal. The whole process starts with a great digital picture and a smart tool, like the Cross Stitched Pic2Pat pattern maker, which turns that image into a chart you can actually stitch from.
This guide is here to walk you through the entire journey, from that first spark of an idea to a finished piece you’ll be proud of.
Bringing Your Photos to Life in Thread
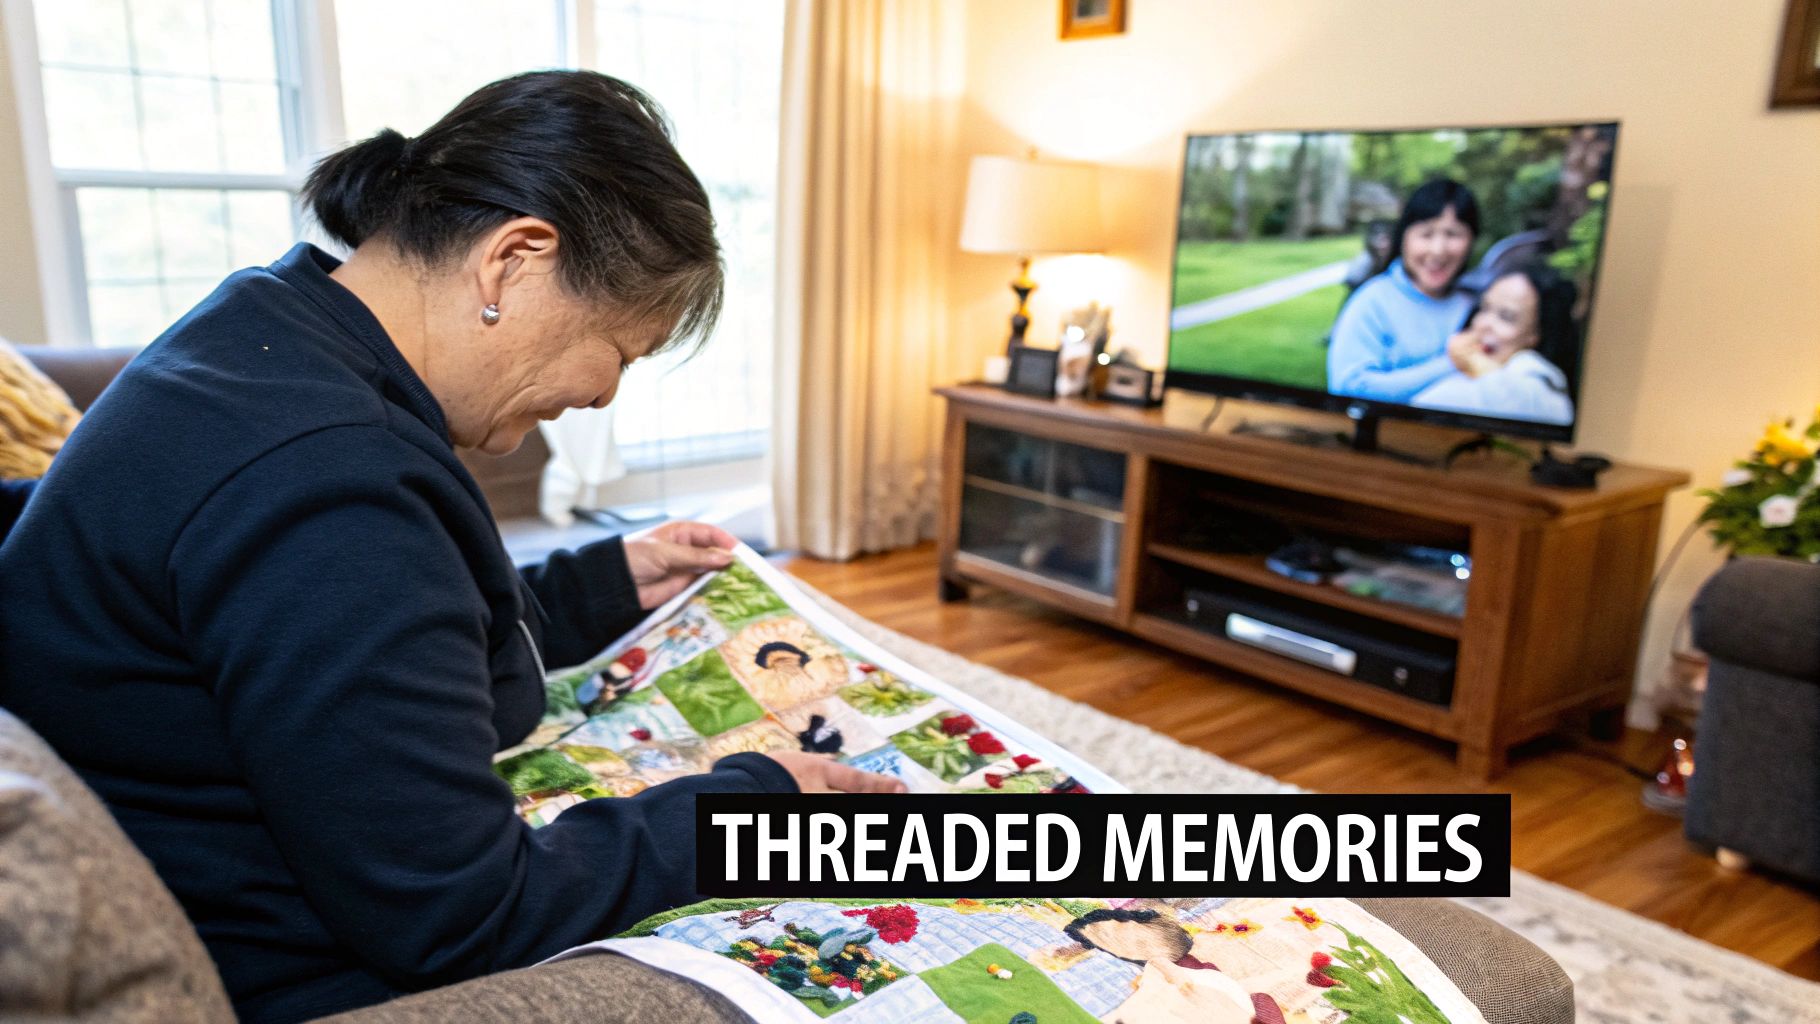
Think about that perfect family portrait or that breathtaking sunset from your last vacation. Now, imagine capturing that moment not just in a frame, but with your own two hands, transforming it into a textured, handcrafted work of art. Creating a cross stitch from photos makes this a reality.
This isn't just another craft project; it’s about weaving your memories into the very fabric of the piece. Whether you've been stitching for years or are just picking up a needle, my goal is to make this process feel straightforward and, most importantly, fun.
Why Create a Custom Photo Pattern?
Sure, pre-made kits are great, but there's a unique satisfaction that comes from creating a custom pattern. It’s a chance to stitch something that genuinely means the world to you, turning the final piece into an instant family heirloom. The process itself becomes a relaxing, almost meditative way to revisit a happy moment, one stitch at a time.
Here’s why so many people fall in love with stitching their own photos:
- Totally Unique: Your project will be a true one-of-a-kind, capturing a specific person, beloved pet, or place that holds a special spot in your heart.
- The Ultimate Gift: A hand-stitched portrait is one of the most thoughtful gifts you can give. It's perfect for weddings, anniversaries, birthdays, or just because.
- Your Creative Vision: You're in the driver's seat. You get to choose the photo, tweak the color palette, and select the perfect fabric to bring your vision to life.
The real magic happens when you see the pixels of your photo slowly transform into vibrant, textured stitches. It's a connection to your memories that you can literally feel.
What to Expect in This Guide
I’ll be sharing my best tips and tricks learned over years of stitching. We’ll cover everything from picking the right source image—a crucial first step—to putting on those final finishing touches that make your piece look polished and professional.
You’ll learn how to sidestep common issues, like choosing a photo with poor lighting or a messy background, which can quickly turn a fun project into a frustrating one. My aim is to give you the confidence and know-how to tackle your own photo-to-cross-stitch project with excitement. Let’s get started
Choosing a Photo That Stitches Beautifully
The secret to a stunning custom cross-stitch project isn’t in the thread or the fabric—it all starts with the photo you choose. While it's tempting to pick your absolute favorite memory, not every snapshot translates well into a grid of tiny Xs. The goal here is to set yourself up for success before you even think about threading a needle.
Think of it like being a sculptor looking for the perfect block of marble. The right photo provides a solid foundation, making sure your finished piece is detailed, vibrant, and a true representation of your memory. On the other hand, starting with a poor-quality or overly complex image can lead to a muddled mess and a lot of frustration.
Look for Clarity and Contrast Above All Else
The best photos for cross-stitch have a few things in common. First and foremost, you need a clear, well-defined subject. A portrait where the person’s face is in sharp focus or a pet where you can almost feel the texture of its fur will always stitch up beautifully.
Strong contrast between your subject and the background is just as important. Imagine trying to stitch a black dog sitting in a dark shadow; the pattern generator will have a tough time separating the two, leaving you with a single, undefined blob. You want a clear separation—a light-colored subject against a darker background (or vice versa) gives the pattern the definition it needs to look crisp and readable.
Here’s a quick checklist for what makes a great source photo:
- High Resolution: A sharp, high-quality digital file gives the pattern software more data to work with, which means better detail in the final chart.
- Good Lighting: Try to avoid pictures with harsh shadows or blown-out highlights. Natural, even lighting is your best friend because it shows off details without creating confusing dark or bright spots.
- Simple Background: A busy, cluttered background is your enemy. It distracts from your main subject and adds a ton of unnecessary complexity and colors to your pattern.
Good vs. Challenging Photos: A Quick Example
Let's picture two photos of a family pet. In the first, a golden retriever is sitting in a sunny green field, looking right at the camera. The subject is perfectly clear, the colors are distinct, and the background is simple. This photo is an excellent candidate.
Now, imagine a photo of that same dog curled up on a patterned brown blanket in a dimly lit room. The colors are all similar shades of brown, the lighting is weak, and the dog almost disappears into the blanket. This photo would almost certainly produce a muddy, disappointing pattern.
Choosing a photo with high contrast and a focused subject isn't just a suggestion—it's the single most effective way to ensure your finished piece looks like a work of art, not a pixelated blob.
This careful selection process is a huge part of the craft’s modern revival. Cross-stitch has seen a massive resurgence, especially among younger crafters who love blending traditional skills with personal expression. In fact, market research showed that between 2015 and 2017, the number of women getting into needlecrafts grew by about 12%. This trend is fueled by new ways to enjoy the hobby, like turning a personal photo into a unique cross-stitch piece. If you're curious, you can do some further reading on the history of cross-stitch to see how it has evolved.
Turning Your Photo into a Flawless Pattern
So you’ve picked the perfect photo. Now for the really fun part: turning that image into a stitchable chart. This is where your vision for a custom cross stitch from photos starts to come alive. Using a pattern generator, like our own Cross Stitched Pic2Pat tool, you'll play with a few settings that will dramatically shape your final piece.
Think of it as a creative balancing act. You're looking for that perfect middle ground between incredible detail, a manageable size, and a project that’s actually enjoyable to stitch. The decisions you make now will set the stage for the entire experience.
Fabric Count and Project Size
One of the first things you'll decide is the fabric count. This is simply the number of stitches you can fit into one inch of fabric. A lower number, like 11-count Aida, gives you bigger stitches and a larger finished project. On the other hand, a higher number, like 18-count Aida, means tiny, detailed stitches and a more compact design.
This choice is directly tied to how much detail you can pack into your pattern. If you’re stitching a portrait, a higher fabric count is usually the way to go because it allows for more subtle shading and realistic features. For a simpler image, a lower count might be all you need—and you'll finish much faster!
This whole process involves a bit of a give-and-take between fabric, colors, and pattern size, as you can see below.
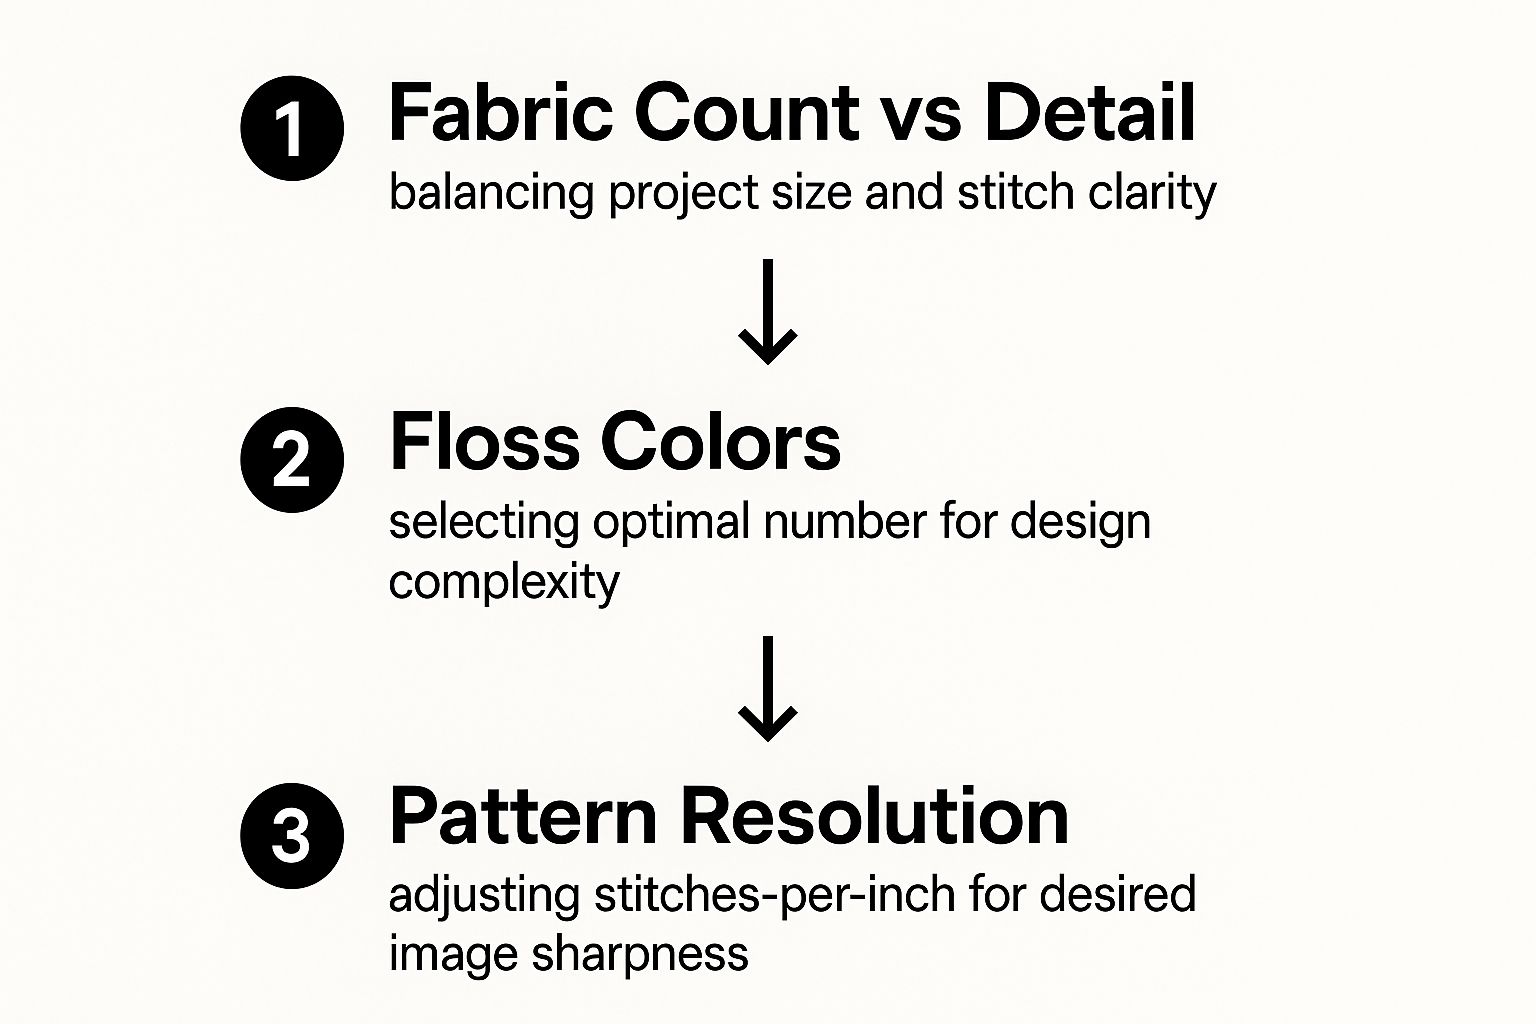
As the diagram shows, these elements are all connected. Change one, and you’ll likely need to tweak the others to keep your design looking its best.
Mastering the Color Palette
Now, let's talk about what might be the most important setting: the number of floss colors. A pattern generator can recommend a palette with just a handful of shades or well over a hundred. Nailing this number is crucial for a successful cross stitch from photos.
Pro Tip: Too few colors, and your image can look flat or "posterized," losing all the beautiful, subtle gradients that make a photo look real. But go with too many, and you’ll end up with a confetti-like pattern that’s a nightmare to stitch.
For most projects based on photos, starting with 30 to 50 colors is the sweet spot. This range usually captures plenty of detail without making the process a chore.
When you're fine-tuning your palette, think about your subject matter:
- Portraits: You’ll likely want more colors to get those tricky skin tones and shadows just right.
- Landscapes: A broader palette is great for distinguishing between all the different greens in a forest or blues in a sky.
- Logos or Graphics: For these, you can often use fewer colors to achieve a clean, bold finish.
The table below breaks down how these choices can impact your project.
Impact of Pattern Settings on Your Final Project
This table shows how adjusting key settings in a pattern generator affects the detail, complexity, and final size of your cross stitch project.
| Setting | Low Value (e.g., 11-count Aida, 20 colors) | High Value (e.g., 18-count Aida, 60+ colors) | Best For |
|---|---|---|---|
| Fabric Count | Larger stitches, bigger overall project, less detail. | Smaller stitches, more compact project, higher detail. | Low: Bold graphics, quick projects. High: Detailed portraits, complex art. |
| Number of Colors | Simpler, more "blocky" appearance with less shading. | Highly detailed, photo-realistic look with smooth gradients. | Low: Stylized images, cartoons. High: Photographs, paintings. |
| Complexity | Easier and faster to stitch. Fewer color changes. | More challenging and time-consuming. Frequent color changes. | Low: Beginners, weekend projects. High: Experienced stitchers, heirloom pieces. |
Ultimately, don't be afraid to generate a few different versions of your pattern. Play with the color count and see which preview best captures the spirit of your original photo. A great pattern is more than just a grid; it's a carefully crafted roadmap for your project. If you want to get more comfortable with these roadmaps, our guide on how to read cross stitch graphs is a great place to start.
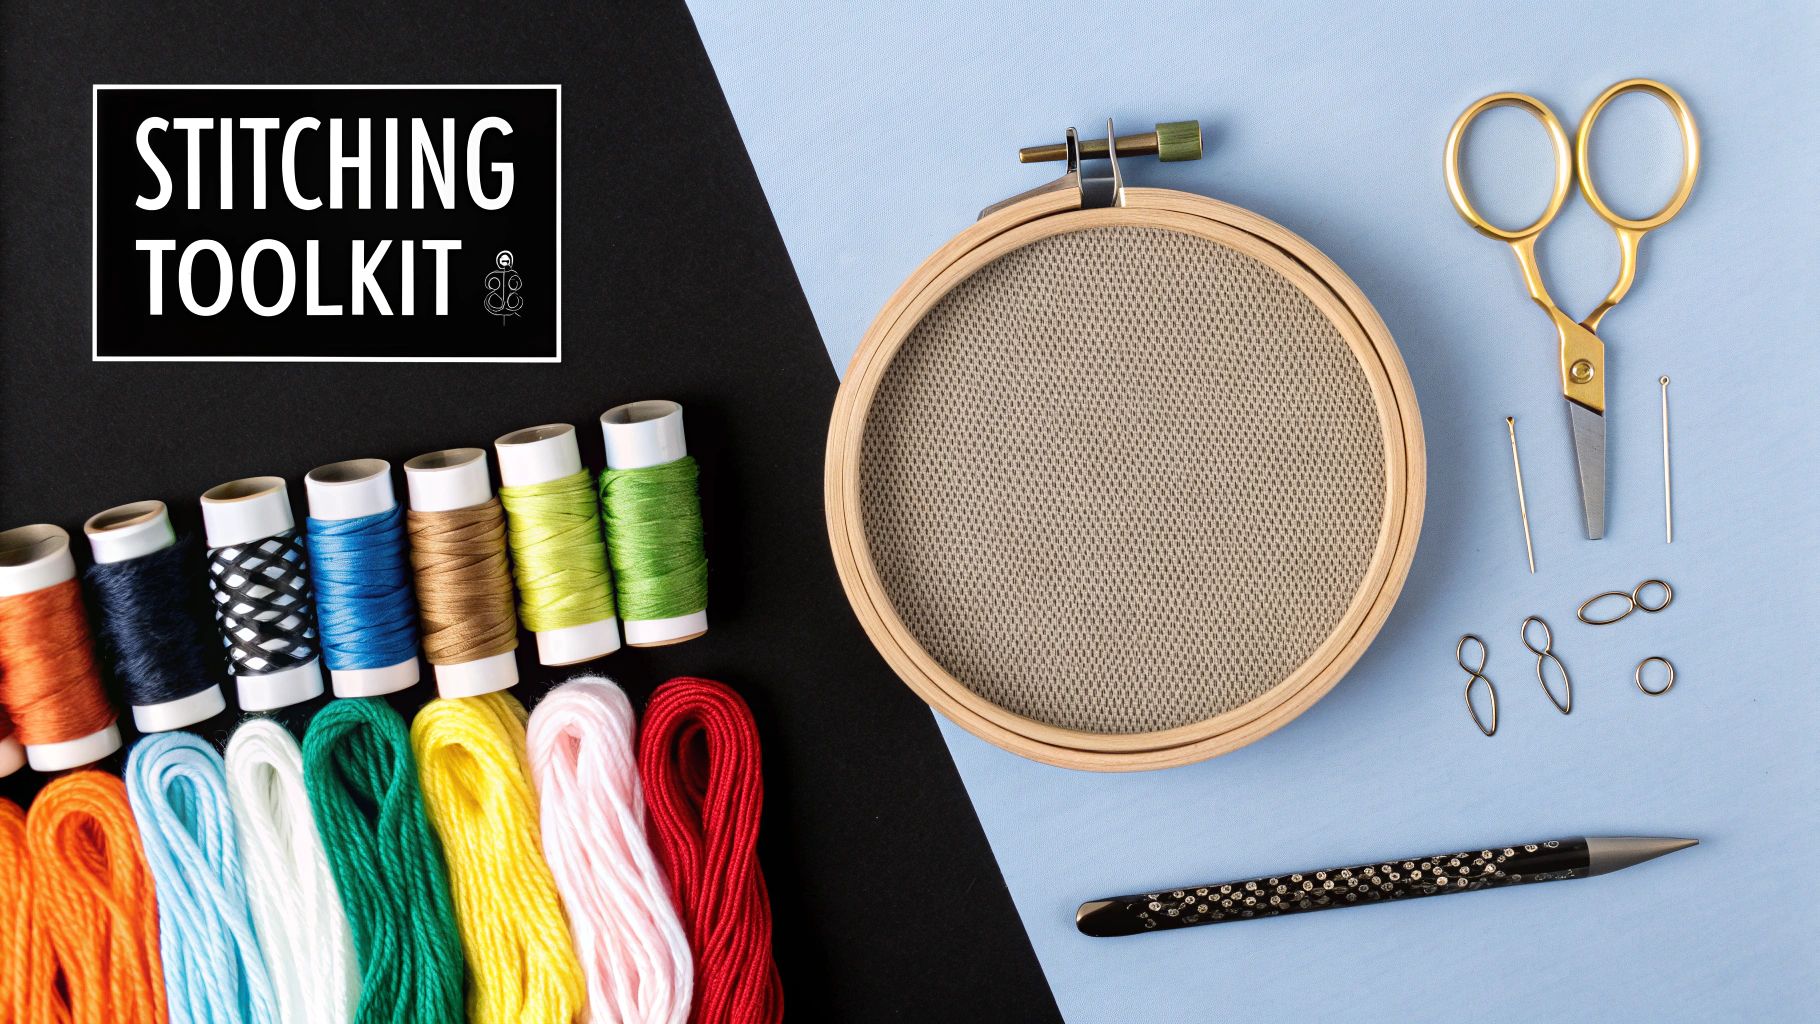
Gathering Your Essential Stitching Toolkit
Okay, you’ve got your custom pattern, and now for the fun part: gathering your supplies. Think of this as more than just a shopping list. Selecting the right tools can be the difference between a frustrating process and a truly enjoyable one, especially when you're tackling something as personal as a cross stitch from photos. Every item has a job to do in bringing that special memory to life.
 Aida fabric, colorful DMC floss, needles, and a wooden hoop">
It’s no surprise that crafters everywhere are getting into this. The global cross-stitch market was valued at around USD 0.15 billion in 2024 and just keeps growing. People love turning their favorite photos into tangible art, and having the perfect toolkit is where it all begins. You can learn more about the growing cross-stitch market on businessresearchinsights.com.
Fabric and Floss Selection
Your fabric choice is the foundation of your entire project. Most people start with Aida cloth because its natural grid is so easy to count, but once you get a little more experience, you might prefer the smoother look of an evenweave fabric like linen.
The fabric count you picked when you made your pattern is what you'll be buying. For something like a portrait, I usually recommend a higher count—say, 16 or 18-count Aida—in a simple color like white or cream. This lets the subtle shading of the picture really shine without the fabric itself becoming a distraction.
Now for the floss. Your pattern will come with a color key listing all the floss codes you need, typically for a major brand like DMC or Anchor. My best advice? Buy all of it in one go. This helps ensure the dye lots are the same, so you won’t see any weird color shifts halfway through your project. It’s also smart to grab a little extra of each color, especially for any large, single-color areas like a sky or background.
Essential Stitching Accessories
Beyond the basics of fabric and thread, a few other tools will make your life so much easier. When you have the right accessories on hand, the whole process of stitching a photo just feels more streamlined.
Here’s what you’ll want in your kit:
- Needles: You're looking for tapestry needles. For most 14 to 18-count fabrics, a size 24 or 26 needle is the sweet spot.
- Hoops or Frames: A good embroidery hoop or a scroll frame is non-negotiable. It keeps the fabric tight, which is the secret to getting those nice, even stitches.
- Sharp Scissors: A small, sharp pair of embroidery scissors is perfect for snipping your threads cleanly right next to the fabric.
Here's a pro tip I swear by: always pre-wash your fabric in cool water before you begin. It sounds like an extra step, but it prevents any heartbreaking shrinkage after you’ve put in all that work. Trust me, it can save your finished piece from getting distorted.
For a complete rundown of all the gear you might need, take a look at our in-depth guide to essential cross stitch materials. Getting everything organized first lets you sit back and just enjoy the magic of watching your memory come alive, one stitch at a time.
A Practical Workflow for Your Stitching Project
With your pattern printed and your supplies all laid out, the real fun of bringing your cross stitch from photos to life begins. This is where all that prep work pays off. Having a smart workflow is the key to keeping the project relaxing and enjoyable, especially with a detailed piece.
The best place to start is right in the middle. Simply fold your Aida cloth in half lengthwise, and then in half again widthwise. The point where the two creases cross is the exact center. I like to pop a pin in it or make a small mark with a water-soluble fabric pen. This guarantees your design will be perfectly centered when it’s all done.
Choosing Your Stitching Method
How you decide to tackle the stitches can make a huge difference in your speed and overall enjoyment. When you're working on a complex photo pattern that's packed with color changes, seasoned stitchers usually lean on one of two popular methods.
First up is the parking method. With this technique, you stitch all of a single color within a small block (like a 10x10 grid square). Instead of cutting the thread, you then move it to the next square where that same color appears and "park" it there until you need it again. It's a fantastic way to manage dozens of colors at once without constantly starting and stopping new threads.
The other popular approach is the cross country method. This one is my go-to for patterns that have big, solid blocks of color. You complete every single stitch of one color across the entire pattern before you even think about picking up the next. It’s incredibly satisfying to watch large areas of your picture fill in so quickly.
A clean back is a happy back! Securing your threads properly doesn't just look professional—it stops stitches from wiggling loose down the road. My personal favorite is the loop start method; it gives you a super neat, knot-free beginning every time.
Mastering Stitch Consistency and Confetti
As you get into the rhythm of stitching, your main goal should be consistency. Think of each cross stitch as having two "legs"—a bottom stitch and a top stitch. Make it a habit to ensure all your top stitches lie in the same direction (for example, always from bottom left to top right). This one simple thing gives the finished piece a beautifully smooth and uniform texture.
Keeping your tension even is just as crucial. If you pull the thread too tight, the fabric will pucker and distort. Too loose, and your stitches will look messy. The sweet spot is a gentle, consistent pull that lets the stitch lie flat against the fabric without straining it.
You'll also run into what stitchers call "confetti" stitches—those pesky single stitches of one color that seem to be stranded in a sea of others. Here’s how I handle them:
- Plan Your Route: Before you stitch, look for the shortest, cleanest path to connect a few confetti stitches of the same color on the back of your work.
- Secure Carefully: Try to avoid making long jumps with your thread across the back, as the dark color can sometimes show through to the front. It’s often better to end the thread and restart it for a stitch that's far away.
- Don't Stress Perfection: While a tidy back is something to strive for, your priority should always be a beautiful front. A few traveled threads on the back are totally fine if it means your confetti stitches look great.
Building these habits right from the start will make your cross stitch from photos project a genuine pleasure, from that very first stitch to the final, satisfying knot.
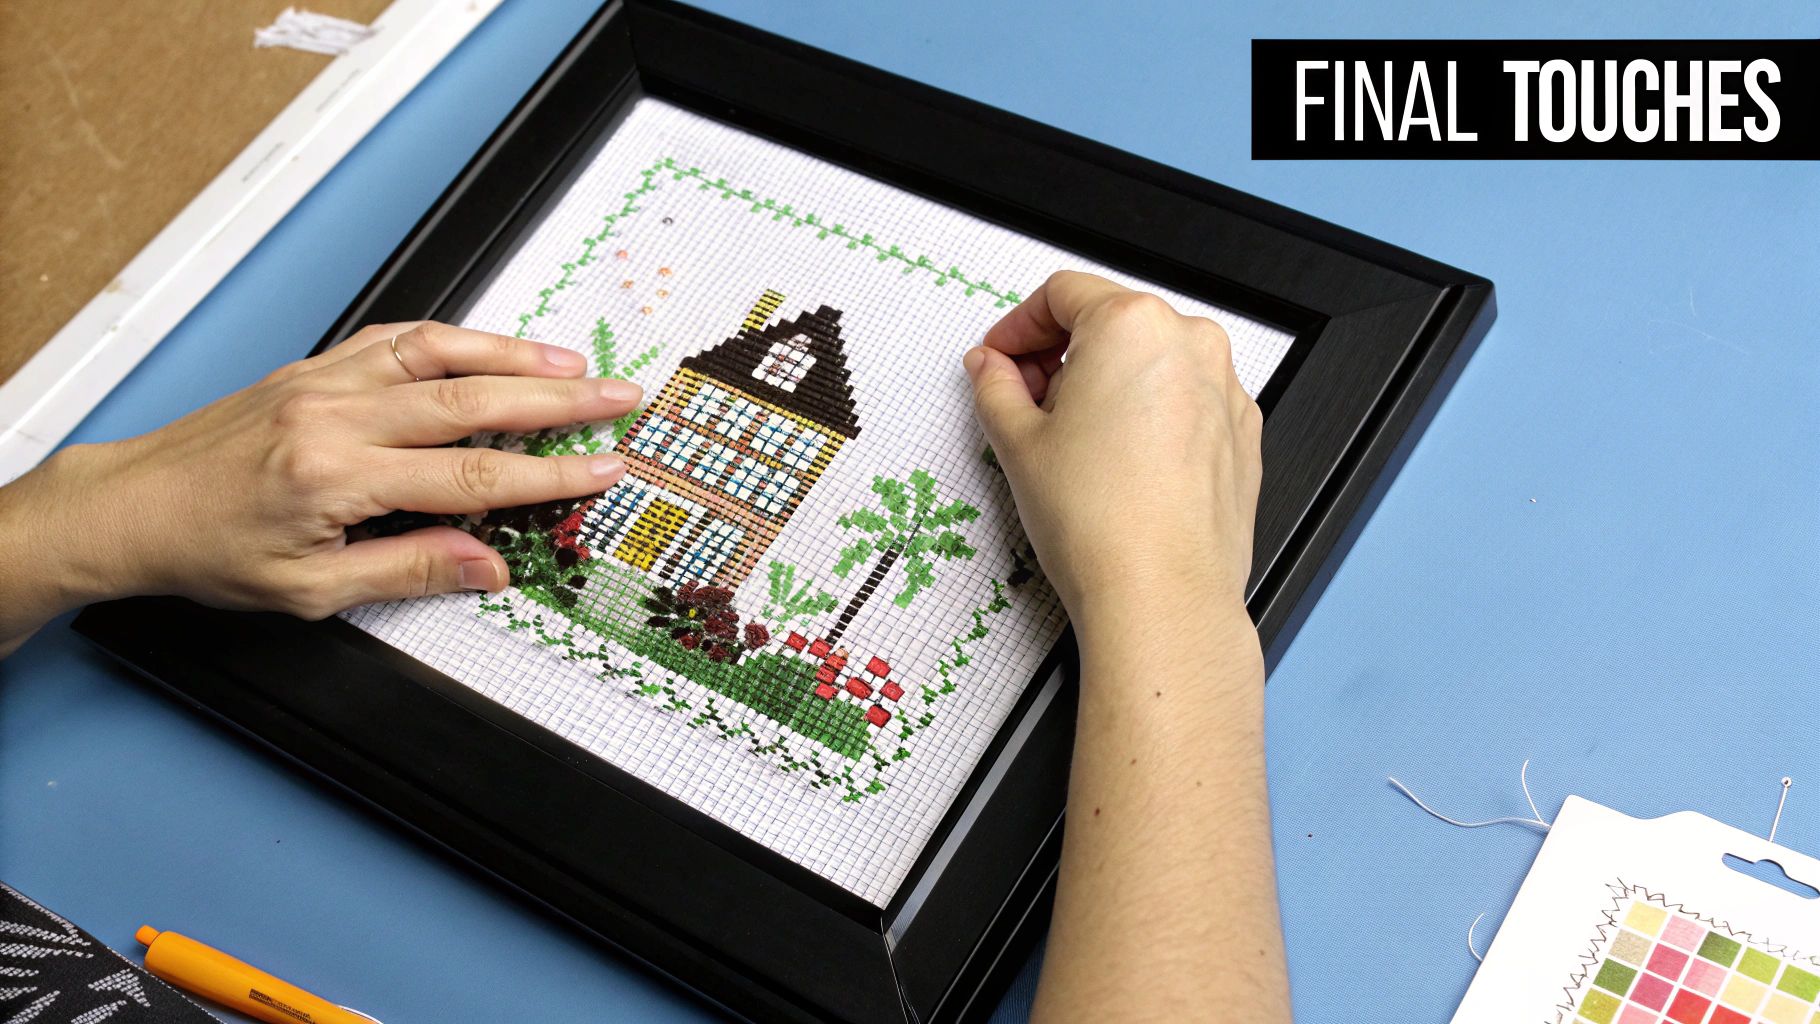
Giving Your Artwork a Flawless Finish
There's nothing quite like placing that very last stitch in a project you’ve made from a special photo. It's a fantastic moment, but you're not quite at the finish line yet. The final steps—cleaning, pressing, and framing—are what will truly transform your hard work from a simple project into a piece of art that will last for years.
Think of this as the final, crucial part of the creative process. It’s what gives your personalized art the stunning presentation it deserves. This is why the craft just keeps growing. Cross-stitch is a huge part of the textile embroidery market, which was valued at an incredible USD 3.2 billion in 2023. This boom is fueled by DIYers who love turning their own photos into one-of-a-kind home decor. If you're curious about the numbers, you can read more about the expanding embroidery market on dataintelo.com.
The All-Important Wash and Press
No matter how careful you are, oils from your hands, dust, and even marks from your hoop will find their way onto your fabric while you stitch. A gentle bath is the first step to getting that flawless finish.
Start by submerging your piece in a clean basin filled with lukewarm water and a few drops of a mild, clear dish soap. A specialized textile wash works great, too.
Let it soak for about 15-20 minutes. After that, rinse it thoroughly with cool, clean water until there are no suds left. Now, here's the important part: never wring out your fabric! Wringing can distort the stitches and the fabric itself. Instead, lay your piece flat on a thick, clean towel and gently roll it up to press out the excess water.
To get it perfectly flat, lay the damp fabric face down on another clean, thick towel. Use an iron on a medium setting without steam and press the back of the piece. This little trick protects your stitches from getting flattened and keeps their wonderful texture intact.
Framing and Displaying Your Work
How you show off your finished cross stitch from photos is completely up to you, but the right frame can really make it pop. Traditional framing is always a classic choice, offering great protection and a timeless look.
If you want a more professional result, here are a few techniques I’ve used and love:
- Hoop Framing: This is a wonderfully simple and modern way to display smaller pieces. Just center your work in a nice wooden hoop, trim the extra fabric around the back, and secure it with a bit of glue or by adding a neat felt backing.
- Mounting on Canvas: For a more contemporary, gallery-wrapped feel, try stretching your finished piece over a pre-stretched artist's canvas. It’s a clean look that doesn’t require an additional frame.
- Traditional Lacing: This is the gold standard, especially for archival framing that you want to last forever. It involves lacing a sturdy thread back and forth across an acid-free foam core board, pulling the fabric perfectly taut and centered.
Lacing might sound a bit intimidating at first, but it's hands-down the best way to prevent your fabric from sagging or shifting over time. It ensures your art stays perfectly smooth and wrinkle-free for decades.
This final step is your last chance to pour some love and care into your project. For a deeper look at these methods, check out our complete guide on various cross stitch finishing techniques to find the perfect fit for your artwork.
Ready to turn your own cherished memories into timeless art? At Cross Stitched, we make it easy. Use our advanced pattern generator to transform any photo into a complete, easy-to-follow cross-stitch kit, delivered right to your door. Start creating your personalized masterpiece today!


