
If you're new to cross-stitch, the pattern, or "graph," can look a little intimidating. But don't worry, it's actually the secret weapon that makes this craft so relaxing and accessible. Think of it as a blueprint for your project, a simple map that tells you exactly where each stitch goes and what color it should be.
What Is a Cross Stitch Graph
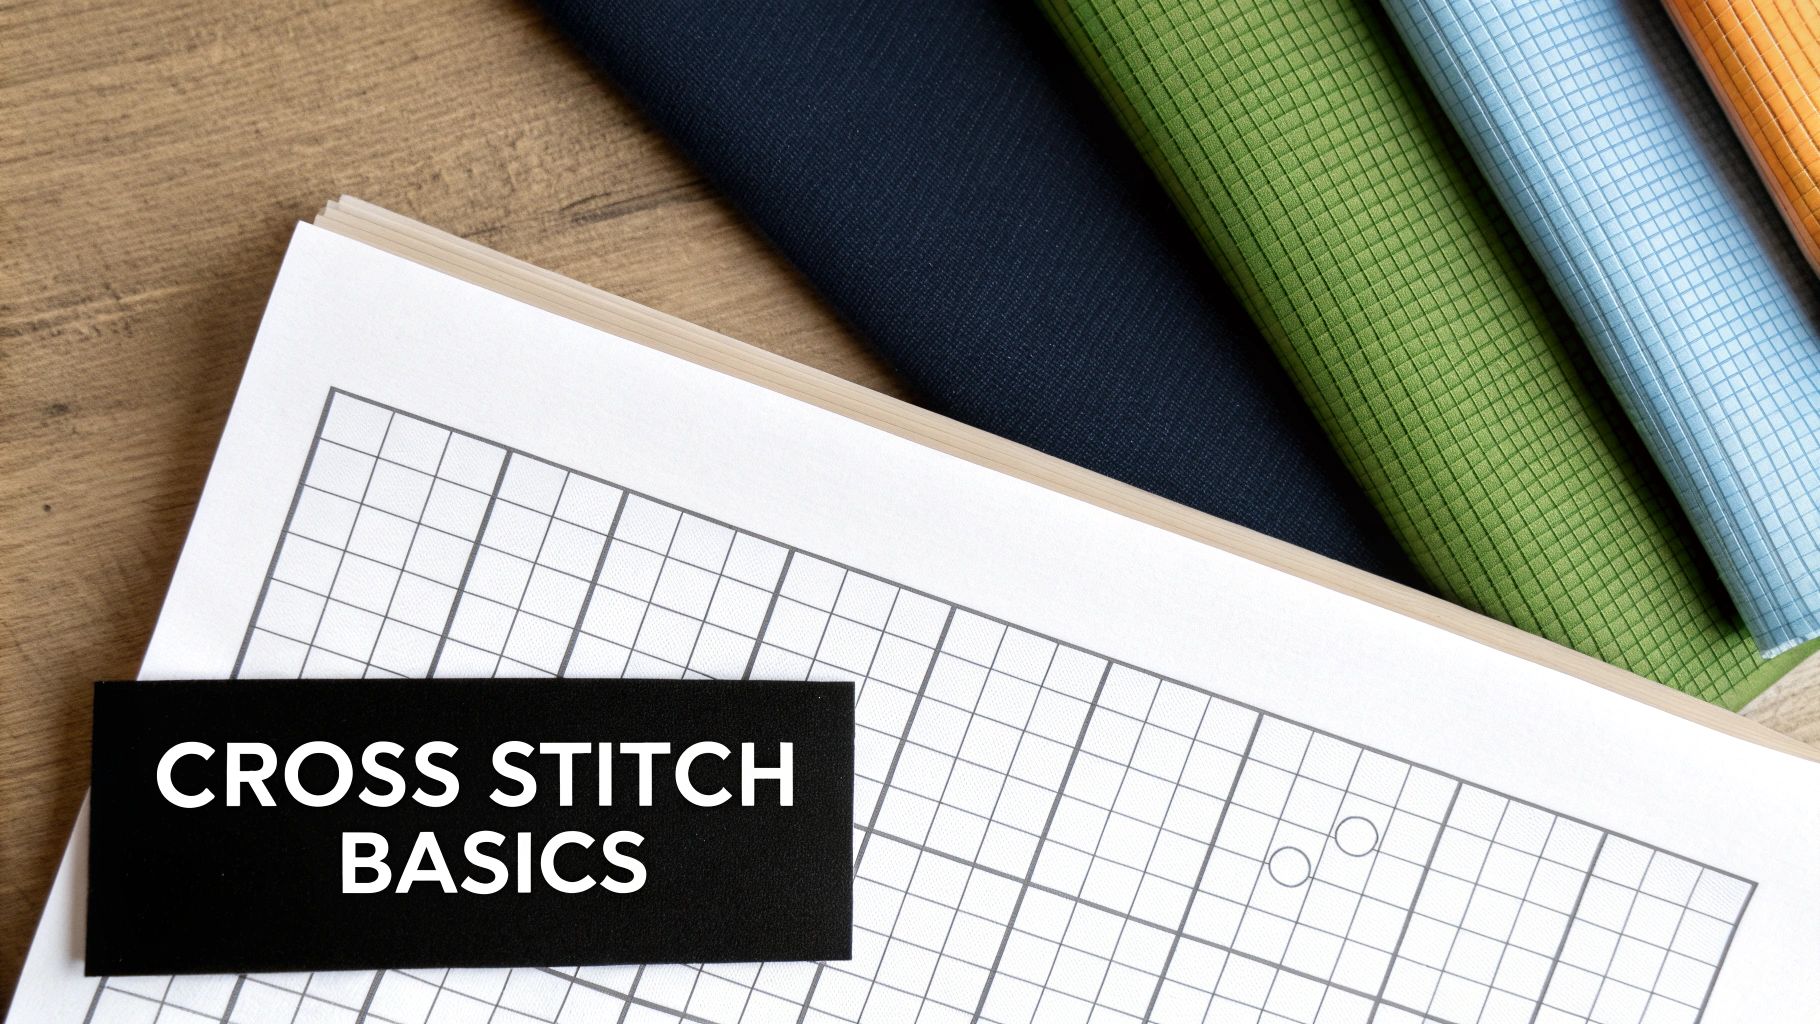
At its core, a cross-stitch graph is just a grid. It takes a complete picture—whether it's a simple flower or a detailed landscape—and breaks it down into a stitch-by-stitch guide. Every single square on that grid represents one "X" stitch you'll make on your fabric.
This grid system is what makes cross-stitch such a satisfying and methodical form of the art of needlework. You're essentially creating pixel art with a needle and thread. Once you understand the language of the graph, you'll see it not as a complex diagram but as an open door to creating anything you can imagine.
The Core Components of a Graph
Every cross-stitch graph, no matter how complex, is built from the same basic parts. Once you get the hang of these, you’ll be able to tackle any pattern with confidence.
Here's what you'll find:
- The Grid: This is the backbone of the whole pattern. It's a series of horizontal and vertical lines that create squares. Each tiny square on the paper or screen directly corresponds to one square on your cross-stitch fabric (like Aida cloth).
- Symbols or Color Blocks: Inside each square on the grid, you'll see a symbol—it could be anything from a simple dot or an asterisk to a letter. Some modern patterns might use blocks of color instead. This is the code that tells you which color of thread to use for that specific stitch.
- The Color Key (or Legend): This is your decoder ring! The key is a list that matches every symbol or color block in the pattern to a specific thread color number. Most patterns use thread from major brands like DMC or Anchor, so the key will give you the exact number you need to buy (e.g., Symbol 'X' = DMC 310 Black).
For a quick reference, here’s a breakdown of what each part of the graph does.
Decoding a Cross Stitch Graph at a Glance
| Graph Element | What It Represents | Analogy |
|---|---|---|
| Grid | The layout of your fabric, with each square being a single stitch location. | The empty grid on a bingo card or a blank piece of graph paper. |
| Symbols | A code for a specific thread color needed for that stitch. | The different letters in a secret code, each one standing for something else. |
| Color Key | The decoder that tells you which symbol corresponds to which thread color. | The legend on a map that explains what the icons for mountains or rivers mean. |
Think of the whole process like paint-by-numbers, but you're painting with thread. The graph takes all the guesswork out of it, ensuring every stitch lands exactly where it needs to be with the perfect color.
This methodical approach is what makes the hobby so peaceful. You don’t need to be a natural-born artist to create something truly beautiful; you just need to follow the map. As you get comfortable reading the chart, you can focus on perfecting the different basic cross stitch stitches and watch your masterpiece come to life.
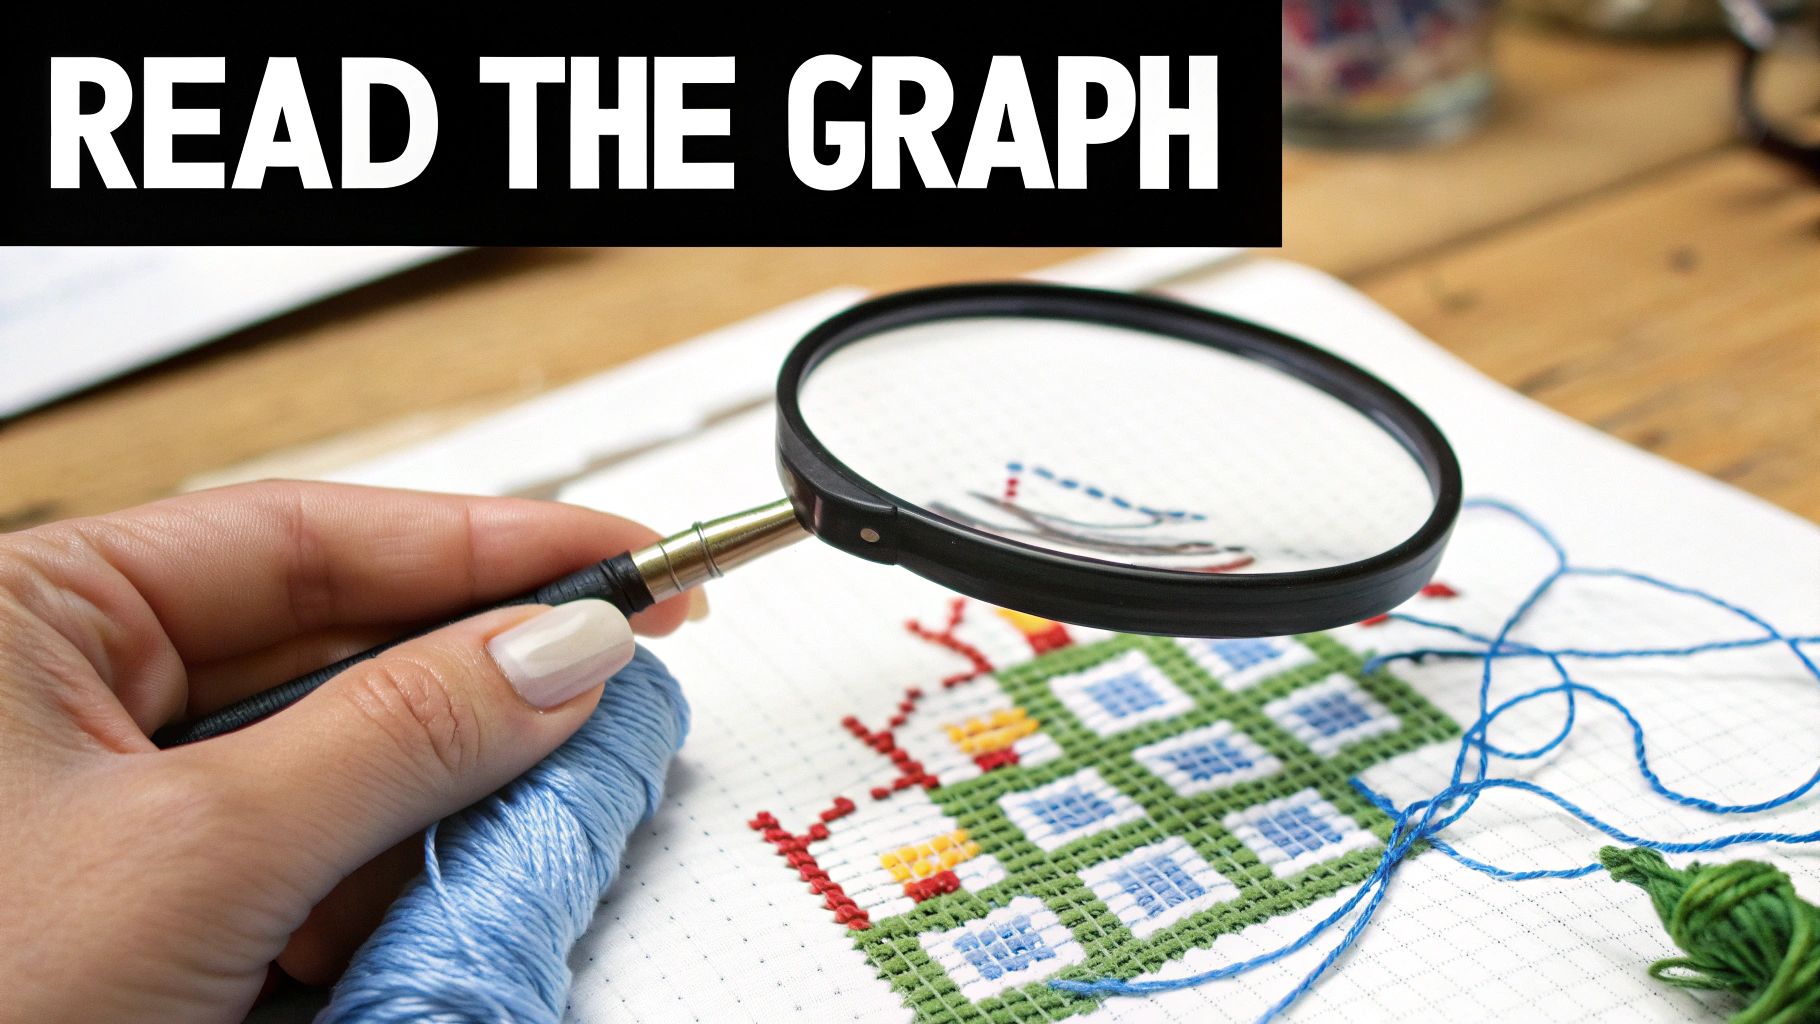
How to Read Your First Cross Stitch Pattern
Diving into your first cross-stitch pattern can feel a little like learning a new language, but it's a surprisingly simple and relaxing one. At its core, you're just translating a grid on paper into a grid of stitches on fabric. The most important rule? Start in the middle. This single step ensures your finished piece is perfectly centered and looks professional.
Finding the center of your fabric is easy. Just fold it in half lengthwise, and then in half again widthwise. The point where the two creases meet is your bullseye. Now look at your chart—you’ll usually see arrows along the top and side. Follow those arrows inward, and where they intersect is the center of the pattern. That one square on the chart corresponds directly to that center point on your fabric. It’s where your first stitch goes.
Decoding the Symbols and Colors
With your starting point marked, it's time to crack the code. Every pattern comes with a color key or legend, which is basically your Rosetta Stone for the project. This key translates every symbol on the chart into a specific floss color.
For example, you might see that a star symbol (★) corresponds to DMC 310, which is the code for classic black thread. A little circle (●) might tell you to use Anchor 403, a vibrant red. All you have to do is find a symbol on the grid, look it up in the key, grab the right thread, and make your stitch. Remember, each square on that chart represents one single "X" stitch on your fabric.
This flow chart breaks down the essential steps you'll want to take before you even thread your needle.
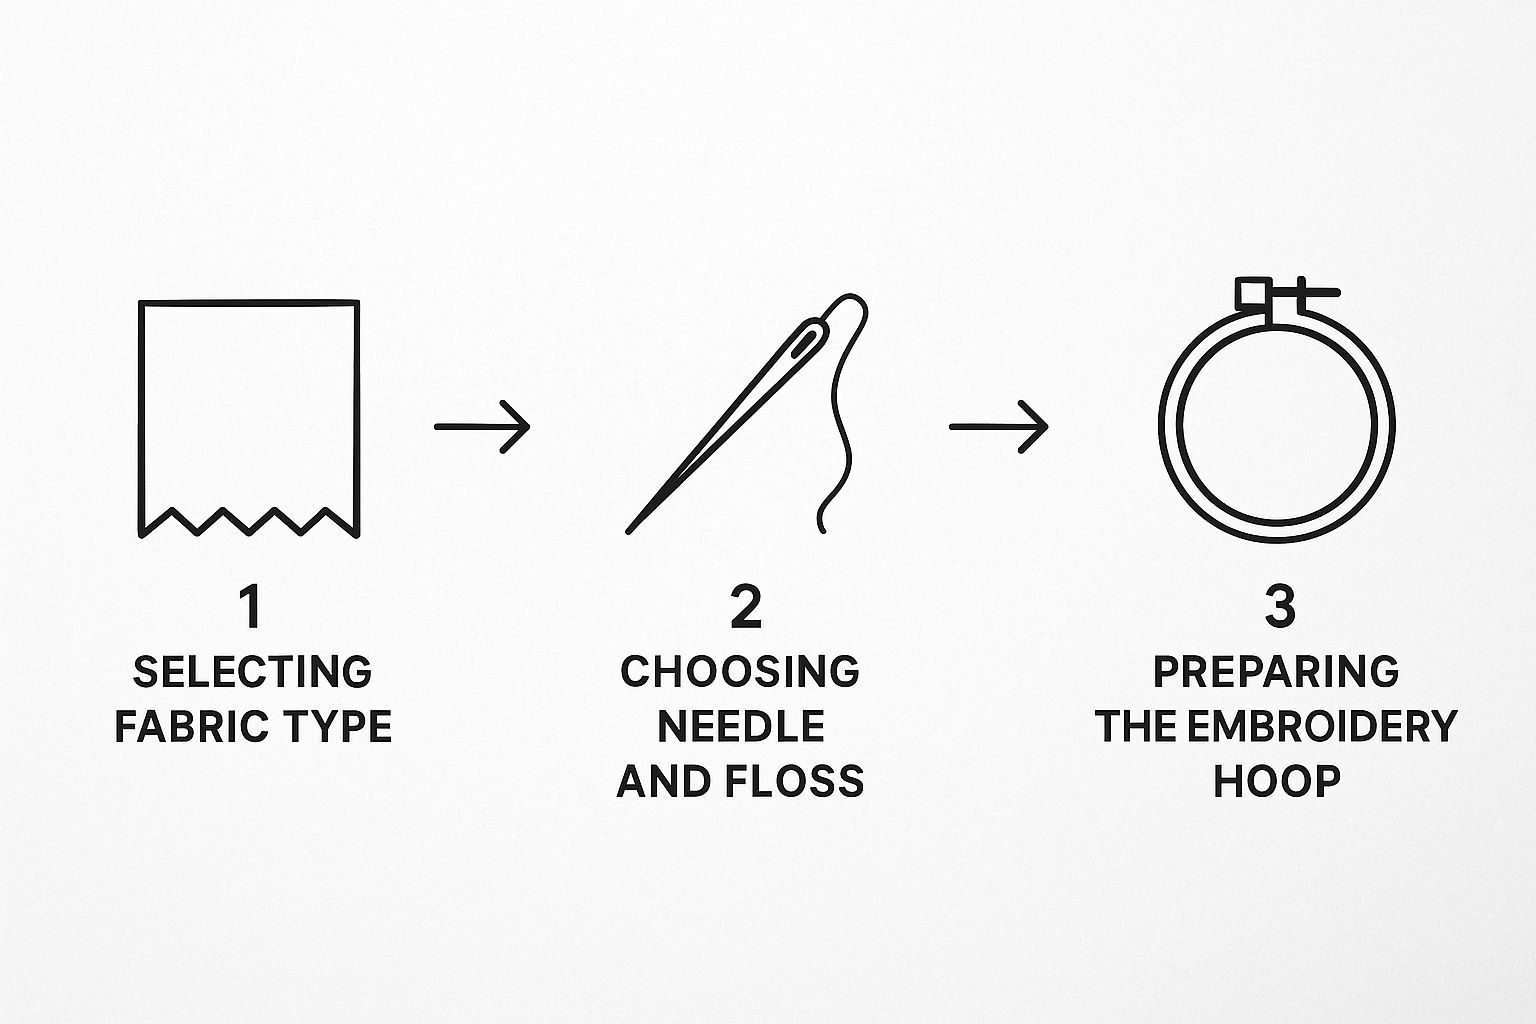
As the graphic shows, a great finish starts with a great setup. Taking the time to get your fabric, needle, and floss organized makes the entire process so much smoother.
Tracking Your Progress Effectively
Keeping your place is crucial, especially on bigger projects with thousands of stitches. It's surprisingly easy to lose your spot, but thankfully, stitchers have come up with some clever tricks over the years to stay on track.
One of the simplest and most satisfying methods is to just use a highlighter. Print a copy of your pattern and color in the squares as you complete them. It’s a great way to see your progress in real-time and know exactly what’s left to do.
Here are a few popular ways to keep your place:
- The Highlighter Method: A tried-and-true classic. You can use different colors for different threads or just block out finished sections as you go.
- Magnetic Boards: These are a game-changer. You place your chart on the board and use a magnetic ruler to mark your current row. Just slide it down as you finish each line.
- Digital Apps: If you work with PDF patterns, apps like Pattern Keeper or even a basic PDF reader on a tablet are fantastic. You can tap to "highlight" completed stitches, saving you from printing anything.
By counting your squares carefully and using a good tracking system, you'll bring the design to life one stitch at a time. It’s this methodical, focused process that makes following cross stitch graphs such a wonderfully mindful and rewarding hobby.
Essential Tools for Following Patterns
While the fabric and thread are the heart and soul of any project, having the right tools makes the difference between a frustrating task and a truly joyful experience. Think of these as your trusty navigators for reading complex cross stitch graphs. They keep you on track, prevent you from losing your place, and honestly, just make stitching more fun.
The right system can completely transform your process, boosting both your accuracy and your enjoyment.
Tools for Traditional Printed Charts
For those of us who love the tangible feel of a paper pattern, a few classic tools are absolute must-haves. They give you a physical way to mark your progress and keep your eyes focused on exactly where you are on the grid.
- Highlighters: Sometimes the simplest method is the most effective. Just make a photocopy of your pattern (never mark up your original!) and use a highlighter to cross off stitches as you complete them. It’s a super clear, visual way to see what’s done and what’s next.
- Magnetic Boards: This is a fantastic upgrade from just a highlighter. A magnetic board holds your chart flat, and a long magnet strip serves as a line keeper. As you finish a row, you just slide the magnet down to the next one. No more accidentally stitching the same line twice!
- Pattern Keepers: Think of these as the ultimate organizer for paper charts. They’re often foldable cases that use magnets to hold your pattern in place, and many include a magnifying strip or window to make those tiny symbols much easier to see.
Digital Solutions for Modern Stitchers
If you're more of a digital stitcher who works with PDF patterns, a whole new world of incredibly convenient tools opens up. Using a tablet or even your smartphone can streamline your entire workflow.
Many stitchers swear that going digital has dramatically increased their speed and accuracy. The ability to zoom in on tricky sections and digitally mark off stitches takes out the guesswork, plus your original pattern file stays clean for future projects.
There are some amazing apps designed specifically with stitchers in mind:
- Dedicated Apps (Pattern Keeper, GoodNotes): Apps like Pattern Keeper on Android or GoodNotes on iOS are total game-changers. You can import your PDF chart, tap to highlight completed stitches, and even track your thread inventory. Some can even search for a specific symbol, helping you find every last stitch for a single color in seconds.
- Standard PDF Readers: You don’t necessarily need a fancy app. Even a basic PDF reader on your tablet or computer will do the trick. Most have annotation tools that let you highlight or draw over sections as you finish them.
Ultimately, the best tool is the one that works for you. Whether it’s a simple highlighter or a feature-packed app, the right system will make your stitching life so much easier. Of course, tools are only part of the equation—you also need the right needle for the job. You can find everything you need to know about choosing the perfect size needle for cross stitch in our detailed guide.
Creating Your Own Custom Cross Stitch Graphs
There's something incredibly satisfying about finishing a cross-stitch pattern, but the real magic happens when you turn your own memories into a work of art. Imagine stitching a favorite family photo, your pet’s goofy face, or a stunning sunset from a recent vacation. That’s exactly what custom cross stitch graphs let you do—they put you in the designer’s seat.
The ability to create your own patterns has completely opened up the world of cross-stitch. Not too long ago, you had to buy physical patterns from a hobby shop. But with the digital shift around 2005-2010, the craft became way more accessible. Suddenly, a new generation of stitchers could find, share, and even create their own designs online. You can read more about this market shift over on OpenPR.com.
The best part? You don't need to be a graphic designer or have fancy software to start. There are tons of online tools built just for this.
Using an Online Pattern Generator
For most of us, free online tools like Pic2Pat are the perfect starting point. These websites do all the heavy lifting, taking your digital image and translating it into a stitchable grid, complete with a color key. The whole process is surprisingly simple and usually just takes a few clicks.
Here’s a peek at the kind of interface you’ll see on a site like Pic2Pat.
As you can see, everything is laid out to walk you through it, from uploading your photo to tweaking the final details.
This kind of user-friendly design makes a seemingly complex task feel totally manageable. You can play around with different settings and see how they change the final graph before you commit to anything. For a deeper dive, check out our guide on how to turn a picture into a cross stitch pattern for more tips and tricks.
Key Settings to Customize Your Graph
To get a great-looking pattern from a generator, you'll need to make a few important decisions. These settings are what control the final size, level of detail, and overall "stitchability" of your design.
Here are the big ones you'll want to adjust:
- Fabric Count: First, tell the generator what count your Aida cloth is (like 14-count or 18-count). This directly affects the finished size of your project. A higher count will give you a smaller, more detailed piece.
- Finished Size: You can set the width or height you want in inches or centimeters. The tool will then figure out the stitch count for you based on your fabric. Just remember, a larger size means more detail, but also a lot more stitching!
- Maximum Number of Colors: This one is critical. Your photo might have thousands of subtle color variations, but you need to limit that for a clean pattern. Sticking to 20-40 colors is usually a good range. If you use too many, you'll end up with "confetti"—tons of single, scattered stitches that are a pain to work with.
Think of it this way: by adjusting these settings, you're translating the language of a photograph into the language of stitching. The trick is to find that sweet spot between capturing all the detail you want and creating a pattern that’s actually fun and practical to stitch.
While online generators are amazing for most projects, some stitchers who want total control might look into more advanced software like PCStitch or WinStitch. These programs give you powerful tools to manually edit symbols, clean up stray stitches, and perfect your color choices. But honestly, for most custom projects, a tool like Pic2Pat has everything you need to start stitching your memories.
The Modern World of Digital Needlecraft Patterns
Cross-stitching has always been more than just a quiet hobby, but today it’s a vibrant, booming global market. The days of solely relying on kits from the craft store or patterns passed down through generations are long gone. Now, we're in an era powered by passionate online communities and digital tools, connecting stitchers with a world of creative possibilities right at their fingertips.
This massive shift is driven by a real demand for high-quality cross stitch graphs and other needlecraft patterns. It's all part of a larger trend toward handmade, personalized goods. In this digital space, independent designers can share their art with an international audience, and stitchers like us have a nearly unlimited selection.
The Booming Digital Craft Economy
The numbers behind this creative renaissance are staggering. The market for needlecraft patterns is seeing incredible growth, thanks to a renewed interest in DIY hobbies and people turning their creative outlets into small businesses.
This trend means your personal passion for stitching is part of a much larger cultural and economic movement. Every pattern you buy or create contributes to a thriving ecosystem that supports artists and empowers crafters worldwide.
The needlecraft patterns market was valued at around USD 34 billion in 2025, and it’s on track to nearly double over the next decade. Forecasts are predicting it will climb to almost USD 64 billion by 2035—that’s an increase of about 88%. This surge really highlights how much people crave tangible, mindful activities in our fast-paced world. You can read more about this exciting market growth and what's driving it.
How E-commerce Fuels the Passion
So, what's making this explosion possible? E-commerce platforms and specialized online shops. These digital marketplaces have become the new town square for the crafting community, and they've completely changed the game.
Here’s how they've made things better for all of us:
- Instant Access: No more waiting for a pattern to arrive in the mail. You can now download PDF patterns instantly, which means you can get inspired and start a new project in a matter of minutes.
- Global Reach: An independent designer living in a small town can sell their cross stitch graphs to a stitcher on the other side of the planet. This completely removes geographical barriers and helps build a wonderfully diverse, global community.
- Endless Variety: The sheer number of patterns available online is incredible. Whether you’re into hyper-realistic portraits, retro video games, or quirky pop culture references, there’s a chart out there for every possible taste and skill level.
This digital shift hasn't just made cross-stitching more accessible; it's also legitimized it as a significant creative industry. It’s a fantastic time to be a stitcher, knowing your hobby is part of a massive network of artists and innovators.
Tips for Tackling Complex Cross Stitch Graphs
Once you’ve got a few projects under your belt, you’ll start eyeing those big, beautiful, full-coverage patterns. They can look intimidating—a sea of tiny symbols—but they’re completely doable. The secret isn't some magical skill, but a smart strategy.
The trick is to stop seeing the project as one giant piece. Instead, think of it as a collection of small, bite-sized tasks. This simple mental shift makes all the difference, helping you stay motivated and avoid that dreaded feeling of being overwhelmed by a pattern with thousands of stitches.
Gridding Your Fabric for Perfect Placement
For any big or complicated project, gridding your fabric is an absolute game-changer. It's the process of marking a 10x10 grid onto your Aida or evenweave fabric that mirrors the grid on your pattern. Think of it as creating a GPS for your needle.
This little bit of prep work saves you from massive headaches later on.
- No More Miscounting: It's shockingly easy to be off by just one or two squares on a big piece of blank fabric. A grid makes those tiny errors a thing of the past.
- Stitch Faster: You'll spend way less time triple-checking your counts from the edge of the fabric and more time actually stitching.
- Work in Sections: The grid naturally breaks the project into manageable 10x10 blocks, giving you a clear, organized way to work through the pattern.
You can create your grid with a water-soluble fabric pen or just a single strand of light-colored thread. Either way, it’s a step you won’t regret.
Think of gridding as laying the foundation for a house. You wouldn't just start building walls on an empty plot of land. A grid gives your project the strong, accurate structure it needs to come together perfectly.
Advanced Stitching Techniques
Complex cross stitch graphs often have sections with tons of single, scattered stitches of the same color. Stitchers call this "confetti," and it can be a real pain if you're starting and stopping your thread for every single X.
This is where a technique called the parking method becomes your best friend. Instead of finishing off a color, you bring the threaded needle up in the next spot where that same color appears and just let it hang—or "park" it—on the front of your work. Then you grab the next color needed for your current block and repeat the process.
It might look a little messy at first, but it's an incredibly efficient system. It keeps all your threads ready to go, cuts down on thread waste, and makes tackling those confetti-heavy patterns feel much more organized and a whole lot faster.
Your Top Cross Stitch Graph Questions, Answered
Once you get the hang of the basics, you'll inevitably run into a few questions as you explore more complex patterns. Getting these sorted out early on can save you a ton of headaches down the road. Let's walk through some of the common things that come up when stitchers are working with their graphs.
After all, a little bit of know-how makes the whole process so much more relaxing and fun.
Symbol Charts vs. Color Block Charts: Which is Better?
One of the first things you'll notice is that cross stitch graphs often come in a couple of different styles. Figuring out which one you prefer is a game-changer.
A symbol chart is what most of us think of as the classic pattern. It’s typically black-and-white and uses different little icons—maybe a heart, a triangle, or a letter—for each floss color. The major upside here is clarity. It's almost impossible to mix up a star symbol with a circle, even in bad lighting, and they’re a breeze to print without using all your ink.
Then you have the color block chart. This version looks like a pixelated preview of your finished project, with each square filled in with a color that matches the thread. It’s super intuitive at a glance, but that's also its biggest weakness. Telling the difference between three nearly identical shades of blue or grey can be a real strain on the eyes.
How Do I Figure Out My Fabric Size?
Nothing's worse than running out of fabric halfway through a project. Luckily, calculating what you need is pretty simple math.
First, grab your pattern's stitch count—let's say it's 140 stitches wide by 100 stitches high. Then, you just divide those numbers by your fabric's "count" (like 14-count Aida, which means 14 stitches per inch).
- Width: 140 stitches ÷ 14 count = 10 inches
- Height: 100 stitches ÷ 14 count = about 7.1 inches
Here’s the crucial part: That calculation only gives you the size of the stitched area. You absolutely need to add extra fabric around the edges for easier handling while you work and for framing later. A good rule of thumb is to add at least 3-4 extra inches on all four sides.
Is It Okay to Sell Patterns I Make?
This is a fantastic question, and the answer comes down to one important word: copyright.
If you create a pattern from a photo you took yourself or from your own original artwork, you hold the copyright. You're completely free to sell that pattern! But if you use an image you didn't create—like a Disney character, a celebrity photo, or a piece of art you found online—turning it into a pattern and selling it is a big no-no. That's copyright infringement.
Always, always make sure you have the legal right to use an image before you turn it into a pattern for sale.
Ready to turn your own cherished photos into beautiful, stitchable art? At Cross Stitched, our custom kit technology makes it easy to create a personalized masterpiece. Design your own unique cross-stitch kit today!


