
Before you can bring a cherished photo or a unique idea to life with a needle and thread, you've got to decide on your tools. The journey from concept to a stitchable pattern starts with a simple choice: are you going old-school with paper and pencil, or are you jumping into the world of digital design? Your answer will shape the entire process, and it really boils down to your project's complexity, your comfort level with tech, and what you want to achieve.
Choosing Your Pattern Making Toolkit
The first big decision is how you'll actually create the chart. You can go one of two ways: the time-honored manual method or the modern, digital route. Neither one is inherently better—they just offer different experiences and are suited for different kinds of projects. It often comes down to personal taste.
The classic approach involves nothing more than graph paper and colored pencils. This gives you direct, hands-on control over every single square on the grid. I find this method is fantastic for simpler designs, geometric patterns, or anything with text. It forces you to think like a stitcher from the very beginning, physically mapping out colors and shapes. For many of us, it’s a more intuitive and meditative way to start.
This infographic gives a nice snapshot of the kinds of tools you might have on your desk, whether you're working by hand or on a computer.
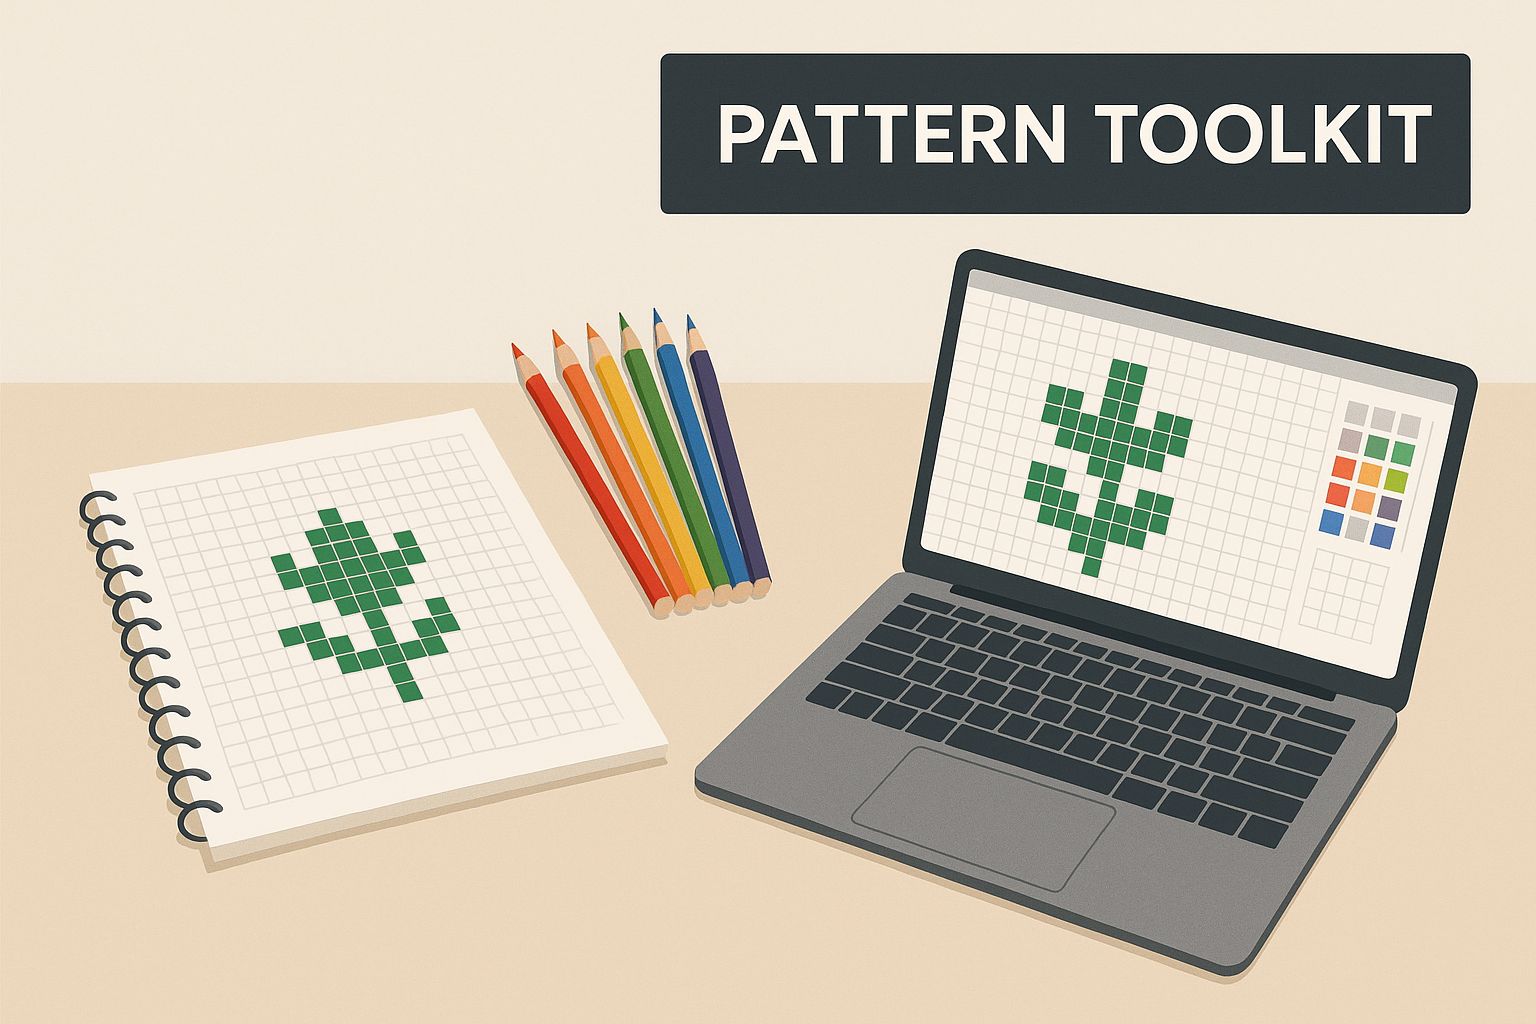
As you can see, there's no single "right" way—it's all about finding a workflow that feels right for you.
To help you decide, let's look at a quick breakdown of the different pattern-making tools you can use. This should give you a clearer idea of which path might be the best fit for your next project.
Comparison of Pattern Creation Methods
| Method | Best For | Pros | Cons |
|---|---|---|---|
| Graph Paper & Pencils | Simple designs, text, geometric patterns, and learning the fundamentals. | Complete artistic control; inexpensive; no learning curve for software. | Time-consuming for complex images; difficult to edit mistakes; color matching is manual. |
| Free Online Converters | Quick, simple photo conversions for personal projects; trying out an idea. | Fast and easy; no cost; accessible from any browser. | Limited editing tools; often produces "confetti" stitches; fewer color palette options. |
| Paid Software | Detailed photorealism, creating professional patterns to sell, complex projects. | Advanced editing features; precise color control; professional PDF exports; saves time. | Can be expensive; requires learning the software; may be overkill for simple designs. |
Ultimately, many designers find themselves using a mix of these methods depending on what they're trying to create. Sometimes an idea starts as a quick sketch on graph paper before being refined in a digital program.
The Traditional Approach with Graph Paper
There's something incredibly satisfying about drafting a pattern by hand. It forces you to simplify your design and be intentional with every color you choose, which often leads to a much cleaner and more striking final piece. You're not just a designer; you're a cartographer, mapping out a future creation one square at a time.
For this method, you don't need much. Just grab some basic cross stitch materials like graph paper that matches your fabric count, a good set of colored pencils, and an eraser you trust. That’s it.
Embracing Digital Pattern Software
On the other side of the spectrum, digital tools are all about speed and power. A good piece of software can turn a detailed photograph into a workable pattern in just a few minutes—a task that would literally take days to do by hand. Programs like PCStitch or WinStitch do the heavy lifting of color matching and grid generation for you.
Free online converters are a great place to start. They're perfect for a simple project or just to see if an idea has potential. Once you get serious, though, paid software is a game-changer. It gives you the power to go in and clean up stray stitches, reduce your color count for a more manageable project, and export clean, professional-looking PDFs. If you want to create highly detailed, photorealistic pieces or plan to design patterns regularly, investing in good software is well worth it.
Selecting and Preparing the Perfect Image
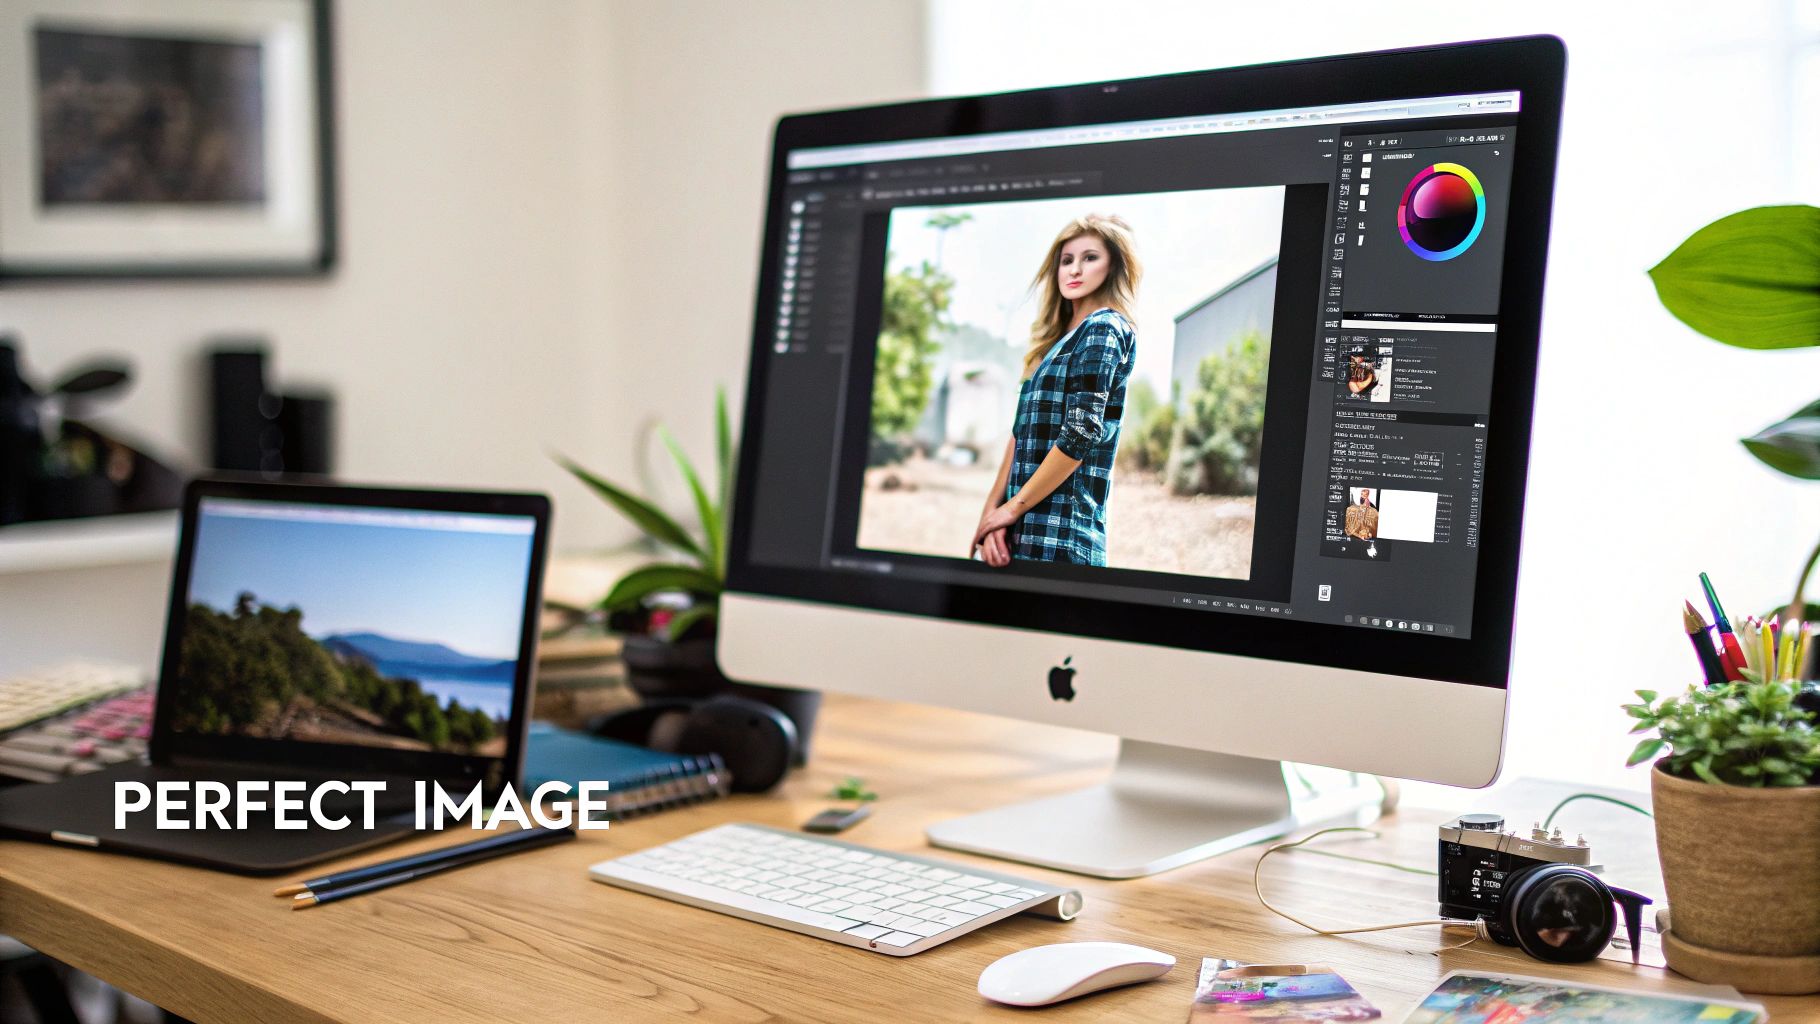
I can't stress this enough: the secret to a fantastic cross-stitch pattern isn't the software. It all comes down to the image you start with. A well-chosen and carefully prepped photo is the foundation for a design that you'll actually enjoy stitching.
Let's be honest, not every photo, no matter how much you love it, will translate well into a grid of tiny squares.
Think simple and think defined. The best images have a clear focal point. For example, a close-up portrait of your cat against a plain wall will convert beautifully. That same cat in a photo with a cluttered living room in the background? Not so much.
Strong contrast is also non-negotiable. You need clear distinctions between light and dark areas. A picture of a black dog on a light-colored rug is a great candidate because the subject pops. On the other hand, a photo of a golden retriever lying on a beige carpet will probably turn into a muddy, undefined blob of similar colors once converted.
What Makes an Image Ideal for a Pattern
Before you even get to the uploading stage, take a minute to size up your photo. A quick reality check now can save you a ton of frustration down the line.
- A Focused Subject: Is it immediately obvious what the main subject is?
- Good Contrast and Lighting: Can you easily spot the light, medium, and dark tones? Try to avoid images with harsh backlighting or large, flat shadows that hide all the details.
- A Limited Color Palette: Photos with a more focused color scheme almost always work better. A sunset with its predictable range of oranges, pinks, and purples is much easier for software to handle than a chaotic shot of a kid's birthday party with dozens of clashing colors.
The goal isn't to find a flawless photo, but one with a solid foundation. You can fix a lot with some basic editing, turning a pretty good picture into an absolutely perfect source for your pattern.
Essential Pre-Editing Techniques
Once you've landed on a promising image, spending just a few minutes on editing will make a massive difference. You don't need fancy, expensive software for this; the editing tools built into your phone are usually powerful enough. If you really want to dive deep, you can learn how to enhance your pictures for professional quality results and see what's possible.
Cropping for Impact
Your first step should always be to crop the image—and don't be shy about it. Get rid of all that distracting background noise and put the focus squarely on your subject. If you're making a pattern of your dog, crop out the couch, the lamp, and that bit of rug in the corner. Make your pup the star of the show.
Adjusting Brightness and Contrast
Next, bump up the contrast just a little. This is a game-changer. It pushes the darks darker and the lights lighter, which helps the pattern software clearly define the different color blocks. You can also gently increase the brightness to pull some detail out of the shadows, but be careful not to blow out the highlights and wash away the color.
By putting in a little prep work here, you're setting your project up for success. A clean, high-contrast image gives the pattern-making software a clear road map, which results in a chart that’s more accurate and, most importantly, way more fun to stitch.
Turning Your Image Into a Stitchable Chart

Alright, with your polished image ready to go, we’re at the fun part—turning those pixels into a grid you can actually stitch. This isn't just a one-click magic trick. It's more of a conversation with the software where you guide it to create a chart that matches your vision.
One of the first, and most important, decisions you'll make is the fabric count. This number tells the software how many stitches will fit into one inch of your Aida cloth. The two most common options, 14-count and 18-count, will give you wildly different results.
Think of it this way: a lower number like 14-count means bigger, chunkier stitches. Your finished piece will be larger and have a slightly more "pixelated" look. Go for a higher number like 18-count, and you get smaller, more refined stitches. This creates a smaller, more detailed final piece. For photorealism, higher counts are generally your friend, but a bold, graphic design often looks fantastic on 14-count.
Dialing in the Dimensions and Colors
Once you've set the fabric count, the software will spit out the final dimensions of your project. Too big? You have two choices: either bump up the fabric count (say, from 14 to 18) to shrink everything down, or you can reduce the overall size in stitches (from 150 stitches wide down to 120, for example). It’s a constant dance between the size you want and the level of detail you’re willing to keep.
Next up is the crucial step of taming the colors. A photo can contain thousands of subtle shades, which is obviously impossible to stitch. Your job is to find that perfect balance between detail and a project that's actually manageable.
As a rule of thumb, I've found that a range of 25 to 40 colors is the sweet spot for most photo-to-chart conversions. It’s usually enough to get nice shading and depth without creating a monster floss list and endless color changes.
Culling your color palette is key. The software might, for instance, assign five almost identical shades of blue for a simple sky. Don't be afraid to step in and merge those into one or two main colors. This makes your life easier when stitching and often creates a cleaner, more cohesive final look. To really get a handle on how these charts are structured, take a look at our guide to understanding cross stitch graphs.
Fine-Tuning Your Floss Palette
Pattern-making software will automatically match the colors in your image to a specific brand of floss, usually DMC. This is a brilliant starting point, but it's rarely perfect right out of the box. You absolutely need to review the suggested floss list with a critical human eye.
Sometimes, the program will pick a color that's a perfect mathematical match but just looks wrong. Maybe the gray it chose for a shadow has a weird green tint. This is where your judgment comes in. Go into the settings and manually swap it for a cooler-toned gray you know will look better. You are the artist here, not the machine.
It's also worth noting that simpler patterns are very much in vogue. Many stitchers are gravitating toward projects with fewer colors or charming miniature designs that are quick to finish. If you're aiming for that simpler aesthetic, using sources like free outline coloring pages can give you fantastic, pre-simplified line art to work from. At the end of the day, your goal is to make the technology serve your creative purpose, ensuring the final chart is not just accurate, but beautiful.
Refining Your Draft for a Flawless Finish
A pattern generator does a lot of the heavy lifting, getting you about 80% of the way there. But that last 20%? That’s where your own touch makes all the difference. This is the stage that separates a confusing, messy chart from a polished, professional-looking design you’ll actually enjoy stitching. Think of the initial conversion as a rough sketch—now it's time to clean up the lines.
Your first mission is to hunt down and eliminate "confetti." That's what we call those isolated, single stitches of a random color that software loves to sprinkle in. They’re a nightmare to stitch and make the final piece look visually cluttered and noisy.
Banishing the Dreaded Confetti
Zoom right into a section of your pattern. See those lone squares of color surrounded by a completely different shade? Maybe it’s a single dark gray stitch floating in a sea of light gray. The easiest fix is to simply change that stray stitch to match the color surrounding it.
Thankfully, most dedicated pattern software has a "find and replace" tool that makes this a breeze. Go through your chart methodically, smoothing out these awkward color jumps. The goal is to create clean, solid blocks of color that are a pleasure to work with.
Remember, the point isn't just to perfectly replicate a photo stitch-for-stitch. It’s to create a pattern that results in a beautiful piece and is genuinely fun to make.
This hands-on, meditative process is a huge part of why the craft is booming again. As you clean up your chart, you’re already engaging in the mindful creativity that makes stitching so relaxing. It’s no wonder the needlecraft patterns market is seeing such consistent growth as more people seek out hobbies that feel both digital and hands-on. You can find more details about the growth of the needlecraft market on Archive Market Research.
Adding Definition with Backstitching
When you convert a smooth photograph into a pixelated grid, you inevitably lose some of the finer details. Sharp edges soften, facial features can blur together, and delicate lines might disappear entirely. This is where backstitching saves the day.
Think of backstitching as drawing with your thread. You’re creating clean lines over your cross stitches to add outlines and bring back lost details. It's perfect for things like:
- Defining Facial Features: Outlining eyes, mouths, and noses brings a portrait to life.
- Sharpening Text: A few straight lines can make letters crisp and readable again.
- Highlighting Key Elements: Tracing the outline of your main subject makes it pop right off the fabric.
Even a small amount of backstitching can have a huge impact. It’s that final touch that reclaims the sharpness lost in the digital conversion, turning a good pattern into a great one. Taking the time for this manual cleanup ensures your chart isn't just a pixelated copy, but a well-crafted guide for a project you’ll be proud of.
Getting Your Pattern Ready for the World
https://www.youtube.com/embed/AG4zqoBccQY
You've done all the hard work of designing and tweaking your pattern. Now it’s time to package it up into a format that’s professional, clear, and a genuine pleasure for someone else to stitch from. A multi-page PDF is the way to go here—it’s the standard for a reason. Anyone can open it, and it prints beautifully.
The goal is to hand over a complete kit of information, leaving no room for guesswork. A great pattern always starts with a polished cover page. This should have a beautiful mockup or a photo of the finished piece, the total stitch count, and a breakdown of the design's final size on different fabric counts (like 14, 16, and 18-count Aida).
Right after the cover, you get to the heart of it: the chart itself. I always recommend providing a few different versions to suit every stitcher's preference.
- Color Blocks with Symbols: This is my personal favorite for visualizing how the final piece will look. You get both the color and the symbol right there on the grid.
- Black and White Symbols: This is the classic, ink-saving option. It’s clean, super easy to read, and perfect for marking up with a highlighter as you go.
A well-formatted pattern is an act of kindness to your fellow stitcher. Clear symbols, a detailed key, and logical page breaks transform the stitching experience from frustrating to joyful.
Don't Skimp on the Floss Key
Think of the floss key (or legend) as the GPS for your pattern. It needs to be crystal clear. For every single color in your design, make sure your key lists the symbol, the brand and number (like DMC 310), the color name, and how many skeins are needed.
That last part—the skein count—is so important, especially for big, full-coverage pieces. Nobody wants to play "thread chicken" and run out of a color halfway through. Thankfully, you don't have to guess. Our cross stitch calculator will give you a solid estimate based on your stitch count and fabric. It's a small detail that makes a huge difference.
And don't forget, we live in a digital world now. A huge number of stitchers use apps like Pattern Keeper on a tablet to track their progress. A clean, high-quality PDF with crisp symbols makes your pattern compatible with these tools, which is a massive selling point. This digital shift is part of why the global cross-stitch market, valued at around USD 0.15 billion in 2024, is still growing. By making your pattern easy to use on any device, you’re not just sharing a design; you’re tapping into a modern, thriving craft community. You can read more about this trend on Business Research Insights.
Common Questions When Making Your First Pattern
Diving into pattern design is exciting, but a few questions almost always pop up. Trust me, everyone hits these same bumps in the road. Getting a handle on them early will save you a ton of frustration and help you create a pattern you'll actually enjoy stitching.
Let's walk through some of the most common hurdles I see new designers face and how to clear them like a pro.
What's the Best Software if I'm a Total Beginner?
This is easily the number one question, and the answer is: you don't need to spend a dime to get started.
For anyone just dipping their toes in, free online tools like StitchFiddle or Pic2Pat are fantastic. They let you upload an image and spit out a basic pattern in minutes. It's the perfect sandbox for learning how a photo translates to a grid and floss colors without any commitment.
Once you find yourself thinking, "I wish I could just clean up these stray stitches," or "Can I merge these two blues?"—that's your cue to upgrade. A dedicated program like PCStitch or MacStitch is the logical next step. Their editing features give you the fine-tuned control needed to take a decent pattern and make it truly great.
How Many Colors Should I Use in My Pattern?
Ah, the classic balancing act. It's tempting to think more colors equal more detail, but that's a common rookie mistake. While a hyper-realistic portrait might demand 50-70 colors to capture every nuance, that complexity comes at a cost: a whole lot of thread-changing and a very busy-looking project.
For most designs, the sweet spot is a palette of 20-35 colors. This range gives you enough variety for beautiful shading without turning the stitching process into a logistical nightmare.
Here’s a practical approach:
- Let the software generate its initial color list.
- Then, go in and manually prune it. Look for colors that are nearly identical.
- For example, does that clear sky really need five slightly different shades of light blue? Probably not. Reducing them to two or three will simplify stitching and often make the final piece look cleaner and more intentional.
The goal isn't just to make a pattern; it's to design an enjoyable stitching experience. A well-chosen, limited color palette is one of the best ways to ensure your project is a pleasure from the first stitch to the last.
Why Does My Pattern Have So Many Random Stitches?
You've just run a photo through a converter and the pattern is speckled with tiny, isolated stitches. What's going on? That frustrating sprinkle of color has a name: confetti.
Confetti happens when the software tries to perfectly replicate every single pixel in your original image. It sees a tiny color variation and assigns it a single stitch, leaving you with these lonely stitches floating in a sea of another color. Not only are they a pain to stitch, but they can make the finished piece look messy and pixelated.
The fix requires a bit of manual cleanup, but it's worth every second. Zoom in on your chart and methodically replace these rogue stitches with a nearby, dominant color. Most good pattern software includes a "find and replace" tool that makes this process much faster. This single step will dramatically improve both the final look of your piece and the actual joy of stitching it.
Ready to turn your favorite photos into timeless art? At Cross Stitched, our custom kits provide everything you need, from pre-sorted DMC threads to high-quality Aida fabric and a perfectly charted pattern. Start creating your personalized masterpiece today by visiting our custom kit creator.


