
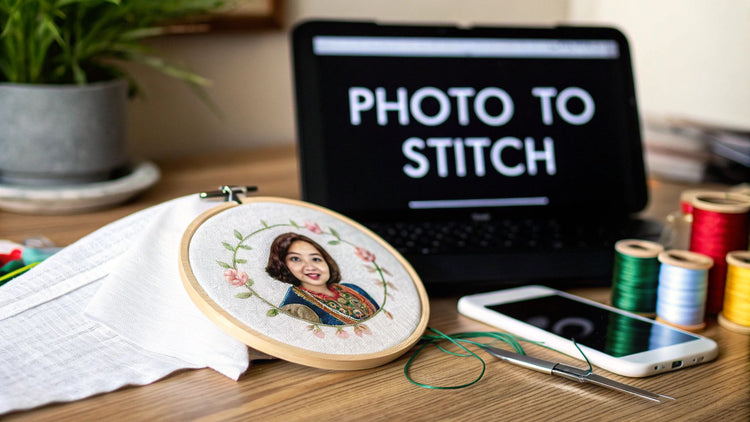
Turning your favorite photos into a piece of handmade art is one of the most rewarding things you can do with a needle and thread. It’s a fantastic way to take a memory that lives on your phone and turn it into something tangible and beautiful. This guide will walk you through everything you need to know to create a cross stitch pattern from your pictures, from picking the perfect photo to getting it ready for your first stitch.
Why Bother Turning a Photo Into a Cross Stitch Pattern?
Let's be honest, turning a special photograph into a cross stitch pattern is more than just another craft project—it's about creating an heirloom. It’s a way to freeze a moment in time with thread, producing a truly unique piece that can hang on your wall or become an incredibly thoughtful gift. You're blending today's technology with a classic, calming skill, which makes it a perfect project for stitchers of all levels.
This isn't just a niche hobby, either. The interest in personalized crafts is booming, with the global cross-stitch market expected to hit around USD 0.22 billion by 2033. It seems everyone is discovering the joy of DIY and making things that truly mean something.
What Makes This So Special?
- Unforgettable Gifts: Imagine gifting a hand-stitched portrait of a family pet or a favorite wedding photo. It’s a gift that truly comes from the heart.
- Tangible Memories: Those vacation sunsets, baby photos, and candid moments can become works of art that last for generations.
- A Relaxing New Skill: It’s a peaceful hobby that lets you create something beautiful to be proud of. Once your masterpiece is complete, you can try out all sorts of cross stitch finishing techniques to show it off.
The real magic of creating patterns from your own photos is that every project is deeply personal. You're not just stitching a pattern; you're stitching your own story, one cross at a time.
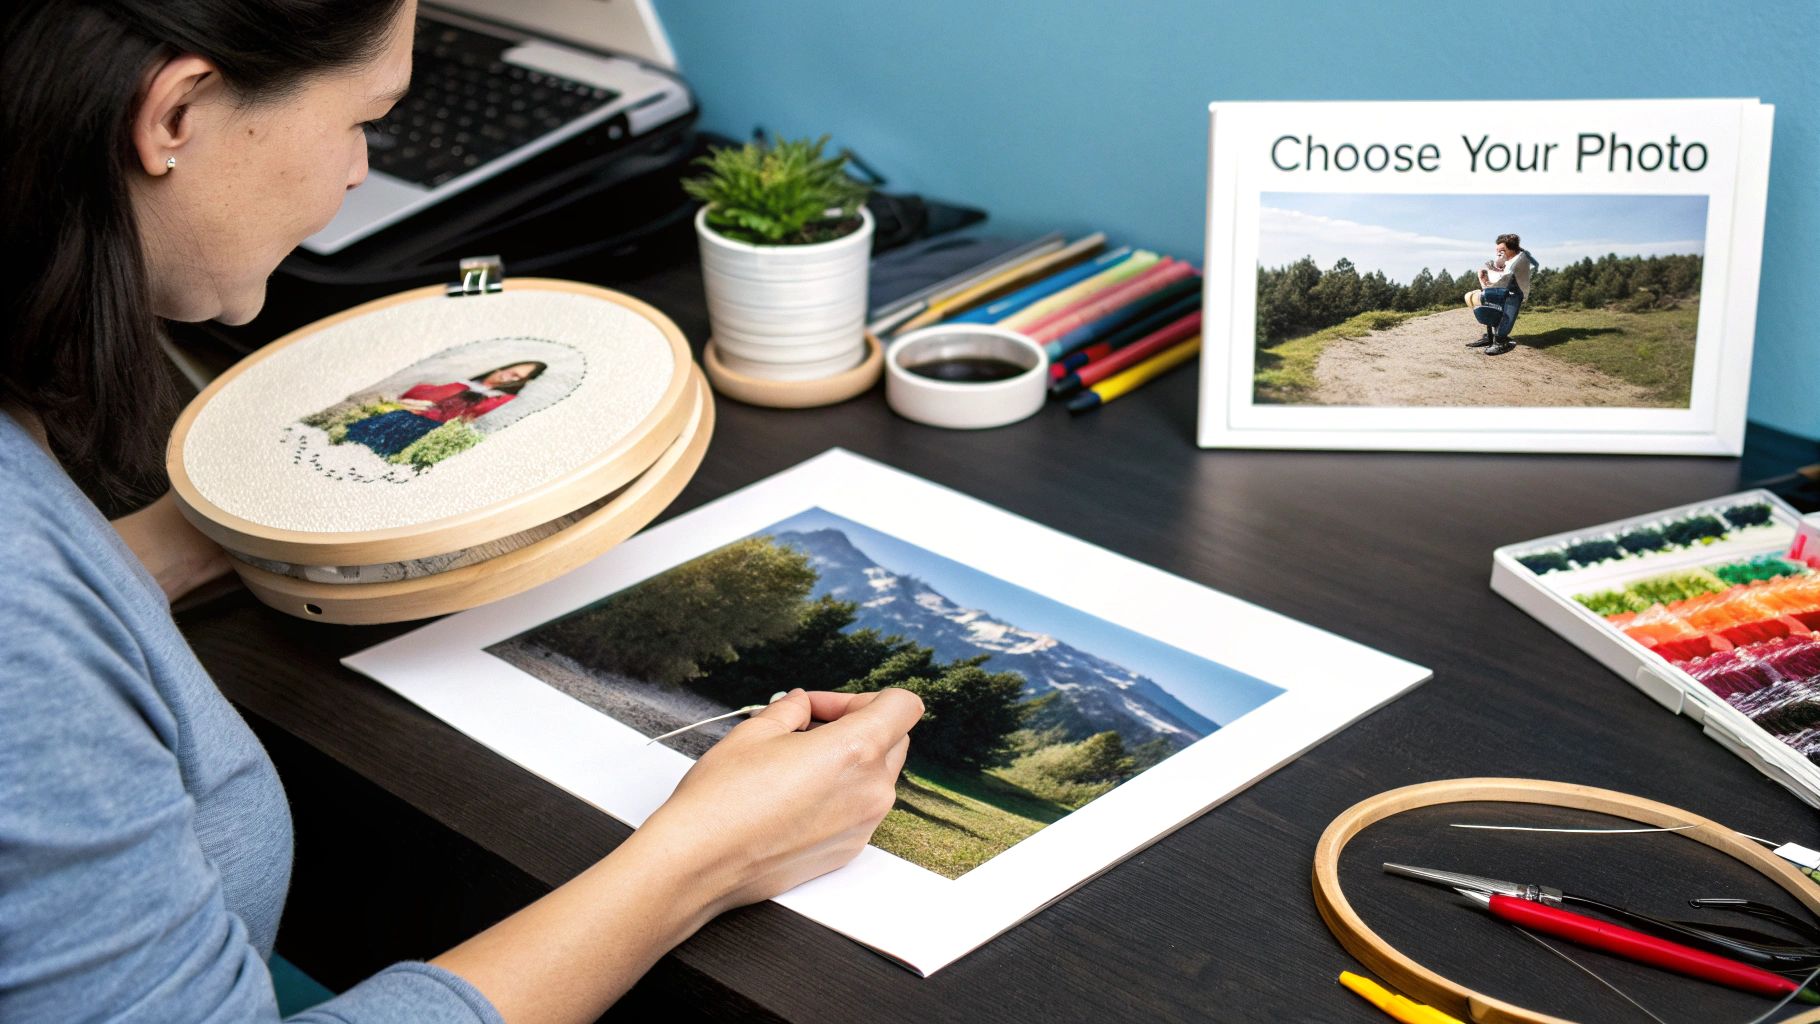
Choosing and Preparing the Perfect Picture
Your journey to a stunning cross-stitch piece starts way before you even think about thread. The secret is, the quality of your finished project almost completely hinges on the photo you start with. When you're making cross stitch patterns from pictures, think of that photo as your foundation. A shaky one will give you a wobbly, muddled result every time.
Let's be honest, not every photo is cut out for this. That picture of your entire extended family from 50 feet away? All those lovely faces will just turn into unrecognizable blobs of color on a grid. You need to be picky and look for photos with specific traits that translate well into the blocky world of cross-stitch.
What Makes a Great Source Photo
The best photos for this kind of project have a clear, well-defined subject. A close-up portrait of your dog or your child is a fantastic choice because their features are large and distinct. Simple backgrounds are also a huge help. A busy, cluttered scene just creates a ton of visual noise that makes the pattern confusing and harder to stitch.
As you're sifting through your camera roll, keep an eye out for these key elements:
- High Resolution: Always start with the largest, clearest digital file you can find. A high-res image gives the pattern-making software more information to work with, which means you'll get much sharper details in the final chart. Blurry or pixelated photos are a non-starter.
- Good Contrast: Look for photos with a clear difference between the light and dark areas. This contrast is what will give your stitched piece depth and make it easy to "read." Flat, washed-out lighting tends to create a muddy-looking final product.
- Focused Subject: I've found that the most successful patterns feature just one or two main subjects. A single flower, a person's face, or a beloved pet will almost always translate better than a sweeping landscape.
Simple Edits for a Better Pattern
You definitely don't need to be a Photoshop pro to get your image ready. A few quick, simple tweaks can make a massive difference in how your pattern turns out. Cropping is your best friend here. Seriously, it's the single most effective edit you can make. Just cutting out distracting background clutter can totally transform the final result.
If your pet is way off to one side of the photo, crop the image to re-center them for a more balanced and pleasing design.
This is a look at the interface for GIMP, which is an amazing and totally free photo editor that’s perfect for these little jobs.
With a tool like this, you can easily crop, tweak the brightness and contrast, or even remove a stray object in the background. I often find that bumping up the contrast just a little bit helps the main subject pop. This small adjustment makes it easier for the pattern generator to separate the different color areas. It's a five-minute task that pays off big time in your finished piece.
Finding the Right Pattern Generation Tool
Once you’ve polished your photo, the next step is to translate it into a stitchable chart. This is where a pattern generator comes in—it’s the magic wand that turns your picture into a grid of colored squares ready for your needle. You’ll find a whole world of options out there, from free, browser-based tools that get the job done quickly to more robust software you pay for.
Which one is right for you? It really boils down to your project and what you want to achieve. For a simple, one-off piece, a free online converter is often more than enough. But if you're a perfectionist who wants total control over every detail, from the exact size to the subtle color blending, you'll probably want to spring for dedicated software.
Free Converters vs. Paid Software
Free online tools are fantastic because they’re so easy to jump into, making them perfect when you're just starting out. You just upload your image, punch in a few basic settings like final size and the number of colors, and voilà—you get a PDF pattern you can print and start stitching from right away.
Paid software, on the other hand, is like moving from a point-and-shoot camera to a DSLR. It gives you a much deeper level of control. These programs let you do things like manually tweak individual thread colors, add or edit backstitching for sharp details, and work with multiple floss brands like DMC and Anchor. This is the route to take if you're serious about getting professional-looking results from your personal photos.
No matter which tool you pick, creating cross stitch patterns from pictures follows the same basic idea.
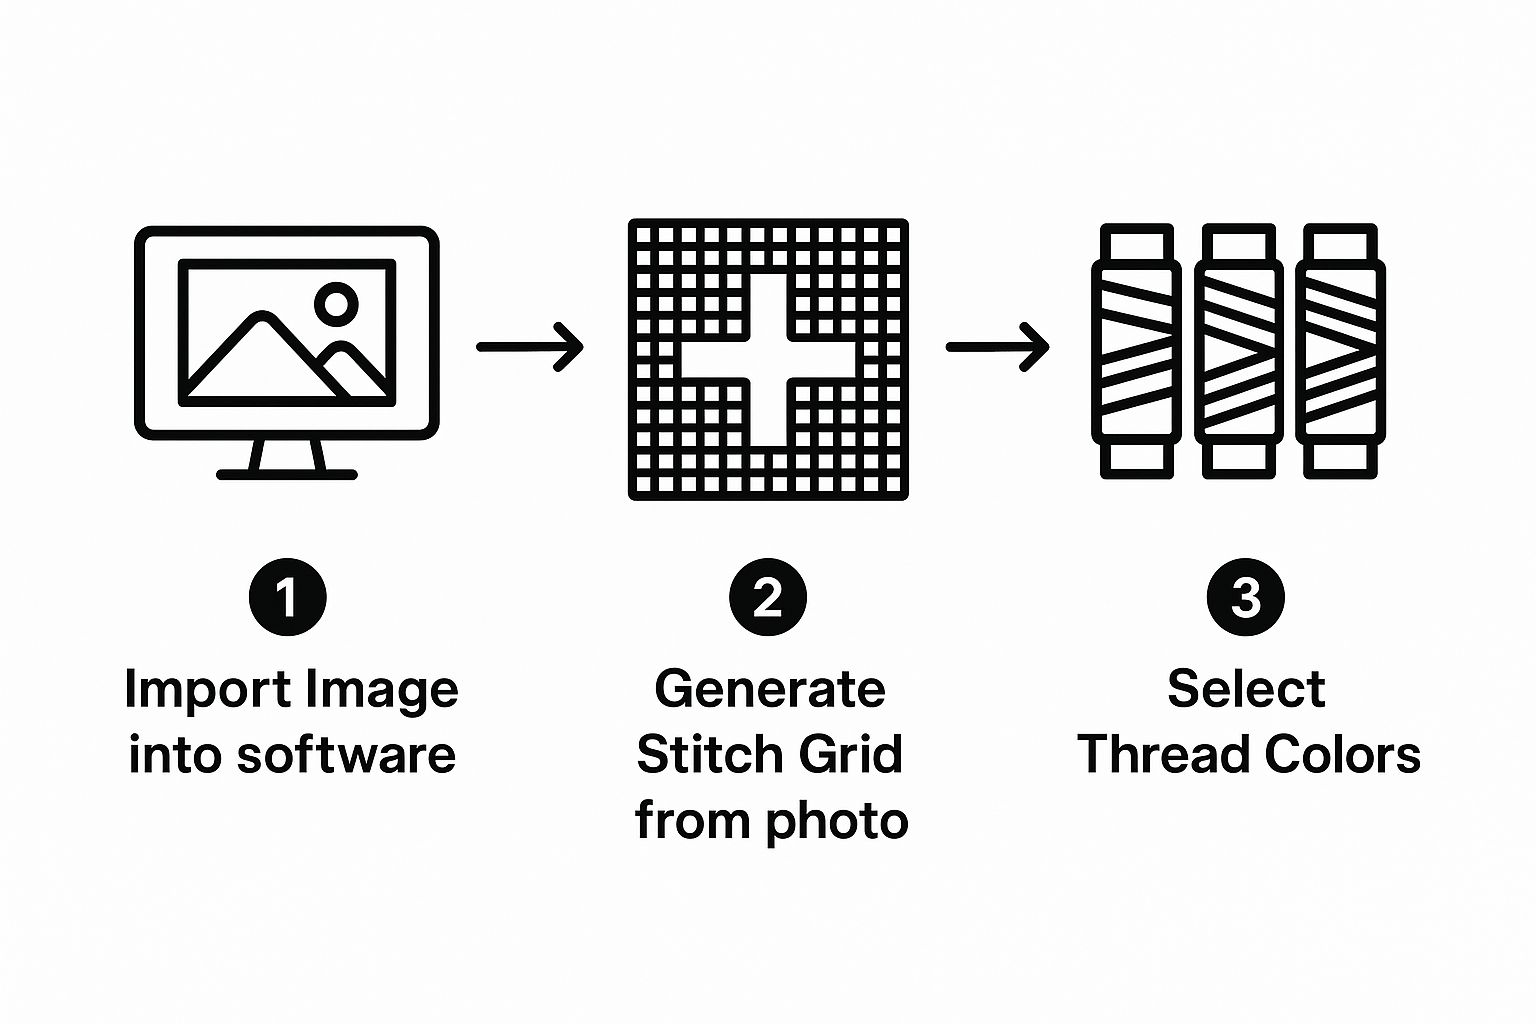
The generator's algorithm does the heavy lifting, turning your photo's pixels into stitches. The more you can influence that process, the better your final pattern will look.
Here's the bottom line: The software is essentially interpreting your photo. The more control it gives you over that interpretation—the colors it chooses, the way it handles shading—the more your finished piece will look like the image you started with.
The explosion of these digital tools is part of a much bigger trend. The needlecraft patterns market is a massive industry, forecasted to hit around USD 63.9 billion. A huge part of that growth is because tools like these make it so incredibly easy for anyone to create their own custom designs. You can read more about this market trend to see what’s behind the boom.
Comparing Pattern Generator Features
To help you decide, here’s a quick side-by-side look at what you can generally expect from free online converters versus dedicated paid software for making your cross stitch patterns.
| Feature | Free Online Converters | Paid Software |
|---|---|---|
| Basic Conversion | Yes, upload and generate a basic pattern. | Yes, with advanced algorithms for better results. |
| Palette Control | Limited; usually just lets you set the total number of colors. | Extensive; allows manual swapping and merging of colors. |
| Floss Brands | Typically limited to one or two major brands (e.g., DMC). | Supports a wide range of brands and custom palettes. |
| Manual Editing | Almost never. What you see is what you get. | Yes, you can edit individual stitches and add backstitching. |
| Sizing Options | Basic; set width/height and sometimes fabric count. | Precise control over fabric count, sizing, and DPI. |
| Output Format | Usually a standard PDF. | Multiple formats, including interactive on-screen charts. |
Ultimately, free tools are great for getting your feet wet, but paid software gives you the creative control needed for more complex or sentimental projects.
Key Features to Look For
As you start exploring tools to generate cross stitch patterns from pictures, keep an eye out for these game-changing features:
- Floss Brand Options: The program must support your go-to thread brand (like DMC) to give you the right color codes. Otherwise, you're just guessing.
- Palette Control: Being able to increase or decrease the number of colors is non-negotiable. It’s your main lever for controlling how detailed—and expensive—your project will be.
- Fabric Count Input: This is crucial for getting an accurate preview of the final stitched size. You need to be able to tell it you're using 14-count, 18-count, or whatever Aida cloth you have.
- Manual Editing: For me, this is a must-have for anything beyond a simple design. The ability to click on a single square and change its color is perfect for cleaning up "digital noise" or sharpening important details like eyes and smiles.
Refining Your Palette and Floss Choices
Pattern-generating software is an amazing tool for turning photos into cross-stitch charts, but let's be honest—it often goes a little overboard with the colors. It’s not unusual to see a generator spit out a pattern calling for 60, 80, or even over 100 different floss colors for one picture. That’s a recipe for a project that's not only expensive but also a headache to stitch with all that color-switching.
Thankfully, you're in the driver's seat. The first thing I always do is manually slash the color count right in the software. Think of it as "color culling"—it's where the real artistry begins, simplifying the palette without sacrificing the heart of your photo.
For instance, a generator might pick seven shades of blue for a clear sky that are so close you can barely tell them apart. I'd look at that and merge them down to just two or three. You get the same beautiful effect, but the project instantly becomes more manageable.
Smart Color Merging Strategies
The goal here is to combine similar colors in a way that makes sense. Scan your pattern for clusters of different symbols that represent shades you know will look nearly identical once stitched.
- Shadows and Highlights: Does that shadow really need five shades of grey? Probably not. I find that simplifying to a light, medium, and dark grey gives plenty of definition without getting bogged down in tiny details.
- Skin Tones: This is where things get tricky. My advice is to focus on protecting the mid-tones, as they give shape to facial features. You can usually get away with merging the brightest highlights into one color and the darkest shadows into another.
- Backgrounds: An out-of-focus background is the perfect place to start cutting colors. All those slightly different greens in the trees or browns on a building can easily be merged, which has the added benefit of making your main subject pop.
By thoughtfully reducing your palette, you’re not just saving money on floss; you’re making creative decisions that will lead to a more cohesive and visually pleasing final piece. It’s about being an artist, not just a stitcher.
This hands-on approach is what makes the final piece truly yours. And if you find yourself stuck trying to find the perfect shade or a substitute, knowing your options is crucial. It’s a great idea to familiarize yourself with a full list of DMC embroidery floss numbers. That resource has been a lifesaver for me when the craft store is out of the exact color my pattern calls for.
From Digital Chart to Your First Stitch
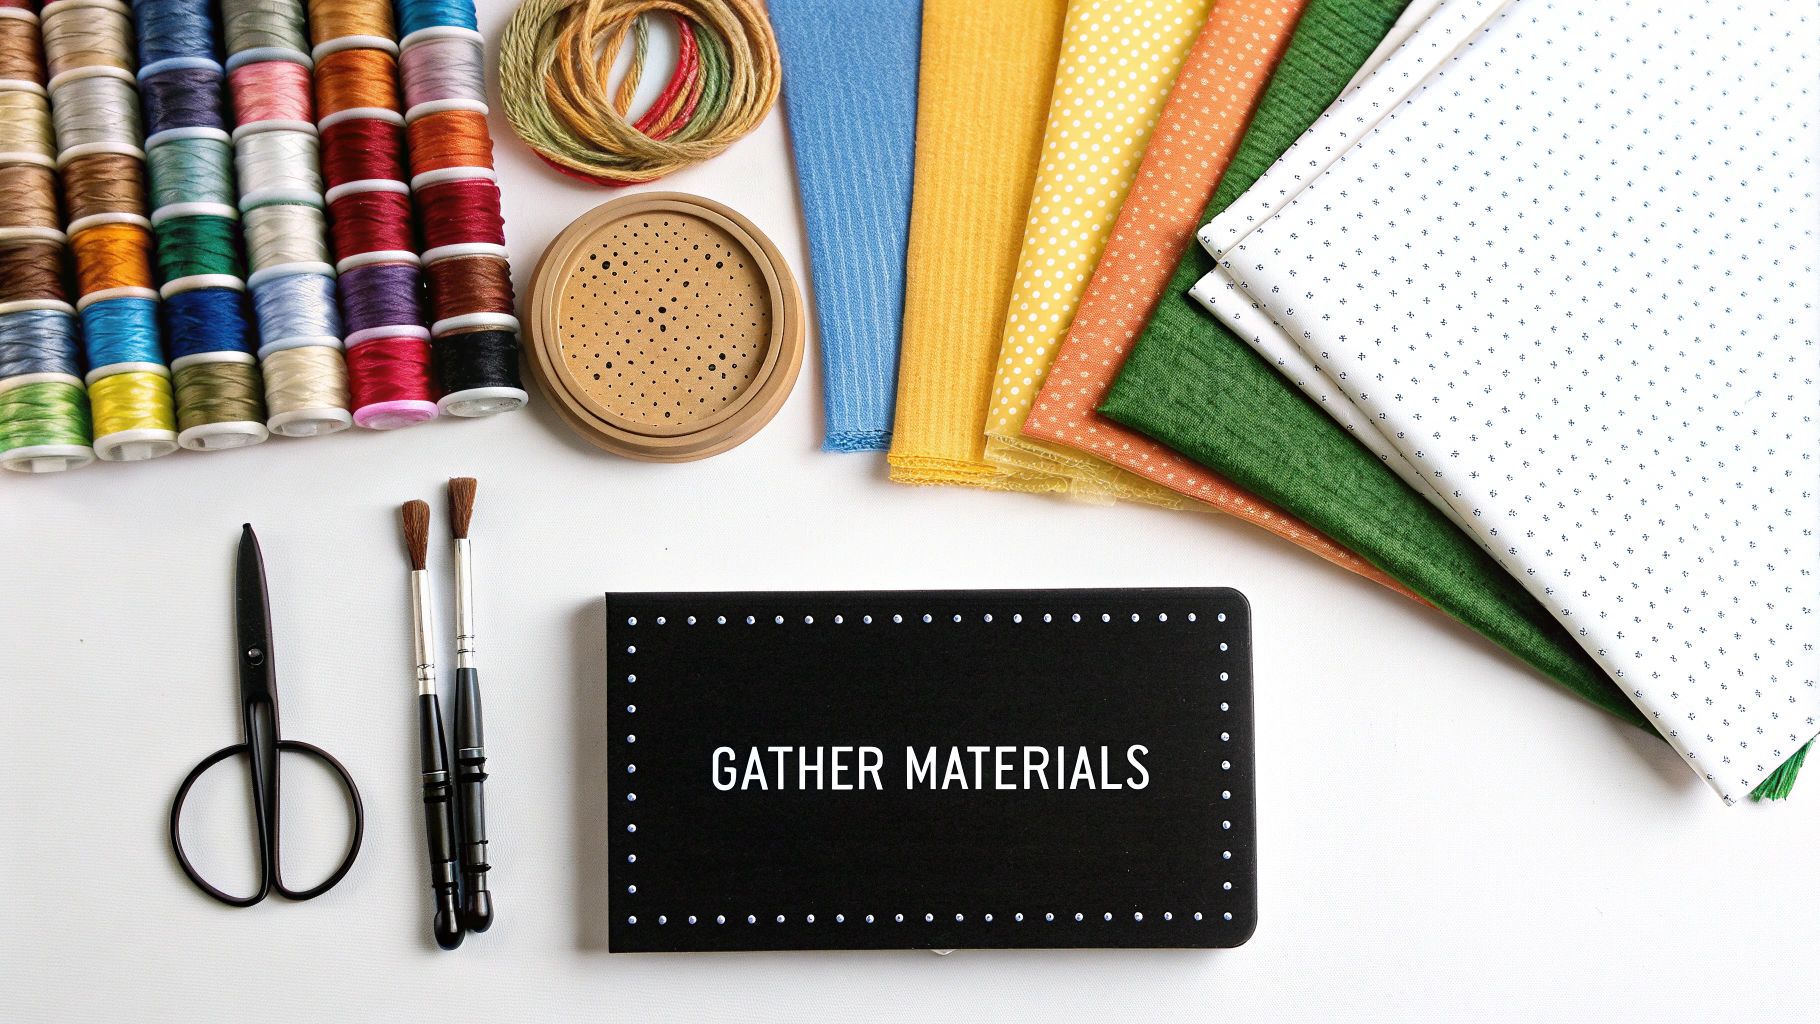
You’ve got your custom pattern printed out and all your floss colors lined up. Now for the best part: bringing that digital design to life, one stitch at a time. The first thing to do is get familiar with your chart. Think of it as a map—every symbol on that grid points to a specific floss color on your key. Getting comfortable with these https://cross-stitched.com/blogs/what-is-cross-stitch/cross-stitch-graphs is the secret to a smooth and enjoyable process.
To make sure your finished piece looks perfectly balanced, you'll want to center it on the fabric. Just fold your fabric in half lengthwise, then fold it in half again widthwise. The spot where the creases meet is the exact middle. Line this up with the center of your chart, and you’re guaranteed to avoid that dreaded moment of realizing your design is off-kilter.
Setting Yourself Up for Success
Before you thread that first needle, here’s a tip that has saved me countless headaches: grid your Aida cloth. Grab a water-soluble fabric pen and draw a 10x10 grid right onto your fabric to mirror the grid on your pattern. This is an absolute game-changer, especially for complex cross stitch patterns from pictures. It makes tracking your place so much easier and dramatically cuts down on recounting and potential mistakes.
If your pattern has a lot of "confetti"—lots of single stitches of different colors all clustered together—you might want to try a technique called "parking." Instead of finishing all of one color before moving to the next, you stitch a small section, then leave the thread "parked" in the next spot where that color appears. It sounds a bit complicated at first, but it keeps the back of your project surprisingly neat and makes tackling those intricate areas feel much more manageable.
The real joy comes from watching your careful preparation pay off. Each stitch you place is a tiny victory, slowly revealing the image you chose and transforming a blank canvas into a personal keepsake.
This whole process of turning a digital file into a physical object isn't unique to cross-stitch. Many other crafts explore various methods for transferring digital designs to fabric, all sharing that same creative spark. It's this fusion of modern tech and traditional handiwork that has helped bring new life to the craft, sparking trends like "subversive cross-stitch" and attracting a new generation of stitchers.
Common Questions About Making Patterns
https://www.youtube.com/embed/WKSd7Vr84eQ
Even with the best software, turning a cherished photo into a cross-stitch chart can feel a little tricky. It’s totally normal to have questions! Let's walk through some of the most common hurdles people run into when converting pictures into patterns, so you can start your project with total confidence.
The number one thing people ask about is photo quality. My best advice? Always, always start with the highest resolution picture you can find. A good rule of thumb is to look for an image that's at least 1000 pixels on its shortest side. A sharp, clear photo gives the software more detail to work with, which translates directly into a more accurate and beautiful pattern. Starting with a blurry or small image will only lead to a muddy, disappointing result.
Another frequent question is about the number of floss colors. For a typical detailed photo, I find that a palette of 25 to 50 colors usually hits the sweet spot. Pattern generators often suggest way more, but you can almost always dial that back in the settings without losing the essence of the picture. Fewer colors make for a project that's quicker to stitch and easier on the wallet.
Can I Use Black and White Photos?
Absolutely! In fact, black and white or sepia-toned photos often make for some of the most stunning and dramatic cross-stitch pieces. They translate beautifully to fabric because you're working with a much smaller color palette—just a handful of grays or browns. This makes them fantastic projects for beginners.
The conversion process is exactly the same, but your color selection is simplified. Instead of worrying about dozens of hues, your focus shifts entirely to capturing the beautiful interplay of light and shadow. It's a great way to practice getting clean, impressive results from a photo.
The core principles of creating a clear, easy-to-follow pattern are universal. No matter the craft, a well-structured chart is key to an enjoyable and successful project.
If you're interested in the theory behind what makes a good pattern work, understanding the elements of clear pattern writing offers some fantastic insights that apply well beyond just one craft. It really helps you appreciate the logic behind the symbols and layouts we use.
Ready to turn your own cherished memories into beautiful stitched art? At Cross Stitched, our custom kits make it simple. Upload your favorite photo, and we'll send you everything you need—pre-sorted DMC threads, high-quality Aida fabric, and a perfectly generated pattern—to create a masterpiece. Start your personalized project today at https://cross-stitched.com.


