
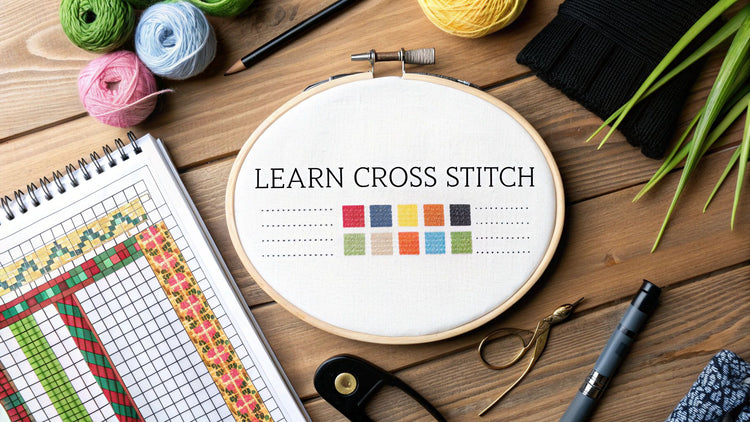
Ready to dive into the relaxing world of cross stitch? This craft is a wonderful way to turn simple thread and fabric into something truly personal. It’s more than just a hobby; it’s a meditative escape that ends with the satisfaction of creating beautiful art with your own two hands. This guide is here to be your friendly companion, walking you through everything you need to learn cross stitch, one 'x' at a time.
Your Creative Journey Into Cross Stitch Begins
Cross stitch is making a huge comeback, and for good reason. It’s a fantastic creative outlet for anyone looking for a mindful, screen-free way to unwind. Forget any old-fashioned ideas you might have—today’s cross stitch is vibrant, modern, and surprisingly easy to get into. Think of it as painting with thread, where you can create anything from detailed landscapes to snarky quotes and even custom portraits.
 embroidery hoop with a floral pattern, surrounded by stitching supplies.">
One of the best things about starting this journey is how simple it is to get going. Beginner-friendly kits have made it easier than ever to dive in without feeling overwhelmed. These kits usually come with everything you need—fabric, pre-sorted threads, a needle, and a pattern—letting you jump straight to the fun part.
Why Is Cross Stitch So Popular Now?
The recent boom in crafting is more than just a passing trend; it’s a real shift towards more intentional, hands-on hobbies. You can even see its steady growth in market trends. The global cross-stitch market was valued at USD 0.15 billion and is projected to hit USD 0.24 billion by 2035, which shows just how many people are picking up a needle and thread. You can dig into more of these market insights on businessresearchinsights.com.
This growth is really driven by a desire for tangible results in our increasingly digital lives. Unlike endlessly scrolling through a social media feed, finishing a cross stitch project gives you a genuine sense of accomplishment. The perks go far beyond just having a cool piece of art at the end:
- Stress Reduction: The repetitive, rhythmic motion of stitching is incredibly calming and a proven way to reduce anxiety.
- Improved Focus: Following a pattern takes concentration, which helps sharpen your focus and attention to detail.
- A Sense of Community: Sharing your progress and finished pieces online connects you with a massive, supportive community of fellow stitchers.
Understanding the power of social learning can really enhance your creative journey. It's all about how we learn from our peers, which is a cornerstone of the crafting world. Sharing tips and seeing what others are making can accelerate your own skills and make the whole process even more enjoyable.
Our goal is to help you build confidence from your very first stitch. We want to turn any initial hesitation into pure creative excitement. We’re here to demystify the process and get you ready to proudly show off your first masterpiece.
Getting Your First Cross Stitch Kit Together
Before you can even think about making that first stitch, you've got to gather your tools. Let's walk through exactly what you need, cutting through the jargon so you can start with confidence and not a shopping cart full of stuff you’ll never use.
The great thing about cross stitch is how simple it is to get started. You don't need a bunch of expensive, complicated gear. The basic toolkit is small, affordable, and easy to find, which is probably why so many people get hooked on it.
The Heart of Your Project: Fabric and Floss
Everything starts with two things: your fabric and your thread. The fabric is your canvas, and the thread—which we call "floss" in the stitching world—is your paint. Picking the right ones from the get-go will make your first project so much more fun.
Aida cloth is, without a doubt, the best friend of every beginner. What makes it so great? It's a cotton fabric woven into a perfect little grid of holes, so you can see exactly where to put your needle. It takes all the guesswork out of stitching. For your first time, grab some 14-count Aida. The "count" just means how many stitches you can fit in an inch. A lower number like 14 gives you bigger squares to work with, which is much easier on the eyes.
Next is your embroidery floss. You’ll see a whole rainbow of brands and colors, but the industry standard is DMC six-strand cotton floss. Each bundle, or "skein," is made of six tiny strands of thread twisted together. For most cross stitch projects, you’ll only use two of those strands at a time, so one skein will last you a while.
My personal tip? Resist the temptation to buy every single color you see. A good beginner's kit or pattern will tell you exactly which DMC colors you need, which saves a ton of time and money.
The Tools That Make It Happen
Once you have your fabric and floss, you just need a few more simple tools to make sure your stitching is neat, even, and frustration-free.
I've put together a quick table of the absolute must-haves. This is your essential toolkit—nothing more, nothing less.
Your Essential Cross Stitch Toolkit
| Supply | What It Does | Beginner Recommendation |
|---|---|---|
| Tapestry Needles | These have a blunt tip and a big eye. The blunt end glides through Aida holes without splitting the fabric threads. | Go for size 24 tapestry needles. They're a perfect match for 14-count Aida. |
| Embroidery Hoop | This holds your fabric tight and smooth while you stitch, which helps keep your stitch tension even. | A simple 5 or 6-inch wooden hoop is inexpensive and works beautifully. |
| Small Scissors | You need a sharp, pointy pair to snip your floss cleanly and close to the fabric. | Look for a pair of "embroidery scissors" or "thread snips." |
These three items, along with your fabric and floss, are all you truly need to create something beautiful.
For a deeper dive into these tools and a few other helpful extras, check out our comprehensive guide to embroidery supplies for beginners.
Why a Kit Might Be Your Best Bet
Feeling a little overwhelmed by the options? That’s totally normal. This is exactly why pre-made cross stitch kits are so popular. While it's good to know what goes into a toolkit, you can often find these essentials bundled together in comprehensive embroidery kits for beginners, which are a fantastic launching point.
The needlecraft pattern market is massive—it's expected to rocket from USD 34.0 billion to an impressive USD 63.8 billion by 2035—and kits are a huge reason why. They're the perfect, no-fuss entry point for anyone curious about the craft. You can see more on these trends over at industrytoday.co.uk.
Starting with a kit just cuts out all the initial legwork. It gives you everything you need in one go: the right fabric, pre-sorted floss, a needle, and the pattern. You get to skip the supply-aisle confusion and jump straight into the fun part.
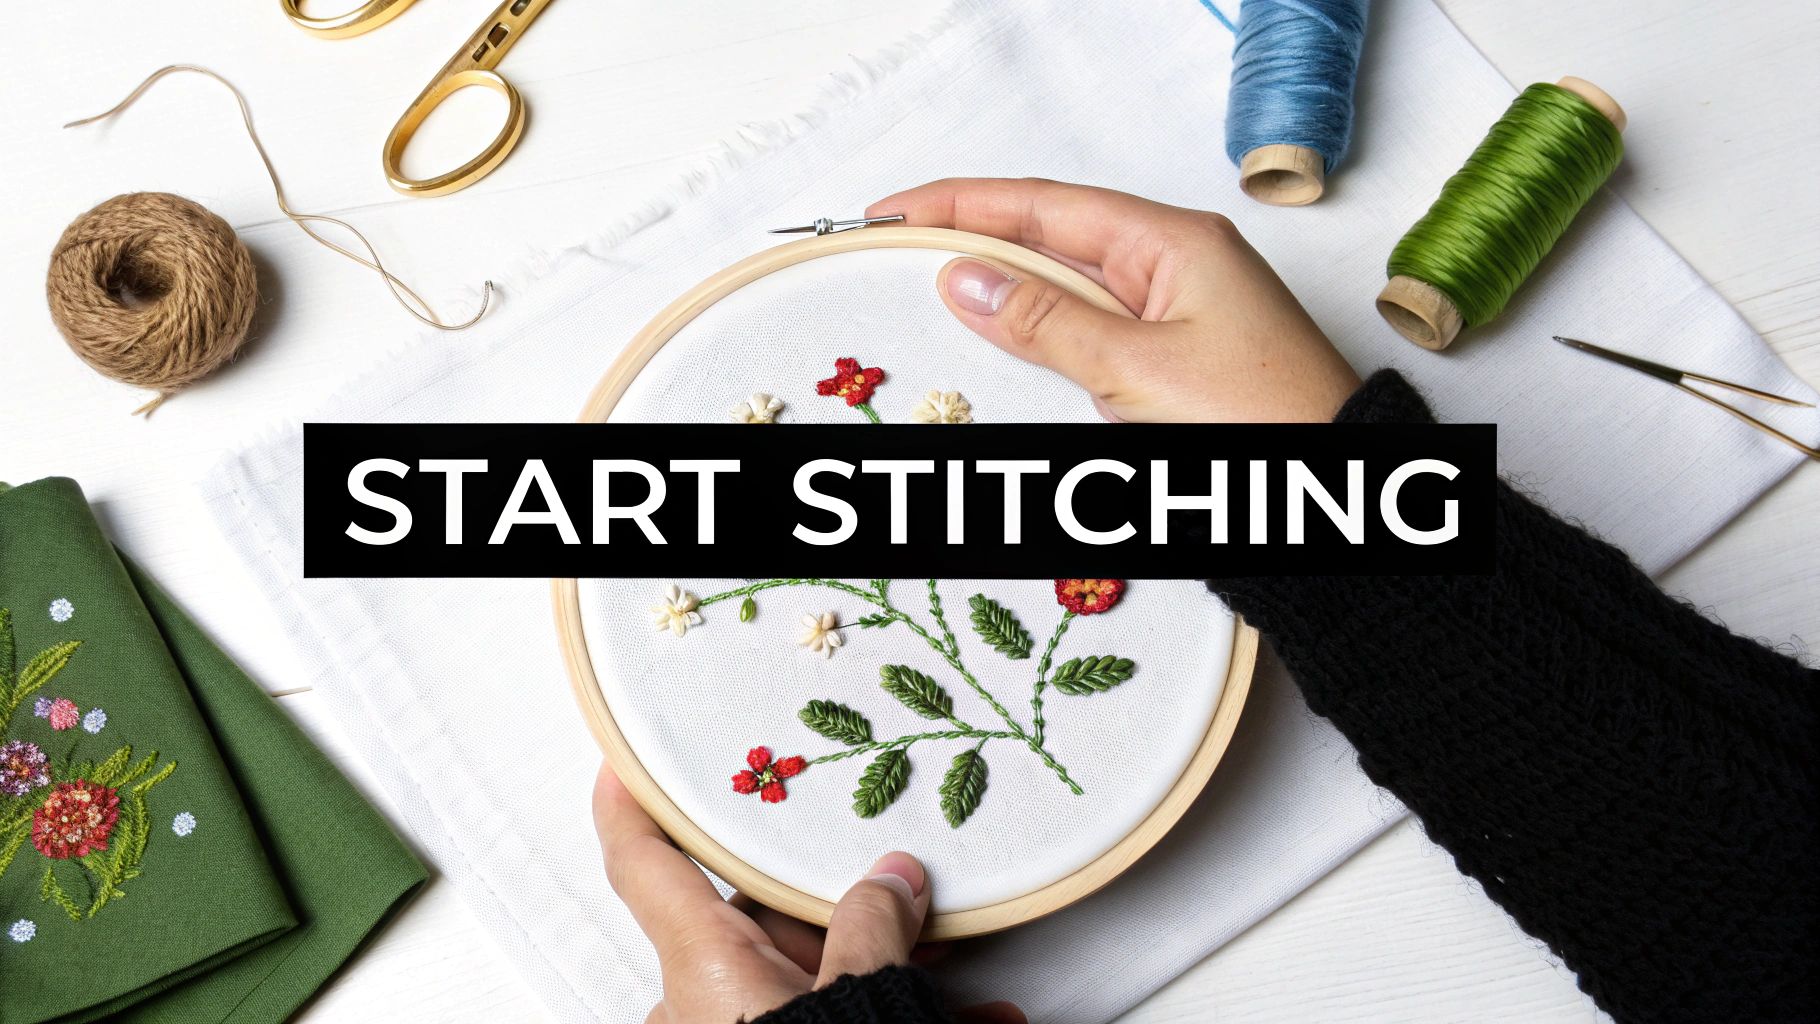
Mastering the Stitches That Matter
Alright, you’ve got your supplies—now for the fun part. It’s time to make those first few stitches. This is where the real magic happens, turning that blank fabric grid into a real picture, one 'X' at a time. Forget what you think you know about complicated embroidery; cross-stitch is wonderfully simple and gets you into a lovely, rhythmic flow once you get going.
But before you even thread your needle, let's get your workspace set up for success. A little prep work now saves a lot of headaches later. The best place to start is right in the middle of your project.
Find the centre of your pattern first—most designers mark it with arrows or a special symbol. Now, find the centre of your fabric. Just fold it in half lengthwise, then fold it in half again widthwise. The point where the creases cross is your starting point. You can pop a pin in it or make a tiny, temporary stitch so you don't lose it.
Starting from the centre is a tried-and-true method that guarantees your design is perfectly placed. No more getting to the edge only to realise you're about to run out of fabric!
This simple flowchart shows how these three key elements—pattern, fabric, and floss—all come together.
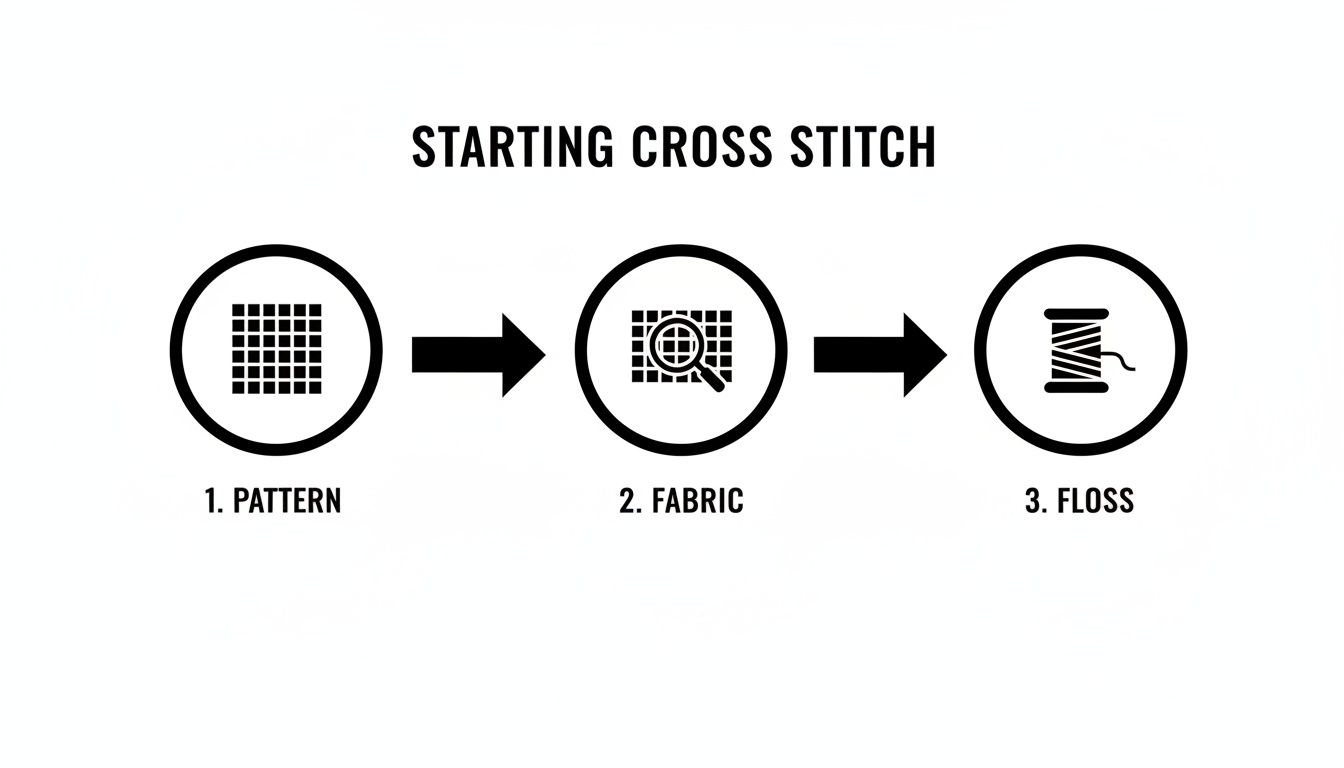
Think of it this way: your pattern is the map, the fabric is your canvas, and the floss is your paint. You're simply translating the map onto the canvas with colour.
Your First Stitch and the Loop Start
One of the best tricks to learn right from the get-go is the loop start. It’s a clean, knot-free way to secure your thread, which means the back of your work stays flat and you won’t get any annoying bumps showing through on the front. It looks professional, but it’s surprisingly easy.
Here’s how it works:
- Cut a length of floss, about 18 inches is a good starting point.
- Floss is typically made of six strands. Gently separate just one single strand from the bunch.
- Fold this single strand perfectly in half.
- Thread the two cut ends together through the eye of your needle. You should have a neat loop at the other end.
Now, from the back of the fabric, push your needle up through your starting hole. Pull the thread, but don't pull it all the way through—leave that little loop hanging out on the back. When you push your needle back down to make the first half of your 'X', guide the needle through that loop on the back and pull gently. That’s it! Your thread is securely anchored, no knot required.
The Anatomy of a Perfect Cross Stitch
The basic cross stitch is just two tiny diagonal stitches that form an 'X'. The secret to making your work look polished and professional is consistency. Every single one of your bottom stitches needs to slant in the same direction, and all your top stitches should slant the other way.
I always stitch my bottom leg from the bottom-left corner to the top-right corner (/). Then, I cross it by stitching from the bottom-right to the top-left (\). This creates a beautifully uniform texture that's really pleasing to the eye.
Pro Tip: It honestly doesn't matter if your top stitches go /// or \\ . What matters is that you pick a direction and stick with it for the whole project. This small detail is what really elevates a finished piece.
If you have a row of the same colour, the most efficient way to work is to complete all the bottom stitches first (like this: /////). Then, you work your way back across the row, completing the top half of each 'X' (like this: \\\). This is often called the "Danish method," and it’s not only faster but also uses a bit less thread.
Adding Detail With Other Essential Stitches
While the classic 'X' is the star of the show, a couple of other stitches act as the supporting cast, adding definition and detail that make your designs really pop. If you want to dive deeper into more advanced techniques, our guide on the different types of cross-stitch stitches is a great next step.
The Half Stitch Just as it sounds, this is only half of a cross stitch (/). Patterns often use half stitches to fill in backgrounds or create shading and depth. You just work them in the same direction as the bottom leg of your regular stitches. Simple!
The Backstitch This is your go-to stitch for outlining, creating text, and adding all those crisp little details. A backstitch is basically a series of straight lines that trace around your cross-stitched shapes, almost like an ink outline on a drawing. It gives everything a sharp, finished look.
Once you’re comfortable with these three—the full cross, the half stitch, and the backstitch—you’ll have all the skills you need to tackle the vast majority of cross-stitch patterns out there. Mastering them is your first major step toward stitching with confidence.
Decoding Cross Stitch Patterns Like a Pro
Think of a cross stitch pattern as your roadmap. It's the guide that transforms a confusing grid of symbols into a beautiful piece of art you can actually hold. When you first look at one, it can seem like a jumble of characters and lines, but I promise, it's way simpler than it looks. Once you get the hang of the basic parts, you'll be able to tackle even the most complex designs.
A pattern really boils down to two main components: the chart and the key. The chart is the visual map of your design, where every single square equals one stitch on your fabric. The key is your legend—the decoder ring that tells you exactly which color thread to use for each symbol on the chart.
The Anatomy of a Pattern Chart
The chart itself is the heart of the whole operation. It’s laid out in a grid of 10x10 squares, a small detail that is an absolute lifesaver for keeping your place, especially on bigger projects. This structure lets you break down the design into smaller, more manageable chunks.
Inside this grid, you'll see all sorts of symbols—stars, letters, numbers, you name it. Each one represents a single cross stitch. So, when you see a square on the chart filled with a little triangle symbol, you know you need to make one cross stitch in that same spot on your Aida cloth.
My Personal Tip: I always use a highlighter or a simple pencil to mark off the squares on my paper pattern as I stitch them. It's incredibly satisfying to see your progress tracked this way, and it saves you from the headache of recounting stitches over and over again.
Understanding the Color Key
So, how do you know which color thread to use for that triangle symbol? This is where the color key (or legend) comes into play. This is your go-to guide, listing every symbol from the chart and telling you everything you need to know about the floss.
Typically, the key will show you:
- Symbol: The character you see on the chart.
- Floss Number: The specific DMC (or other brand) number for the thread. For example, the key might show that the triangle symbol means you need DMC 310.
- Color Name: The common name for the color, like "Black" or "Christmas Red."
- Strand Count: How many strands of floss to use for that stitch. For a standard cross stitch, this is almost always two.
It’s really just a two-step dance: find a symbol on the chart, then look it up in the key to grab the right color. That's the whole process. After a while, you'll start to automatically recognize which colors go with which symbols, and you'll be stitching faster than ever.
Turning Your Photos into Custom Patterns
One of the best ways to learn cross stitch is by making something that’s truly your own. Modern tools make this so easy, letting you turn your favorite photos into completely unique cross stitch patterns. You don't need any design skills; tools like our Pic2Pat generator do all the hard work for you.
You just upload a photo, and the software works its magic, analyzing the colors and pixels to translate your image into a stitchable grid, complete with its own DMC color key.
Here’s a quick look at how the Cross Stitched Pic2Pat tool helps you set up your custom pattern.
As you can see, the interface is straightforward. You upload your picture and then tweak settings like the final size and fabric count until the pattern is just right.
For the best results, start with a high-resolution photo with good lighting and a clear difference between your subject and the background. Simple portraits or clear photos of pets almost always turn out great. A busy, cluttered photo, on the other hand, can create a pattern with lots of scattered, single-color stitches—what we stitchers call "confetti"—which can be a real pain, especially for beginners.
This kind of personalization is a huge reason why cross stitch is so popular today. The embroidery market, which includes cross-stitch, was valued at USD 4.06 billion and is projected to hit USD 7.41 billion by 2033. In North America, personalized kits are a massive driver of this growth. An estimated 50% of sales come from custom photo conversions—a whole business model built on turning personal memories into art. You can dive into more market details in the full report from SkyQuest Technology.
Once you know how to read a pre-made pattern and understand how custom ones are created, a whole world of creativity opens up. Your stitching journey is no longer confined to designs you can find in a store; it’s limited only by your own imagination.
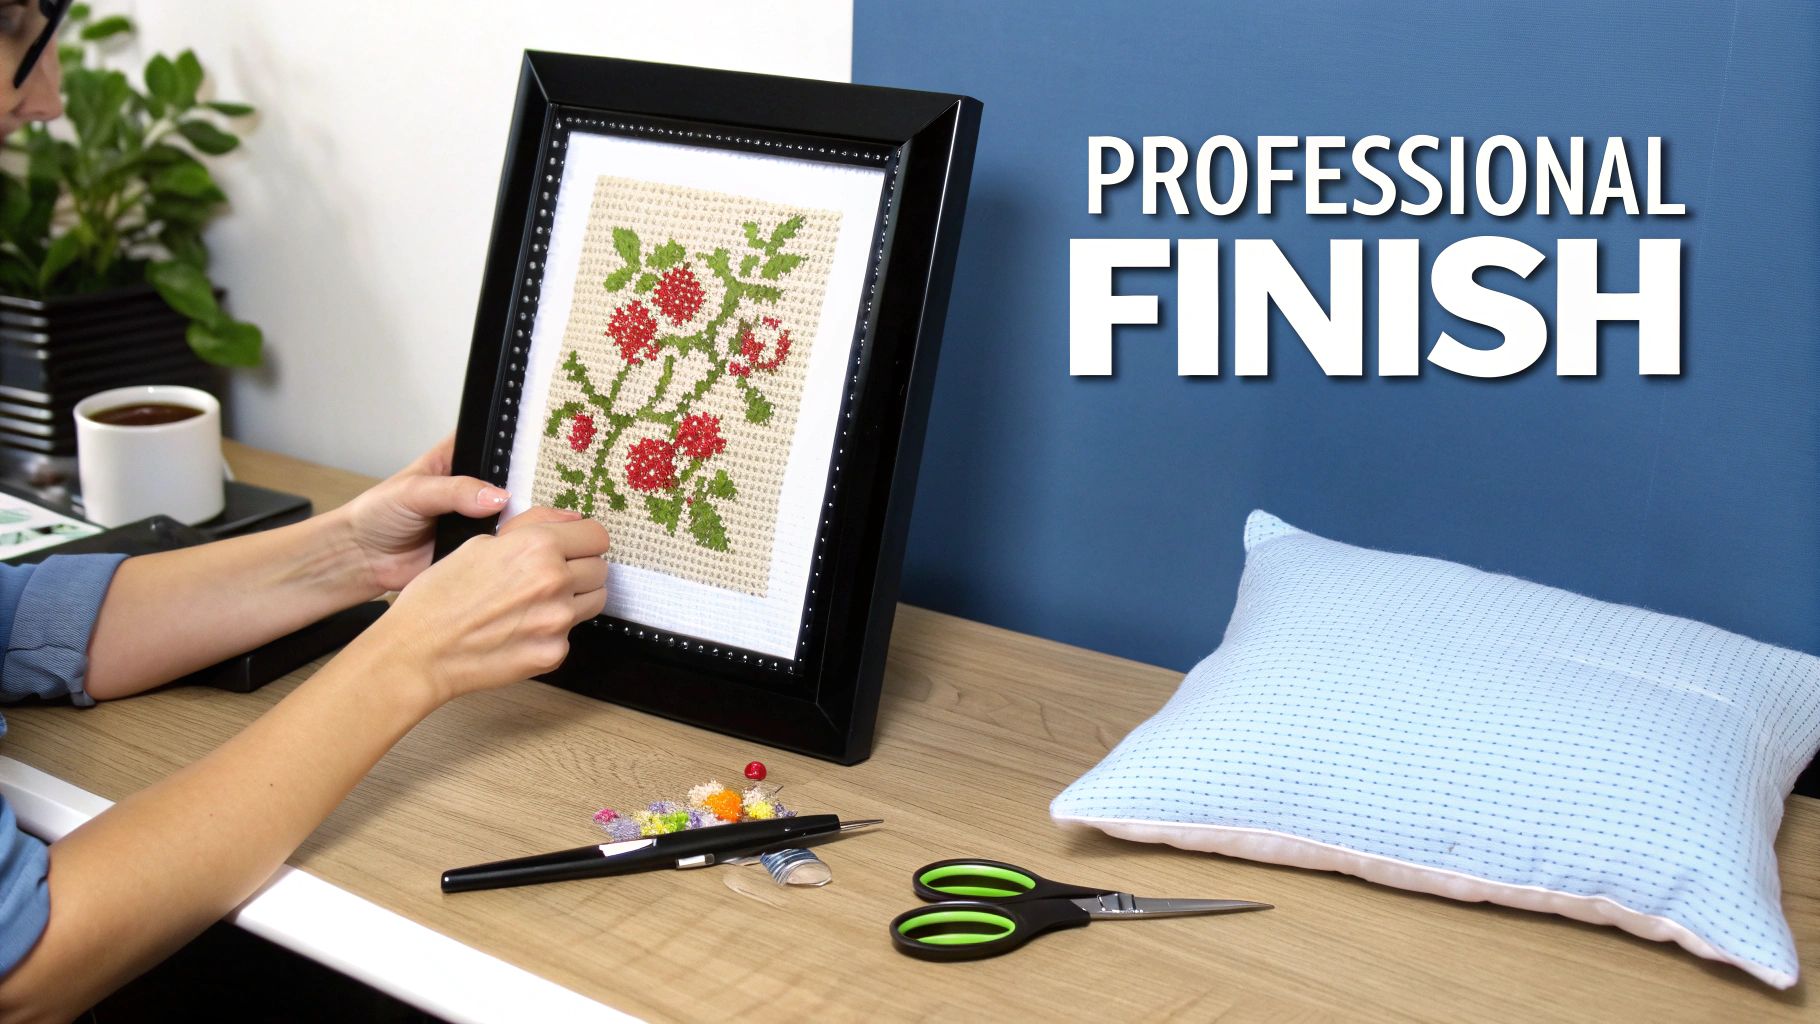
Finishing Your Project For A Professional Look
That last stitch is a fantastic moment, isn't it? You’ve just spent hours, maybe even weeks, turning a blank piece of fabric into something truly special. But don't put your project away just yet—it's time for the final touches that really make it shine.
This final stage is just as crucial as the stitching itself. Giving your piece a proper wash and press will get rid of any oils from your hands, smooth out stubborn hoop marks, and make every single stitch look plump and perfect. Let’s get your work ready for its big debut.
Washing and Pressing Your Work
First things first, let's give your project a gentle bath. Find a clean basin or sink and fill it with lukewarm water and just a drop of mild, clear soap—a specialized quilt wash works great, too. Submerge your cross stitch and let it soak for about 15 minutes. Every so often, give it a soft swish.
Now it's time to rinse. Run it under cool water until there's not a sud in sight. The golden rule here is to never wring it out! Wringing can distort the fabric and your stitches. Instead, gently squeeze out the extra water.
Lay your piece flat on a thick, clean towel. Roll it up like a burrito and press down firmly to soak up as much moisture as possible.
To get it perfectly flat, lay the still-damp piece face down on another clean, dry towel. Set your iron to a medium heat (the "cotton" setting is usually a safe bet) and press the back of the fabric. Pressing it face down on a soft surface is key; it protects your stitches from getting squashed flat and keeps them looking defined and beautiful.
The most common mistake I see beginners make is ironing directly on the front of their project. This crushes the stitches and ruins that gorgeous texture you worked so hard for. Always press from the back, on a padded surface.
Creative Ways to Display Your Cross Stitch
Once your piece is clean, dry, and perfectly flat, the real fun begins. A classic frame is always a lovely choice, but don't feel boxed in! There are tons of creative ways to show off your new creation.
Thinking outside the frame is a huge part of the fun when you learn cross stitch. Your finished work can become a beautiful, functional part of your home. For a deep dive, check out our guide on how to creatively finish a cross stitch project for even more ideas.
Here are a few of my favourite alternatives to framing:
- Throw Pillows: A small or medium design makes a fantastic centrepiece for a decorative cushion. It’s a great way to add a personal touch to your sofa.
- Unique Patches: Got a smaller motif? Turn it into a custom patch for a denim jacket, a tote bag, or a backpack. Just trim the fabric, fold the edges under, and stitch it on.
- Holiday Ornaments: Tiny designs are perfect for creating one-of-a-kind Christmas ornaments. You can mount them in mini embroidery hoops or finish them as little stuffed baubles.
- Banner Wall Hangings: For a modern look, attach a small wooden dowel to the top and bottom of your piece. It creates a simple, stylish wall hanging.
By taking a little extra time to wash, press, and thoughtfully display your work, you give it the stunning finish it deserves. This final step transforms your project into a treasured heirloom you’ll be proud of for years.
Questions Every New Stitcher Asks
Diving into a new hobby always brings up a few questions. When you're just starting out with cross-stitch, it's totally normal to wonder about the little things that experienced stitchers don't even think about anymore. This is your go-to spot for those common "what if" and "how do I" moments.
We'll tackle some of the most frequent bumps in the road for beginners, from pesky tangled threads to fixing those inevitable little slip-ups. My hope is to give you the confidence to handle any small snag, so you can keep your stitching experience fun and relaxing.
What Fabric Count Should I Start With?
I always, always point beginners toward 14-count Aida fabric. The 'count' just means how many stitches you can make in one inch. A lower number like 14 means the weave is bigger and more open, making the holes much easier to see.
This is a huge help when you're just getting the hang of making even stitches. It's easy on the eyes and helps you find your rhythm without getting frustrated. Once you feel comfortable, you can definitely branch out to higher counts like 16 or 18-count for projects with finer detail. But for building that initial skill and confidence, 14-count Aida is the perfect place to start.
How Can I Stop My Thread From Tangling All The Time?
Ah, the dreaded thread knot! It’s the one thing that unites every single person who has ever stitched. The good news is, it's mostly preventable. My number one piece of advice is to use shorter lengths of floss—about 18 inches is the sweet spot. Think from your fingertips to your elbow. It's long enough that you're not constantly re-threading your needle, but short enough to keep tangles from forming.
Another great little trick is to just let your needle and thread dangle every so often. As you stitch, the floss gets twisted up. Just dropping it and letting it hang freely allows gravity to work its magic and unwind it for you.
A pro-tip I learned years ago: after you separate a single strand from the main six-strand skein, just let it hang for a second before threading your needle. You'll actually see it spin and untwist. This tiny pause makes a world of difference in preventing knots down the line.
Some people also swear by thread conditioners, but honestly, if you can master these two habits—shorter threads and letting it dangle—you'll eliminate most of your tangling headaches.
Can I Really Turn Any Photo Into A Cross-Stitch Pattern?
Pretty much! The technology for converting photos into patterns is incredible, but the final result completely depends on the photo you start with. To get a pattern you'll actually enjoy stitching, you need a high-resolution image with clear lighting and good contrast.
Think about what makes a good candidate:
- Simple Portraits: A clean shot of a person or a pet against an uncluttered background usually translates beautifully.
- A Clear Subject: The software needs something to focus on. A picture of a single rose will work way better than a photo of a whole rose bush.
- Strong Contrast: If your subject and background are too similar in colour, the pattern will look muddy. A dark dog on a light-coloured floor is a much better choice than a black dog on a dark rug.
If you use a busy, low-contrast photo, you'll likely get a pattern full of "confetti"—tons of single, scattered stitches in different colours. That can be a real nightmare to work on. Starting with a great photo is the secret to creating a custom piece you'll be proud of.
What's The Best Way To Fix A Mistake?
First off, don't panic! Making mistakes is just part of the process. Every single stitcher does it, no matter how long they've been at it. If you've just made one or two stitches in the wrong spot, you can usually just unpick them. Gently slide the eye of your needle under the stitch and carefully pull the thread out.
If it's a bigger section, you have to make a judgment call. Is it worth the time to "frog" it (because you have to "rip-it, rip-it")? Or is it a small error that no one but you will ever notice? Sometimes, you just have to let it go.
But the best way to deal with mistakes is to prevent them in the first place. A lot of stitchers grid their fabric with a special water-soluble pen or a thin thread. They draw a 10x10 square grid that matches the grid on the pattern chart. It feels like a bit of extra work up front, but trust me, it can save you hours of frustration later.
Ready to turn your own cherished memories into a work of art? At Cross Stitched, we make it easy to create a personalized cross stitch kit from your favourite photo. Get everything you need, from pre-sorted threads to the perfect fabric, delivered right to your door.


