
You’ve put so much care into every single stitch. Now, it's time for the final act: finishing your cross stitch masterpiece. This last part of the journey is what turns your stitched fabric into a polished piece of art, ready to be admired for years.
Your Guide to a Professional Finish
Finishing can feel a little daunting, especially after pouring weeks or even months into a project. But don't worry. It’s a straightforward process when you break it down, and getting it right is incredibly rewarding. This guide will walk you through everything, making sure your hard work gets the beautiful, lasting presentation it deserves.
We'll cover the four main stages every stitcher should master. Think of this as your game plan, helping you decide on the best approach for your specific project, whether it's a tiny ornament or a huge, detailed landscape.
The Four Core Stages of Finishing
Each of these stages builds on the one before it, leading to a truly flawless result. Getting familiar with them now means you can gather your supplies and be ready for anything.
- Preparation: This is all about getting your fabric pristine. You'll wash away any oils from your hands, press out stubborn hoop marks, and make sure your piece is perfectly clean, flat, and square.
- Mounting: Next, you'll stretch and secure your fabric onto a sturdy backing, like foam core. This is the secret to keeping your work tight and preventing any dreaded sagging down the road.
- Framing: The classic choice for a reason. A good frame not only looks great but also protects your stitching from dust and damaging UV light.
- Alternative Finishes: Not every project is destined for a frame! We’ll explore all kinds of creative ideas, from turning your work into decorative pillows and wall hangings to crafting one-of-a-kind ornaments.
This desire for unique, handcrafted decor is bigger than ever. The global embroidery market, which includes cross stitch, is expected to jump from $2.57 billion in 2021 to $3.71 billion by 2025. It's a clear sign that people are falling back in love with traditional crafts. You can discover more insights about this growing market and how it’s shaping the crafting world.
A well-executed finish does more than just display your work; it preserves the integrity of your stitches and fabric for years to come. Think of it as the final, crucial act of care for your creation.
To help you visualize the process, here's a quick breakdown of what each stage involves.
Overview of Cross Stitch Finishing Stages
| Stage | Key Actions | Key Tools |
|---|---|---|
| Preparation | Washing, ironing, trimming, and blocking the fabric to ensure it's clean and perfectly square. | Gentle soap, iron, pressing cloth, pins, blocking mat. |
| Mounting | Stretching and securing the fabric onto a firm, acid-free backing to keep it taut. | Foam core or mounting board, T-pins, archival tape or lacing thread. |
| Framing | Placing the mounted piece into a frame with or without a mat for display and protection. | Frame, mat board, glass or acrylic glazing, finishing hardware. |
| Alternative Finishes | Turning the stitched piece into a functional or decorative item like a pillow, ornament, or banner. | Sewing machine, stuffing, backing fabric, cording, ribbon. |
With these stages in mind, you have a clear path from a finished piece of fabric to a treasured heirloom.
Building Your Finishing Toolkit
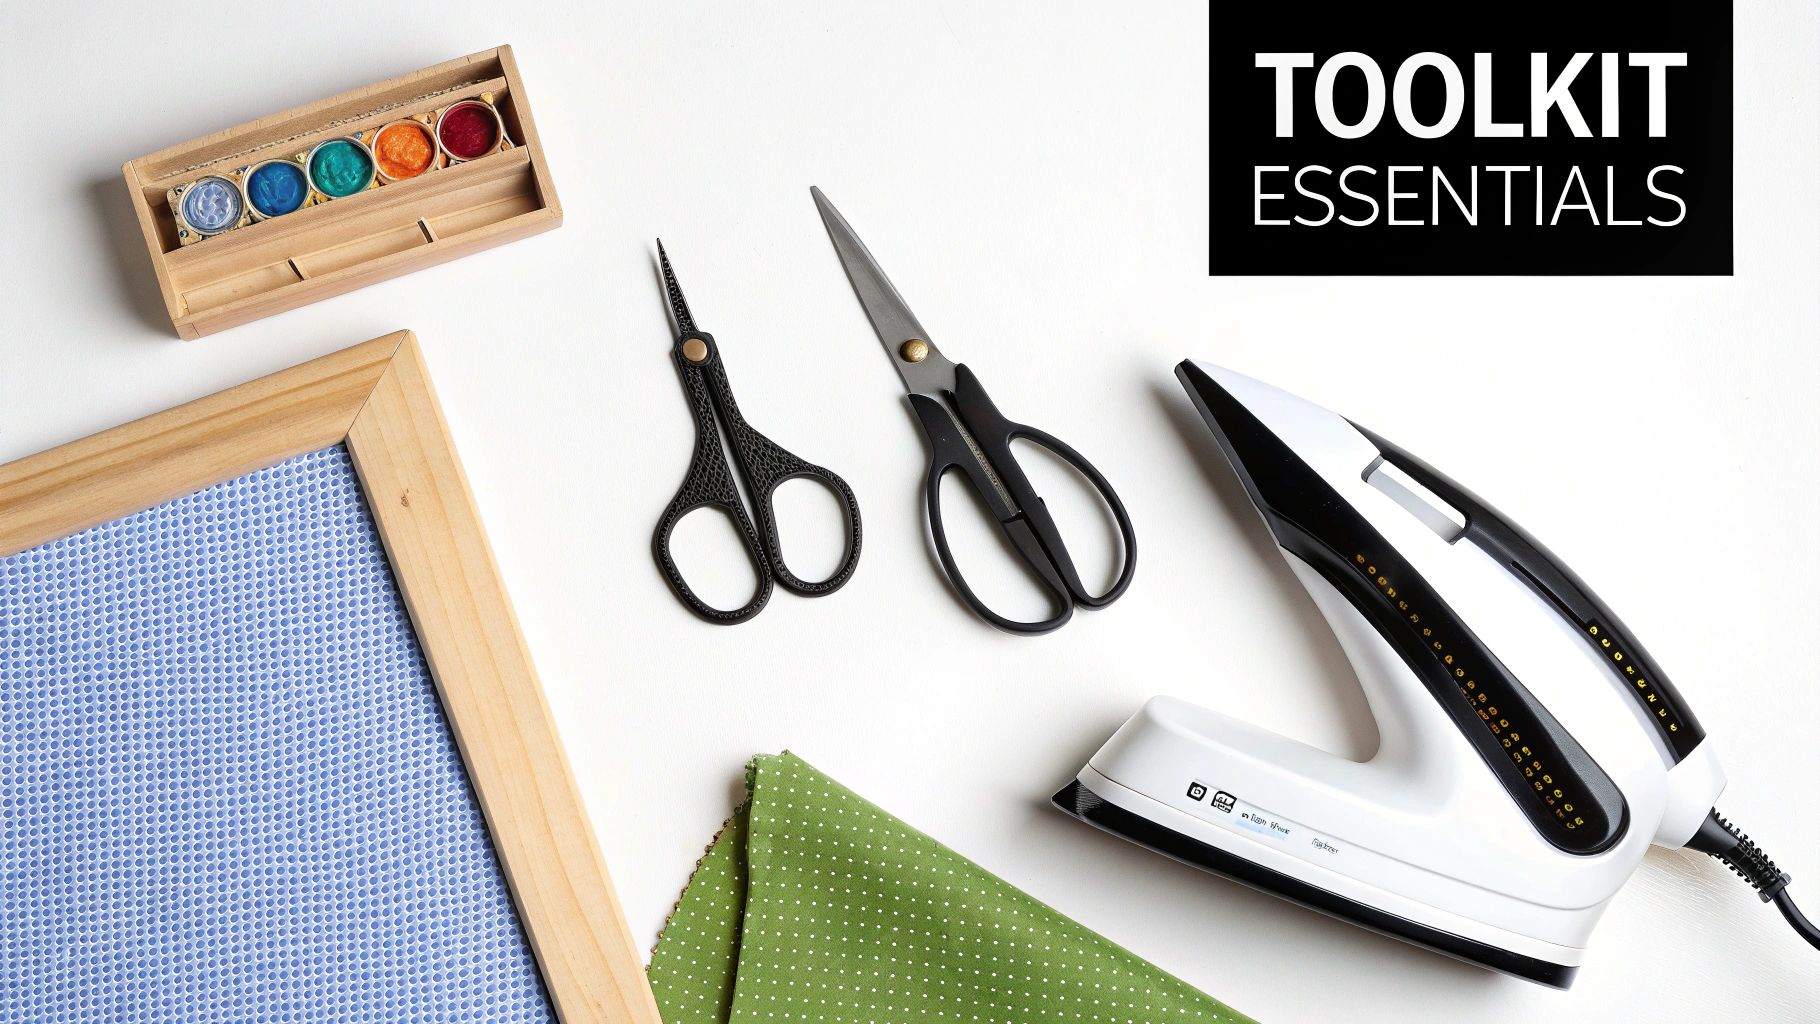
Having the right tools on hand before you even think about finishing your cross stitch can make all the difference. It turns what could be a frustrating chore into a truly rewarding final act. Think of it this way: you wouldn't use just any old thread for stitching, so why skimp on the tools that will protect and display your work?
You don't need a professional workshop, though. Many of the basics, like a steam iron and a clean cloth for pressing, are probably already in a cupboard at home. However, a few specialized items are worth their weight in gold for getting that polished, long-lasting finish.
Core Finishing Essentials
When it comes to your finishing kit, the name of the game is preservation and precision. Using the wrong stuff can cause your beautiful work to yellow, fade, or even fall apart over the years, and nobody wants that.
Here’s what I consider non-negotiable:
- Sharp Scissors: You really need two pairs. A good, sturdy pair of fabric shears for cutting your Aida or linen down to size, and a small, nimble pair of embroidery scissors for any delicate thread trimming.
- pH-Neutral Soap: If your piece needs a wash (and most do!), a gentle, acid-free soap is a must. Regular laundry detergents are far too aggressive and can damage the delicate cotton threads.
- Archival Mounting Board: This is critical. Always, always use acid-free foam core or mounting board. Standard cardboard is full of acids that will literally leech into your fabric and leave ugly yellow stains over time.
- Acid-Free Adhesives: Same principle applies here. If you're using any kind of tape or glue, make sure it’s archival quality. That regular sticky tape will dry out, turn yellow, and stain your project.
My Golden Rule: If it's going to touch your fabric for the long haul—board, tape, matting—it must be acid-free. This one simple rule is the best way to protect your masterpiece for decades to come.
Tools for Mounting and Display
Okay, your piece is clean, pressed, and ready to go. Now you need the tools to stretch and secure it properly. This is where a little precision goes a long way toward achieving that taut, professional look we all want.
For a great rundown of tools that are useful for every stage of your project, from the first stitch to the last, check out our guide on essential accessories for cross stitch. When you're ready to mount, make sure you have rustproof pins. T-pins are great for foam core, but simple stainless steel straight pins also work perfectly and won't leave rust spots on your fabric.
A couple of other things that make life much easier are a self-healing cutting mat and a rotary cutter. Are they strictly necessary? No. But if you want to trim your mounting board to the exact size quickly and with perfectly straight lines, they are a game-changer. A clear acrylic ruler is another one of my must-haves; it's invaluable for getting your design perfectly centered before you frame it.
Getting Your Fabric Ready: Washing and Blocking
After you’ve put in the final stitch, there's one last prep stage before you can truly show off your work: washing and blocking. It might sound a bit intimidating, but it’s the secret to getting rid of any oils from your hands, pesky hoop marks, and making sure your piece is perfectly square and flat.
Think of it as giving your project a spa day. A gentle bath in lukewarm water—around 30°C is perfect—relaxes the fabric fibers without causing any shrinking or fading. This initial soak is great for loosening any surface dust and just makes the fabric easier to handle.
The All-Important Colorfast Test
Before you dunk your entire project, take a moment to test your threads. Trust me, this tiny step can save you from a world of heartbreak.
Just dip a small, inconspicuous corner of your fabric into the water and then press it against a clean white cloth or paper towel. If you see no color transfer, you’re good to go! But if any dye bleeds onto the cloth, it’s a warning sign. Switch to cooler water and maybe grab a color catcher sheet (the kind you use for laundry) to be safe.
A few more tips for a successful wash:
- Stick with a pH-neutral soap or a specialized textile wash. Regular detergents often have bleaches or optical brighteners that can damage delicate threads.
- Be gentle. Swish the fabric around in the water instead of scrubbing it.
- Rinse until the water runs completely clear. Any leftover soap residue can attract dirt over time.
Once it's clean, resist the urge to wring it out! Instead, lay your piece flat on a thick, clean white towel, roll it up like a jelly roll, and press gently to absorb the excess water.
The embroidery and cross stitch market isn't just a beloved hobby; it's a booming industry. Valued at $1.63 billion in 2025, it’s projected to hit $3 billion by 2035. It's incredible to see so many people embracing this craft! You can dive deeper into these embroidery market trends on Business Research Insights.
Squaring Up Your Work: Pin Blocking and Stretching
Now for the magic part: blocking. This is how you get your fabric perfectly square and your stitches looking uniform.
Lay your damp (not sopping wet) cross stitch on a blocking mat, a thick towel, or even a piece of foam core. You’ll want to use rustproof pins—this is non-negotiable, as rusty pins will stain your fabric permanently.
Start by pinning the four corners, gently stretching the fabric so the grid of the Aida or linen is straight. Look at your work—do the lines run true, like a perfect grid? Adjust the corners until they do. Then, work your way down the sides, adding pins every inch or two to maintain that tension and keep the edges straight. A clear acrylic ruler can be your best friend here to check for straight lines.
Let it air dry completely. Don't rush this part! Once it’s bone dry, you can remove the pins.
There are a few ways to approach blocking, and the right one often depends on your project and what you have on hand.
Choosing the Right Blocking Method
| Method | Pros | Cons |
|---|---|---|
| Pin Blocking | Gives you incredible control over the final shape and tension. | It's a bit time-consuming and requires careful, precise pin placement. |
| Towel Blocking | Very gentle on the fabric and provides soft, even support as it dries. | You might not get perfectly crisp, straight edges like you would with pins. |
| Stretch Frame | The best option for very large or heavily stitched pieces that need even tension. | You'll need to buy specialized stretcher bars or a frame for this. |
No matter which method you choose, the goal is the same: a flat, square, and beautiful finished piece ready for its final presentation.
The Final Press: Drying and Ironing
Once your piece is dry from blocking, a final press is the finishing touch. This really sets the stitches and gives the fabric a crisp, professional look.
Always press your piece face-down onto a thick, clean towel. This protects your stitches from getting flattened. Place another clean cloth (a pressing cloth) on top of the back of your fabric to shield it from direct heat.
- Use a hot iron, but test it on a scrap piece of your fabric first if you're unsure.
- Use a sweeping motion. Never drag the iron across the fabric, as this can distort your stitches.
- Let the fabric cool down completely before you move it. This locks in the shape.
A Real-World Rescue Mission
I'll never forget the panic I felt after washing a 16" wedding sampler I'd spent months on. It came out of the water looking more like a trapezoid than a square. My heart sank.
But blocking saved the day. I carefully pinned it to a large foam board, constantly checking the alignment with a T-square, and let it dry for a full 48 hours. It worked! The piece was restored to its perfect square shape.
“Proper blocking turned a lopsided heirloom into a gallery-ready piece,” says Jane, a fellow stitcher.
For a deeper dive into washing methods, you can find more great tips and tricks in this article.
After all this work, let your project rest on a flat, acid-free surface for at least 24 hours. This final step ensures it's completely dry and settled, preventing any new wrinkles from sneaking in before you frame it.
Ultimately, taking the time to wash and block your work is what separates a nice finish from a truly stunning one. It honors the time and care you poured into every single stitch.
Mounting and Stretching Your Artwork
After you’ve carefully washed and blocked your cross stitch, it should be clean, flat, and perfectly square. Now for the part that really turns it into a piece of art: mounting. This step is all about securing your fabric to a solid backing to create a taut, smooth surface that won't wrinkle or sag over the years.
Think of mounting as creating the canvas for your masterpiece. It’s the hidden structure that ensures every single stitch looks its best, whether it's destined for a frame or another creative finish. The goal is to get perfectly even tension across the entire piece—a skill that elevates a homemade craft into a professional-looking display.
Choosing Your Mounting Surface
The board you choose is the unsung hero of a finish that lasts. It might be tempting to grab any old piece of cardboard you have lying around, but this is one of those times where quality really, really matters. Standard cardboard and most craft foam boards contain acids that will slowly yellow and eat away at your fabric and threads over time.
For a piece you want to cherish for years, stick to these options:
- Acid-Free Foam Core: This is a fantastic and widely available choice. It's lightweight, a breeze to cut to size, and gives your fabric a firm, stable surface to rest on.
- Acid-Free Mounting Board: A bit denser and more rigid than foam core, this is what professional framers typically use. It’s incredibly durable and provides top-tier, long-term protection for your stitching.
Always double-check the packaging to make sure it explicitly says "acid-free" or "archival quality." This one detail is the single most important factor in preserving the vibrant colours and integrity of your hard work.
Mastering Tension: Three Ways to Mount
There are a few tried-and-true methods for attaching your fabric to the board. Each has its own benefits, and the best one for you will likely depend on your project, your patience, and whether you ever want to un-mount it.
The infographic below recaps the essential prep work that sets you up for successful mounting.
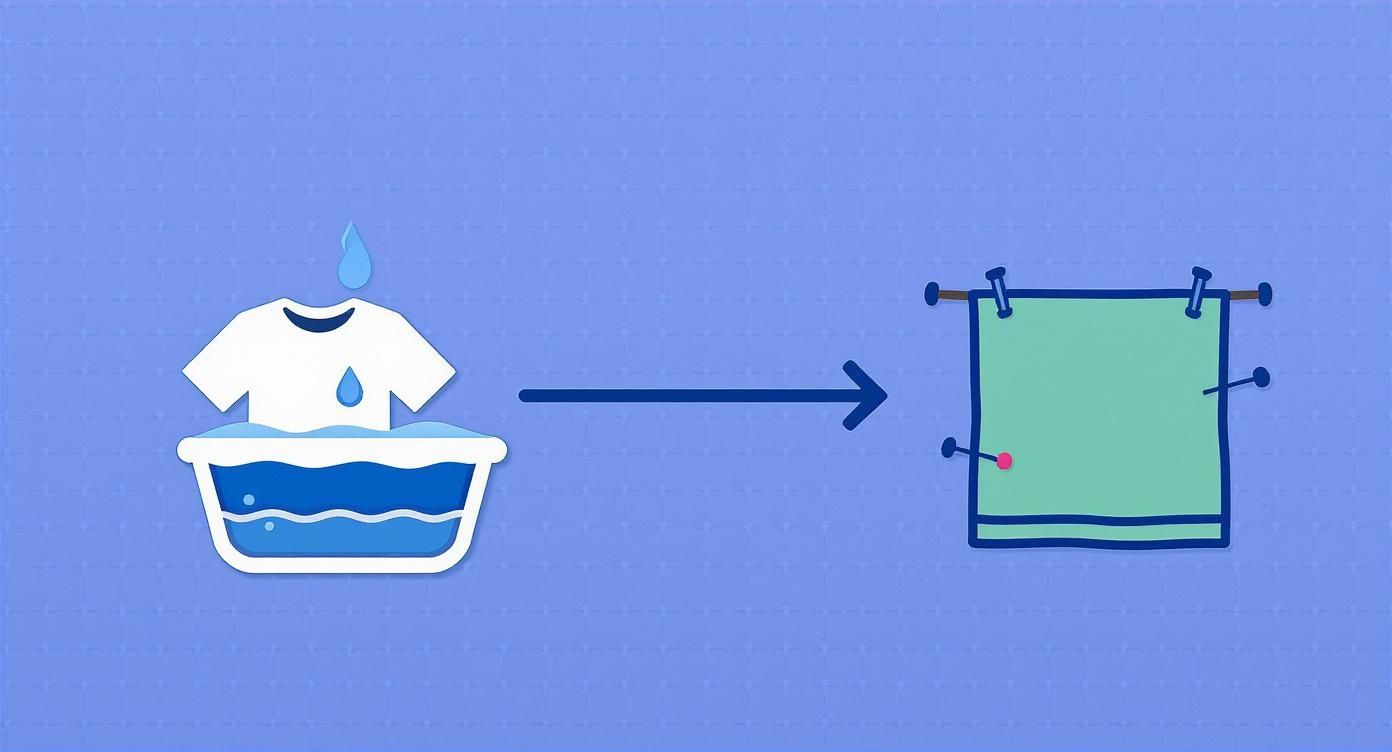
As you can see, washing and blocking are non-negotiable first steps. They get your fabric perfectly ready for what comes next.
1. The Pinning Method
This is a straightforward and very forgiving technique, which makes it perfect if you're new to this. After centering your design on the board, you simply fold the extra fabric around to the back and secure it with rustproof pins. Just push them straight into the edge of the foam core, not the back.
The key is to use lots of pins placed close together. This helps distribute the tension evenly and prevents any one spot from pulling too tight.
2. The Taping or Stapling Method
For a quicker, semi-permanent finish, you can use archival-quality double-sided tape or even a staple gun. Just like with pinning, you fold the fabric over the back of the board, pulling it taut as you go, and secure it down. While it's certainly fast, this method doesn't leave much room for error or adjustment later.
My Go-To Tip: No matter which method you choose, always work from the center outwards. Secure the middle of one side first (with a pin, tape, or stitch), then pull taut and secure the opposite side. Do the same for the top and bottom. Then go back and fill in the gaps. This technique is the secret to perfectly even tension.
3. The Lacing Method
This is the gold standard, the technique professional framers and textile conservators swear by. Lacing is fully reversible and 100% archival. Using a strong, neutral-coloured thread, you create a series of stitches back and forth across the back, pulling the fabric edges toward each other like lacing up a corset.
It definitely takes more time, but the result is unparalleled tension and a truly professional finish that can be undone without any damage.
Troubleshooting Common Mounting Issues
Even with the most careful prep, you might hit a snag. Don’t panic! Most of these little problems are easy to fix.
- Wrinkles or Puckers: This is almost always a sign of uneven tension. Just unpin or unlace the problem area, gently smooth the fabric from the center out toward the edge, and secure it again.
- Loose Corners: Corners can be a bit tricky. The best way to get a neat finish is to use a "hospital corner" fold—just like you would when making a bed. This creates a tidy, flat fold on the back that you can then pin or lace down securely.
- Misaligned Design: If you step back and realise your design isn't perfectly centered, it's honestly best to just start over. The good news is that both the pinning and lacing methods make this easy to correct without harming your fabric.
Interestingly, when meticulously mounting your cross stitch, the principles behind achieving a flawless finish during installation of other DIY projects are surprisingly relevant. The core concepts of patience, precision, and working from the center out apply here, too. Taking your time to mount your project correctly is the final act of care that gets your beautiful work ready for its moment in the spotlight.
Choosing the Perfect Frame and Mat
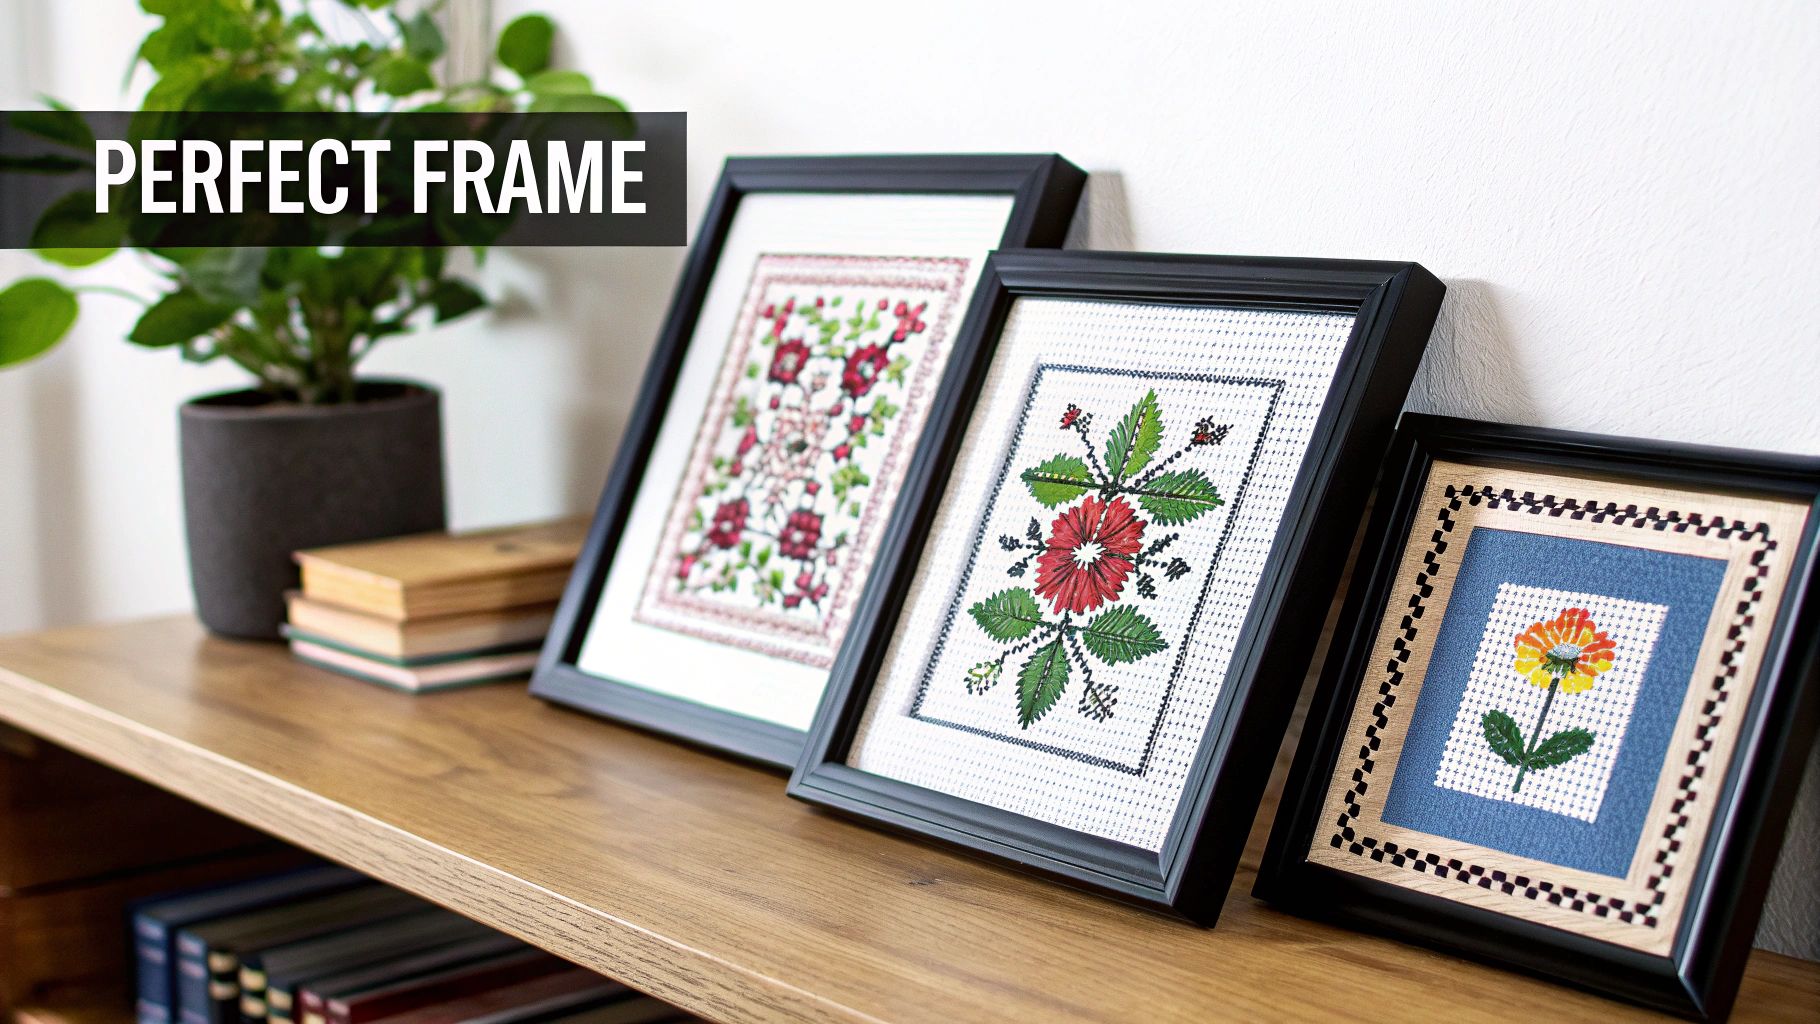
You’ve poured hours into stitching, washing, and mounting your piece. Now comes the final flourish: the frame. Think of it as the supporting actor—it’s there to make your artwork shine without stealing the spotlight. A great frame enhances your work, but a poorly chosen one can easily clash with the colours or overpower the delicate details you worked so hard on.
The frame and mat should feel like an extension of the art itself. Their job is to pull the viewer's eye inward, creating a cohesive look that complements your stitching and ties the whole piece together. This is your chance to connect the art to your home’s decor or amplify the mood of the design.
Finding the Right Style for Your Stitching
Walking into a frame shop can be overwhelming. The trick is to let your cross stitch guide the decision. A rustic, primitive design with muted tones, for instance, would probably look lost in a sleek, modern metal frame. It would feel much more at home in a simple, distressed wood frame that echoes its charm.
On the other hand, a contemporary geometric pattern with bold, bright threads could look stunning in a minimalist black or white frame that lets the colours do all the talking. The goal is harmony. For smaller projects where you want to add a bit of personality, consider something unique like the Artemis Indigo Oval Picture Frame.
The Role of the Mat Board
A mat is that paperboard border sitting between your fabric and the frame. It serves two critical purposes: it gives your artwork some visual "breathing room," and more importantly, it keeps the fabric from directly touching the glass. This tiny gap is essential for preventing moisture buildup and the dreaded potential for mould down the road.
You’ve got a few common options when it comes to matting:
- Single Mat: This is the classic choice. A single, clean border in a neutral shade like off-white or cream creates a timeless look that works for almost any design.
- Double Mat: Stacking two mats adds a touch of depth and elegance. The top mat is cut with a slightly larger opening, revealing a thin sliver of colour from the one underneath. It’s a fantastic way to pick up a subtle accent colour from your stitching.
- Float Mount: Have a piece with beautiful, deckled, or decorative edges you don’t want to hide? A float mount is a great modern choice. The artwork is mounted on top of a backing board, making it look like it's "floating" inside the frame.
Pro Tip: When picking a mat colour, try pulling a secondary or tertiary colour from your stitched pattern. Using the most dominant colour can sometimes be too much, but highlighting a subtle accent shade can tie everything together perfectly.
Protecting Your Work for the Long Haul
When you finish cross stitch projects, you want them to last. Just like you used acid-free materials for mounting, the same rule applies here. Always, always choose acid-free or archival-quality matting. This prevents that ugly yellowing and keeps your fabric from degrading over time.
The glass, or glazing, is another huge factor. Standard picture frame glass offers almost no protection from ultraviolet (UV) light, which is the number one enemy of fabric and thread. Studies have shown that textiles can lose up to 50% of their colour within just a few years of being exposed to direct sunlight.
To keep your colours true, look into these glazing options:
| Glazing Type | UV Protection | Glare Reduction | Cost |
|---|---|---|---|
| Standard Glass | Minimal (~45%) | Low | $ |
| Conservation Glass | Excellent (99%) | Low | $$ |
| Museum Glass | Excellent (99%) | High | $$$ |
Splurging on conservation or museum-grade glass is one of the single best investments you can make to ensure your stitching stays as vibrant as the day you finished it. If you want to dive deeper, our complete guide on framing cross stitch pictures has even more tips and examples.
In the end, framing is a personal choice that blends protection with presentation. Take your time, play with different combinations, and trust your gut to find the perfect pairing that does justice to all your hard work.
Creative Finishing Ideas Beyond the Frame
Not every cross stitch piece is destined for a life behind glass. Sometimes, the best way to show off your hard work is to turn it into something you can actually use and enjoy every day. Let's explore some fantastic ways to finish your projects that go way beyond a simple picture frame.
Thinking outside the box lets you transform your stitching into beautiful, functional art. Here are a few of my favorite go-to methods:
- Hoop Art: Display your designs right in the hoop, maybe with a painted edge and a ribbon for hanging.
- Throw Pillows: Turn your stitched panels into cozy cushions that add a personal touch to any room.
- Festive Ornaments: Small motifs are perfect for creating unique tree ornaments with a little extra sparkle.
- Banner Wall Hangings: Attach your finished piece to a dowel for a modern, boho-inspired wall hanging.
Hoop Art Displays
Keeping your work in a hoop is a wonderfully simple and modern way to display it. The trick is to choose a hoop that's just a little bit bigger than your design so it doesn't look cramped. A little breathing room goes a long way.
For instance, I once took a basic 6-inch wooden hoop and gave it a quick coat of chalk paint to match my living room decor. After it dried, I centered my fabric, tightened the screw, and trimmed the excess, leaving about a 1-inch overhang all around. A simple ribbon loop hot-glued to the inner ring, and it was ready to hang.
Expert Tip: To keep the fabric perfectly taut and prevent any sagging over time, run a thin bead of craft glue along the inside edge of the inner hoop before you close it up. It locks everything in place.
Pillow Designs
Turning a beautiful stitched panel into a throw pillow is one of the most satisfying finishes. The first step is picking out a backing fabric that really complements the colors in your thread work.
Once your design is washed and blocked, you'll create a "sandwich" with your stitched piece on top and two pieces of backing fabric. You can use a sewing machine for a quick, sturdy seam or just do a simple straight stitch by hand.
Just remember to leave one side open to turn it right-side-out before stuffing it with polyester filling. A quick slip stitch is all you need to close the opening invisibly.
A Quick Pillow Walkthrough:
- Cut two backing squares, say 12x12 inches.
- Center your 8x8 inch stitched panel on one of the squares and pin it.
- Sew around three sides, leaving a 0.5-inch seam allowance.
- Turn, stuff, and close the final opening with a neat ladder stitch.
Festive Ornament Creations
Those tiny, leftover motifs you have from larger projects? They make absolutely charming ornaments. I love turning little stitched stars or hearts into keepsakes. For a bit of stability, I always iron a lightweight fusible web to the back first.
Then, just carefully cut around the design, leaving a small border. You can fold the border to the back and whip stitch the edges for a clean finish. A little bead or a tiny tassel at the bottom is the perfect final touch.
A Few Ornament Ideas:
- Weave in some mixed metallic threads for that holiday sparkle.
- Add tiny seed beads to highlight specific details in the pattern.
- Make your own tassels using leftover floss from the project.
"Ornaments are a great way to preserve small patterns and share them as gifts," shares stitcher Mira from our community.
Banner and Wall Hanging Projects
For a bigger statement piece, banners are a fantastic option. This approach combines your stitching with other textiles for a really custom look. Just sew a simple fabric sleeve along the top of your piece and slide a wooden dowel through it.
You can get really creative by adding felt shapes, pom-pom trim, or tassels along the bottom edge. It's a perfect method for creating DIY décor for a nursery or a home office.
My Go-To Fabric Choices
| Item | Recommended Material | Best Use |
|---|---|---|
| Aida Cloth | 14 count cotton | Great for small, graphic motifs |
| Linen Blend | 28 count linen | Perfect for pieces with fine detail |
| Canvas Drop Cloth | 10 oz cotton | Ideal for large, sturdy banners |
Embellishing Your Finishes
Don't be afraid to add a little extra flair! Beads, sequins, or unique threads can elevate a simple finish into something truly special. I like to sketch out my embellishment ideas on graph paper first to see how they'll look.
A good rule of thumb is to match your materials. If you stitched with silk floss, try adding silk beads to maintain a consistent texture and sheen. For durable edges that can withstand handling, finishing with bias tape or a serged seam is a game-changer.
The needlecraft patterns market is booming, reaching $34 billion in 2025 and is on track to double by 2035, thanks to vibrant online communities and a renewed interest in DIY textile arts. You can read the full analysis in this needlecraft patterns market growth report.
These creative options prove there's a whole world of finishing beyond framing. By turning your projects into everyday items, you create art that you can use, admire, and enjoy daily. So go ahead, experiment and find what works for you
Got Finishing Questions? Let's Troubleshoot
Even seasoned stitchers run into a few snags when it comes to the final finishing steps. It’s completely normal! Let's walk through a couple of the most common worries that pop up right before the finish line and how to handle them like a pro.
How Do I Stop My Threads from Bleeding?
Ah, the classic fear: a beautiful piece ruined by a runaway red thread. It’s a valid concern, especially with deeply saturated colors or hand-dyed floss. But you can easily prevent it.
The secret is to do a quick colorfast test before you even think about washing your project. Just snip a tiny piece of any thread you're worried about (dark reds and blues are the usual suspects), get it wet, and press it between a folded white paper towel for a few minutes. If any color leaches out onto the paper, you’ll want to wash your finished piece in cold water with a color catcher sheet tossed in for good measure.
A five-minute colorfast test can save you from a major stitching tragedy. Seriously, don't skip this with vibrant threads—it's the best insurance policy for your hard work.
What if My Stitching Came Out Crooked?
First off, don't panic! If your finished piece looks more like a wonky diamond than a perfect square, it’s not you—it’s the fabric. The weave can easily get pulled out of shape from the tension of your hoop and your stitches.
This is exactly what blocking was made for. While your fabric is still damp from washing, you can gently coax it back into shape. Lay it out on a blocking mat or a thick, clean towel and start pinning it down with rustproof pins. Gently stretch and pull the fabric until the grid is straight and the corners are at right angles. Place a pin every inch or so to hold it taut. Once it dries completely, it will remember its new, perfectly square shape. For a deeper dive, check out our guide on washing and blocking your cross stitch projects.
Ready to turn your favorite photo into a timeless stitched memory? At Cross Stitched, we create custom, all-in-one kits that make it easy. Upload your photo today and start your next masterpiece.


