
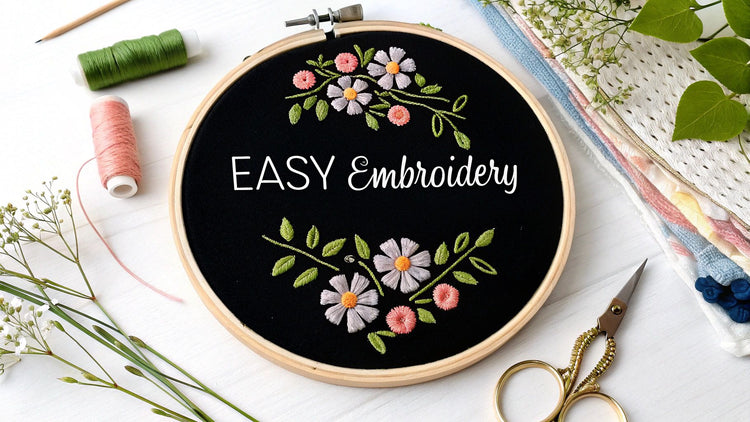
When you're just starting with embroidery, the best designs are the simplest ones. Think clean lines, not too many color changes, and basic, foundational stitches. I always tell beginners to start with things like delicate florals, bold geometric shapes, or even some simple lettering. These projects are designed to help you get the feel of the needle and thread and build your confidence without getting tangled in a complicated pattern.
Why Embroidery Is Making a Comeback
Embroidery is so much more than just a hobby. For a lot of us, it’s a creative escape and a quiet moment of mindfulness. We live in a world filled with screens and endless notifications, and the simple, rhythmic motion of pulling thread through fabric is incredibly calming. It’s a chance to slow down, disconnect, and make something beautiful with your own two hands.
This classic craft has seen a huge resurgence lately, welcoming a whole new generation of stitchers. Once you get the hang of it, you can customize a plain t-shirt, create one-of-a-kind wall art, or add a personal touch to a tote bag. The possibilities are truly endless.
A Modern Craft with Deep Roots
The recent explosion in embroidery's popularity is more than just a passing trend; it's a genuine movement. Back in 2020, when everyone was stuck at home, people were desperate for screen-free, soothing activities, and engagement in crafts like embroidery just soared.
The numbers back this up, too. The global embroidery market is projected to hit $3,712.1 million by 2025, a massive leap from $2,572.16 million in 2021. It's clear this craft has lasting appeal.
The real beauty of modern embroidery is how accessible it is. You don't need to practice for years to create something you're genuinely proud of. A simple beginner design, like a delicate wildflower or a minimalist sun, can often be finished in an afternoon and look absolutely stunning framed on your wall.
A huge part of this resurgence comes from creators sharing their gorgeous work online. If you get the bug and want to share your own projects, you can even explore UGC creator platforms to connect with a bigger community of makers.
This guide is all about getting you started on the right foot. We're here to prove that anyone can pick up a needle, learn a few stitches, and start creating beautiful art. Let's dive into everything from the essential tools to your very first project.
Your First Embroidery Toolkit
Jumping into embroidery doesn't mean you need a craft room overflowing with supplies. Honestly, the best way to start is with a few quality essentials. Think of it as building a small, reliable kit that sets you up for success on those first few projects without feeling overwhelming.
The whole point is to grab a few things that are easy to use and forgiving for a beginner. You don't need the fanciest gear on the market, but choosing the right basics makes a huge difference. For instance, a good, sturdy hoop is the secret to getting those neat, even stitches everyone envies—it keeps your fabric perfectly taut while you work.
Fabric and Floss: The Foundation
Your fabric is the canvas for your art. As you're starting out, stick with a medium-weight, natural woven fabric like cotton or linen. These are fantastic because you can actually see the weave, making it much easier to guide your needle. They also don't pucker or stretch out of shape, which can be a real headache with other materials. For now, steer clear of anything too thick, slippery, or stretchy.
Next up is the fun part: the embroidery floss! This is what brings your design to life with color. You really can't go wrong with DMC six-strand cotton floss. It’s the gold standard for a reason—it’s amazing quality, comes in a rainbow of colors, and you can find it in just about any craft store. The "six-strand" part is key; you can separate the strands to change how thick your stitches are. Most beginner patterns will tell you to use two or three strands at a time.
This back-to-basics approach is a big reason why embroidery has made such a huge comeback. The COVID-19 pandemic really sparked a massive interest in simple, satisfying crafts. From 2020-2024, lockdowns fueled a DIY boom that increased demand for needlecraft patterns by over 200%. Social media was flooded with free tutorials, and millions of new stitchers picked up a needle for the first time.
Hoops, Needles, and A Few Handy Extras
An embroidery hoop is an absolute must-have. It works like a little frame, holding your fabric tight so your stitches come out clean and precise. A 5-inch or 6-inch wooden or bamboo hoop is the perfect size to start with. It’s comfortable to hold and works for most simple patterns.
You'll also need a pack of embroidery needles. They’re different from sewing needles because they have a larger eye, which makes threading floss so much easier. A variety pack with sizes 3-9 is a great buy, as it will cover you for almost any project you’ll tackle early on. Just remember: the higher the number, the finer the needle.
One of my favorite little tools is a needle minder. It’s just a small, decorative magnet that sits on your fabric and gives you a safe place to park your needle. Trust me, it beats losing it in the couch cushions!
Finally, a sharp pair of small scissors for snipping your thread cleanly is essential. And that's really it! These core items are often all you need to dive in.
Here's a quick-glance guide to the must-have tools and materials for your very first embroidery project.
Essential Embroidery Supplies for Beginners
| Tool/Material | What to Look For | Beginner Tip |
|---|---|---|
| Embroidery Hoop | A 5-inch or 6-inch wooden or bamboo hoop. | Make sure it holds the fabric "drum-tight." A flimsy hoop will cause puckering. |
| Fabric | Light-colored cotton or linen. | Look for "evenweave" fabric—it has a consistent grid that makes stitching easier. |
| Embroidery Floss | DMC six-strand cotton floss. | Start with a basic color palette. You can always buy more shades as you need them. |
| Needles | A variety pack of embroidery needles (sizes 3-9). | Use a size 7 needle for most projects using 2-3 strands of floss. |
| Scissors | Small, sharp scissors (often called snips). | Keep these scissors just for thread! Using them on paper will dull them quickly. |
| Pattern Transfer | Water-soluble pen or a simple pencil. | Test your pen on a scrap piece of fabric first to make sure the marks wash out completely. |
These basics will get you through your first several projects with ease. If you're looking for an even simpler way to get started, you might want to check out our guide on the best embroidery kits for beginners, which bundles all of this together for you in one neat package.
Mastering Your First Five Stitches
You don't need to know a hundred different stitches to create something beautiful. Honestly, the secret to getting started with embroidery is just mastering a handful of the basics. Once you have these five core stitches in your back pocket, you’ll be amazed at the variety of patterns you can tackle.
Think of these as the building blocks of your new craft. Getting comfortable with them means you'll know not just how to make the stitch, but more importantly, when and why to use it. These are the workhorses that will do most of the heavy lifting in your first few projects.
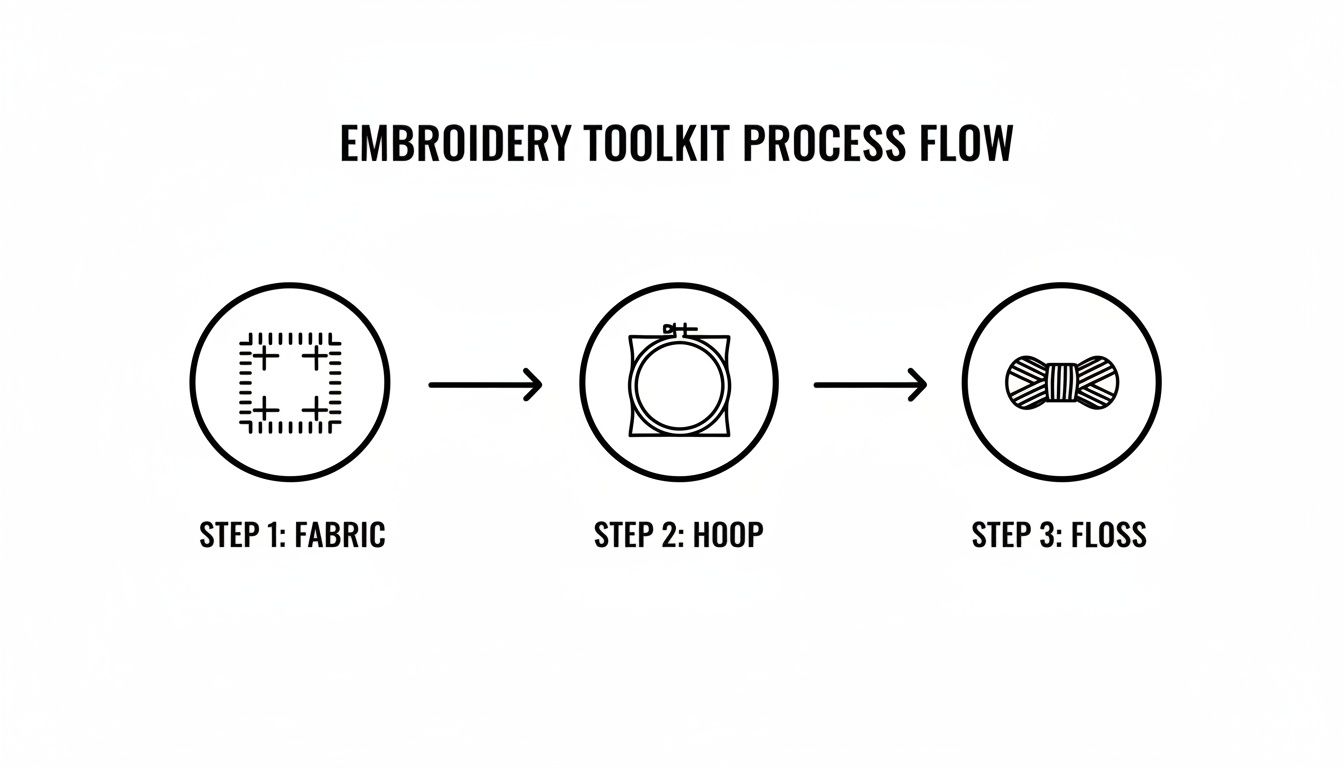
Before you even make a single stitch, though, the process always starts with the same three things: your fabric, your hoop, and your floss.
The Running Stitch and Backstitch for Outlines
Chances are, you already know the running stitch. It’s that simple in-and-out motion that creates a dashed line, perfect for rustic-looking borders or adding a bit of delicate texture. It's the simplest stitch there is, and that’s its superpower for a beginner.
For a cleaner, more solid line, you'll want to get friendly with the backstitch. This is the go-to for outlining pretty much everything in beginner embroidery. To make it, you bring your needle up a stitch-length ahead of your starting point, then go back down at the end of the previous stitch. The result is a crisp, continuous line that looks like it was drawn with a pen.
The Satin Stitch for Smooth Fills
When you need to fill in an area with solid, vibrant color—like a flower petal or a cute little animal—the satin stitch is your best friend. It’s simply a series of straight stitches laid right next to each other to create a smooth, glossy surface.
The real trick to a good-looking satin stitch is consistency. Keep your stitches parallel and flat, and try to maintain the same tension for each one. If you pull too tightly, the fabric will pucker. It takes a bit of practice to get that perfectly smooth finish, but the result is absolutely worth it.
My Favorite Beginner Tip: For larger shapes, outline the area with a backstitch first. This creates a slightly raised "wall" that helps you keep all your satin stitches neat and contained. It makes a huge difference in getting a clean edge.
The Stem Stitch for Elegant Curves
Just like its name suggests, the stem stitch is brilliant for stitching flower stems, winding vines, or any line that needs a bit of graceful curve. It creates a gorgeous, rope-like texture that gives your work a little dimension. It's also surprisingly sturdy, which makes it a fantastic choice for stitching letters.
You form it by making a straight stitch, but before pulling it all the way through, you bring the needle back up about halfway through the stitch, just to the side. As you pull the thread, it twists the stitch slightly, creating that classic corded effect.
The French Knot for Dainty Details
I’ll be honest, the French knot can feel a little fiddly at first, but stick with it! This stitch is incredibly useful for adding tiny, decorative dots. Think flower centers, little animal eyes, or just some fun, textured polka dots.
Here’s the basic motion:
- Bring the needle up where you want the knot to be.
- Wrap the floss around the needle two or three times (more wraps = bigger knot). Hold the end of the thread taut with your other hand to keep the wraps tight.
- Poke the needle back into the fabric right next to where it came out—but not in the exact same hole, or you might pull the knot through.
- Gently pull the working thread so the wraps slide down the needle and sit snugly on the fabric.
- Pull the needle all the way through to the back. Voila!
These five stitches are the foundation for so many incredible designs. Once you're comfortable with them, you can start exploring the huge world of different types of embroidery stitches to add even more flair to your work. But for now, getting these down will open up a ton of creative possibilities.
Getting Your Design onto Fabric
So, you’ve found the perfect beginner embroidery design. Awesome! Now for the next step: getting that beautiful pattern off the paper and onto your fabric. This part can seem a little daunting at first, but trust me, it’s much simpler than it looks.
There are a few classic, tried-and-true methods that work great for beginners. The best one for you will really just depend on the color and thickness of your fabric. A light-colored cotton is super easy to work with, but don't sweat it if you've chosen something darker or heavier—there’s a clever workaround for just about everything.
Let's walk through 3 reliable ways to get your pattern set up so you can start stitching.
Simple and Effective Transfer Methods
Honestly, one of the oldest tricks in the book is still one of the best: using a window as a makeshift lightbox. It’s low-tech but it works. Just tape your pattern to a bright window, then tape your fabric right over it. The daylight will shine through, letting you trace the design directly onto your fabric with a pencil or a special water-soluble pen.
What if your fabric is too thick to see through? No problem. That's where embroidery transfer paper, which you might also hear called carbon paper, comes in handy. It's a fantastic little tool.
Here's how you use it:
- Lay your fabric on a hard, flat surface.
- Place the transfer paper on top, making sure the waxy side is facing down onto the fabric.
- Position your paper pattern right on top of that.
- Using a stylus or even just a ballpoint pen, firmly trace over the lines of your design.
The pressure from tracing pushes the waxy ink onto your fabric, leaving you with a clean outline to follow. It's a great method, but I always recommend testing it on a small scrap of fabric first, just to make sure the lines are crisp and don't smudge.
A Quick Tip for Dark Fabrics: Working on navy, black, or another dark fabric can feel impossible when it comes to tracing. This is where a water-soluble stabilizer becomes your best friend. It’s a game-changer. You print your design onto this special sticky-backed material, peel it off, and stick it right onto your fabric. You stitch directly through both the stabilizer and the fabric. When you’re all done, a quick soak in water makes it disappear completely!
For a deeper dive, we have a complete guide that breaks down all the pros and cons of these techniques. Check out our post on how to transfer designs onto fabric for more pro tips.
Creating Your Own Custom Designs
Once you get the hang of things, you don't have to stick to pre-made patterns. You can create truly one-of-a-kind beginner embroidery designs from your very own photos. There are some amazing online tools out there that make this surprisingly easy, like Pic2Pat.
As you can see on their site, it's as simple as uploading a photo you love. The tool magically converts it into a grid-based pattern that’s ready for you to stitch. It's a fantastic way to turn a family portrait or a picture of a beloved pet into a piece of art you'll cherish forever.
Three Beginner Projects You Can Start Today
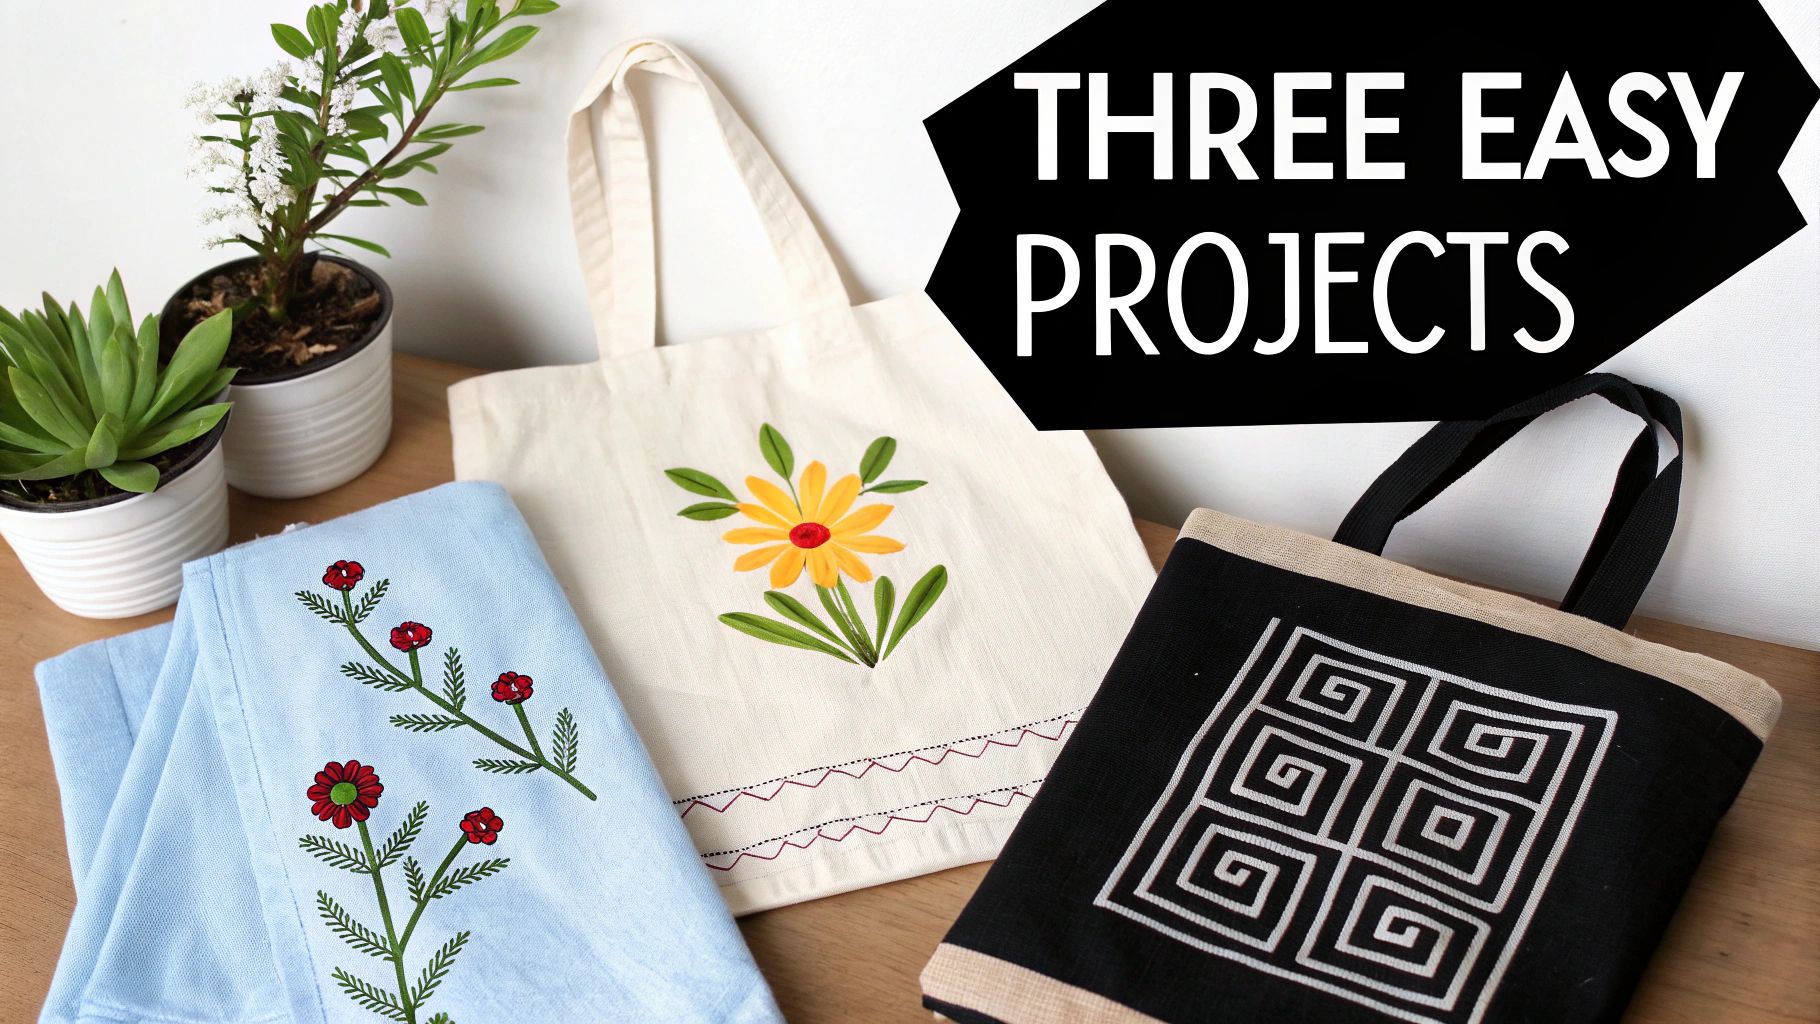
Alright, you've got the basic stitches down. Now for the really fun part: making something with them! The best way to get comfortable and build confidence is to create a finished piece—something you can actually use, hang on a wall, or give to someone special.
I've put together three beginner-friendly designs that are perfect for this. Each one is designed to be completed using only the handful of stitches you already know. We’ll kick things off with a simple floral pattern on a tea towel, then move on to a cool geometric design for a tote bag, and finally, create a classic personalized monogram.
Don't worry, I won't leave you hanging. You'll get a downloadable pattern and a clear stitch guide for each project. Let's get that needle threaded.
Project 1: A Minimalist Wildflower Tea Towel
A plain cotton tea towel is a fantastic canvas for your first functional project. The fabric is easy to work with, and the end result adds a beautiful handmade touch to any kitchen. This wildflower design is super approachable, using just two stitches and three colors.
What You'll Need:
- A plain cotton or linen tea towel (give it a wash and iron first!)
- A 6-inch embroidery hoop
- Embroidery floss: a leafy green (like DMC 988), a soft petal pink (DMC 3716), and a pop of yellow (DMC 743)
- An embroidery needle (a size 7 is a great all-rounder)
- Scissors and your favorite pattern transfer tool
- Download the Wildflower Pattern Here
The design is all about delicate stems and simple five-petal flowers, which gives you great practice with gentle curves. The real charm of this pattern is its simplicity—it looks incredibly elegant without a ton of complex stitching.
The Stitching Plan
First up, transfer the wildflower design onto a corner of your tea towel. Pop that section into your hoop and pull the fabric taut, like the top of a drum.
- Stems and Leaves: Using two strands of your green floss, outline all the stems and leaves with a stem stitch. This will give them a nice, slightly raised texture that looks really natural.
- Flower Petals: Next, grab two strands of pink floss. Fill in each of the five petals on every flower using a satin stitch. Try to keep your stitches nice and close together for a smooth, solid look.
- Flower Centers: For the finishing touch, add a single French knot right in the middle of each flower. Use two strands of yellow floss and wrap the thread around your needle twice for a perfect little pop of color.
And that's it! Once you're done, gently rinse away your pattern lines (if you used a water-soluble pen), let it air dry, and give it a quick press from the back. You just made a beautiful, functional piece of art.
Project 2: A Modern Geometric Tote Bag
Feeling ready for a bigger canvas? This bold geometric pattern is a great way to customize a plain tote bag. Here, we'll bring in the backstitch to get those crisp, clean lines and use the satin stitch again for vibrant blocks of color.
This project is less about tiny details and more about consistency. Keeping your stitches even over a larger area is a great skill to practice, and the repeating shapes are so satisfying to fill in.
What You'll Need:
- A plain canvas tote bag
- A 6-inch embroidery hoop
- Embroidery floss: a bold teal (DMC 3808), a sunny mustard (DMC 783), and a neutral gray (DMC 647)
- An embroidery needle and scissors
- Download the Geometric Pattern Here
The Stitching Plan
Get the geometric pattern onto the front of your tote. Since canvas is much thicker than tea towel fabric, you might find that carbon-style transfer paper works a lot better than trying to trace it against a window.
- Outlines: Start by stitching the outlines of all the shapes. Use three strands of the gray floss and a steady backstitch to create sharp, defined borders.
- Color Fills: Now, time to color it in. Use three strands of floss for the fills—teal for some shapes, mustard for the others—and fill them with a satin stitch. The key here is to pay attention to the direction of your stitches. Keeping them all going the same way within each shape will make your finished project look incredibly polished and professional.
Feel free to play with the colors on this one! This pattern is a great excuse to experiment with your own favorite color palette.
Project 3: A Personalized Monogram
There's something so classic about a handcrafted, personalized item. For this final project, we're creating a beautiful monogram that you can add to a handkerchief, a pillowcase, or even just frame in the hoop as a thoughtful gift. It’s a simple but elegant combination of the backstitch and a few decorative French knots.
The name of the game here is precision. Stitching letters forces you to pay close attention to your curves and corners, which makes this an amazing project for really sharpening your skills.
What You'll Need:
- A piece of evenweave cotton or linen (an 8x8 inch square is plenty)
- A 5-inch embroidery hoop
- Embroidery floss in a single color you love (a classic navy or deep burgundy always looks stunning)
- An embroidery needle and scissors
- Download the Alphabet Pattern Sheet Here
The Stitching Plan
Print out the alphabet sheet and trace your initial onto the center of your fabric.
- Letter Outline: Using three strands of your floss, carefully outline the entire letter with a backstitch. Go slowly and take your time on the curves to keep the line looking smooth and unbroken.
- Decorative Dots: Once the letter is stitched, add a few decorative French knots around it. This adds a little flair and visual balance. I find that scattering three to five knots on one side of the letter creates a really elegant, asymmetrical look.
When you’re finished, you can frame the piece right in the hoop or stitch it onto something else. A simple monogram is a timeless piece that beautifully shows off how far you've come.
A Few Common Questions from New Stitchers
As you start your embroidery journey, you're bound to run into a few little snags. Don't worry—we've all been there! Here are some quick answers to the questions I hear most often from people just starting out.
Handling Threads and Fabric
Tangled floss is the number one frustration for new stitchers. The simplest way to avoid this headache is to work with shorter strands of thread. I find a piece about 18 inches long, roughly the distance from your fingertips to your elbow, is the sweet spot. It's long enough to get a good amount of stitching done but short enough to keep knots at bay.
Another thing people often ask about is how tight the fabric should be. You want it pulled taut in the hoop, almost like a little drum. If you give it a gentle tap, you should hear a dull thud. Getting that tension just right is what prevents your stitches from puckering and helps the final piece lay perfectly flat.
My favorite pro-tip: Every few stitches, just let your needle and thread dangle. Gravity will do the work for you, untwisting the floss and keeping your stitches smooth. It's a tiny habit that makes a huge difference.
Choosing and Finishing Your Designs
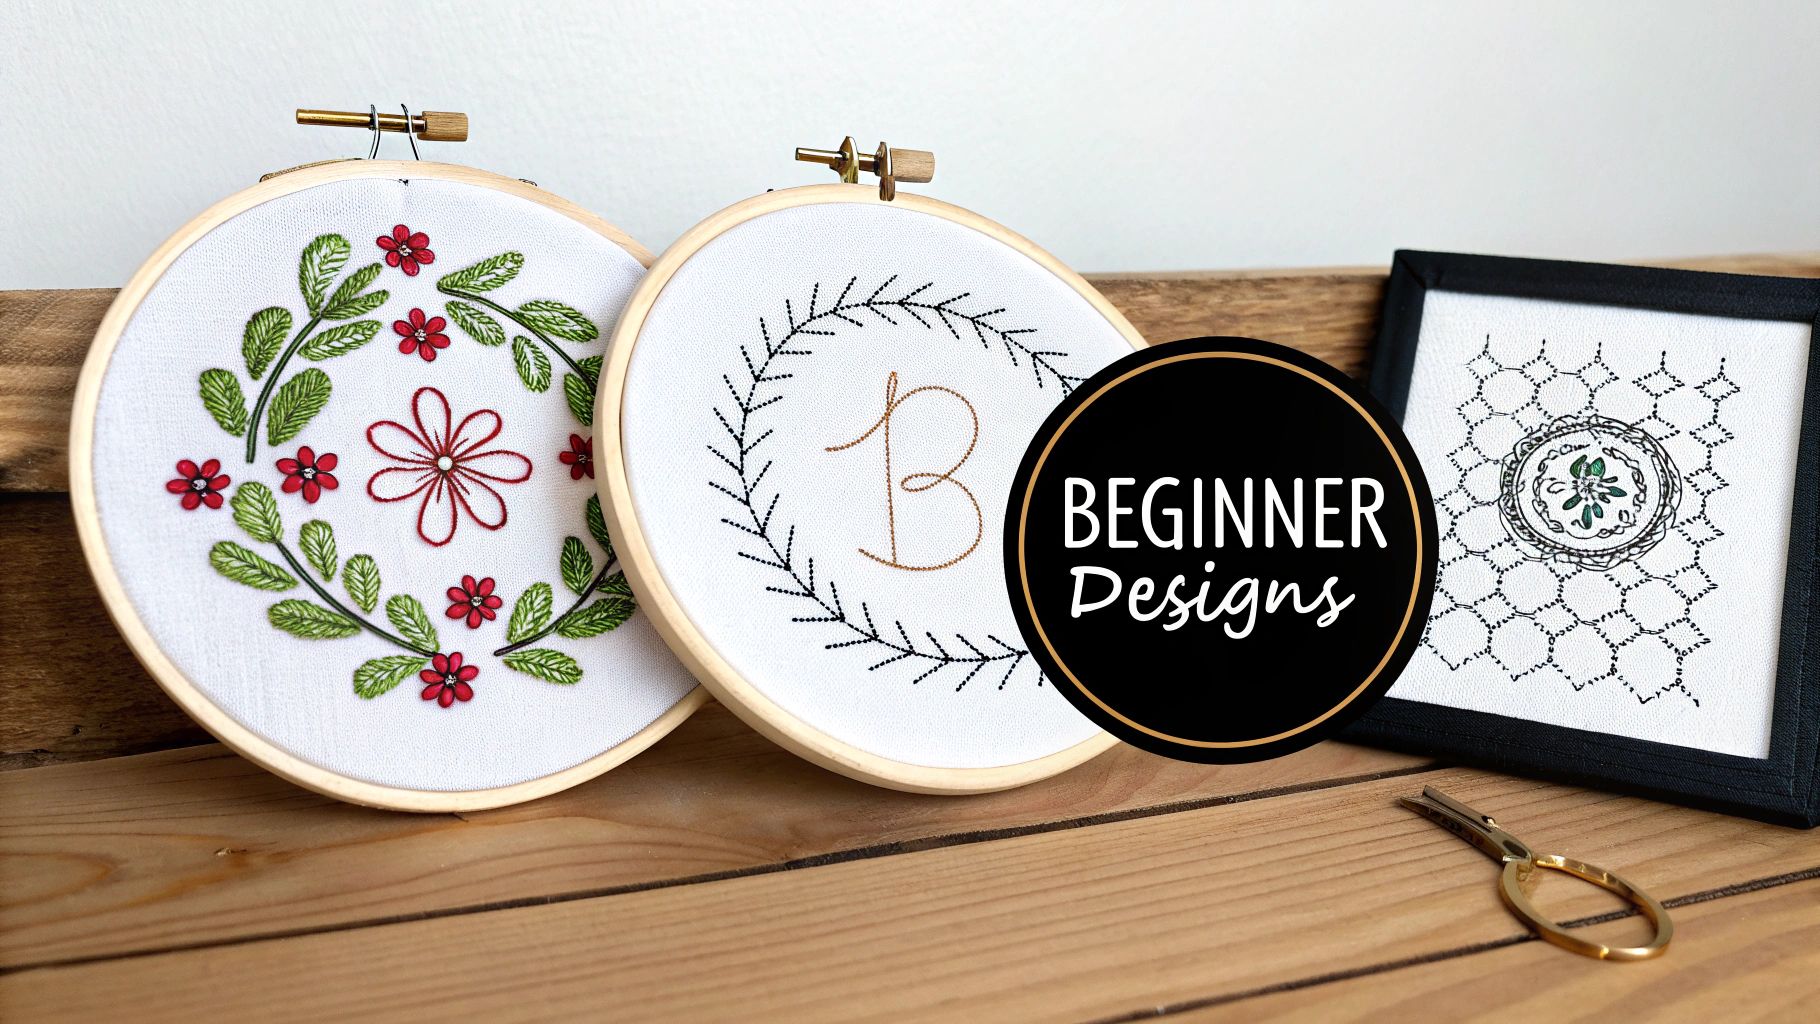
When you're picking out that very first project, think simple. The goal is to build confidence, not frustration. Look for beginner embroidery designs with clean lines and just a handful of colors.
- Simple Florals: These are fantastic for getting the hang of basic outlines and fills.
- Geometric Shapes: Nothing beats these for practicing nice, straight lines with a backstitch.
- Basic Lettering: A monogram or a short word is a great way to get comfortable stitching curves.
So, you've made your final stitch—now what? Making the back of your hoop look tidy is easier than you think. My go-to is the drawstring finish. Just trim the extra fabric down to about an inch from the hoop, then sew a quick running stitch all the way around the edge. Pull the thread to gather the fabric, and for a really polished look, cover the back with a circle of felt.
Ready to turn a favorite photo into a one-of-a-kind embroidery project? Cross Stitched makes it incredibly easy. You can upload any picture and they'll create a custom kit with everything you need, from the pattern to the threads. It’s a fantastic way to create a truly personal piece of art.


