

Getting a design from your head (or your sketchbook) onto fabric is where the real magic begins. It can feel like a big hurdle, but it's actually pretty straightforward once you know your options. You could be tracing with a lightbox, using a quick iron-on transfer, or even sticking on a water-soluble stabilizer. The best choice really boils down to your specific fabric and how intricate your design is. Each method is a different path to get that digital or hand-drawn image ready for its new life as textile art.
Your Starting Point for Perfect Fabric Designs
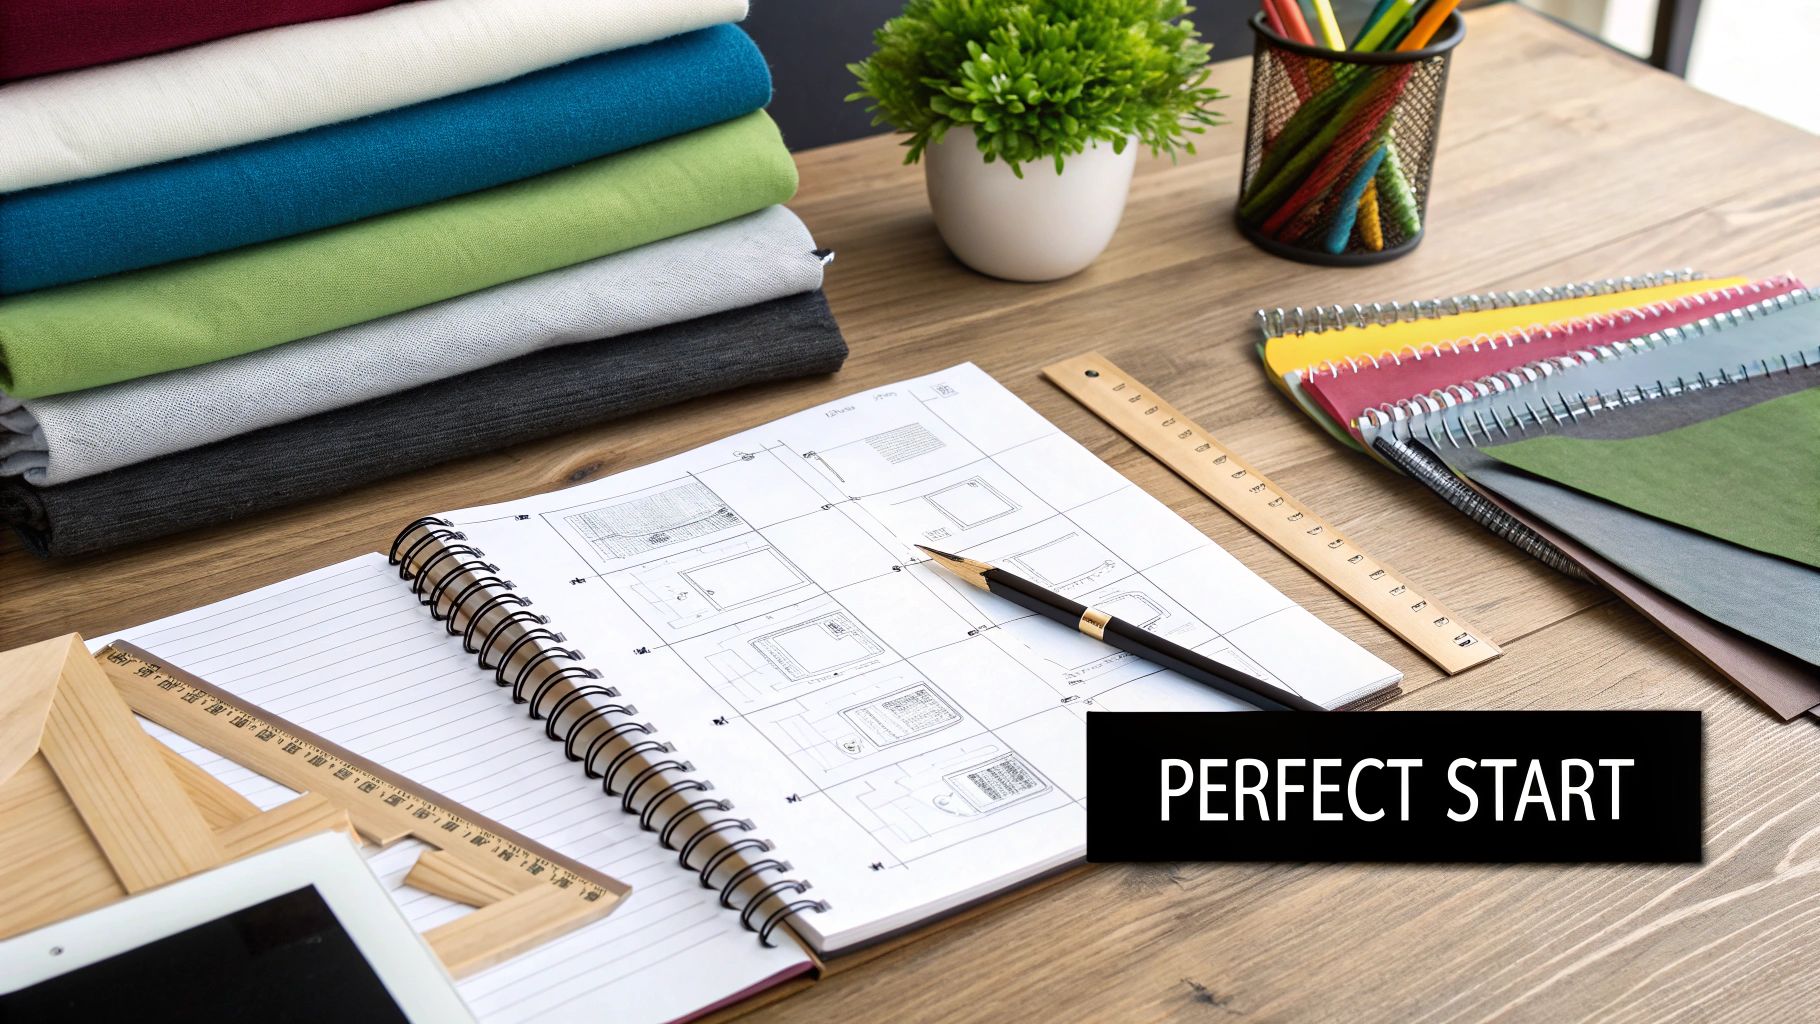
Moving your creative vision from paper to fabric is the first big step in any textile project. This guide isn't just a list of instructions; it’s about helping you master the right transfer method for what you’re trying to achieve, whether you're embroidering a delicate pattern, painting a bold graphic, or stitching a custom quilt block. Think of this as your roadmap to a flawless finish, tailored to your materials and artistic goals.
Why Your Transfer Method Matters
Honestly, picking the right technique is more than just getting an image onto cloth—it’s about setting your project up for success from the get-go. The wrong approach can leave you with faded lines that disappear halfway through, stiff fabric that's a nightmare to work with, or a design that washes out after one cycle. Your choice directly impacts the final look, feel, and durability of your piece.
To make a smart decision, you need to weigh a few key things:
- Fabric Type and Color: A sheer, light-colored cotton is a dream for simple tracing. But if you're working with something like thick, dark denim, you’ll need a more heavy-duty solution like transfer paper or a stabilizer to see your lines clearly.
- Design Complexity: Simple line art? Easy to trace. A detailed, multi-color image with subtle shading? That's a perfect job for a printable heat transfer sheet.
- Project Purpose: Think about the finished product. Is it a decorative wall hanging that will never see a washing machine, or is it a t-shirt that needs to survive weekly laundry? The permanence of your transfer method is absolutely critical.
This shift from simple hand-tracing to more advanced printing options is a small-scale reflection of what's happening in the wider textile industry. The global market for textile printing machines, the large-scale equipment for this very task, is expected to jump from USD 9.2 billion in 2017 to almost USD 14 billion by 2025. It just goes to show how central design transfer is to all fabric work.
Key Takeaway: The best way to transfer designs onto fabric depends entirely on your project. Don't just stick with one method out of habit—always take a moment to evaluate your fabric, design, and what you want the final piece to do.
Before you get started, you obviously need a design! If you're looking for a spark of creativity, you can explore these drawing and painting ideas. And for all the stitchers out there, you might love our guide on https://cross-stitched.com/blogs/what-is-cross-stitch/how-to-create-your-own-cross-stitch-patterns.
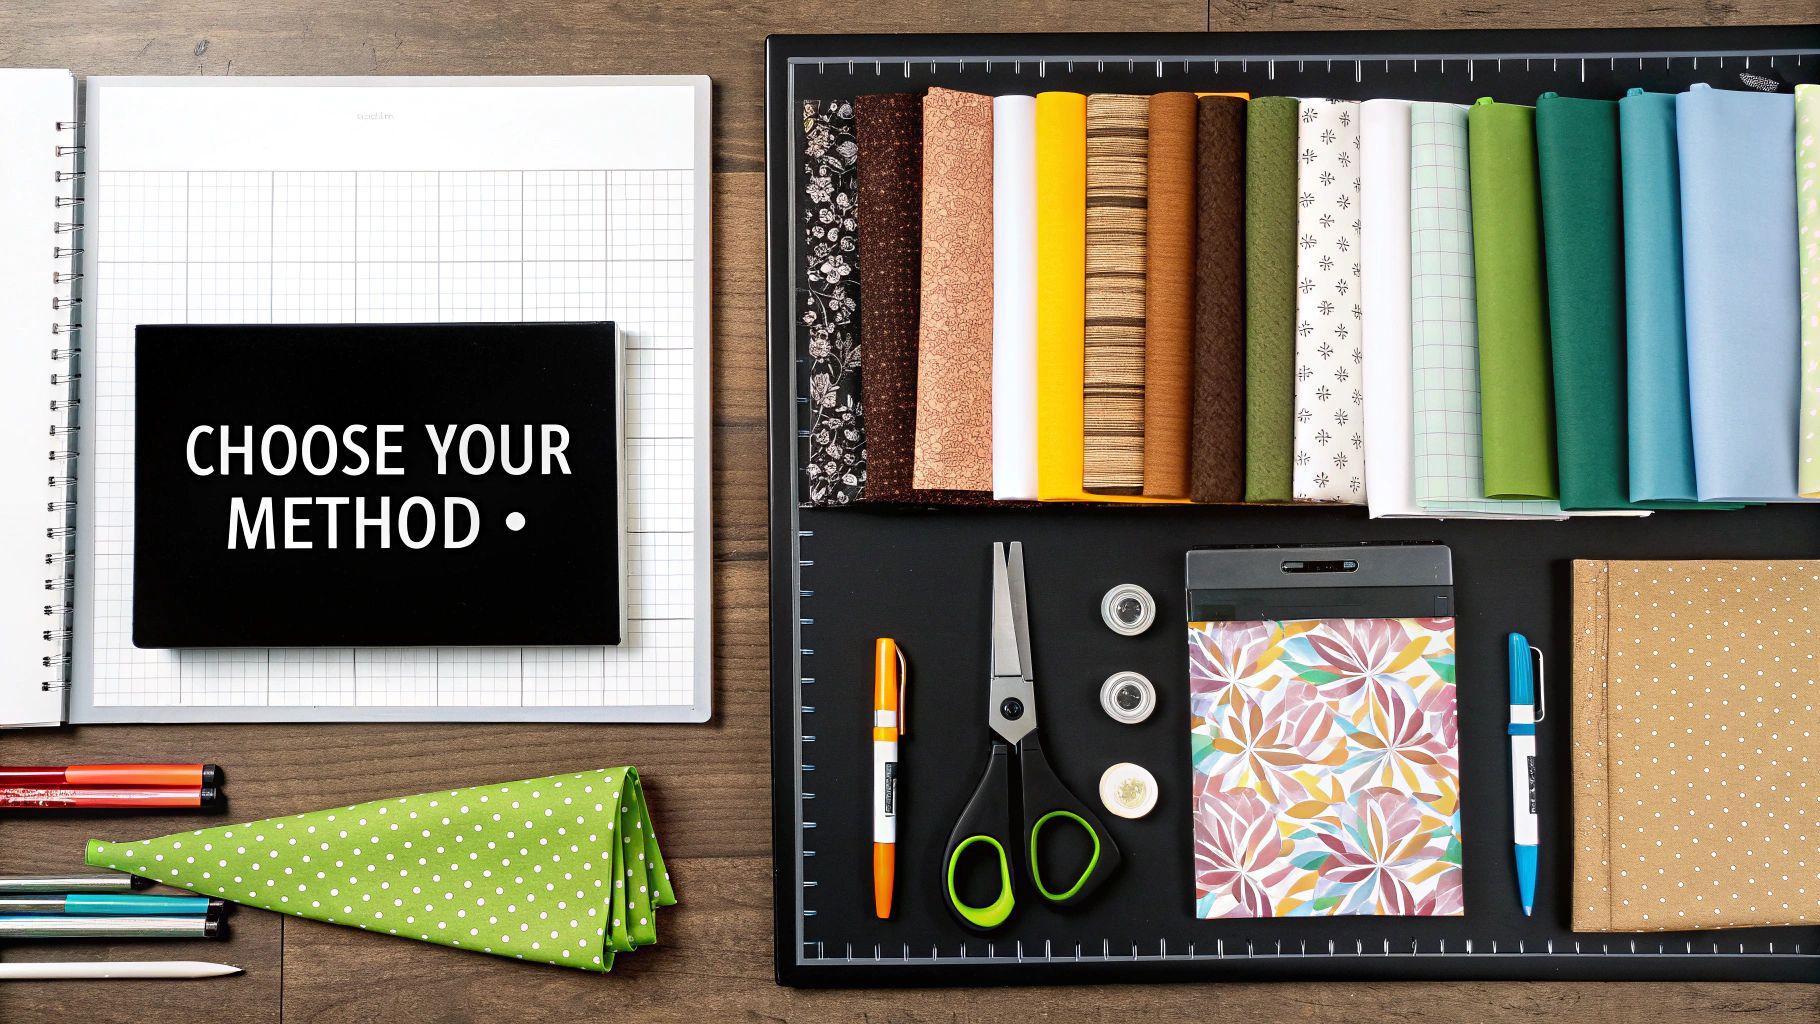
Quick Guide to Fabric Design Transfer Methods
To help you decide which path to take, I've put together a quick summary of the most common methods. Think of this as a cheat sheet to match your project needs with the right technique.
| Method | Best For | Skill Level | Permanence |
|---|---|---|---|
| Tracing (Lightbox/Window) | Light-colored, thin fabrics; simple line art. | Beginner | Temporary (removable marks) |
| Carbon/Transfer Paper | Dark or thick fabrics; crisp, clear lines. | Beginner | Semi-Permanent (can be tricky to remove) |
| Iron-On Transfers | Quick projects; multiple copies of one design. | Beginner | Permanent |
| Water-Soluble Stabilizer | Intricate embroidery; textured or stretchy fabrics. | Intermediate | Temporary (dissolves in water) |
Choosing a method from this table can save you a lot of guesswork. A quick glance can tell you whether the easy tracing method will work for your dark denim project (it won't!) or if a water-soluble stabilizer is the best bet for that stretchy t-shirt you want to embroider.
Old-School Tracing: The Foundation of Fabric Design
Sometimes the simplest tools are the most reliable, and that’s especially true when it comes to getting a design onto fabric. These classic tracing techniques have been the go-to for generations of crafters for a reason: they offer incredible control and a direct, hands-on connection to your work.
The most basic method is tracing with a light source, which is perfect for lighter-colored and thinner fabrics. Think cotton lawn, voile, or linen blends—anything you can easily see light through. You just need your design, your fabric, and a good, bright light.
A sunny window is the original lightbox, and it still works great. Just tape your design to the window pane and then carefully tape your fabric right over it. The sunlight will shine through, illuminating the pattern so you can trace it directly onto the material.
If you don't want to be tied to daylight hours (or a sunny day), a dedicated lightbox is a game-changer. You can even get creative and use a tablet or an iPad running a lightbox app. These apps typically lock the screen, so you don't have to worry about accidentally closing your design while you work. It’s a modern spin on a classic technique that gives you a bright, even surface anywhere.
Picking the Right Marking Tool
What you trace with is just as crucial as how you trace. You need a line that’s clear enough to see but won’t become a permanent part of your finished piece.
- Pencils: A sharp, hard-leaded pencil (like a 2H) is a solid choice for smooth, light cottons. The trick is to use a light touch so you don't leave a stubborn grey mark behind.
- Water-Soluble Pens: These are a favorite in the embroidery world for a good reason. The ink vanishes with a little spritz of water or when you wash the final project. They’re fantastic.
- Heat-Erasable Pens: These are pretty magical—the ink disappears with the heat of an iron. Always test one on a scrap of your project fabric first, though. On some synthetics, they can leave behind a faint "ghost" line.
How to Handle Dark or Thick Fabrics
But what if your fabric is too dark or dense for light to shine through? That’s when you bring in the secret weapon: dressmaker’s carbon paper. This isn't your office-supply carbon paper; it's a specialty sheet coated with a chalky pigment made specifically for fabric.
The process is basically like making a sandwich. Start by laying your fabric on a hard, flat surface. Place the carbon paper on top, making sure the colorful, waxy side is facing down against your fabric. Finally, put your paper pattern on the very top.
Pro Tip: Tape everything down! The most common mistake is letting the layers shift while you trace, which creates fuzzy, doubled lines. I use a bit of painter's tape or some pattern weights to keep the whole stack from moving. A secure setup is everything.
With all your layers secured, just trace over the design lines with a stylus, a dull pencil, or even a ballpoint pen. You'll need to apply firm, steady pressure to get a clean transfer. Lift the papers, and you’ll find a perfect chalky outline on your fabric, ready for you to start stitching. It's an indispensable technique for working on materials like denim, canvas, or dark wool felt.
Using Heat for Fast and Flawless Transfers
When you need a design that’s crisp, repeatable, and looks professionally done, heat is your best friend. Modern heat transfer methods give you a level of speed and precision that’s tough to achieve by hand, turning what could be a tricky process into a few straightforward steps.
This isn’t just a niche craft anymore. The market for digital textile printing is expected to explode from USD 6.77 billion in 2025 to a massive USD 19.92 billion by 2034. That incredible growth shows just how popular these techniques are becoming for everyone, from home crafters to large-scale producers. You can dive deeper into this trend by checking out the full market analysis on towardspackaging.com.
Iron-On Pens and Pencils
Think of iron-on pens as the perfect link between hand-drawing and heat transfer. You simply trace your design onto tracing paper, which creates a mirror image of your pattern. Place the drawing face-down on your fabric, press it with a hot iron, and the special ink transfers right onto the fibers.
I love this method because a single tracing can often be used a few times. It’s a lifesaver for projects with repeating patterns, like quilt blocks or a set of matching kitchen towels. The trick is to use a hot, dry iron and apply firm, even pressure. Press down, lift, and then press the next section—don't slide the iron around, or you'll end up with smudged lines.
Printable Transfer Sheets for Any Design
For those really detailed, full-color, or even photographic designs, printable iron-on transfer sheets are the way to go. These are special sheets of paper that you can run through your home inkjet or laser printer, letting you put almost any digital image onto fabric.
This infographic captures that key moment when the iron applies heat, fusing the design into the fabric—the essence of a perfect heat transfer.

As you can see, getting a clean transfer is all about that even heat and pressure, which helps the design film bond smoothly with the fabric's weave.
The process itself is simple, but the details matter. Your first step is picking the right paper for your fabric.
- Light Transfer Paper: This is for your white or light pastel fabrics. The film is clear, so any part of the sheet you don't print on will be transparent.
- Dark Transfer Paper: Use this for black, navy, or any other dark-colored material. This paper has a white, opaque background, which makes your design's colors stand out instead of getting lost in the dark fabric.
Critical Tip: Always remember to mirror your image horizontally before printing on light transfer paper. You apply the design face-down, so if you don’t flip it, all your text and images will be backward. Dark transfer papers are usually applied face-up, so no mirroring is needed.
Once printed, you’ll want to trim your design, getting as close to the edges as possible to minimize the look of the transfer film. Place it on your fabric (which you should iron first to remove wrinkles), cover it with the parchment paper that comes in the pack, and press firmly with a hot, dry iron. Follow the instructions for timing, let it cool completely, and then carefully peel back the paper. You’ll be left with a vibrant, sharp design. It’s the secret behind so many custom t-shirts and personalized tote bags made right at home.
Comparing Heat Transfer Options
Both iron-on pens and printable sheets are fantastic, but they serve different purposes. Here’s a quick breakdown to help you decide which one is right for your next project.
| Feature | Iron-On Pens/Pencils | Printable Transfer Sheets |
|---|---|---|
| Cost | Low initial cost for pens and paper. Very budget-friendly. | Higher cost per sheet. The price adds up for larger projects. |
| Complexity | Simple. If you can trace, you can use these. | Requires a printer and basic software to mirror and print. |
| Reusability | Yes, one tracing can often be used 2-3 times. | No, each sheet is a single-use transfer. |
| Final Appearance | Creates a clean, single-color outline. | Produces full-color, photographic-quality images. |
Ultimately, iron-on pens are your go-to for simple line art and repeating patterns, while printable sheets are unbeatable for bringing complex, colorful digital images to life on fabric.
The Secret Weapon for Tricky Embroidery Designs
Every embroiderer knows the frustration of trying to transfer a detailed pattern onto dark, fuzzy, or stretchy fabric. Chalk lines vanish, and ink pens just won't show up. This is where water-soluble stabilizer comes in—it’s an absolute game-changer.
Instead of fighting with your fabric, you work on a temporary layer that gives you a perfect guide and adds stability to your stitches. It's like giving your fabric a temporary second skin that holds everything in place, prevents puckering, and then vanishes without a trace when you're done.
Which Stabilizer Should You Use?
Water-soluble stabilizers come in a couple of main varieties. The one you choose really just depends on whether you like to draw your patterns by hand or print them straight from a computer.
- Fabric-Style Stabilizer: This kind feels like a lightweight, non-woven fabric. You can draw right on it with a pen or pencil, making it fantastic for your own sketches or tracing patterns by hand.
- Printable, Sticky-Backed Film: This is my personal favorite for complex digital patterns. It’s a clear film on a paper backing that you can feed right through your home printer. Just print, peel, and stick it onto your fabric. It's incredibly efficient.
Getting Your Design onto the Fabric
Once your design is on the stabilizer, it's time to get it onto your project. If you're using the fabric-style version, just hoop it up along with your main fabric, pulling both layers nice and taut.
For the sticky-backed film, you’ll want to carefully peel off the paper backing. Start from the center and smooth the film onto your fabric, pressing out any air bubbles as you work your way to the edges.
A Little Tip From Experience: Stitching through the sticky-backed stabilizer can sometimes leave a bit of adhesive gunk on your needle, making it tough to pull through the fabric. I keep a cotton ball with a little rubbing alcohol handy to give my needle a quick wipe now and then. It makes a world of difference.
Now for the fun part! Just start stitching right through the stabilizer and your fabric, using the printed or drawn lines as your guide. The stabilizer provides great support for tricky stitches like French knots. If you're new to that particular stitch, we have a great tutorial on how to do a French knot that will get you up to speed.
Now for the Magic Trick
This is where you get to see the magic happen. Once you’ve put in your final stitch, take your project out of the hoop and trim away the excess stabilizer from around the outside of your design.
Next, dunk the embroidered section into a bowl of warm water. I like to gently swish it around with my fingers to help things along. You’ll see the stabilizer start to dissolve almost immediately, just melting away into the water. In a minute or two, it will be completely gone.
To finish, give the fabric a quick rinse under cool running water to get rid of any last bit of residue. Lay your piece flat to dry, and once it's dry, you can give it a light press from the back. You're left with a gorgeous, precise design, and no one will ever know how you got it there.
Picking the Right Transfer Method for Your Fabric
The secret to a great-looking project often comes down to choosing the right transfer method from the get-go. What works wonders on a crisp cotton can turn into a frustrating mess on a thick, fuzzy wool. Getting this part right saves you a ton of headaches and makes sure your finished piece looks as professional as you envisioned.
It’s a bit like picking the right tool for a job. Your choice really depends on three things: the type of fabric, its color, and how complex your design is. Let these factors guide you, and you'll land on the perfect technique every time.
This attention to detail is part of a bigger movement. The global market for textile printing is expected to jump from an estimated USD 5.9 billion in 2025 to roughly USD 8.3 billion by 2032. That's a huge leap, and it shows just how much people love creating custom fabrics. It all starts with that first step: getting the design onto the material. You can read more about the rise of custom textile printing on persistencemarketresearch.com.
First, Get to Know Your Materials
Before you grab a pen or heat up the iron, take a moment to really look at what you’re working with. The best transfer technique usually becomes pretty clear once you break it down.
- Fabric Type and Weave: Are you using a smooth, tightly woven cotton, or something with a bit of texture like linen? Smooth surfaces are a dream for tracing or iron-on transfers. But for bumpy or stretchy fabrics, like a jersey knit, a water-soluble stabilizer is your best friend—it stops the design from warping as you work. For a deeper dive, check out our guide on the best fabric for cross stitch to see how different weaves can impact your stitching.
- Fabric Color: Working with light-colored fabric gives you the most options; simple tracing often does the trick. But on dark materials like black or navy blue, your lines will disappear. This is where you’ll need something like dressmaker’s carbon paper or a stick-on stabilizer to make sure your pattern is visible.
- Design Complexity: A simple line drawing? Easy enough to trace by hand. But if you’re tackling a design with tons of tiny details, fine lines, or filled-in color areas, trying to trace it would be a nightmare. This is exactly where printable iron-on sheets shine, as they capture every single detail flawlessly.
The Prep Work You Can't Afford to Skip
No matter which method you land on, prepping your fabric correctly is absolutely essential. Think of it as laying a solid foundation—it ensures your design transfers cleanly and holds up through future washes.
Pro Tip: I can't stress this enough: always pre-wash your fabric! Brand new fabric often has a chemical coating called "sizing" that can prevent inks and transfers from sticking properly. A quick wash gets rid of it and, just as importantly, pre-shrinks the material so your finished design doesn't get distorted later on.
Once it's washed and dried, give the fabric a good, thorough press with an iron. A smooth, wrinkle-free surface is non-negotiable for a clean transfer, especially for any iron-on method.
Lastly, make sure your fabric is held securely in place. You can use painter's tape to secure it to a table or even pattern weights. The goal is to keep it taut and perfectly still. This is the key to getting those sharp, accurate lines you're after.
Common Questions About Fabric Design Transfers
Even with the best instructions, you're bound to hit a snag or two when you're first learning how to get a design onto fabric. It happens to all of us! Let's walk through some of the most common questions I hear, so you can get unstuck and back to the fun part.
Can I Reuse My Transfer Pattern?
That's a smart question, and the answer really comes down to which method you're using.
If you’re tracing with a lightbox or just using a window, that paper pattern will last forever. You can use it until it falls apart! But when heat gets involved, it's a different story.
- Iron-On Pens/Pencils: Absolutely. You can usually get 2 to 4 good presses from a design traced with an iron-on pen. Just know that the first one will always be the darkest and boldest. Each one after that will be a little bit fainter.
- Printable Transfer Sheets: Nope, these are a one-and-done deal. Once you iron that design onto your fabric, the sheet has done its job and you can toss it.
How Do I Get Rid of Transfer Lines After I'm Done Stitching?
Ugh, seeing those guide lines hanging around your beautiful stitching is the worst. Don't worry, there's usually an easy fix.
If you used a water-soluble pen or a stick-and-stitch stabilizer, a quick soak in some warm water is all it takes. The lines should just melt away. If a few stubborn spots remain, I find that a gentle rub with my fingertips while the fabric is wet does the trick.
For heat-erasable pens, a pass with a hot iron will make them vanish. A word of caution, though: always test these on a scrap piece first! On some dark or synthetic fabrics, they can leave a faint, ghostly white line that is nearly impossible to get out.
Marks from dressmaker's carbon paper are notoriously stubborn. Sometimes a soft pencil eraser or a special fabric eraser can lift the lines, but the real secret is to trace with a very light hand in the first place.
My Two Cents: Honestly, the easiest way to handle unwanted lines is to plan ahead. For embroidery projects, I almost always reach for water-soluble products. That final wash gives you a perfectly clean finish every time, no stress involved.
Why Is My Iron-On Transfer Peeling or Cracking?
This is a classic problem, and it almost always comes down to heat, pressure, or forgetting to prep your fabric.
If the edges of your transfer are peeling up, it's a sign that it didn't get enough consistent heat and pressure to really bond with the fabric. Make sure your iron is set to the right temperature (and turn the steam off!), then press down firmly and evenly. Give the edges extra attention!
Cracking after a wash is a whole other frustration. This usually happens for one of two reasons: either the fabric wasn't pre-washed, and it shrank underneath the transfer, or it was blasted with high heat in the dryer. Always, always wash your finished items inside out with cold water. Then, either let them air-dry or tumble dry on the lowest heat setting to keep that design looking great.
Ready to turn your favorite photos into beautiful, stitchable art? At Cross Stitched, we make it easy with custom kits that include everything you need to start your next masterpiece. Create your personalized cross-stitch pattern today!


