
You'd be surprised where you can find high-quality, free embroidery patterns for beginners. Some of my favorite spots are designer blogs, thread company websites like DMC, and even digital craft marketplaces. They often offer simple, downloadable PDFs that are perfect for a first project—think basic stitches and minimal color changes to help you get the hang of things.
Your Journey into Hand Embroidery Starts Here
Embroidery is so much more than just a craft; for me, it's a quiet, creative escape that lets you literally paint with thread. I wrote this guide to be your friendly starting point, cutting through the noise and getting you genuinely excited to pick up a needle. By focusing on accessible, free embroidery patterns for beginners, you can dive into this relaxing hobby without a big upfront investment.
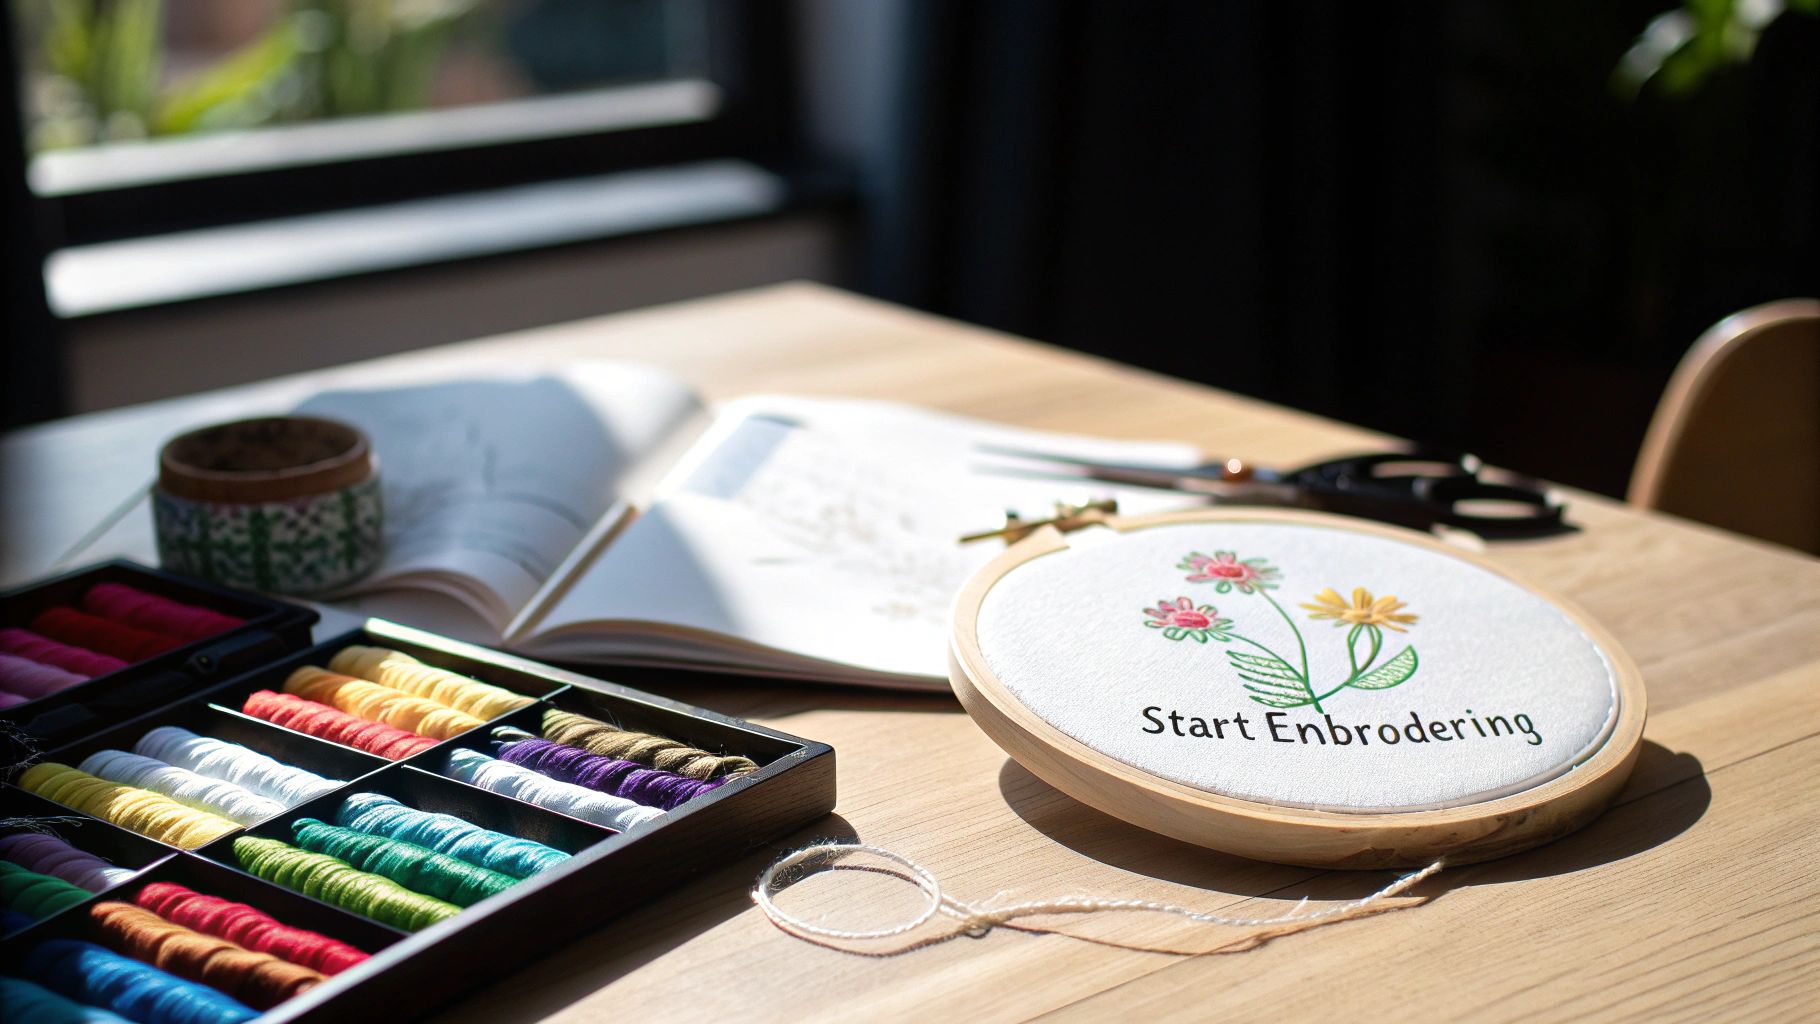 Embroidery hoop with floral design, colorful thread spools, scissors, and beginner's instruction book on wooden desk">
This art form connects you to a rich history of textile art. It's truly one of the oldest and most enduring forms of creativity, with a legacy spanning thousands of years across countless cultures. The fact that it’s still so popular shows just how timeless and beloved this skill is. You can learn more about the enduring tradition of embroidery and its global impact if you're curious!
My goal here is simple: to show you that getting started is not as intimidating as it looks. We'll walk through finding and choosing your first project, gathering the essential supplies, and mastering the handful of key stitches you'll actually need. Think of this as your personal roadmap to creating something beautiful with your own hands.
What to Expect from This Guide
Embroidery should be fun, not frustrating. To make sure you have a great experience, we'll focus on patterns that were specifically designed for newcomers.
When you're looking for that first project, keep an eye out for a few key things that make a pattern beginner-friendly:
- Simple Outlines: Designs with clear, uncomplicated lines are much easier to follow than something with tons of tiny, intricate details.
- Limited Stitches: A good starter pattern will usually rely on just a few basic stitches, like the backstitch or satin stitch. This lets you really master them one at a time.
- Small Color Palette: Juggling dozens of thread colors is a fast track to confusion. Projects with three to five colors are the sweet spot for learning.
- Modest Size: Start with a small project that fits in a 4- or 5-inch hoop. You'll be able to finish it faster, which gives you that amazing sense of accomplishment.
By choosing the right first project, you're setting yourself up for success. The confidence you gain from completing a simple floral motif or a cute quote will be the fuel that makes you want to tackle more ambitious designs later on.
We'll walk through everything, from downloading your first free pattern to making that final stitch. Let's get started on your creative adventure.
How to Find and Choose Your First Free Pattern
Jumping into the world of free online embroidery patterns can feel like trying to drink from a firehose. There are thousands of designs out there, but the trick is knowing where to look and, more importantly, what to look for. A good first pattern should be a confidence-builder, not a source of frustration.
Your best bet for finding quality freebies is to start with the people who know thread best. Companies like DMC offer huge, well-tested libraries of free patterns that are perfect for getting started. Another fantastic source is independent designer blogs and craft communities, where creators often share simpler designs to connect with fellow stitchers.
What Makes a Pattern Beginner-Friendly?
When you’re scrolling through a sea of beautiful patterns, it’s so easy to fall in love with an intricate, sprawling design. My advice? Save that one for later. For your first project, simple is your best friend. The goal is to choose something that lets you get the hang of the basics without wanting to throw your hoop across the room.
Here's exactly what to keep an eye out for:
- Simple, Bold Outlines: Look for patterns with clear, easy-to-follow lines. Think basic geometric shapes, a simple flower stem, or a cute, chunky letter. Avoid anything with teeny-tiny, fussy details for now.
- A Limited Color Palette: This is a big one. Stick to patterns that use five or fewer colors. Juggling a dozen different skeins of floss is a headache you don't need right now. A smaller palette keeps things manageable.
- Basic Stitches: A good beginner pattern will rely on just a few foundational stitches. If the description mentions backstitch, running stitch, and satin stitch, you're on the right track.
Your first project is all about practice. It's not about creating a masterpiece right out of the gate. It's about getting comfortable with the rhythm of pulling a needle and thread through fabric. A simple design guarantees you’ll have a finished piece you can be proud of, which is the best motivation to keep stitching.
Spotting a Good Pattern in the Wild
So, what does this look like in practice? Let's take a look at a real-world example from one of the big thread brands. They often have extensive free pattern libraries that are incredibly easy to sort through.
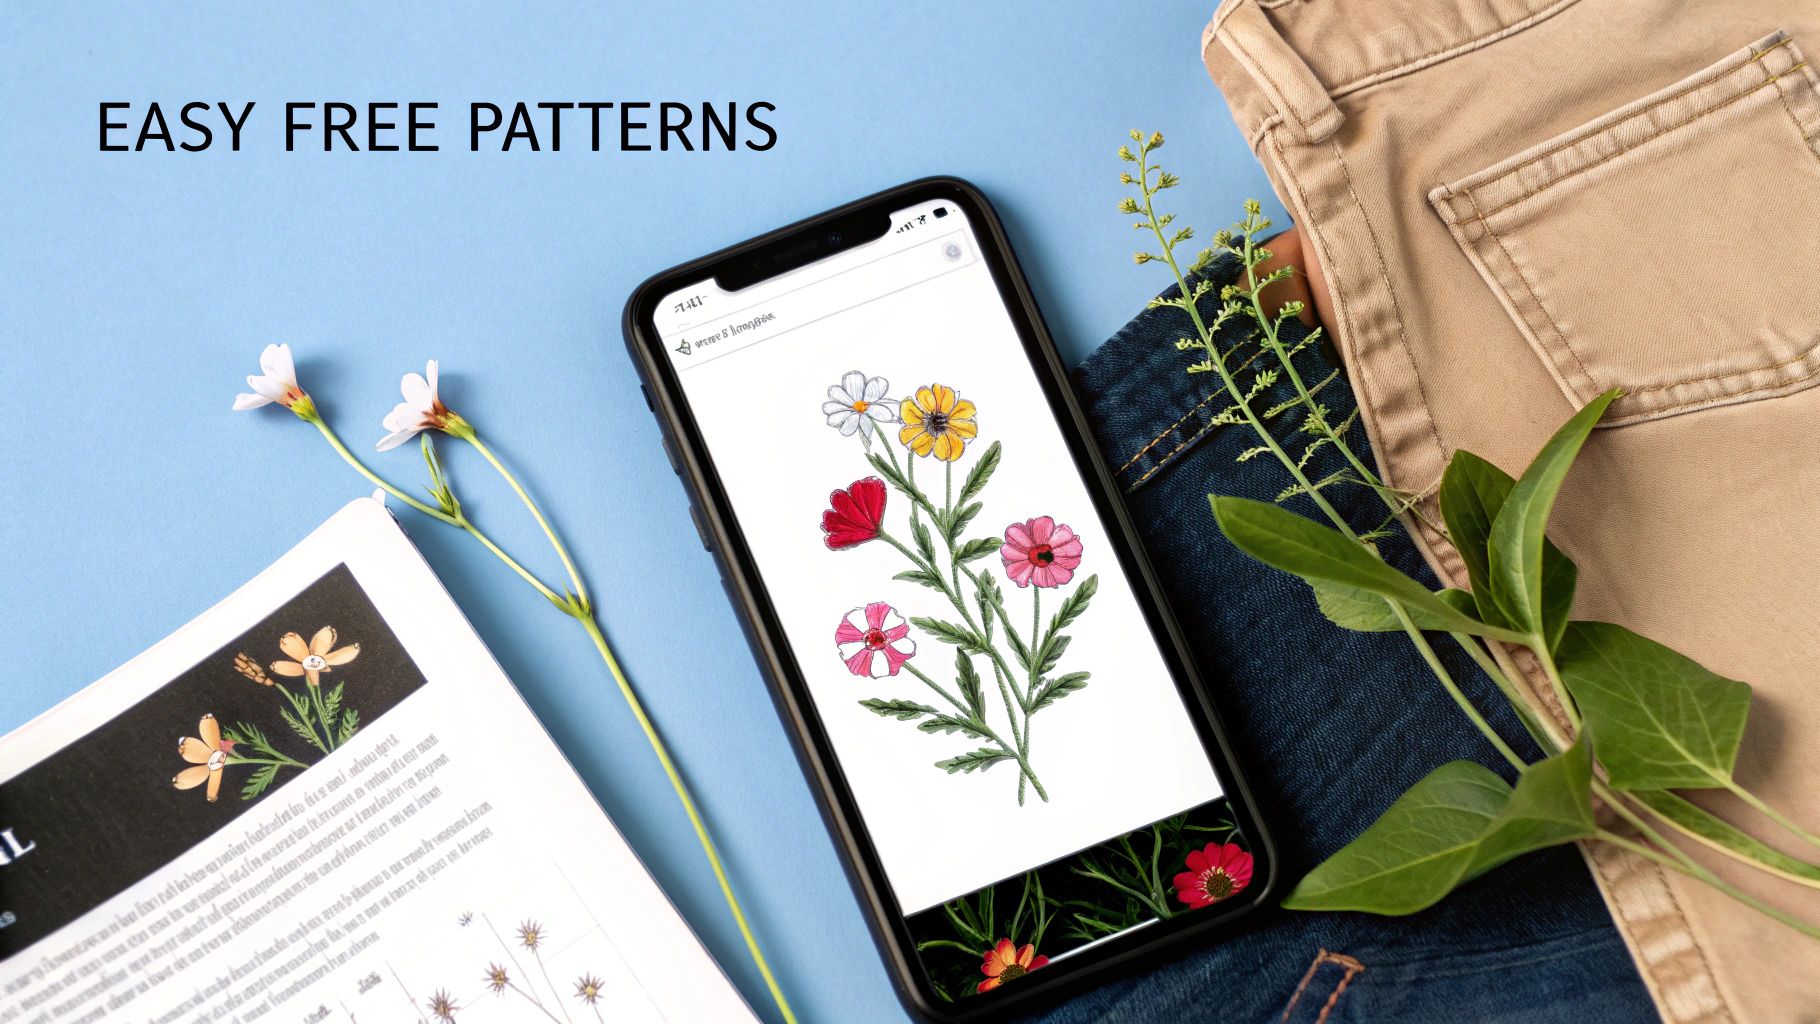
As you can see, a well-organized site lets you filter designs by difficulty, making it a breeze to find something suitable for a newcomer. These are invaluable resources for finding high-quality, reliable designs. For some of our favorites, you can check out our own curated list of free embroidery patterns for beginners.
Once you've got a project or two under your belt, you might find yourself wanting a bit more guidance. Exploring online courses for hobbyists can be an excellent next step for deepening your skills. But for right now, just focus on finding that one perfect, simple pattern that gets you excited. Pick something small—a design you can finish in a single afternoon—and get ready to make your first stitch.
Gathering Your Essential Embroidery Supplies
Okay, so you’ve found a few free beginner embroidery patterns that you're excited about. Now for the fun part: putting together your toolkit! Getting started with embroidery doesn't require a mountain of gear, which is great news for your wallet. A few quality essentials are all you need to make the process smooth and enjoyable from that very first stitch.
It's a fantastic time to dive into this hobby. The global embroidery market is booming, valued at around USD 1,495.67 million and growing, thanks to a huge revival in personalized, handmade crafts. This surge means there are more high-quality, affordable tools for hobbyists than ever before. If you're curious about the trend, you can dig into the numbers in the latest embroidery market reports.
So, what do you actually need to bring that beautiful pattern to life? Let's break down the must-haves.
The Core Four Supplies
You can get a fantastic beginner's kit going with just four key items. Think of these as the non-negotiables for a successful first project.
- Fabric: This is the canvas for your art. As a beginner, natural fibers will be your best friend. I always recommend starting with light-colored 100% cotton or a linen blend. These fabrics have a nice, visible weave that's easy to push a needle through, but they’re not so loose that your stitches look sloppy. The one thing to avoid? Anything with stretch!
- Embroidery Hoop: This little gadget is what holds your fabric tight, and that tension is the secret to getting even, neat stitches. A 5 or 6-inch wooden or bamboo hoop is the perfect size for most beginner projects. It’s big enough to give you a good working area but small enough to hold comfortably in your hand.
- Needles: Embroidery needles are a bit different from regular sewing needles—they have a larger eye to handle thicker floss. Your best bet is to grab a variety pack, which usually includes sizes from 3 through 9. If you just want to start with one, a size 7 is a solid, all-around choice.
- Embroidery Floss: Here’s where the color and magic come in! DMC six-strand cotton floss is pretty much the gold standard, and for good reason. It’s high-quality, doesn't cost a fortune, and comes in a mind-boggling range of colors. Most free patterns you find will even suggest specific DMC color codes to use.
My Pro-Tip: Don't feel like you need to buy every color under the sun right away. Just grab the specific colors your first pattern calls for. You can slowly build your rainbow of floss as you take on more projects.
Helpful Extras to Make Your Start Easier
While those core four items are all you really need, a couple of extra tools can make a huge difference, especially when you're just learning the ropes.
A pair of small, sharp scissors—often called embroidery snips—are a great addition. They're perfect for getting a clean cut on your floss without fraying the ends, which can be a real headache.
Another game-changer is a simple water-soluble pen. It lets you trace your pattern directly onto the fabric, and once you're done stitching, the ink lines vanish completely with just a little bit of water. It's a foolproof way to make sure you're following the design accurately.
Getting Your Pattern Onto Fabric Like a Pro
This is where the magic really starts. Moving your design from a piece of paper or a screen onto your fabric is the moment your project truly comes to life. The good news is you don't need any fancy equipment for this step. Some of the most tried-and-true methods use things you probably have around the house right now.
The main goal is simple: get a crisp, clear outline on your fabric that’s easy to follow with your needle. A fuzzy or smudged guide can make the whole process a headache, so spending a few extra minutes here will pay off big time. Let's walk through a couple of my favorite beginner-friendly techniques to make sure your stitching foundation is rock-solid.
The Classic Window Lightbox Method
This is my go-to low-tech, high-reward method, and it’s absolutely perfect for light-colored fabrics. It’s exactly what it sounds like—you turn a sunny window into a natural lightbox.
Just tape your printed pattern onto the window pane, then tape your fabric right over it. The daylight will shine through, making the pattern lines visible enough to trace.
You’ll need a good marking tool for this.
- Pencil: A regular old graphite pencil works surprisingly well on cotton. Just use a light touch so the lines will be completely covered by your stitches later.
- Water-Soluble Pen: These are a game-changer. They draw a clear line (usually blue) that disappears completely with a quick spritz of water once you’re finished.
- Heat-Erasable Pen: Similar to the water-soluble kind, but these marks vanish with a bit of heat from an iron. Just be sure not to iron your project halfway through!
Pro Tip: The window method is wonderfully simple, but it does depend on good daylight and works best with thinner, lighter fabrics. If you're tackling dark or thick material, the pattern lines might be too faint to see clearly.
Using Dressmaker's Carbon Paper
What about those darker fabrics where the window trick just won't cut it? That’s where dressmaker's carbon paper comes in. This isn't the messy, inky stuff from old offices; this kind is specifically for fabric, often coming in light colors like white or yellow.
You'll create a little "sandwich" to get the job done.
- Start with your fabric on a hard, flat surface.
- Lay the carbon paper on top, with the waxy, colored side facing down onto the fabric.
- Place your printed pattern over the carbon paper.
- Now, firmly trace the pattern lines with a stylus or even a ballpoint pen. The pressure transfers a fine, chalky line onto your fabric.
This technique is a lifesaver for getting a sharp outline on almost any kind of fabric. A word of caution: the lines can be a bit stubborn to remove if you press too hard, so it's always smart to test it on a small scrap of your fabric first.
For an even deeper dive into transfer techniques, our guide on how to transfer embroidery designs onto fabric has more great tips.
To help you decide which transfer method is right for your project, here’s a quick comparison.
Comparing Pattern Transfer Methods
| Method | Best For | Pros | Cons |
|---|---|---|---|
| Window Lightbox | Light-colored, thin fabrics like cotton or linen. | No special equipment needed; quick and easy. | Requires good daylight; not effective on dark or thick fabric. |
| Dressmaker's Carbon | Dark, thick, or textured fabrics. | Creates a clear, crisp line on almost any surface. | Lines can be hard to remove if you press too hard; requires a specific tool. |
| Water-Soluble Pen | Freehand drawing or tracing on light fabrics. | Marks are easily removed with water. | Ink might bleed on some fabrics; can be hard to see on dark material. |
| Heat-Erasable Pen | Projects that will be ironed at the end. | Disappears with heat, leaving no residue. | Lines can reappear in cold temperatures; can’t iron mid-project. |
Choosing the right method really comes down to the fabric you're using and the tools you have on hand. Don't be afraid to experiment to see what works best for you!
This flowchart can also help you visualize the key decisions you'll make when gathering all your supplies.
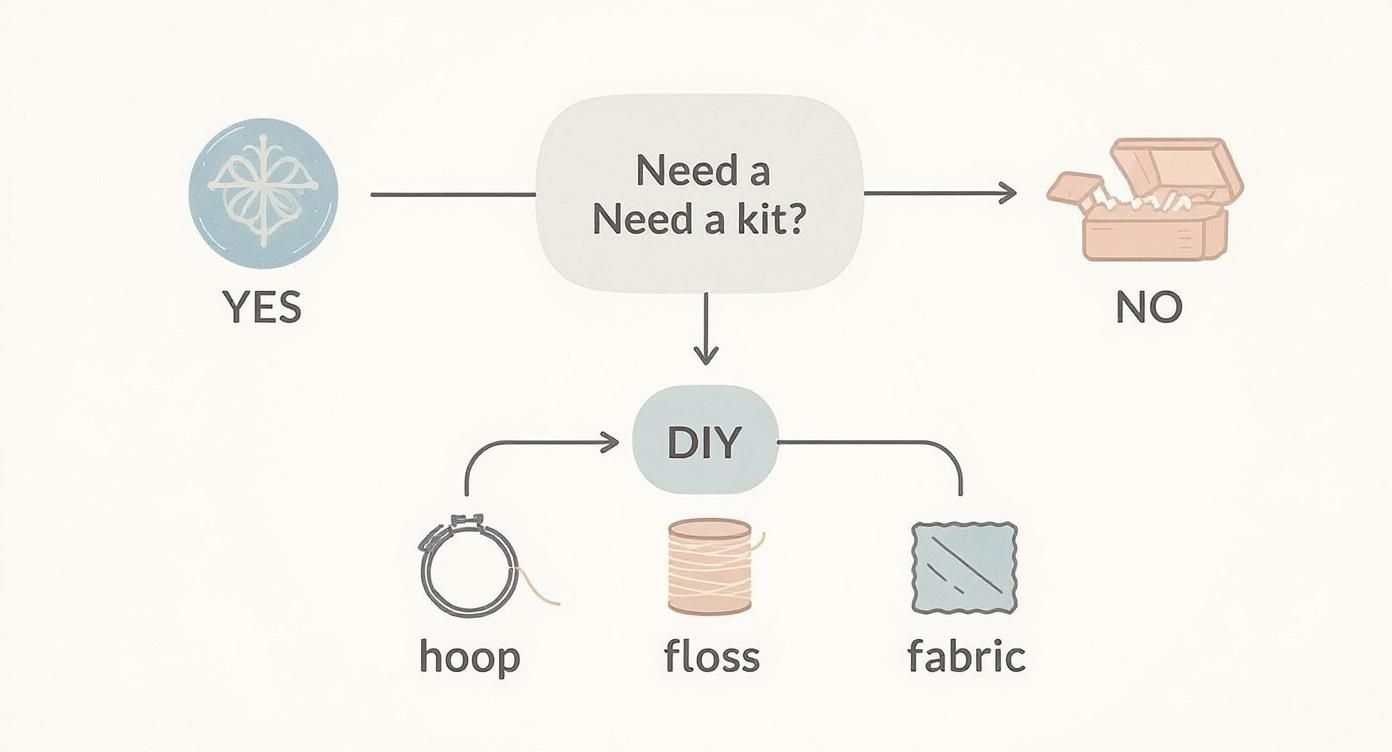
As you can see, whether you start with a complete kit or decide to assemble your own supplies, the core components—the hoop, floss, and fabric—are always the essential building blocks of your project.
Mastering the Stitches Every Beginner Needs
https://www.youtube.com/embed/wkXhtkO0zK0
Now for the fun part. With your pattern transferred onto the fabric, you're ready to pick up your needle and bring the design to life. It's easy to get overwhelmed when you hear there are hundreds of embroidery stitches, but I'll let you in on a little secret: you don't need to know them all.
Most embroidery patterns for beginners free online are built on just a few foundational stitches. By getting comfortable with a handful of core techniques, you'll be able to tackle the majority of designs you come across. We're going to focus on the essential trio: the backstitch for clean outlines, the satin stitch for filling in areas with smooth color, and the French knot for adding those perfect little details. These three are the bread and butter of hand embroidery.
The Essential Backstitch for Clean Outlines
If you're going to learn just one stitch, make it the backstitch. It's almost always the first one people learn, and for good reason—it creates a solid, continuous line that looks like it was drawn with a pen. This makes it absolutely perfect for outlining shapes, stitching text, and defining all the fine details in your free embroidery pattern.
The name gives away the technique: you're essentially working backward to move your line forward.
- Start by bringing your needle up through the fabric.
- Make one simple stitch forward.
- Next, bring the needle up again, but a full stitch-length ahead of where you just went down.
- Finally, bring the needle back down into the very same hole where your previous stitch ended.
This simple "up, forward, down, back" rhythm creates a strong, connected line that's surprisingly sturdy. The real key to making it look great is consistency. Try to keep your stitches a uniform length. When they're all the same size, you get a clean, professional-looking finish. You'll find yourself using this one all the time.
The Smooth Satin Stitch for Filling Color
When you need to fill in a shape with solid, lush color—think of a flower petal or a leaf—the satin stitch is your best friend. It’s made by laying a series of straight stitches right next to each other until the entire area is covered. It looks incredibly smooth and impressive when it's done well, but it does demand a little patience.
The secret to a beautiful satin stitch lies in one word: tension. If your stitches are too loose, they'll look baggy and sag. Pull them too tight, and you'll cause the fabric to pucker and warp. Your goal is a gentle, even tension where each stitch lies flat and happy on the fabric without any pulling.
A little tip I've picked up over the years: to keep your shapes from getting distorted, start stitching in the middle of the area. Work your way out to one edge, then go back to the center and work your way out to the other. It really helps maintain the original shape.
The Mighty French Knot for Tiny Details
Ah, the French knot. This is the stitch that tends to frustrate beginners the most, but I promise it's worth the effort to master. It creates a beautiful, textured little dot that’s perfect for the center of a flower, tiny eyes on a creature, or just adding a pop of detail to your design.
The whole trick is to keep tension on your thread from start to finish.
- Bring your needle up through the fabric where you want the knot.
- Wrap the thread around the needle twice (or just once if you want a smaller knot).
- Here’s the crucial part: hold that wrapped thread taut with your non-stitching hand.
- Push the needle back down into the fabric right next to where it came up—but not in the exact same hole!
- Keep holding the thread taut as you pull the needle all the way through to the back, allowing the knot to pop into place on the surface.
Don't worry if your first few attempts look more like a tangled mess than a neat knot. We’ve all been there! Just grab a scrap piece of fabric and practice until the motion feels natural. Once it clicks, you'll be looking for any excuse to add these charming little accents to your work.
These three stitches will get you through countless projects. For a deeper dive into these and other handy techniques, our guide to the different types of embroidery stitches is a fantastic resource to check out.
Common Questions on Free Embroidery Patterns
As you start exploring the wonderful world of stitching, a few questions are bound to pop up. Finding and using embroidery patterns for beginners free is a ton of fun, but it's natural to have some practical concerns. Let's walk through some of the most common questions new stitchers ask.
One of the first things everyone wants to know is whether they can sell something they've made from a free pattern. The short answer is almost always no. The vast majority of free designs are shared for personal use only, meaning you can stitch them for yourself or give them away as gifts, but not sell them.
Selling the finished piece is considered commercial use, and that usually requires a special license or permission. The best practice is to always look for a "terms of use" or "copyright" section on the designer's website. If you can't find one, play it safe and assume it's just for personal projects.
Adjusting and Customizing Your Pattern
So, you found the perfect design, but it’s the wrong size for your project. What now? Luckily, resizing is usually pretty straightforward. If you have a digital file like a PDF or JPG, you can adjust the scale right in your printer settings.
- To shrink it down, try printing at 80% or 90% of the original size.
- To make it larger, you can scale it up to 120% or 150%.
If you've already printed the pattern, a photocopier with a scaling function works just as well. This little trick gives you total control over how the design fits in your hoop or on your fabric.
What about those beautiful outlines that come with no color suggestions? Don't look at it as a problem—it's a creative opportunity! This is where you get to step in as the designer and pick a palette you love. I often turn to Pinterest for inspiration, but online color palette generators are also fantastic. Sometimes, just picking three to five of your favorite floss colors that vibe well together is all you need.
Copyright and Using Patterns Correctly
Understanding copyright is really just about respecting the artists who create these amazing patterns. A free pattern isn't free from copyright; it just means the creator has generously decided to offer it for personal enjoyment without charging for it.
This is especially important if you share your work on social media. When you post a photo of your finished piece, it’s a wonderful gesture to credit the designer. A simple tag or a mention like, "Pattern by [Designer's Name]," is a great way to show your appreciation and help other stitchers discover their work.
While this guide is all about the joy of hand embroidery, some projects call for a more polished or durable finish. For special items like graduation stoles or company logos, looking into professional embroidery services for special projects can be the perfect way to get that clean, machine-stitched look.
Ready to turn your favorite memories into a beautiful piece of art? At Cross Stitched, we make it easy with custom, all-in-one cross-stitch kits. Just upload a photo, and we'll send you everything you need to start stitching. Create your personalized kit today at https://cross-stitched.com.


