
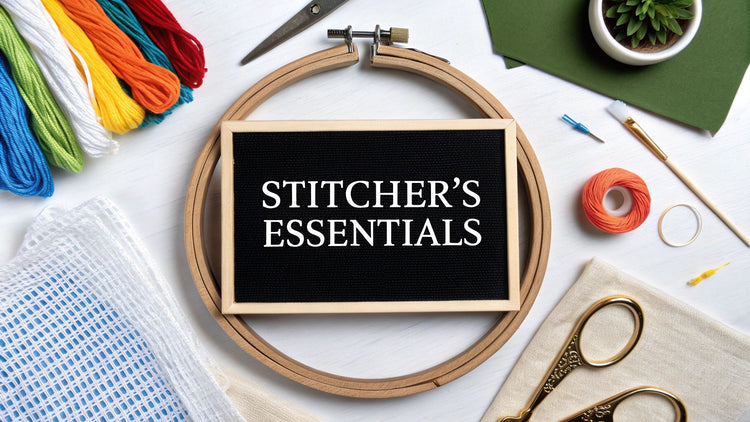
Getting started with cross stitch doesn't require a mountain of gear, but a few key items are non-negotiable. The absolute must-have accessories for cross stitch are your fabric (like Aida cloth), embroidery floss, blunt-tipped tapestry needles, and a good, sharp pair of scissors. Think of these as the four core ingredients for any stitched masterpiece you can dream up.
Setting Up Your Stitching Sanctuary
 cross stitch supplies including fabric, colorful floss, scissors, and a wooden hoop.">
Diving into cross stitch is a bit like setting up a new kitchen. You don't need every gadget out there, but you absolutely need the right core equipment to create something wonderful. A chef needs sharp knives and good pans; a stitcher needs a solid basic toolkit to make the process smooth and get a result they can be proud of.
Starting with the right gear helps you sidestep common frustrations, letting you just relax and enjoy the rhythm of stitching.
It's a craft that's definitely having a moment. The global cross-stitch market, which includes all these essential tools, was valued at around USD 0.15 billion and is expected to climb to USD 0.22 billion by 2033. This boom is fueled by a renewed love for DIY and home crafts, made even easier by online communities and shops. If you're curious, you can dig into the numbers with this market analysis on the growth of cross stitch accessories from Business Research Insights.
The Four Pillars of Cross Stitching
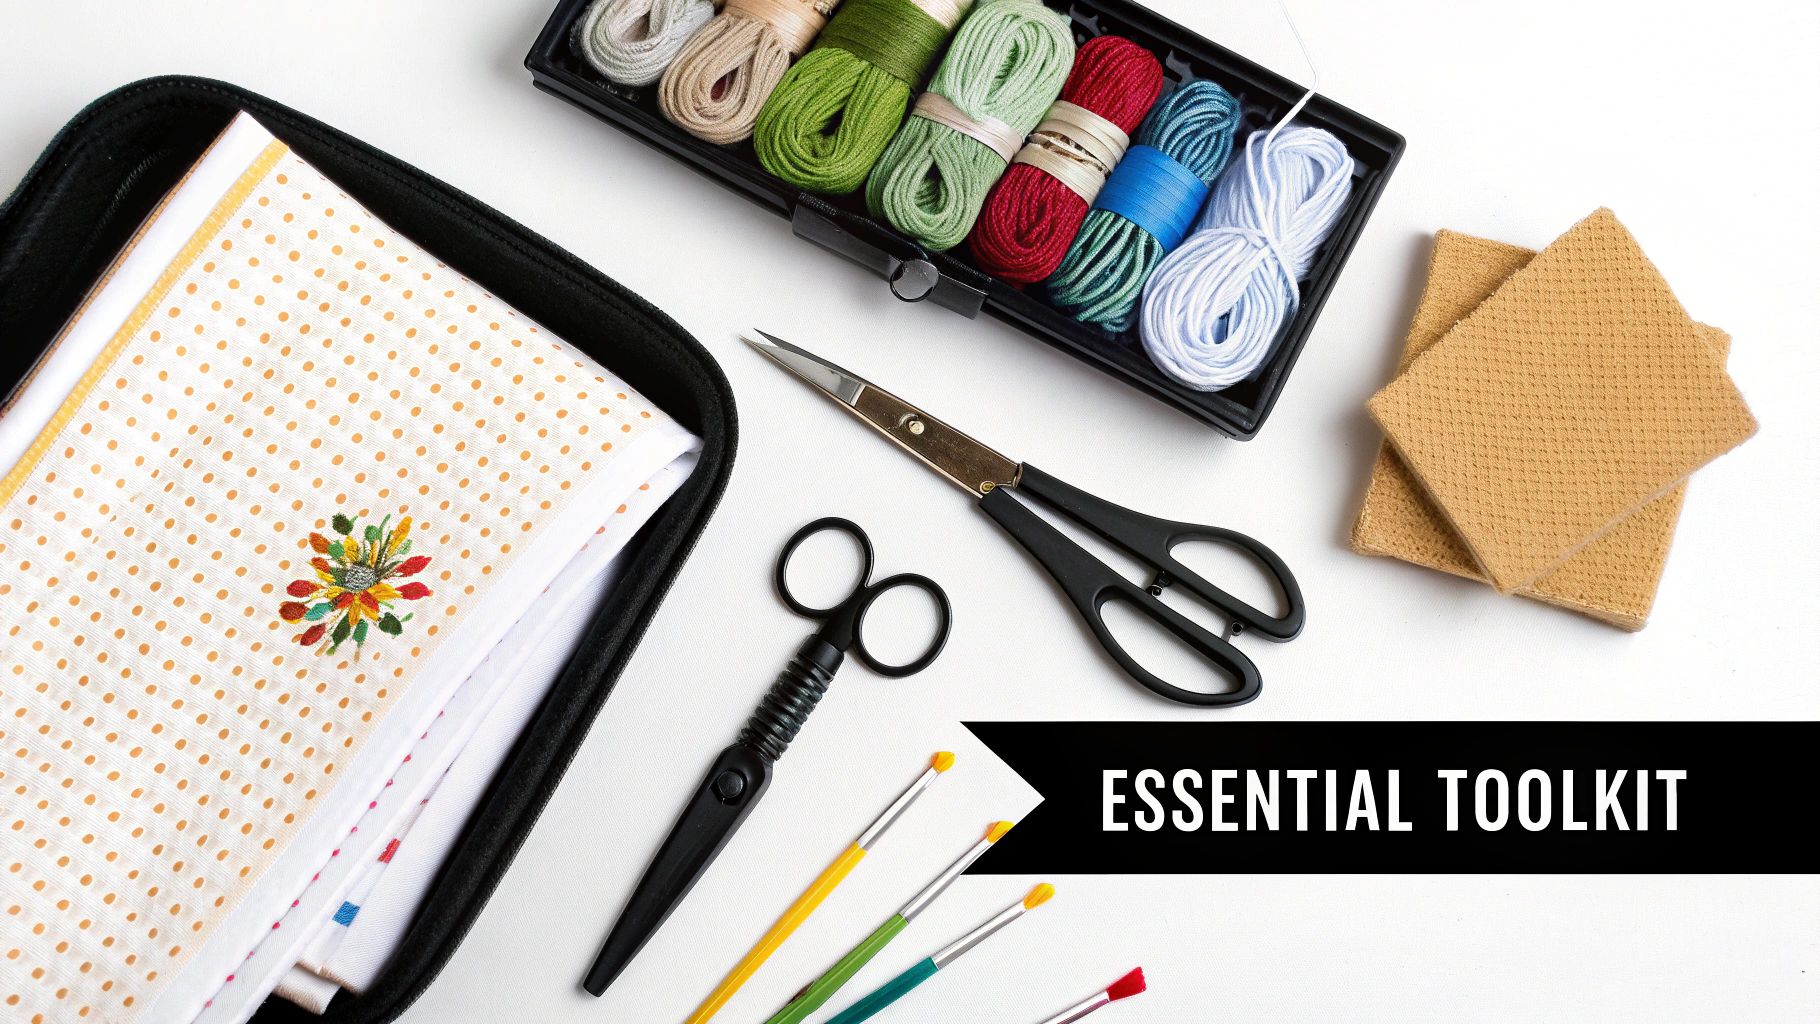
Before we get into the fun extras, let's lock down the absolute essentials. These four items form the foundation of every single project, whether it's a tiny first-timer's pattern or a massive, full-coverage piece.
- Fabric: This is your canvas. Aida cloth is the go-to for most stitchers, especially beginners, because its neat, square weave makes counting stitches a breeze.
- Floss: This is your paint. The standard is six-strand cotton embroidery floss, which comes in a mind-boggling spectrum of colors to bring any design to life.
- Needles: This is your brush. Tapestry needles are the tool for the job. Their blunt tips are designed to pass cleanly through the fabric's holes instead of splitting the threads.
- Scissors: A small, sharp pair of scissors with a fine tip is crucial for making clean cuts, which keeps your thread ends from fraying and your work looking neat.
Think of these four as your starter pack. Getting comfortable with them is the first real step to building your skills. Every other accessory you'll find is really just there to make the work of these core tools easier, faster, or more organized.
Here’s a quick-reference table to keep these must-haves straight.
Essential Cross Stitch Accessories at a Glance
| Accessory | Primary Function | Quick Tip |
|---|---|---|
| Fabric (Aida) | Provides the grid-like canvas for stitching. | Start with 14-count Aida; it's the perfect size for learning. |
| Embroidery Floss | The colored thread used to create the design. | Choose a quality brand like DMC or Anchor for consistent color and strength. |
| Tapestry Needles | Guides the floss through the fabric holes. | A size 24 tapestry needle is a great all-rounder for 14-count fabric. |
| Scissors | For snipping floss cleanly and accurately. | Embroidery scissors with a fine point offer the best precision. |
With these core accessories in hand, you're truly set up for success. You'll be ready to tackle your first pattern and bring your vision to life, one "X" at a time. In the sections ahead, we’ll dive deeper into each of these tools and introduce some optional-but-awesome extras.
Choosing the Right Cross Stitch Fabric
Your fabric is the canvas for your art, and picking the right one is the first big decision you'll make. This single choice affects everything from how easy it is to stitch to the final size of your project. It's truly one of the most fundamental accessories for cross stitch because it sets the foundation for your entire piece.
Think of fabric "count" like the resolution on a TV screen. Aida, the go-to fabric for most stitchers, comes in counts like 14, 16, or 18. That number just tells you how many little squares (or potential stitches) fit into one inch of fabric.
A lower number, like 14-count Aida, means bigger squares. It's like a low-res screen—the "pixels" are larger and much easier to see, which is why it's absolutely perfect for beginners. On the flip side, a higher count like 18-count Aida has smaller, tighter squares, giving you a higher "resolution" for a more detailed and compact design.
Aida: The Perfect Starting Point
If you're just getting started with cross stitch, Aida cloth is your best friend. It’s a cotton fabric woven in a way that creates a very clear, easy-to-see grid of squares. This built-in grid takes the guesswork out of counting and makes the whole process so much smoother.
Aida’s structure is incredibly forgiving, which is why you'll find it in almost every beginner's kit. The holes are so distinct that it's hard to put your needle in the wrong place. This lets you get into the rhythm of stitching instead of struggling to figure out where you are.
Evenweave and Linen: The Next Level Up
Once you've got the hang of Aida, you might be curious about fabrics that offer a more refined look. The two most popular alternatives are evenweave and linen, which many seasoned stitchers prefer for their elegant finish.
- Evenweave: Usually a cotton/rayon blend, this fabric has a smoother surface and a higher thread count than Aida. You typically stitch "over two" threads instead of over one block, which creates a beautifully detailed look.
- Linen: This natural fiber gives your projects a classic, heirloom feel. It has a slightly more organic texture than evenweave, which adds a lovely, unique character to the finished piece. Just like evenweave, you stitch "over two" threads.
The main difference is simple: Aida has a pre-made grid of holes, while with evenweave and linen, you count the individual threads yourself. It gives you more flexibility but definitely requires a bit more focus.
Preparing Your Fabric for Success
No matter which fabric you choose, a little prep work can prevent major headaches down the road. One of the best things you can do is "gridding." This just means using a water-soluble pen or a thin thread to mark a 10x10 grid on your fabric that matches your pattern. Want to learn more? Check out our complete guide to the best fabric for cross stitch.
Think of gridding as a GPS for your stitching. It makes counting large areas a breeze and seriously cuts down on the risk of making a mistake you don't find for hours. While it's an optional step, it’s an absolute lifesaver for big, complex projects, ensuring you stay on track from the first stitch to the last.
Getting to Grips with Floss and Needles
If your fabric is the canvas, then your floss and needles are the paint and brushes. These are the absolute core accessories for cross stitch that bring a pattern to life, turning a blank grid into a piece of art. Getting a feel for these simple tools is the first real step toward creating beautiful, consistent stitches.
It's amazing to think that the world of cross-stitch is part of a massive global embroidery market. This whole industry is projected to hit USD 3.7 billion and is expected to climb to around USD 8 billion by 2034. A huge chunk of that—41%, in fact—comes from the Asia Pacific region, where countries like China and Japan are powerhouses in producing the threads, needles, and fabrics we all use. If you're curious, you can dig deeper into the numbers in this embroidery market analysis.
The World of Embroidery Floss
The thread you'll see everywhere is six-strand cotton embroidery floss. The best way to think of it is like a tiny rope made from six individual threads twisted together. This clever design is what gives you total control over the thickness and texture of your stitches.
Most patterns will tell you to use two strands at a time, but that’s not a hard-and-fast rule. It all depends on your fabric count and the look you’re going for. For instance, if you're working on a dense 18-count Aida, you might use just one strand for a very fine, delicate look. On the flip side, for a more open 11-count Aida, bumping it up to three strands will give you fuller, more plush stitches.
Of course, the classic beginner’s hurdle is figuring out how to separate those strands without ending up with a tangled bird's nest.
How to Separate Floss Strands Like a Pro:
- Cut Your Length: Start with a piece of floss you can easily handle. About 18 inches is perfect—a good rule of thumb is the distance from your fingertips to your elbow.
- Isolate One Strand: Gently pinch the end of the floss and pull a single strand straight up and out from the bunch.
- Let it Settle: The other strands will look like they're bunching up, but don't panic! Once your single strand is free, they'll relax right back into place.
- Repeat as Needed: Just keep pulling one strand at a time until you have the number your pattern calls for.
This one-by-one method is the secret to avoiding knots and keeping your floss smooth and ready to stitch. For an even closer look, check out our guide on everything you need to know about embroidery floss for cross stitch.
Needles: The Unsung Heroes
The right needle makes stitching feel like a dream; the wrong one is a recipe for frustration, snagged threads, and wonky tension. When it comes to cross-stitch, your best friend is the tapestry needle.
Unlike the sharp needles you’d use for sewing, tapestry needles have a blunt tip and a much larger eye. This isn't a random design—it's completely intentional.
A tapestry needle is made to glide smoothly through the holes in your cross-stitch fabric, not to pierce the threads of the fabric itself. Using a sharp needle is a common mistake that can split the weave and make your stitches look messy.
The size of your needle needs to match the count of your fabric. If your needle is too big, it can stretch the holes in the fabric. If it's too small, it creates friction that can wear down and fray your floss as you stitch.
This simple graphic shows the most common types of fabric, which is the first thing you need to consider when picking out a needle.
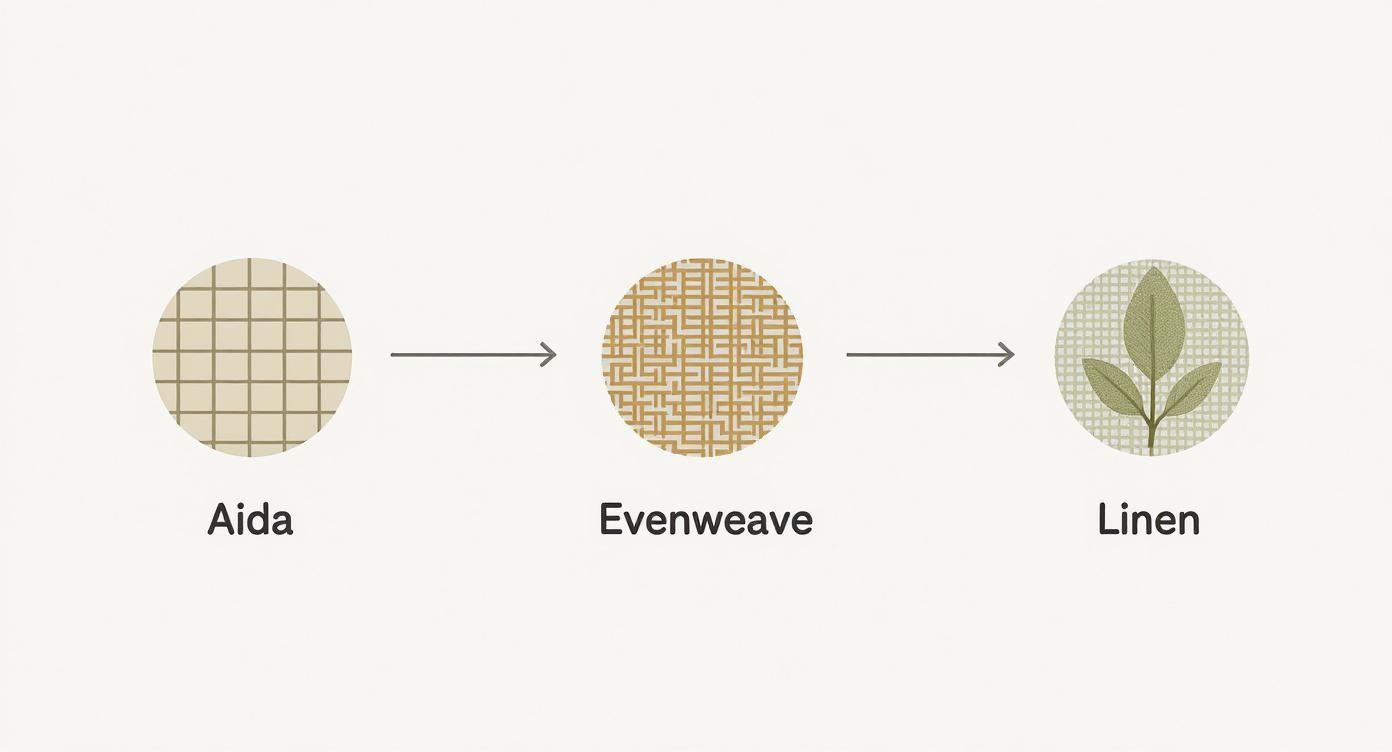
As you can see, Aida has a very clear, open grid. Evenweave and linen, however, have a smoother, tighter weave, which often means you'll want a slightly smaller needle to navigate it easily.
Matching Needles to Fabric Count
Finding that perfect needle-fabric pairing isn't some dark art. It's actually a pretty simple formula that stitchers rely on to make sure their tools work together instead of against each other. A perfectly matched needle will slide through the fabric with just a little bit of resistance, creating the ideal loop for your floss every single time.
Here's a handy little cheat sheet to get you started:
| Fabric Count | Recommended Tapestry Needle Size |
|---|---|
| 11-Count Aida | Size 22 |
| 14-Count Aida | Size 24 |
| 16-Count Aida | Size 26 |
| 18-Count Aida | Size 28 |
The pattern is easy to spot: as the fabric count gets higher (meaning the squares are smaller), the needle size number also gets higher (meaning the needle itself is smaller). A size 24 needle is a fantastic, versatile starting point, as it works perfectly for the 14-count Aida you'll find in most kits. Once you master the relationship between your floss, needle, and fabric, you're in complete control of how your finished project will look and feel.
Keeping Your Work Taut with Hoops and Frames
Let's talk about the secret ingredient behind those beautifully uniform, professional-looking stitches: consistent tension. If your fabric is loose while you work, your stitches will likely end up uneven, puckered, or just plain wonky. This is where one of the most essential accessories for cross stitch comes into play—a tool to hold your fabric perfectly taut.
Think of it like an artist stretching a canvas before painting. A tight, stable surface is what allows for precision and control. For us stitchers, that stable surface comes from embroidery hoops, Q-Snaps, or scroll frames. Each has its own personality, and the one you'll love often comes down to your project's size and your personal stitching style.
Classic Embroidery Hoops
The good old embroidery hoop is probably the most recognizable tool in any stitcher's kit. Usually made of wood, bamboo, or plastic, it’s a simple system of two rings. You lay your fabric over the inner ring, pop the outer ring over it, and tighten a screw to pull the fabric taut.
Hoops are fantastic for smaller projects. They're lightweight, super portable, and easy on the wallet, which makes them a perfect starting point for beginners. You can find them in just about any size you can imagine, from tiny 3-inch hoops for ornaments to big 12-inch ones for more ambitious pieces.
They aren't without their quirks, though. Wooden hoops, in particular, can leave creases that you'll need to iron out later. It’s also a good habit to take your work out of the hoop between stitching sessions to keep the fabric from getting permanently stretched or marked.
A common annoyance for stitchers is "hoop grime"—the oils and dirt from your hands that can build up on the fabric's edge. A simple fix is a grime guard, which is just a little fabric tube that slips over the hoop to keep your project pristine.
Modern Q-Snaps
A Q-Snap is a more modern take on fabric tension. It’s a square or rectangular frame made of PVC pipes with clamps that snap right on to grip the fabric. I'll be honest, many stitchers who try Q-Snaps never go back, and for one main reason: the tension is absolutely incredible.
You can get your fabric drum-tight, and it will stay that way for your entire stitching session. The clamps hold the material securely without crushing the stitches you’ve already made, which can sometimes be a problem with hoops. Because the tension is so evenly distributed, Q-Snaps are also much less likely to leave stubborn creases. They are a fantastic all-rounder for any size project, but they really shine on full-coverage pieces where you don't want to squash your beautiful work.
Sturdy Scroll Frames
For those truly epic, long-term projects, the scroll frame is king. This setup has two horizontal rollers (the "scrolls") and two sidebars. You attach the top and bottom of your fabric to the rollers, then simply roll the fabric until it's perfectly tight.
The single biggest advantage of a scroll frame is how it keeps your entire project clean and wrinkle-free. Most of the fabric stays neatly rolled up and protected, so you only expose the part you're actively working on. This is an absolute game-changer for massive, heirloom-quality pieces you might be stitching on for months or even years. They also completely eliminate hoop marks, since the fabric is held taut from top to bottom instead of being clamped in a circle. While they aren't as portable and take up more space, the protection and tension they provide for huge projects are second to none.
Comparing Fabric Tension Tools: Hoops vs. Q-Snaps vs. Scroll Frames
Choosing the right tool is a deeply personal decision, but seeing them side-by-side can make it a lot easier to figure out what fits your stitching habits and your current project.
| Tool Type | Best For | Pros | Cons |
|---|---|---|---|
| Embroidery Hoop | Small to medium projects, beginners, portability. | Inexpensive, widely available, easy to use. | Can leave creases, may crush stitches, requires re-tightening. |
| Q-Snap | All project sizes, especially full coverage. | Excellent tension, doesn't crush stitches, lightweight. | Bulkier than hoops, can be more expensive. |
| Scroll Frame | Large, long-term, and heirloom projects. | Keeps fabric clean and wrinkle-free, no hoop marks. | Less portable, requires more setup, highest cost. |
Ultimately, there's no single "best" tool—only the best tool for you and the piece you're creating. Many experienced stitchers keep all three types in their collection, switching between them depending on the project at hand.
Helpful Gadgets for Better Stitching
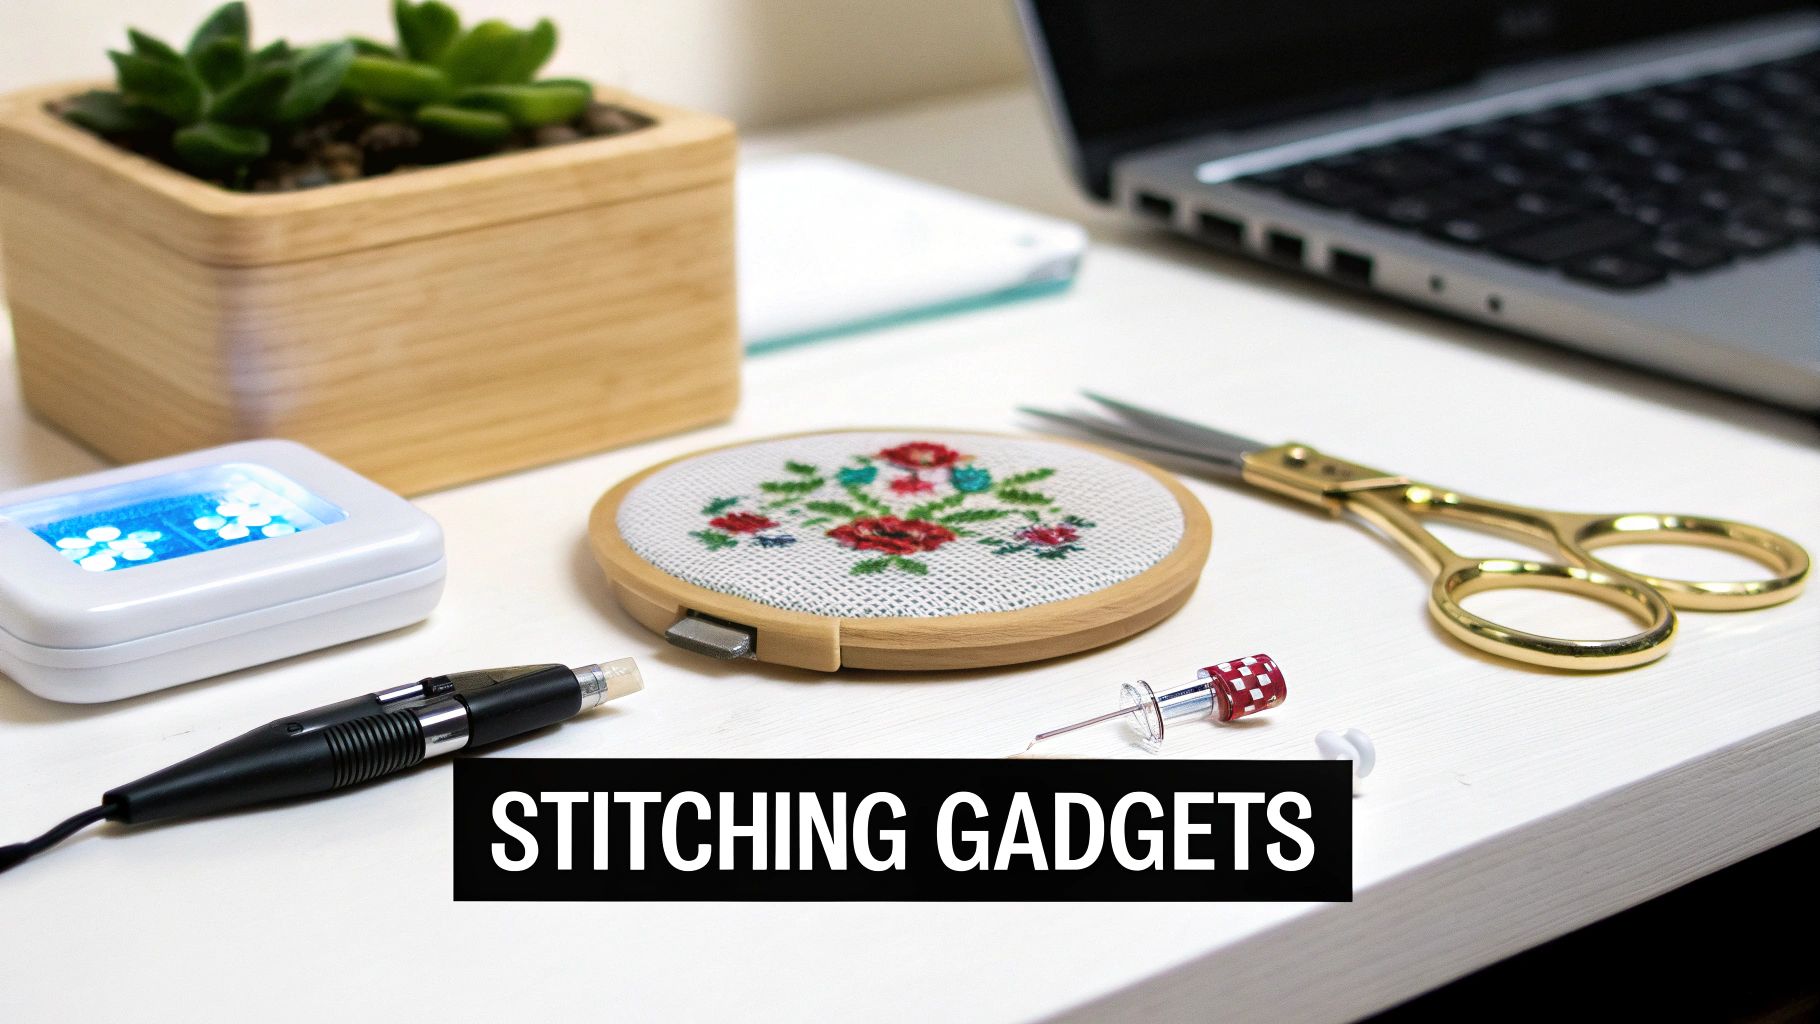
Once you've got your basic kit sorted, it's time to explore the fun stuff: the "quality of life" accessories for cross stitch. No, you don't technically need them to make an 'X' on a piece of fabric. But trust me, they're brilliant for smoothing out the little frustrations that can trip up your stitching rhythm.
Think of these gadgets as upgrades that turn your craft corner into a true stitching sanctuary. Each tool is designed to solve a specific problem, whether it's the classic case of the disappearing needle, a mess of tangled floss, or the eye strain from a long stitching session. Adding just a few of these to your setup can make the whole process more comfortable, organized, and way more enjoyable.
Taming Your Tools with Needle Minders
We’ve all been there. You put your needle down for one second, and it’s gone—vanished into the depths of the sofa or onto the carpet, just waiting for an unsuspecting foot. This is exactly why the needle minder was invented.
A needle minder is a deceptively simple little gadget. It’s essentially two powerful magnets: a decorative one that sits on top of your fabric and a plain one that holds it in place from behind. It creates a dedicated, magnetic parking spot for your needle whenever you need to pause to re-thread or take a quick break.
They come in an endless variety of cute and clever designs, so you can add a bit of personality to your work-in-progress. But more importantly, they put a stop to the frantic needle hunt. It's a small, affordable tool that brings a surprising amount of peace of mind.
A needle minder isn't just a cute accessory; it's a tiny insurance policy for your project and your fingertips. Keeping your needle securely attached to your fabric streamlines your workflow and keeps everyone safe.
Shedding Light on Your Stitches
Good lighting is probably the most overlooked cross-stitch accessory, but it makes a world of difference to your enjoyment and the final result. Stitching in poor light is a recipe for eye strain, headaches, and mistakes you won't notice until you’re in the bright light of day.
A dedicated craft lamp, especially one with a daylight LED bulb, is a total game-changer. These lamps cast a bright, clear light that mimics natural sunlight, helping you see the fabric holes clearly and ensuring your thread colours look true. This is an absolute must-have if you're working on dark fabric or stitching late at night. For getting those details just right, choosing the best craft light with magnifying glass can make your hobby far more comfortable and accurate.
Many stitchers swear by lamps with a built-in magnifier, particularly when tackling high-count fabrics. It takes all the guesswork out of finding the right spot for your next stitch.
Organizing Your Floss Collection
As you get deeper into cross stitch, your thread collection is going to explode. Before you know it, you'll have dozens—or even hundreds—of colourful skeins. Getting them organized isn't just about being tidy; it's about preventing a tangled nightmare and making it easy to find the exact shade you need.
A few popular organization methods have stood the test of time:
- Floss Bobbins: These are small cardboard or plastic cards you wind your floss onto. You can label them with the colour number and keep them filed away neatly in special organizer boxes.
- Thread Drops: If you hate winding bobbins, these are for you. Thread drops let you loop pre-cut lengths of floss onto a ring, keeping them straight and ready to use.
- Project Cards: These are great for keeping your active project colours together. They have holes where you can loop the threads you're currently using, putting everything you need in one easy-to-grab spot.
Taking a little time to set up a system that works for you is a fantastic investment. To see what's out there, check out our guide on finding the perfect cross stitch thread organiser. A well-organized stash is a beautiful sight, and it means more time stitching and less time hunting.
How to Read Patterns and Charts
Think of your cross-stitch pattern as a roadmap. Once you learn to read it, you can stitch absolutely anything. It’s like a treasure map where ‘X’ quite literally marks the spot, guiding you from a blank piece of fabric to a finished masterpiece.
Every pattern is a simple grid, a perfect mirror of the woven squares on your fabric. Each tiny square on that grid represents one single cross stitch you'll make. The symbols filling those squares are the real language of the chart—they tell you exactly which color of floss to use for that stitch.
It's no surprise that the global market for needlecraft patterns, a huge part of the accessories for cross stitch world, is massive. This segment was valued at around USD 34 billion and is expected to nearly double, fueled by our love for creative projects. Digital downloads have totally changed the game, giving stitchers instant access to these guides. You can see just how big this market is in this needlecraft patterns market report.
Decoding the Color Key
So, how do you translate those symbols into colors? That’s where the color key, or legend, comes in. It’s your decoder ring for the entire project. You'll usually find it on the side or bottom of your chart, listing every symbol used in the design.
Next to each symbol, the key gives you three critical details:
- Floss Number: This is the brand-specific ID number, like DMC 310 or Anchor 403.
- Color Name: This gives you a simple description, like "Black."
- Symbol: And of course, the actual character shown on the grid for that color.
This key is the bridge between the abstract marks on the page and the real floss wound on your bobbins. It’s what ensures the piece you stitch looks just the way the designer planned.
Paper vs. Digital Patterns
Back in the day, we all worked from paper charts. There’s something so satisfying about taking a highlighter and physically marking off a row you just finished.
But now, digital PDF patterns viewed on a tablet or computer have become incredibly popular for a reason. You can zoom way in on those complicated areas, which saves your eyes and stops you from guessing. Plus, many stitching apps let you digitally tap a stitch to mark it as complete, giving you that same sense of progress without using any ink.
Whether you prefer the feel of paper or the zoom of a screen, the most important thing is clarity. The best pattern is simply the one you find easiest to read, letting you get lost in the flow of stitching instead of squinting to find your place.
Tracking Your Progress
Losing your spot on a big, complicated chart is a classic stitching problem, but it’s one you can easily solve. For paper patterns, a simple highlighter is a stitcher's best friend. If you’ve gone digital, dedicated apps like Pattern Keeper are a total game-changer.
Another fantastic trick, especially for paper charts, is using a magnetic board and a magnetic ruler. You just place the ruler on your chart right under the row you’re working on and slide it down as you go. This simple tool keeps you locked onto the right line, making your stitching faster, more accurate, and a whole lot less stressful.
A Few Common Questions About Cross-Stitch Accessories
Even after you've gathered all your supplies, a few questions are bound to pop up as you get stitching. I've been there! This section is like having a seasoned stitcher by your side, ready with quick answers to the most common queries I hear about cross-stitch tools and how to care for them.
Getting these little details right can make a huge difference in how your projects turn out and how long your gear lasts.
How Should I Clean My Cross-Stitch Accessories?
Keeping your tools and your project clean is key to a beautiful finish. When your cross-stitch piece is complete, the best approach is a gentle hand-wash in lukewarm water with a tiny bit of mild soap. Don't wring it out! Instead, gently roll it up in a clean towel to blot out the extra water. You can then iron it, face-down on a fresh towel, while it's still a little damp.
As for your tools, that’s the easy part:
- Plastic Hoops and Q-Snaps: A simple wipe-down with a clean, dry cloth is usually enough to get rid of any dust or hand oils.
- Metal Tools: The golden rule for needles and scissors is to keep them bone dry. This prevents any chance of rust, which would be a disaster for your fabric.
Taking just a minute to clean your accessories is one of the best habits you can get into. It not only helps them last longer but also saves your fabric from unexpected stains or snags. A clean workspace really does lead to a clean, beautiful project.
Can I Reuse Cross-Stitch Needles?
Oh, absolutely! Tapestry needles are workhorses and are designed to last for many, many projects. They aren't immortal, though. Over time, the natural oils from your hands can make them feel a bit gummy, they might start to tarnish, or they can even get a slight bend from all that stitching.
You’ll know it’s time for a replacement when you start feeling a bit more drag as you pull the needle through the Aida, or worse, if it begins to snag your floss. Keeping your needles safe on a magnetic minder or tucked into a pincushion is a great way to protect their tips and keep them in prime condition.
Is a Grime Guard Really Necessary?
Think of a grime guard less as a "must-have" and more as a "smart-to-have," especially if you’re tackling a big project. It's just a simple fabric tube that fits snugly around your hoop or Q-snap frame.
So, what's it for? It acts as a barrier, protecting the edges of your fabric from the oils, lotions, and general grime from your hands. If you're going to be handling a piece for weeks or even months, a grime guard is your best friend for keeping that crisp, white Aida cloth looking perfect from the first stitch to the last.
Ready to turn your favorite photos into a work of art? At Cross Stitched, we transform your cherished memories into beautiful, all-in-one cross-stitch kits. Start designing your custom kit today!


