
Think of 14-count Aida as the perfect graph paper for your thread. It’s a woven cotton fabric with one brilliant, simple feature: it gives you exactly 14 squares per inch to stitch on. This specific grid is what makes it the go-to, most versatile fabric in the cross-stitch world.
The Foundation of Cross-Stitch
When you first dip your toes into cross-stitch, the term "fabric count" can feel a little technical. But it's actually the most important detail for figuring out how big your finished project will be. The "count" simply tells you how many stitches you can fit into one linear inch of fabric.
So, for 14-count Aida, you get a grid of 14 squares every inch, both across and down. It's that simple.
This straightforward grid is precisely why it became the universal standard for stitchers everywhere. Its popularity is no accident; it hits the sweet spot between ease of use and beautiful results. The holes are large enough for beginners to see clearly, which means less eye strain and fewer mistakes. At the same time, the stitches are small enough to create a wonderful level of detail in your finished piece.
Why the Grid Matters
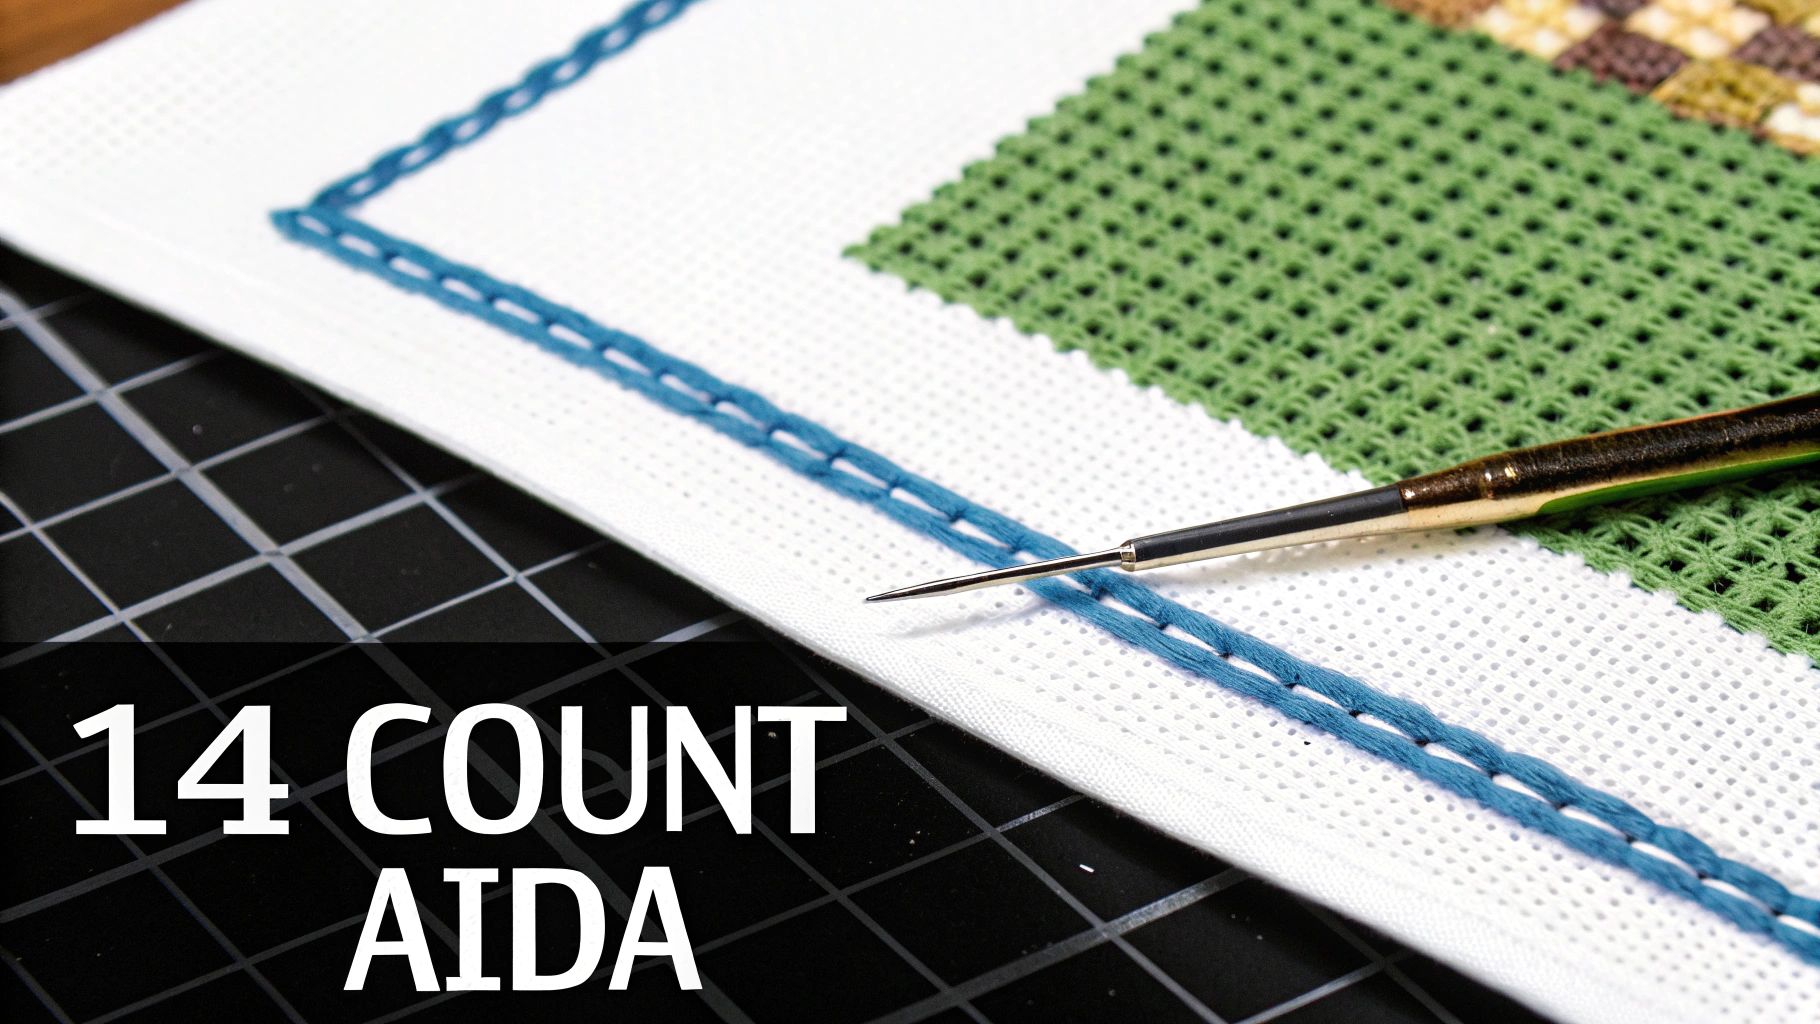
The real magic of Aida fabric is in how it's made. It's woven with little bundles of fibers that create obvious, perfectly spaced holes for your needle. This design takes all the guesswork out of stitching. Instead of trying to eyeball where your next stitch should go, you just follow the grid. The result? Every "X" is uniform and perfectly aligned.
That consistency is what gives your work a clean, polished look. For 14-count Aida, the balance is just right:
- Clarity: The holes are a breeze to find, which helps you avoid misplaced stitches.
- Coverage: It’s ideal for stitching with two strands of embroidery floss. This creates full, lush stitches that cover the fabric nicely without looking too bulky.
- Accessibility: Because it's so common, the vast majority of cross-stitch kits and patterns are designed specifically for it.
This fabric isn't just a material; it's a roadmap for your creativity. The reliable 14-stitches-per-inch grid ensures that what the pattern designer created on their screen translates perfectly to your finished piece, stitch for stitch.
The Market Standard
You don't have to take my word for it—just look at the numbers. Data from the craft and embroidery markets in 2023 showed that 14-count Aida makes up roughly 35% to 50% of all Aida fabric sales globally. That’s a huge slice of the pie, far outselling other options like the larger 11-count or the finer 16 and 18-counts.
This makes it the perfect starting point for almost any project you can dream up, from a simple beginner pattern to a complex, full-coverage masterpiece.
Why Is 14 Count Aida the Go-To Fabric for So Many Stitchers?
If you've ever bought a cross-stitch kit, there's a very good chance it came with 14 count Aida. It’s everywhere, and for good reason. This fabric has become the gold standard by striking a beautiful balance between being easy to work with for newcomers and detailed enough for seasoned stitchers.
Think of it as the perfect "welcome mat" to the world of cross-stitch. When you're just starting, the holes are big enough to see clearly, so you know exactly where to put your needle. This simple clarity helps you build rhythm and confidence right away, letting you focus on the joy of stitching instead of straining your eyes.
The Perfect Balance of Detail and Size
For those of us with a few projects under our belts, 14 count Aida is a fantastic workhorse. It lets you create designs with impressive detail without the finished piece becoming massive or taking a lifetime to complete. For example, a pattern that is 140 stitches wide will finish at a clean 10 inches—a great size for framing, making a pillow, or adding to a tote bag. It's the ideal canvas for showing off intricate shading and color blends.
This sweet spot is exactly why it dominates the market. If you look at the data from big craft retailers, something like 60% of all cross-stitch kits for adults are packed with 14 count Aida. It's the unofficial standard, a reliable choice where stitches are easy to see and manage. You can explore more about crafting and marketing insights to see how these principles apply more broadly.
A Fabric That Just Feels Right
Beyond the numbers, 14 count Aida simply feels good in your hands. It has a certain stiffness—what stitchers call a good "hand"—that makes it sturdy enough to work on without a hoop for smaller projects. It’s perfect for stitching on the couch or while traveling. At the same time, it’s still flexible enough to be comfortable for those long, relaxing stitching sessions.
The fabric’s weave is incredibly forgiving. It holds its shape, supports your stitch tension perfectly, and gives your work a durable foundation that will last for generations.
Ultimately, choosing 14 count Aida is more than just picking a number. It's a smart choice that works for the widest range of projects and people. Whether you’re turning a treasured photo into a family heirloom with one of our custom kits or tackling a pre-made pattern, this fabric is the ideal canvas to bring your vision to life.
Choosing the Right Fabric Count for Your Project
While 14 count Aida is a fantastic all-rounder, knowing how it stacks up against other fabric counts is what really elevates your stitching game. The fabric you choose can completely change the look, feel, and even the size of your finished piece. It’s a bit like picking a paintbrush—a broad brush is great for big, bold strokes, while a fine-tipped one is what you need for intricate details.
The fabric count is the single biggest factor in determining the final size of your pattern. A lower count number means fewer stitches per inch, which gives you a larger design with more visible, chunky stitches. Go for a higher count, and you'll pack more stitches into every inch, resulting in a smaller, more detailed piece. It's the classic trade-off every stitcher learns to navigate.
A Tale of Four Fabrics
To see this in action, let's say you have a pattern that's 140 stitches wide. The fabric count you stitch it on will decide its final size on your wall.
- On 11 Count Aida: Your design would finish at about 12.7 inches wide. The stitches are big and bold, which is perfect for kids' projects, statement wall hangings, or anything where you want a charming, rustic look.
- On 14 Count Aida: This is our gold standard. The same pattern finishes at a clean 10 inches wide. It strikes that perfect balance between showing off detail without the stitches becoming too tiny to work with easily.
- On 16 Count Aida: Now we're getting smaller. The project shrinks to 8.75 inches wide. The stitches are tighter, giving your work a smoother, more refined appearance that looks almost like a print from a distance.
- On 18 Count Aida: Here, the design gets even more compact at just 7.8 inches wide. This count is the go-to for photorealistic patterns where every single stitch is crucial for creating a detailed, almost pixel-perfect image.
This infographic really captures the strengths of 14 count Aida and why it's such a reliable starting point for so many of us.
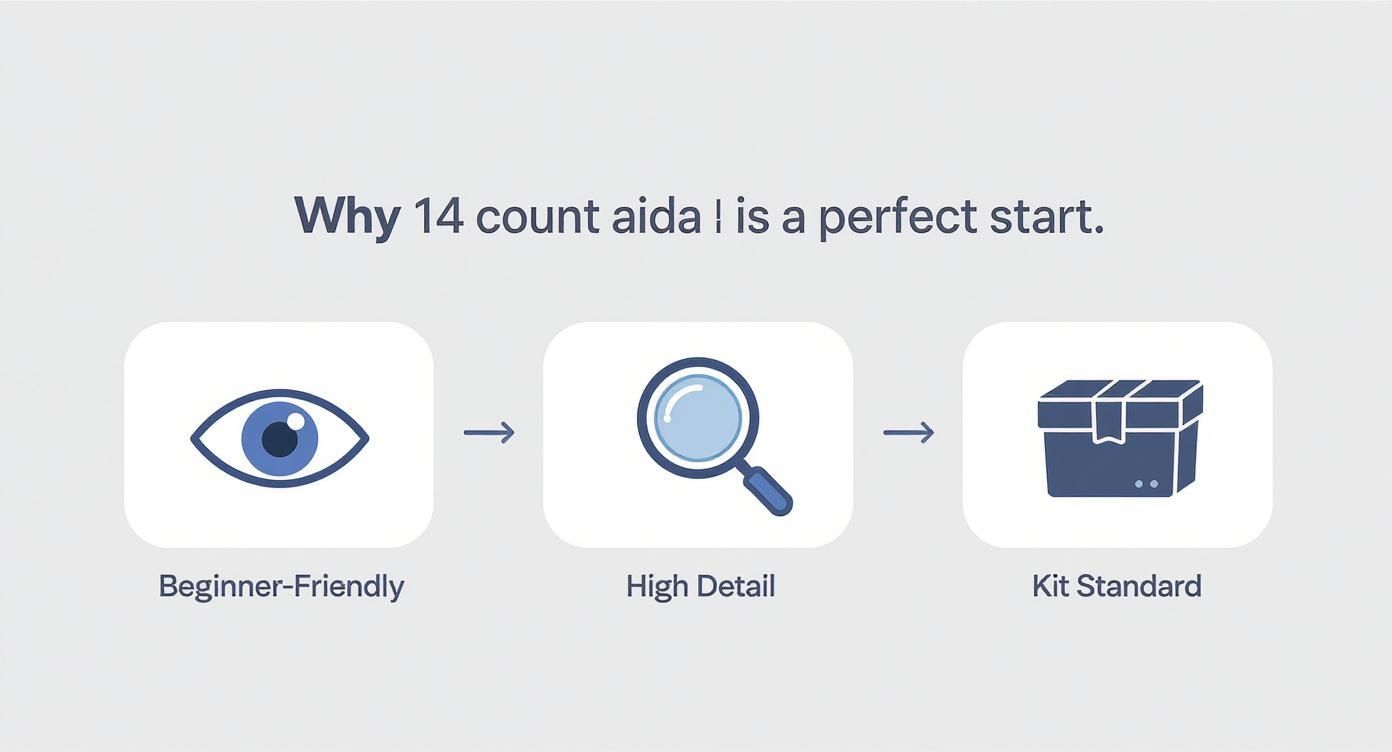
As you can see, it hits the sweet spot—it’s easy for beginners to handle, detailed enough for complex patterns, and it’s what you’ll find in most commercial kits for a reason.
Aida Fabric Count Comparison (11 vs 14 vs 16 vs 18)
Here’s a quick-glance table to help visualize how a 100 x 100 stitch pattern changes across the most common Aida counts.
| Feature | 11 Count Aida | 14 Count Aida | 16 Count Aida | 18 Count Aida |
|---|---|---|---|---|
| Finished Size | ~9.1" x 9.1" | ~7.1" x 7.1" | ~6.3" x 6.3" | ~5.6" x 5.6" |
| Stitch Appearance | Large, bold, rustic | Standard, clear | Small, smooth, refined | Tiny, dense, detailed |
| Recommended Threads | 3-4 strands | 2 strands | 2 strands | 1-2 strands |
| Recommended Needle | Size 22 tapestry | Size 24 tapestry | Size 26 tapestry | Size 28 tapestry |
It's amazing how much the final size and feel can change just by swapping out the fabric, isn't it?
Getting the Thread Coverage Just Right
Your fabric count also dictates your "coverage"—basically, how well the floss covers the fabric underneath it. The aim is almost always to create full, plump stitches that completely hide the Aida grid, letting the design shine.
On a lower count like 11, you'll likely need three, or maybe even four, strands of floss to get that full look. But on a much higher count fabric like 22 or 28, a single strand is often all you need.
For 14 count Aida, two strands of standard six-strand embroidery floss is the magic number. It provides perfect coverage, creating a lush texture where the colors pop and the fabric grid just disappears into the background.
This is another huge reason it's the default for kits—the "use two strands" instruction just works, every time. If you want to dive even deeper into this, our guide on cross stitch fabric counts has even more information.
In the end, there’s no single "best" fabric count. There's only the right one for the specific project you have in mind. By understanding these differences, you can pick your Aida canvas with confidence, knowing exactly how it will shape your final masterpiece.
Your Essential Toolkit for 14 Count Aida
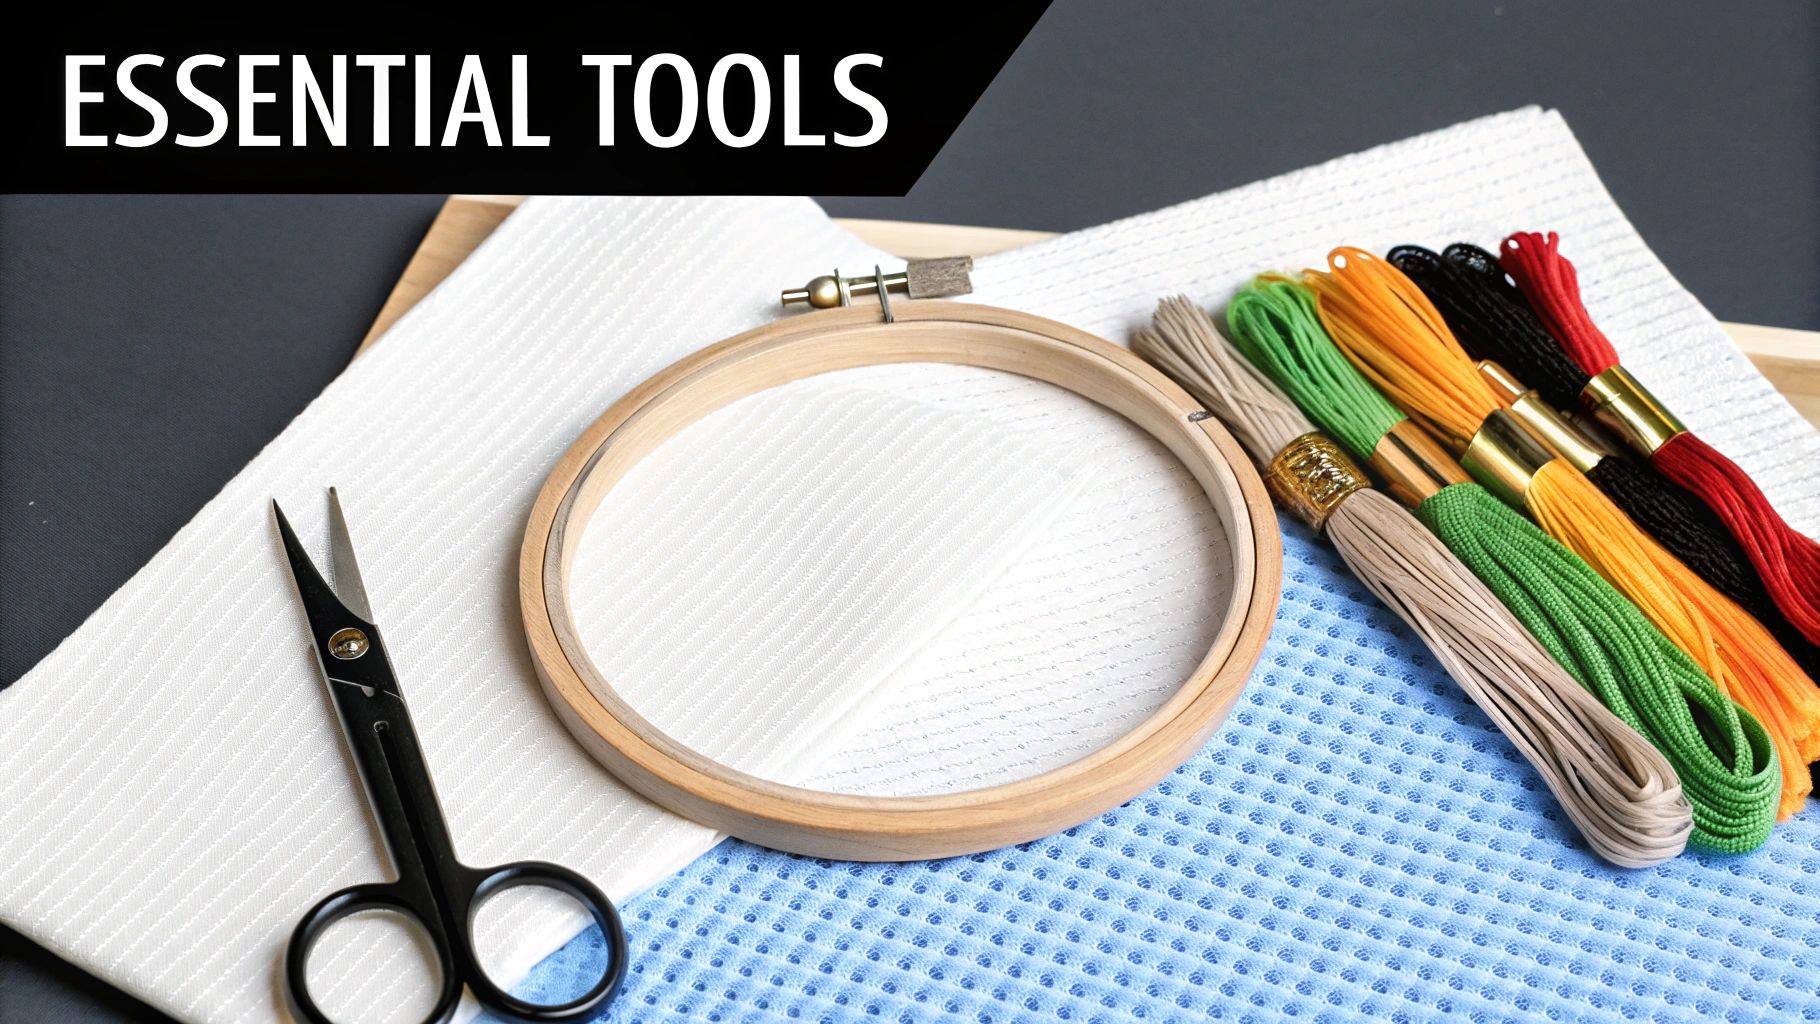
Starting a new project on 14 count Aida is always exciting, and gathering the right tools beforehand makes the whole experience so much more relaxing. Think of it as your creative command center. A little prep work now means smooth sailing later, and you don't need a mountain of supplies to get started.
Honestly, the most important tool you'll pick up is your needle. The wrong one can snag the Aida, shred your floss, or just be a pain to thread. You want a needle that feels like a partner, not an obstacle.
Finding the Perfect Needle
When you're working with 14 count Aida, the hands-down winner is the size 24 tapestry needle. It’s the go-to choice for a couple of very good reasons.
First off, it has a blunt, rounded tip. This is key. It’s designed to slip right through the existing holes in the Aida's grid without a fight. A sharp needle, on the other hand, would constantly pierce the fabric threads, messing up the weave and throwing your stitches out of alignment.
Second, the eye of a size 24 needle is just right for holding two strands of embroidery floss, which is the standard for this fabric count. It saves you from the headache of trying to poke thread through a microscopic hole, so you can get right to the stitching. If you want to dive deeper into the world of needles, our complete guide to cross stitch needles and sizes breaks down all the options.
A size 24 tapestry needle and 14 count Aida are a perfect match. The needle finds the path of least resistance, preserving the fabric's integrity and ensuring your stitches are uniform and beautiful from start to finish.
Choosing Your Threads
Next up is your embroidery floss. The name of the game here is getting good "coverage." That just means your stitches are full and fluffy enough to cover the fabric grid underneath them. It’s what gives your finished piece that rich, solid look.
For 14 count Aida, the sweet spot is two strands of standard six-strand floss. This gives you the perfect amount of bulk to fill in each X-stitch without overcrowding the holes. Stitching with a single strand will look thin and gappy, while three strands can be a struggle to pull through and might warp the fabric.
Essential Accessories for Success
Beyond your needle and floss, a few other items will make your stitching life much easier. These aren't just extras; they help with precision, comfort, and getting that professional-looking finish.
- Embroidery Hoop or Q-Snap Frame: While you can get by without one for tiny projects, a hoop or frame is a game-changer. It keeps your fabric pulled taut, which is the secret to making beautifully even and consistent stitches.
- Sharp Scissors: A small, sharp pair of embroidery scissors is a must-have. You need them to snip your thread tails close to the fabric for a clean look, both front and back.
- Good Lighting: Cross stitch is detailed work, and you'll be amazed at what good lighting can do. A simple task lamp or a sunny window helps you see the holes clearly, tell similar colors apart, and save yourself from a lot of eye strain.
With this simple toolkit, you're all set to take on any 14 count Aida project with total confidence.
How to Calculate Fabric Size for Your Project
One of the biggest anxieties for a new stitcher is the fear of running out of fabric halfway through a project. We’ve all been there! Thankfully, figuring out how much 14 count Aida you need is just some simple math. Getting this right from the start is the key to a stress-free stitching experience.
It all comes down to a basic formula. First, grab your pattern and find its stitch count for both the width and height. You’ll divide each of those numbers by 14 (since that's how many stitches fit into one inch of this fabric). The result gives you the exact dimensions of your finished stitched area.
The Simple Calculation
Let's walk through an example together. Say you've picked a pattern that is 112 stitches wide by 84 stitches high.
- Calculate the design width: 112 stitches ÷ 14 stitches per inch = 8 inches
- Calculate the design height: 84 stitches ÷ 14 stitches per inch = 6 inches
Easy enough, right? Your final stitched design will measure exactly 8 by 6 inches. But hold on, don't cut your fabric just yet! The next step is absolutely crucial for getting a beautiful, professional finish.
Why You Need a Generous Border
Always, always, always add extra fabric around your design area. I can't stress this enough. A good rule of thumb is to add a border of at least 3 inches on all sides. This extra fabric is your best friend—it makes it so much easier to secure your work in a hoop or frame, and it gives you plenty of room for framing later on without the design feeling cramped or the edges fraying.
Adding a border isn't just a suggestion; it's the difference between a project that's easy to finish and one that causes frustration. That extra fabric is your safety net for handling, hooping, and framing.
To figure out the final piece of fabric you need to cut, just add 6 inches to both your final width and height (3 inches for the left border + 3 inches for the right, and the same for the top and bottom).
- Final Fabric Width: 8 inches (design) + 6 inches (border) = 14 inches
- Final Fabric Height: 6 inches (design) + 6 inches (border) = 12 inches
So, for this project, you'll need a piece of 14 count Aida that is at least 14 by 12 inches. If you want to skip the mental math, our online tool can do all the heavy lifting for you.
This handy calculator automatically includes a border allowance, instantly giving you the final fabric dimensions. For those of you who work on all sorts of sewing projects, learning general fabric yardage calculations can also be a game-changer.
Ready to try it yourself? You can find the perfect dimensions for your next masterpiece with our cross-stitch size calculator.
The Surprising History of Aida Fabric
It’s hard to imagine cross-stitch without Aida cloth, but this crafting staple is actually a relatively new kid on the block. Before Aida came along, stitchers had to work on linen or other evenweave fabrics. This meant meticulously counting individual threads over and under, a process that was slow, tedious, and notoriously tough on the eyes.
Everything changed in the early 20th century. A new fabric was invented specifically for counted threadwork, and it was a stroke of genius.
This material, which we now know and love as Aida, was woven in a special way that bundled threads into little squares. This simple change created a natural, easy-to-see grid, completely removing the guesswork from placing stitches. All of a sudden, counted cross-stitch wasn't just for the experts anymore—it was for everyone.
The Rise of a Crafting Standard
As manufacturing improved, this gridded fabric could be produced with incredible consistency. This led to the standardized counts we use today, like the beloved 14 count Aida. For pattern designers and kit makers, this reliability was a total game-changer.
The fabric's popularity truly took off during the DIY and craft revivals of the mid-to-late 20th century. Between 1975 and 1990, the demand for 14 count Aida went through the roof, with some estimates showing a staggering 400% increase in embroidered goods made on it in Western markets. This boom cemented its place as the default canvas for stitchers everywhere.
When you understand the history, you see that 14 count Aida isn't just another piece of fabric. It was a thoughtful innovation designed to open up a beautiful craft to the world, making it simpler and far more enjoyable for everyone.
Today, it remains the backbone of the cross-stitch community. Its invention turned a highly specialized skill into a global hobby, proving that sometimes the simplest ideas have the biggest impact.
Finishing Touches and FAQs for 14 Count Aida
Once you start getting into the groove with 14 count Aida, you’ll inevitably run into a few questions, especially as you approach the finish line of a project. It's totally normal. Let's walk through some of the most common things people ask so you can finish your piece with confidence.
One of the first hurdles new stitchers face is what to do after that final stitch is in place. You’ve spent hours on this thing, so you want to make sure it looks its best and lasts a lifetime.
How Should I Wash My Finished Aida Project?
This is a big one. Washing your finished cross-stitch is the secret to making it look truly professional. It gets rid of any oils from your hands, dust, and those stubborn hoop marks. The whole process is pretty simple, but the key is to be gentle.
- Hand wash only. Forget the washing machine. Just fill a clean basin with cool water and add a tiny drop of a mild, clear soap. A specialized quilt wash works great, too.
- Swish it gently. Submerge your piece and just sort of move it around softly. You don't want to scrub or twist it like a dish towel.
- Rinse completely. Hold it under cool, running water until you're sure all the soap is gone and the water runs clear.
- Dry it flat. To get the excess water out, lay your project on a thick, clean towel, roll it up, and press down gently. Never, ever wring it out! After that, just lay it flat on a fresh, dry towel and let it air dry.
Once it's dry, you can press it with an iron on a low setting. Always iron from the back, and place another clean towel between the iron and your stitches to keep them from getting flattened.
Washing isn't just about cleaning; it's a critical finishing step. It helps your floss "bloom" and settle into the Aida, giving the whole piece a polished, uniform look.
Can I Use More Than Two Strands of Floss?
Absolutely! While two strands of floss is the tried-and-true standard for 14 count Aida, you can definitely play around with it.
Using three strands will give you a much bolder, fuller look with practically no fabric peeking through your stitches. It creates a really lush, high-coverage effect that can look fantastic.
Just a word of caution: going beyond three strands can get a little crowded. It might make it tough to pull your needle through the holes and could even start to distort the fabric's grid. If you're curious, my advice is always to stitch a small test patch in a corner to see if you like how it looks and feels before committing to the whole project.
Ready to turn your favorite photos into timeless keepsakes? At Cross Stitched, we make it easy. Use our simple tools to create a custom kit with everything you need, from premium threads to high-quality Aida fabric. Start stitching your memories today at https://cross-stitched.com.


