

So, what exactly is a cross stitch method? It’s not about just one single way of doing things. Think of it as your personal strategy for how you tackle a project—how you make your stitches and handle your thread. It’s less of a strict rule and more of a workflow you settle into to make your stitching faster, tidier, and, most importantly, more fun. The right method can take a pattern that looks overwhelmingly complex and turn it into a relaxing, manageable process.
Your Journey Into the World of Cross Stitch Methods
Welcome to the wonderful world of cross stitch, where every little "X" you make is part of a bigger picture. If you're new to this, you might think it's just about making X-shaped stitches over and over. But the real craft, the thing that separates a good project from a great one, often comes down to the cross stitch method you use. This one choice can affect everything from how quickly you finish to how neat the back of your work looks.
Picking a method is a bit like a chef choosing the right knife. You wouldn't use a big bread knife for delicate peeling, right? In the same way, some stitching methods are brilliant for working on huge, solid blocks of color, while others are lifesavers when you're dealing with "confetti"—those pesky single stitches scattered all over a detailed pattern.
This guide is here to break it all down for you. We'll turn these seemingly complicated techniques from intimidating jargon into practical tools you can actually use. We'll look at a few of the most popular approaches, and I'll explain not just how to do them, but why they work and when you might want to choose one over another.
At the end of the day, a good cross stitch method helps you find your rhythm. It cuts down on counting mistakes, saves thread, and lets you build momentum, making the whole experience feel less like work and more like a meditative escape.
And it's an escape that more and more people are discovering! Cross stitch is far more than just a quaint hobby; it's a massive global community. The market was valued at USD 0.15 billion and is expected to grow to USD 0.22 billion by 2033. That's a lot of stitching! It just goes to show how much people value this craft as a way to unwind and create something beautiful.
Once you get a handle on a few different strategies, you'll feel confident enough to take on anything, from a simple beginner's kit to a massive, heirloom-quality piece. If you're just getting started on your stitching journey, our guide on what cross stitch is is a great place to begin.
Now, let's start building your stitching toolkit.
Understanding The Fundamental Stitch Types
Before we jump into the more complex strategies, we have to get comfortable with the basic vocabulary of our craft: the stitches themselves. Every single cross stitch method is built on just a handful of core stitches. Think of them as the individual notes a musician learns before they can compose a beautiful symphony; each one has a unique role to play in the final masterpiece.
Getting your method right is a bit of a balancing act. It's about finding that sweet spot between your stitching strategy, your speed, and the final quality of your work.
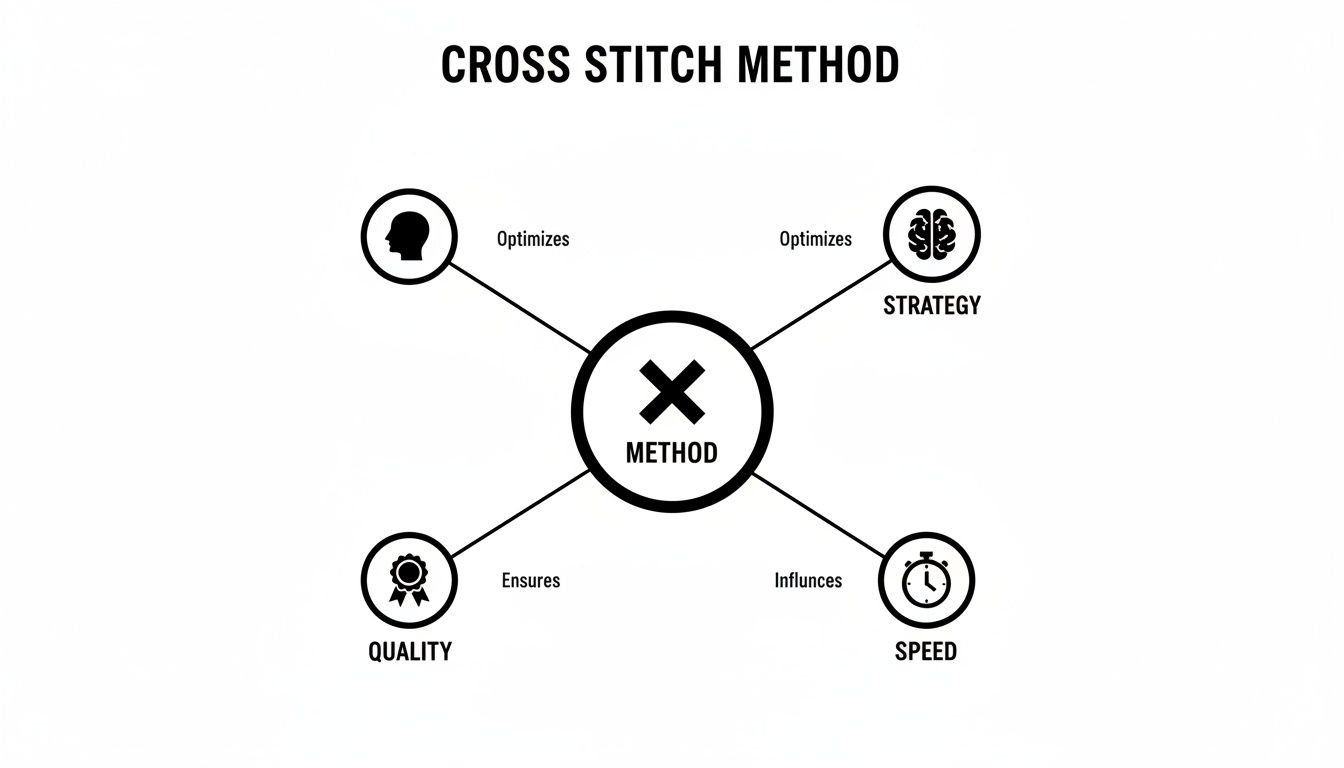
As you can see, the method you choose isn't just a random preference; it’s a strategic decision. It directly affects how efficiently you work and how professional your finished piece looks. Getting a grip on the fundamental stitches is the very first step in making that choice.
The Full Cross Stitch
The full cross stitch is the hero of our story. It’s that bold, confident "X" that gives this craft its name and makes up the bulk of almost every pattern you'll ever encounter. A full stitch gives you complete, solid coverage, making it the go-to for filling in blocks of color.
Making one is simple: you create a diagonal stitch from one corner of a fabric square to the opposite corner (that’s your bottom leg), and then you cross it with another diagonal stitch going the other way (the top leg). The real trick here is consistency. For a smooth, beautifully uniform finish, you have to make sure your top leg always crosses in the same direction across your entire project.
The Half Stitch
If a full stitch is a complete sentence, the half stitch is more like a subtle whisper. It's literally just the first leg of a full cross stitch—a single diagonal slash (/). Because it provides much lighter coverage, it’s a brilliant little tool for creating a sense of depth and perspective in your designs.
Designers love using half stitches for a few key reasons:
- Creating soft backgrounds: Think of a hazy sky, distant mountains, or the surface of water.
- Adding shading and gradients: Placing half stitches right next to full stitches creates a really nice, seamless transition from light to dark.
- Speeding up large areas: For big sections of a design that don’t need that heavy, full coverage, half stitches can save you a surprising amount of time and thread.
Fractional Stitches For Fine Details
While full and half stitches do most of the heavy lifting, fractional stitches are the artists. They’re what add nuance and precision to your work. Honestly, they are essential for creating smooth curves and sharp details, helping you avoid that blocky, pixelated look that can sometimes happen with gridded crafts. Without them, circles would look like squares, and tiny, delicate features would just get lost.
Fractional stitches are the secret to turning a simple grid-based design into a fluid, lifelike piece of art. They let you "break the grid" and achieve a level of detail that full stitches alone just can't provide.
You’ll mainly run into two types.
The Quarter Stitch (1/4) A quarter stitch is just a short, straight line that goes from one corner of a fabric square into the very center. It’s perfect for those tiny, subtle curves needed for things like eyes, flower petals, or delicate lettering. It's the smallest building block you have for shaping your design.
The Three-Quarter Stitch (3/4) This one is a neat little combination of a quarter stitch and a half stitch. You create that short leg from a corner to the center, and then you complete it with a full-length diagonal leg right over the top. This stitch is an incredibly powerful tool for defining edges and outlining shapes with real precision. It gives you more coverage than a single quarter stitch, making it ideal for those spots where two colors meet along a curved line.
To help you decide which stitch to use and when, here's a quick cheat sheet.
Choosing The Right Stitch For Your Design
| Stitch Type | Appearance | Best Used For | Difficulty |
|---|---|---|---|
| Full Stitch | A complete "X" | Filling large color blocks, main subjects | Beginner |
| Half Stitch | A single diagonal "/" | Backgrounds, shading, creating depth | Beginner |
| Quarter Stitch | Corner to center point | Tiny details, subtle curves (eyes, petals) | Intermediate |
| Three-Quarter Stitch | Quarter + Half stitch | Defining curved edges, sharp outlines | Intermediate |
Getting comfortable with these different stitches really unlocks a new level of detail in your projects. To see them in action and get a better feel for their applications, take a look at our detailed guide on the different types of cross stitch stitches. Understanding when and where to use each one is a core skill that will support every advanced cross stitch method you learn from here on out.
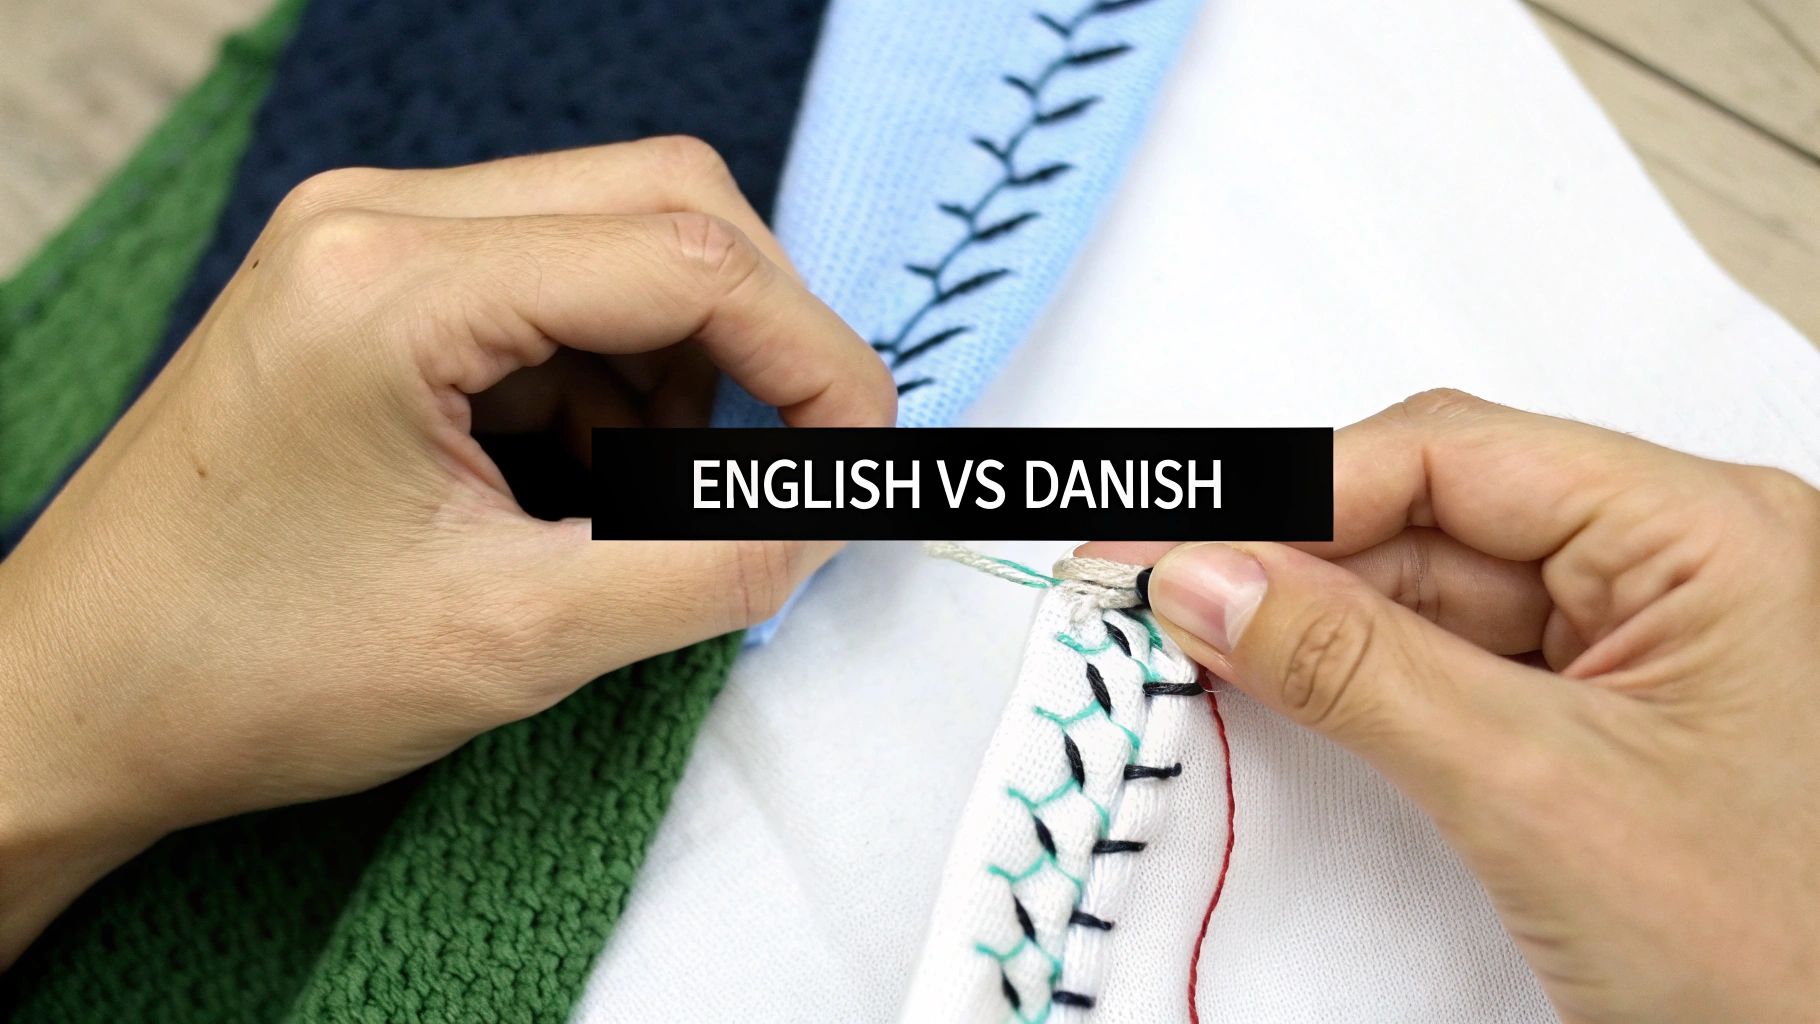
The Great Debate: English vs. Danish Methods
When you get down to the nitty-gritty of making a cross stitch, you'll find there are two main ways to go about it: the English method and the Danish method. This isn't a matter of one being "right" and the other "wrong." Think of them as two different tools in your stitching toolbox. Each one has its own rhythm and shines in different situations, so knowing both will make you a much more versatile stitcher.
Understanding these foundational techniques is more important than ever. Cross stitch is a huge part of the needlecraft patterns market, which is seeing a massive comeback. In fact, it's projected to grow from USD 34,026.8 million in 2025 to an incredible USD 63,872.9 million by 2035, all thanks to a renewed love for creative, hands-on hobbies. If you're curious about the numbers, you can dive into the market trends in this detailed report. It just goes to show how many people are picking up a needle and thread and discovering this wonderful craft.
The English Method: The Meticulous Artisan
The English method is what I call the "one-at-a-time" approach. You complete an entire cross stitch (the full 'X') before you even think about moving to the next square. You’ll bring your needle up, make the first diagonal leg, bring it up again in a different hole, and complete the second leg to form the 'X'. Only then do you move on.
So, when would you use this? It’s the undisputed champion for tackling "confetti stitches." You know the ones—those single, isolated stitches of a random color that pop up in highly detailed patterns. Completing each 'X' individually stops you from dragging long, messy threads across the back of your fabric.
Advantages of the English Method:
- Perfect for confetti: It keeps the back of your work much neater when colors are scattered all over the place.
- Great for vertical lines: Stitching one complete 'X' directly above another feels very natural and looks tidy.
- Precise control: You get a real sense of meticulous control, placing each stitch exactly where it needs to go.
The big downside? It can feel a bit slow and plodding when you're trying to fill in a huge block of a single color. And that’s where its counterpart comes in.
The Danish Method: The Efficient Assembly Line
The Danish method is all about getting into a flow. Instead of finishing each stitch one by one, you work in rows. First, you lay down a whole row of bottom-leg half stitches (////////), zipping from one side of a color block to the other. Once you hit the end, you turn around and work your way back, completing the top legs (\\\\) to finish all the 'X's in one go.
This assembly-line technique is incredibly fast and deeply satisfying for large areas of solid color. You can really build up momentum, and it often leaves the back of your work with neat, vertical stitches, which many stitchers find very pleasing. For any pattern with big blocks of color, this is almost always the way to go.
The Danish method is like painting a wall with a roller instead of a tiny detail brush. It’s designed to cover ground quickly and evenly, making it the perfect choice for filling in the sky, a background, or any large, continuous section of your design.
When to Use Each Cross Stitch Method
The real secret to becoming a great stitcher is knowing when to switch between these techniques. You don’t have to pick a side and stick to it forever! The most skilled stitchers are flexible.
- Use the Danish Method for: Large, solid blocks of color, long horizontal rows, and any time you want to get into a fast, meditative rhythm.
- Use the English Method for: Scattered "confetti" stitches, vertical columns of color, and those tricky, intricate parts where colors change every one or two stitches.
By blending these two methods, you can tackle any pattern with total confidence. Use the Danish method to cruise through the big shapes, then switch to the English method to nail those crucial, isolated details. A hybrid approach like this not only makes your final piece look better but also makes the entire process more enjoyable.
Tackling Complex Designs with the Parking Method
When you graduate to patterns that look more like photographs than charts—the ones with a dizzying number of colors and "confetti" stitches sprinkled everywhere—you quickly realize the standard Danish and English methods might not cut it. This is where a more advanced technique shines. Let's talk about the Parking method, a system that might look intimidating at first but is really just a hyper-organized way to manage extreme complexity.
Think of it like a valet service for your embroidery floss. Instead of ending a thread each time you switch colors, you simply complete all the stitches of one color within a small block (usually 10x10 squares). Then, you bring the needle up in the next spot that color is needed and just leave it hanging there, or "park" it, ready for when you get to that square.
This methodical approach is an absolute game-changer for the massive, full-coverage pieces our custom photo kits are known for. It turns what looks like chaos on the chart into a calm, predictable, grid-by-grid process.
Understanding The Parking Workflow
Using the Parking method requires a mental shift from thinking "color-by-color" to "block-by-block." You work systematically across your fabric, often starting in the top-left corner, and you finish each square completely before moving on. It’s this discipline that makes it so incredibly effective for complicated designs.
Here's the basic flow of how it works:
- Start in a Corner: Pick a corner to begin, typically the top-left square of a 10x10 grid.
- Stitch and Park: Make the stitch for the color in that square. Next, glance at your pattern to find the very next square where that same color appears. Bring your needle up through that new square and let the thread hang out on the front of your fabric. It’s now "parked."
- Move to the Next Square: Scoot over to the adjacent square in your row. Grab the thread for its designated color. If it's a new one, you'll start a fresh thread. If it's a color you already parked nearby, you just un-park it and get to stitching.
- Complete and Repeat: Once you finish a row within the block, you drop down to the next one and do it all over again until the entire 10x10 block is filled.
This step-by-step progression means you rarely have to count more than a few squares at a time, which dramatically cuts down on the risk of mistakes in a huge, intricate pattern.
Why Choose The Parking Method
Deciding to use the Parking method is a strategic move. It’s definitely not the speediest technique for simple projects with big blocks of color. But for certain types of charts, its benefits are second to none. The biggest advantage is the incredible accuracy it offers. By working square by square, you practically eliminate the dreaded risk of miscounting and discovering an entire section is off by one row.
Another huge plus is the beautiful, smooth finish it gives the front of your work. Since you aren't carrying threads long distances across the back, the tension on your stitches stays incredibly even. This gives the final piece a professional look that’s almost as smooth as a print.
The Parking method is the ultimate organizational tool for the ambitious stitcher. It turns a pattern with 50+ colors from a source of anxiety into a calm, methodical, and manageable puzzle.
Of course, there are some trade-offs. While you're in the middle of a project, the front of your work will look like a chaotic mess, with dozens of threads parked and hanging everywhere. This can take some getting used to! There’s also a higher chance of those parked threads tangling if you aren't careful, and some stitchers find that constantly stopping and starting disrupts their meditative stitching rhythm.
Pros And Cons At A Glance
| Pros of the Parking Method | Cons of the Parking Method |
|---|---|
| Drastically Reduces Counting Errors | Messy Front of Work-in-Progress |
| Creates a Flawless, Even Finish | Potential for Threads to Tangle |
| Ideal for "Confetti" Stitches | Slower Pace Than Other Methods |
| Manages Many Colors Easily | Can Feel Less Rhythmic or Meditative |
Ultimately, the Parking cross stitch method is a specialized tool for a specific job. It truly shines on photorealistic designs, complex fantasy art, and any large-scale project where precision is everything. If you're ready to tackle a masterpiece, learning to park will give you the confidence that your finished piece will be nothing short of perfect.
Finding Your Stitching Rhythm: Going Off-Grid
So far, we've looked at very structured ways to stitch, like the Danish, English, and Parking methods. But what if you’re not the type who likes to follow a rigid plan? For stitchers who prefer to let the project guide them, there’s a much more organic, go-with-the-flow approach.
This is where the Cross Country method comes in. It's often called the "color-by-color" technique, and the name says it all. You simply pick a color, thread your needle, and stitch all the instances of that color within a specific area before moving on to the next shade.
Think of it as connecting the dots on your fabric. You'll complete one stitch, then scan the pattern for the nearest stitch of that same color and hop over to it. You follow the path of that single color until you run out of nearby stitches or feel it's a good time to tie off and switch. This approach works wonderfully for patterns with big, beautiful blocks of solid color.
The Freedom and Pitfalls of Cross Country
The biggest draw of the Cross Country method is how relaxing it is. There’s far less counting and planning, and much more pure, uninterrupted stitching. If you find the meticulous grid-work of Parking a bit confining, Cross Country can feel like you're truly painting with thread. It’s incredibly satisfying to watch a whole section of color bloom on your fabric.
Of course, that freedom comes with a catch. The biggest challenge with this method is keeping the back of your work tidy. When you "jump" from one stitch to another, you leave a trail of floss on the reverse side. Jump too far, and you’ll create long, messy strands that can get tangled, create lumps, or even show through to the front on light-colored fabrics. As a general rule, try not to carry your thread more than a few stitches away.
The Cross Country method is all about balance. It’s an artistic, intuitive way to work, but it asks you to be mindful. You have to know when it’s okay to carry a thread and when it’s smarter to end it and start fresh to keep your project looking its best.
Adding Tent Stitches to Your Repertoire
As you get more comfortable, you'll start running into specialty stitches that are perfect for specific situations. One of the most common and useful is the Tent Stitch. At first glance, it looks exactly like a half stitch—just a single diagonal line. The difference is in how it’s made and what it’s used for, especially in needlepoint. Tent stitches are worked over a single canvas intersection, and they create a wonderfully durable and textured surface.
There are three main flavors of the Tent Stitch, and each has its own superpower:
- Half Cross Tent Stitch: This is the most basic version, and it looks identical to the first leg of a standard cross stitch.
- Continental Tent Stitch: Worked in neat horizontal or vertical rows, this stitch creates a thick, padded backing, making the final piece much sturdier.
- Basketweave Tent Stitch: This is the MVP for durability. Worked in diagonal rows, it distorts the canvas the least and creates an incredibly strong fabric. It's the go-to stitch for anything that will get a lot of use, like a pillow or the seat of a chair.
There's No "Best" Method—Only Your Method
At the end of the day, there is no single "best" cross stitch method. Ask any seasoned stitcher, and they’ll tell you they rarely stick to just one. The real secret is developing your own hybrid approach, picking and choosing techniques that make sense for the part of the pattern you're working on.
You might find yourself using the Danish method for a huge patch of sky, then switching to the English method for a sprinkle of "confetti" stitches in a flower, and then using a bit of Cross Country for a small, isolated patch of color.
This kind of flexibility is what makes a stitcher truly confident. It's also a reflection of the craft's incredible popularity and growth. The global embroidery market, which includes counted thread arts like cross-stitch, was valued at USD 4.06 billion and is expected to hit USD 7.41 billion by 2033. That boom is fueled by people all over the world finding joy in creating things by hand. You can dig into the numbers yourself in this in-depth industry report on skyquestt.com.
The best advice? Just experiment. Grab a scrap piece of fabric and try out different methods. See what feels good in your hands and what gives you the results you’re proud of. Your goal is to build a personal toolkit of techniques that lets you approach any project with joy and confidence.
4. Choosing Your Setup: Hoops, Frames, and Stitching In-Hand
Even the best stitching method in the world will feel clunky if your setup is fighting you. How you hold your fabric is just as crucial as the stitches themselves—it affects your tension, your comfort, and even how fast you can stitch.
Deciding between a hoop, a frame, or just holding the fabric in your hand is a really personal choice. It all comes down to the size of your project and what feels right for you.
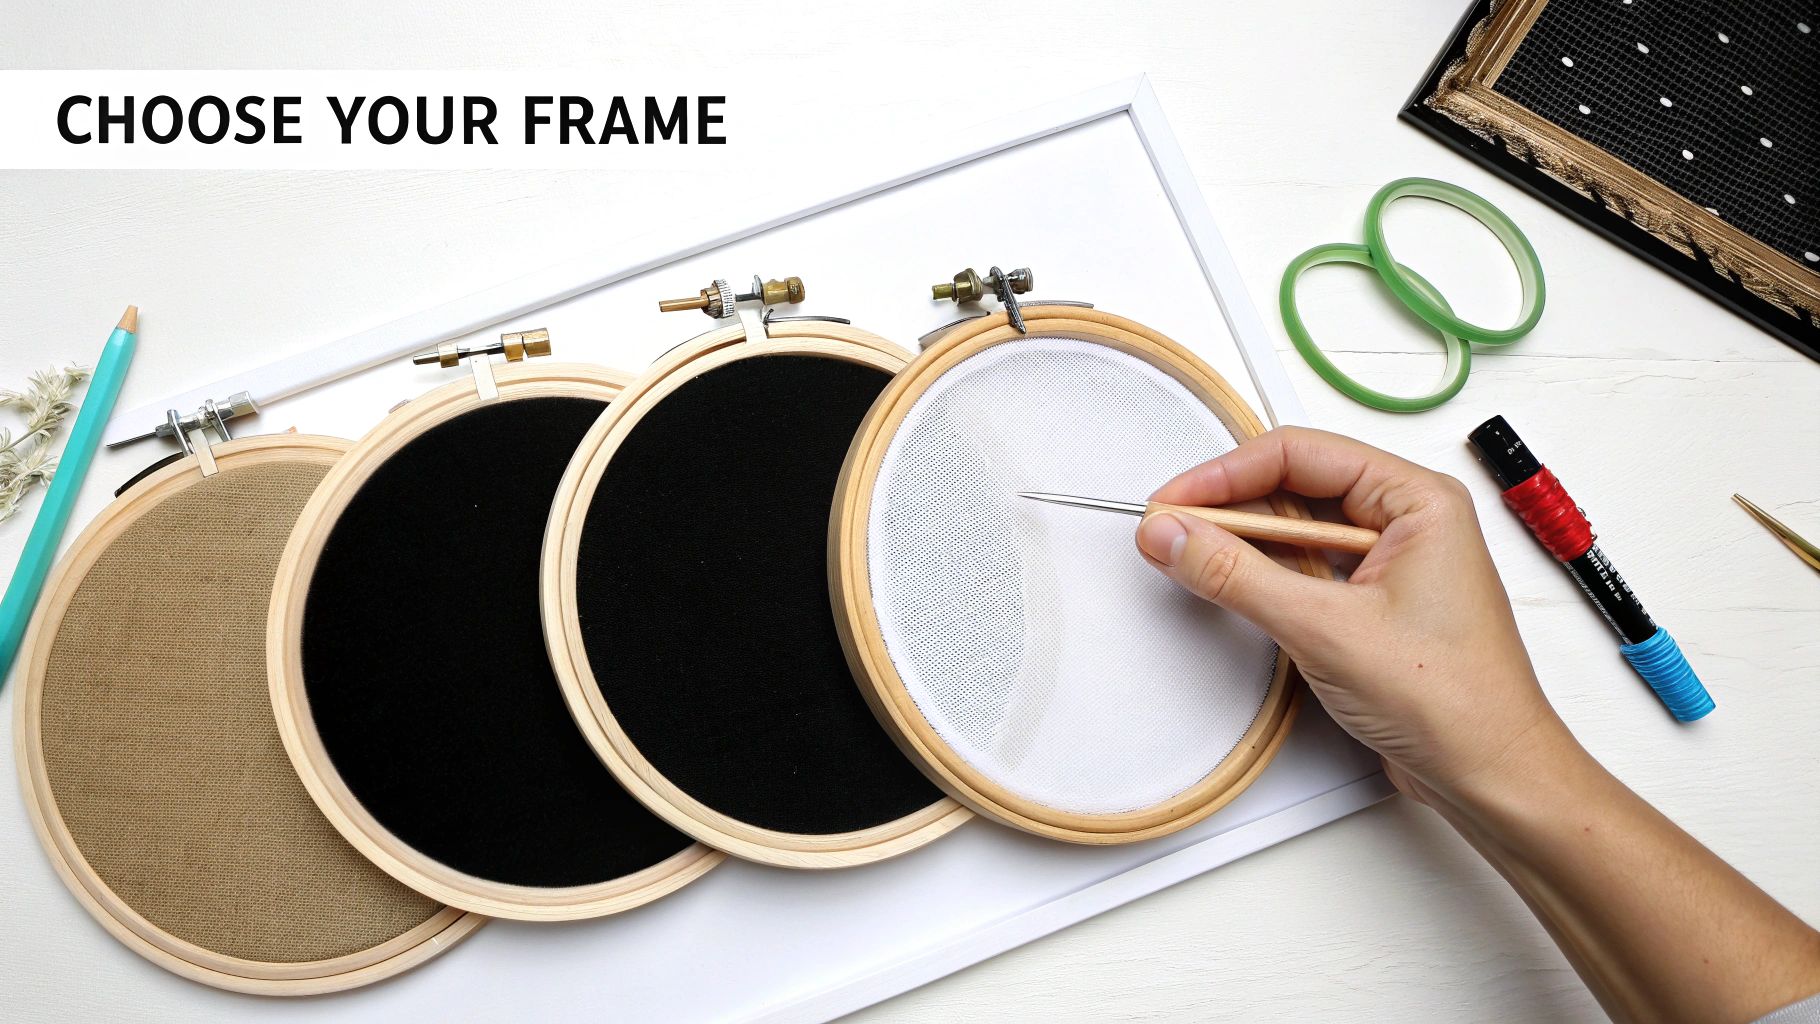 embroidery hoops with different fabric, a hand with a punch needle, and crafting supplies.">
Think of it like finding your groove. Let’s walk through the most common options so you can find the perfect partner for your next project.
The Classic Embroidery Hoop
For most of us, the embroidery hoop is where it all began. These simple wooden or plastic rings are the quintessential cross-stitch tool for a reason. They're light, portable, and perfect for small-to-medium projects.
Hoops work by clamping your fabric between an inner and outer ring, pulling it tight like a little drum. This taut surface makes it so much easier to get clean, even stitches.
Of course, they aren't perfect. If you leave a hoop on your fabric for too long, it can leave some serious creases that are a pain to iron out. And if you're working on something big, constantly moving the hoop around can get old fast. Still, for stitching on the go, a hoop is tough to beat.
Scroll Frames For Epic Projects
If you're tackling a massive, full-coverage piece, a scroll frame is an absolute game-changer. Imagine a setup where you attach your fabric to two rollers and simply scroll through your project as you go. No re-hooping, ever.
This method keeps your entire piece of fabric neatly rolled and protected from wrinkles, and the tension is wonderfully consistent from corner to corner.
The trade-off? They're bulky. Scroll frames really need a floor or lap stand, so they’re definitely an at-home-only kind of setup. But for anyone dedicating months or years to an heirloom project, the superior fabric control is worth every penny. For a closer look at all the gear that can make your stitching life easier, check out our guide to essential cross stitch accessories.
Q-Snaps and Stitching "In-Hand"
Q-Snaps are the modern, square-jawed cousin of the traditional hoop. These plastic frames use clamps that snap onto the sides, gripping the fabric firmly. They give you fantastic tension without the dreaded "hoop burn" or creasing. They're lightweight and come in all sorts of sizes, making them a fan favorite.
Then there's the minimalist approach: stitching in-hand. This is exactly what it sounds like—you just hold a rolled or folded section of your fabric in your non-dominant hand. It's the ultimate in portability and works surprisingly well for small projects or stitching on things like clothing.
The big challenge here is tension. Keeping your stitches even without the help of a frame takes practice, so it's a technique often favored by stitchers who have a good "feel" for the craft.
Your fabric holder isn't just a tool; it's your third hand. The right choice supports your work, prevents hand strain, and allows your chosen stitching method to flow smoothly.
Hoop vs. Frame: A Stitcher's Guide
Choosing the right tool can feel a bit overwhelming, so here’s a quick comparison to help you decide what’s best for your project and your stitching style.
| Tool | Best For | Pros | Cons |
|---|---|---|---|
| Embroidery Hoop | Small to medium projects, travel, beginners. | Lightweight, portable, inexpensive, easy to find. | Can crease fabric, needs to be moved on large projects. |
| Scroll Frame | Large, full-coverage projects, heirloom pieces. | Keeps fabric wrinkle-free, excellent tension, no need to re-hoop. | Bulky, not portable, often requires a stand, more expensive. |
| Q-Snap Frame | Any size project, stitchers who dislike hoops. | Great tension, no creasing, lightweight, modular sizes available. | Can be bulkier to hold than a hoop, clamps can loosen over time. |
| In-Hand | Small projects, quick fixes, stitching on clothing. | Maximum portability, no extra equipment needed, no risk of creases. | Difficult to maintain even tension, can cause hand cramps. |
Ultimately, there's no single "best" option. Many stitchers own a few different types and choose based on the project at hand. The goal is to find what makes your stitching experience comfortable, enjoyable, and frustration-free.
Common Cross Stitch Questions, Answered
As you explore different ways to stitch, a few questions are bound to pop up. Here are some quick answers to the most common queries, designed to help you stitch smarter and with more confidence.
What's The Best Way To Start Cross Stitching?
If you're just dipping your toes into the world of cross stitch, the Danish Method is your best bet. It’s a simple, two-pass system: first, you stitch a row of all the bottom halves of your crosses (they'll look like ///). Then, you work your way back across that same row, stitching the top halves to complete them (like \).
This approach is fantastic for getting the hang of things. It naturally helps you keep your stitch tension even and is super efficient for tackling the big blocks of color you see in most beginner-friendly patterns. Pair this with stitching one color at a time, and you've got a straightforward, satisfying way to learn the craft.
How Can I Make The Back Of My Work Tidier?
Ah, the quest for a neat back! It's what many stitchers strive for. The biggest secret is to avoid dragging your thread across large, empty areas of fabric on the back. It's almost always better to snip the thread and start it again in the new section.
To do this, you'll want to learn a knotless start, like the "loop method," which secures your thread without a lumpy knot. When you're ready to end a thread, just carefully weave the tail under four or five stitches on the back of your work. This tucks it in securely and keeps everything looking smooth.
A tidy back isn't just about looks. It actually prevents your threads from snagging, helps the stitches on the front lay flat and even, and gives your finished piece a truly polished, professional feel.
When Is It Actually A Good Idea To Use The Parking Method?
The Parking method is a game-changer, but it’s best reserved for seriously complex projects. It really shines when you're tackling a pattern with tons of different colors all jumbled together in small areas—something stitchers call "confetti."
Think of photorealistic pieces or intricate, art-replica patterns with dozens upon dozens of colors. For those, Parking is a lifesaver. It helps you keep track of every single thread and dramatically cuts down on counting mistakes. For simpler designs with big blocks of color, though, it’s usually more trouble than it's worth.
Ready to turn your favorite photo into a work of art? The team at Cross Stitched makes it simple with custom kits that include everything you need to start your next masterpiece. Create your personalized cross stitch kit today!


