
Getting started in cross stitch is simple. A basic kit with fabric, thread, and a needle is all you really need to make your first stitches. But once you get hooked, you'll quickly discover that the right cross stitch accessory can make all the difference, turning a fun hobby into a truly relaxing and rewarding creative outlet.
Think of it like cooking. You can make a meal with just a pan and a spoon, but a good knife, a cutting board, and proper measuring cups make the whole process smoother, more precise, and a lot more enjoyable. The right tools are your secret weapon for comfort, efficiency, and creating work you're proud of.
Building Your Perfect Cross Stitch Toolkit
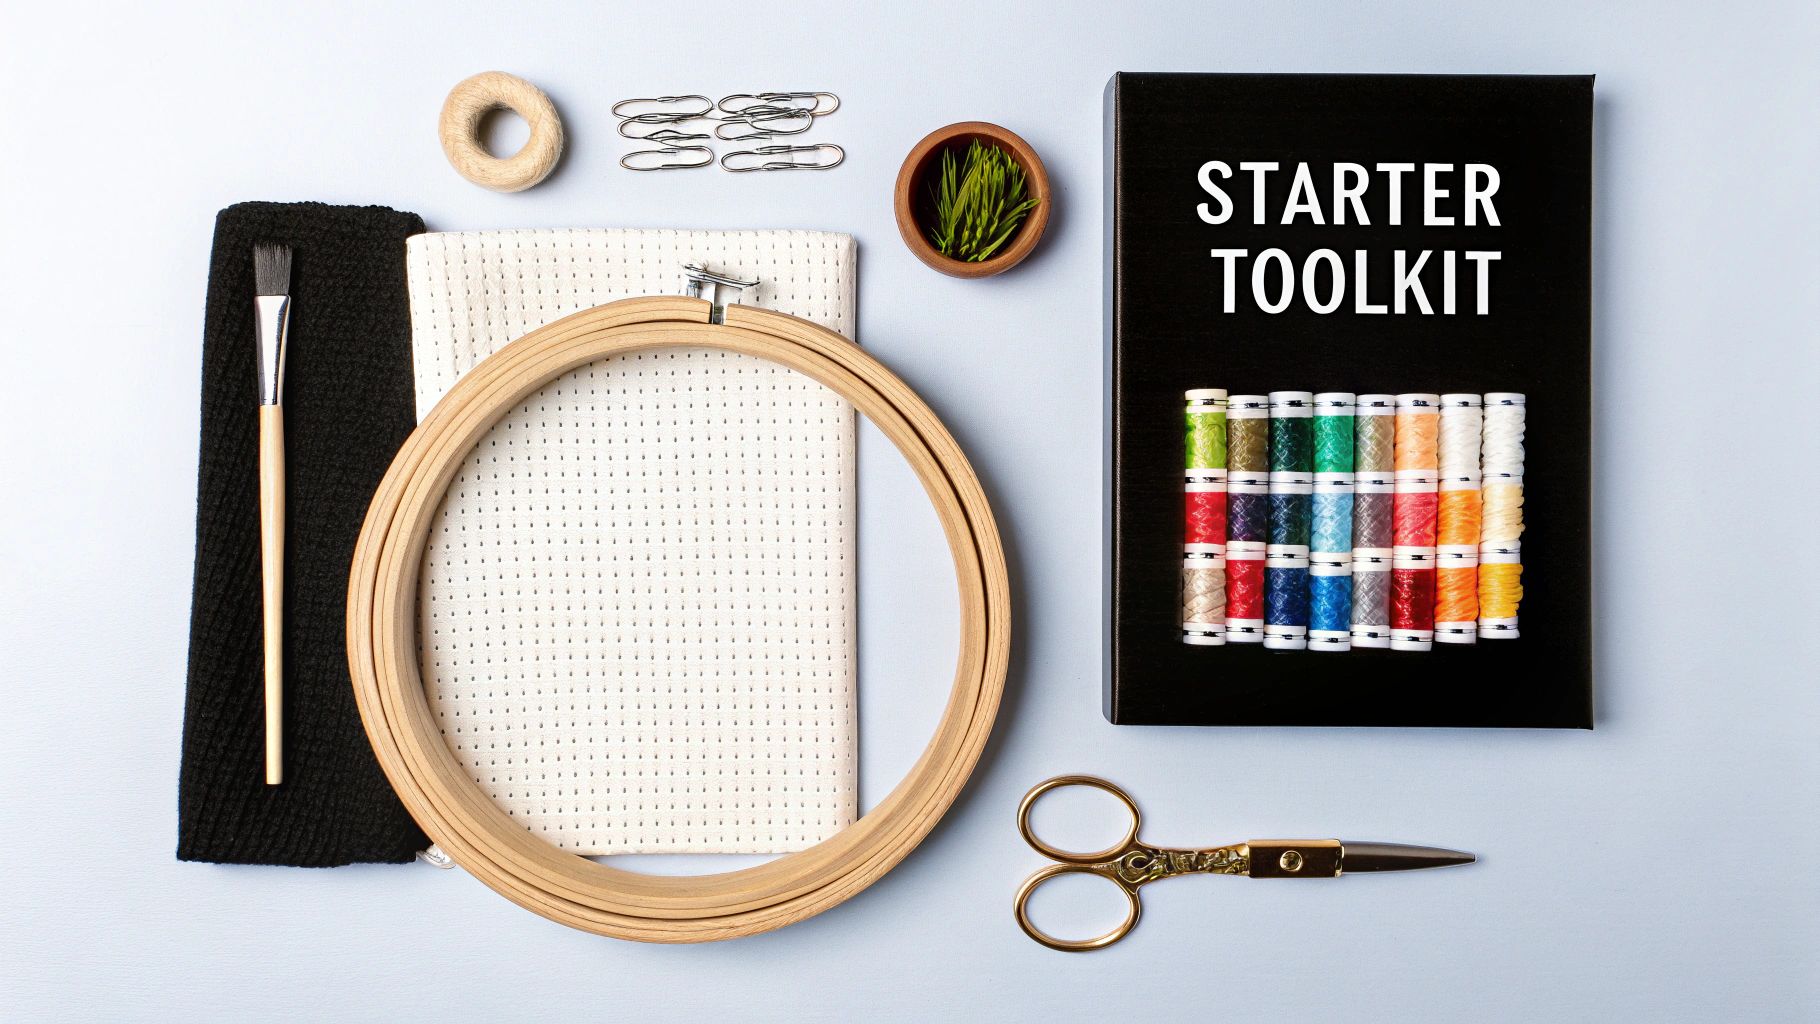
So, you're ready to move beyond the starter kit. Welcome! This is where you get to build a toolkit that truly supports your stitching style. It’s less about buying everything at once and more about thoughtfully adding pieces that solve common frustrations. A good setup helps you work more comfortably, stitch more accurately, and achieve that polished, professional look you’re aiming for. It lets you sink into the creative flow without getting tripped up.
 embroidery hoop, fabric, colorful threads, and scissors.">
Why Accessories Matter
Investing in good tools isn’t just about treating yourself; it has a real impact on your final product and how much you enjoy the journey. It's no surprise that as cross stitch grows in popularity, stitchers are spending more on quality accessories—they make up about 30-40% of total craft spending. People are realizing that ergonomic and smart tools are key for enjoying long, cozy stitching sessions.
The best accessories are the ones that solve a problem, whether it's tangled thread, poor lighting, or uneven fabric tension. They are silent partners in your creative journey, making the process smoother so you can focus on the art.
Of course, having the tools is only half the battle. Knowing how to organize your craft supplies is just as important for keeping your workflow smooth and your mind clear. For a deeper dive into the absolute must-haves when you're just starting out, be sure to check out our complete guide here: https://cross-stitched.com/blogs/what-is-cross-stitch/what-do-you-need-for-cross-stitch.
A well-chosen toolkit gives you the confidence to take on bigger, more detailed patterns. Here’s what you stand to gain:
- Improved Precision: Hoops and frames are game-changers for keeping fabric taut, which means your stitches will look beautifully even and uniform.
- Enhanced Comfort: Good lighting and a simple magnifier can save you from eye strain and backaches, letting you stitch for hours.
- Greater Efficiency: Things like thread organizers and needle minders might seem small, but they save you precious time and keep you from losing your mind over tangles or lost needles.
- Professional Finish: A pair of sharp, fine-tipped scissors and the right finishing supplies are what give your completed piece that crisp, gallery-ready look.
To help you get started, here's a quick look at some of the most essential accessories you'll come across.
Quick Guide to Essential Cross Stitch Accessories
This table breaks down the core tools that form the foundation of a great cross stitch kit. It covers what they do and who they're best suited for as you build your collection.
| Accessory | Main Purpose | Recommended For |
|---|---|---|
| Hoops & Frames | Keeping fabric tight and even for uniform stitching. | Everyone. Beginners start with hoops; advanced stitchers may prefer larger frames. |
| Needles | Specialized tapestry needles with blunt tips that part the fabric rather than pierce it. | Everyone. Different sizes are needed for different fabric counts. |
| Scissors | Small, sharp snips for cleanly cutting thread close to the fabric. | Everyone. A dedicated, sharp pair is a must-have. |
| Lighting/Magnification | Reducing eye strain and helping you see the fabric holes clearly. | Stitchers working with dark fabrics, high-count materials, or in low-light conditions. |
| Thread Organizers | Keeping floss bobbins or drops sorted by color and preventing tangles. | Anyone working on a project with more than a few colors. |
These are the workhorses of the cross stitch world. As you get more experienced, you'll figure out which of these become your can't-live-without-it tools.
2. Mastering Your Canvas With Hoops and Frames
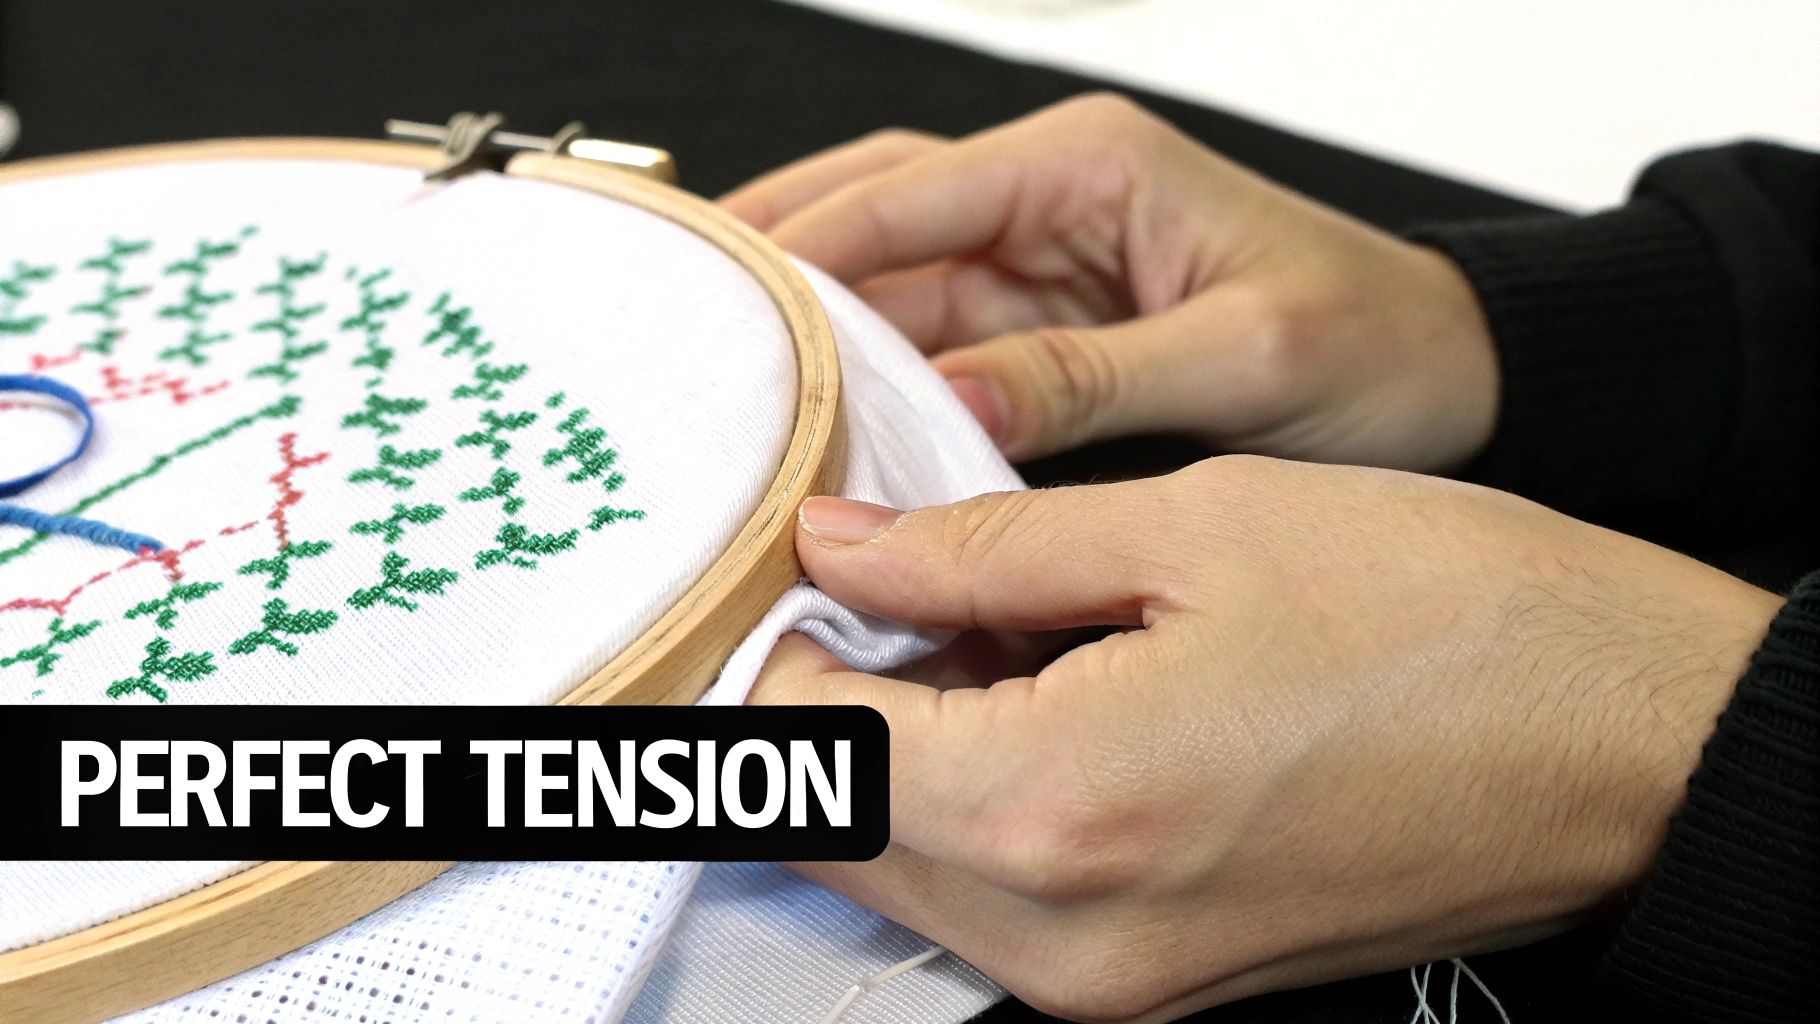
Every great cross-stitch project starts with a perfectly taut canvas. Think of it like a painter needing an easel to hold their work steady—for a stitcher, that's what a hoop or frame does. This is the one cross stitch accessory that makes or breaks your stitch quality, preventing the dreaded puckering that can mess up an otherwise beautiful piece.
The secret to those clean, professional-looking stitches you see online? Tension. When your fabric is pulled drum-tight, your needle can glide through the Aida cloth holes with ease, helping each stitch lay flat and even. Without that stability, your stitches will pull the fabric every which way, and you'll end up with a warped, distorted final picture.
Choosing Your Tension Tool
Not all tension tools are built the same, and what works for a small ornament won't be ideal for a massive tapestry. The three main players—hoops, Q-Snaps, and scroll frames—each have their own strengths, and knowing the difference will help you pick the right one for your project.
-
Wooden or Plastic Hoops: This is the classic, the go-to for most stitchers, and definitely where beginners should start. Hoops are portable, cheap, and just right for smaller projects. They use two rings tightened with a screw to pinch the fabric securely in place. Simple, but effective.
-
Q-Snap Frames: A more modern favorite, Q-Snaps are square or rectangular frames made from lightweight PVC pipes. Instead of screws, you use clamps that snap over the frame to grip the fabric. They give you fantastic, even tension across your entire work area and are much less likely to leave those stubborn "hoop marks." I grab these for most of my medium-sized pieces.
-
Scroll Frames: If you’re tackling a huge, ambitious project, a scroll frame is your best friend. It’s made of two rollers on a set of sidebars. You attach your fabric to the rollers and simply scroll through the project as you stitch. This keeps the parts you've already finished neatly rolled up and protected while keeping your current work area perfectly taut.
The old saying is true: you want your fabric tight enough to bounce a coin off it. That kind of consistent tension is what gives your work that polished, professional look from the very first stitch to the last.
Tips for Perfect Tension
Getting your fabric secured correctly is an art in itself. With traditional wooden hoops, a great trick is to bind the inner ring with some fabric tape or a strip of cotton. This gives it a little extra grip and provides a cushion for your Aida cloth, which helps prevent slipping and reduces harsh creases.
No matter what you're using, it's a good habit to loosen the tension when you pack up for the day. This lets the fabric fibers relax and helps prevent those dreaded hoop marks from becoming permanent. While most people stick to round hoops, you can also explore oval embroidery hoops to see if that unique shape fits your hands and stitching style better. Ultimately, finding the right frame is a personal choice that will make your stitching time that much more enjoyable.
Needles and Thread Organizers: The Heart of Your Craft
If a hoop is the skeleton holding your project together, then needles and thread are its heart and soul. These are the tools you’ll be handling constantly, so picking the right ones is fundamental to enjoying the process. A classic beginner mistake is to just grab any old sewing needle, but trust me, the right cross stitch accessory makes all the difference.
You’re looking for a tapestry needle. It has two key features: a blunt tip and a large eye. Unlike a sharp needle that pierces fabric, a tapestry needle is designed to glide gently between the threads of your Aida or evenweave. Using the wrong kind can shred your fabric, snag your floss, and turn every single stitch into a frustrating chore.
Choosing the Perfect Needle
The type of needle is only half the battle; size is just as important. The rule of thumb is pretty simple: the higher your fabric count (meaning smaller squares), the higher the needle size number (meaning a smaller, finer needle). This pairing ensures your needle can slip through the fabric's holes without stretching them out of shape.
Here’s a quick cheat sheet:
- Size 24: This is your workhorse for 14-count Aida, which is what most stitchers start with.
- Size 26: The perfect partner for 16 and 18-count fabrics.
- Size 28: Reserved for fine, detailed work on high-count fabrics like 28-count and above.
A needle that’s too bulky will distort your beautiful stitches. One that’s too small will be a nightmare to thread and handle. Finding that sweet spot is key to getting into a smooth, effortless stitching rhythm.
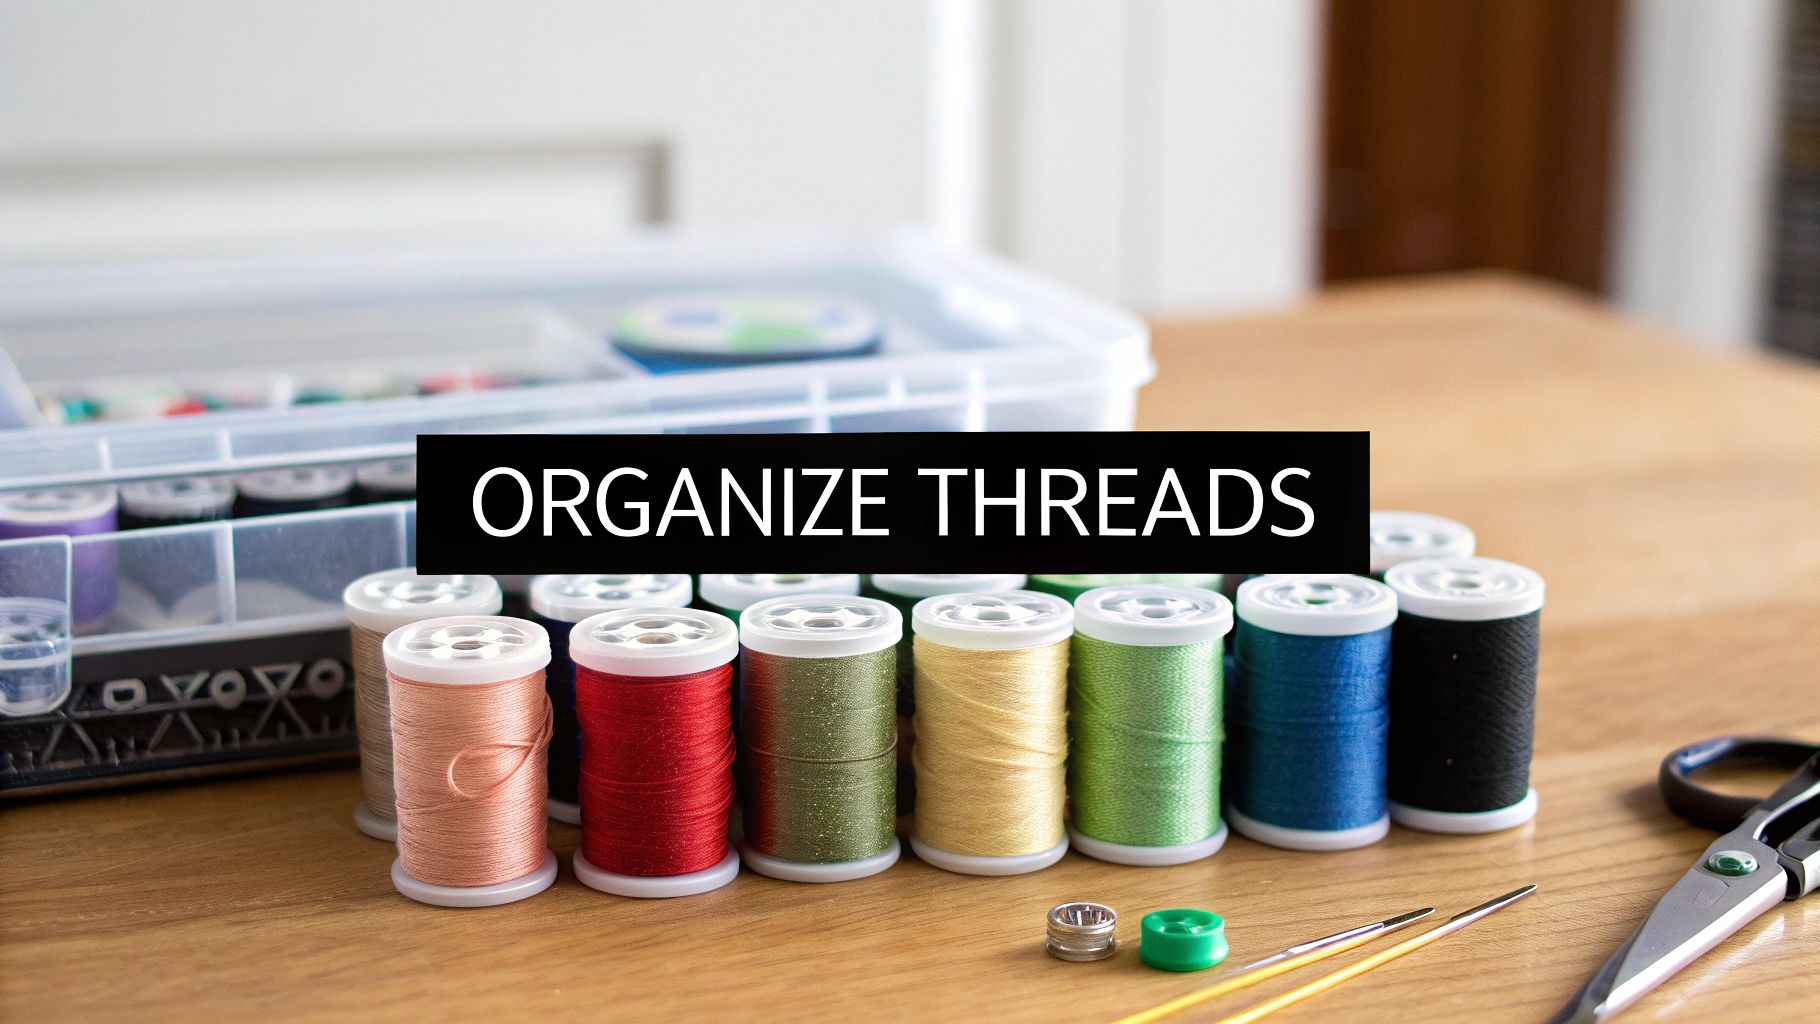
Conquering Thread Chaos
Alright, let's talk about floss. Diving into a pattern with dozens of beautiful colors is one of the joys of cross-stitch, but it can quickly turn into a tangled, chaotic mess. This is where thread management tools become your best friend. Imagine trying to bake a cake with all your ingredients dumped into one giant bowl—that's what stitching without organization feels like.
A well-organized thread collection doesn't just save time; it saves your sanity. It lets you focus purely on the creative joy of stitching, turning potential frustration into a relaxing state of flow.
The most common and trusted system is winding your floss onto plastic or cardboard bobbins. You label each one with its color number (like the DMC code) and file them away in a special floss organizer box. It’s a simple setup that keeps your colors sorted, tangle-free, and ready to go. For a deeper dive, check out our guide on finding the perfect cross stitch thread organizer.
Another little lifesaver is a needle minder. This is a small, magnetic accessory that sits on your fabric, giving you a safe place to park your threaded needle when you pause or switch colors. No more lost needles in the couch cushions! Big brands have even started including these in kits, which has helped boost accessory adoption by 12% annually since the crafting boom a few years ago.
Getting a Better Look: Why Light and Magnification Matter
As you start tackling more complex patterns, seeing your work clearly becomes your biggest advantage.## Getting a Better Look: Why Light and Magnification Matter
As you start tackling more complex patterns, seeing your work clearly becomes your biggest advantage. You’ve got your fabric secured in a hoop or frame, but another category of cross stitch accessory is key to making sure every single stitch lands perfectly. Good lighting and a bit of magnification can be the difference between a project that’s just "good" and one that's truly stunning, especially when you get into those really detailed designs.
Imagine stitching on dark fabric with a high thread count. It’s like trying to find your way through a field at twilight. You can see the big picture, but all the tiny, important details get lost in the gloom. A great craft light is like your own personal sunrise, flooding your work area with bright, clean light. Suddenly, you can easily spot the holes in the fabric and tell the difference between two frustratingly similar shades, like a dark navy and a true black.
Lighting Up Your Stitching Zone
Good light isn't just about seeing better—it's about stitching comfortably for longer. We've all been there, hunched over a project in a dim room, and it’s a one-way ticket to a headache and strained eyes. A quality craft lamp saves you from all that, making your stitching time more relaxing and productive.
There are a few great types to consider:
- Clip-On LED Lights: These little guys are fantastic. They’re portable, don’t break the bank, and clip right onto your hoop or frame, so the light is always pointing exactly where you need it most.
- Daylight Floor Lamps: If you have a dedicated stitching spot, one of these is a must-have. They mimic natural daylight, which means you get balanced, full-spectrum light that shows your thread colors in their truest form. Many have goosenecks, so you can bend and aim the light perfectly.
Magnifying for Pinpoint Accuracy
Sometimes, even with the best light, the details are just tiny. That's when a magnifier becomes your secret weapon. It blows up your work area, making each little square of the Aida cloth look bigger and much easier to hit with your needle. This is a total game-changer if you’re working on 18-count fabric or higher, or really for anyone who struggles to see those teeny-tiny stitches.
Magnification isn't a crutch for bad eyesight; it’s a tool for gaining a strategic advantage. It gives you a "stitcher's-eye view," allowing for a level of precision that makes your finished work look incredibly clean and professional.
Popular options range from wearable magnifiers that you can pop on like glasses to lamps that combine both light and a magnifying lens into one handy tool. If you find that bright lights or intense focus cause you discomfort, it might be worth looking into things like specialized glasses for light sensitivity to make your sessions more comfortable.
Pairing the right light with the right magnifier gives you an unbeatable view of your canvas, ensuring every X is perfectly placed.
How to Choose the Right Stitching Gear
Walking into a craft store or browsing online for cross-stitch accessories can feel a bit like being a kid in a candy shop—exciting, but also overwhelming. The secret isn't to buy everything at once. It's about matching your tools to where you are in your stitching journey.
Think of it this way: you wouldn't buy a professional chef's knife set to learn how to chop an onion. You start with the essentials and add more specialized tools as your skills and projects get more ambitious. Your crafting journey will naturally guide your purchases, so every tool you add to your kit will feel like a smart, meaningful upgrade.
Starting Your Stitching Journey
When you're just starting out, your goal is simple: learn the basics and enjoy the process without spending a fortune. Don't get bogged down by every shiny gadget you see. Instead, focus on a few core items that will make the biggest difference in your learning curve.
Here's a straightforward shopping list for any beginner:
- A Quality Hoop: A simple 6-inch wooden or plastic hoop is your best friend. It keeps your fabric tight, which is the key to creating beautifully even stitches.
- Tapestry Needles: A pack of size 24 tapestry needles is the perfect starting point. They're designed for the 14-count Aida fabric that comes in most beginner kits.
- Sharp Scissors: A small, sharp pair of embroidery scissors or snips will give you clean cuts and prevent your floss from fraying.
The market for this gear is growing for a reason. In fact, some data suggests that project completion rates can jump by as much as 30% when stitchers use a complete kit from the start. Having the right basic tools really does set you up for a more enjoyable, successful experience. You can see more about the industry's growth in this embroidery equipment analysis on technavio.com.
Upgrading for Advanced Projects
Once you've got a few projects under your belt, you'll probably find yourself drawn to larger, more detailed patterns. This is the perfect time to start investing in gear that makes your stitching sessions more comfortable and your workflow more efficient.
Consider these upgrades as you level up:
- Frames: When you move beyond a hoop, you'll want a Q-Snap or a scroll frame. These are fantastic for larger pieces because they hold tension evenly across a much bigger area.
- Lighting and Magnification: A good daylight lamp or a magnifier can be a total game-changer, especially when you're working on dark fabrics or high-count linen. It's all about reducing eye strain so you can stitch for longer.
- Premium Organization: For projects with dozens of colors, a serious floss organizer and a few magnetic needle minders are a must. They keep your supplies tidy and your mind clear.
Not sure if you need a visual aid? This simple decision tree can help point you in the right direction.
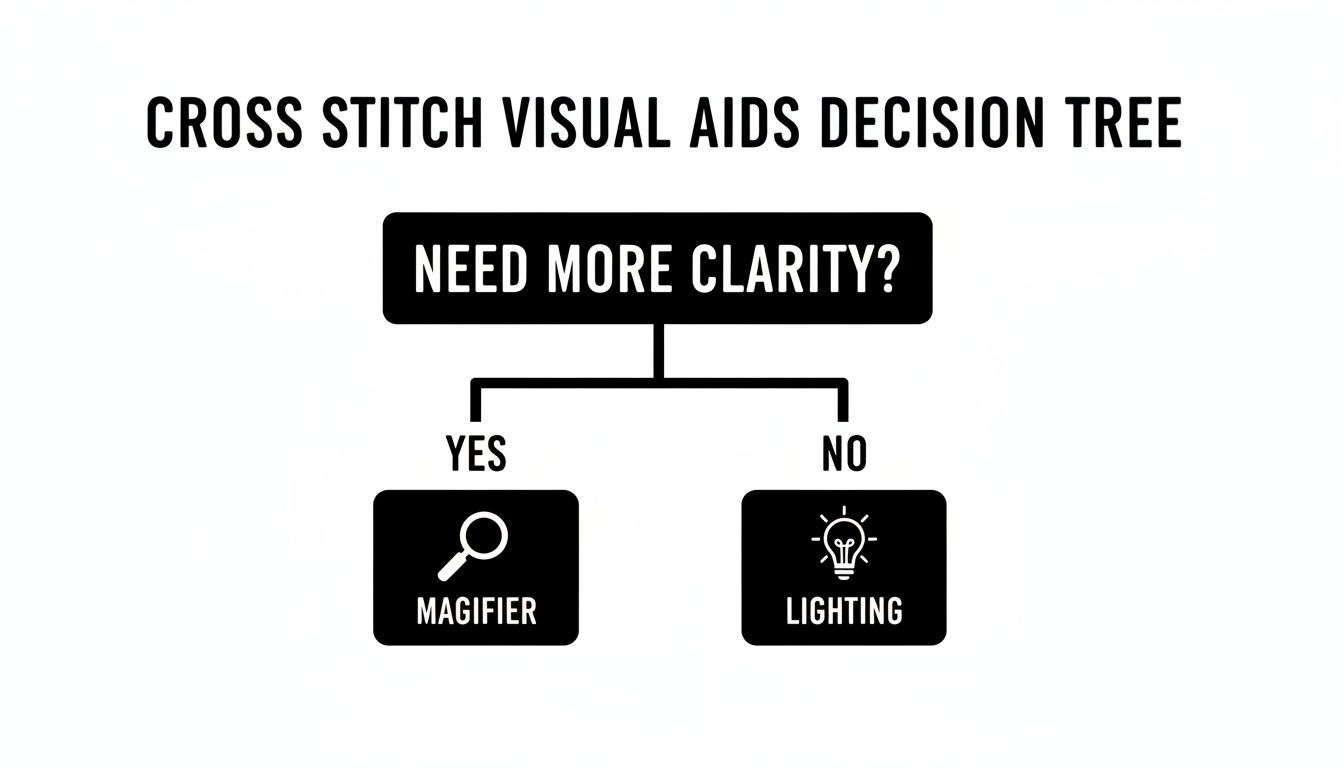
As you can see, the first step is always good lighting. If you’re still struggling to see the tiny squares, a magnifier is the next logical step.
To make it even clearer, let's break down the recommendations by experience level.
Accessory Recommendations by Stitcher Level
The table below gives you a quick snapshot of what to prioritize at each stage of your cross-stitch hobby.
| Stitcher Level | Must-Have Accessories | Nice-to-Have Upgrades |
|---|---|---|
| Beginner | • 6" Hoop • Size 24 Tapestry Needles • Small, Sharp Scissors • Basic Floss Bobbins |
• Needle Minder • Small Project Bag • A full beginner's kit |
| Intermediate | • Q-Snap or Scroll Frame • Needle Threader • Quality Daylight Lamp • Grime Guard |
• High-Quality Floss Organizer • Floor or Lap Stand • Thread Conditioner • Premium Scissors |
| Advanced | • Multiple Frames/Stands • Magnifying Lamp • Professional Floss Storage System • Chart Holder |
• Specialty Needles (e.g., gold-plated) • Laying Tool for perfect stitches • Custom-made accessories • Portable stitching station |
Remember, these are just guidelines. The most important thing is to build a toolkit that works for you, your projects, and your budget. Happy stitching
Caring for Your Tools for a Lifetime of Crafting
Your stitching gear is more than just stuff; it’s an investment. Good tools can feel like an extension of your own hands, and if you treat them right, they’ll be with you for countless projects to come.
A little preventative care goes a long way. It means you can grab your favorite hoop or scissors and know they’re ready to go, without worrying about rust, grime, or warping getting in the way of your creativity.
Maintaining Your Hoops and Frames
Wooden hoops have a tendency to warp over time, especially if you leave your fabric cranked tight in them. Make it a habit to loosen the tension screw when you're done stitching for the day. This lets both the wood and your fabric breathe and relax. Store them flat and keep them out of direct sunlight, which can make the wood dry and brittle.
Plastic frames like Q-Snaps are a bit easier to deal with. A quick wipe with a damp cloth is all they usually need. If you find the clamps are losing their grip after a lot of use, a little trick is to gently heat them with a hairdryer and squeeze them back into a tighter curve.
Taking care of your tools is an extension of the craft itself. A well-maintained kit not only performs better but also respects the investment you've made in your hobby, ensuring readiness for whenever inspiration strikes.
Keeping Metal and Electronics in Top Shape
Nothing is more frustrating than a rusty needle or a pair of stiff scissors. Since they're metal, humidity is their biggest enemy. The easiest fix is to store them in a small, closed case with one of those little silica gel packets you get in shoe boxes. For your scissors, a single drop of sewing machine oil on the joint, worked in and then wiped clean, will keep them cutting smoothly for years.
Your electronic helpers, like light pads and magnifiers, need a gentle touch.
- A soft, dry microfiber cloth is your best friend for getting rid of dust and fingerprints.
- Steer clear of harsh cleaning chemicals; they can easily scratch or fog up a lens or screen.
- Store them where they won’t get knocked around. Pay special attention to the cords, making sure they aren't bent at sharp angles, which can cause them to fray.
And don't forget your thread! Keeping your floss in sealed bobbins or bags protects it from dust and sunlight, ensuring the colors stay just as vibrant as the day you bought them.
Your Cross-Stitch Accessory Questions, Answered
As you get more into cross-stitching, you'll naturally start wondering about all the gear out there. It's easy to get overwhelmed trying to figure out what's a "must-have" versus a "nice-to-have." Let's clear up some of the most common questions so you can build your toolkit with confidence.
What’s the One Accessory a Beginner Absolutely Needs?
If you're just starting out, the single most important tool you can get is a good embroidery hoop. Your kit has the thread and fabric, but the hoop is what keeps your fabric taut and even. Trying to stitch on loose, floppy fabric is a recipe for frustration—your stitches will likely end up puckered, uneven, and all over the place.
You don't need anything fancy. A simple 6-inch wooden or plastic hoop is cheap and gives you the stability you need to master your stitching technique. It truly makes the biggest difference in how your first few projects turn out.
Think of a hoop as your training wheels for tension control. It holds the fabric steady, allowing you to focus purely on forming beautiful, consistent stitches without fighting a floppy canvas.
How Do I Stop My Fabric from Slipping in a Hoop?
Ah, the dreaded fabric slip! It's a classic problem, but thankfully, the fix is easy. If you're using a wooden hoop, the best trick in the book is to "bind" the inner ring. Just take some cotton twill tape or even a thin strip of scrap fabric and wrap it tightly around the entire ring.
Once that's done, place your Aida cloth over it, pop the outer ring on, and tighten the screw. The wrapping adds a bit of grip and cushion, creating a much snugger fit that keeps your project locked in place. If you're using a plastic hoop or a Q-Snap frame, just double-check that the clamps are snapped on securely—but don't crank them down so hard that you stretch the fabric.
Are Expensive Needles and Scissors Really Worth It?
For anyone who stitches regularly, the answer is a big, emphatic "yes." Sure, the basic tools that come in a kit will work, but upgrading your needles and scissors is a game-changer for your comfort and the quality of your work.
- Premium Needles: A high-quality tapestry needle is polished to glide through fabric like a hot knife through butter. The eyes are perfectly smooth, which means your thread is far less likely to shred or fray as you stitch.
- High-Quality Scissors: A pair of sharp, fine-tipped embroidery scissors lets you snip threads incredibly close to the fabric. That precision is crucial for a clean finish, helping you avoid accidentally snipping a nearby stitch.
You certainly don't need to splurge on day one. But as you fall more in love with the craft, investing in better tools will save you from hand cramps and give your finished pieces a much more polished, professional look.
Ready to turn your favorite photos into timeless art? At Cross Stitched, we provide everything you need to create a personalized masterpiece. Explore our custom kits and find the perfect accessories to bring your cherished memories to life, one stitch at a time. Visit us at https://cross-stitched.com to start your next project today.


