

Every great cross-stitch pattern starts with a spark of an idea. The real magic, though, is figuring out how to take that idea—whether it's a favorite photo, a quick sketch, or a piece of digital art—and translate it onto a grid. This is where you'll make the foundational decisions that shape your entire project, from its final size to the fabric you'll use.
Translating Your Vision into a Stitchable Grid
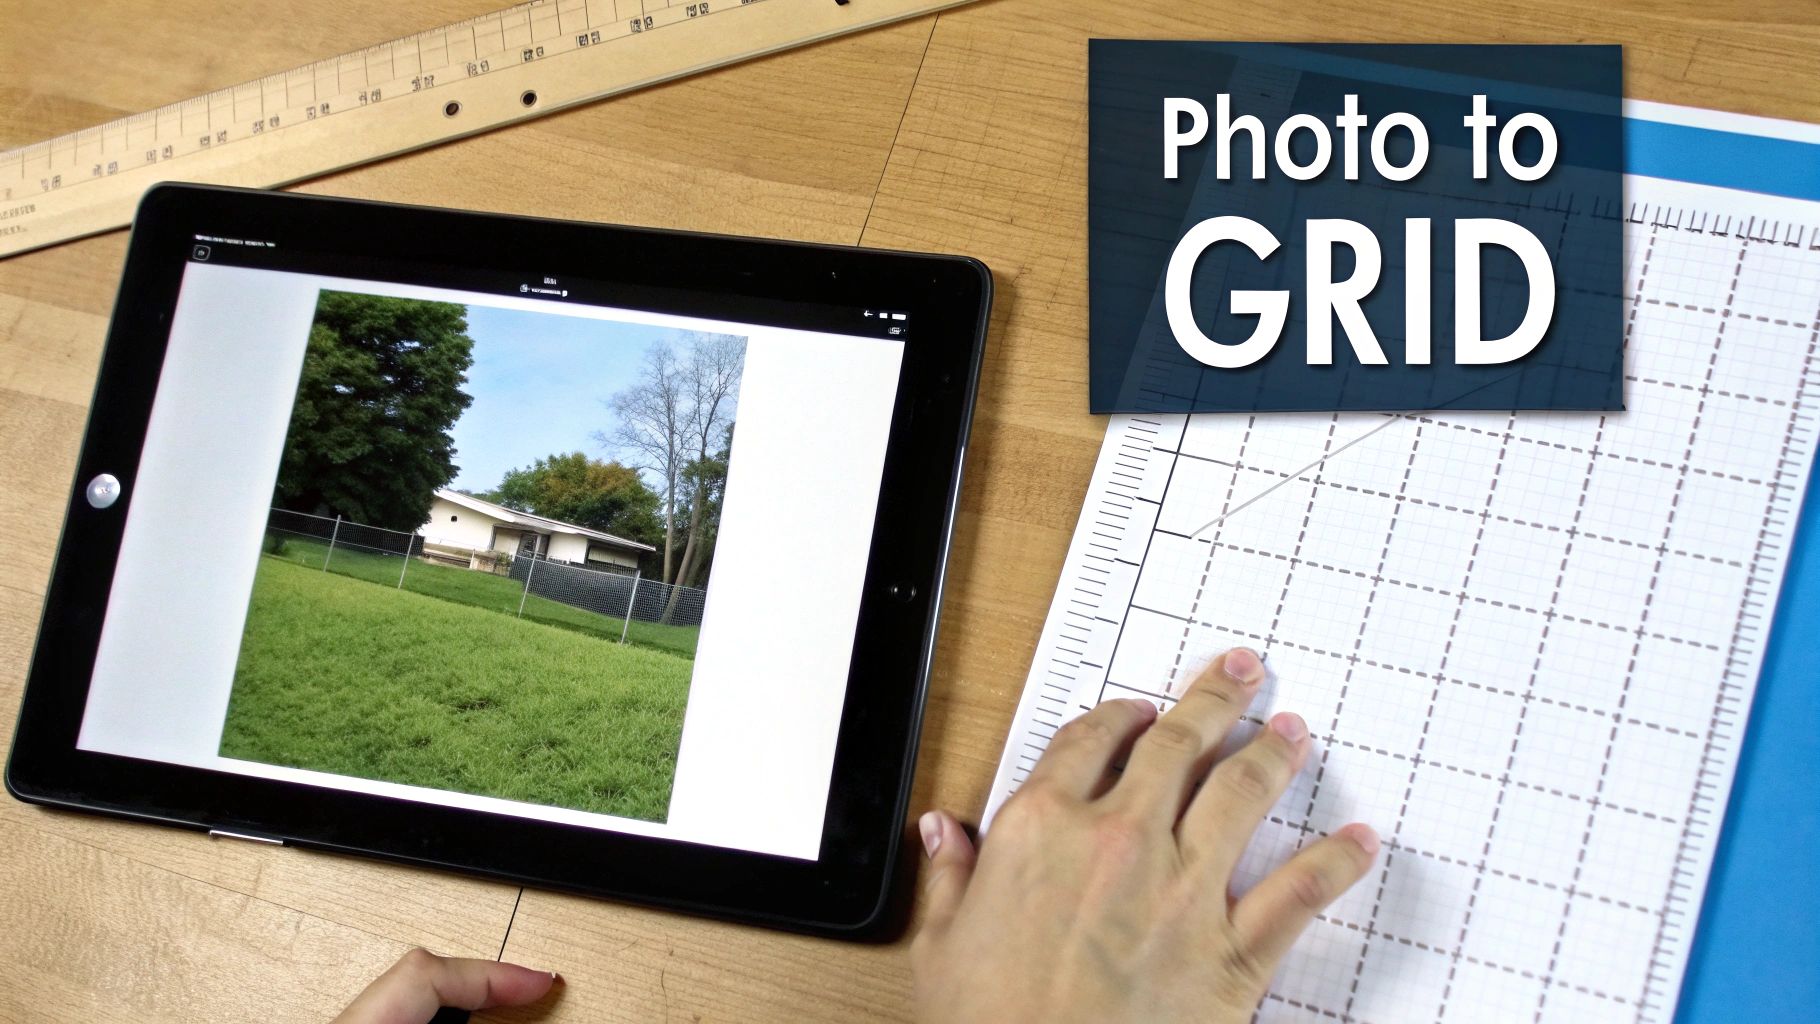
The first, and maybe most important, part of designing your own pattern is choosing an image that will actually work well for cross-stitch. It’s a bit of an art in itself. Not every picture is a great candidate.
My advice? Look for subjects with clear, defined outlines and distinct blocks of color. A highly detailed photograph with soft, subtle gradients might look beautiful, but it can quickly turn into a frustrating mess of "confetti" stitches (those single, isolated stitches) and a dizzying number of thread colors.
Simple landscapes, bold floral graphics, or a clear portrait of a beloved pet are fantastic starting points. Always think about what you can simplify. A photo of a dense forest doesn't need every single leaf represented. Instead, your goal is to capture the essence—the overall shapes of the trees and the beautiful play of light and shadow.
This is the basic flow you'll follow, moving from your initial concept to a gridded, stitchable design.
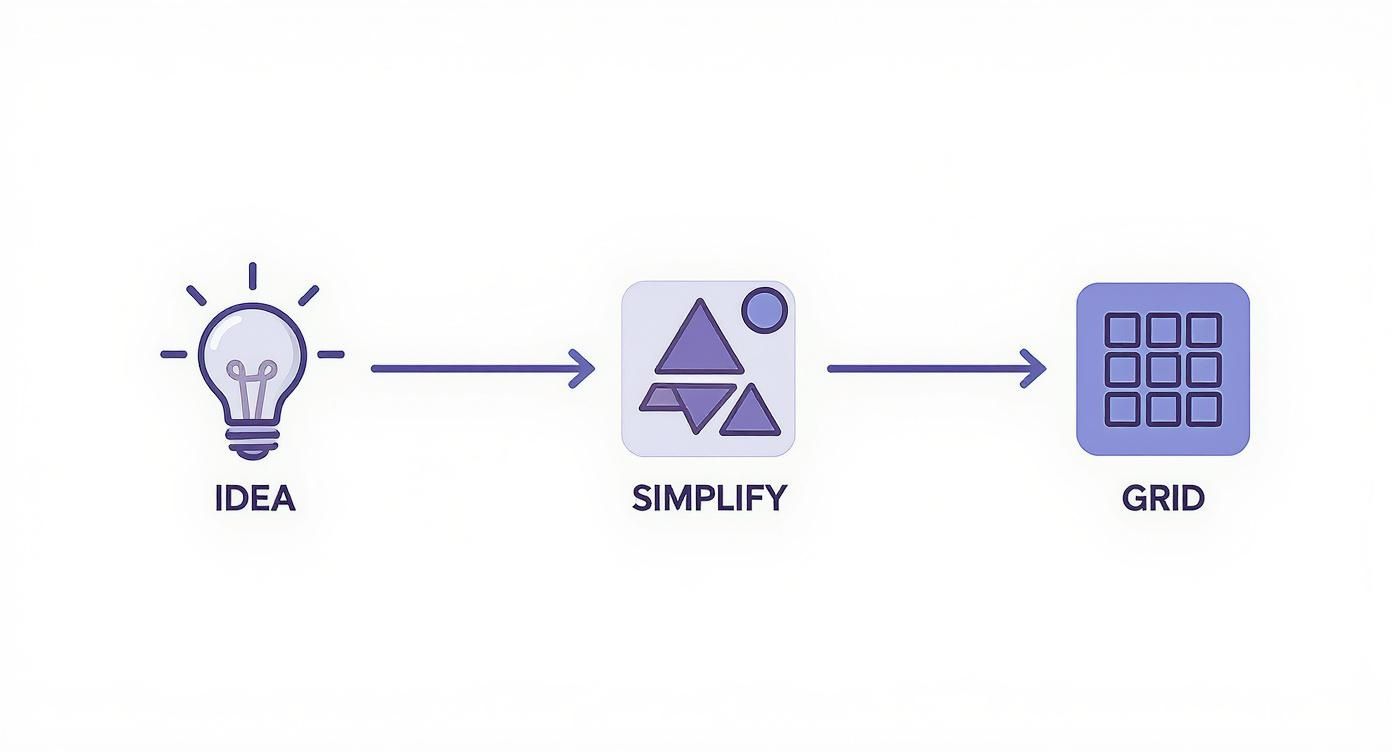
As you can see, simplification is the crucial bridge between a complex idea and a pattern you'll genuinely enjoy stitching.
Defining Your Project's Scale
Once you have your concept, it's time to think about dimensions. How big do you want the finished piece to be? This is a constant balancing act between the level of detail you're aiming for and the physical size of the final project. Your choice of fabric count—that is, the number of stitches per inch—is the key player here.
For example, let's say your design is 140 stitches wide. The final size will change dramatically depending on your fabric:
- On 14-count Aida, it will be 10 inches wide (140 ÷ 14 = 10).
- On 16-count Aida, it shrinks to about 8.8 inches wide (140 ÷ 16 = 8.75).
- On 18-count Aida, it becomes even smaller at roughly 7.8 inches wide (140 ÷ 18 ≈ 7.78).
Here's a quick reference table to show how this works for a common pattern size.
Fabric Count vs. Final Design Size
This table illustrates how a design with a 100 x 150 stitch count changes in physical size based on the Aida fabric you choose.
| Stitch Count (Width x Height) | 14-Count Aida (Inches) | 16-Count Aida (Inches) | 18-Count Aida (Inches) |
|---|---|---|---|
| 100 x 150 stitches | 7.1" x 10.7" | 6.3" x 9.4" | 5.6" x 8.3" |
As you can see, a higher fabric count like 18-count packs more stitches into a smaller area, which is perfect for capturing finer details in a more compact piece. On the other hand, a lower count like 14-count gives you a larger project with more visible, chunky stitches—often a great choice for beginners or for a bolder look. This foundational choice defines how your digital grid will ultimately become a physical object. If you're new to this, learning more about the fundamentals of cross-stitch graphs is an excellent next step.
Key Takeaway: Understanding the relationship between your stitch count and your fabric count is the single most critical calculation in pattern design. Getting this right from the start ensures the finished project you pull off your hoop actually matches the vision you had in your head.
The passion for DIY crafts has helped the cross-stitch market flourish; it was valued at USD 0.15 billion and is projected to hit USD 0.22 billion by 2033. This growth has definitely influenced design trends, with many modern designers creating simpler, more accessible patterns to welcome new stitchers into the fold.
Choosing Your Digital Design Toolkit
I still remember the days of meticulously plotting out designs on graph paper with a rainbow of colored pencils. While there's a certain nostalgia to it, modern software has completely changed the game, making pattern design accessible to everyone. But with so many options out there, how do you pick the right one?
The best tool for you really depends on what you want to achieve. Are you just looking to turn a favorite photo into a quick gift, or are you dreaming of launching your own pattern shop? Your goal will point you to the perfect software.
Free and Simple Pattern Converters
If you're just starting out, free online tools are a great way to get your feet wet without any commitment. Websites like Pic2Pat are designed to do one thing: turn a picture into a cross-stitch chart. You just upload your image, tweak a few settings like size and thread count, and it spits out a pattern.
These converters are perfect for straightforward projects where you don't need a lot of control. Be warned, though—they can struggle with detailed images. You often end up with a lot of "confetti"—single, scattered stitches—and the color matching can be a bit off. They’re like the "auto" setting on a camera: handy for a quick snap, but not ideal for creating a masterpiece.
Expert Tip: My rule of thumb for free converters is "clean input, clean output." Before uploading, take your image into a simple editor like Canva or Photoshop. Bump up the contrast, reduce the number of colors, and crop right in on your subject. This little bit of prep work makes a huge difference in the final chart.
Dedicated Cross Stitch Design Software
When you feel yourself hitting the limits of free tools, it’s time to upgrade to dedicated design software. These programs are built specifically for cross-stitchers and are packed with features that give you total creative freedom.
You’ll find fantastic, robust options like PCStitch, WinStitch, and MacStitch. Yes, they come with a price tag, but the investment unlocks a whole new level of design potential.
- Manual Color Editing: This is a big one. You can override the software's automatic color choices, combine similar shades to reduce your floss count, and build your own custom palettes.
- Backstitch and Fractional Stitches: Effortlessly draw in clean backstitch lines to add definition or pop in fractional stitches for those tiny, crucial details.
- Text and Symbol Control: Add lettering to your designs and even change the symbols on your chart to make it easier to read.
- Professional Export Options: Generate polished, multi-page PDF patterns that include a cover page, a detailed floss key, and accurate stitch counts.
Imagine you're designing a portrait of your dog. A dedicated program lets you go in and place each stitch by hand to capture that specific glint in his eye or the subtle shading in his fur. That's a level of artistry an automatic converter just can't replicate.
If you want to explore the options more deeply, our guide to the best cross stitch pattern maker software breaks down the pros and cons of the most popular choices. Picking the right program is the first step in moving from simple conversions to crafting truly original pieces of stitchable art.
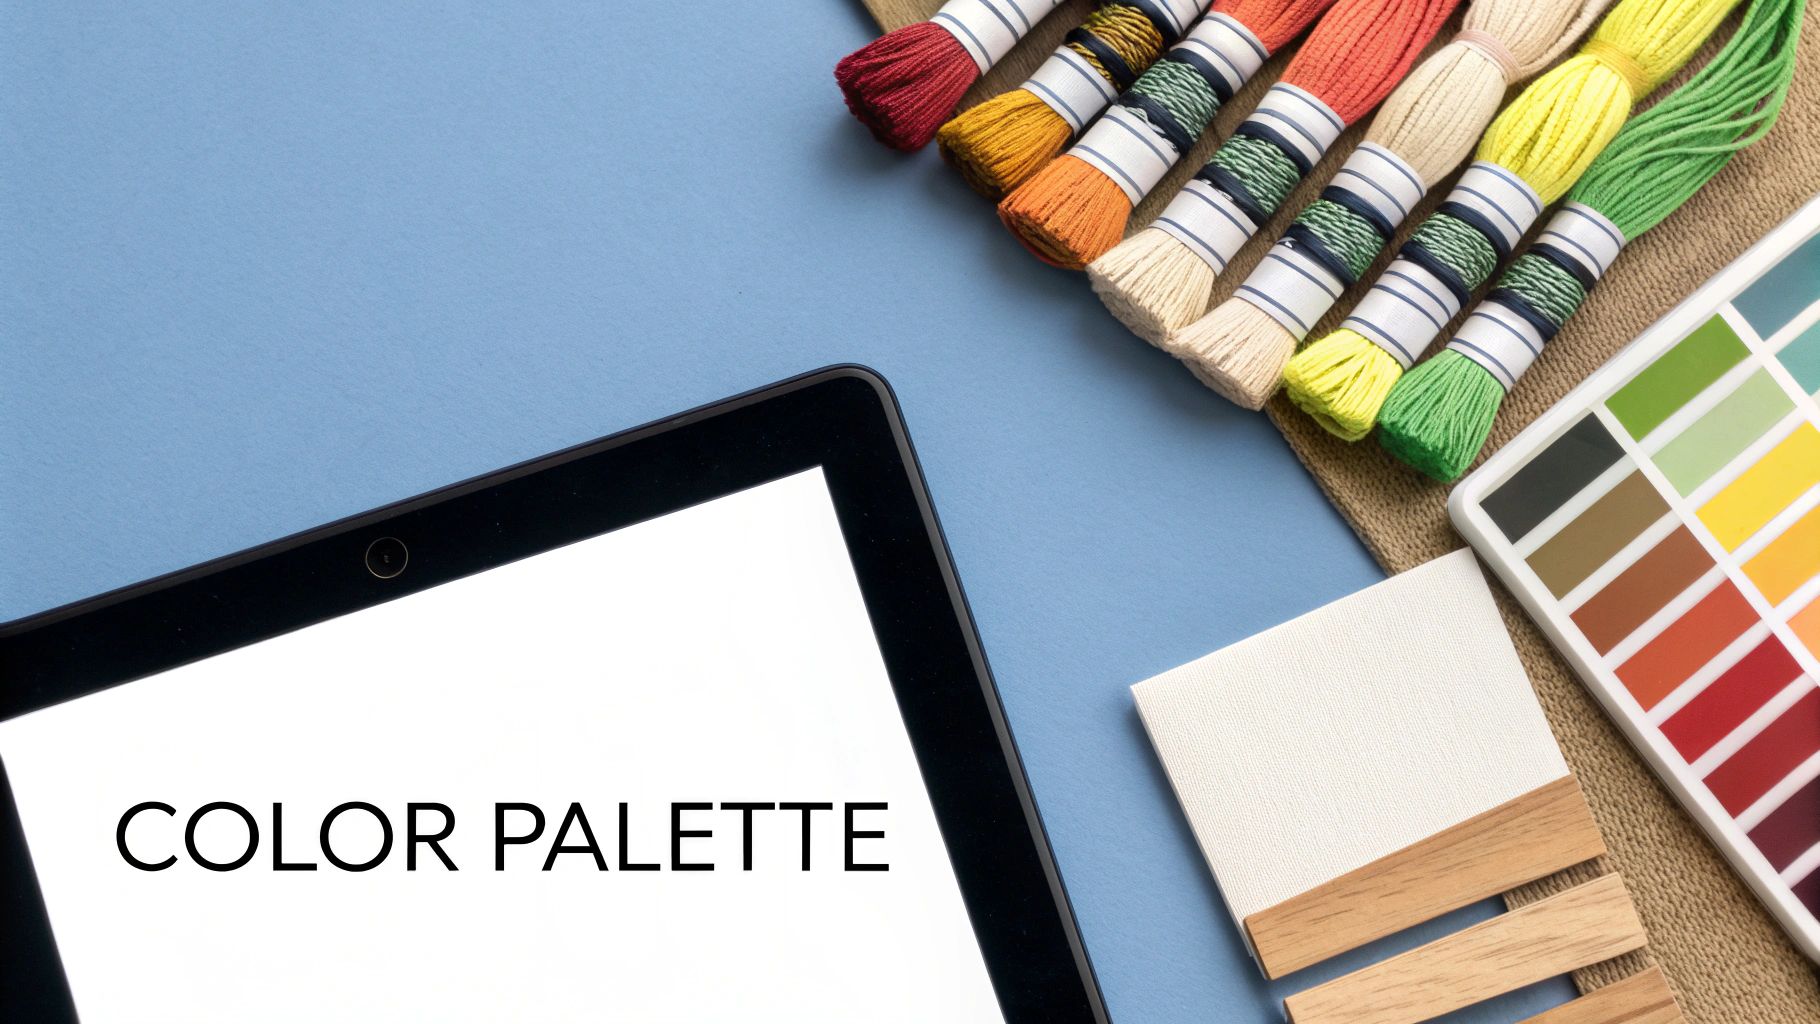
Mastering the Art of Color Selection
https://www.youtube.com/embed/g1pl2bAD83Y
The real soul of any cross-stitch pattern isn't the grid or the symbols—it's the color. Choosing the right palette is what turns a simple design into a stunning piece of art, while the wrong one can leave it feeling flat and lifeless. This is where your artistic eye truly comes into play.
Most pattern design software will do a pretty good job of converting your image's pixels into the closest thread colors from a major brand like DMC or Anchor. And while this is an amazing starting point, relying solely on what the computer spits out is one of the biggest mistakes I see new designers make.
An algorithm can’t see what you see. It might assign three slightly different shades of brown that are nearly identical to the naked eye, adding a ton of complexity for no real payoff. Your job is to step in and be the human editor, making thoughtful, manual adjustments.
Less Is Often More
One of the best pieces of advice I ever got was to challenge the color count. When you first upload an image, the software might suggest a whopping 50 or 60 different colors to capture every last subtle shade. While that sounds impressive for accuracy, it often creates a project that’s an absolute nightmare to stitch.
Instead of just accepting that huge number, try this:
- Merge similar shades: Look for colors that are incredibly close. Can you combine that dark gray and that off-black into a single color without losing any important detail? Most of the time, you can.
- Focus on contrast: Make sure there's enough difference between adjacent colors to make your subject pop. A design gets muddy and hard to read when the contrast is too low.
- Set a personal target: Challenge yourself to reduce that initial color count by at least 25%. You’ll often find the design actually becomes stronger, bolder, and way more enjoyable to stitch.
This hands-on approach is what separates good patterns from great ones. The needlecraft patterns market is currently valued at around USD 1.2 billion and is projected to hit USD 2.4 billion by 2032. A huge chunk of that growth is driven by digital designers creating patterns that are not only beautiful but also accessible—and that often means using smarter, more limited color palettes. You can learn more about this digital shift in this market research report.
Refining Your Palette Manually
Once you’ve wrestled the color count down to something manageable, it's time for the fun part: fine-tuning. This is where you can use special techniques to add a level of depth and realism that automated tools just can't replicate.
To do this well, you need to know what you're working with. A great first step is getting familiar with the thread options out there. For a complete look at the most popular floss brand, our DMC threads chart and color guide is an indispensable resource for comparing shades side-by-side.
Pro Tip: Never trust your screen completely. Colors on a monitor can vary wildly. I always recommend having a physical DMC color card with you. Seeing the actual thread is the only way to be sure about your choices.
This is also the stage where you can introduce more advanced techniques for texture and detail. Dithering, for example, is a fantastic way to blend two colors together by alternating stitches. It creates a much smoother, more natural gradient than a hard line between two shades. Think of it as creating a "half-tone" effect—it's perfect for the soft shading on a portrait's cheek or the gentle fade of a sunset.
Similarly, don't forget about fractional stitches for those tiny, intricate details. A full cross-stitch can look too blocky for something like the glint in an eye or the sharp tip of a leaf. By using quarter or three-quarter stitches, you can create much smoother curves and sharper points, giving your finished piece a far more polished and professional look.
Refining Your Chart for a Better Stitching Experience
An automated conversion from an image to a pattern is a fantastic starting point, but it's rarely the final draft. This is where your artistry comes in. You’re not just a designer; you're the first person to "stitch" this on the screen, and your job is to make the real-life stitching experience as enjoyable as possible.
Think of this manual cleanup phase as proofreading your design for "stitchability." You're catching all the little annoyances an algorithm misses, and it’s this attention to detail that separates a frustrating project from a beloved one.
Tackling Confetti and Consolidating Colors
The biggest giveaway of a computer-generated pattern is "confetti"—those isolated, single stitches of color sprinkled all over the place. While they might technically make the pattern more "accurate" to the source photo, they are a stitcher's nightmare. Nobody wants to change their thread for one single stitch.
Your first mission is to hunt down and eliminate that confetti. Scan your chart for those lonely squares. Ask yourself: is this single stitch of light blue really necessary, or can I change it to the darker blue surrounding it? Most of the time, switching it to match a neighbor won’t impact the design at all, but it will save the stitcher a headache.
This process naturally leads to consolidating colors. You’ll often find areas where two or three very similar shades are tangled together. By merging them into one dominant color, you create smoother, more cohesive blocks. The stitching flow improves dramatically.
Key Insight: A great pattern designer always prioritizes the stitcher's experience. Every time you clean up a confetti stitch or merge two similar colors, you're saving someone time and frustration. That’s how you build a reputation for quality.
Adding Definition with Backstitching
After cleaning up your color blocks, you might find some details have gone a bit soft or blurry. That’s what backstitching is for. Think of it as drawing with thread—it's perfect for outlining shapes, adding sharp details, and making key elements of your design truly pop.
But don't go crazy with it. Strategic backstitching is the goal. Use it to bring out the most important parts:
- Facial features: A simple outline for eyes or a mouth can give a character so much personality.
- Text and lettering: Backstitching ensures any words in your design are crisp and readable.
- Object outlines: It's great for separating a flower petal from a leaf or making your main subject stand out from the background.
Just a thin line of black or dark grey backstitch can add an incredible amount of depth and clarity.
Incorporating Special Stitches for Polish
Ready for the finishing touches? Special stitches can elevate a design from good to truly special, adding texture and detail that a simple cross stitch just can’t capture.
- Fractional Stitches (1/4, 1/2, 3/4): These are your best friends for creating smooth curves and sharp points. They're perfect for rounding out a circle or defining the delicate tip of a leaf.
- French Knots: Need a tiny, raised dot? French knots are the answer. Use them for pupils in eyes, the spots on a ladybug, or the center of a tiny flower.
By taking the time to thoughtfully refine your chart, you move beyond just knowing how to design cross stitch patterns digitally. You learn how to craft them for human hands, and that makes all the difference.
Bringing Your Pattern to Life: Printing and Polishing
You’ve done it. You’ve brought your idea from a spark of inspiration to a fully-realized digital design. Now for the final, crucial step: turning that file on your screen into a professional, easy-to-follow guide that anyone can use to recreate your art.
This is more than just hitting "print." A great pattern anticipates what a stitcher needs, giving them all the tools for a successful project. Think of it as creating a complete, polished product.

Assembling the Complete Pattern Package
Your final document should feel like a small instruction booklet. It needs to contain everything a person needs to pick up a needle and start stitching without getting frustrated.
I always make sure to include these key pages:
- Cover Page: This is your pattern's handshake. It needs a picture of the finished piece (a photo or a good digital mock-up), the name of the design, your name or brand, and the final dimensions of the stitched piece.
- Floss Key: A detailed legend is non-negotiable. List every thread color with its symbol, the brand (like DMC), and the color number. A really helpful touch is adding a stitch count for each color, which helps the stitcher figure out how much floss to buy.
- Symbol Chart: This is the map for the project. If it's a big design, don't be afraid to split it across multiple pages. Just make sure the pages are numbered and include overlap guides—a shaded row or column from the previous page that helps the stitcher line everything up perfectly.
A simple formatting trick that makes a world of difference: always include grid lines every 10 stitches and use a bolder line to mark the center. This makes counting and finding your place so much easier.
It’s amazing how much the process has changed. Designers used to chart everything painstakingly by hand. The shift to digital tools since the late 20th century has made it possible to create patterns that are not only more complex but also much faster to produce.
Getting It Ready for Print
With all your pages assembled, it's time to export. The gold standard for sharing patterns is the PDF format. Why? Because it locks in your formatting, ensuring it looks the same on any computer or printer. Double-check your export settings to make sure you’re saving at a high resolution. You want those symbols and lines to be perfectly crisp, not fuzzy.
For general advice on achieving high-quality output for your designed cross-stitch patterns, consider these key steps for perfect prints. Taking the time for this final quality check is what makes your pattern look and feel truly professional.
As you start designing your own cross stitch patterns, you’ll probably run into the same questions that trip up most beginners. Let’s tackle some of the big ones so you can feel confident and avoid some common pitfalls.
What Software Should I Use?
Jumping straight into a paid, professional program can feel like trying to run a marathon without training. My advice? Start simple and free.
Browser-based tools like StitchFiddle or Pic2Pat are fantastic for dipping your toes in. They let you get a feel for how an image translates into a chart without any cost or commitment. It's the perfect way to learn the ropes.
But what happens when you want to do more? Eventually, you'll want to fine-tune colors, add delicate backstitching, or create a truly polished, professional-looking chart. That’s your cue to look at more powerful software like PCStitch. It offers a much deeper set of tools for when you're ready to get serious.
How Many Colors Is Too Many?
Ah, the great color debate. While a super-realistic portrait might genuinely need 50+ shades to look right, a modern, graphic design can often pop with just 10 to 15. There's no single right answer, but there is a smart approach.
Let your software do the heavy lifting first. Generate the pattern with a higher number of colors to capture all the nuance from your source image. Then, this is the important part: go back in and start manually combining similar shades. Merging a few different light blues into one, for instance, streamlines the whole process.
This little bit of manual editing is where the magic happens. It not only makes your pattern cheaper and way more fun to stitch, but it also gives you final creative say over the outcome.
A Pro Tip From Experience: Always think about the person stitching the pattern. Cutting the color count by even 20% can make the difference between a project that feels like a fun puzzle and one that feels like a frustrating mess. The result is often a cleaner, more impactful finished piece.
Can I Just Use Any Image I Find Online?
This is the big one, and the answer is a hard no. You absolutely cannot turn any image you find on the internet into a pattern you plan to sell.
You have to respect copyright and intellectual property. It’s that simple. To stay on the right side of the law, stick to images that fall into one of these categories:
- You created it yourself (your own photos, drawings, or digital art).
- It's in the public domain.
- You have purchased a commercial license that explicitly allows you to use it for this purpose.
Using another artist’s illustration or a copyrighted character like Mickey Mouse without permission is illegal. Always, always verify you have the rights to an image before you invest your time in designing.
Ready to turn your favorite photo into a masterpiece without all the guesswork? Cross Stitched makes it simple. Get a complete, custom kit with everything you need delivered right to your door. Start creating your personalized cross-stitch project today at https://cross-stitched.com.


