

Quick answer: A finished cross stitch should be hand-washed in cool water with a small amount of pH-neutral soap, then rinsed gently without wringing. Roll the piece in a clean towel to remove excess water, then press face-down on a padded surface with a damp cloth on the back, using a cool iron to avoid flattening the stitches.
Frequently asked questions
How do you wash a finished cross stitch?
Fill a clean basin with cool water and a small amount of gentle, dye-free soap. Submerge the cross stitch and gently agitate. Rinse thoroughly in cool water until all soap is removed. Do not wring or twist the fabric.
Can you put cross stitch in the washing machine?
It is not recommended. Machine washing can distort the fabric, tangle threads, and cause colours to bleed. Always hand-wash finished cross stitch to preserve the work and maintain fabric integrity.
How do you iron cross stitch without flattening the stitches?
Lay the cross stitch face-down on a thick, soft towel. Place a slightly damp pressing cloth over the back. Use a cool or medium iron and press gently — do not drag the iron. The towel cushions the stitches so they are not crushed.
How do you remove hoop marks from cross stitch?
Hoop marks (indentations from the hoop ring) usually disappear when the piece is washed and pressed. Dampen the area, press gently from the back on a padded surface, and the marks should ease out as the fabric relaxes.
That feeling of putting in the very last stitch on a project is just the best, isn't it? But before you rush off to frame it, there's one final, crucial step: giving it a gentle bath. I know, the idea of dunking your masterpiece in water can feel a little nerve-wracking, but trust me, it’s the secret to making your colors pop and getting your fabric perfectly prepped for display.
Washing gets rid of all the stuff you can't see—the natural oils from your hands, tiny bits of dust, and those stubborn hoop marks that have been there for months.
Why You Shouldn't Skip the Wash
After spending countless hours on a piece, the last thing you want to do is risk damaging it. It's a common fear, but most experienced stitchers will tell you that washing is a non-negotiable part of the process. This isn't just for obvious mishaps like a coffee spill or an accidental pen mark. It's for the invisible grime that builds up over time.
Think about it. Every single time you picked up your project, a little bit of you was left behind on the fabric. Over the weeks or months you've been stitching, dust and maybe even a bit of pet hair have settled into the fibers. Right now, you can't see any of it, but years down the line, those oils and residues can slowly yellow, creating noticeable spots.
This is a well-known issue in the stitching community. Unwashed projects often develop faint brown stains over time, a heartbreaking discovery after it's been beautifully framed. For a deeper dive into this, you can find more insights on why washing is a critical finishing step on lordlibidan.com.
Setting Up a Professional Finish
Beyond just cleaning, a good wash works a little magic on your fabric, making the final steps before framing so much easier.
- It Relaxes Everything: The water helps the fabric and floss relax, releasing all that tension from being held tight in a hoop or q-snap. Those deep creases and hoop marks that seem permanent? They just melt away.
- It Creates a Flat Canvas: A clean, relaxed piece of Aida or linen is a dream to iron. Getting it perfectly flat and smooth is essential for a professional, pucker-free finish, whether you're framing it or turning it into something like a pillow.
Think of washing as the final, loving touch. It's what transforms your handmade project from a finished piece into a polished work of art that will look incredible for decades.
Getting Your Cleaning Supplies Ready
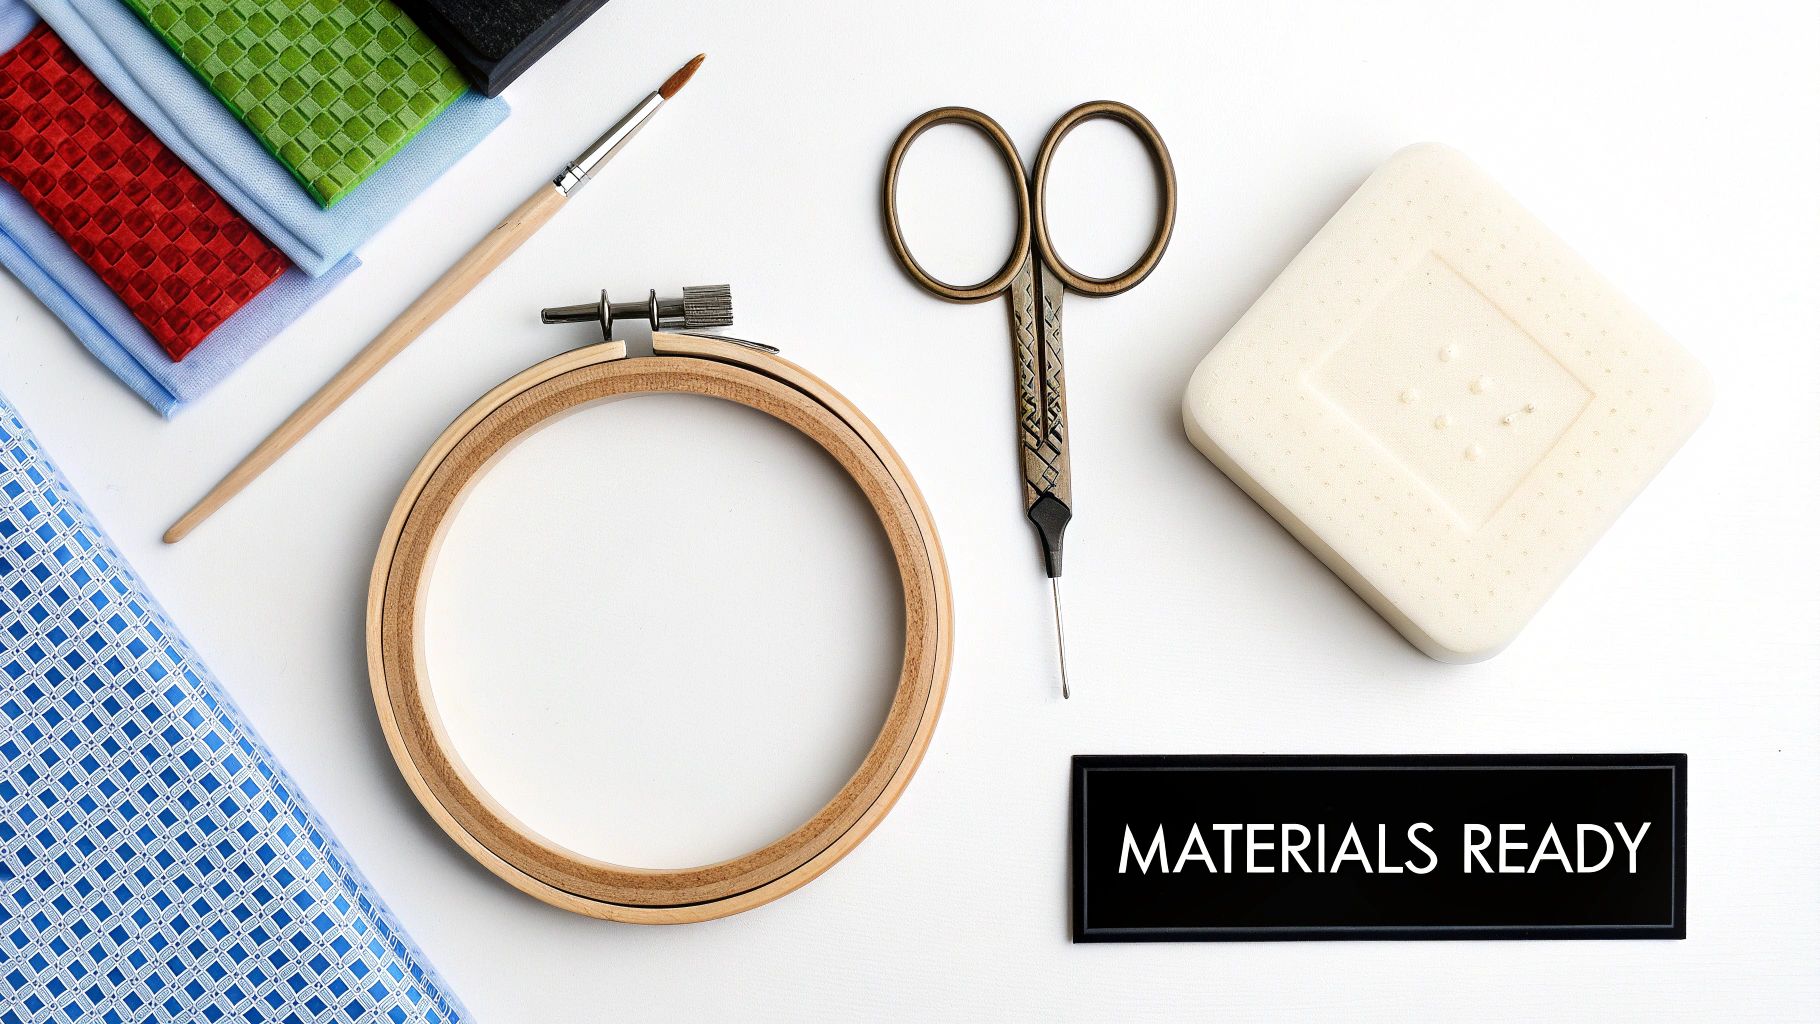
Before you even think about getting your finished piece wet, you need to get all your supplies in one place. Trust me, having everything within arm's reach makes the whole process go a lot smoother and keeps you from panicking mid-wash. You really don't need a lot, but what you do use matters.
The most critical item on your list is the right kind of soap. Your standard laundry detergent is a huge no-go—it’s far too aggressive and can cause your beautiful thread colors to bleed or fade. You're looking for something gentle and pH-neutral.
Soap and Water: The Essentials
I, like many other stitchers, have my go-to favorites. Products like Orvus Paste or a capful of an unscented delicates wash (Soak Wash is a popular one) are perfect for this. You only need a tiny bit to get the job done, and these formulas are designed to lift away oils and grime without being harsh on your fibers.
Don't overlook the water, either. If your home has hard water, those extra minerals can sometimes leave a subtle film on your fabric. To be safe, I always recommend using distilled or filtered water. It’s an easy way to make sure your whites stay brilliant and your colors pop.
The Rest of Your Toolkit
You'll need a few more simple things to do this right.
- A Clean Basin: This can be a plastic tub or just a well-scrubbed sink. The key is to make sure it’s completely free of any residual cleaning chemicals.
- Thick White Towels: This is non-negotiable. Always, always use clean, plain white towels. I’ve seen colored towels bleed onto damp Aida cloth before, and it’s a heartbreaking, totally avoidable mistake.
- A Flat Drying Spot: Find a place where your project can lay completely flat to air dry, well away from direct heat or sunlight which could cause fading or uneven drying.
Getting your setup ready beforehand transforms this from a nerve-wracking task into a calm, straightforward part of the finishing process. When you've put so much care into every one of your basic cross stitch stitches, it just makes sense to give your project the same gentle attention during its first bath.
The Gentle Soak: How to Wash Your Cross Stitch
Alright, you've gathered your supplies and you're ready to give your masterpiece its spa day. This part is all about a gentle, patient soak, not a vigorous scrub. We’re letting lukewarm water and a mild soap do the heavy lifting to coax out any oils and grime without roughing up your beautiful stitches.
Start by filling your clean basin or sink with lukewarm water. I can't stress this enough: avoid hot water. It's the number one culprit for bleeding colors, especially those pesky deep reds and blues. Cold water, on the other hand, just doesn't do a great job of dissolving the dirt. Add just a few drops of your chosen soap—you’re aiming for slightly slick water, not a bubble bath.
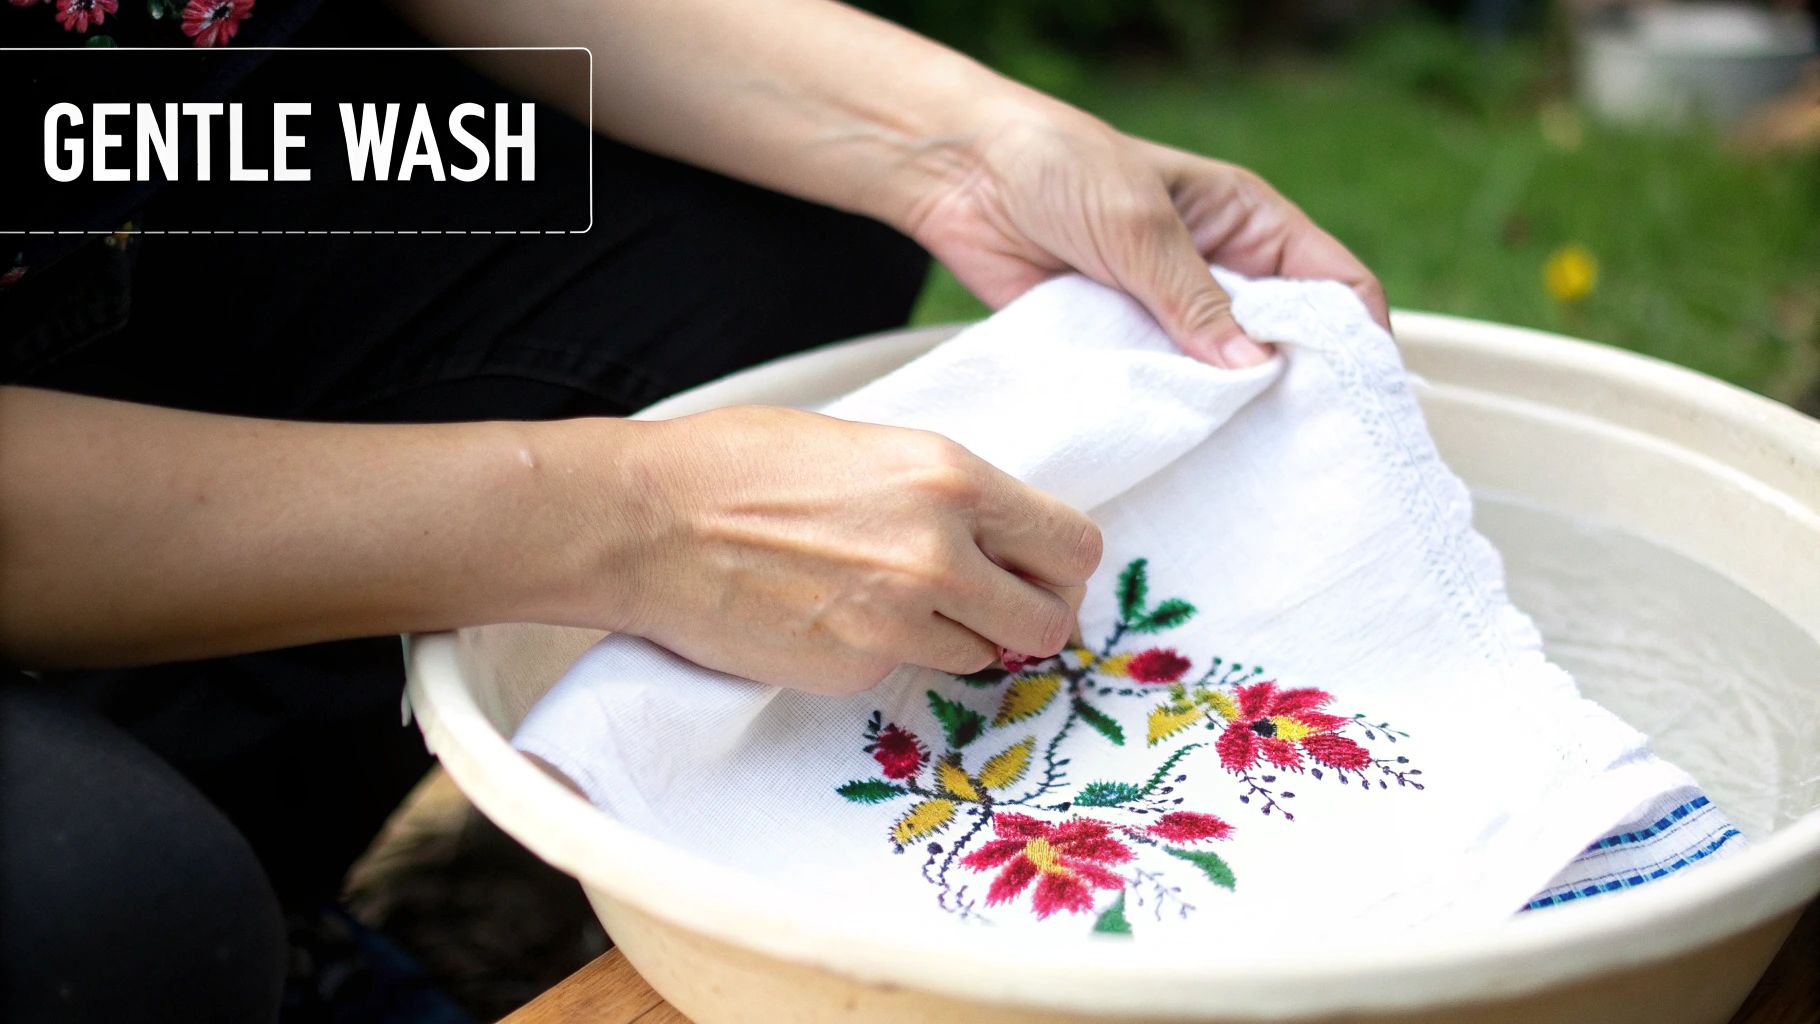
Submerging and Soaking Your Work
Now, let's get your project ready for its bath.
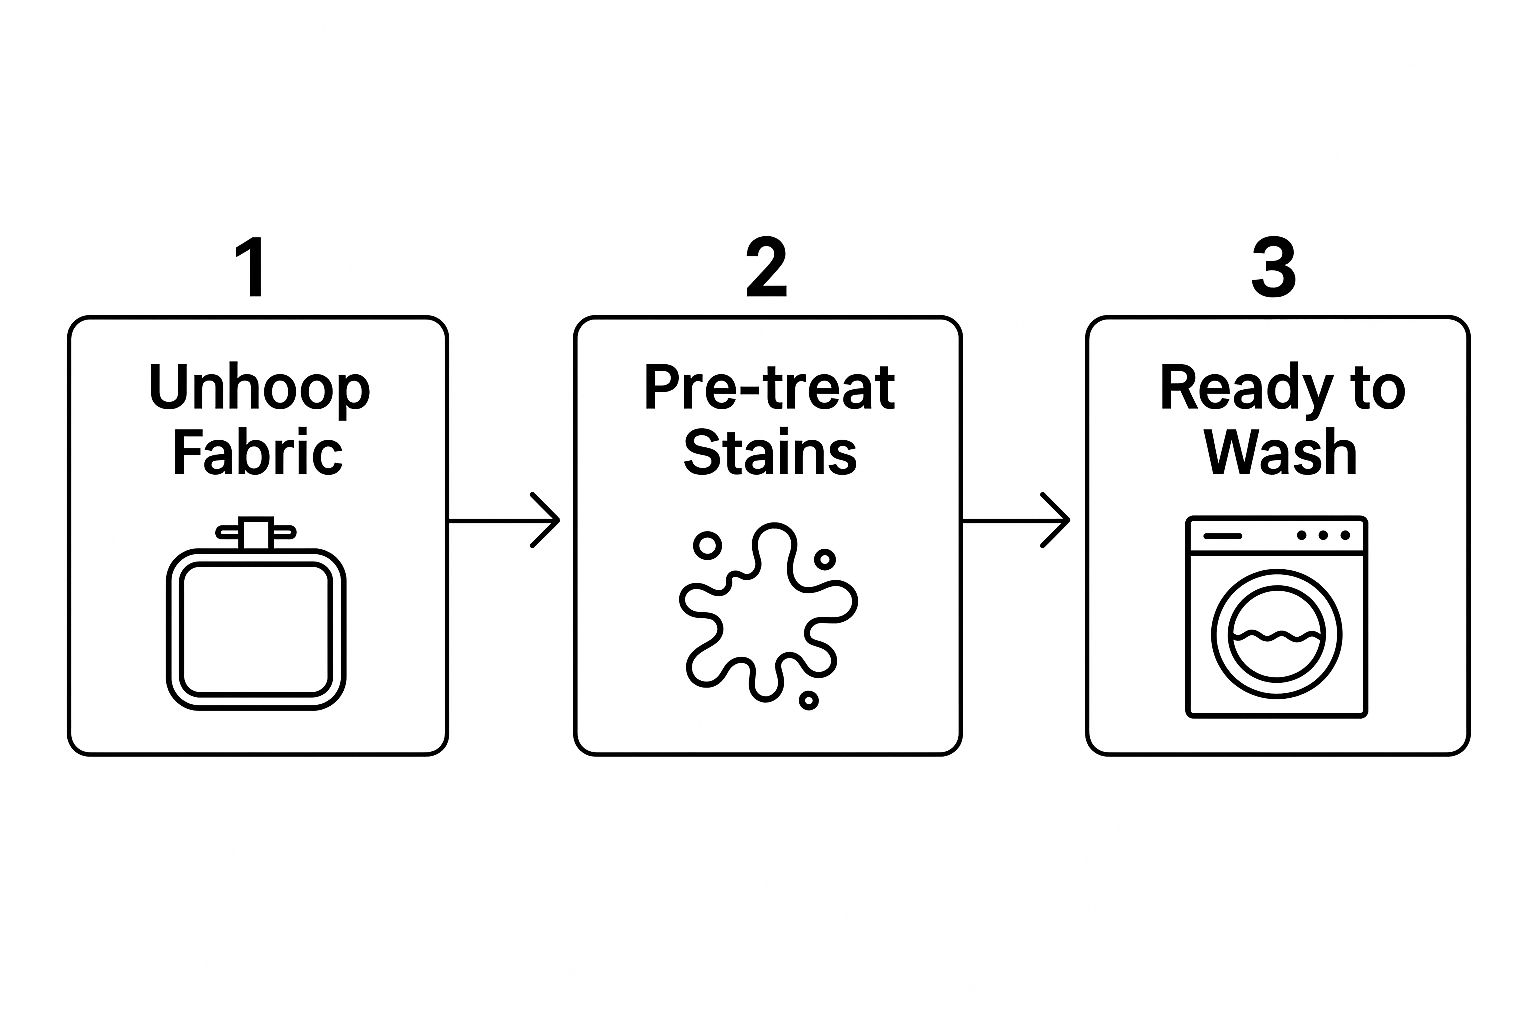
Carefully lower your cross stitch into the water, pressing it down gently until it's completely submerged. And now for the hardest part: leave it alone. Seriously. Resist every urge to swish it, scrub it, or wring it out. That kind of friction is the enemy of neat stitches and can cause your floss to fray and the fabric to stretch out of shape. Just let it soak.
My best advice? Patience. The magic happens when you let the soap and water work quietly. The less you manhandle the wet fabric, the better your finished piece will look.
How long is long enough? For most projects, letting it soak for about 15 to 30 minutes is the sweet spot. This gives the water enough time to lift away any oils from your hands or dust that settled on the fabric, all without putting the fibers at risk.
Choosing the Right Cleaning Agent for Your Project
Not all soaps are created equal, especially when it comes to delicate needlework. Using the wrong kind can leave residue or even damage your threads. Here’s a quick comparison of some popular, safe options I've used over the years.
| Cleaning Agent | Best For | Key Considerations |
|---|---|---|
| Soak Wash | All-purpose needlework, especially if you want a no-rinse option. | It's designed to be left in, but I still recommend a light rinse for cross stitch to ensure no residue remains. |
| Eucalan | Wool and silk threads, projects needing extra conditioning. | Contains lanolin, which is great for natural fibers but might feel slightly different on cotton. |
| Dawn Dish Soap (Original Blue) | Projects with oily or stubborn stains. | Use sparingly—it's very concentrated! A single drop is often enough. Ensure you rinse it out completely. |
| Orvus Quilt Soap | Vintage or heirloom pieces, large quilts, and tapestries. | It’s a conservation-grade soap, so it's extremely gentle and pH-neutral. A little goes a long way. |
Ultimately, the goal is a gentle, pH-neutral cleaner that won't harm your fabric or floss. When in doubt, a product specifically made for delicates or quilting is a safe bet.
The Rinsing Process
Once the soak is complete, lift the piece from the water, making sure to support its full weight with your hands to prevent stretching. Drain the soapy water and refill the basin with fresh, lukewarm water.
Gently place the project back in for a rinse. You can press it down lightly to help the clean water move through the fibers. You’ll likely need to repeat this step a couple of times. When the water is completely clear and free of suds, you know you’re done. This process is very similar to other methods for washing delicate and valuable textiles. A final, thorough rinse is crucial because any leftover soap residue can attract dirt over time, defeating the whole purpose of the wash
Drying Your Project Without Distortion
How you dry your cross stitch is every bit as important as how you wash it. One wrong twist can completely distort the fabric's grid, and all that time you spent making perfect stitches can be undone in a second. Never, ever wring out your project like a dishcloth! That’s the fastest way to stretch the fabric and damage your delicate threads.
The goal here is simply to get the excess water out, leaving the piece evenly damp and ready to be air-dried flat. For this, my go-to technique is what I like to call the "towel burrito." It sounds a little silly, but it works perfectly every time.
The Towel Burrito Method
First, grab a clean, thick, white towel and lay it out on a flat, waterproof surface. I can't stress the "white" part enough—you don't want any rogue dye from a colored towel bleeding onto your beautiful work.
Carefully lay your wet cross-stitch piece face down onto the towel. Smooth it out gently, then place a second clean, white towel on top of it, making a little fabric sandwich.
Now, starting from one of the short ends, loosely roll the towels up with your project inside. Don't press down hard or roll it super tight; a gentle, snug roll is all you need. Let this little burrito sit for about 10-15 minutes.
Think of the towels as a giant sponge. They'll patiently wick away the moisture without any of the friction or pulling that causes distortion. It’s a slow, gentle process, and that's exactly what your project needs.
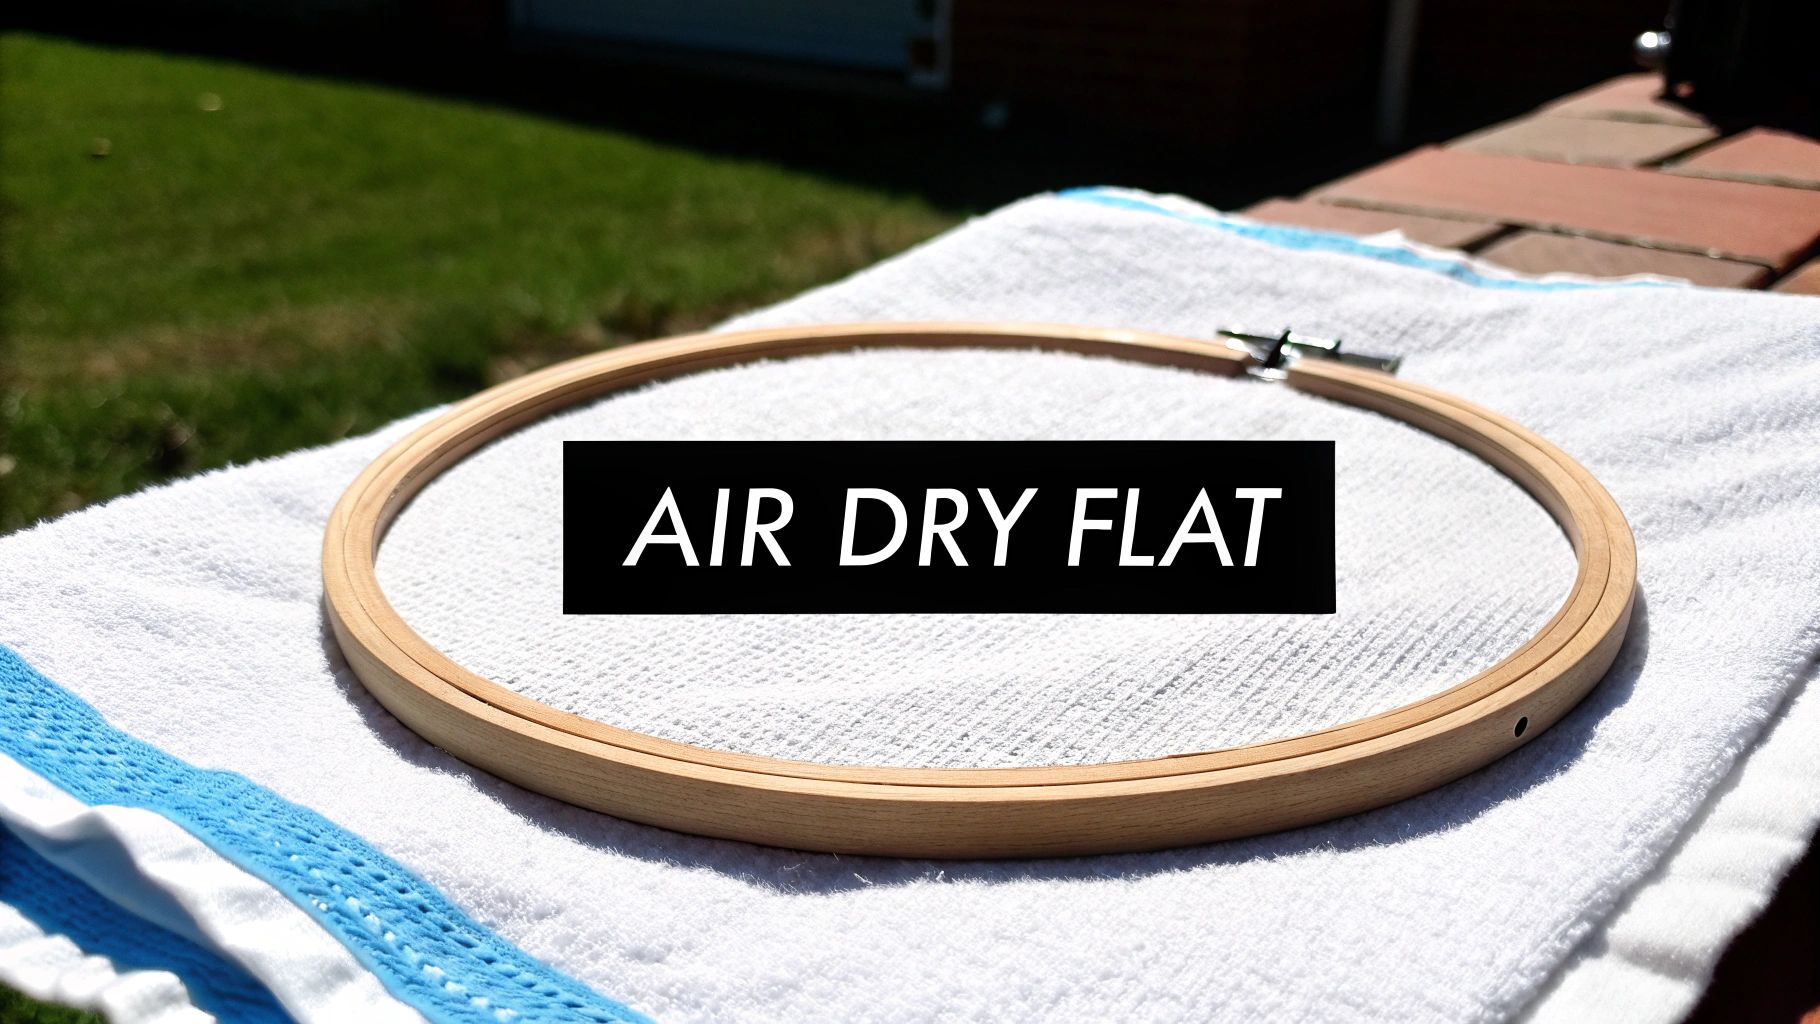
Once time is up, carefully unroll the towel. Your cross stitch will no longer be dripping wet, but should feel cool and uniformly damp to the touch.
From here, just lay it perfectly flat on a fresh, dry towel or a mesh drying rack to finish the job. Keep it away from direct heat sources or bright sunlight, which can cause fading or make it dry unevenly. This final, flat air-dry is what ensures your project keeps its perfect shape.
Ironing for a Crisp, Professional Finish
Now that your project is clean and dry, it's time for that final touch—the one that really makes your stitches stand out and gives your piece a truly professional look. Ironing is what gets your fabric perfectly flat and ready for framing.
Here’s the golden rule: always iron from the back. Never, ever iron directly on the front of your stitches, as you’ll crush them and ruin all that beautiful texture you worked so hard to create.
First, lay a thick, clean, white towel on your ironing board. Then, place your cross-stitch project face down onto the towel. This cushy surface protects your stitches, letting them sink into the towel while you press the fabric flat from the other side.
I always start with a dry iron on a medium setting, which is usually perfect for cotton or linen Aida. Do not use steam! Even if the threads were colorfast during the wash, the combination of moisture and high heat from an iron can sometimes cause colors to bleed. It’s just not worth the risk.
The Right Way to Press
Think "press and lift," not "drag."
Place the warm iron onto a section of the fabric, hold it there for just a few seconds, and then lift it straight up. Move to the next section and repeat. If you drag the iron across the fabric like you would with a shirt, you can easily pull the Aida's grid out of square or warp your stitches.
This gentle pressing technique gets rid of every last wrinkle without distorting your work. It’s the final step that separates a nice project from a stunning one. For more ideas on what to do next, check out our guide on cross stitch finishing techniques.
This post-wash ironing isn't just for looks; it's a critical step for many stitchers. In fact, upwards of 70-80% of serious hobbyists consider it essential for the visual quality and long-term stability of their work. Pressing with a protective towel on low heat truly refines the final appearance, but you must wait until the piece is bone dry to avoid any thread distortion.
Taking these extra few minutes to press your project carefully ensures it will be perfectly crisp, flat, and ready to show off.
Common Questions About Cleaning Cross Stitch
 Even with a solid plan, a few specific situations can make you hesitate before washing your precious work. Let's walk through some of the most common worries so you can feel confident handling whatever comes up.
The biggest fear for any stitcher is seeing those beautiful colors run. If you notice your threads are bleeding—and it's often the deep reds or blues that are the culprits—pull the piece out of the water immediately. Get it under some cool, running water and rinse until the water is completely clear to wash away the excess dye.
A little prevention goes a long way. Before you even start stitching, you can test a small snippet of your thread in warm water to see if it runs. Another handy trick is to toss a "color catcher" sheet into the wash basin with your project; these are designed to soak up any loose dyes floating in the water.
Handling Special Cases
What about washing a really old or heirloom piece? It's possible, but you have to be incredibly gentle. For a fragile cross stitch, your best bet is a simple soak in cool, distilled water without any soap at all. If it feels sturdy enough for a deeper clean, use just a tiny drop of an archival-safe textile cleaner.
Stubborn stains need a more focused strategy. For organic spots like coffee or tea, a patient soak is often all you need. But if you're dealing with something like a rust spot, you'll need a specialized fabric rust remover. The golden rule here is to always test any spot treatment on a hidden corner of your fabric first.
And one thing to remember: Never use chlorine bleach. It will absolutely destroy both the floss and the Aida cloth, causing permanent damage.
Many of these cleaning headaches can be dodged by developing good habits from the start. To build a solid foundation, check out these essential cross stitch tips for beginners. With the right techniques in your toolkit, you'll be able to wash any project, new or old, without breaking a sweat.
At Cross Stitched, we provide everything you need to create your own masterpiece, from custom photo kits to premium supplies. Start your next project today at https://cross-stitched.com.


