
Quick answer: Counted cross stitch is a form of embroidery where stitches are placed by counting squares on a separate paper or digital chart, with no pre-printed guide on the fabric. It is the most popular form of cross stitch and allows any design to be worked on blank fabric, unlike stamped cross stitch where the pattern is printed directly onto the cloth.
Frequently asked questions
What is counted cross stitch?
Counted cross stitch means following a separate grid chart rather than a pre-marked fabric. The stitcher counts threads or holes on plain fabric to place each stitch correctly according to the pattern.
What is the difference between counted and stamped cross stitch?
In stamped cross stitch, the design is printed onto the fabric as a guide. In counted cross stitch, the fabric is blank and the stitcher follows a separate chart. Counted is more versatile and produces sharper results; stamped is easier for absolute beginners.
Is counted cross stitch hard?
Counted cross stitch requires careful counting and chart reading, which can be challenging initially. Starting with a small design on 14-count Aida and using a highlighter to track progress makes it manageable for beginners.
What fabric do you use for counted cross stitch?
Counted cross stitch is traditionally worked on Aida cloth or linen evenweave. The evenly spaced holes or threads allow accurate counting. 14-count Aida is the most common choice for beginner counted projects.
At its heart, counted cross stitch is a bit like painting by numbers, only you're using a needle and thread instead of a brush and paint. You follow a gridded chart to place tiny, X-shaped stitches onto a blank piece of evenly woven fabric, slowly bringing a picture to life.
Your First Look at Counted Cross Stitch

Unlike its cousin, stamped cross stitch, where the design is already printed on the fabric, counted cross stitch starts with a completely blank canvas. You get a separate pattern—a chart filled with symbols on a grid. Each symbol tells you which color thread to use, and each little square on that chart represents one perfect "X" stitch you'll make on your fabric.
This technique is a classic form of embroidery with a long, rich history. It dates all the way back to Europe in the Middle Ages, with some of the earliest examples of counted thread work appearing on clothing and linens as far back as the 13th century. If you're curious, you can learn more about the history of the cross-stitch market and how it's changed over time.
It might sound a little intimidating at first, but once you get going, the process settles into a wonderfully simple and meditative rhythm. You're just transferring a design from paper to fabric, one counted square and one tiny cross at a time. It's this methodical approach that gives you incredible precision and all the creative freedom you could want.
The beauty of counted cross stitch is in the transformation. You start with nothing but blank fabric and a chart, and through a simple, repetitive motion, you create a detailed and personal masterpiece.
Because you’re not tied to a pre-printed design, the possibilities are practically endless. This method allows you to:
- Work on any color or type of even-weave fabric you like.
- Get a cleaner, more professional look with no printed lines peeking through your stitches.
- Take on incredibly complex and detailed patterns with pinpoint accuracy.
Ultimately, getting a feel for what is counted cross stitch is your first step into a hobby that’s both rewarding and deeply relaxing. It’s a craft that truly empowers you to create stunning, handmade pieces right from scratch.
2. Choosing Your Path: Counted vs. Stamped Cross Stitch
When you first dip your toes into the world of cross stitch, you'll quickly run into two main paths: counted cross stitch and stamped cross stitch. Figuring out which one is right for you is the first big decision, and it really shapes the whole experience.
Think of it like this: counted cross stitch is like painting by numbers, but you're working on a blank canvas. You have a separate chart that acts as your guide, telling you exactly where to place each color. Stamped cross stitch, on the other hand, is more like a traditional coloring book—the design is already printed right on the fabric for you to stitch over.
Neither way is "better" than the other, but one will definitely click with your style and what you want to get out of the craft.
What's the Real Difference?
With a stamped cross stitch kit, the pattern is pre-printed onto the fabric using washable ink. Your job is to simply fill in the colored blocks with the matching thread. It’s a fantastic starting point if you're a complete beginner or stitching with kids, since it takes all the guesswork out of the equation. You can just focus on getting the hang of making the stitches.
Then you have counted cross stitch. This method gives you total creative freedom and, frankly, a much cleaner result. You work from a separate pattern chart onto completely blank fabric. Because there are no printed lines, your finished piece looks incredibly sharp and professional, with no risk of ink peeking through your stitches. This is the technique that opens the door to thousands of intricate, beautiful designs and lets you pick any fabric you love.
For most serious stitchers, counted cross stitch is the go-to method. It delivers that polished, professional finish and gives you endless creative options, from your fabric choice to the complexity of the pattern itself.
So, which one should you choose? Seeing them side-by-side usually makes the decision a lot clearer.
Counted vs. Stamped Cross Stitch: A Side-by-Side Comparison
This table breaks down the core differences to help you figure out where you want to start.
| Feature | Counted Cross Stitch | Stamped Cross Stitch |
|---|---|---|
| Experience Level | Beginner to Advanced | Best for Absolute Beginners |
| Creative Freedom | High (any fabric, any pattern) | Low (limited to the printed kit) |
| Learning Curve | Moderate (requires counting) | Very Low (stitch over colors) |
| Final Appearance | Clean and professional look | Risk of ink showing through |
| Project Variety | Virtually unlimited designs | Limited to available kits |
Ultimately, stamped cross stitch is a great way to learn the basic motion of stitching without any stress. But if you're excited by the idea of creating a truly handcrafted piece with a flawless finish, counted cross stitch is where the real magic happens.
Gathering Your Essential Stitching Toolkit
One of the best parts of starting a new hobby is getting all your supplies together. The great news about counted cross stitch is that you don't need a mountain of gear to get started. It's an incredibly accessible craft with a low startup cost, which is a big part of its charm.
This accessibility has fueled its popularity. Counted cross stitch is a major player in the wider needlecraft industry, valued at around $2.57 billion USD back in 2021. And it's only growing, with some analysts projecting the market could hit nearly $3.71 billion USD by 2025. It's safe to say this classic craft isn't going anywhere. You can dive deeper into the growth of the needlecraft market on archivemarketresearch.com.
Your Core Supplies
So, what do you actually need to start stitching? It boils down to just four essential items. You can always add more gadgets later, but these are the must-haves for your first project.
-
Fabric: The go-to fabric for beginners is Aida cloth. It's a cotton fabric woven into a perfect grid, making the holes easy to see and your stitches a breeze to count. Aida comes in different "counts," like 14-count or 18-count, which simply refers to how many stitches you can make per inch. I always recommend starting with 14-count Aida; the squares are a comfortable size for learning.
-
Embroidery Floss: This is the thread that brings your picture to life. Most patterns call for standard six-strand cotton floss from brands like DMC, which is known for its quality and vast color range. Your pattern chart will list the exact color codes you'll need.
-
Tapestry Needles: These aren't your average sewing needles. Tapestry needles have a blunt tip and a large eye. The rounded end is designed to slip easily through the holes in your Aida without piercing the fabric threads, while the bigger eye saves you the headache of trying to thread your floss.
-
An Embroidery Hoop or Frame: While technically optional, I wouldn't stitch without one. A hoop holds your fabric taut, almost like a tiny drum. This tension is key to making uniform, even stitches and keeps your fabric from puckering as you work. A simple 5- or 6-inch wooden hoop is perfect for most beginner projects.
Think of these four items—fabric, floss, needle, and hoop—as your starter pack. With these in hand, you have absolutely everything you need to create a finished piece from scratch.
For a deeper dive into these tools and some of the other fun accessories you might want down the road, check out our complete guide on what you need for cross stitch. Getting these basics right from the start will set you up for a smooth and satisfying first stitching experience.
How to Read a Cross Stitch Pattern Like a Pro
Think of a counted cross stitch pattern as your treasure map. The first time you look at one, it might seem like a chaotic jumble of symbols and lines. But once you crack the code, you'll see it’s a simple, grid-based guide that tells you exactly where every single stitch goes. This is the skill that opens the door to any project you can dream of.
The grid on your pattern is a direct representation of the woven squares on your Aida fabric. Each little square on the chart equals one "X" stitch you'll make with your needle. It's a pixel-perfect roadmap for bringing your design to life.
These are the three core elements that work together in every project: the fabric grid, the colorful thread, and the needle that brings them together.
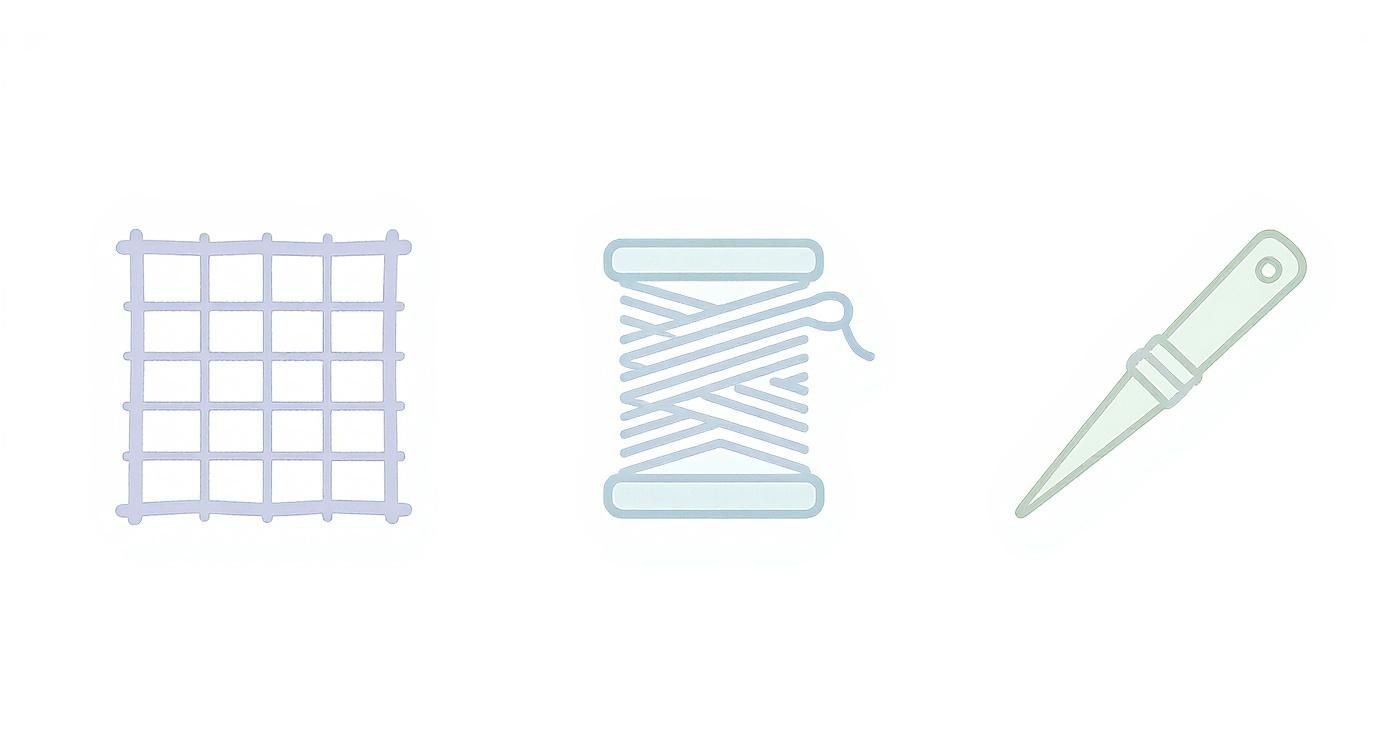
As you follow the chart, you're just translating its instructions into a beautiful stitched design, one 'X' at a time.
Decoding the Symbols and Key
Every pattern comes with a color key, sometimes called a legend. This is your decoder ring. It’s arguably the most important part of your chart because it tells you which symbol corresponds to which floss color, usually listed by brand and number (like DMC 310 for black).
- Symbols: These can be anything—letters, numbers, or even little shapes like triangles and hearts. Each one represents a different color.
- Color Key: This is where you match the symbol from the grid to its assigned thread color.
- Grid Lines: Look for the heavier lines on your chart. These typically mark every 10x10 block of squares. These lines are your best friend for navigating the pattern and keeping your place without getting lost.
The moment you match a symbol on the grid to a color in the key, everything clicks. You're no longer staring at abstract shapes; you're reading clear instructions for creating a piece of art.
Finding Your Starting Point
Most patterns use arrows or bolded lines to mark the center of the design. A tried-and-true method for counted cross stitch is to start stitching from the middle of your fabric and work your way outwards.
Finding the center of your fabric is easy. Just fold it in half lengthwise, then fold it in half again widthwise. The point where the two creases meet is your starting point.
Why start in the middle? It guarantees your design will be perfectly centered when you're done. This simple step saves you from the frustration of stitching for hours only to find you've run out of room on one side.
For a deeper dive into navigating patterns, check out our guide on understanding cross stitch graphs. It covers everything from basic charts to more advanced designs.
Your First Stitches: Mastering the Fundamentals
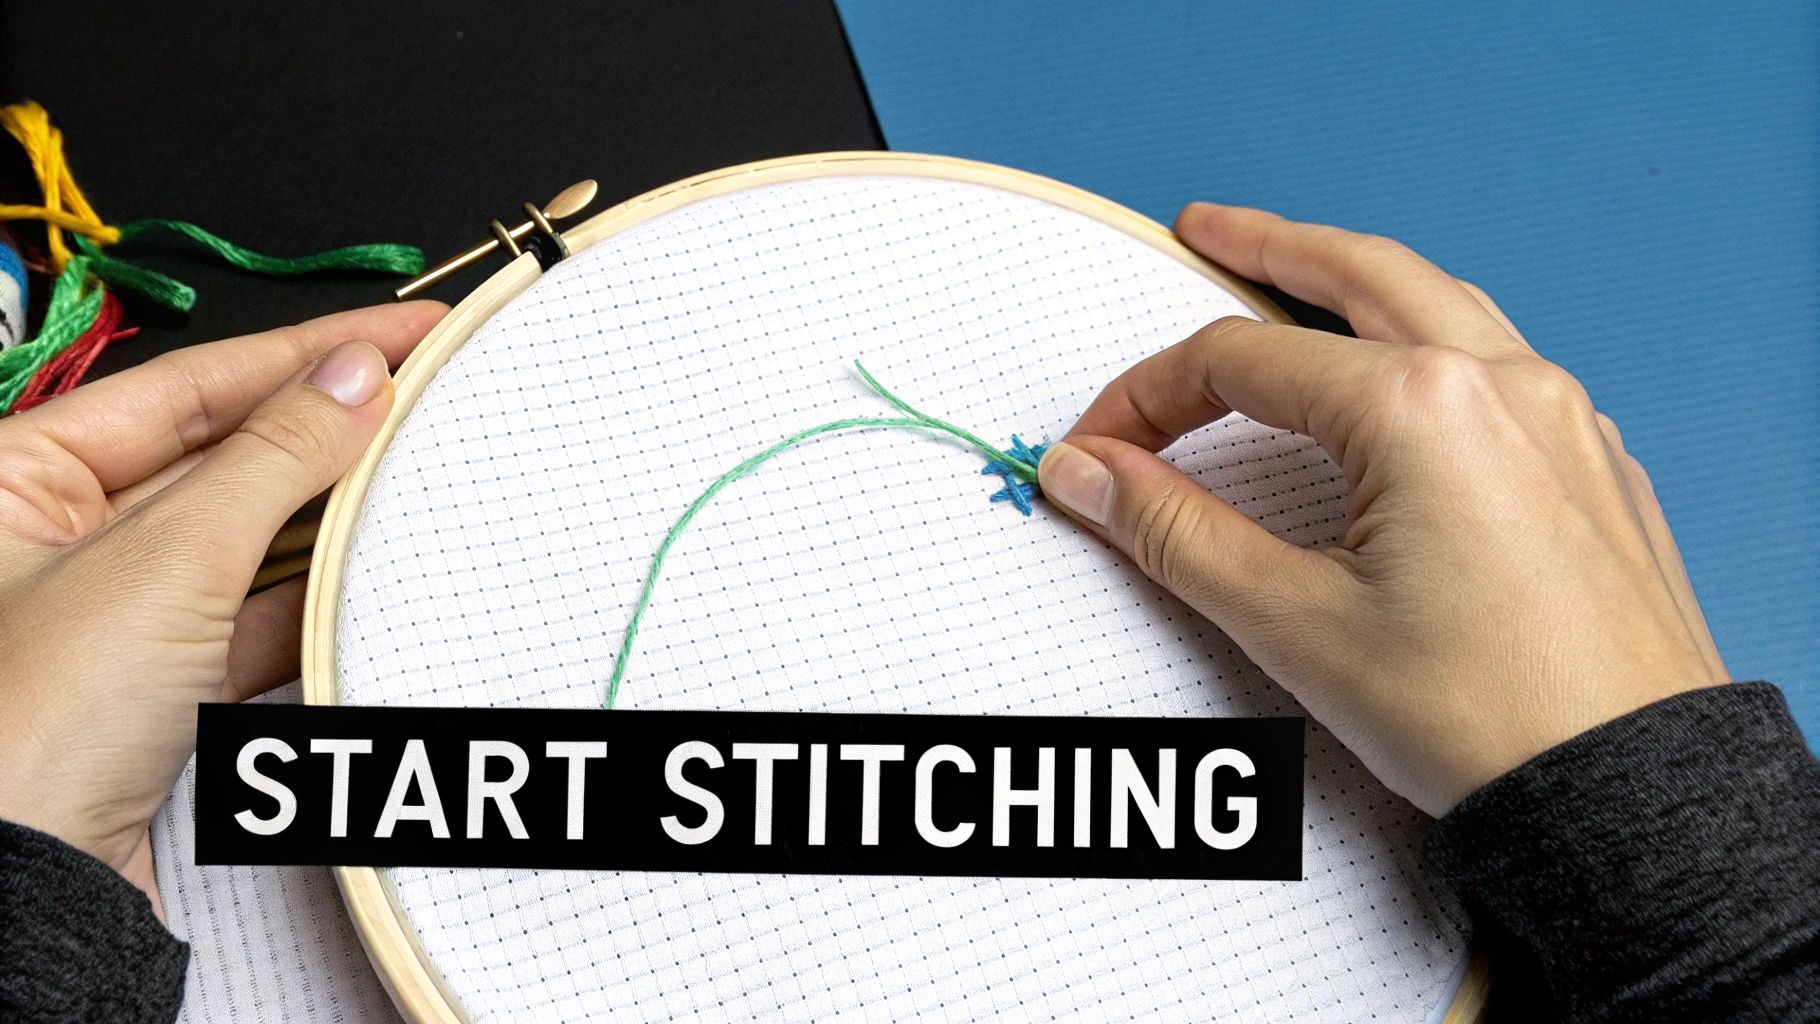 embroidery hoop with cross-stitch fabric and green thread, overlaid with 'START STITCHING' text.">
Alright, you've got your tools laid out and your pattern is waiting. It's time to put thread to fabric and make that first stitch. This is the moment where the rhythm begins, and soon you'll find yourself stitching without even thinking about it.
First things first, let's get your thread ready. Embroidery floss usually comes as a thick thread made of six smaller strands twisted together. For most projects, especially on 14-count Aida, you’ll only need two of those strands. To separate them without ending up with a tangled bird's nest, just pinch the floss near the end and gently pull out one single strand at a time. Do this twice, and you're good to go.
The Knot-Free Beginning
It's tempting to tie a knot at the end of your thread, but that can create little bumps on the back of your work that show through to the front. A much cleaner way to start is with the loop start method. It’s a slick little trick that only works when you're using an even number of strands (like the two we just prepped!).
- Take one of your separated strands and fold it exactly in half. You’ll have a loop at one end and two tails at the other.
- Thread the two tail ends through the eye of your needle.
- From the back of your fabric, push the needle up through the starting hole, but don’t pull it all the way. Leave a little loop dangling on the backside.
- Go ahead and make the first diagonal half of your stitch.
- As you bring your needle back down through a nearby hole, flip your work over and guide the needle through that loop you left behind.
- Now, gently pull the thread. The loop will tighten and anchor your thread perfectly. No knot, no lump, just a clean start!
The single most important "rule" in cross stitch is consistency. Make sure all your top stitches slant in the same direction (e.g., all /// then all \\). This small detail is what gives a finished piece that smooth, professional look because it helps the light reflect evenly across the surface.
Forming the Perfect Cross
At its heart, a cross stitch is just a little "X" made over one square of your fabric. It's that simple.
To make one, bring your needle up from the back at the bottom-left corner of a square, then go down into the top-right corner. That's the first leg of your "X."
Next, bring the needle up through the bottom-right corner and finally cross over, going down into the top-left corner. And there you have it—one complete cross stitch! You can do this one full "X" at a time, or work in rows by doing all the bottom legs first (////) and then coming back across the row to complete the top legs (\\). Either way works, just remember to keep that top stitch consistent
Finding Your First Project and Unleashing Creativity
https://www.youtube.com/embed/u6pmb-myRKc
Once you've got the basics down, the very best way to get good at counted cross stitch is to just start stitching. Honestly, jumping in is how the skills really click into place. Thanks to the booming popularity of needlecrafts, you'll find an incredible variety of patterns out there for every style and skill level.
Start Small, Finish Strong
For your very first project, think small and simple. You want a quick win to build your confidence! Things like bookmarks, small ornaments, or even a little keychain are perfect.
These types of projects are great for beginners because they usually have:
- A limited color palette: Juggling just a handful of colors is much less intimidating than managing dozens.
- Simple, blocky designs: You'll be working with whole "X"s, without needing to worry about more advanced, fiddly stitches just yet.
- A small finished size: Nothing keeps you motivated like seeing your project come together quickly.
Where to Look for Patterns and Kits
You can find fantastic beginner kits at local craft stores or online on sites like Etsy, where independent designers sell their work. Many creators also share free, simple charts on their blogs or social media, which are perfect for a practice run.
The market for needlecraft patterns is growing fast—projections show it could reach nearly $64 billion by 2035! This growth is fueled by easy-to-download digital patterns and the popularity of affordable fabrics like Aida, which is great news for newcomers. You can dive deeper into these needlecraft market trends on futuremarketinsights.com.
Once you're comfortable with the rhythm of stitching, the real fun begins. You can start creating truly personal art that tells your own story.
Don't be afraid to eventually move beyond patterns made by others. Amazing tools like Pic2Pat can turn your own photos into custom cross stitch charts. Imagine stitching a portrait of a beloved pet or a favorite family picture! From that first simple bookmark to a custom-designed heirloom, counted cross stitch opens up a world of creative expression.
Answering Your First Cross-Stitch Questions
Jumping into a new craft always comes with a few questions. Trust me, we’ve all been there! Let's clear up some of the most common things that trip up new stitchers.
What Does "14-Count Aida" Actually Mean?
You'll see this number everywhere, and it's simpler than it sounds. The "count" just tells you how many squares (and therefore, stitches) fit into one inch of fabric.
So, for 14-count Aida, you get 14 stitches per inch. A lower count, like 11, means bigger squares and stitches, which is fantastic for beginners. A higher count, like 18, gives you tiny, delicate stitches for a more detailed, almost pixelated look.
How Many Strands of Floss Do I Use?
Standard embroidery floss comes with six strands all bundled together, but you almost never use all six at once. The first thing you'll learn is to separate them.
For 14-count Aida, the sweet spot is usually two strands. This gives you nice, full stitches that cover the fabric well without looking bulky. But always, always check your pattern first! The designer will tell you exactly how many strands to use for different parts of the design.
Don't panic if you make a mistake—it happens to every single stitcher, no matter how experienced! If you catch it early, you can gently unpick the stitch with your needle. Honestly, most small errors won't even be noticeable in the finished piece, so don't sweat it.
My Project Is Done... Now What?
Once that last stitch is in place, it’s time for the final polish. First, give your piece a gentle hand wash with a mild soap and let it air dry completely.
Next, place it face-down on a fluffy, clean towel and press it with an iron on a low setting from the back. This little spa treatment cleans off any oils from your hands, smooths out those stubborn hoop marks, and makes your stitches pop. It’s the secret to a professional-looking finish before you frame it and show it off to everyone.
Ready to turn your favorite memories into a beautiful work of art? At Cross Stitched, our custom photo-to-pattern kits give you everything you need to create a personalized masterpiece. Start your next project today at https://cross-stitched.com.


