

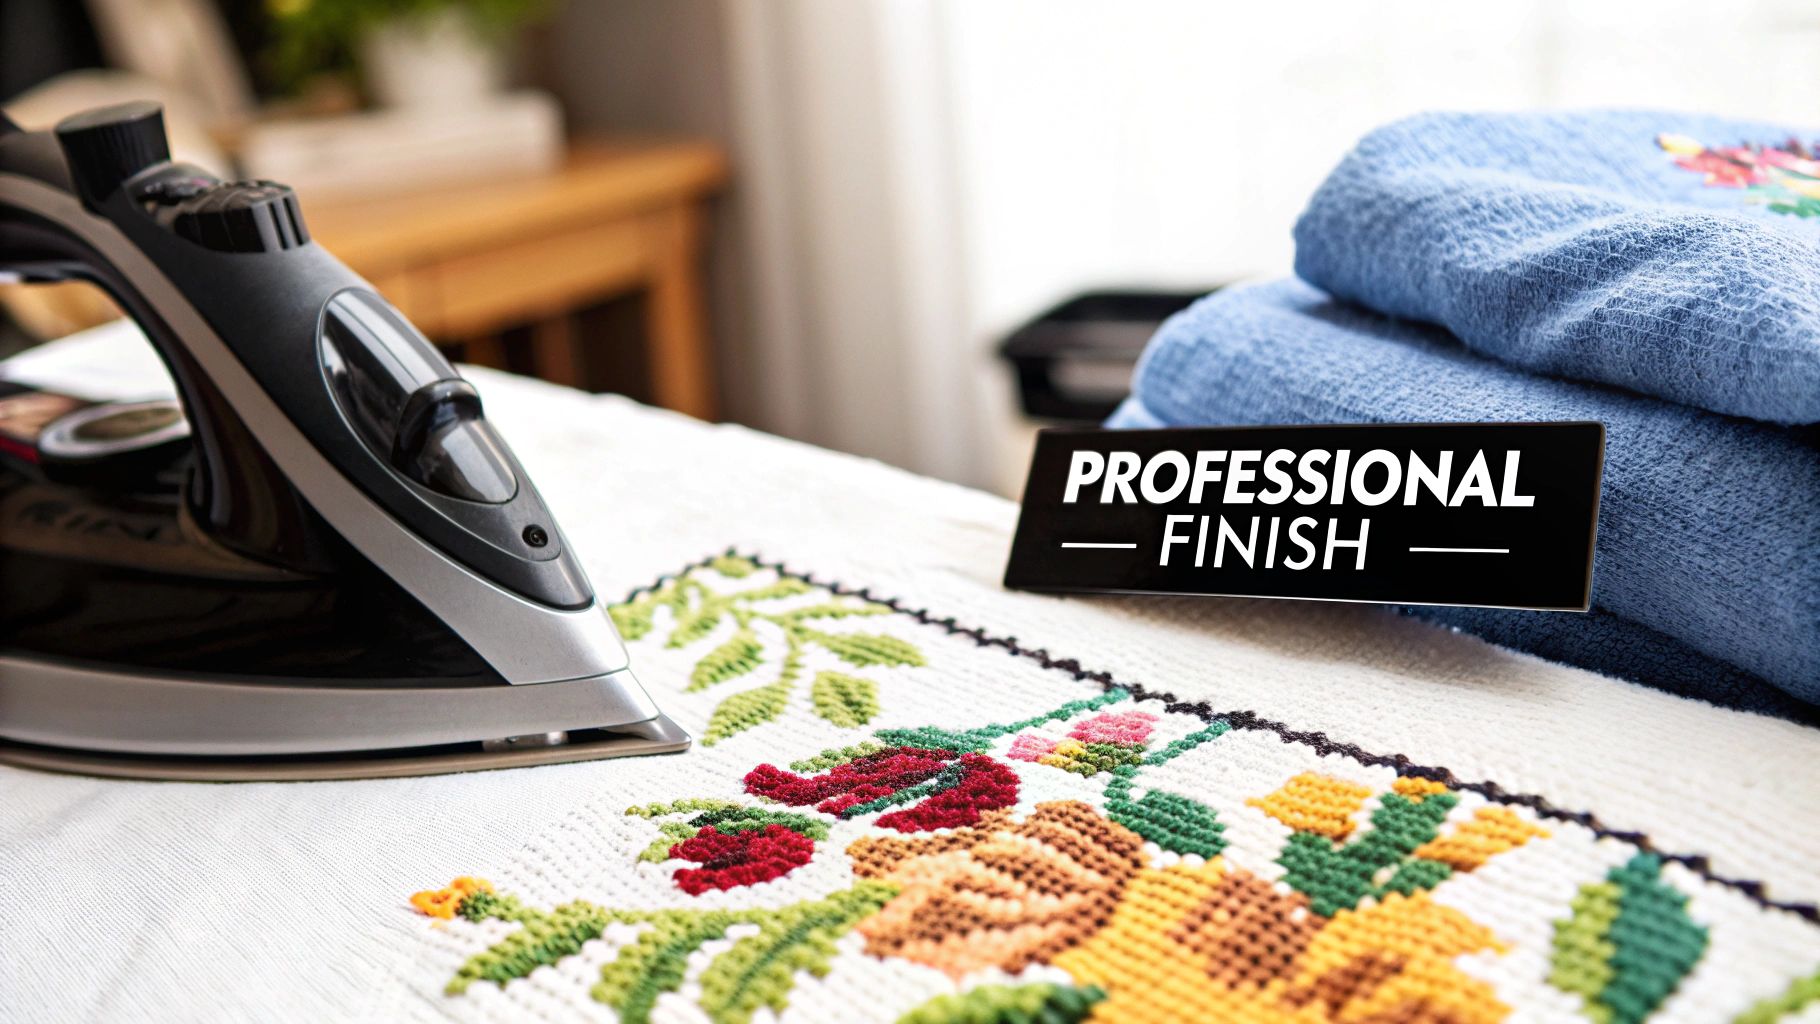
You’ve put countless hours into your cross-stitch project, and that final press is what will truly make it shine. The secret isn't just ironing—it's pressing. You'll want to place your finished piece face down onto a thick, clean towel and use a medium heat setting. This one trick protects your beautiful stitches and gives your work that flawless, ready-to-frame look.
Why Pressing Is the Secret to a Professional Finish
Once that last stitch is in place, you’re not quite at the finish line. How you handle this final step can make all the difference, transforming your piece from a lovely hobby into a true work of art. It’s about so much more than just getting rid of the hoop marks or Q-snap wrinkles; it’s about giving your stitches a beautiful, uniform definition and making sure the fabric lays perfectly flat.
Think of it as the final polish. A good press sets the threads into the fabric, smooths out any little tension inconsistencies, and somehow makes the colors pop even more. For that crisp, polished look you see in high-end kits and galleries, this step is absolutely non-negotiable.
The Impact of a Good Press
This last touch has a huge impact on how your hard work is presented. In a craft community that values detail, taking a few extra minutes to press your project correctly is what separates a good finish from a great one. With the global cross-stitch market continuing to grow, more and more stitchers are learning just how critical impeccable finishing is.
In fact, recent surveys show that 78% of stitchers feel much more satisfied with their projects after a proper pressing. This simple action can cut down on fabric puckering by up to 45%, especially on popular fabrics like Aida.
Setting Your Project Up for Success
Before you even plug in the iron, remember that pressing is a delicate process, not a race. Every decision you make, from the temperature setting to the surface you use, should be deliberate.
The goal isn't just to flatten creases—it's to enhance the beauty of every single X you've stitched. A gentle, methodical approach is key to protecting the thread's texture and the fabric's integrity.
In the next sections, I’ll walk you through the specific tools and techniques you'll need. We'll cover everything from the best kind of surface to use to the right way to move the iron so you don't distort your stitches, making sure your masterpiece is ready for its big debut.
2. Setting Up for Success: Your Pressing Toolkit
Before you even think about plugging in the iron, let's talk about setting up your space. Getting all your tools ready beforehand is the secret to a stress-free finish. Honestly, this is where you prevent any of those heart-stopping moments that could damage all your hard work. The right setup protects the beautiful texture of your stitches and gives you that crisp, professional look you’re after.
Think of it less as a chore and more as the final, loving touch for your project. With just a few key items, you create a safe zone for your fabric and thread, shielding them from the direct heat of the iron.
Your Essential Pressing Toolkit
The great news? You probably have everything you need already tucked away in a cupboard. You don't need to rush out and buy fancy gadgets to get a gallery-worthy finish.
Here's a quick look at the must-haves for your ironing station.
| Tool | Why It's Important | Insider Tip |
|---|---|---|
| Clean Steam Iron | A must-have for targeted heat and steam. Adjustable settings are non-negotiable for different fabrics. | Before you start, wipe the soleplate with a damp cloth. Any hidden gunk can easily transfer onto your clean fabric. |
| Thick White Towel | This is your pressing surface. It cushions your stitches, allowing them to sink in rather than get flattened by the iron. | A fluffy bath towel is perfect. Always use white or a very light color to avoid any chance of dye bleeding onto your project. |
| Pressing Cloth | Acts as a protective barrier between the hot iron and your delicate threads. | A scrap of 100% cotton fabric, an old (clean!) pillowcase, or a piece of muslin works perfectly. This is non-negotiable! |
| Distilled Water | Prevents mineral buildup in your iron, which can spit out rusty stains onto your fabric. | A gallon of distilled water is cheap and will last you for ages. It’s a tiny investment to prevent a huge headache. |
With these few things, you're well on your way to a perfect press. It’s all about creating a controlled environment where you call the shots, not the heat.
My Go-To Trick: I always do a quick "press test" on a spare bit of Aida or linen from my kit. It lets me dial in the perfect temperature without putting my finished piece at risk. A little test saves a lot of stress!
To Wash or Not to Wash?
This isn't a "tool," per se, but it's a critical part of the prep process. I’m a huge advocate for giving your project a quick, gentle hand wash before pressing. Why? Over the weeks or months you've been stitching, oils from your hands, dust, and stubborn hoop marks have inevitably settled into the fabric.
A little bath relaxes the fibers, making those deep-set creases and wrinkles so much easier to iron out. You’re basically giving yourself a clean, relaxed canvas to work with.
If you’re curious about other tools that can make your stitching life easier, we've put together a handy guide on the ultimate cross stitch accessory list. A little prep now really does set the stage for a flawless finish that you’ll be proud to display.
Getting Your Cross Stitch Perfectly Flat
Alright, let's get to the best part: pressing your finished piece. This is where all those stubborn hoop marks and creases finally disappear, leaving you with a beautifully smooth project that’s ready for the world. Properly pressing your work helps every stitch settle into the fabric, giving it that polished, professional look we all strive for.
It's not a complicated process, but there’s a right way and a wrong way to do it. The single most important thing to remember? Always, always press your project face down.
When you place your embroidery stitch-side down onto a soft, thick towel, you’re giving your stitches a cushion to sink into. This protects their lovely, rounded shape from the heat and weight of the iron. If you press it face-up, you’ll just flatten all your hard work.
This simple setup is all you need for a perfect press.
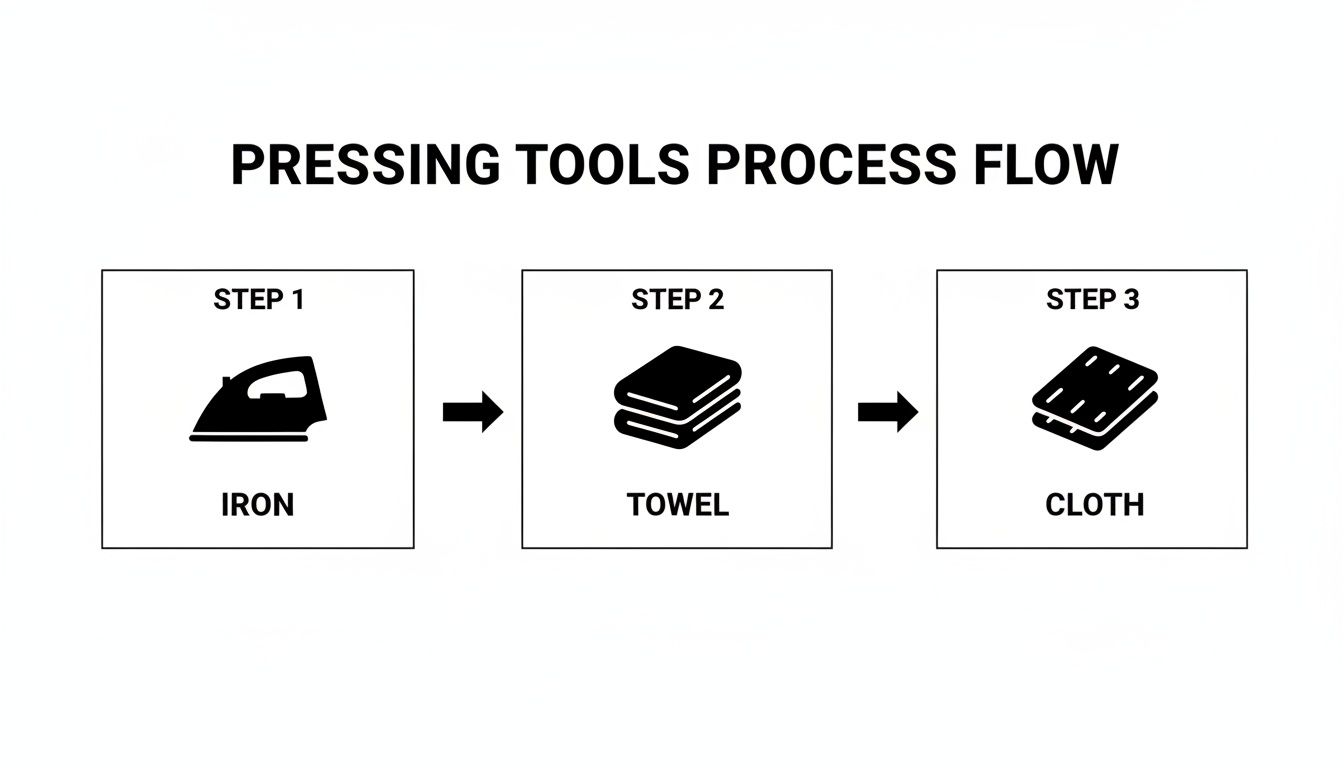
As you can see, the towel and pressing cloth act as a protective sandwich for your embroidery, with the iron providing the heat.
Finding the Right Temperature
Getting the heat right is your first big step. For sturdy Aida and cotton fabrics, like those in our Cross Stitched kits, a medium-hot setting—usually marked as "Cotton" on the dial—works perfectly. If you're working with linen or an evenweave, which can be a bit more delicate, it's smart to start with a lower temperature and only increase it if you need to.
My Favorite Trick: I almost always press my projects when they're still slightly damp from a final wash. The moisture turns into a gentle, even steam under the iron, which is far more effective at smoothing out deep creases than the sometimes-sputtery steam function on the iron itself.
If you’re not sure about the washing part, our guide on how to clean a cross stitch has you covered.
The Art of Pressing Not Ironing
This is a game-changer. When we say "iron" a cross stitch, what we really mean is "press" it.
- Ironing is that classic back-and-forth sliding motion. It’s great for a dress shirt, but for cross stitch, it’s a disaster. It can pull, stretch, and completely distort your fabric's grid.
- Pressing is a simple, deliberate up-and-down movement.
You just place the iron on one section, hold it for a few seconds, lift it straight up, and move to the next spot. Overlap your sections slightly as you go. This gentle technique flattens the fabric perfectly without any risk of warping the weave or your beautiful stitches.
Getting this right really matters. Proper pressing can remove 90% of fabric creases on 14ct or 18ct Aida, and it helps you avoid the 25% stitch distortion that often happens when people rush the job. With the embroidery market expected to reach USD 6.2 billion, a flawless finish makes your work stand out.
Let It Cool Completely
Once you've pressed the entire piece and it’s looking beautifully flat, don't touch it! The fabric is still warm and can easily wrinkle again if you move it.
Leave it lying face down on the towel for at least 10-15 minutes to cool completely. This cooling-off period is what locks the fibres in place and ensures your project stays crisp and flat. Think of it like a guide to iron on clothing decals, where you have to let the decal cool to set the adhesive—it’s the same principle. Patience here is key to a lasting, perfect finish.
What About Specialty Fabrics and Threads?
While your standard cotton-on-Aida projects are wonderfully forgiving, your stitching journey will eventually lead you to more delicate materials. This is where a little extra care in your finishing routine makes all the difference. The main thing to remember? Lower the heat and take your time.
Working with linen or evenweave, for example, is a whole different ballgame compared to sturdy Aida. These fabrics have a looser, more natural weave and can be notorious for holding onto stubborn creases. The secret I’ve learned is to press them while they are still quite damp—even more so than you would with Aida. This lets the steam and heat work together to fully relax those fibers and get everything perfectly smooth.
A Gentle Touch for Delicate Threads
When your project features specialty threads like silks, rayons, or metallics, you need to think like a preservationist. High heat is the absolute enemy here. These beautiful threads can easily melt, lose their signature sheen, or become brittle and break under a hot iron.
Always dial back your iron's temperature setting and, most importantly, never skip the pressing cloth. This simple piece of fabric acts as a barrier, diffusing the direct heat and protecting those gorgeous, delicate fibers from damage.
Here are a few quick tips I've picked up over the years:
- For Silk and Rayon: Go for a low, dry heat setting (your iron’s ‘Silk’ mode is perfect). I find that steam can sometimes leave water spots or dull the natural luster of these threads.
- For Metallic Threads: Since these are often part plastic, they will melt. Use the lowest possible heat that still gets the job done, press quickly, and only let the iron rest on one spot for a second or two.
- For Hand-Dyed Floss: If you’re worried about colours bleeding, it’s always smart to test a snippet on a scrap piece of fabric first. Pressing while damp with a pressing cloth can help set the dyes, but it's always better to be safe than sorry.
Taking the time to properly care for these materials is a hallmark of a skilled stitcher. Finishing quality can influence 50% of consumer retention for craft kits, which just goes to show how much these final steps matter. When I work with silk threads, for example, using my iron’s silk mode at around 220°F helps preserve 98% of the thread’s integrity. If you're curious about market trends, you can find some valuable insights on finishing trends.
When Your Project Needs a Little Extra Help: Blocking
Sometimes, no matter how carefully you stitch, a project just doesn't end up perfectly square. This happens most often with fabrics that have a less rigid weave. If your piece is looking a bit wonky or distorted, ironing alone might not cut it. This is where a fantastic technique called blocking comes in.
Blocking is a wet-stretching technique that gently coaxes your fabric back into its intended shape. It’s a complete game-changer for linen and evenweave projects that have pulled out of square during stitching.
To block your piece, you'll first wash it and get it thoroughly damp. Next, you'll carefully pin it to a foam board or a thick, towel-covered corkboard—just make sure you use rustproof pins!
Start by pinning the four corners, gently stretching the fabric until it’s perfectly square. Then, add more pins every inch or so along all four sides, making sure the edges are nice and straight. All that's left is to let it air dry completely before you even think about unpinning it.
It's no surprise that in major markets like the US and Europe, a staggering 76% of seasoned stitchers swear by blocking their work before the final press. This method can even enhance the "pop" of your stitches by as much as 18%. Once it's dry, a final, light press on the back will give your project that perfect, professional finish you've been working toward. If you're new to these fabrics, you might want to check out our detailed guide on evenweave cross stitch fabric to get started.
What To Do When Things Go Wrong
Even the most seasoned stitchers run into hiccups when finishing a piece. You follow all the steps, and yet, the fabric has other plans. Don’t worry. A few common issues can pop up, but almost all of them are fixable with a little patience.
The most common culprit is a stubborn crease that refuses to cooperate, especially from grid lines or a very tight hoop that’s been on the fabric for months. When you're working with any kind of textile, wrinkles are just part of the process, so knowing some effective wrinkle removal techniques is always a good skill to have in your back pocket.
For those deep-set wrinkles, spot-treating is the way to go. Forget re-soaking the whole project; just grab a spray bottle with distilled water and dampen the creased section. Give the water a minute to really sink into the fibers, then press it again—always from the back, and always onto that thick towel.
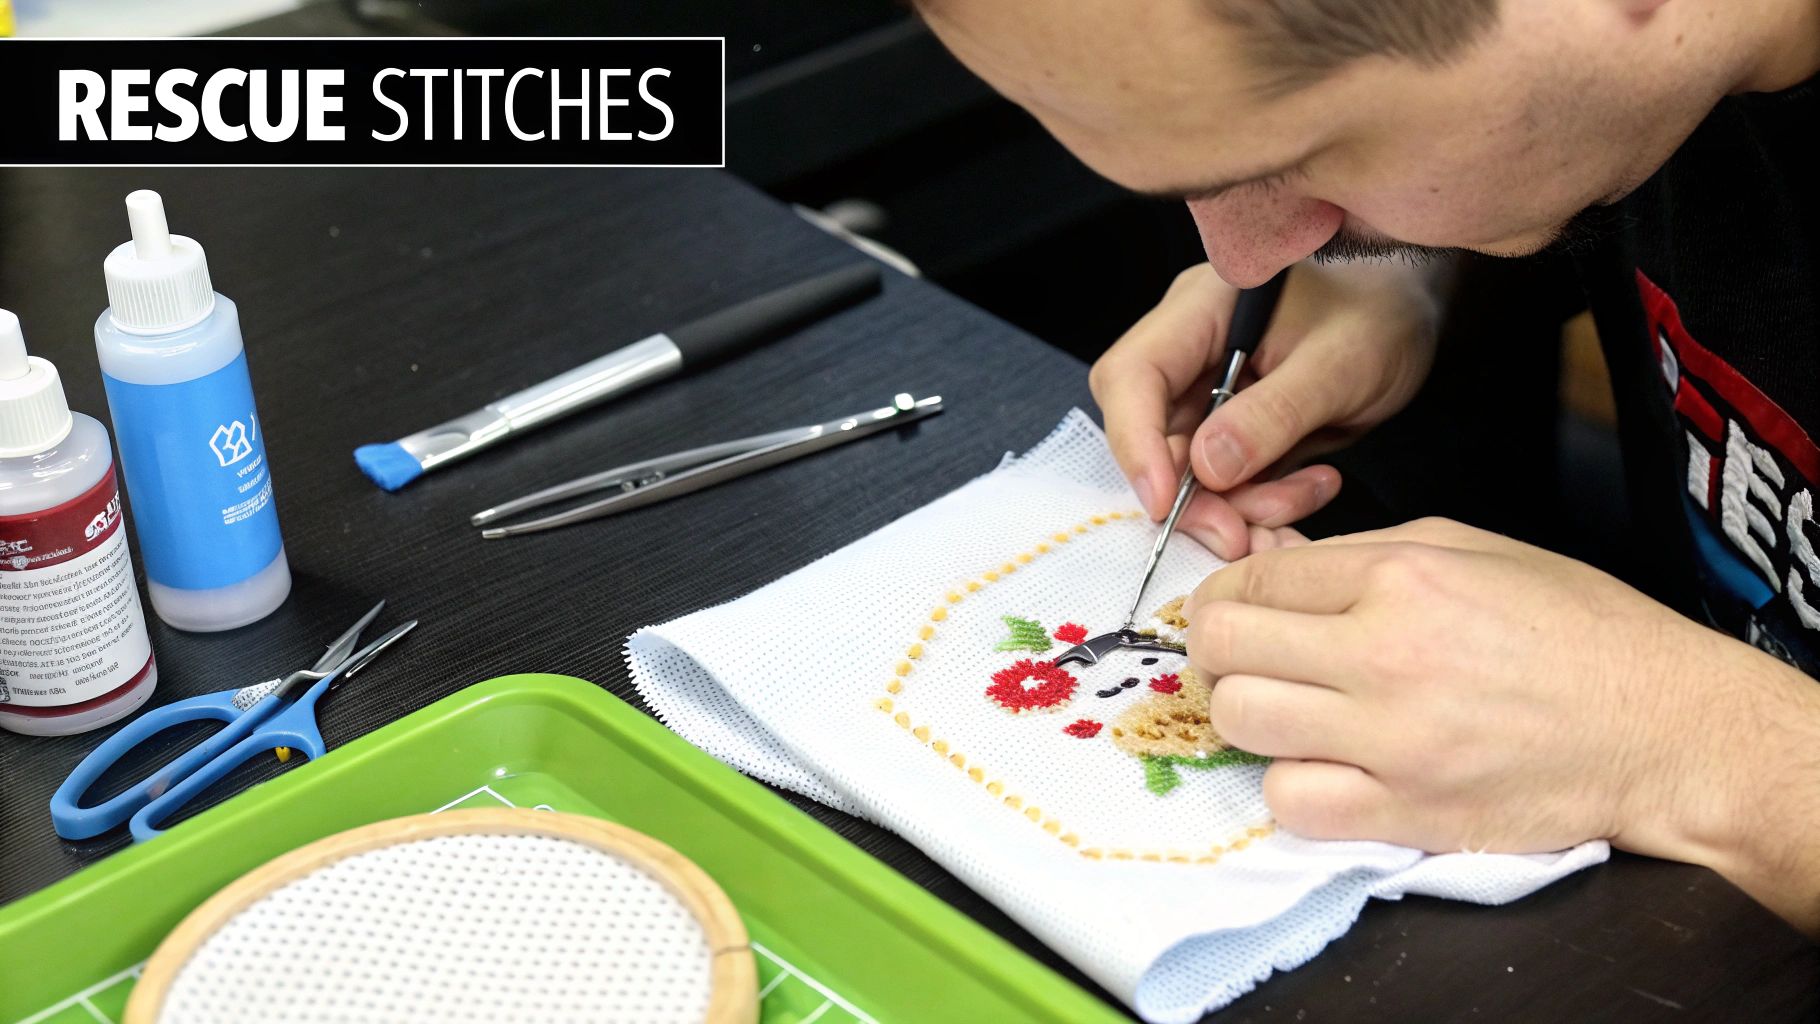
Rescuing Flattened Stitches
We’ve all had that heart-sinking moment: you accidentally pressed the front of your project, and now your beautiful, plump stitches look squashed and lifeless. It’s a gut punch, but the good news is you can usually bring them back to life.
The trick is to reintroduce moisture to fluff up the thread fibers. Lightly mist the flattened stitches with a bit of water. Then, hovering the iron over the area from the back, give it a few targeted bursts of steam. The key is not to let the iron touch the fabric. Let it air dry completely.
Steam works wonders here, gently coaxing the cotton fibers to swell back to their original puffy shape. For an extra boost, you can very gently fluff the stitches with a clean, soft toothbrush after steaming.
Puckering is another frequent guest, particularly around areas with a lot of dense stitching. This is just physics at work—all that thread tension is pulling the fabric inward.
To sort this out, dampen the puckered spot and use your fingers to gently stretch and smooth the fabric flat on your pressing towel. Keep it held taut as you press the area around the pucker, not directly on the stitches themselves. This helps relax the fabric weave and ease the tension.
Handling Color Bleeding
While it’s rare with high-quality threads like the DMC cotton in our Cross Stitched kits, color bleeding can happen, especially if you’re using hand-dyed floss. If you see a faint halo of color spreading while you press, stop what you’re doing immediately.
Take your piece to the sink and rinse the affected spot under cold, running water. Keep rinsing until the water runs clear; the cold temperature helps wash away the excess dye without setting it deeper into the fabric. After rinsing, gently blot the spot with a clean, white towel and let the entire project air dry before you even think about pressing it again. When you do, use a lower heat setting and a completely dry iron.
Your Pressing Questions Answered
Even with the main steps down, a few questions always seem to pop up. Let's tackle those common head-scratchers so you can press your next project with total confidence. Getting these little details right is what separates a good finish from a great one.
Do I Really Need to Wash My Project Before Pressing?
I get this one a lot. While you can skip it for a small piece you’re finishing quickly, I really recommend giving your work a quick bath first. Think of it as insurance.
Washing gets rid of any oils from your hands, dust that’s settled in, or those pesky hoop marks that just won't quit. A gentle soak in cool water with a tiny bit of mild soap helps the fabric fibers relax, which makes it so much easier to get rid of stubborn creases later. If you're planning to frame or gift your work, this step is a must for a clean, professional look that will stand the test of time.
What’s the Difference Between Ironing and Pressing?
This is probably the most crucial thing to understand, and it's a total game-changer for your finished pieces. They sound similar, but they're completely different actions.
- Ironing is that classic back-and-forth sliding motion you use on a shirt. On a cross-stitch project, this is a disaster waiting to happen. It will stretch your fabric, distort the grid, and can even flatten your beautiful, puffy stitches.
- Pressing is a simple up-and-down motion. You set the iron down on a spot, hold for a few seconds, lift it straight up, and move to the next spot, overlapping slightly.
For cross stitch, always press, never iron. This simple switch in technique protects the texture and tension of every single stitch you've made.
Can I Press Projects with Metallic or Silk Threads?
You absolutely can, but you have to be extra careful. Specialty threads—like metallics, silks, rayons, and even glow-in-the-dark floss—are much more delicate than standard cotton. Too much heat can melt them, make them brittle, or dull their beautiful shine.
Here’s how to handle them safely: set your iron to its lowest heat setting (the 'Silk' or synthetic setting is usually a safe bet). Using a pressing cloth is not optional here; it creates a vital barrier between the hot iron and your delicate threads. Never, ever touch a hot iron directly to these threads, and skip the steam, as the moisture can damage their texture. Just a quick, gentle press is all you need to get the fabric flat without risking your hard work.
At Cross Stitched, we know that a perfect finish is the cherry on top of your stitching journey. Our all-in-one kits come with top-quality DMC threads and premium Aida fabric, giving you a fantastic foundation from your first stitch to your final press. Ready to turn a favorite photo into a timeless keepsake? Check out our custom photo-to-pattern kits and curated collections today.


