
Turning a photo into a cross-stitch pattern is an amazing way to immortalize a memory. You can either use a fast, automated online tool like Pic2Pat to generate a chart instantly, or you can take the hands-on approach by manually tracing and simplifying your image in a program like GIMP for total creative control. Either way, you'll end up with a stitchable grid and a DMC thread color key.
Bringing Your Cherished Moments to Life in Thread
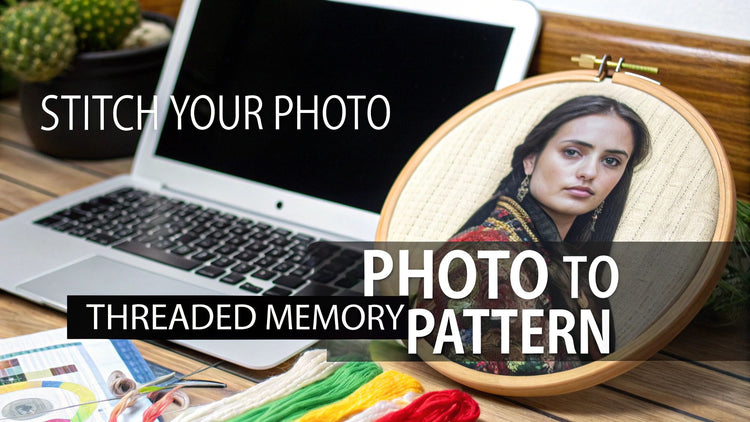
Embroidery is so much more than a hobby; it’s a beautiful way to freeze a special moment in time, creating a piece of art you can actually touch. Think about turning a favorite family photo, a goofy picture of your pet, or a stunning vacation snapshot into a textured keepsake that will last for years.
This guide will break down the entire process, showing you how to go from picking the perfect photo to making that very first stitch.
Thanks to modern tools, you don't need to be a professional artist to create something deeply personal. The process of turning a photo into an embroidery pattern is more accessible than ever.
Your Two Paths to a Pattern
So, how do you actually get started? You've got two main routes to choose from, each with its own pros and cons depending on how much control you want and how much time you have.
- Automated Tools: For a quick and easy solution, pattern generators are a fantastic choice. You simply upload your image, tweak a few settings like the finished size and number of colors, and the software spits out a downloadable chart. It's perfect for beginners or when you just want a reliable result without a lot of fuss.
- Manual Creation: If you're a bit more adventurous and want complete artistic freedom, using image editing software is the way to go. This method lets you simplify tricky details, fine-tune the color palette, and make sure the final pattern is exactly what you envisioned. It takes more effort, but the personalization is unmatched.
The desire for unique, custom items has fueled a huge boom in personalized crafts. The global embroidery market is projected to hit $3,712.1 million by 2025, growing from $2,572.16 million in 2021. It's clear people are falling in love with creating one-of-a-kind pieces.
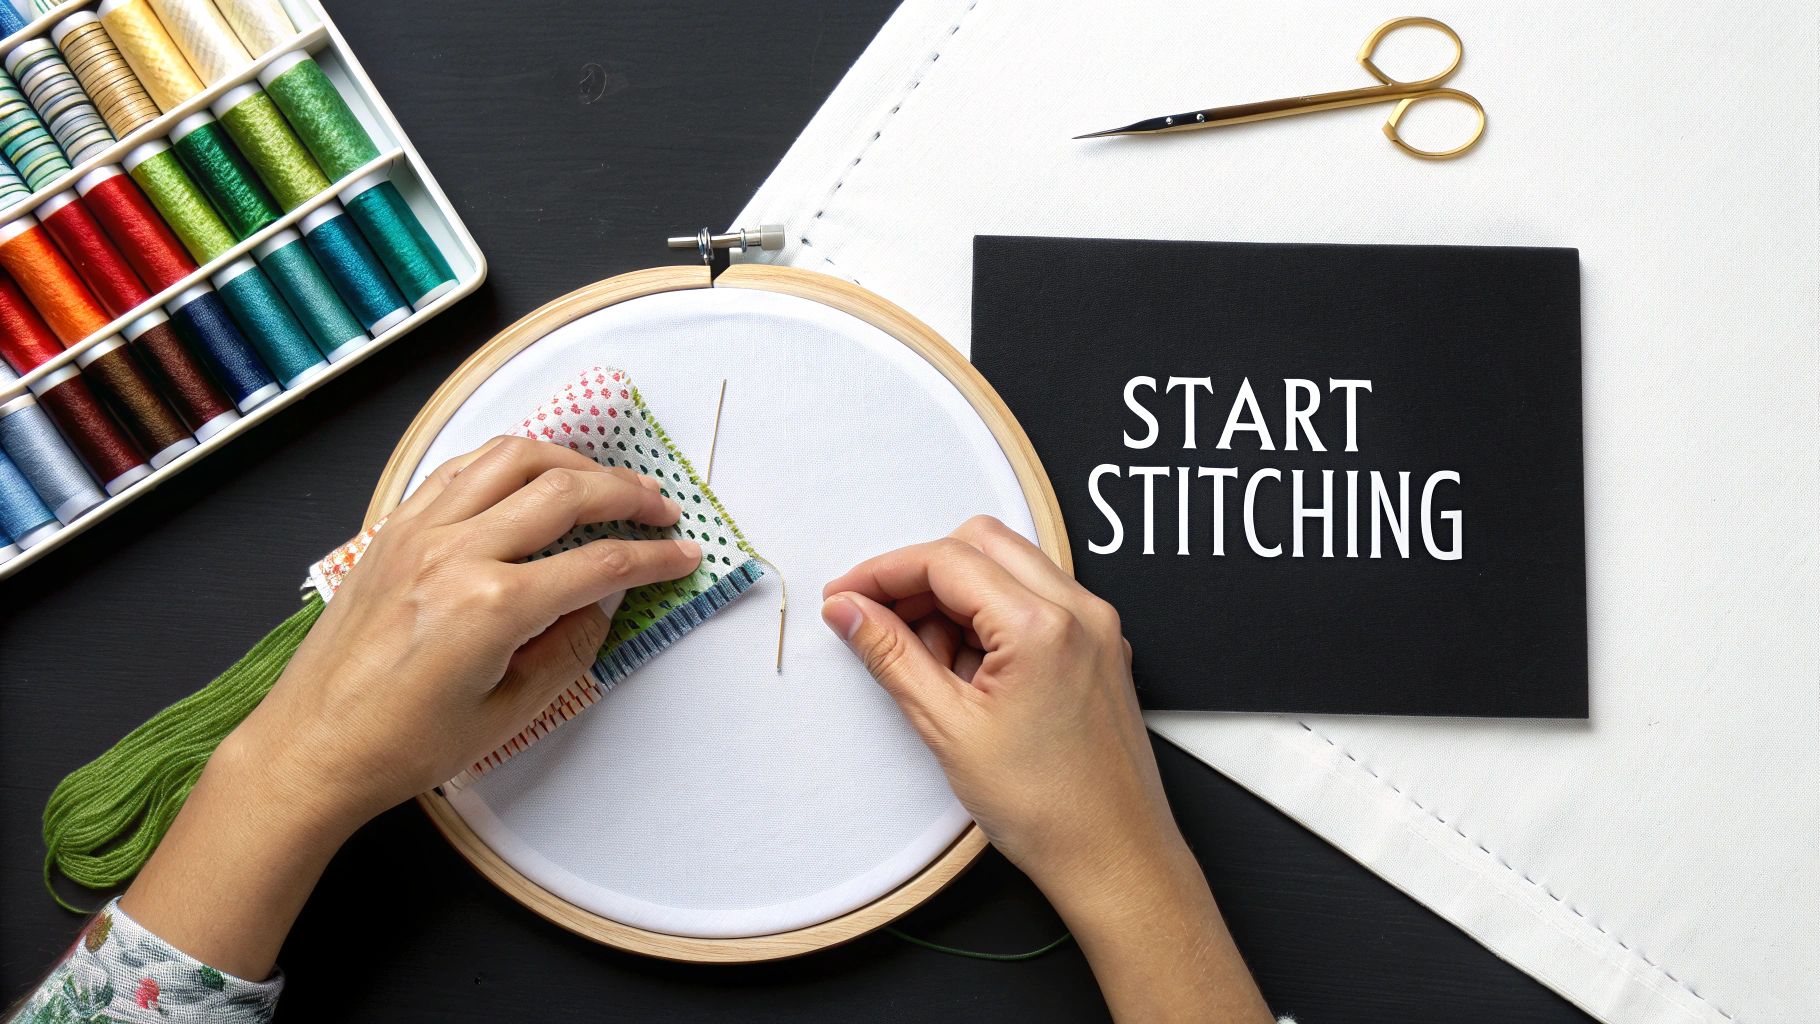
This image really captures the magic of the craft—taking a personal memory and breathing new life into it with thread. Which path you take really just depends on your goals and how comfortable you are with the tech side of things.
Choosing Your Method Automated vs Manual
Not sure which route is right for you? Here's a quick look at the pros and cons of using an automated tool versus creating a pattern by hand.
| Feature | Automated Tool (e.g., Pic2Pat) | Manual Method (Image Editor) |
|---|---|---|
| Speed | Very fast; generates patterns in minutes. | Time-consuming; can take several hours. |
| Ease of Use | Beginner-friendly with a simple interface. | Requires some familiarity with image editing software. |
| Control | Limited control over details and color choices. | Full artistic control over every single pixel. |
| Cost | Often free or low-cost for basic features. | Software can be free (GIMP) or require a subscription (Photoshop). |
| Best For | Quick projects, beginners, and straightforward images. | Complex photos, artistic interpretations, and perfectionists. |
Ultimately, there’s no wrong answer. An automated tool gets you stitching faster, while the manual method lets you infuse more of your own style into the final piece.
The real magic happens when you see a familiar face or a treasured moment slowly appear on the fabric, stitch by stitch. It’s a profoundly rewarding experience that connects you directly to the memory itself.
These projects make for incredibly thoughtful presents. For more inspiration, check out our guide on https://cross-stitched.com/blogs/what-is-cross-stitch/handmade-gift-ideas-for-grandparents that are sure to be cherished. To really celebrate your memories, you could even pair your embroidery with other items like custom photo candles as personalized keepsakes.
Choosing and Prepping Your Photograph
The secret to a stunning, embroidered masterpiece doesn't start with the first stitch—it begins with the photo you choose. Before you even think about thread colors or fabric counts, picking the right image is easily the most important decision you'll make. Not every picture is destined to become a great pattern.
Think of it like this: your photo is the blueprint for your project. If you start with a blurry, poorly lit, or chaotic image, you're setting yourself up for a muddled, confusing pattern. It’s a recipe for frustration and, ultimately, a disappointing result.
What Makes a Photo "Stitchable"?
So, what exactly are we looking for? The best photos for cross-stitch have a few things in common. You'll want an image with a clear, obvious subject. A close-up portrait of a person or a beloved pet will always translate better than a busy family photo where everyone is tiny.
Contrast is your best friend here. Strong, defined shadows and highlights help create shapes and features that are much easier to map into blocks of thread. Photos with very little contrast, where everything is a similar shade, tend to look flat and lose all their beautiful detail when converted into a pattern.
- A Clear Subject: Your main focus should be front and center, taking up most of the frame.
- Good Lighting: Try to avoid pictures that are too dark or completely washed out. Soft, natural light usually works wonders.
- A Simple Background: A busy, cluttered background just adds noise and complexity to the pattern, drawing attention away from your subject.
An ideal photo is often one taken at eye level with the subject. This angle allows you to see the fine details in their fur or the sparkle in their eyes—details that are crucial for capturing a true likeness in thread.
A Little Photo Editing Goes a Long Way
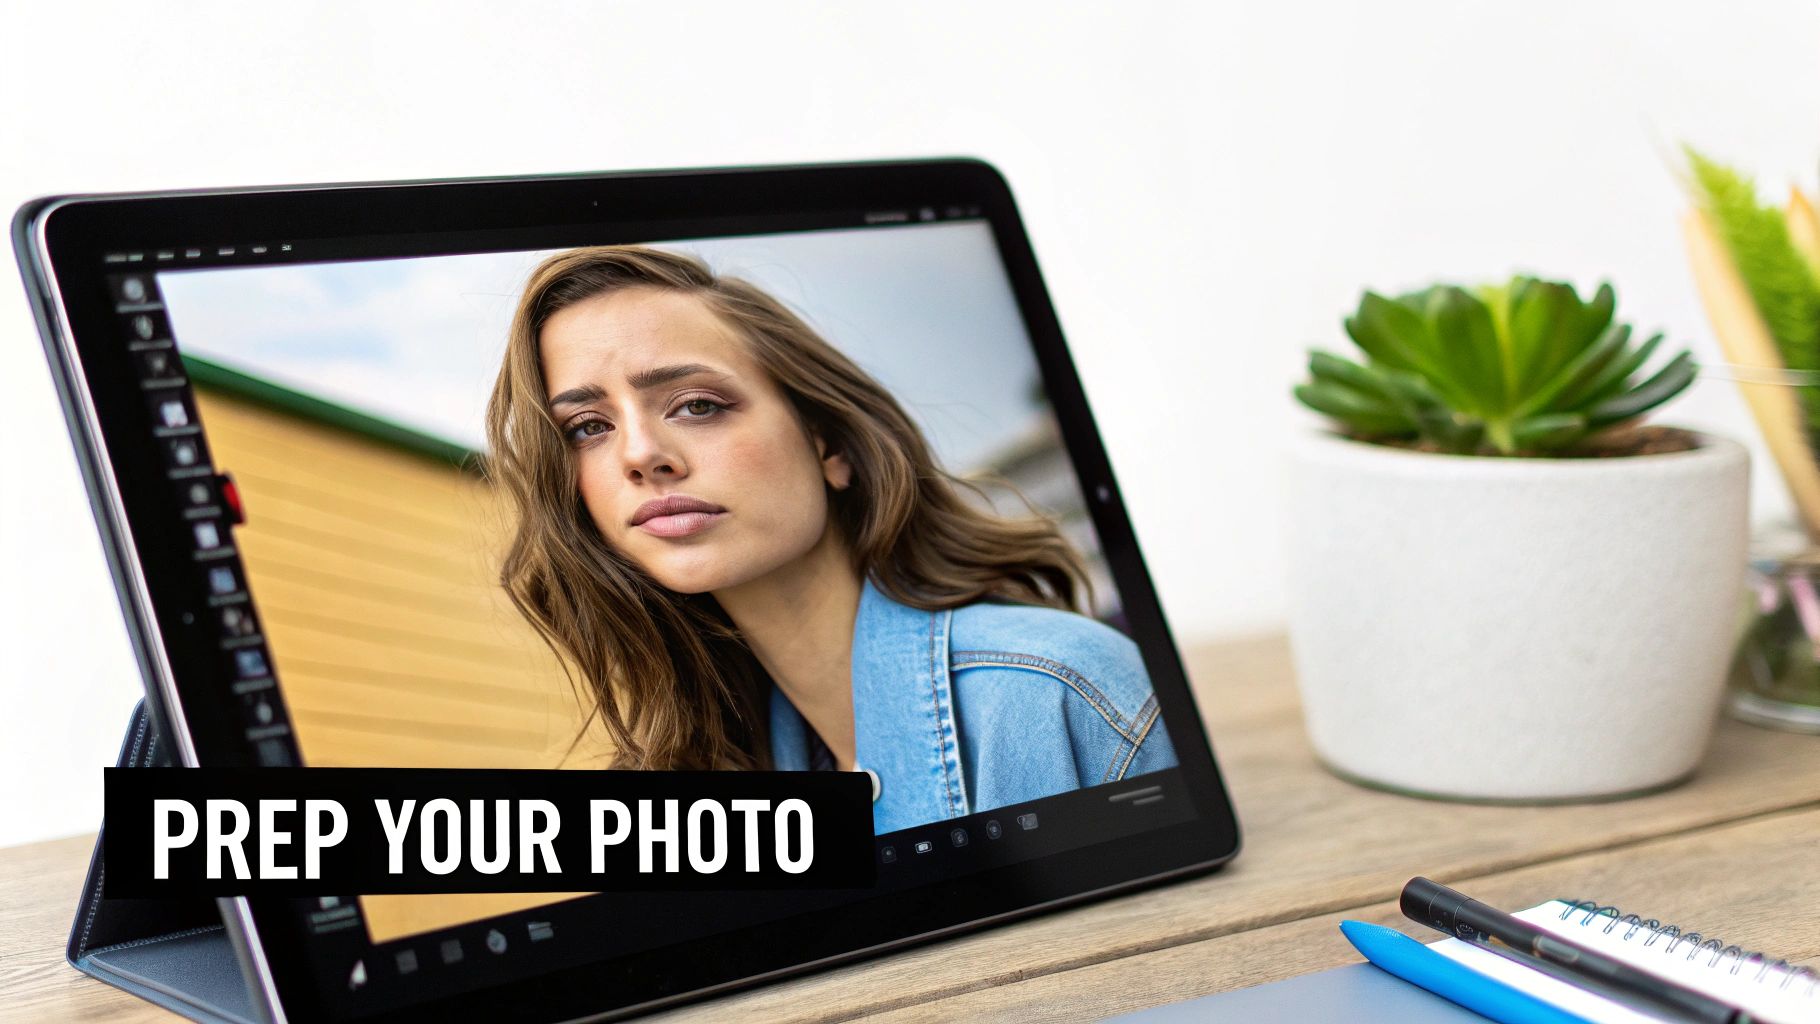
Once you’ve found a promising photo, a few minutes of prep work on your phone or computer can make a massive difference. You don't need fancy software or professional skills; just a couple of simple tweaks will do the trick.
First, crop the image tightly around what matters most. Get rid of all that extra background noise. Ask yourself what the heart of the photo is and cut out everything else. This helps the pattern software focus on the details you actually want to stitch.
Next, play with the brightness and contrast. Bumping up the contrast just a little can make the edges between colors much sharper—perfect for creating a clean, easy-to-read pattern. Just be careful not to push it so far that you lose subtle highlights or shadows. The goal is to enhance, not to create a caricature.
Why High Resolution Is a Must
Finally, let's talk about image quality. For a detailed, recognizable piece of embroidery, starting with a high-resolution photo is non-negotiable. Resolution is measured in Dots Per Inch (DPI), and just like with printing on paper, a higher number is always better.
If you start with a low-resolution, pixelated image, you'll end up with a blurry, blocky pattern where facial features and delicate details are completely lost. A higher-quality image gives the pattern-making software more information to work with, allowing it to accurately map all those pixels to individual stitches and thread colors.
To ensure your pattern captures every nuance, starting with a sharp, clear image is key. You can learn more by understanding image resolution (DPI) and seeing how it directly affects the final quality. Taking the time to get this prep work right sets you up for a much smoother stitching process and a finished piece you’ll be truly proud of.
Once your design is prepped and ready, you'll need a great way to get it onto your fabric. Our guide on how to transfer designs onto fabric is the perfect next step.
Using an Automated Pattern Generator Like Pic2Pat
If you want to turn a photo into a cross-stitch pattern without getting bogged down in technical details, an automated online tool is your best friend. These web-based generators do all the heavy lifting, converting your image into a stitchable chart in just a few minutes. One of the most popular and straightforward options out there is Pic2Pat.
These tools are fantastic because they take what would otherwise be a really complex design process and make it accessible to everyone. You don't need any graphic design experience or expensive software. You just upload your prepared photo, tweak a few settings, and the generator spits out a professional-looking pattern complete with a DMC thread list.
Getting Started With Your First Pattern
The first step couldn't be simpler: just upload your photo. The website is designed to be super intuitive, so you'll easily find the button to select a file from your computer. Once it's uploaded, the fun really begins as you start fine-tuning the pattern to match your vision.
The generator immediately gives you a few critical choices that will define your project's final size, level of detail, and overall complexity.
This is the main control panel. You'll adjust things like fabric count, the finished size, and the number of colors. The real skill is finding the right balance to create a pattern that looks great but is also enjoyable to stitch.
Fine-Tuning Your Pattern Settings
After you've uploaded your image, it's time to make a few key decisions. These settings directly control how big your finished piece will be and how much detail it will have.
-
Fabric Count: This is all about the number of stitches per inch your fabric has. The most common choices are 14-count or 18-count Aida. A lower number like 14-count means your stitches will be larger, making the whole project bigger—this is great for beginners. A higher number like 18-count gives you smaller, more detailed stitches and a more compact design.
-
Pattern Size: You can tell the generator how wide or tall you want your finished project to be, usually in inches or centimeters. Based on the fabric count you chose, it will then calculate the total number of stitches. Just remember, a larger pattern captures more detail but is a much bigger time commitment.
-
Thread Brand: Most generators default to DMC, which is the industry standard with a massive palette of over 450 colors. It's best to stick with this unless you've already got a stash of another brand you want to use up.
Think of it like choosing the resolution for a photo print. A bigger size on a finer fabric (a higher count) will give you the most photorealistic result, but you'll be signing up for a marathon of a project.
Mastering the Art of Palette Reduction
This might be the most important setting of all: the number of thread colors. It’s tempting to crank the color count way up to perfectly match the photo, but that can quickly turn a fun project into an overwhelming mess of thread bobbins.
For most photos, especially portraits, a range of 25 to 40 colors is the sweet spot. That's usually enough to capture shading and subtle tones without making you manage a ridiculous number of different threads. If you're working with a simpler image, you might even get a fantastic result with as few as 15.
A well-chosen, limited palette often creates a more cohesive and artistic piece than one that tries to replicate every single shade. The goal is to interpret the photo in thread, not create a perfect clone.
Play around with this setting. The generator will show you a preview. Toggle the color count from 40 down to 30. Does the preview change dramatically? If not, going with the simpler palette will make your stitching experience a whole lot better.
Once you’re happy with how the preview looks, you can download your pattern. The generator will create a multi-page PDF for you that includes:
- A full-color image of the finished design.
- The actual pattern, laid out on a grid with symbols for each color.
- A detailed thread key that lists the DMC color numbers and how many stitches of each you'll need.
This PDF is your complete roadmap from start to finish. If you're curious about other tools, our guide on the best cross stitch pattern maker dives into several great options. With your pattern finally in hand, you're ready to gather your supplies and start bringing that photo to life, one stitch at a time.
Taking the Reins: Crafting a Custom Pattern Manually for Full Control
While automated tools are fantastic for their speed, some of us just crave more artistic freedom. If you want to be the director of your project, not just a member of the audience, then manually crafting a pattern is the ultimate way to go. This hands-on approach puts you in complete control, letting you decide exactly which details to keep, which to simplify, and how to best translate your photograph into thread.
You'll be using image editing software like Adobe Photoshop or a powerful free alternative like GIMP to turn your photo into a grid of stitches. It's definitely more involved than clicking a button, but the payoff is a pattern that is 100% unique and true to your vision. You're not just converting a file; you're translating a memory, stitch by stitch.
This diagram shows the streamlined automated process, which stands in stark contrast to the more hands-on, detailed manual method we're diving into now.
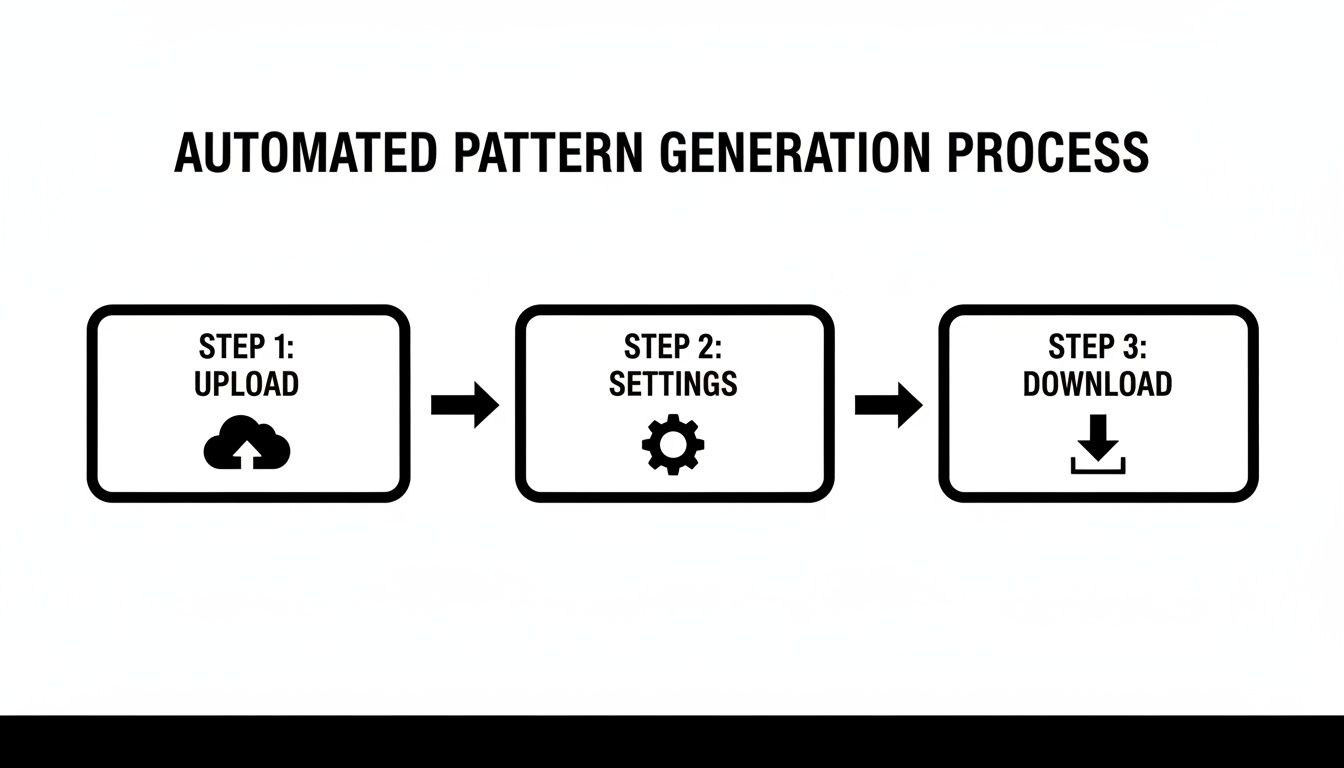
As you can see, the automated path is a simple upload-tweak-download affair—perfect when speed is the priority.
Setting Up Your Digital Canvas
First things first, you need to prep your software. Start by resizing your image to match your desired final stitch count. For example, if you want a 10-inch wide piece on 14-count Aida, you'll resize the image to be 140 pixels wide (10 inches x 14 stitches per inch). Think of each pixel as a future cross-stitch.
Next, it's time to tackle the colors. Your original photo has thousands, maybe millions, of colors, but you’ll be working with a much smaller DMC palette. Use a function like "Posterize" or "Indexed Color" in your software to drastically reduce the number of colors. A good target is between 20 and 40 colors; this range usually gives you enough detail without making the project overwhelming.
Finally, lay a grid over your image. Most programs let you add a grid overlay. Set it to a 1x1 pixel size. This grid is your best friend, as it instantly turns your pixelated image into a stitchable chart right on your screen.
The Art of Mapping Pixels to Thread
With your gridded and color-reduced image ready, the real artistry begins. Now you'll manually map each pixel to a specific DMC thread color. I know it sounds a bit tedious, but this is where the magic happens. You can make subtle judgment calls that an algorithm would completely miss, like making sure the twinkle in a loved one's eye is captured with a single, perfect stitch of a brighter color.
Having a physical DMC color card here is a game-changer. You can hold it right up to your monitor to find the best possible thread match for each block of color. It's a much more accurate and satisfying process than just guessing.
This is your chance to make artistic choices. Does a shadow look a bit too harsh? Swap in a slightly lighter gray. Want to emphasize the rosy cheeks in a portrait? Manually add a few stitches of a subtle pink, even if the software didn't pick it up on its own.
You can also get creative with a technique called dithering. This is where you checkerboard two different colored stitches to create the illusion of a third, in-between shade. It’s absolutely fantastic for creating smooth gradients in skin tones or soft transitions in a sunset, adding a level of sophistication that automated generators often struggle with.
Comparing Software for Manual Pattern Making
Choosing the right tool for the job can make this manual process much smoother. While lots of programs can get the job done, a few really stand out with features that are incredibly helpful for stitchers. Here’s a quick breakdown of popular choices.
| Software | Best For | Key Features for Stitchers | Cost |
|---|---|---|---|
| Adobe Photoshop | Professional-level control and advanced features. | Powerful color reduction tools, custom grid overlays, and layer management for complex designs. | Subscription-based |
| GIMP | Budget-conscious crafters who need robust tools. | A fantastic free alternative with similar features like pixel grids, indexed color mode, and selection tools. | Free |
| Procreate (iPad) | Artists who prefer a hands-on, drawing tablet experience. | Apple Pencil support makes it easy to manually draw and adjust pixels. The grid tools are highly customizable. | One-time purchase |
Ultimately, creating your pattern by hand is a true labor of love. It takes more time and patience, but the deep connection you'll feel to the finished piece is something you just can't replicate. You’re not just following a chart; you’re stitching a piece of your own artistry.
Gathering Your Supplies and Making the First Stitch
Alright, you've got your custom pattern printed and ready to go. This is where the magic really happens—the moment you move from the screen to the real world and start bringing your photo to life with a needle and thread. But before you can dive in and make that very first stitch, you need to set up your workspace.
Think of it like getting all your ingredients ready before you start cooking. Having the right supplies on hand makes the whole process smoother and, honestly, a lot more fun. This prep work is the bridge between the digital plan and the tangible piece of art you're about to create.
 embroidery hoop, surrounded by threads and scissors.">
Choosing Your Fabric Canvas
The foundation of any cross-stitch project is the fabric, and for this, Aida cloth is almost always the best choice. It’s a cotton fabric woven with a handy natural grid, which takes all the guesswork out of making perfectly uniform stitches. The most important thing to decide on is the "count," which simply means how many squares (or stitches) fit into one inch of fabric.
- 14-count Aida: If you're new to cross-stitch or just prefer a more relaxed project, this is your best bet. The squares are bigger, making them easier to see and work with, though your final piece will be larger.
- 18-count Aida: For those incredibly detailed, photorealistic projects, a higher count like this is perfect. The stitches are smaller, which gives the final image a smoother, less "pixelated" appearance. It does demand a bit more precision, though.
A pro tip: when you buy your fabric, make sure to get a piece that’s at least three inches larger than the final design size on all four sides. You'll thank yourself later when it's time to pop it in a hoop or get it framed.
Hoops, Frames, and Everything in Between
To keep your fabric nice and taut while you stitch, you’ll need an embroidery hoop or a frame. A simple wooden or plastic hoop is a classic for a reason—it's cheap, portable, and great for smaller designs. For a big, ambitious photo pattern, however, I’d seriously recommend looking into a scroll frame or a Q-snap frame.
These larger frames can hold the entire piece of fabric at once. This is a huge advantage because you won't risk crushing completed stitches every time you need to reposition a small hoop. Keeping that tension even across the whole project also prevents your design from getting distorted and just makes for a more comfortable stitching session.
The Heart of the Project: Your Threads
Your pattern will come with a shopping list of all the thread colors you need, almost certainly from the DMC line. For that timeless look, DMC's six-strand cotton floss is the industry standard. It’s high-quality, comes in a staggering range of colors, and you can find it everywhere. If you want to add a little something extra, you could even consider silk threads for a beautiful, subtle sheen.
Here's a piece of advice that will save your sanity: organize your threads before you start. Wind each color onto a plastic or cardboard bobbin and write the DMC number on it. Taking an hour to do this upfront will save you from a tangled, frustrating mess later on.
The desire to create personalized art is booming, with more and more people wanting to turn their own photos into unique gifts and decor. This trend is a major driver behind the need for easy-to-use digitizing services that connect a digital image to a physical craft. You can discover more insights about the future of embroidery digitizing to see just how much this trend is shaping the industry.
Making That First Confident Stitch
With all your supplies gathered, it's finally time. The first thing you need to do is find the center of your fabric. Just gently fold the fabric in half one way, then in half the other way. The point where the creases intersect is your dead center. You can mark it with a pin or a tiny, temporary stitch.
Your pattern chart will have arrows marking its center point, too. By starting your stitching right there and working your way out, you ensure the design ends up perfectly positioned. So go ahead—thread your needle, find your first symbol on the chart, and make that first X. You’re no longer just planning. You're creating.
Tackling Common Roadblocks in Your Photo-to-Stitch Project
Turning a photo into a cross-stitch pattern is an exciting journey, but let's be honest—it's not always a straight path. Every stitcher, no matter how experienced, runs into a few predictable hurdles. Think of this as your field guide to navigating those tricky moments.
Getting these details right can be the difference between a project you absolutely adore and one that gets tucked away in a drawer, unfinished.
What In the World Is All This "Confetti"?
This is, hands down, the biggest complaint I hear. You generate a pattern, and it’s covered in "confetti"—single, isolated stitches of a random color scattered everywhere. It looks like someone threw sprinkles all over your chart. Stitching this way is a nightmare; you're constantly changing your thread for a single stitch.
This usually happens when an automatic converter gets a little too enthusiastic about capturing every last pixel of color from the original photo.
- The Quick Fix: Head back to your pattern settings and simply reduce the number of colors. Knocking the palette down from 50 colors to 35 can work wonders, forcing the software to group those lonely stitches into larger, more manageable blocks.
- The Hands-On Approach: If you're feeling a bit more adventurous, open the pattern in an editor and take matters into your own hands. See a single blue stitch floating in a sea of gray? Just make it gray. A little artistic license here will save you hours of stitching misery.
A truly great pattern isn't just a perfect replica—it's one that's also a joy to create. Don't be afraid to simplify things for a more cohesive look and a much better stitching experience.
Why Do My Thread Colors Look… Off?
You’ve bought all the suggested DMC colors, but when you look at them together, something’s not right. That soft beige from your screen looks muddy in person, or a subtle blue is suddenly way too vibrant.
Welcome to the classic screen-vs-reality dilemma. A backlit monitor displays color in a completely different way than how light reflects off physical thread. That warm gray on your computer can easily look like a dull, flat brown in your hand.
Your best friend in this situation is a DMC color card. This is a binder that contains actual snippets of every single thread, so you can see the colors in real life. It is an absolutely essential tool. Before you start stitching, you can hold the real threads next to each other to see how they actually play together. If a suggested brown looks wrong, the card lets you find its perfect neighbor in the same color family.
Help! My Pattern Is Huge and Overwhelming!
Staring at a 30-page chart for a detailed family portrait can feel like you're about to climb Mount Everest. The trick is to stop looking at the whole mountain and just focus on the first few steps.
- Grid Your Fabric. This is non-negotiable for large projects. Use a water-soluble marker to draw a 10x10 grid on your Aida cloth that matches the grid on your chart. It makes counting and tracking your position almost foolproof and dramatically cuts down on mistakes.
- Work in Chunks. Forget the finished piece for now. Just focus on completing one 10x10 square at a time. Or, stitch one full page of the chart before you even look at the next. This approach gives you a wonderful sense of progress with each small section you finish.
- Get a Digital Assistant. For really complex charts, an app like Pattern Keeper is a lifesaver. You can import your PDF, and the app will track your progress, let you search for symbols, and highlight every stitch of a certain color. It completely changes the game for large-scale projects.
What If I Run Out of a Key Thread Color?
It's the classic stitcher’s nightmare. You're on the home stretch, and you realize you’re just a few stitches short of DMC 310 (the ever-present black). It happens to all of us.
First, take a breath. It's not a disaster. Just jot down the number and head to your local craft shop. If they're out of stock, plenty of online suppliers can get it to you in a few days.
A good habit to get into is buying a little extra thread for the colors that do the most work. If your thread key says you’ll need thousands of stitches for the background, just grab two skeins instead of one. It’s cheap insurance against an annoying, project-halting delay.
Ready to skip the trial-and-error and get a perfect result from the start? At Cross Stitched, we take your favorite photos and turn them into beautiful, easy-to-follow cross-stitch kits. We provide everything you need, from high-quality fabric to pre-sorted threads, so you can just relax and enjoy the process. Create your own custom cross-stitch kit today!


