
Have you ever looked at a favorite photo and thought, "I wish I could make something with this"? Whether it's a candid shot of your family, a goofy picture of your dog, or a breathtaking landscape from a trip, you can capture that memory in a way that’s far more personal than a simple print. You can stitch it.
Learning how to turn a photo into a cross-stitch pattern might sound complicated, but modern tools have made it incredibly accessible. You don't need to be a design wizard or have fancy software. It's all about translating your digital picture into a stitchable chart.
Turn Your Photos Into Timeless Stitched Art
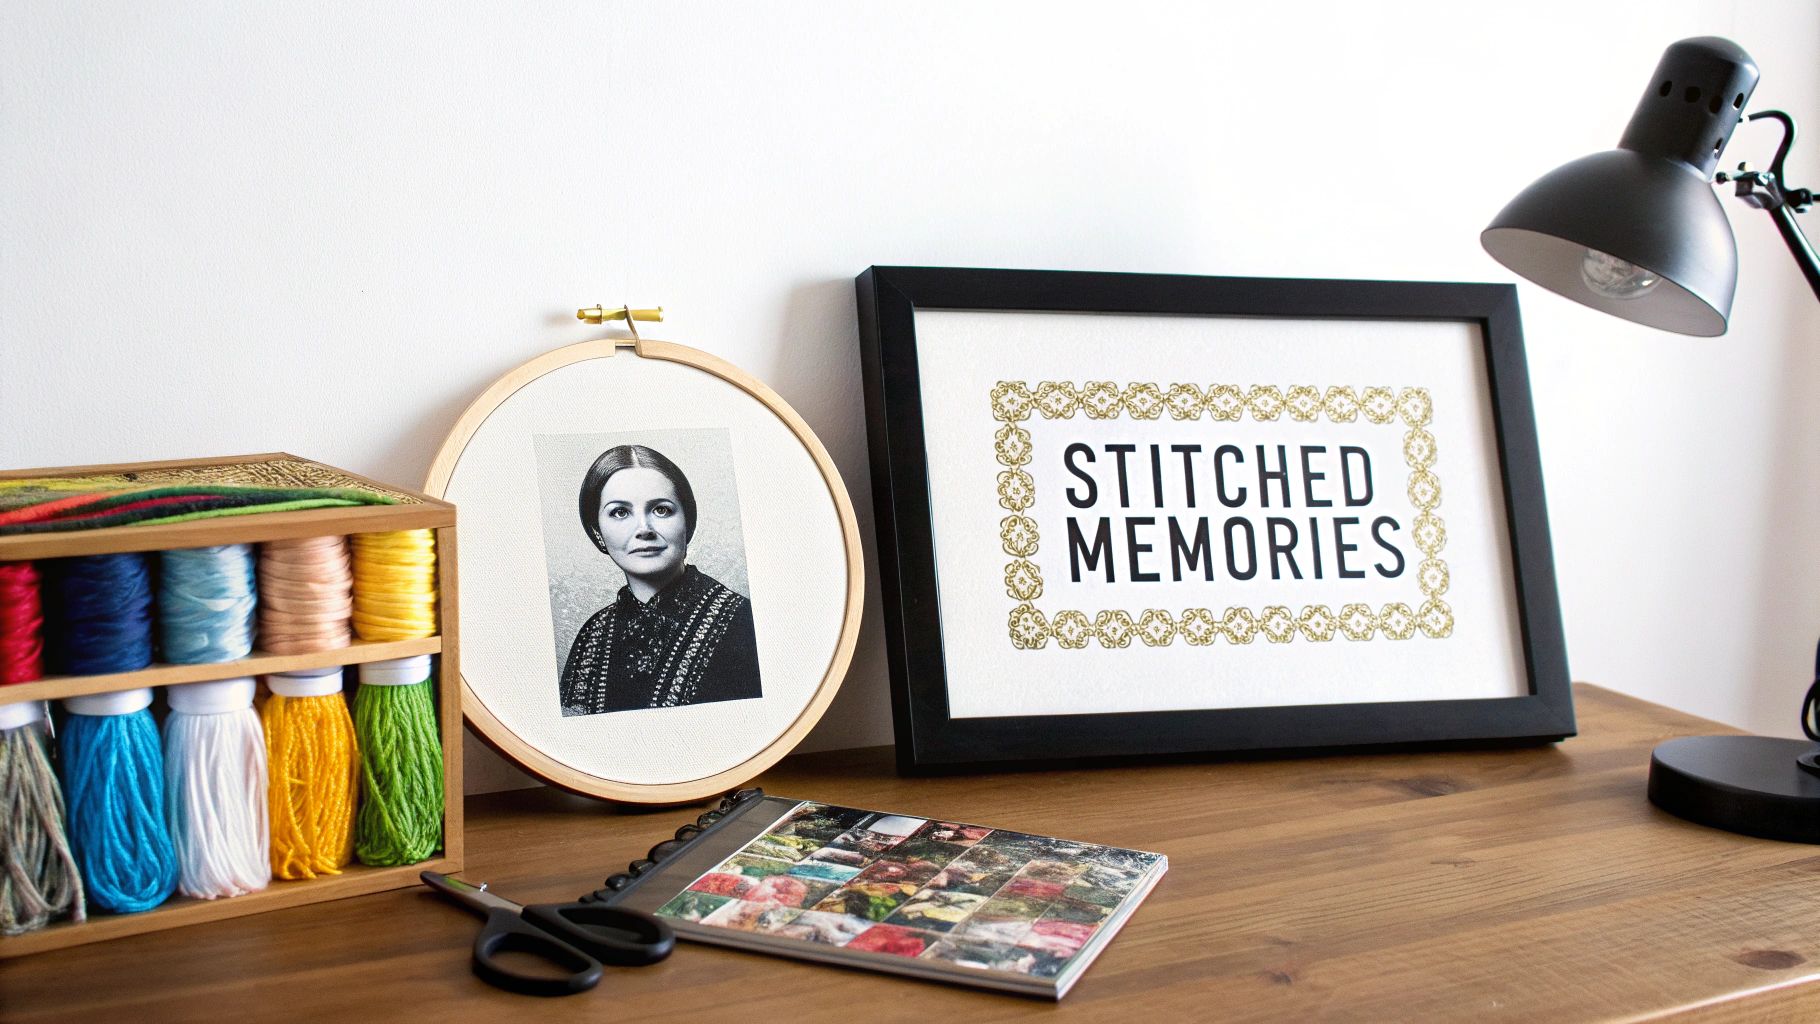 embroidery hoop with a photo, and a framed 'Stitched Memories' art piece.">
The process is surprisingly straightforward: you upload a high-quality photo to a pattern generator, make a few choices about the fabric and number of thread colors you want to use, and the software creates a printable PDF pattern. It even gives you a complete DMC floss key so you know exactly which colors to buy.
This guide will walk you through everything you need to know, from picking the perfect picture to framing your finished piece. We'll stick to a simple, direct path that works for stitchers of all skill levels.
From Digital Idea to Physical Keepsake
This craft is about so much more than just putting thread to fabric. It's about creating a real, tangible connection to the moments and people you love. The entire point is to end up with a clear, beautiful chart that you’re excited to work from.
Turning a photo into a cross-stitch piece is one of the most rewarding projects you can take on. It lets you:
- Create Unforgettable Gifts: Imagine the look on a friend's face when you give them a hand-stitched portrait of their new baby or their beloved pet.
- Commemorate Big Moments: Stitch a wedding photo or an anniversary picture to create an heirloom that will be cherished for generations.
- Decorate Your Space: Why hang generic art when you can fill your home with pieces that tell your own story?
The technology behind this has come a long way. While the first apps started popping up around 2005, the recent explosion in at-home crafting sent their popularity soaring. The global craft industry is now a $50 billion market, and digital patterns are a huge piece of that pie. You can actually see some fascinating history on the evolution of digital crafting on YouTube.
This guide is here to demystify the process. Follow along, and you'll be ready to transform your favorite digital memory into a stitched keepsake you'll treasure forever.
Choosing the Right Photo for Your Project
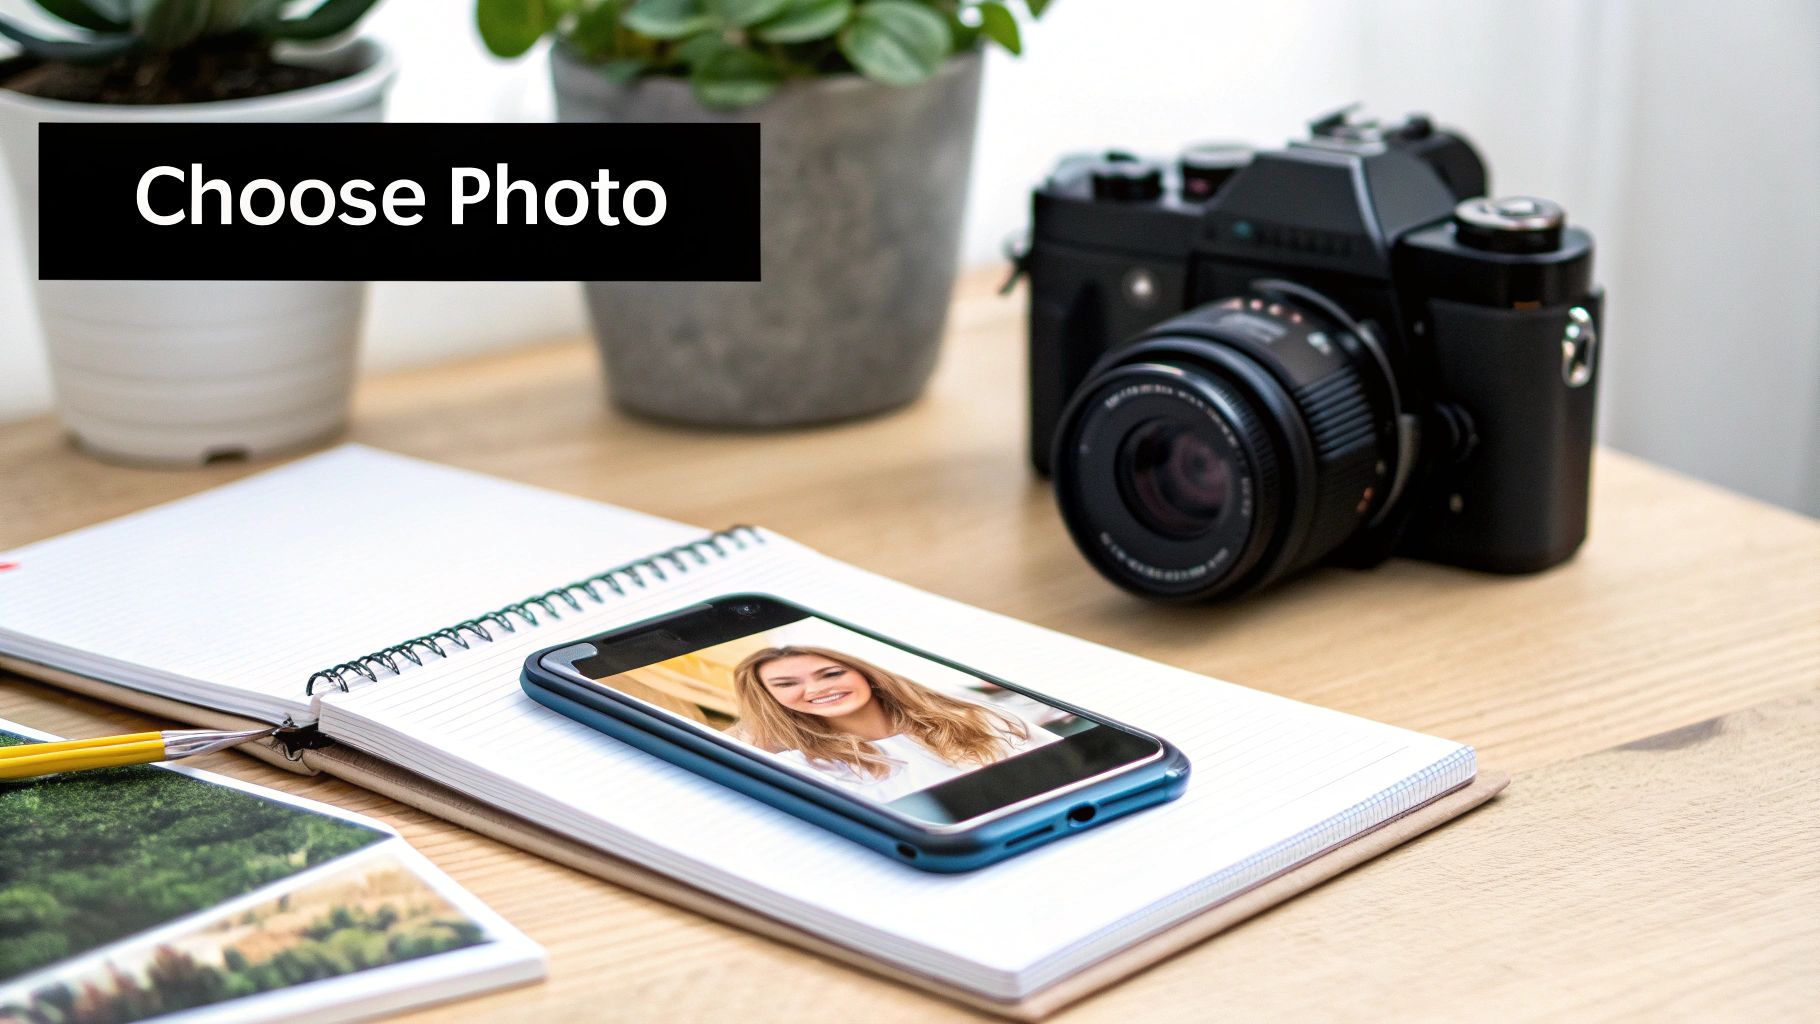
The secret to a jaw-dropping cross-stitch piece? It all starts long before you thread a single needle. The photo you choose at the very beginning is the single most important factor in how your finished project will look.
Think of it like this: a pattern generator is a tool, not a magician. It can only work with the visual information you provide. A blurry photo with muddled colours will inevitably become a muddy, confusing pattern. But feed it a sharp, vibrant image, and you’ll get a clear, stunning design that's a genuine joy to stitch.
Focus on Clarity and Contrast
When you're scrolling through your camera roll, two things should jump out at you: high contrast and a clear subject. A photo with a good separation between light and dark areas gives the software everything it needs to define shapes and edges. This is exactly why a well-lit portrait against a plain background is a far better choice than a busy group photo taken in a dimly lit restaurant.
Let’s imagine you want to stitch a portrait of your black dog. If the photo shows him lying on a dark brown rug, the pattern generator will likely see one big, dark blob. Now, picture that same dog sitting on a light-coloured floor with sunlight streaming in—you’ll get a pattern with defined paws, a clear silhouette, and expressive eyes.
From experience, photos with strong contrast—where there's at least a 60% variance between the lightest and darkest parts—convert 85% better into patterns you can actually recognize. Busy backgrounds are the enemy; all that extra detail just creates visual noise that overwhelms the software.
Here’s a quick trick I use all the time: flip the photo to black and white using your phone’s editor. If you can still easily tell what the subject is and see its main features, you’ve got a winner.
To get a better feel for how images translate into grids, you can play around with some helpful tools from Pixel Stitch to see the effect firsthand.
Photo Selection Checklist for Best Results
Use this quick reference to see if your photo is a good candidate for a cross-stitch pattern.
| Characteristic | Ideal Quality | Why It Matters |
|---|---|---|
| Subject | Clear, single focus (e.g., one person, pet, or object) | Prevents the pattern from looking cluttered and "busy." |
| Background | Simple, uncluttered, or out of focus | Helps the main subject stand out and reduces unnecessary colours. |
| Lighting | Bright, even lighting with clear shadows and highlights | Creates the contrast needed for the software to define shapes. |
| Resolution | High resolution, not pixelated when zoomed in | More detail in the photo means more detail in the final pattern. |
| Focus | Sharp and in focus, especially on key features | A blurry photo will always result in a blurry, indistinct pattern. |
Ultimately, a photo that checks all these boxes has the best chance of becoming a cross-stitch project you'll be proud to display.
A Few Quick Edits Make a Huge Difference
Before you upload your picture, spending just a couple of minutes on some basic edits can dramatically improve your results. You don't need fancy software; your phone's built-in photo editor has everything you need. While the quality of your printed pattern can be influenced by having the best photo printer, the digital prep work comes first.
Here's what I recommend:
- Crop Aggressively: Be ruthless! If your goal is a portrait of your cat, get rid of the couch, the lamp, and the bookshelf in the background. Zoom in tight on what truly matters.
- Boost the Brightness and Contrast: Gently bump up these settings. This little adjustment can make subtle details pop, giving the software more information to work with.
- Sharpen Just a Touch: A slight increase in sharpness can help define the edges around important features like eyes or a smile. Go easy here—over-sharpening can make things look unnatural.
Turning Your Photo Into a Stitchable Pattern
Alright, you've got your photo prepped and ready to go. Now for the fun part! This is where we take that digital image and start coaxing it into a real, tangible cross-stitch chart.
We'll be using a great online tool for this walkthrough, but honestly, the thinking process is the same no matter which pattern generator you use. The trick isn't just to upload and hit a button; it's about making smart choices that will shape how your final piece looks, feels, and, most importantly, how much fun it is to stitch.
Getting Started: The Upload
Most pattern makers, like the ever-popular Pic2Pat, have a straightforward "upload" button right on the front page. Once you feed it your edited photo, the software does its magic and gives you a control panel of sorts.
You'll see something that looks a lot like this:
This is your command center. On one side, you've got your original picture, and on the other, a first-glance preview of your pattern. Don't panic if that preview looks a bit blocky or strange—that's totally normal at this stage. We're about to dial in the settings to get it looking just right.
First Big Decision: Fabric Count and Project Size
One of the first things you'll be asked to choose is your fabric, specifically the Aida count. This little number—like 14ct or 18ct—tells you how many stitches you can fit into one inch of fabric, and it dramatically changes your project.
- 14-count Aida: I almost always recommend this for beginners. The holes are bigger and easier on the eyes, which makes the whole process more relaxed. The trade-off is that your finished piece will be larger and the "pixels" (your stitches) will be more obvious.
- 18-count Aida: This is for when you crave more detail. The squares are smaller, so you pack more stitches into the same area. This gives you a crisper, more "high-resolution" look, but it can be a bit more demanding to work on.
Think of it like this: 14-count is like painting with a standard brush, while 18-count is like using a fine-liner pen. You're creating the same image, but the tool changes the level of detail you can achieve. As you toggle between these options in the tool, you'll see the final dimensions of your project update in real-time.
The Art of the Color Palette
Next up is the number of DMC thread colors. This is a true balancing act. On one hand, more colors mean more subtlety, smoother gradients, and a more photorealistic finish. On the other hand, it means a bigger shopping list for floss and a lot more stopping and starting to change threads.
From my experience, the sweet spot for a first photo project is somewhere between 25 and 35 colors. This is usually more than enough to capture the depth of a portrait or the fur on a pet without sending you into a thread-sorting nightmare. I've stitched some gorgeous pet portraits that looked fantastic with fewer than 30 well-selected shades.
When you lower the color count, the software gets clever and starts merging similar shades. A pattern with 75 colors might have five different hues of light gray, but a 30-color version will consolidate them into just one or two that do the job perfectly.
Play around with this setting. Nudge the number up and down and watch how it affects the preview. You're looking for that magic number—the lowest count that keeps all the important details without making the image look splotchy. Once you've found a balance you're happy with, you're ready to generate that final PDF chart and get stitching
Refining Your Digital Cross Stitch Chart
Any pattern generator is really just a starting point. While the software does the heavy lifting, the real magic happens when you add your own human touch. Taking a little time to clean up the digital chart before you even think about printing will save you a world of frustration later and make your finished piece look so much better.
The main goal here is to make the pattern easier to follow and the final image sharper. You're basically on a hunt for "confetti"—those stray, single stitches of a random color floating in a sea of another. They’re the biggest culprits for making a design look messy and are often found in areas with subtle color changes, like skies or skin tones.
This quick overview shows how the initial choices you make shape the pattern you’ll be working with.

From the photo you pick to the number of colors you allow, every decision feeds into the chart that lands in front of you.
Smoothing Colors and Reducing Noise
Your next mission is to smooth out those color transitions by merging similar shades. Take a good look at the chart. Does that patch of skin really need seven slightly different shades of beige, or could you get the same effect with just three or four? Most pattern software has a tool that lets you select one color and replace all instances of it with another, which is a lifesaver for this task.
For example, when I’m cleaning up a portrait pattern, I'll manually sharpen the details around the eyes and mouth but simplify the colors in the hair or background. This little trick helps draw the viewer’s eye right where I want it to go.
This cleanup isn’t just about aesthetics; it’s about making the whole process more enjoyable. Fewer confetti stitches mean you’re not constantly stopping to change your thread for one single, annoying stitch. It creates a much more relaxing and rhythmic stitching experience.
These small edits have a surprisingly big impact. In fact, just removing 5-10% of these unnecessary pixels can dramatically sharpen the image's defining edges. Without this kind of manual cleanup, complex patterns with over 50 shades can end up looking muddy in as many as 62% of cases.
Smart Editing Techniques
Ready to dive in? Here’s what you should focus on to really polish your chart:
- Hunt Down Single Stitches: Scan your pattern for those lonely squares of color completely surrounded by another. Unless it's a vital detail, like the sparkle in an eye, change it to match one of its neighbours.
- Merge Similar Shades: Zoom out a bit and look for areas that seem "spotty." If you see two very similar colors right next to each other, pick one and replace the other to create a smoother, more unified block of color.
- Define Important Edges: Use your editing tools to manually sharpen key outlines. Think of a person's jawline, the silhouette of a pet, or the petals on a flower. A clean edge makes all the difference.
Putting in a little effort on the digital front transforms an automated pattern into something truly special. If you want to explore the different software options out there, our guide on the best cross stitch pattern maker tools is the perfect place to start.
Gathering the Right Fabric and Floss
Okay, you've got your polished pattern ready to go. Now for the really fun part: moving from the screen to the real world and gathering the materials that will bring your photo to life. This is where your project starts to feel tangible.
Choosing the right supplies is just as critical as picking the perfect photo. The fabric count and thread colors your pattern calls for will define the final look and feel of your artwork. Let's turn that digital blueprint into a concrete shopping list.
Selecting the Perfect Aida Fabric
Your pattern generator should have given you a recommended fabric count, something like 14-count or 18-count Aida. If you're new to this, that number just tells you how many stitches you can fit into one inch of fabric.
A lower number like 14-count means the squares are bigger, which makes the final piece larger. It's a fantastic choice for beginners because it's so much easier on the eyes. An 18-count fabric, with its smaller squares, packs in more detail for a smoother, less "pixelated" finish, but it does demand a bit more precision. It really boils down to personal preference and the level of detail you're aiming for.
If you want to get into the weeds on all the different options, our guide on cross stitch fabric is a great place to start.
Decoding Your DMC Thread Legend
Every pattern comes with a thread legend, which is basically your color key. This is your most important guide, listing every single DMC color number you'll need. Each number corresponds to a universal shade of embroidery floss, so there’s absolutely no guesswork involved in matching colors.
The chart will also tell you the stitch count for each color, which is a lifesaver for figuring out how many skeins of floss to buy.
Pro Tip: I always work off the general rule that one standard DMC skein (8.7 yards) gives you about 2,000 to 2,200 stitches if you're using two strands on 14-count Aida. So, if your pattern calls for 3,500 stitches of DMC 310 (that's black), you'll definitely want to grab at least two skeins to be safe. It's always better to have a little extra than to run out mid-project!
The All-in-One Custom Kit Solution
Feeling a little overwhelmed by that shopping list? I get it. This is where a custom kit can be a total game-changer, especially for your first photo project. Instead of hunting down every last item, you get a complete package with everything you need.
A good kit will typically include:
- The perfectly sized piece of Aida fabric for your specific pattern.
- All the DMC threads you need, already sorted and labeled.
- The right tapestry needles for your fabric count.
- A professionally printed, easy-to-read copy of your chart.
Going with a custom kit just removes all the hassle. It guarantees you have precisely what you need in the right amounts, letting you skip the supply run and get straight to the best part—stitching your memory into existence.
Bringing Your Stitched Portrait to Life
Alright, your pattern is ready, and you've got your supplies. This is the moment we've been working toward—turning that pattern on your screen into a real, tangible piece of art. It’s time to actually start stitching.
First things first: where to begin? A lot of stitchers, myself included, like to start right in the middle. Just gently fold your Aida fabric in half one way, then in half the other way. The little crease in the center is your starting point. This corresponds to the center of your chart, which is usually marked with arrows.
Reading Your Chart and Stitching with Confidence
Your pattern is essentially a map. Each symbol represents a specific DMC thread color, all laid out in a grid. I find it easiest to pick a color that's prominent near the center of the design and just dive in.
Working from the center out is a classic technique for a reason. It helps keep everything squared up and ensures your final design is perfectly centered on the fabric, which saves a lot of headaches when it's time to frame.
As you get into the rhythm of stitching, pay attention to your tension. If you pull the thread too tight, the fabric will pucker. Too loose, and your stitches might look a little sloppy. You're aiming for stitches that lay nice and flat against the fabric without warping the Aida holes.
A quick pro-tip: try to keep the back of your work as neat as you can. Avoid carrying your thread across big empty sections. It’s better to snip it and start fresh in a new area. This prevents dark threads from ghosting through to the front and makes framing a breeze later.
Finishing Your Masterpiece
After that final stitch is pulled through, there are just a few simple steps to make sure your work looks its absolute best and lasts for years.
- Wash Gently: I always give my finished pieces a quick, gentle hand wash in lukewarm water with a bit of mild soap. This gets rid of any oils from your hands or dust that might have settled on it.
- Press Carefully: While it's still damp, lay your piece face down on a thick, clean towel. Use a warm iron to press it from the back. This flattens the fabric without squishing your beautiful stitches.
- Frame Proudly: Now for the fun part! Pick a frame that really makes your artwork shine. For longevity, I recommend mounting your piece on acid-free backing board to protect it.
Sometimes, adding a few outlines with backstitching can really make the details pop and give your portrait a sharp, defined look. If you're new to that, we've got you covered—you can learn how to backstitch in cross stitch with our detailed guide.
Answering Your Top Questions About Photo Patterns
It's totally normal to have a few questions when you're first figuring out how to turn a photo into a cross-stitch pattern. Even with the best software, some things just come with experience. Let's walk through a couple of the most common stumbling blocks I see people run into.
What's the Best Image Resolution for a Clean Pattern?
When you’re choosing a photo, you’ll want one that’s at least 1000 pixels wide. Think of it this way: the more pixels the original image has, the more information the pattern software has to work with. It's that extra data that lets it capture those subtle details in a smile or the texture of a pet's fur.
If you start with a small, blurry photo, the software has to guess what's there, and the result is often a muddy, indistinct chart that won't look great stitched up.
How Many Colors Should I Use for My First Photo Project?
For your first photo-to-cross-stitch project, I always recommend aiming for a sweet spot between 25 and 35 DMC colors. This gives you enough of a palette to create realistic shading and depth without making the whole thing a nightmare to stitch.
As you get more comfortable, you can definitely push that number higher for incredibly detailed pieces. But starting in that 25-35 range is the best way to get a great result without feeling completely overwhelmed.
Key Takeaway: The goal here is balance. If you use too few colors, a portrait might look flat and cartoonish. But if you use too many, you can end up with a ton of "confetti"—those single, isolated stitches that slow you down.
And if you ever get so good at this that you decide to start selling your creations, learning how to sell more on Etsy can really help you connect with people who appreciate handmade art.
Ready to skip the guesswork and get everything you need in one box? With Cross Stitched, you can upload your photo and receive a complete custom kit with pre-sorted threads, high-quality fabric, and a professionally printed chart delivered right to your door. Create your personalized cross stitch kit today!


