
Before you even thread your needle, the most crucial decision you'll make for any cross-stitch project is choosing your fabric. This isn't just a backdrop for your work; it's the very foundation that determines the final look, feel, and detail of your masterpiece. Think of it as the canvas for your art—it guides every single stitch, ensuring your creative vision comes to life exactly as you imagine it.
Why Your Fabric Choice Is the Most Important Stitch
Think of your fabric as the blueprint for a building. Just as a solid foundation dictates a structure's stability and scale, your fabric sets the rules for your entire cross-stitch project. It's an active partner in the creative process, not just a passive piece of cloth. The weave, texture, and thread count all work together to shape the final result.
Making a thoughtful choice from the start makes the difference between a smooth, rewarding stitching experience and a frustrating one. The right material helps you create neat, uniform stitches with ease. The wrong one? It can lead to puckering, uneven tension, and a finished piece that just doesn't live up to what you had in mind.
Guiding Your Needle and Your Design
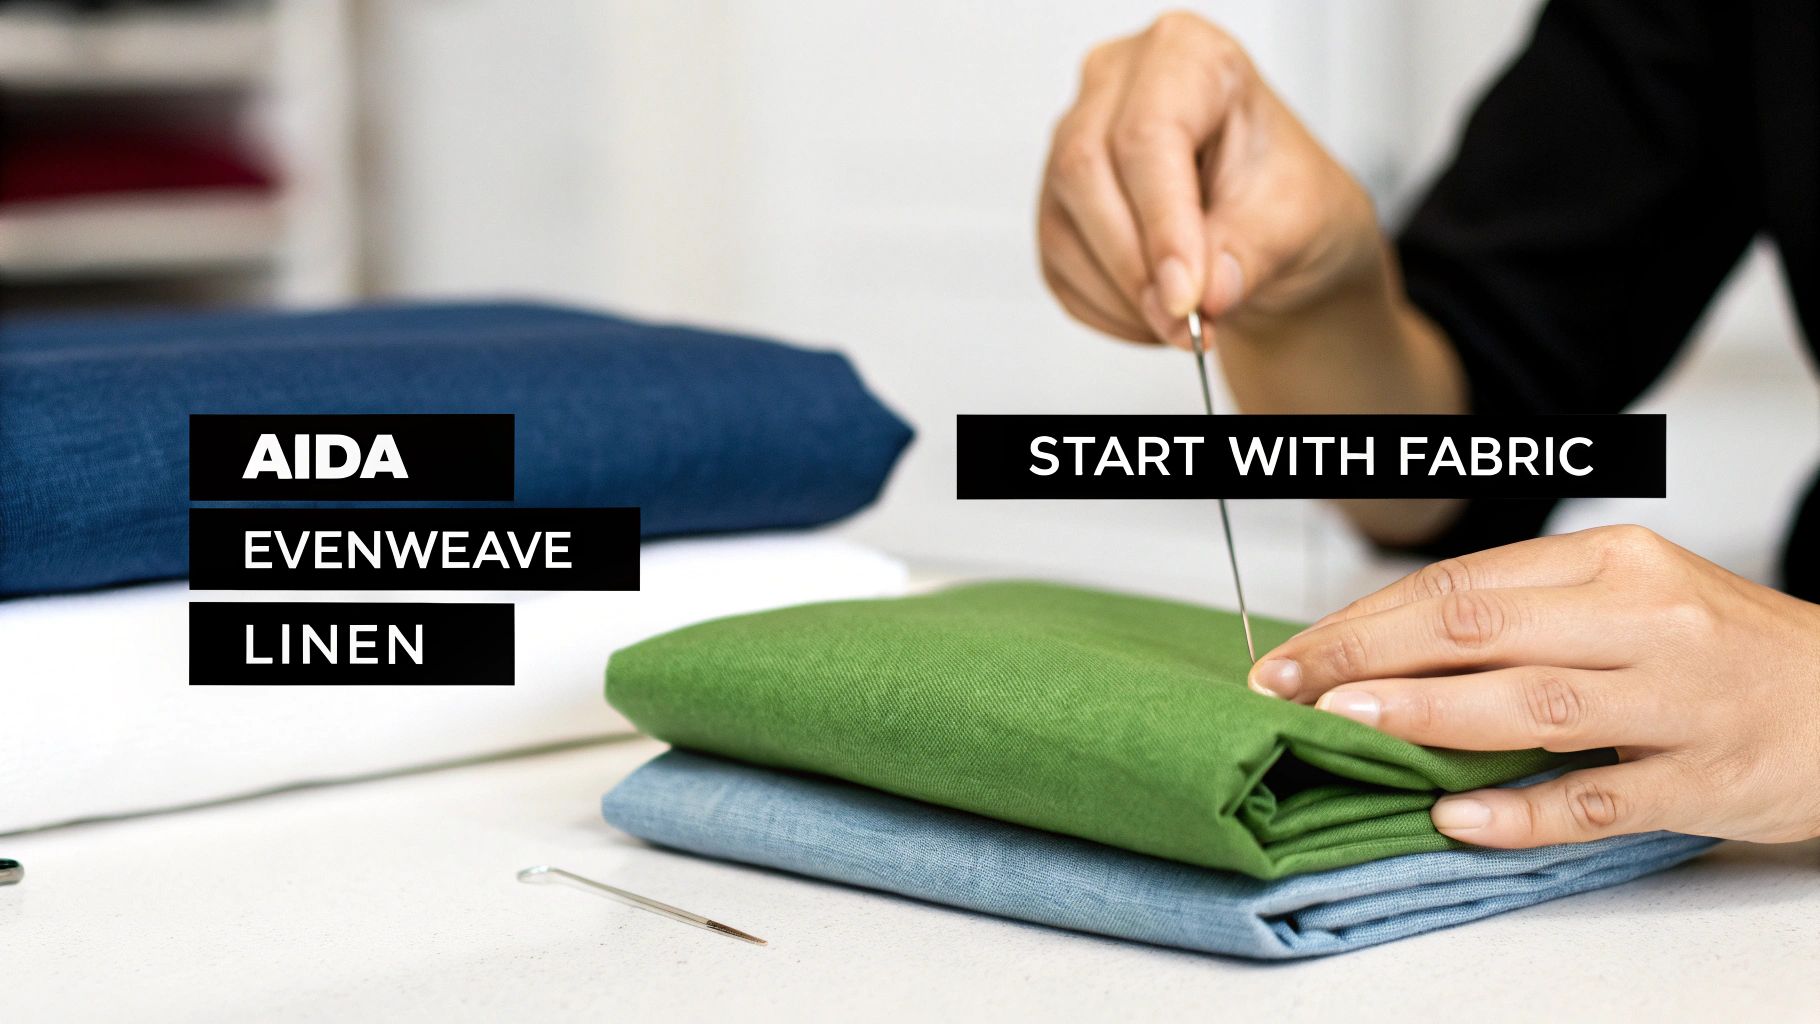
Cross-stitch fabric is specifically designed to guide your needle, but each type offers a distinctly different journey:
- Aida cloth is the beginner's best friend, with a clear, block-like grid that makes counting and placing stitches a breeze.
- Evenweave provides a smoother, more refined surface for stitchers who are ready to tackle more detailed work.
- Linen offers a beautiful, organic texture that presents a delightful challenge for advanced stitchers who appreciate its natural variations.
This first step is so much more than a minor detail; it's a strategic move that influences every stitch that follows. A well-chosen fabric complements your pattern and skill level, setting you up for success before you even begin.
Your fabric isn't just the background—it's the stage where your creativity performs. The right choice allows your design to shine, ensuring every hour you invest results in a masterpiece you're proud to display.
Cross-stitching is a timeless craft that has seen an incredible resurgence, cementing its place in the modern creative world. This isn't just a feeling; the numbers back it up. The needlecraft patterns market, where fabrics like Aida play a starring role, was valued at $34.0 billion by 2025. Projections show it nearly doubling to $63.8 billion by 2035, growing at a steady 6.5% compound annual growth rate. You can read more about the needlecraft market's impressive growth.
This guide will walk you through everything you need to know about this essential material, from the basics of Aida to the intricacies of linen, so you can confidently pick the perfect canvas for your next project.
Decoding the Three Main Fabric Types
Dipping your toes into the world of cross stitch fabric can feel like learning a whole new language. You'll hear terms like Aida, evenweave, and linen thrown around, but it's really much simpler than it sounds. At the end of the day, there are three main players, and knowing the difference is the first step to choosing the perfect canvas for your next project.
Let's think of it like learning to write. Each fabric is like a different kind of paper, designed to guide your hand in its own unique way.
Aida: The Perfect Lined Paper for Beginners
Aida is, without a doubt, the fabric most people picture when they think of cross stitch. There's a good reason it's so common! It’s a bit stiff, sturdy, and woven with a very obvious grid of little squares. Each square has four distinct holes at the corners, making it incredibly easy to see exactly where your needle needs to go.
Think of Aida as your "lined paper." Just like the lines on a page guide a child's first letters, the grid on Aida guides every single stitch you make. There’s no guesswork. This structure ensures your "X" stitches are all uniform and perfectly square, which is why it’s the go-to for beginners and the fabric you’ll find in most kits. To learn more, check out our guide on what Aida fabric is and why it's so popular.
Aida’s design is wonderfully straightforward. It removes the challenge of guessing where to place your stitches, allowing you to focus purely on the joy of creating your design. It builds confidence and makes the learning process incredibly rewarding.
This fabric really shines with projects that use full cross stitches and have bold, graphic designs. The only place it falls a little short is with patterns that need fractional stitches (like quarter or three-quarter stitches), since your needle would have to pierce the middle of a woven block, which can be tough.
Evenweave: The Crafter’s Graph Paper
Once you’ve got a few Aida projects under your belt, you might feel ready for evenweave. This fabric is like graduating from lined paper to high-quality graph paper. It feels much smoother and more flexible because it's woven from single threads passing over and under each other in a perfectly uniform grid.
Instead of Aida's chunky blocks, evenweave has a subtle grid that allows for much more precision. Stitchers typically work "over two" on this fabric, meaning your 'X' covers a square made of two vertical and two horizontal threads. This little trick creates stitches that are the same size as those on Aida, but the background looks far more refined. Popular evenweaves include Lugana and Jobelan.
That smoother surface is absolutely perfect for designs that call for fractional stitches. Those are the key to creating smooth curves and fine details. Because the weave is made of single threads, your needle can easily pass right through the center of a "square," giving your finished piece a more professional and less pixelated look.
Linen: The Artisan’s Handcrafted Paper
And finally, we have linen—the artisan’s choice. If Aida is lined paper and evenweave is graph paper, then linen is like beautiful, handcrafted paper with a story to tell. It’s a natural fiber prized for its elegant drape and luxurious texture. Just like evenweave, you stitch "over two," but there’s one crucial difference: its threads aren't perfectly uniform.
Linen threads have natural little variations in thickness called "slubs." These tiny inconsistencies are what give the finished piece such a rich, organic character and that timeless, heirloom quality. But that’s also what makes it challenging. Stitching on linen requires a careful hand and a good eye to keep your stitches looking consistent despite the irregular weave. It’s definitely best for experienced stitchers who are comfortable with its quirks and love the beautiful, rustic texture it brings to a project.
Aida vs Evenweave vs Linen at a Glance
To help you decide, here’s a quick comparison of the three primary cross stitch fabric types. Think of this as your cheat sheet for choosing the best option for your skill level and project.
| Fabric Type | Best For | Weave Style | Look and Feel | Common Counts |
|---|---|---|---|---|
| Aida | Beginners, full cross stitches, bold patterns | Bundled threads creating a clear block grid | Stiff, firm, with a visible grid of holes | 11, 14, 16, 18 |
| Evenweave | Intermediate stitchers, detailed patterns, fractional stitches | Single threads woven evenly over and under | Soft, smooth, with a subtle, uniform grid | 25, 28, 32 |
| Linen | Advanced stitchers, heirloom projects, rustic designs | Single threads with natural thickness variations | Soft, elegant, with an organic, slightly irregular texture | 28, 32, 36, 40 |
Ultimately, choosing the right fabric is all about matching the material to your comfort level and the needs of your pattern. Starting with Aida helps you build a strong, confident foundation. When you're ready, moving on to evenweave and linen opens up a whole new world of detail and artistry in your stitching.
How Fabric Count Determines Your Final Design
When you first dive into cross stitch, you'll hear the term "fabric count" thrown around a lot. It might sound a bit technical, but it's really the key to unlocking everything in your project. In a nutshell, the count is simply the number of stitches you can fit into one inch of fabric.
This one number shapes your entire piece—from how detailed it looks to its final, frame-ready size.
Think of it like the resolution on a TV screen. A low-resolution picture looks a bit blocky, with chunky pixels you can easily see. A super-sharp 4K screen, on the other hand, packs in so many tiny pixels that the image is crisp and lifelike. Fabric count is the exact same idea for your stitching.
A low-count fabric, like 11-count Aida, is your low-res screen. It has fewer, larger squares per inch, so your X's will be big and bold. This is fantastic for beginners who are just getting the hang of things, or for projects with a simple, graphic style. The bigger stitches also mean it works up much faster!
This diagram shows how the forgiving grid of Aida compares to the smoother, more intricate weaves of Evenweave and Linen.
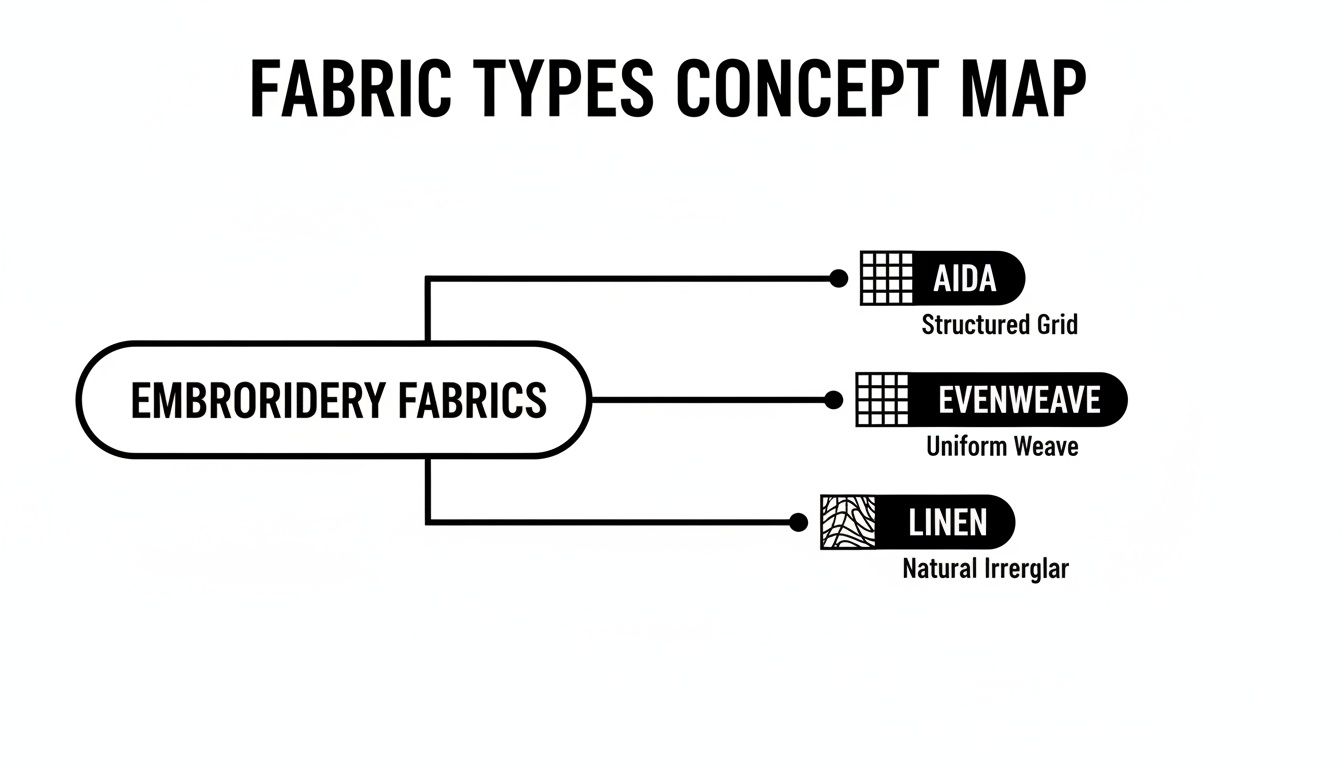
As you can see, Aida gives you an obvious grid to follow, which is a lifesaver when you're starting out. Evenweave and Linen offer a different experience for more complex pieces.
High-Count Fabric for High-Definition Detail
Now, let's talk about that 4K-level detail. A high-count fabric, like 18-count Aida or 32-count linen, is your high-resolution canvas. It packs way more holes into every inch, letting you create much smaller, more delicate stitches. This is where the real magic happens, especially for the custom photo-to-pattern kits we create here at Cross Stitched.
More stitches per inch mean you can blend colours beautifully, capture subtle shading, and create smooth, graceful curves. It’s the difference between a portrait looking like a simple sketch and it looking like a true-to-life piece of art. Your finished work will look less "pixelated" and more like a miniature tapestry.
The fabric count also has a direct and totally predictable effect on how big your finished project will be. For example, imagine your pattern is 140 stitches wide.
- On 14-count Aida, your design will be 10 inches wide (140 stitches ÷ 14 stitches per inch).
- On 18-count Aida, that same 140-stitch pattern shrinks down to about 7.8 inches wide (140 ÷ 18).
This is a game-changer for planning. If you fall in love with a pattern but need it to fit a specific frame, you can often just switch the fabric count to get the perfect size. For a closer look at the maths and more examples, check out our complete guide to cross stitch fabric counts.
Matching Floss to Fabric Count
The fabric count also tells you how many strands of floss to use. Get this right, and your stitches will look plump and full. Get it wrong, and you might see the fabric peeking through (too few strands) or find yourself wrestling with bulky, hard-to-pull stitches (too many strands).
Here’s a quick-and-easy reference I always keep handy:
- 11-Count Aida: Use 3 strands of floss.
- 14-Count Aida: Use 2 strands of floss.
- 16-Count Aida: Use 2 strands of floss.
- 18-Count Aida: Use 1 or 2 strands (2 is standard, but 1 gives a finer look).
- 28-Count Evenweave/Linen (stitching over 2 threads): Use 2 strands (this works out the same as 14-count).
- 32-Count Evenweave/Linen (stitching over 2 threads): Use 2 strands (this works out the same as 16-count).
Ultimately, choosing your fabric count is a creative decision. You're balancing the detail you want against the final size you need and the stitching experience you’re looking for. Once you get the hang of it, you’ll feel totally in control of how your projects turn out.
Selecting the Right Fabric for Photo-Realistic Projects
Turning a beloved photograph into a stitched masterpiece is one of the most rewarding things you can do in cross stitch. It’s a way to freeze a special moment in time and create a real, tangible heirloom. But to get it right, the success of these projects almost always comes down to choosing the perfect cross stitch fabric. The fabric's count, more than anything else, acts like the resolution of a digital photo—it dictates just how sharp and detailed your finished piece will look.
Think of it this way: your fabric is the canvas. A low-count fabric, like 14-count Aida, is a bit like a standard-definition TV. It's fantastic for simpler, more graphic designs where you want bold shapes and colors to pop. The stitches are bigger, creating a charming, slightly pixelated look that works beautifully for stylized portraits or even simple logos.
Achieving High-Definition Detail
Now, if you're stitching a project with lots of fine detail—a close-up portrait, a scenic landscape, or a furry pet—you need to upgrade to high-definition. This is where higher fabric counts make all the difference. Moving up to an 18-count Aida or a 28-count evenweave (where you stitch over two threads) dramatically increases the number of stitches you can fit into a single inch. More stitches mean more room for subtle color shifts and delicate shading.
The higher the fabric count, the smaller the stitches become, allowing the colors to blend together seamlessly. This is the secret to capturing the soft texture of a pet's fur, the gentle curve of a smile, or the subtle highlights in a person's eyes.
Choosing a higher count fabric essentially shrinks the "pixels" of your design. The result is a much smoother, more painterly finish. It's what separates a project that clearly looks like cross stitch from one that looks like a miniature woven tapestry. We get into the nitty-gritty of this process in our guide on how to make cross stitch patterns from photos.
A Practical Example: Stitching a Pet Portrait
Let's imagine you're stitching a portrait of a fluffy golden retriever using one of our custom kits. You really want to capture all the different shades of gold in its fur and that special sparkle in its eyes.
-
On 14-Count Aida: The stitches are quite large. The overall shape of the dog will be perfectly clear, but the fine variations in fur color might get a little lost, creating larger blocks of solid color. The result will still be beautiful, but it might lack that ultra-realistic, soft texture.
-
On 18-Count Aida: Here, the stitches are much smaller. This allows the pattern to pack in more nuanced color transitions. You'll be able to stitch those delicate lighter strands of fur against the darker ones, making the coat look incredibly soft and touchable. The eyes will appear sharper and much more lifelike.
This choice really puts you in the driver's seat, letting you control the final look of your artwork. It’s also why personalized kits are so popular—they give you everything you need to get a great result. For us here at Cross Stitched, promotions like 'Buy 3 Get 1 Free' on our kits are a huge hit because research shows 65% of shoppers prefer all-in-one bundles that come with pre-sorted threads and the right fabric. It's a simple thing that is known to boost satisfaction scores by 40%. You can learn more about needlecraft market findings if you're interested in the data.
When it comes down to it, if capturing fine detail is your top priority for a photo project, always lean toward a higher cross stitch fabric count. It might ask for a bit more patience, but the stunning, true-to-life result is always worth the effort.
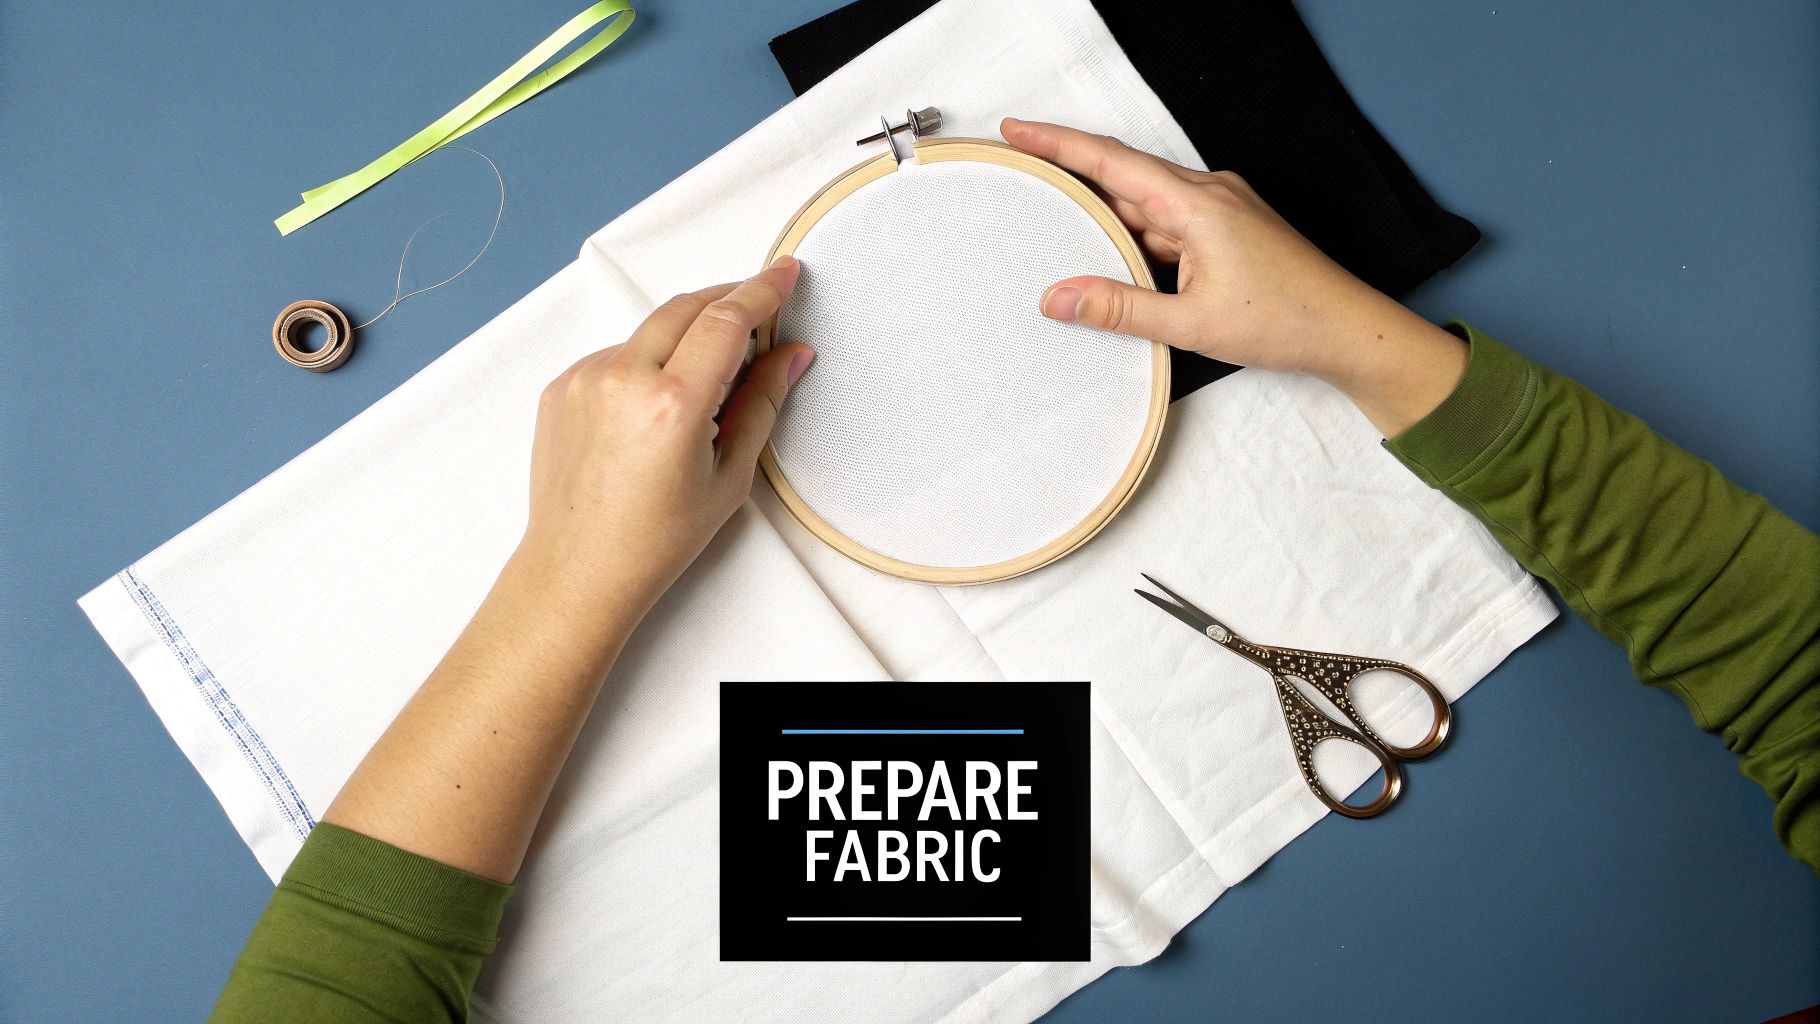
How to Prepare Your Fabric for Flawless Stitching
A stunning cross stitch piece doesn't just happen when you make the first stitch. The real magic begins with a little bit of prep work. Taking a few moments to get your fabric ready is the difference between a smooth, enjoyable stitching session and a frustrating one. Think of it as laying the perfect foundation for your masterpiece.
 embroidery hoop, preparing for cross stitch.">
First things first: should you wash your fabric before you start? Most of the time, you don't need to. The fabrics we include in our Cross Stitched kits are colorfast and ready to go right out of the package. But, if you're using a hand-dyed linen or a vibrant, dark-colored fabric, a quick, gentle rinse in cool water is a good insurance policy against any potential dye bleeds later.
After it's dry and ironed, the next step is to stop those edges from fraying. There's nothing more annoying than your floss snagging on a loose thread while you're trying to find your rhythm.
Securing Your Fabric Edges
Here are a few simple ways to keep your cross stitch fabric edges from unraveling:
- Masking Tape: This is the quickest and easiest fix. Just fold a piece of low-tack masking tape over the edges. It's a great no-sew solution, especially for smaller projects.
- Fray Check: A dab of this liquid sealant along the cut edges works wonders. It dries clear and forms a solid barrier that stops fraying in its tracks.
- Serger or Zig-Zag Stitch: If you have a sewing machine, this is the most secure method. A quick zig-zag stitch around the border is perfect for large or long-term projects that will see a lot of handling.
With your edges secured, it’s time to find the center of your fabric. This is a crucial step to make sure your design is perfectly placed. Simply fold your fabric in half one way, then in half the other way. The point where the two creases meet is your exact center. Mark it with a pin or a disappearing ink pen, and that's where you'll make your first stitch. For perfectly square fabric from the get-go, it’s worth looking into using a rotary cutter for precise fabric cuts.
Choosing the Right Tool for Tension
The secret to plump, even stitches is good, consistent tension. If your fabric is too loose, your stitches might pucker; too tight, and you risk distorting the weave. The tool you use to hold your fabric while you work makes all the difference.
Consistent tension is like tuning a guitar before you play. It ensures every note—or in this case, every stitch—is clear, crisp, and contributes to a harmonious final result. Puckered stitches are often a sign of uneven tension during the stitching process.
Let's break down the most popular options:
| Tool | Pros | Cons | Best For |
|---|---|---|---|
| Embroidery Hoop | Inexpensive, portable, and easy to find. | Can leave marks if left on too long; needs frequent re-tightening. | Small to medium projects and beginners. |
| Q-Snap Frame | Gives fantastic, even tension; lightweight and comfortable to hold. | A bit bulkier than a hoop; higher upfront cost. | Any size project, a favorite for stitchers who dislike hoops. |
| Scroll Frame | Keeps the entire project clean and wrinkle-free; a must for huge pieces. | Can be heavy and aren't very portable; takes more time to set up. | Large, heirloom-quality projects and tapestries. |
No matter what you choose, try to get into the habit of taking your fabric out of the hoop or frame when you're done stitching for the day. This one simple step helps prevent stubborn creases and hoop marks from setting into your finished piece. A little preparation really does set the stage for a flawless stitching journey.
Finishing and Caring for Your Stitched Artwork
You’ve placed the final stitch, and your masterpiece is complete! But hold on, the journey isn't quite over. The finishing touches are what really elevate your project from a piece of stitching into a true heirloom. Properly washing, pressing, and storing your work is how you protect all the time and love you’ve poured into it.
This final stage starts with a gentle hand wash. I know a lot of stitchers get nervous about getting their project wet, but it’s honestly the best way to remove oils from your hands, dust, or any stubborn hoop marks. Just fill a clean sink or basin with cool water and a few drops of a mild, pH-neutral soap—if you'd trust it on your delicates, it's probably fine.
Gently swish your piece in the soapy water for a couple of minutes. The key here is gentle—no scrubbing or twisting! Let it soak for about 15 minutes, then rinse it thoroughly under cool, running water until you’re sure all the soap is gone.
Drying and Pressing for a Perfect Finish
Once it's clean, whatever you do, never wring out your cross stitch fabric. Instead, lay the wet piece flat on a thick, clean towel. Place another towel on top and roll the whole thing up like a burrito. Press down firmly to squeeze out the excess water.
Next, unroll it and lay it flat on a dry towel or a mesh rack to air dry completely. This might take a day or two, but patience now will prevent any musty smells later.
To get that crisp, professional look, you'll want to iron your piece. There's a right way to do it that protects your stitches:
- Place it Face Down: Always iron from the back. Lay your project face down on a clean, fluffy towel. The towel cushions your stitches, so they don’t get flattened, keeping that lovely texture.
- Use a Medium Setting: Set your iron to a medium heat with steam. I find that ironing the fabric while it's still just a little damp gives the best results.
- Press Gently: Don't drag the iron across the fabric like you would with a shirt. Use a gentle pressing motion, lifting the iron and placing it on the next section until all the wrinkles are gone.
Displaying and Storing Your Artwork
With your piece perfectly cleaned and pressed, it’s ready for its debut! You have so many creative options beyond a traditional frame. You could turn smaller pieces into decorative pillows, bookmarks, or even the centerpiece of a quilt. For larger works, professional framing with UV-protective glass is a fantastic investment to prevent the threads from fading over time.
For long-term storage, carefully roll your finished project around a cardboard tube (an empty paper towel roll works well), with some acid-free paper between the layers to be extra safe. Store it somewhere cool and dry, away from direct sunlight. Knowing how to look after different textiles is a skill that serves every crafter well. For a broader look at this, you might find articles with general fabric care tips helpful.
Common Questions About Cross Stitch Fabric
Once you've got the basics down, you'll find that new questions pop up with every project. That's totally normal! Let's walk through some of the most common things stitchers ask about fabric—getting these right will make a huge difference in your confidence and the final result.
Think of these as the next level of your stitching journey, where you start making creative choices and really owning your projects.
Can I Use a Different Fabric Count Than the Pattern Suggests?
Absolutely! This is one of the most common and easiest ways to make a pattern your own. The key thing to remember is how the count affects the size.
If you switch to a higher count fabric (say, from 14-count to 18-count), your finished design will be smaller. The stitches are tinier, packing more detail into a smaller space. Going the other way, to a lower count fabric (like 14-count down to 11-count), will make your design larger.
Before you make the switch, always double-check your math with an online cross stitch calculator. It’s a lifesaver. This quick step tells you the new final dimensions so you can buy the right amount of fabric and make sure you have enough thread to finish.
A good way to think about it is like pixels on a screen. A higher count is like a higher resolution—the image is sharper and more detailed, but it takes up less physical space. A lower count is like a lower resolution, making the same image appear bigger and more blocky.
This simple change gives you incredible control, letting you resize a beloved pattern to fit perfectly into a specific frame or fill a particular space on your wall.
What Does "Stitching Over Two" Mean?
"Stitching over two" is the standard way to work on evenweave and linen. It sounds tricky, but it's pretty straightforward once you see it. Instead of making your "X" in a single square like you do on Aida, your stitch goes over two threads of the fabric, both horizontally and vertically.
This little change has a big impact. It creates a stitch that’s exactly the same size as one on Aida fabric with half the count. For example, stitching over two on 28-count linen gives you the same stitch size as working on 14-count Aida (28 ÷ 2 = 14).
The real magic is in the background. Because the stitches aren't crammed right next to each other, the fabric peeks through more, creating a softer, less grid-like look. It gives your finished piece a beautifully refined, professional feel.
How Much Extra Fabric Should I Leave for a Margin?
Don't skimp on your margins! A good, generous border around your stitched area is crucial for easy framing and finishing. Trying to work with a tiny sliver of extra fabric is a recipe for frustration—it’s tough to get good tension in a hoop and gives a professional framer nothing to work with.
As a rule of thumb, add a minimum of 3 inches (about 7.5 cm) to each side of your final stitched area.
- Example: If your pattern's finished size is 8x10 inches, you'll need a piece of fabric that is at least 14x16 inches.
- The Math: (8" design + 3" margin + 3" margin) x (10" design + 3" margin + 3" margin).
This buffer is your safety net. It gives you plenty of room to clamp your fabric into a hoop or Q-snap without damaging your stitches and ensures a clean, gallery-worthy finish when you're done.
Ready to turn your favorite photos into timeless stitched art? At Cross Stitched, we provide everything you need, from high-quality fabric to perfectly matched threads, all in one custom kit. Start creating your personalized cross stitch masterpiece today!


