
At its core, making a French knot is pretty simple. You bring your threaded needle up through the fabric, wrap the floss around the needle one to three times, and then pop the needle back down very close to where you came up. The real secret, though, is keeping the thread taut the whole time you pull the needle through. That tension is what creates that perfect little raised dot.
Why French Knots Elevate Your Cross Stitch
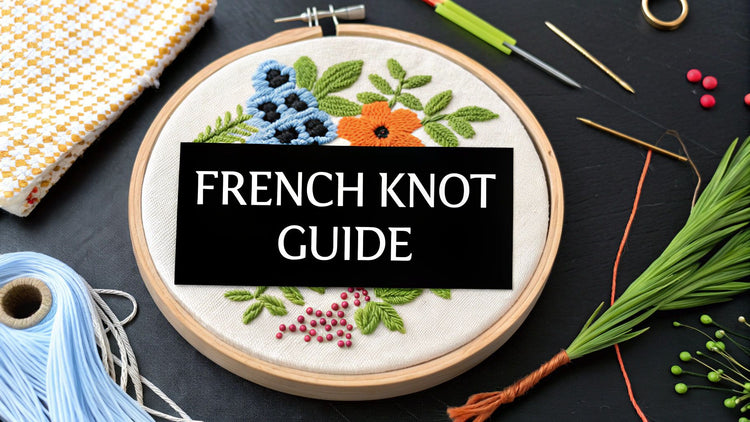
Ever look at a finished piece and wonder how the artist created those perfect, tiny raised dots? That’s the magic of the French knot. It's hands-down one of the best ways to add texture and dimension, turning a flat design into something that really pops.
This little stitch is a game-changer for adding fine details. It's perfect for things like the glint in an animal's eye, the delicate center of a flower, or a soft flurry of snow. In those moments, a standard cross stitch just can’t deliver the same kind of impact.
A Stitch with a Story
Funnily enough, the French knot's name is a bit misleading. It definitely became famous in French royal embroideries back in the 18th century, but its roots are often traced much further back to China or India, giving it a rich global heritage. For centuries, this historic stitch has been the go-to for adding intricate, textured details to fine textiles. If you're curious, you can dive deeper into the history of French knots on Dress365Days.com.
The real power of the French knot is its ability to add a three-dimensional element to your work. It literally breaks the flat plane of the fabric, catching light and drawing the viewer's eye exactly where you want it.
Once you master how to make a French knot for cross stitch, you open up a whole new level of creativity. It’s the kind of skill that lets you go beyond the pattern, adding those personal touches that make a project truly your own.
Choosing the Right Tools for Perfect Knots
Getting the right gear together before you start is half the battle when it comes to French knots. You don't need a massive toolkit, but a few key items will make all the difference between frustrating tangles and beautifully neat knots that pop. Think of it as setting the stage for a great performance.
The needle you use actually matters more than you might think. While you can get by with almost any needle, I always recommend a tapestry needle. Its slightly larger eye is gentler on your embroidery floss, which means less shredding and fraying. Frayed floss is the enemy of a clean knot, so keeping it smooth is a top priority.
And on that note, if you find yourself stitching for hours at a time, looking into ergonomic considerations for crafting tools can be a real game-changer for your hands and wrists. Comfort helps you maintain control for those perfect, tiny details.
Mastering Your Floss and Fabric
Your embroidery floss is where the real magic happens. The number of strands you pull from the skein directly impacts how big your French knot will be.
- For delicate details, like tiny stars or the center of a small flower, stick with one or two strands. This gives you a subtle, dainty knot.
- For bolder accents, like the eyes on a stitched animal or a decorative berry, using three or even four strands creates a much more substantial, textured dot.
The real beauty of the French knot is its versatility. By simply changing your strand count, you can customize the texture and visual weight of every single knot to perfectly suit your design.
The fabric you stitch on plays a big part, too. Aida cloth is a fantastic starting point for cross-stitch because its grid is so easy to see. For French knots, however, evenweave fabric gives you more freedom. You can place your knots exactly where you want them, not just in the pre-defined holes. If you want to dive deeper, you can learn more about selecting the right embroidery floss for cross stitch to go with your fabric choice.
Finally, don’t even think about skipping the embroidery hoop. This is a non-negotiable tool. A hoop holds your fabric drum-taut, which is absolutely essential for creating tight, consistent knots. Without that tension, your knots can end up loose, or worse, they might sink into the fabric and disappear, puckering your work in the process.
Creating a Flawless French Knot Step by Step
Alright, you've got your supplies, so let's get down to actually making a beautiful French knot. It’s all about the rhythm of tension and placement. Once you find that sweet spot, you'll be making them in your sleep.
The first step couldn't be simpler. Just bring your needle up from the back of the fabric, right at the spot where your knot needs to live. Pull the floss all the way through. Now comes the part that makes or breaks the stitch—the wrap.
Executing the Perfect Wrap and Plunge
With your non-dominant hand, hold the thread taut, pulling it away from the fabric. Take your needle in your dominant hand and wrap that taut thread around it.
- For a tiny, delicate knot, one wrap is all you need.
- For a bolder, more noticeable dot, go for two wraps.
I've seen a lot of beginners try to wrap the needle three or four times, thinking it will make a bigger knot. Trust me on this one: it usually just creates a lumpy, tangled mess. Stick to one or two wraps for a clean, round knot.
Now, here's the real secret. Re-insert your needle into the fabric right next to where you came up, but never in the same hole. If you go back down the same hole, you risk pulling the entire knot right through to the back of your project. Aim for just one or two fabric threads over.
As you start to push the needle through, you absolutely must keep that thread taut with your other hand. This is the key! Keep pulling the needle through from the back, holding that tension until the very last second. You'll feel a satisfying little 'pop' as the knot cinches down perfectly against the fabric.
The infographic below gives a great visual of the tools that make this process go smoothly, from the hoop keeping your fabric drum-tight to the needle and floss that do the real work.
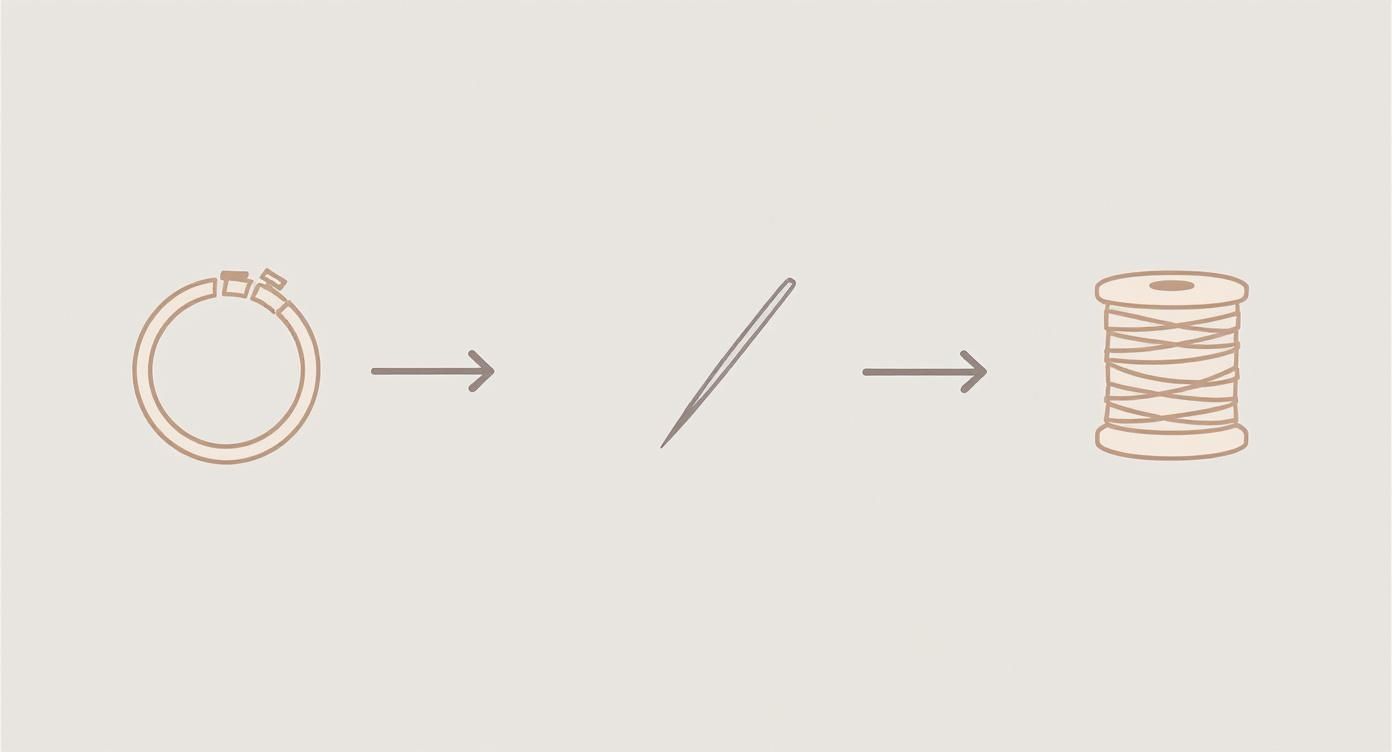
As you can see, every piece of gear plays a part in getting that professional-looking finish.
Tips for Consistency and Control
Getting your knots to look uniform comes down to practice and using the right gear. The needle itself can make a huge difference. A lot of stitchers I know swear by milliner needles because their eye is the same width as the shaft, which lets the needle glide through the wraps without snagging. If you're curious, you can dive deeper into our guide on cross stitch needle sizes.
This little stitch has quite a history, too. It evolved right alongside the technology of needlework. Think about this: the first really successful chain stitch embroidery machine was patented way back in 1865 by a French engineer. That innovation was a massive leap forward, changing how stitches like the French knot were incorporated into larger designs. It’s fascinating to discover more about the history of embroidery technology and see how we got to where we are today.
Tackling Common French Knot Pitfalls

Don't be discouraged if your first few French knots look a little… wonky. Every stitcher has been there, and even those of us with years of experience have our off days. Most of the time, the fixes are surprisingly simple once you know what’s causing the problem.
The most common culprit is the disappearing knot. You pull the thread all the way through, only to find the entire knot has vanished, sucked right through to the back of your fabric. This happens for one reason: you’ve put the needle back into the very same hole it came out of.
The trick is to always push your needle back down through the fabric one or two threads away from your starting point. This tiny shift gives the knot a solid bit of fabric to anchor itself to, so it can't just slip through the hole.
This makes a world of difference, especially on looser-weave fabrics. If you're curious about how fabric choice impacts your stitches, our guide on what is Aida fabric has some really useful info.
Getting a Feel for Tension and Size
Is your knot looking more like a messy loop than a neat little dot? That’s all about tension. The key is to keep the wrapped thread held taut around the needle shaft while you pull it through the fabric.
Hold that tension firm and steady until the knot is fully formed and sitting flush against the fabric surface. If you notice your knots are all different sizes even with the same number of wraps, it’s a sure sign of inconsistent tension.
- Quick Practice Drill: Grab a scrap of fabric and just stitch a row of ten knots. Your only goal is to keep the pull on the thread consistent for every single one. This is the best way to build muscle memory.
Speaking of size, another reason for inconsistency is accidentally changing your wrap count. Decide whether you’re doing one or two wraps and make a conscious effort to stick with that number for a clean, uniform look.
If your knot feels too loose, you might be easing up on the thread too soon. On the flip side, if you can barely pull the needle through, you’re holding on too tight, which can create nasty tangles. Finding that "just right" pressure is a delicate balance, but it truly becomes second nature with practice.
Creative Ways to Use French Knots in Your Designs
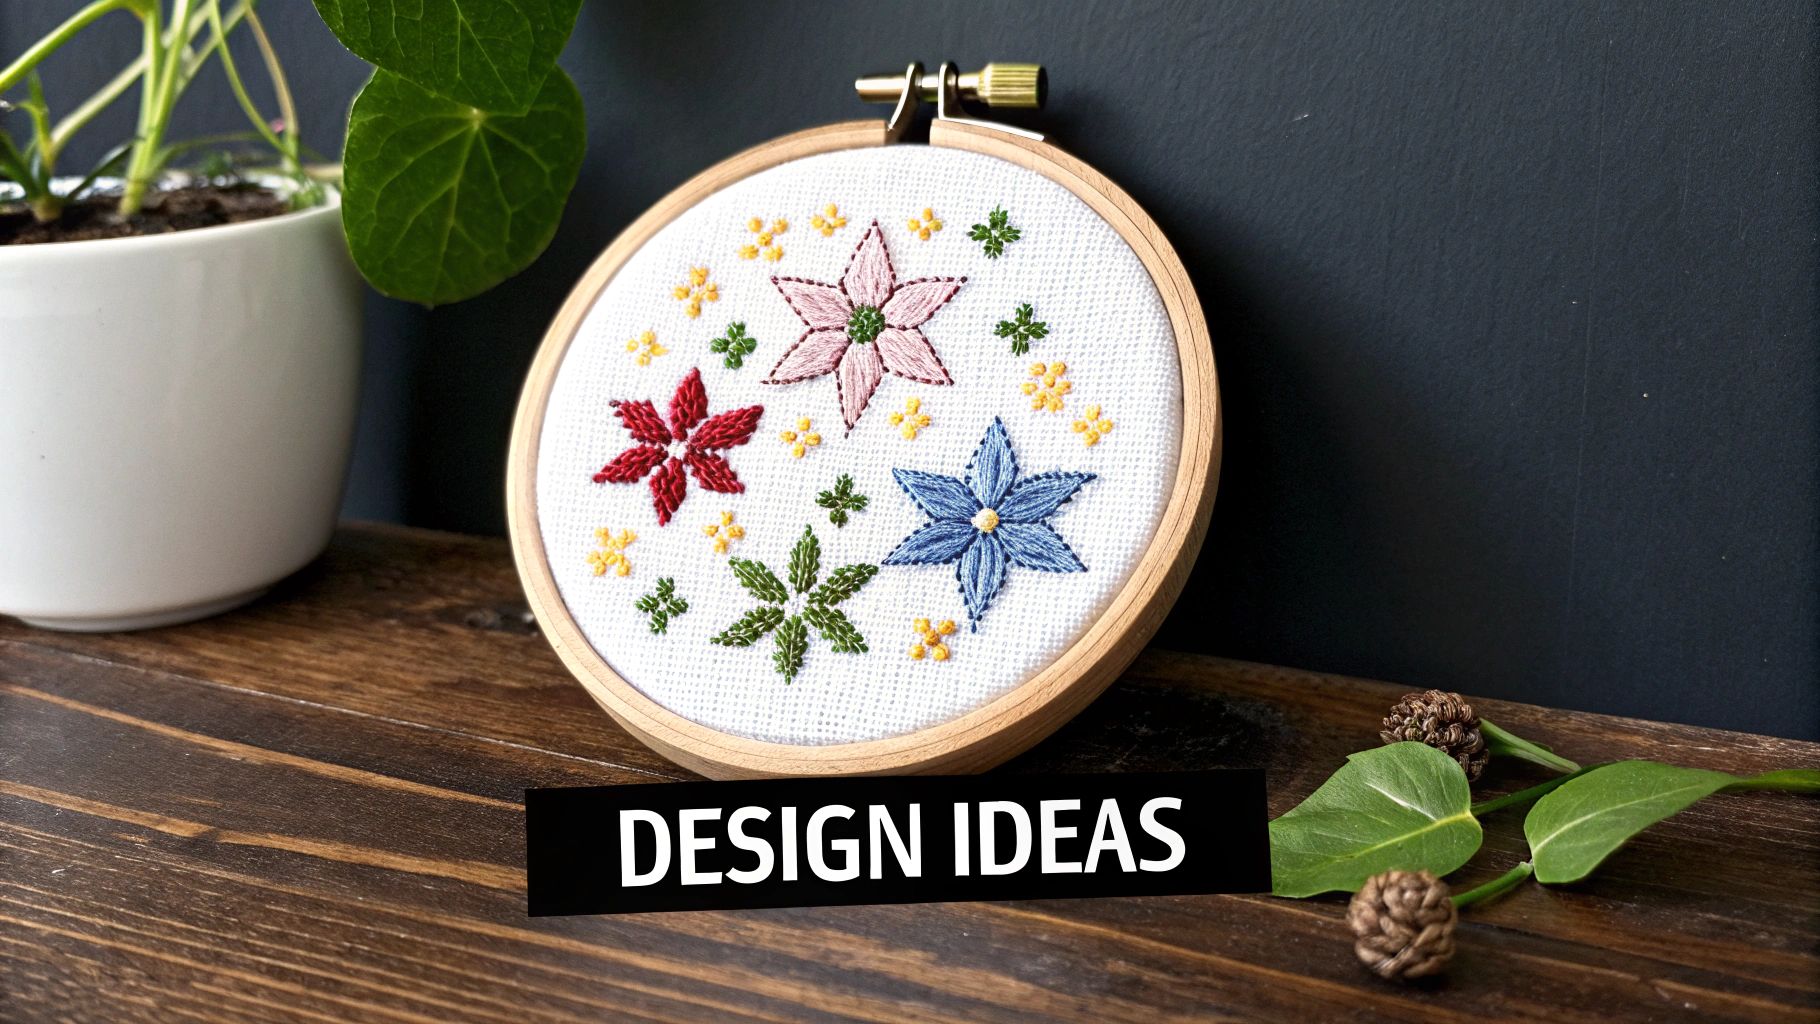
Once you've got the hang of the French knot, the real fun begins. This is where you can start adding your own artistic flair, turning a good project into something truly special. Think of these little knots as your secret weapon for adding a pop of 3D texture that makes your designs lift right off the fabric.
Start looking at your patterns with fresh eyes. Where could a bit of texture make a difference? French knots are fantastic for giving characters tiny, expressive eyes or adding delicate buttons to a stitched jacket. Their versatility is what makes them so brilliant.
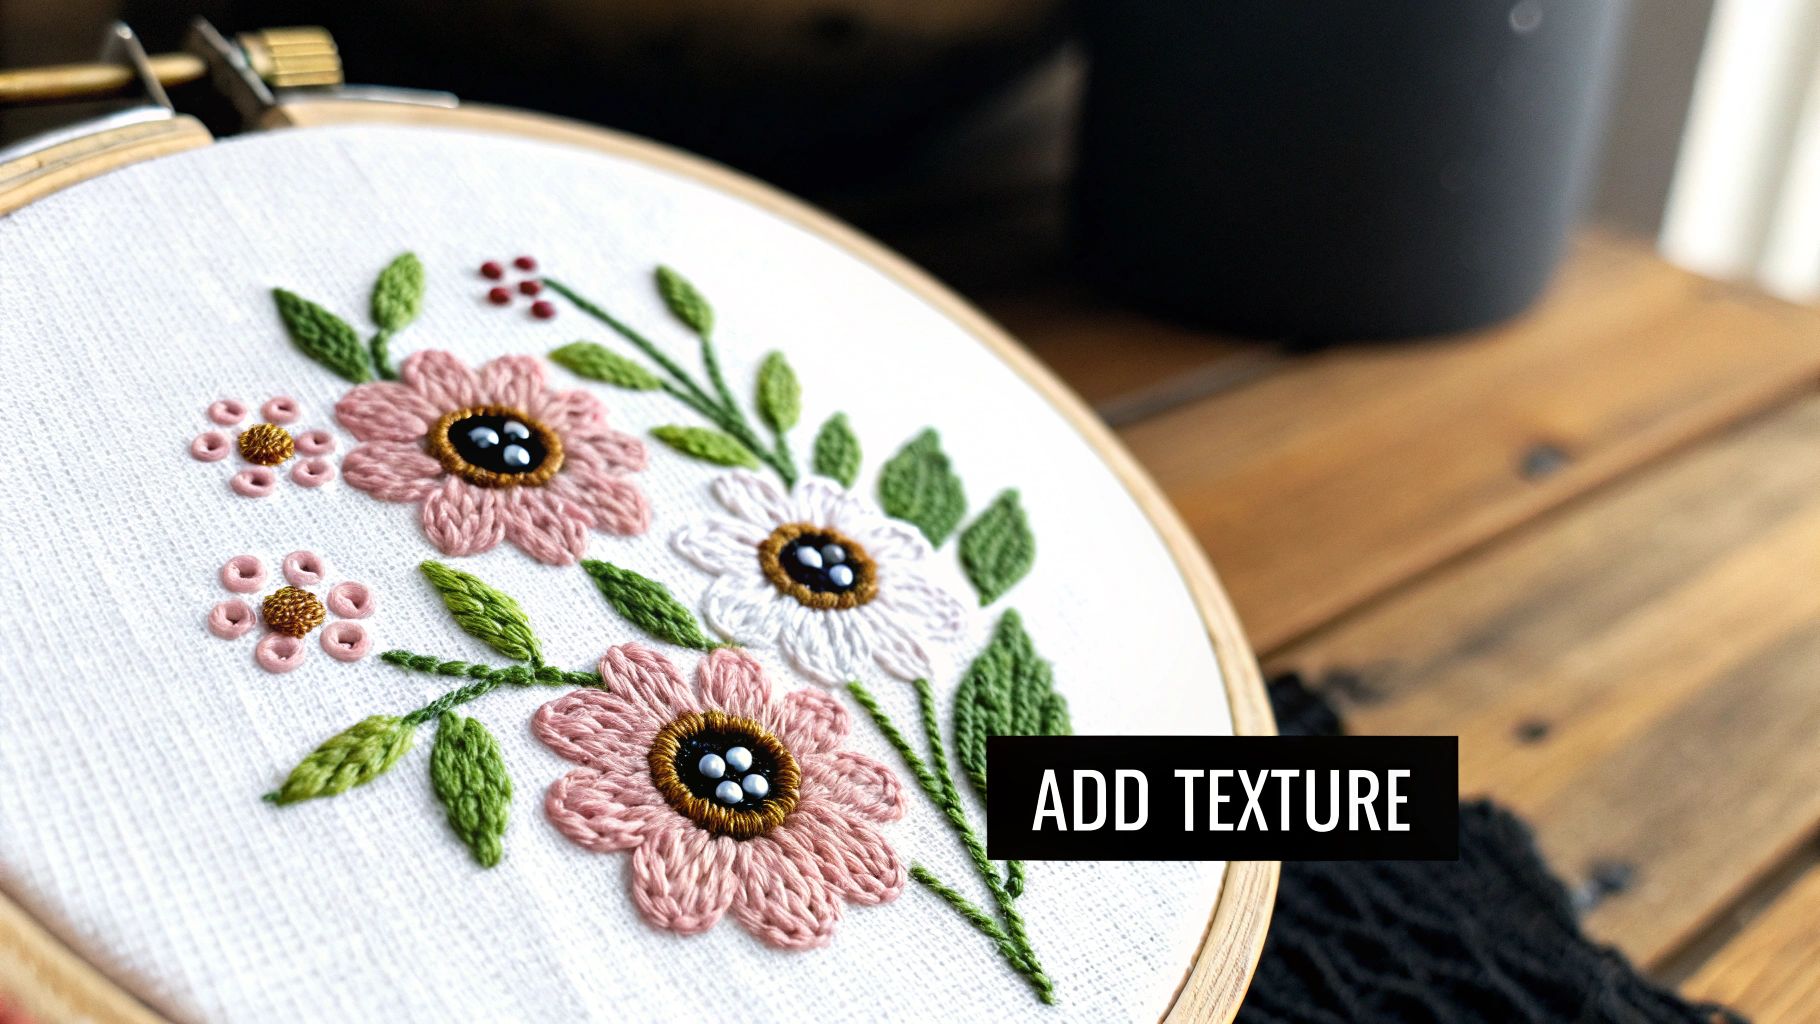
Adding Texture and Detail
The magic of the French knot is its ability to mimic real-world textures. A smattering of white knots can instantly become a field of fluffy dandelion seeds or a gentle snowfall. A mix of blue and yellow knots scattered across dark fabric? You’ve got a stunning, star-filled night sky with a depth you just can't get from a standard cross stitch.
Here are a few classic ways stitchers use them:
- Floral Centers: A small cluster of yellow or brown knots in the middle of a flower creates a realistic, pollen-dusted look.
- Animal Features: They're perfect for the wet nose on a puppy, the curly wool on a lamb, or even the delicate whiskers on a cat.
- Decorative Accents: Think tiny polka dots on a dress, little red berries on a sprig of holly, or the colorful sprinkles on a stitched cupcake.
Don’t feel tied to the pattern! Swapping a single cross stitch for a French knot can add a surprising and delightful pop of texture. It’s a simple change that makes the final piece feel completely unique and personal.
This little stitch is part of a long tradition of adding beautiful texture to needlework. While not technically a cross stitch itself, it has been a staple in the broader world of embroidery for ages. The history of stitching is vast, with early examples of cross-stitch-like techniques found in textiles from ancient Egypt and Peru, some dating as far back as 200-500 AD. If you're curious, you can learn more about the ancient history of cross stitch on Night Spirit Studio.
A Few Lingering Questions on French Knots
Even after you've stitched a few, some questions always seem to come up. Let's tackle the common ones so you can stitch your next project with total confidence.
Can I Use a French Knot Instead of a Bead?
Absolutely! A French knot is a fantastic substitute for a bead. It’s perfect when you want that little pop of dimension but prefer a softer, thread-only finish without the extra weight or supplies.
So, how do you get the size right? To mimic the look of a standard seed bead, my go-to recipe is using two strands of floss and wrapping the needle twice. This creates a knot with just the right scale, making it a nearly perfect swap in most patterns. It's a great trick to have in your back pocket.
How Do I Keep My Knots All the Same Size?
Ah, the quest for the perfectly uniform knot. Consistency really boils down to two simple things:
- How many strands of floss you're using.
- How many times you wrap the thread around your needle.
If you need a tiny, delicate dot, try one strand with a single wrap. For something bolder that really stands out, go for two or three strands with two wraps. The key is to pick your combination and stick with it.
My biggest piece of advice? Don't wrap the needle more than twice. It might seem like a shortcut to a bigger knot, but it usually just creates a lumpy, messy stitch that’s prone to unraveling later on.
What's the Difference Between a French Knot and a Colonial Knot?
This is a classic question. While they look quite similar at a glance, the way you make them is totally different. The French knot is made by wrapping the thread straight around the needle. The Colonial knot, on the other hand, involves a more intricate figure-eight motion with the thread.
Many stitchers feel the Colonial knot is a bit sturdier and less likely to pull through the fabric. I find the French knot has a slightly rounder, more delicate look. Honestly, neither is "better"—they're just different tools for adding beautiful, textured dots to your work.
Ready to turn a favorite photo into a cross-stitch masterpiece? Cross Stitched creates custom, all-in-one kits that make it simple. Start designing your personalized artwork today.


