
Cross stitch is more than just a hobby; it's a timeless art form that transforms thread and fabric into cherished keepsakes. Whether you're a seasoned stitcher looking to expand your skills or a curious beginner eager to start your first project, the world of needlework is brimming with creative possibilities. Many crafters stick to traditional full stitches, but a vast universe of specialized techniques awaits exploration. From the stark elegance of monochromatic Blackwork to the delicate intricacy of miniature stitching on fine-count fabric, exploring new styles can reignite your passion and elevate your creations from simple crafts to detailed works of art.
This guide dives deep into a curated collection of inspiring cross stitch ideas, each offering a unique challenge and a beautiful result. We'll move beyond the basics to explore techniques like Hardanger, fractional stitches for detailed curves, and the use of specialty materials such as metallic threads and perforated paper. For each idea, we will provide practical implementation details, actionable tips, and specific project examples to get you started immediately. Getting the right tools is half the battle. To further explore the materials that can enhance your projects, discover a variety of sewing and needlework supplies. Get ready to thread your needle and discover your next favorite project.
1. Blackwork Embroidery Cross Stitch
Step away from vibrant, multi-colored projects and embrace the elegant sophistication of Blackwork. This historical technique, often associated with Tudor England, uses black thread on a light-colored fabric (typically white or cream linen) to create intricate designs. While it incorporates some cross stitches for outlining, its primary focus is on geometric "fill" patterns created with backstitch or Holbein stitch. This count-thread method allows for incredible detail and texture, making it one of the most unique cross stitch ideas for those seeking a vintage or minimalist aesthetic.
A Modern Take on a Classic Technique
Blackwork is far more versatile than its historical origins might suggest. Contemporary designers have reimagined the style, creating everything from detailed animal portraits and botanical illustrations to abstract mandalas and geometric patterns. The beauty lies in combining different fill stitches within one piece to create shading and depth, all with a single color of thread.
This technique is excellent for stitchers who enjoy meticulous, counted work and want to produce something with a striking graphic quality.
Pro Tip: Vary the weight of your thread to add dimension. Use a thicker thread (like two or three strands of floss) for bold outlines and a single strand for delicate, lace-like fill patterns.
Getting Started with Blackwork
For those new to this style, starting with simple geometric patterns is the best approach. Projects like bookmarks, coasters, or small sampler designs allow you to practice different fill stitches without committing to a large piece.
To help you get started, this quick reference summarizes the core characteristics of Blackwork.
As the summary highlights, the technique’s monochromatic focus and pattern variety make it an approachable yet engaging style for both beginners and intermediate stitchers looking to expand their skills.
2. Hardanger Cross Stitch
Explore the delicate, lace-like beauty of Hardanger, a traditional Norwegian form of whitework embroidery. This intricate technique combines counted thread work, most notably satin stitch blocks called Kloster blocks, with carefully executed cutwork. The result is a stunning, geometric design that looks incredibly complex but is built upon a foundation of simple, precise stitches. It’s one of the most elegant cross stitch ideas for creating heirloom-quality pieces like table linens, ornaments, and decorative textiles.
A Journey into Cutwork and Embroidery
Hardanger stands apart from other embroidery styles due to its distinctive combination of stitching and cutting. The process begins by creating a grid of Kloster blocks, which stabilize the fabric. Threads within these blocks are then carefully cut and withdrawn, leaving an open, net-like area. These open spaces are then filled with decorative needle-weaving stitches, creating the technique's signature lace effect.
This style is perfect for stitchers who appreciate precision and are ready to advance from basic cross stitch to a more challenging, three-dimensional technique.
Pro Tip: Always use sharp, fine-tipped embroidery scissors for the cutwork. A clean cut is essential for preventing fabric fraying and ensuring the structural integrity of your finished piece.
Getting Started with Hardanger
For beginners, it is crucial to master the Kloster block before attempting any cutting. Start with a small project, like a bookmark or coaster, to practice creating even satin stitches and to build confidence. A sampler piece is an excellent way to experiment with different filling stitches before committing them to a larger design.
This short video tutorial offers a great visual introduction to the basic techniques of Hardanger embroidery.
As the video demonstrates, patience and careful counting are the keys to success. By starting small and focusing on mastering each step, you can create breathtakingly beautiful pieces with this historic Norwegian craft.
3. Fractional Cross Stitch
Take your projects to the next level of detail by mastering fractional cross stitches. This advanced technique moves beyond the standard "X" stitch to incorporate quarter stitches (¼), half stitches (½), and three-quarter stitches (¾). By using these partial stitches, you can create smoother curves, sharper diagonals, and much finer details, transforming a blocky pixelated image into a photorealistic work of art. This is one of the best cross stitch ideas for tackling complex patterns with rounded edges or subtle shifts in shape.

Achieving a More Realistic Finish
Fractional stitches are the key to creating designs with a painted or photographic quality. Designers like Heaven and Earth Designs (HAED) and Golden Kite use them extensively to produce highly detailed fantasy scenes, animal portraits, and classical art reproductions. The technique eliminates the rigid grid effect of traditional cross stitch, allowing for a more fluid and organic appearance.
This method is ideal for stitchers who want to challenge themselves and produce heirloom-quality pieces. Learning how to properly read charts with these symbols is crucial; learn more about cross stitch graphs on cross-stitched.com to help you understand them better.
Pro Tip: When working fractional stitches, use a sharp, smaller-sized needle (like a size 26 or 28) to make piercing the middle of the Aida or evenweave fabric square easier and neater.
Getting Started with Fractional Stitches
Before starting a large, complex project, it's wise to practice fractional stitches on a scrap piece of fabric. Create a few quarter, half, and three-quarter stitches to understand how they are formed and how they appear on the fabric.
Starting with a small design that incorporates just a few fractional stitches will help build your confidence. Look for detailed floral patterns or small animal portraits that use them to shape elements like petals, eyes, or whiskers. This practice will prepare you for more ambitious and rewarding cross stitch ideas.
4. Samplers Cross Stitch
Dive into the rich history of needlework by creating a traditional cross stitch sampler. Historically, these were practice pieces for young women to demonstrate their stitching skills, often featuring alphabets, numbers, motifs, and moral sayings. Today, samplers are cherished as both beautiful decorative art and a way to connect with the past, making them one of the most classic cross stitch ideas available. They offer a structured yet creative way to practice various stitches and techniques all within a single, cohesive project.
A Modern Take on a Classic Technique
While antique samplers have a distinct, often primitive or colonial, charm, modern designers have revitalized the concept. Contemporary samplers now commemorate weddings, births, friendships, and new homes, blending traditional layouts with modern fonts and motifs. You can create a sampler to celebrate a family milestone, document a favorite quote, or simply to practice and showcase your growing collection of stitches.
These projects are ideal for stitchers who appreciate history and enjoy creating meaningful, personalized heirlooms that tell a story.
Pro Tip: Always stitch your initials and the date you finished the piece somewhere on your sampler. This historical practice turns your work into a personal time capsule and a future family heirloom.
Getting Started with Samplers
For those new to this style, a small alphabet or motif sampler is a great starting point. Many patterns are available from designers like Plum Street Samplers or Blackbird Designs, which specialize in both reproduction and modern primitive styles. Choose a meaningful quote or set of motifs that resonate with you to make the project more personal.
The beauty of a sampler lies in its variety; it provides an excellent canvas to try new stitches or experiment with different floss colors. This makes it a perfect learning tool that results in a stunning piece of art to display proudly in your home.
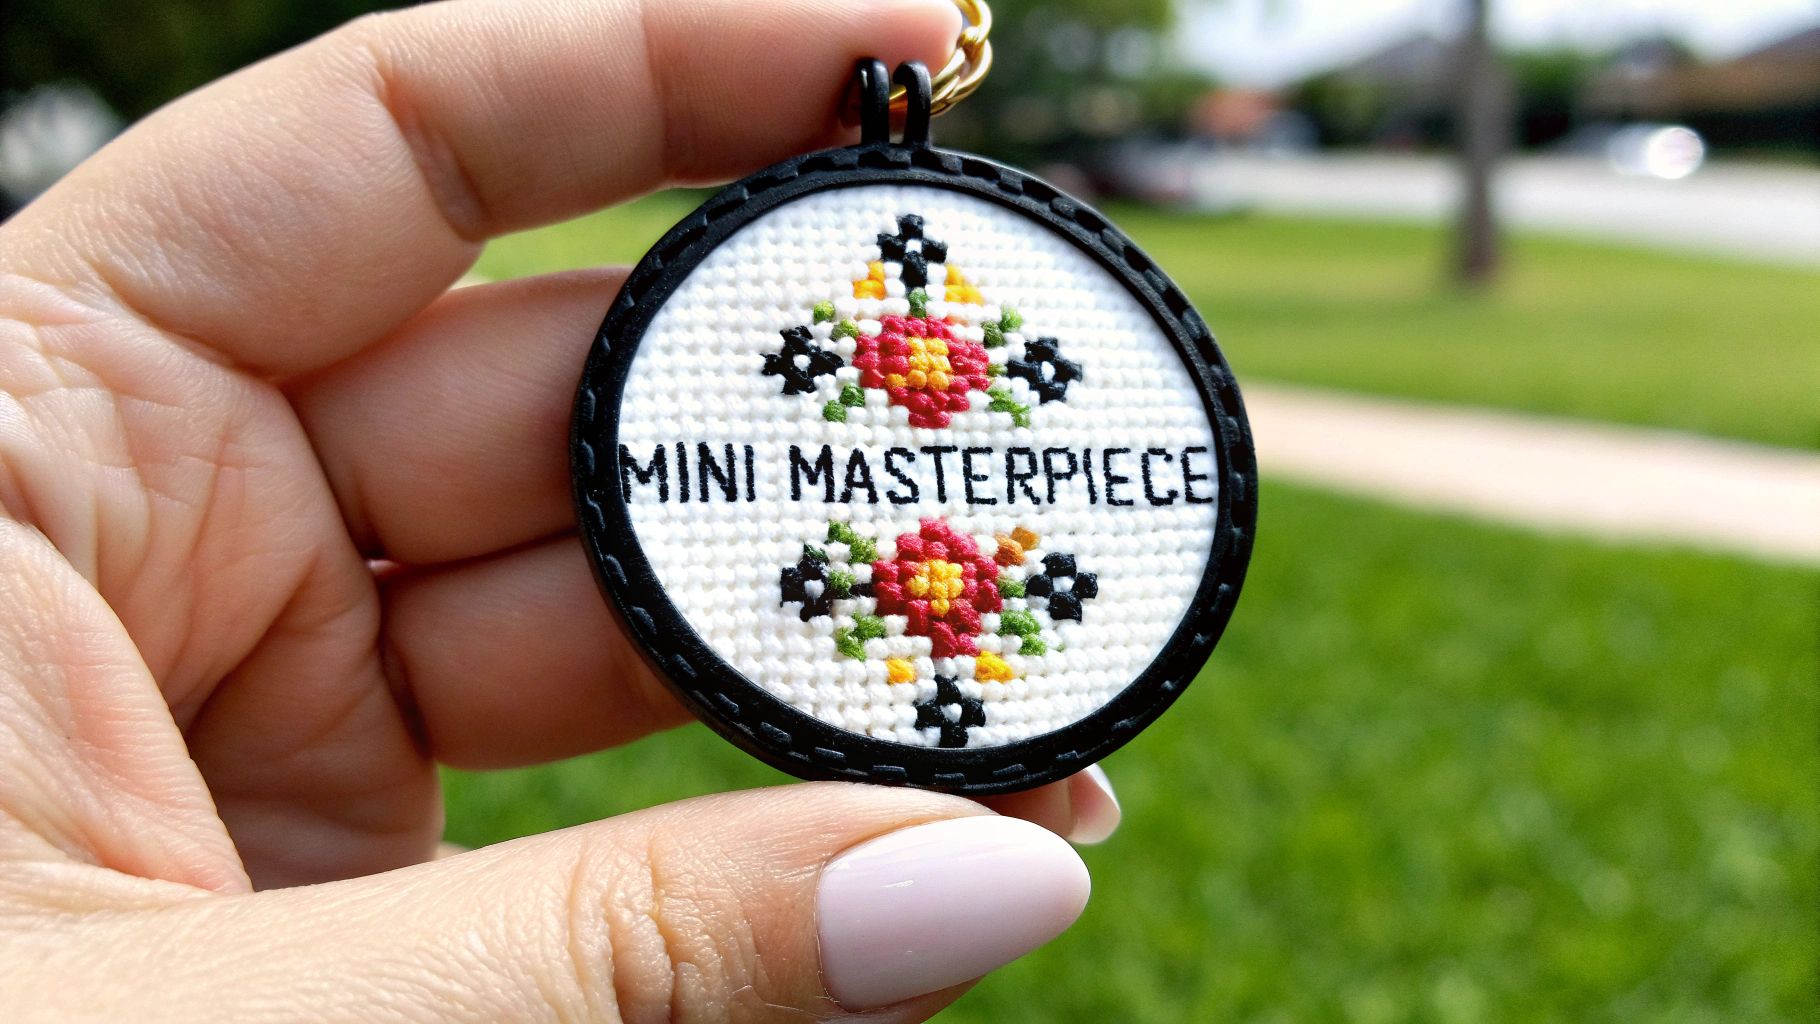
5. Miniature Cross Stitch
For those who love intricate detail and a rewarding challenge, miniature cross stitch offers a whole new world of possibilities. This technique involves working on very high-count fabric, typically 28-count or higher, to create incredibly small and detailed designs. The resulting pieces are perfect for dollhouse accessories, delicate jewelry, or tiny decorative art, making it one of the most precise and impressive cross stitch ideas for patient crafters.
A World in Miniature
The magic of this style lies in its scale. A pattern that would be a small ornament on 14-count Aida becomes a tiny, exquisite pendant on 32-count linen. Crafters in dollhouse miniature communities have popularized this technique to create realistic tiny rugs, wall art, and cushions. It’s an ideal way to produce intricate heirlooms that showcase an incredible level of skill and precision.
This technique is excellent for stitchers who enjoy detailed, focused work and want to create unique, small-scale keepsakes that are sure to be conversation starters.
Pro Tip: Good lighting and magnification are your best friends when working in miniature. A daylight lamp and a clip-on magnifier will significantly reduce eye strain and help you place each stitch perfectly.
Getting Started with Miniature Stitching
If you're new to high-count fabrics, start with a simple design that uses bold blocks of color and minimal backstitching. Tiny floral motifs or geometric patterns make great first projects. Using a single strand of floss is standard, which helps keep the stitches from looking bulky and ensures every detail remains crisp and clear.
Because these projects are so small, their final presentation is key. Exploring different finishing methods is crucial for turning your tiny stitch-work into a beautiful final piece. To learn more about turning your projects into polished creations, you can check out various cross stitch finishing techniques on cross-stitched.com. This approach is perfect for creating one-of-a-kind jewelry, ornaments, and gifts.
6. Metallic Thread Cross Stitch
Elevate your needlework by incorporating the brilliant shimmer of metallic threads. This technique involves using specialized threads made with fine metallic filaments, such as gold, silver, or iridescent colors, to add a touch of luxury and visual interest. Often used for accents and highlights, metallic floss can transform an ordinary project into an eye-catching work of art, making it one of the most glamorous cross stitch ideas for special occasions.
Adding Sparkle and Elegance
The magic of metallic thread lies in its ability to catch the light, creating a dynamic effect that standard cotton floss cannot replicate. It is perfect for projects that benefit from a little extra sparkle, such as Christmas ornaments, wedding or anniversary samplers, and fantasy-themed designs. Designers often use it to detail stars, crowns, religious symbols, or intricate borders, adding a rich texture and a celebratory feel to the finished piece.
This technique is ideal for stitchers who want to create heirloom-quality pieces that stand out. The subtle glimmer provides a professional and polished look.
Pro Tip: Use a thread conditioner like beeswax or a synthetic equivalent to tame unruly metallic threads. A light coating makes the thread smoother, reduces tangling, and helps it glide through the fabric with less friction.
Getting Started with Metallic Threads
Working with metallic thread can be tricky as it tends to tangle and unravel. The key is to work slowly and with shorter lengths of thread, typically no more than 12 inches at a time. Using a slightly larger needle can also help open the fabric holes, reducing wear on the delicate thread.
For your first project, try adding metallic accents to a small design, like a snowflake on a holiday ornament or the date on a birth sampler. This allows you to get comfortable with the thread's unique properties without the frustration of tackling a large, fully metallic area.
7. Over-One Cross Stitch
For stitchers looking to create highly detailed or miniature pieces, the Over-One Cross Stitch technique is a game-changer. Instead of making an "X" over two fabric threads, as is standard in most cross stitch, this method involves stitching over just one thread intersection. Typically performed on high-count linen or evenweave fabric, this approach produces tiny, dense stitches that create a beautifully refined and almost tapestry-like finish. It's a fantastic cross stitch idea for those wanting a primitive, rustic, or folk art aesthetic.
Achieving Finer Detail and a Vintage Look
The primary benefit of stitching over one is the incredible level of detail it allows. This technique is favored by designers of historical and primitive reproduction samplers, like those from Blackbird Designs or Little House Needleworks, as it mimics the look of antique needlework. The smaller stitches are perfect for creating tiny motifs, intricate lettering, and delicate accessories where a standard cross stitch would appear too bulky.
This method is ideal for projects where you want a smaller finished size without simplifying the pattern, such as ornaments, biscornus, or detailed folk art scenes.
Pro Tip: Use a single strand of floss for over-one stitching on high-count fabrics (like 32-count or higher). This prevents the stitches from becoming too bulky and ensures each "X" is clearly defined without distorting the fabric.
Getting Started with Over-One
Working with such small stitches can be challenging on the eyes, so good lighting and magnification are your best friends. Before starting a large project, practice on a small scrap of your chosen fabric to get a feel for the tension and coverage.
Stitching over one is perfect for adding fine details to a larger piece that is primarily stitched over two. For example, you might stitch a face or hands over one while the rest of the figure is stitched over two, creating a stunning focal point with a more realistic appearance.
8. Specialty Stitch Cross Stitch
Elevate your projects beyond the standard grid by incorporating specialty stitches. This technique combines traditional cross stitches with a variety of decorative embroidery stitches, such as French knots, lazy daisies, satin stitches, and intricate backstitching. Integrating these elements adds incredible texture, dimension, and visual interest, transforming a flat design into a dynamic, tactile piece of art. This is one of the most effective cross stitch ideas for creating depth and realism.
Adding Texture and Dimension
Specialty stitches are perfect for rendering specific textures like fluffy clouds, delicate flower petals, or the soft fur on an animal. Contemporary designers like Gail Bussi and Erica Michaels often use these mixed-media approaches to create stunning dimensional landscapes and intricate samplers. The beauty of this technique lies in its ability to guide the viewer's eye and highlight key details within a composition.
This method is ideal for stitchers who want to move beyond basic patterns and explore the full creative potential of needlework. By learning a few new stitches, you can add a professional and artistic touch to any project.
Pro Tip: Use different thread weights to enhance the effect. A single strand of floss is perfect for a delicate lazy daisy stitch, while a full six strands can create a bold, pronounced French knot for textured details like berries or eyes.
Getting Started with Specialty Stitches
For those new to this style, it's best to start with a pattern that clearly guides you through each specialty stitch. Many kits and patterns include detailed diagrams and instructions. Practice the new stitches on a scrap piece of fabric first to build confidence before applying them to your main project.
Learning to incorporate these varied stitches can elevate your work from a simple craft to a sophisticated piece of fiber art. For those ready to tackle more intricate designs, you can learn more about complex cross stitch patterns on cross-stitched.com. This approach rewards patience with a truly unique and impressive final product.
9. Perforated Paper Cross Stitch
Move beyond traditional fabric and explore the unique potential of perforated paper. This specialty material is a stiff, durable paper punched with a grid of holes, mimicking the weave of Aida cloth. It allows you to create rigid, self-supporting cross stitch projects that hold their shape without the need for a hoop during stitching or framing afterward. This makes it one of the most versatile cross stitch ideas for creating three-dimensional items and standalone decorations.
Crafting Sturdy, Freestanding Designs
The primary advantage of perforated paper is its structural integrity. Unlike fabric, it doesn’t fray, making it perfect for items that are handled frequently or displayed as ornaments. Crafters use it to create everything from intricate Christmas tree decorations and gift tags to bookmarks, magnets, and even small decorative boxes. The finished piece is firm enough to stand on its own or be easily assembled into 3D shapes.
This technique is ideal for stitchers who want to make functional or decorative objects that extend beyond the traditional framed wall art.
Pro Tip: Plan your thread coverage carefully. Since the paper is opaque, any unstitched holes will be more noticeable than on fabric. Aim for full coverage designs or use a thread color that blends well with the paper color to create a polished look.
Getting Started with Perforated Paper
Working with perforated paper requires a slightly different approach than fabric. It's important to handle the paper gently to avoid tearing or creasing it, especially around the holes. Use a needle size that passes through the holes without widening them.
Popular projects for beginners include:
- Holiday Ornaments: Cut the paper into festive shapes after stitching.
- Bookmarks and Gift Tags: Create durable, personalized items.
- Greeting Cards: Stitch a small motif and mount it onto cardstock.
This material opens up a world of possibilities for crafters looking to turn their stitching into tangible, functional art that can be gifted or displayed in new and creative ways.
Cross Stitch Styles Comparison Overview
| Technique | Implementation Complexity 🔄 | Resource Requirements ⚡ | Expected Outcomes 📊 | Ideal Use Cases 💡 | Key Advantages ⭐ |
|---|---|---|---|---|---|
| Blackwork Embroidery Cross Stitch | Moderate; precise counting needed | Minimal thread colors (mostly black), basic fabric | Elegant, timeless geometric designs | Beginners practice, historical and modern decor | Cost-effective, versatile style |
| Hardanger Cross Stitch | High; cutwork and precise stitching | Specialized fabric (22-count even-weave), sharp scissors | Intricate lace-like heirloom pieces | Heirloom linens, wedding details, ornaments | Stunning texture, traditional skill |
| Fractional Cross Stitch | Very high; complex partial stitches | High-count fabric, sharp needles, magnification | Photorealistic, highly detailed images | Advanced stitchers creating portraits & landscapes | Professional finish, fine shading |
| Samplers Cross Stitch | Low to moderate; repetitive but varied | Standard fabric and floss | Educational pieces with alphabets and motifs | Learning tool, personalized keepsakes | Great for beginners, heritage preservation |
| Miniature Cross Stitch | High; very fine detail on high-count fabric | High-count fabric (28+), fine threads, magnification | Tiny, intricate detailed pieces | Dollhouse miniatures, jewelry, small ornaments | Portable, precision skill development |
| Metallic Thread Cross Stitch | Moderate to high; delicate thread handling | Metallic threads, thread conditioner | Luxurious, shimmering designs | Holiday ornaments, special occasion pieces | Adds dimension and elegance |
| Over-One Cross Stitch | High; requires excellent eyesight and patience | High-quality linen (32-36 count), single floss strand | Small, rustic, primitive-looking pieces | Primitive reproductions, fine detail work | Finer detail, authentic primitive look |
| Specialty Stitch Cross Stitch | High; multiple stitch types and techniques | Various threads, beads, and embellishments | Textured and dimensional embroidered pieces | Creative projects with mixed stitches | Unique texture, skill diversity |
| Perforated Paper Cross Stitch | Low; simple but limited project size | Perforated paper in various colors, basic floss | Stiff, self-supporting 3D pieces | Ornaments, bookmarks, cards | No fabric prep, sturdy and beginner-friendly |
Stitching Your Story, One Cross at a Time
Our journey through this extensive collection of cross stitch ideas has revealed a craft that is far more diverse and dynamic than simple Xs on fabric. We’ve explored the intricate lines of Blackwork, the delicate openwork of Hardanger, and the detailed precision of fractional stitches. Each technique offers a unique way to express creativity and develop your needlework skills, proving that there is always something new to learn and master in the world of stitching.
The true value of exploring these varied approaches lies in expanding your artistic toolkit. By stepping beyond traditional full crosses, you unlock a new vocabulary for your needle and thread. Imagine the stunning visual impact of a project that combines the bold texture of specialty stitches with the subtle shimmer of metallic threads, or a miniature piece that achieves incredible detail through over-one stitching. These are not just isolated techniques; they are creative tools you can blend and adapt to bring your unique vision to life.
Key Takeaways for Your Stitching Journey
The central theme connecting all these cross stitch ideas is the power of personalization. Your choice of technique, fabric, and thread color transforms a generic pattern into a personal statement. Remember these core principles as you select your next project:
- Skill Progression is Key: Don't be afraid to challenge yourself. If you've mastered basic samplers, try a project with fractional stitches to refine your precision. If you're comfortable with Aida, experiment with perforated paper for a three-dimensional creation.
- Technique Defines Texture: The method you choose fundamentally alters the final look and feel of your piece. Blackwork creates bold, graphic designs, while over-one stitching yields a delicate, tapestry-like finish. Consider the desired texture before you even begin.
- Materials Matter: The right materials can elevate any project. Using high-quality metallic floss can turn a simple design into a dazzling work of art, while stitching on evenweave fabric for Hardanger is essential for achieving clean, precise cuts.
Your Actionable Next Steps
Feeling inspired? It’s time to move from inspiration to creation. Start by selecting one or two cross stitch ideas from this list that genuinely excite you. Don’t try to tackle them all at once. Perhaps you’ll begin with a small Blackwork bookmark to understand its geometric flow or a miniature design to practice fine-detail work.
Gather your materials with intention. Research the specific fabric count and thread type recommended for your chosen technique. This small step can make a significant difference in your stitching experience and the quality of the final product. Most importantly, embrace the process. Every stitch is a moment of focus and creativity, a small step in building something beautiful with your own hands. Whether you are crafting a modern geometric piece or a timeless heirloom, you are participating in a rich tradition of artistry and storytelling, one perfect cross at a time.
Ready to turn your most cherished memories into a unique cross stitch masterpiece? At Cross Stitched, we transform your personal photos into all-inclusive, custom cross stitch kits, providing everything you need to create a truly personal work of art. Visit Cross Stitched to start your custom project and stitch a story that is uniquely yours.


