

There's something incredibly special about a baby announcement cross stitch. It's more than just a piece of needlework; it's a handmade heirloom that captures all the vital details of a baby's arrival—their name, birth date, weight, and more. It transforms a simple craft into a tangible piece of family history.
Stitching a Story: A Modern Tradition
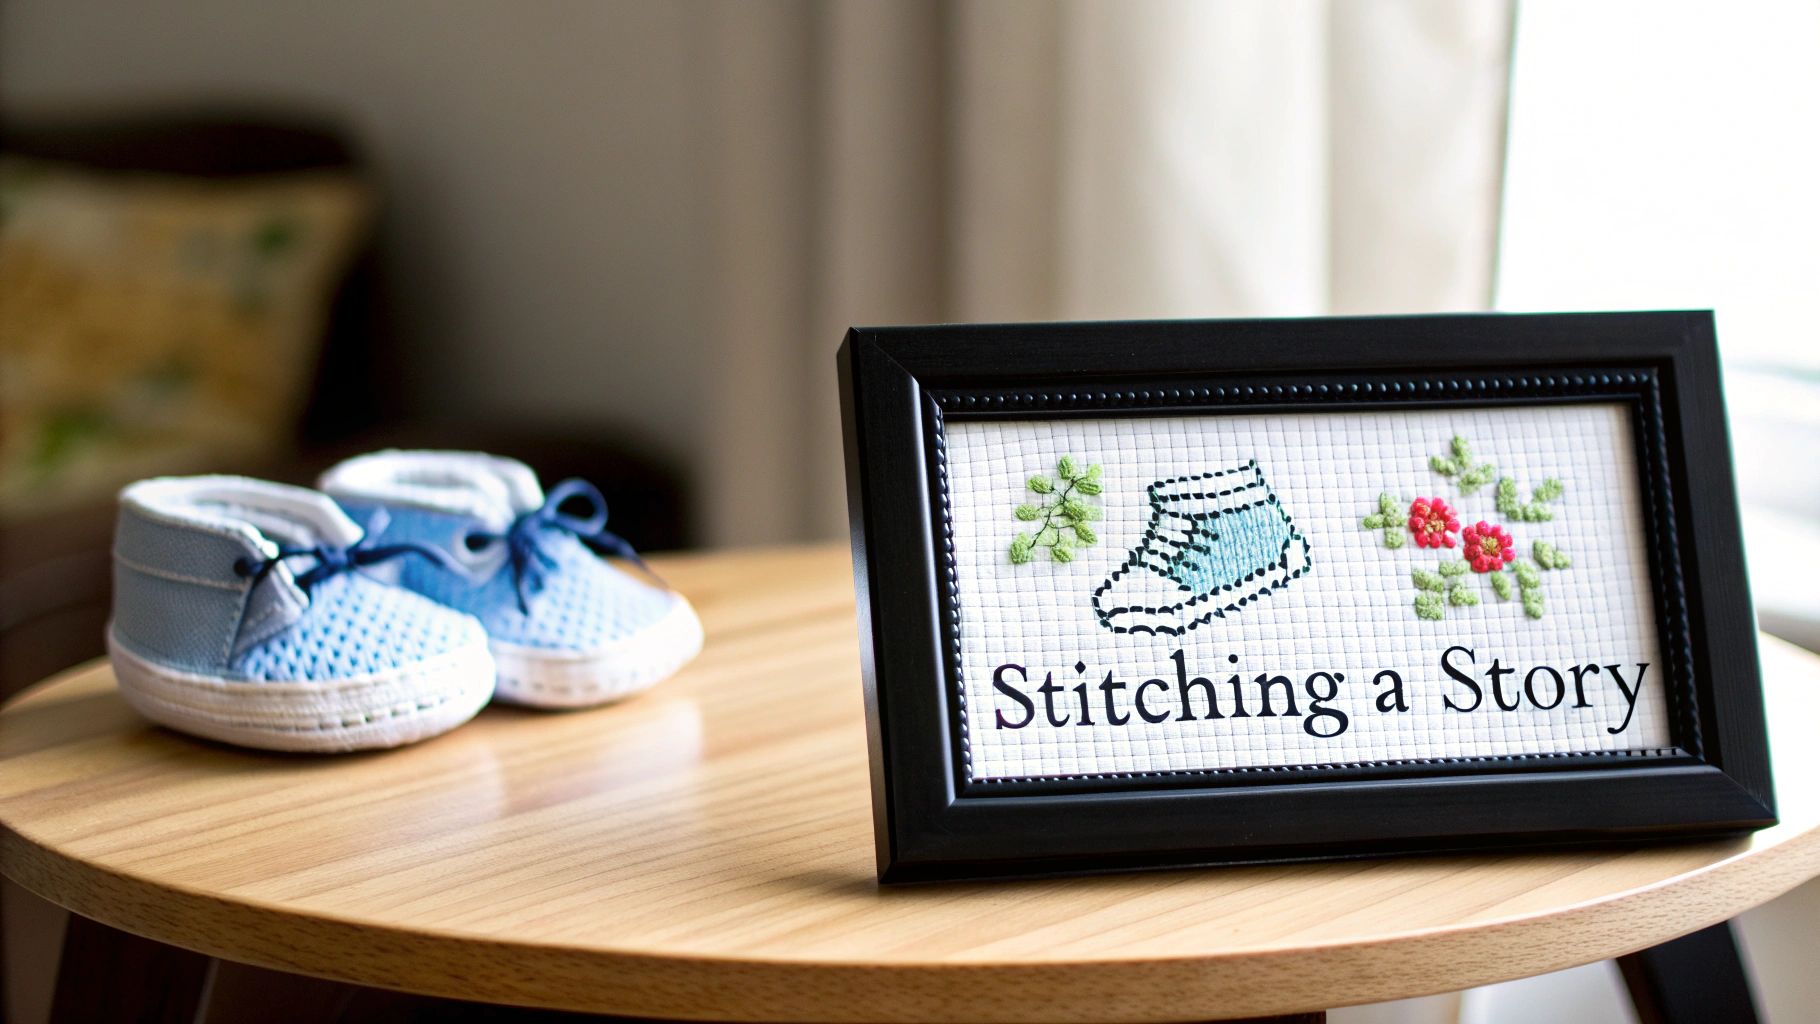
Welcome to the heartfelt world of creating a baby announcement cross stitch. In an age where news is shared in a flash and just as quickly forgotten, a stitched announcement offers something beautifully permanent—a real, tangible connection to one of life's biggest moments.
This guide is designed for everyone. Whether you're a complete beginner wondering where to even start or a seasoned stitcher on the hunt for fresh inspiration, I'll walk you through the entire journey. Trust me, creating a meaningful heirloom is one of the most rewarding things you can do.
The Rise of Handmade Heirlooms
The tradition of marking a birth with personalized needlework is making a huge comeback. It’s part of a bigger shift towards valuing handmade, personal items. In fact, 68% of buyers say that sentimental value is the number one reason they choose a birth announcement cross stitch.
A hand-stitched piece stands out. It's a personal, heartfelt gesture, much like other truly thoughtful baby shower gifts that are chosen for their meaning, not just their price tag. It’s not just decoration; it’s a story told one stitch at a time.
This craft is about more than just making something beautiful. It's about pouring love and time into a piece that will be cherished for decades, connecting generations through a shared memory.
Why This Craft Endures
So, why does this craft remain so popular? A baby announcement cross stitch project offers a unique combination of benefits that appeal to crafters of all skill levels.
- It's Deeply Personal: You get to customize every single element. Match the nursery's color palette, add little motifs like tiny footprints or favorite animals—the sky's the limit.
- It's a Relaxing Process: The rhythmic, repetitive nature of stitching is incredibly calming. It's a mindful activity and a perfect way to unwind while creating something precious.
- It's a Timeless Keepsake: Digital photos can get lost on old hard drives, but a framed cross stitch becomes a permanent part of a family's home and history.
From picking your first thread to hanging the finished piece on the wall, you're about to turn a simple idea into a work of art that will be treasured forever.
Designing Your Personalized Announcement
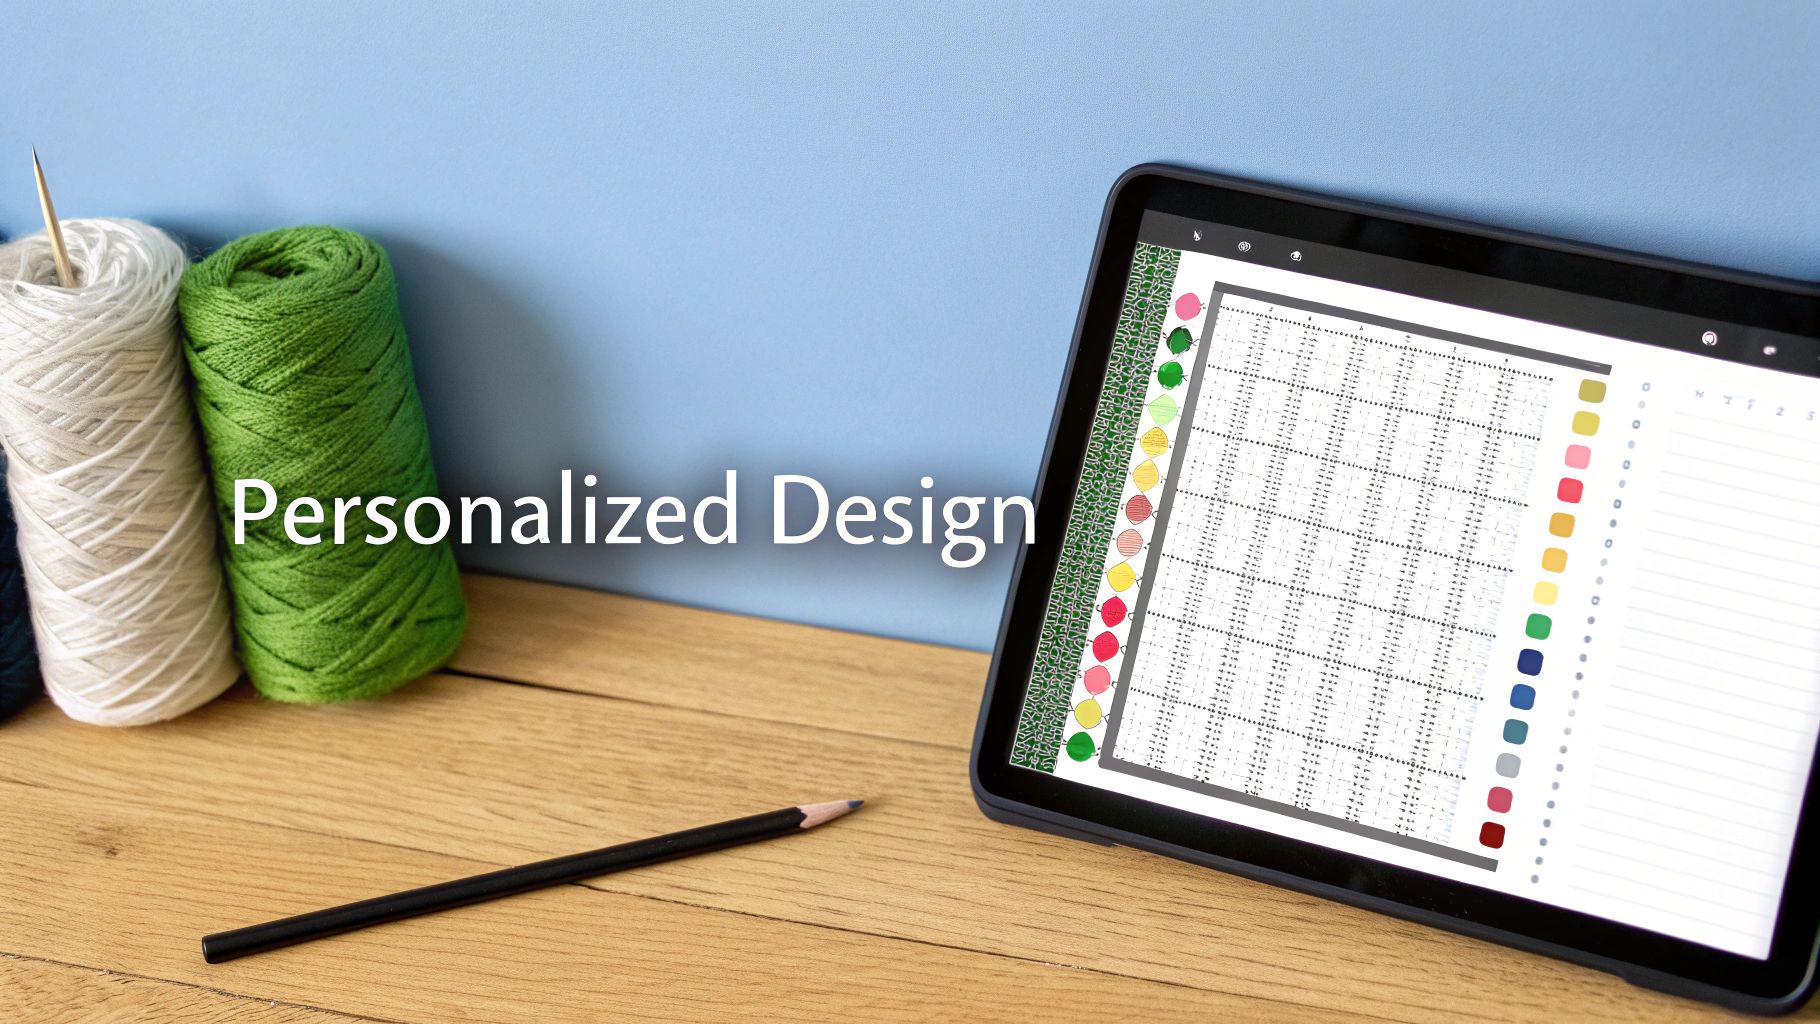
Here’s where your creative vision for this special gift starts to take shape. A good pattern is everything—it’s the blueprint for a piece that's not just beautiful but also deeply personal. Before you get lost in thread colors, take a step back and think about the overall feel you’re going for.
Your first big decision is about style. Do you picture something traditional and timeless, like a classic sampler with sweet alphabets and delicate borders? Or are you leaning towards a more modern look with clean lines, simple fonts, and a minimalist color palette? Neither is better than the other; it’s all about matching the parents' taste and creating a keepsake they’ll cherish.
Cross stitch has a long, beautiful history of commemorating life's biggest moments. Birth samplers have been a way to record family history since the 16th century in Europe. This tradition is still going strong—a 2023 survey of stitchers showed that 42% had made a birth announcement in the last five years, mixing that classic inspiration with fresh, modern ideas. If you're looking for inspiration, you can find some fantastic examples in the Nashville Needlework Market 2025 Collection.
Balancing Details and Design
The heart of a birth announcement is, of course, the details: the baby’s name, birth date, weight, and maybe even the length. The trick is to weave this information into the design so it feels natural, not crowded.
- Find Your Focus: Will the baby’s name be the star of the show, or will a central motif like a sleeping animal or a cluster of stars take center stage? Build the other details around that main element.
- Fonts Have Feelings: The font you choose sets the tone. A beautiful script font can feel classic and elegant, while a crisp, simple sans-serif font is perfect for a modern piece. Most importantly, make sure it’s readable!
- Give It Some Space: I always recommend grabbing a pencil and paper to sketch out a rough layout. This simple step helps you see how everything fits together and ensures your design has room to breathe.
A great design tells a story without overwhelming the eye. Your goal is a calm, cohesive piece where every detail is clear and nothing feels crammed in.
Kits Versus Custom Creation
Now, how do you get this pattern? You have two main options: buy a pre-made kit or design your own pattern from scratch. Each path has its pros and cons, and the right choice really depends on your experience, time, and how unique you want the final gift to be.
If you’re leaning towards creating something totally unique, our guide on how to design cross stitch patterns is a great place to start.
This choice really sets the stage for your entire project. Kits are fantastic for convenience and are a great starting point if you're new to cross stitch. A custom design, on the other hand, gives you complete creative freedom.
Choosing Your Project Path Kits vs Custom Design
Here's a quick breakdown to help you decide which route is best for you.
| Factor | Cross Stitch Kit | Custom Design |
|---|---|---|
| Convenience | High. Everything you need is included. | Lower. Requires sourcing all materials yourself. |
| Skill Level | Beginner-friendly. | Best for intermediate to advanced stitchers. |
| Personalization | Limited. Usually just space for names/dates. | Unlimited. Every element is your choice. |
| Time Investment | Lower. No design time needed. | Higher. You need to create the pattern first. |
| Cost | Often more budget-friendly. | Can be more expensive, depending on materials. |
Ultimately, whether you choose a kit or go custom, the love you stitch into every X will be what makes the gift truly special. Both paths lead to a beautiful, handmade treasure.
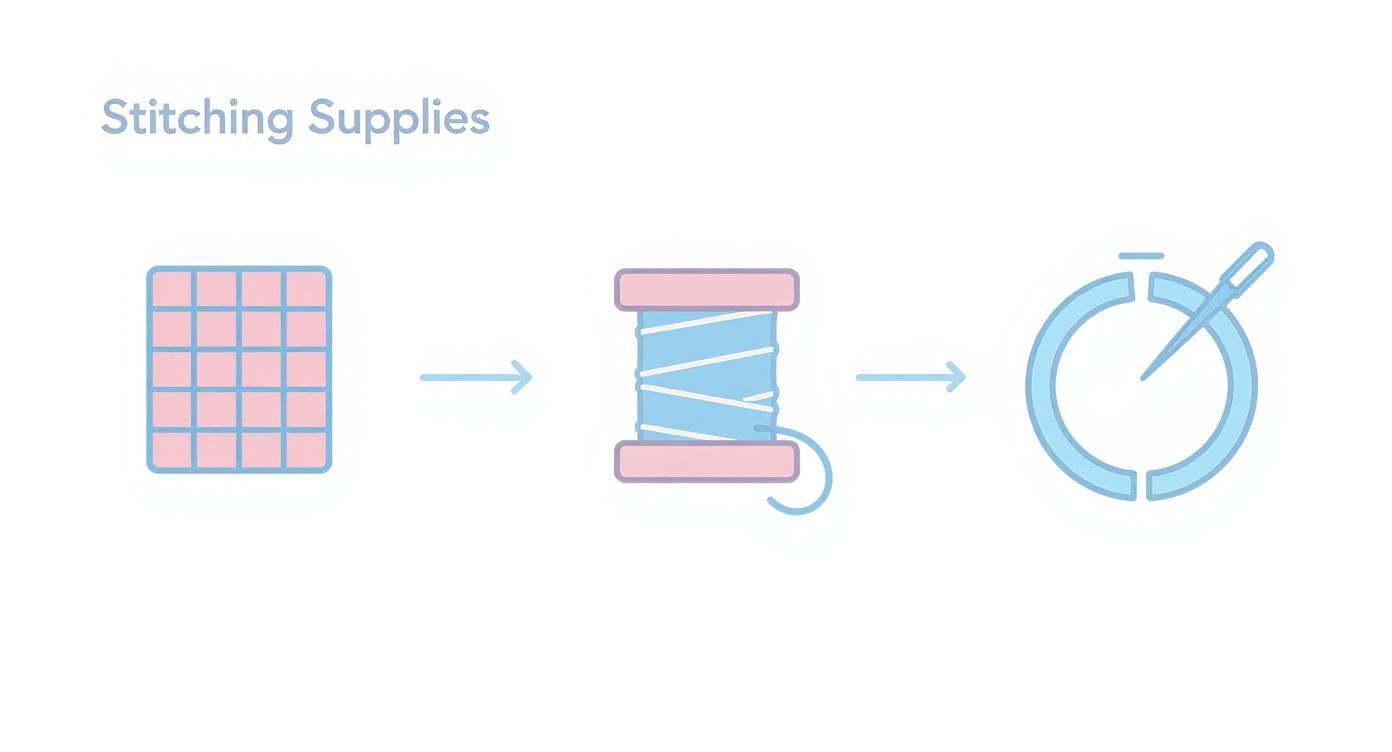
Getting Your Stitching Supplies Ready
You’ve got your perfect design picked out—now for the fun part! It's time to gather all the bits and pieces you'll need to bring that adorable baby announcement to life. Getting your supplies sorted out before you start stitching makes everything so much more relaxing and fun. Let's walk through what you'll need.
The heart of any cross-stitch project is, of course, the fabric. When it comes to baby announcements, you'll most often see people using either Aida cloth or linen. If you're new to cross-stitching, I'd point you toward Aida every time. It has a clear, visible grid of holes that makes counting your stitches a breeze. Linen has a beautiful, classic heirloom feel, but its finer weave can be a bit more challenging for beginners.
You'll come across the term "count" when shopping for fabric. This simply means how many stitches you can fit into one inch of fabric. A 14-count Aida is a really popular choice for these kinds of projects because it strikes a great balance—the stitches are big enough to be clear and easy to see, but small enough to create a nice, detailed image. If you wanted a more delicate, smaller finished piece, you could go for a higher count, like 18-count.
Fabric, Floss, and Essential Tools
Remember, the fabric count you choose has a direct impact on the final size of your project. If you've already bought a specific frame, you can actually work backward from its dimensions to figure out which fabric count will make your design fit perfectly.
Now for the color! This is where your project really starts to feel real. Most patterns, especially for a baby announcement cross stitch, will call for DMC six-strand cotton floss. It's the industry standard and comes in an incredible range of colors. Your pattern chart will have a key that lists the exact DMC color codes you'll need to buy.
That "six-strand" detail is key. You'll almost never use all six strands of the floss at once. For a standard 14-count Aida, you’ll typically separate the floss and use just two strands. This gives you beautiful, full coverage without making your stitches look clunky or crowded. Some people like a plusher, bolder look, and for that, you could try using three strands.
Here's a little tip from someone who's learned the hard way: always buy one extra skein of the colors you'll be using a lot of. There is truly nothing more frustrating than running out of a key color when you only have a handful of stitches left to do!
Beyond the fabric and floss, a few other tools will make your stitching life so much easier.
- Tapestry Needles: These are the best needles for cross-stitch. They have a blunt tip that glides easily through the holes in the Aida fabric without accidentally piercing the threads. For 14-count fabric, a size 24 needle is your best bet.
- Embroidery Hoop or Frame: This is a must-have for keeping your fabric tight and even while you work. A taut surface helps you make much neater, more consistent stitches. A 5-inch or 6-inch hoop is a great all-around size that works well for most announcement projects.
- Sharp Scissors: A small, sharp pair of embroidery scissors will be your best friend for snipping floss cleanly. It helps prevent those annoying frayed ends and keeps the back of your work looking tidy.
Getting this basic kit together sets you up for success. For a deeper dive into all the tools, you can check out our guide on what you need for cross stitch. With everything in hand, you can finally relax and enjoy the simple, rewarding process of creating this special keepsake.
Bringing Your Cross-Stitch to Life
You’ve gathered your supplies and have your pattern ready—now for the best part. This is where you get to sit down and watch your design come to life, one stitch at a time. It's a genuinely magical process, turning a blank piece of fabric into a treasured keepsake.
Before you even think about threading that needle, the first step is always prepping your canvas.
Getting Started: Finding Your Center
A great project begins right in the middle. To find the center of your fabric, just fold your Aida cloth in half one way, then in half the other way. The point where the two creases cross is your starting point. I like to mark it with a small pin or a disappearing ink pen.
Most patterns also mark their center point, so by lining these two up, you guarantee your design will be perfectly positioned with even margins all around. Trust me, it saves a lot of headaches later!
It’s also a good idea to secure the raw edges of your fabric before you start. A quick border of masking tape or a simple whip stitch will do the trick. This little bit of prep work prevents the Aida from fraying while you’re handling it, keeping your project looking clean from start to finish.
This is the point where your fabric, thread, and hoop all come together.
 embroidery hoop with needle">
It’s amazing how these few simple elements work in harmony to create something so beautiful.
Making Your First Stitches
The real beauty of cross-stitch is its simplicity. At its core, the stitch is just two diagonal lines that form a perfect little X. The secret to a polished, professional-looking piece? Consistency.
Always make sure your bottom stitches go in the same direction (for example, bottom-left to top-right) and your top stitches go the other way (bottom-right to top-left). This simple discipline creates a wonderfully smooth and uniform texture that really makes the final piece pop.
To start your thread, try to avoid knots on the back of your work. They can create lumps and bumps that show through on the front. Instead, I highly recommend the "loop start" method for a super clean beginning.
If you’re using two strands of floss, just take one long strand, fold it perfectly in half, and thread the two cut ends through your needle. When you bring your needle up from the back of the fabric, leave a little loop of thread behind. As you complete the first half of your stitch, just pass your needle through that loop on the back and pull it snug. Your thread is now securely anchored, no knot required!
How long will it take? A baby announcement cross stitch can be a quick project or a longer labor of love. A beginner might spend 20 to 40 hours on a piece, while a more seasoned stitcher could get it done in 10 to 15 hours. Most announcement patterns range from 100 x 100 to 200 x 150 stitches, depending on the complexity. If you want to see some real-world examples, check out the patterns from The Nashville Needlework Market 2025 Collection for an idea of different timelines.
Navigating Your Pattern and Troubleshooting
As you get into the rhythm, you’ll find some parts are big blocks of one color, while others are a confetti of different shades. Here’s how I tackle them:
- For large color blocks: I always use the "row method." Stitch a whole row of half-stitches going one way (like this: /////), then come back across the row to complete the X's (like this: \\). It's fast, efficient, and keeps everything looking tidy.
- For detailed sections: When colors are scattered all over, the "cross country" method is your friend. This just means you complete each full X before moving on to the next one. It really helps you keep your place when the pattern gets complicated.
Look, even after years of stitching, I still make mistakes. If you spot a stitch that’s gone astray, don't panic! If it’s just one or two stitches off and won’t be noticeable, it’s often okay to just leave it. If it’s a bigger error, you can carefully snip the wrong stitches with a pair of sharp embroidery scissors and gently pull out the threads.
Tangled floss is another classic annoyance. To keep knots at bay, let your needle and thread dangle every ten minutes or so. This allows the floss to untwist itself naturally. Another pro tip: work with shorter lengths of thread. A piece no longer than your forearm is much less likely to tie itself in knots.
In the end, it’s your patience and care during the stitching process that truly transforms this project into a beautiful, lasting heirloom.
Finishing and Framing Your Keepsake
You’ve placed the final stitch, and the feeling is just incredible, isn't it? But your work isn't quite done. Taking a little extra time to properly finish your project will transform your beautiful stitching into a genuine, lasting heirloom. These final steps are what protect your work and give it that polished, professional look it truly deserves.
The very first thing you'll want to do is give your piece a gentle bath. Over the many hours you've spent with it, natural oils from your hands, along with a bit of dust, have likely settled on the fabric. A quick, careful wash brightens the thread colors and gets the fabric ready for pressing.
Preparing for Display
After a wash, the next critical step is pressing. This isn't just about smoothing out wrinkles from the hoop. It’s about making sure the fabric is perfectly flat, which is absolutely essential for getting a smooth, professional framing job later on.
- Washing: Grab a clean sink or basin and fill it with lukewarm water and just a tiny drop of gentle, dye-free soap. Swish your cross stitch around for a few minutes, then rinse it really well with cool water until it runs completely clear.
- Drying: Whatever you do, don't wring out your fabric! That can distort the stitches. Instead, lay it flat between two clean, thick towels and gently roll them up to press out most of the water.
- Pressing: While the piece is still a little damp, place it face down on a fresh, fluffy towel. Press the back of the fabric with your iron on a medium setting. The towel is key here—it protects your stitches from getting flattened and helps them keep that lovely texture you worked so hard on.
A clean, perfectly pressed cross stitch is the foundation for a flawless finish. This simple prep work prevents puckering and ensures the fabric lays completely flat, making the framing process so much smoother.
Mounting and Framing Options
With your piece clean, pressed, and looking its best, it’s time for the fun part: deciding how you want to show it off! There are so many wonderful ways to display a baby announcement cross stitch, and each has its own unique charm. You have a lot more options than just a standard frame.
For a deeper dive into different techniques, our guide on how to finish cross stitch projects has even more great ideas.
Think of showcasing your needlework like you would cherished photographs. Just as a special 12 month baby picture frame protects and displays a year of memories, the right framing for your cross stitch preserves all the time and love you stitched into it.
Here are a few of my favorite display methods:
- Traditional Framing: This is the classic choice that protects your piece behind glass. The most important tip here is to use acid-free matting to create a small space between the glass and your work. This keeps the glass from touching and flattening your beautiful stitches.
- Hoop Framing: For a more modern, crafty feel, why not mount the finished piece right in a decorative wooden hoop? It’s simple, stylish, and looks absolutely perfect on a nursery wall.
- Pillow Finish: How about turning your stitching into a small, decorative keepsake pillow? This adds a wonderfully soft, tactile element to the announcement and makes it a huggable memento.
No matter which path you take, the goal is to mount the fabric so it’s taut and completely wrinkle-free. This ensures your beautiful stitches are the star of the show for many, many years to come.
Common Cross Stitch Questions Answered
As you're stitching away or even just mapping out your project, you're bound to have a few questions bubble up. It happens to all of us! Let's walk through some of the most common things people ask when creating a baby announcement, so you can stitch with complete confidence.
One of the biggest questions I hear is about timing. Can you really add the baby’s name, weight, and birth date after they arrive? Absolutely! In fact, that's how most people do it. Get all the decorative parts of the pattern stitched up beforehand, leaving the specific spots for the details blank. Once the little one makes their debut, you can fill in the final, most important pieces.
Choosing Materials and Patterns
Picking the right fabric can feel a little overwhelming if you're new to this. My go-to recommendation for anyone starting out is 14-count Aida cloth. The grid is really clear and easy to follow, which helps you get those nice, even stitches without squinting. Once you get the hang of it, you might want to try a 16 or 18-count fabric for a more refined, delicate look.
Another thing people ask about is picking colors, especially if they're not working from a pre-made kit. A great starting point is to pick three to five main colors that match the baby’s nursery theme. If you're drawing a blank, just hop online and look up a few color palette generators—they're a fantastic source of inspiration.
Pro Tip: When you're buying your floss, always, always grab one extra skein of your main colors. Trust me, there is nothing more frustrating than running out of a key color when you only have a tiny section left to go!
Digital patterns have also become incredibly popular. It’s no surprise, really. In 2023, they made up 35% of all birth announcement sales on major craft sites because they’re instant and easy to customize. For an average price of just $8 to $12, you can download a design and start stitching today. You can see some great examples of digital cross stitch patterns on Etsy.
Handling Common Stitching Issues
So, what do you do when you inevitably make a mistake? First, don't panic. It happens to the best of us. If it's a tiny error that no one will ever notice, my advice is often to just leave it be. But for a bigger goof, you can carefully snip the wrong stitches with a pair of sharp embroidery scissors and gently pull the threads out. The trick is to be patient and remember that the little imperfections are part of what makes a handmade piece so special.
Ready to turn a favorite photo into a stitched work of art? At Cross Stitched, our custom photo-to-pattern technology makes it incredibly simple. Just upload your picture, and we’ll send you a complete, all-in-one kit to create a personalized heirloom that will be loved for years to come. Start stitching your memories at https://cross-stitched.com.


