
Turning a cherished photo into a cross-stitch pattern is one of the most rewarding projects a stitcher can take on. At its core, the process is surprisingly simple: you just need to upload a high-quality image to a pattern-making tool, which then translates your picture into a stitchable, grid-based chart complete with DMC thread colours.
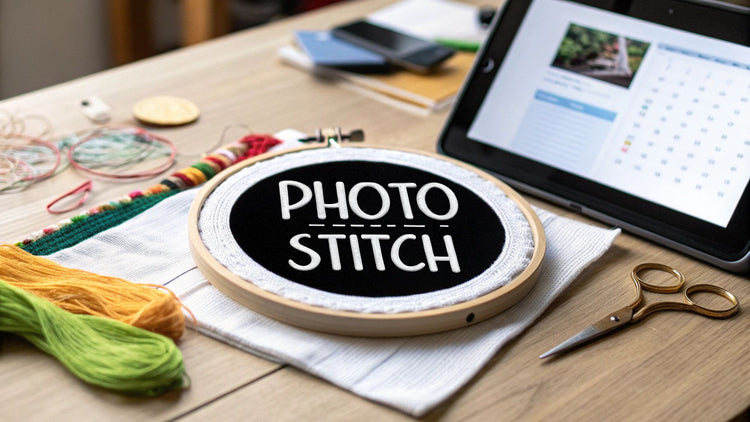
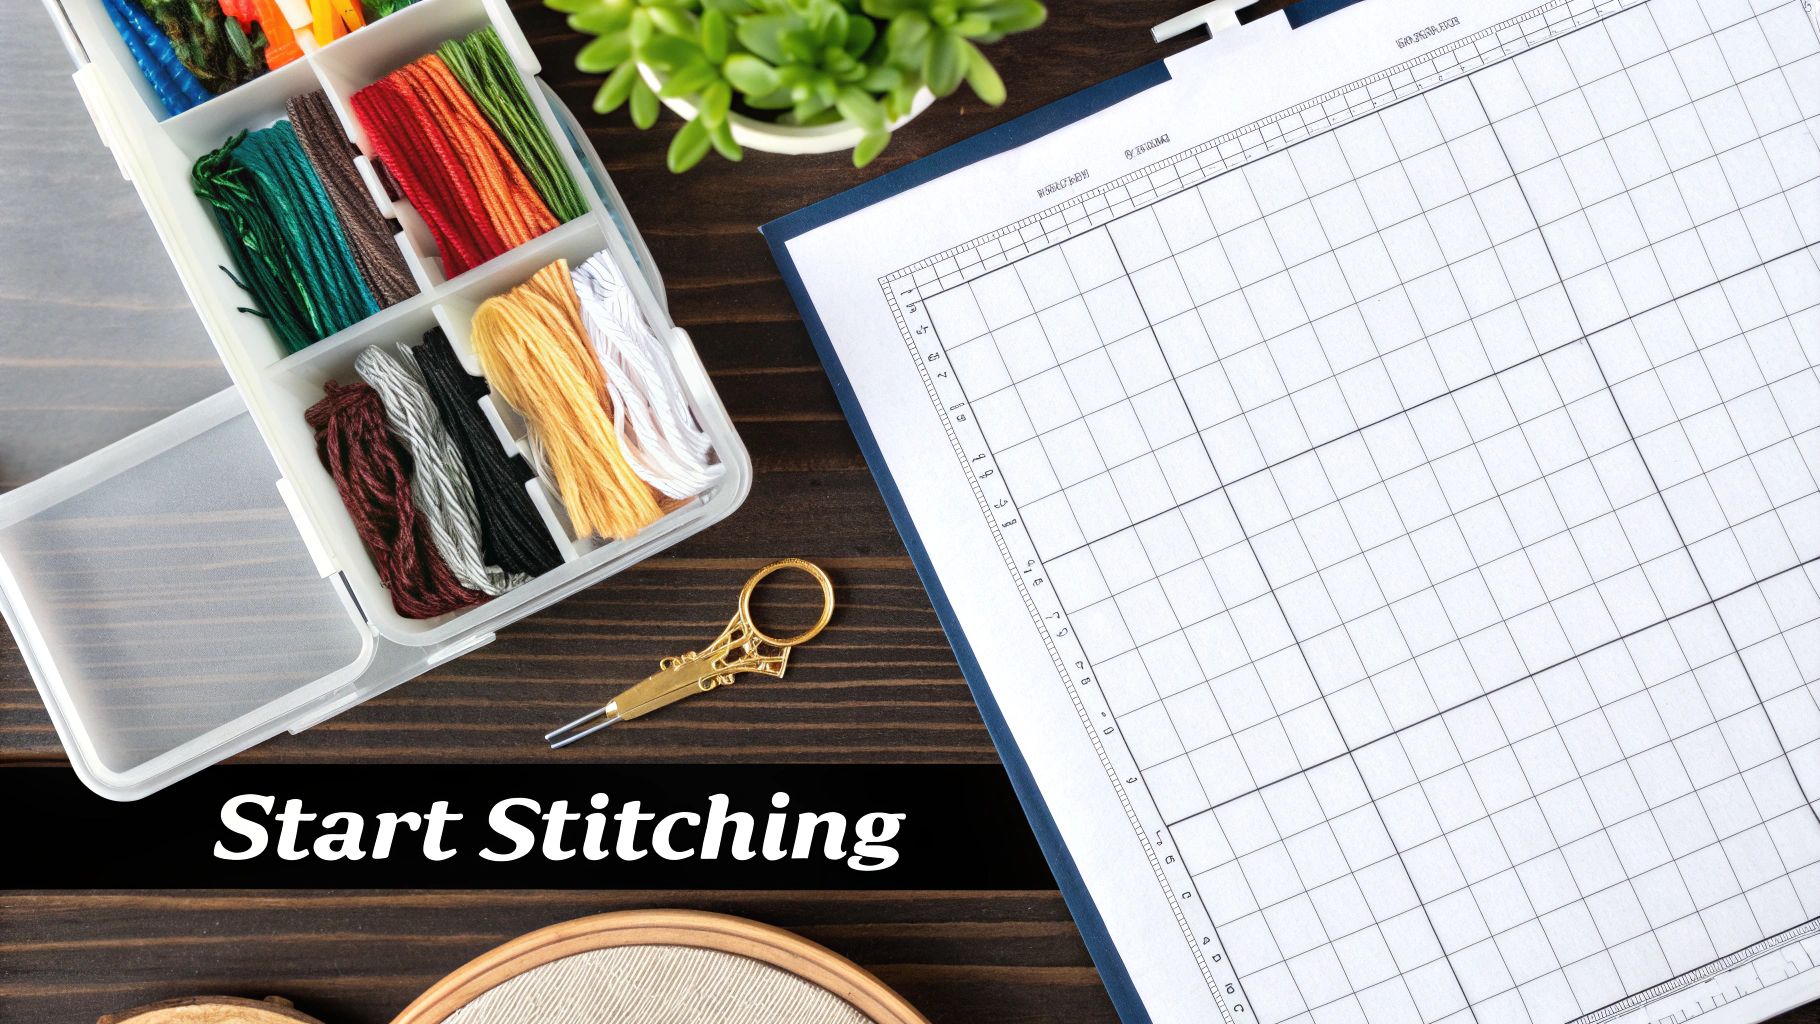
Turn Your Photos Into Timeless Stitched Art
Imagine stitching that perfect family portrait from last Christmas or the stunning sunset from your favourite holiday. This guide will walk you through exactly how to do that, taking the mystery out of creating your own custom cross-stitch patterns. Even if you've never designed anything before, you can absolutely do this.
We'll cover everything from picking the right photo and using a digital pattern generator to tweaking the final chart so your finished piece looks absolutely incredible. This is where your creativity truly shines.
From Picture to Pattern
The journey from a digital photo to a physical, stitched masterpiece is a straightforward one. It all starts with a memory you love and ends with a beautiful piece of needlework you can treasure for years. For an even easier start, companies like Cross Stitched can package your custom pattern into an all-in-one kit with every supply you need, letting you dive right into the fun part: the stitching.
This simple flowchart breaks down the entire process.
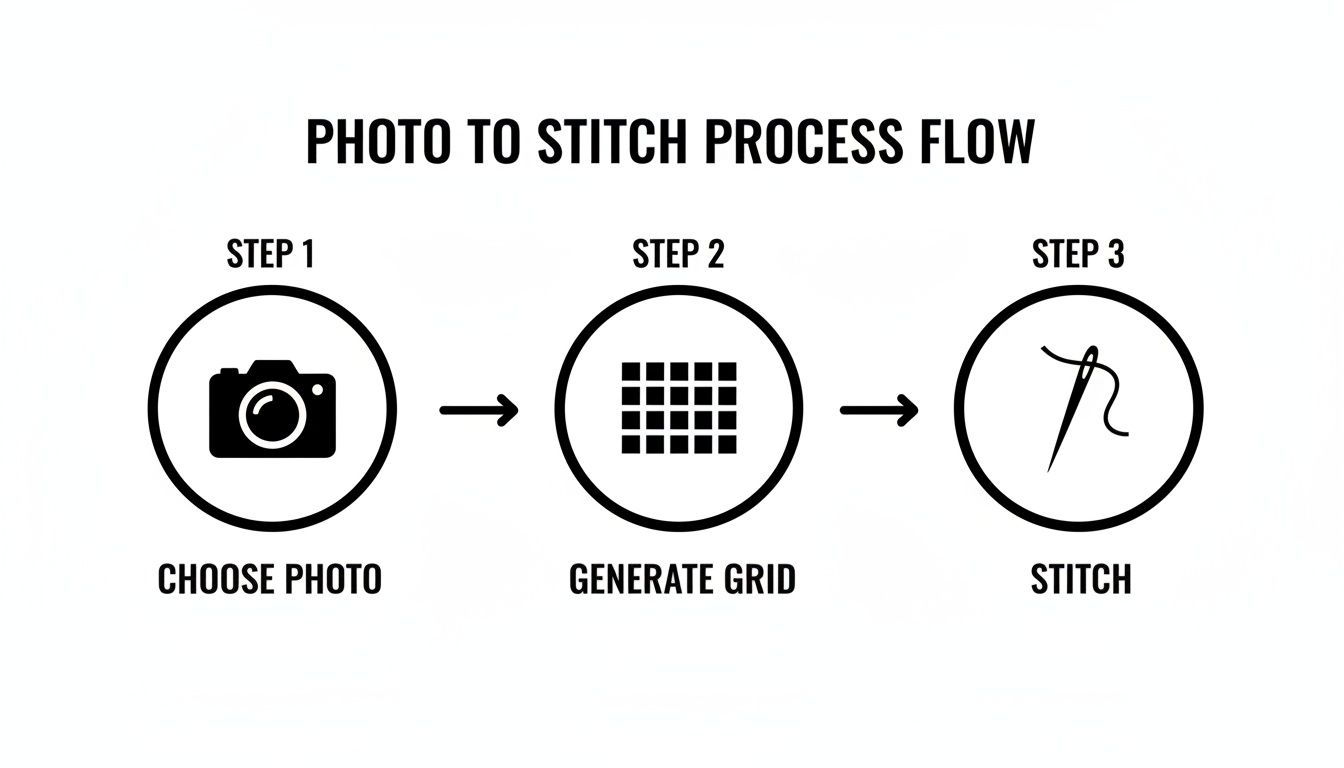
As you can see, it boils down to three main phases: choosing the perfect photo, generating the gridded pattern, and finally, bringing it to life with your needle and thread.
For those who want a quick overview, this table outlines the entire process from start to finish.
Quick-Start Guide to Photo Cross Stitch Conversion
| Stage | Key Action | Pro Tip |
|---|---|---|
| 1. Photo Selection | Choose a high-resolution, well-lit photo with clear subjects and a simple background. | Avoid busy backgrounds or photos with heavy shadows, as these can create muddy, confusing patterns. |
| 2. Pattern Generation | Upload your image to a pattern generator and select your desired fabric count, finished size, and number of colours. | Start with fewer colours (around 25-35) for a cleaner look. You can always add more if needed. |
| 3. Chart Refinement | Review the generated pattern. Manually edit stray stitches ("confetti") and simplify colour areas for a better result. | Zoom in on key features like eyes and mouths. A few manual tweaks here can make a huge difference. |
| 4. Final Preparations | Export or print your final chart, gather your DMC threads and fabric, and prepare to start stitching. | Print a black-and-white copy for tracking your progress and a colour copy for reference. |
This roadmap gives you a clear path to follow, turning what might seem like a complex project into a series of manageable steps.
Why Create a Custom Pattern?
There's something incredibly special about creating a personalized pattern. It’s a way to celebrate life's most meaningful moments, creating a gift or a family heirloom that no store-bought kit could ever match.
The real magic of converting a photo to a pattern is capturing the essence of a memory in thread. It’s not just about replicating an image; it’s about preserving a feeling and creating something truly one-of-a-kind.
Here are just a few reasons why so many stitchers fall in love with making their own photo patterns:
- Unmatched Personalization: You can stitch portraits of your children, your beloved pets, or that one perfect landscape photo. The possibilities are truly endless.
- Creative Control: You're the artist. You get to decide on the final size, the fabric count, and the exact colour palette, giving you total freedom over the project.
- Heartfelt Gifting: A hand-stitched piece from a personal photo is one of the most thoughtful and enduring gifts you can possibly give. It’s a true labour of love.
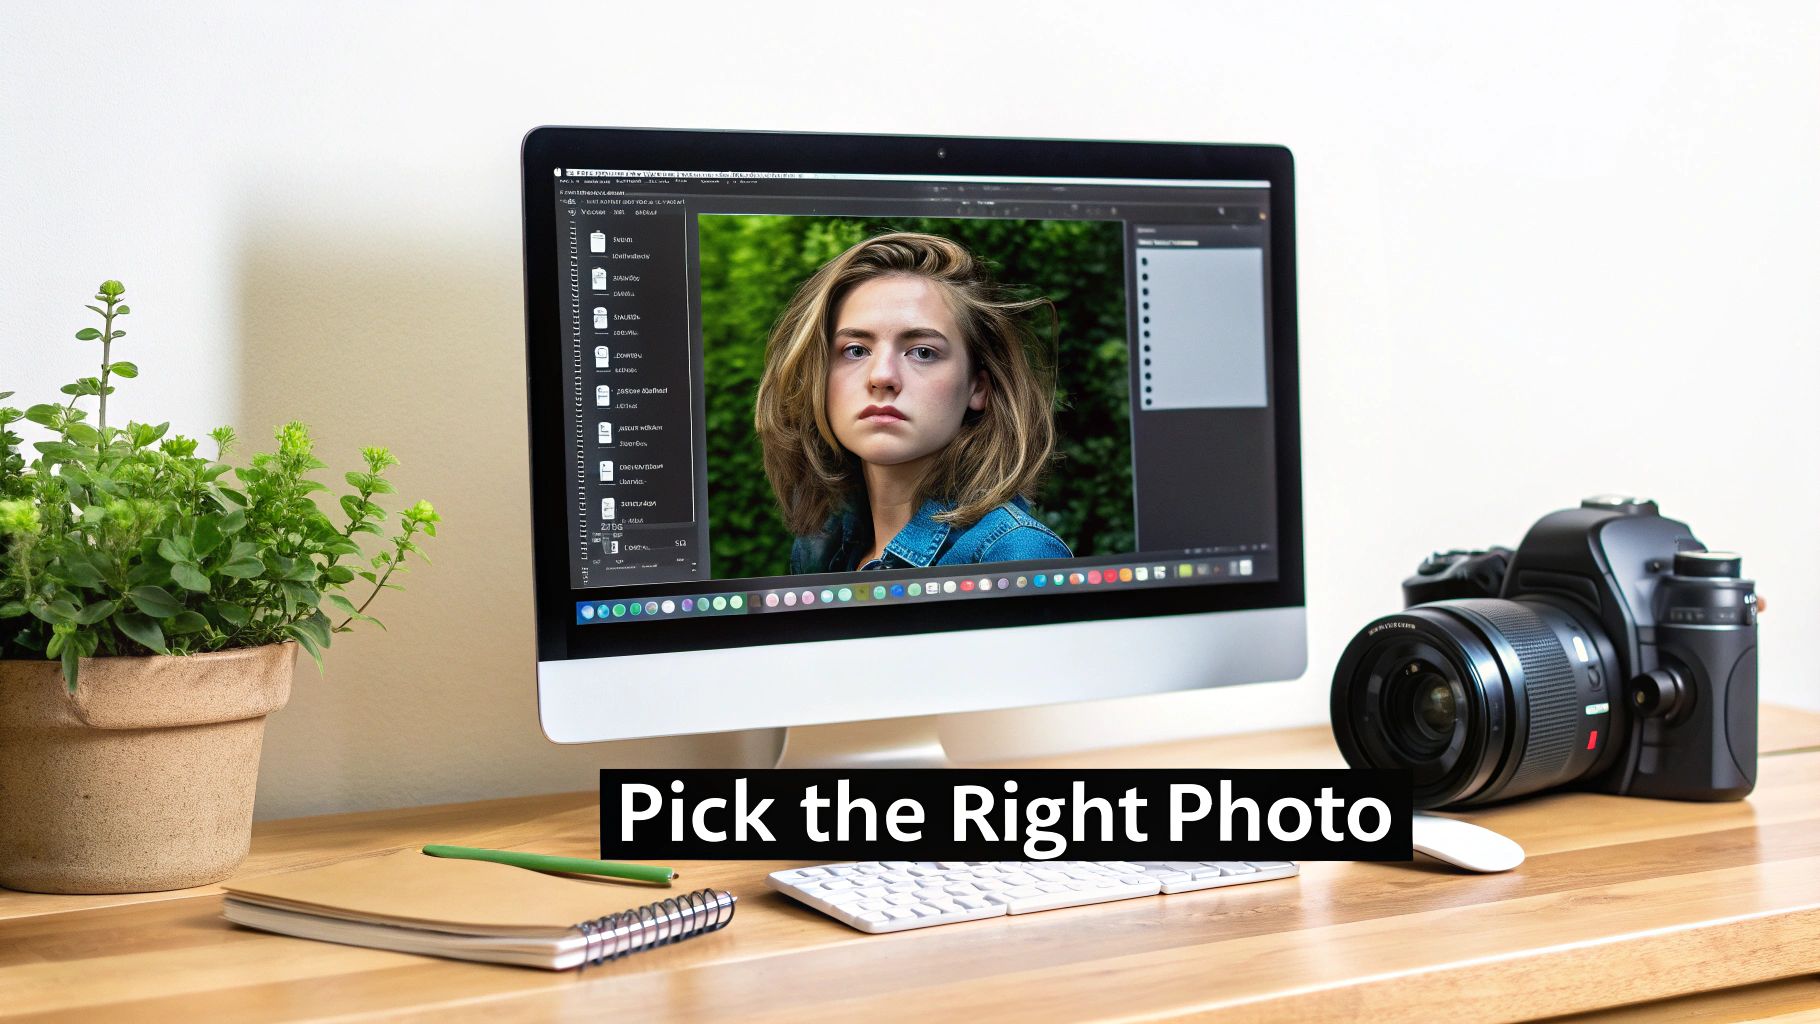
Choosing and Preparing the Perfect Photo
The secret to an incredible custom cross-stitch isn't the thread or the fabric—it's the photograph you start with. Not all pictures are destined to become stitched masterpieces. The whole process hinges on picking an image that works with the medium, not against it.
When you start with a great source photo, everything that follows is easier, and the finished piece ends up looking clear, vibrant, and instantly recognizable. The best photos for this kind of project all have a few things in common.
Look for Clarity and Contrast
First things first: high resolution is a must. A blurry or pixelated photo will only create a muddy, confusing pattern. You want an image that's crisp and clear, with well-defined lines, especially on your main subject. Think about a portrait where the eyes are in sharp focus compared to a slightly soft action shot—that focus makes all the difference.
Just as crucial is strong contrast. Photos with a clear distinction between light and dark areas translate beautifully into thread. An image where your subject really pops against the background will always produce a more dynamic and readable pattern than one with flat, even lighting.
Of course, before you can find that perfect shot, you need an organized photo library. Getting a handle on organizing digital photos can save you a ton of time and help you locate your best images quickly.
Simplify Your Subject and Background
When you’re sifting through photos, remember that simplicity is your best friend. A single, clear subject almost always gives a better result than a busy group photo.
Let’s look at a couple of real-world examples:
- A great choice: A close-up portrait of your dog sitting on a plain-coloured rug.
- A challenging choice: A photo of your entire family standing in front of a cluttered, heavily decorated Christmas tree.
The simpler composition lets the pattern-making software focus on the details that truly matter, like your pet’s sweet expression, without getting lost in a distracting background.
Your goal isn't just to replicate a photo; it's to capture its soul. A simple, high-contrast image with a clear focal point is the best way to create a pattern that's not only beautiful but actually enjoyable to stitch.
If you’re just starting out, simplifying the colour palette is also a smart move. As the experts at Caterpillar Cross Stitch often advise, clear-subject photos with high contrast convert best. Projects with fewer than 30 thread colours often produce beautifully stylized results and are about 85% faster to stitch! You can explore their advice on photo conversion for more tips on this.
Basic Edits Make a Big Difference
You don't need to be a Photoshop pro to vastly improve your source image. A few quick tweaks in any basic photo editor can take your picture from "okay" to "perfect for stitching."
- Crop with purpose. Cut out all the unnecessary background noise. If your subject is a person, try cropping in to focus on their face and shoulders. This simple action immediately makes them the hero of the image.
- Adjust brightness and contrast. Bumping up the contrast, even just a little, helps define edges and makes colours pop. A slight increase in brightness can also bring out details that were hiding in the shadows.
- Boost saturation (gently!). A small nudge to the saturation can make the colours in your photo richer, which will later translate into a more vibrant thread palette for your pattern.
These small adjustments only take a few minutes, but they pay off in a big way by dramatically improving the final pattern your software generates.
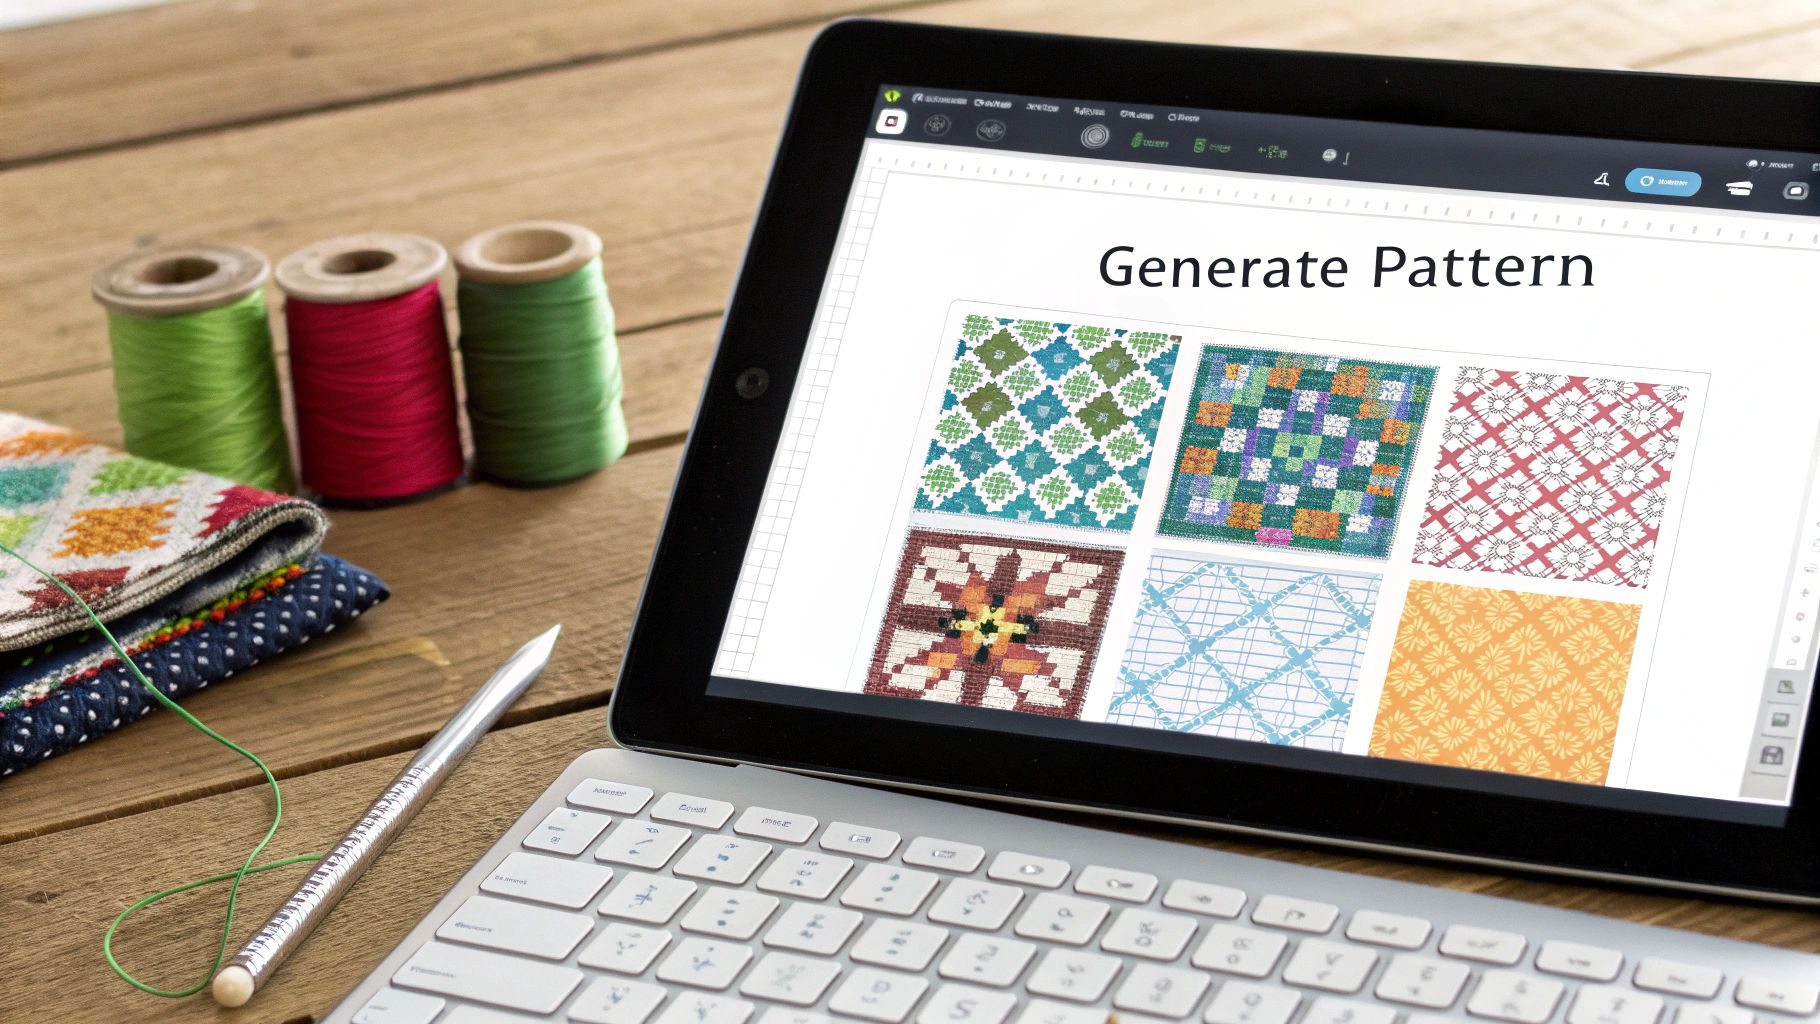
Using a Pattern Maker to Generate Your Chart
Okay, you've got your photo cropped, cleaned up, and ready to go. Now for the magic trick: turning that image into an actual, stitchable chart. This is where pattern generators come in. Think of them as a digital bridge, translating the pixels in your photo into a grid of cross stitches, complete with colour codes.
While there are a few options out there, we'll walk through the process using Pic2Pat, which is a fantastic, user-friendly tool we’ve integrated right into the Cross Stitched site. These programs do all the heavy lifting, figuring out the colour conversions and stitch placements. Your role is to give it the right instructions to create a pattern you'll genuinely love stitching.
Uploading and Setting Your Dimensions
First things first, you'll upload your prepared photo into the pattern maker. Once it's loaded, you’ll be faced with a few crucial settings that will define the size and feel of your finished project. This is your chance to make the foundational decisions for your piece.
You’ll need to decide on two key things:
- Fabric Count: This is all about the Aida fabric you'll be stitching on. It refers to the number of stitches you can make per inch. Common counts are 14, 16, or 18. A lower number like 14-count means your stitches will be larger, resulting in a bigger final piece. A higher number like 18-count gives you smaller, finer stitches for a more detailed and compact project.
- Finished Size: You can tell the software how big you want the final stitched piece to be, usually in inches or centimetres. The generator then crunches the numbers with your chosen fabric count to determine how many stitches wide and high the pattern needs to be.
For example, if you have a photo that’s 300x450 pixels and you choose 14-count Aida, your finished project would be around 21 by 32 inches. But if you switch to 18-count fabric with the same photo, the size shrinks to about 16.5 by 25 inches, packing all that detail into a smaller space.
When you upload your image, you'll see an interface like the one above. This is where you'll select your thread brand (we always recommend DMC), fabric count, and desired size—the three core controls for your pattern.
Choosing Your Thread Palette
After you've locked in the dimensions, you'll make what is arguably the most important artistic choice: the number of DMC thread colours. This one setting has a massive impact on both the final look of your project and how complex it will be to stitch.
More colours will give you more detail and realism, but it also means more frequent thread changes and a higher chance of "confetti"—those pesky, isolated single stitches of one colour.
Finding the right color count is a balance between photorealism and stitchability. A highly realistic portrait might need 50-60 colors, but you can get a beautifully stylized version with just 25-35, which is often a much more enjoyable stitching experience, especially for beginners.
Here's a quick guide to help you decide:
- 20-30 Colours: This range gives you a more graphic, almost posterized look. It’s perfect for logos, simple cartoons, or photos where you want a stylized, artistic vibe. It’s also the easiest to stitch.
- 35-50 Colours: I find this is the sweet spot for most photo conversions. It provides enough shades to capture nuance in portraits and landscapes without feeling overwhelming.
- 50+ Colours: Reserve this for large, highly detailed projects where photorealism is the ultimate goal. Just be prepared for a very complex stitch with many very similar shades.
Many of the best cross stitch pattern maker tools let you preview these changes, which is incredibly helpful. For a different approach, you could even play with a pixel art generator first to see how your image looks when simplified into a grid.
Once you’ve selected your settings, the tool will generate a preview. Take a moment to really look at it. Does it capture the feeling you want? Don't be afraid to go back and tweak the size or colour count until it looks just right. This is your project, so make sure you’re thrilled with the preview before you download the chart or order your kit.
Optimizing Your Pattern for the Best Results
The pattern your software spits out is a fantastic starting point, but it's rarely perfect. Think of it as a solid first draft. Now comes the fun part, where your own artistic eye can turn a good pattern into a great one that’s actually a pleasure to stitch. It’s all about catching the little quirks a computer algorithm can miss.
One of the biggest culprits you'll run into is what stitchers call "confetti". These are the lone-wolf stitches—single dots of color scattered randomly across your pattern. While they’re meant to add detail, they can be a massive pain, forcing you to constantly change your thread for a single stitch.
Learning how to make cross-stitch patterns from photos is as much about knowing what to remove as what to include. A project bogged down by too much confetti is a project you might never finish.
Cleaning Up Your Chart Manually
While reducing your color count from the get-go is the best way to fight confetti, a few rogue stitches will almost always sneak through. Your job now is to go through and manually simplify these areas to make the whole thing flow better.
Scan your chart for those tiny islands of color. You might spot a single stitch of DMC 3752 (a very light blue) adrift in a sea of DMC 3753 (a slightly darker, but very similar, blue). In almost every case, you can just stitch that odd one out with the surrounding color. The difference in the finished piece will be invisible, but the difference to your sanity will be huge.
I like to think of this as tidying up the pattern. You’re not altering the soul of the image; you’re just smoothing the rough edges and creating a more logical, enjoyable path for your needle.
This cleanup is especially critical in detailed areas like faces. A stray dark stitch on a cheek can look like an unintended blemish. Blending it into the surrounding skin tone will give you a much softer and more natural look.
Fine-Tuning Colors for Impact
Once the confetti is dealt with, you can look at the bigger picture: the colors themselves. Sometimes a generator’s choices are technically correct but just feel a bit… flat. This is where you get to put your artist hat on.
Don’t be afraid to take a little creative license here. A few small tweaks can completely change the mood of your project.
- Boost Vibrancy: If the colors look a little dull on the screen, try swapping a few suggested DMC threads for brighter, more saturated versions.
- Create a Mood: Dreaming of a vintage, sepia-toned portrait? Go for it! Manually replace the entire color palette with a curated selection of browns, creams, and greys.
- Merge Similar Shades: Does your pattern really need five almost identical shades of green for a tiny patch of grass? Probably not. Cut it down to two or three to simplify the process without losing the effect.
Even the most basic edits make a world of difference. Old-school needlework software showed that simple brightness and contrast adjustments could improve a pattern's clarity by 40%, and a good crop led to 90% better results by just focusing on the subject. If you want to dive deeper, classic video guides on the topic show just how much these edits can improve a pattern. Spending a few extra minutes optimizing now ensures the piece you pour hours into is polished, professional, and truly yours.
From Digital Chart to Tangible Project
Once you’ve put the finishing touches on your digital chart, it's time for the magic to happen: bringing your pattern off the screen and onto the fabric. This is the moment your personalized project really starts to come alive.
When you download your pattern files, you’ll usually find a few different versions. Some stitchers swear by charts with solid color blocks because they give you a great visual of what the finished area will look like. Personally, I often lean towards the black-and-white symbol chart—it’s much easier on the eyes during a long stitching session and definitely saves on printer ink. Many patterns now offer a happy medium: a chart that combines both colors and symbols.
Choosing Your Stitching Method
How you decide to follow your chart can make a huge difference in your stitching rhythm. While a printed pattern is the classic approach, digital tools are changing the game with some incredibly helpful features.
- Going Digital: If you have a tablet, an app like Pattern Keeper can be a total game-changer. You just import your PDF, and it lets you highlight the stitches you've completed and search for specific symbols. Trust me, when you're juggling dozens of colors in a complex piece, that search function is a lifesaver.
- Printing Your Chart: If you love the feel of a physical copy, I recommend printing the symbol version for the best clarity. Don't be afraid to blow it up and print it across several pages—your eyes will thank you. A simple highlighter is your best friend here for marking off sections as you finish them.
If you're just starting out, figuring out how to get the design onto your fabric can feel a bit daunting. We’ve got you covered with a detailed guide on how to transfer designs onto fabric that walks you through different techniques.
Gathering Your Supplies
With your chart in hand, the final step before you can make that very first stitch is to gather your materials. You've got two main paths here: you can assemble everything yourself, or you can go for the convenience of a kit.
The DIY route means you’ll be buying each piece individually—the right count of Aida cloth, every single DMC skein your pattern calls for, and a pack of tapestry needles. It gives you total control, but it also means a lot of list-checking and can be quite time-consuming.
The alternative? An all-in-one kit. It bundles every single thing you need into one neat package, completely removing the guesswork and letting you jump straight into the fun part without a massive shopping trip.
The trend of turning personal photos into cross-stitch patterns has really taken off. Services that integrate tools like Pic2Pat make it incredibly easy for anyone to upload a photo and get a complete kit. For example, you can create a project up to 24”x32” with pre-sorted DMC threads and fabric, which is perfect for beginners. You can see how these custom kits simplify the process on Etsy.
Opting for a kit from a service like Cross Stitched means your threads arrive already sorted and labeled, saving you what can honestly be hours of prep work. It also guarantees you get the exact size and type of fabric your project needs. It turns the whole setup process from a chore into a genuinely exciting unboxing, letting you focus on the pure joy of stitching your memory to life.
Common Questions About Turning Photos Into Cross-Stitch Patterns
 embroidery hoop.">
Once you start down the path of creating your own patterns from photos, you'll find a few questions tend to come up again and again. Getting these sorted out early will save you a lot of headaches and help you feel more confident as you bring your vision to life. Let's walk through some of the most common hurdles stitchers face.
One of the first, and most important, decisions you'll make is about your fabric. This choice directly affects both the finished size and how much detail you can pack into your piece.
What Is the Best Fabric Count for a Photo Pattern?
If you're aiming for a highly detailed piece, like a complex family portrait or a sweeping landscape, 18-count Aida is usually my go-to recommendation. The smaller squares allow you to create a much smoother, less "blocky" picture where all those fine details can really pop.
On the other hand, 14-count Aida is a fantastic all-rounder. It's easier on the eyes and a bit quicker to stitch, making it a great choice if you're new to this or just prefer a slightly larger stitch. It really comes down to balancing the detail you want with what you find comfortable to work with. If you're stuck in the middle, 16-count is a perfect compromise.
How Many Thread Colors Should I Use?
This is the big one: realism versus simplicity. It's a classic trade-off. To get a truly photorealistic result, a pattern might call for 50-60 different shades of DMC thread to capture every single nuance of light and shadow. The final piece can be absolutely breathtaking, but it's an incredibly complex undertaking.
For a more manageable project, especially your first photo conversion, I've found that aiming for 25-35 colors is the sweet spot. You still get a beautiful representation of your photo, but you dramatically cut down on the complexity and the dreaded "confetti" stitches. The stitching experience is just so much more enjoyable.
The goal isn't always a perfect replica; it's about creating a beautiful, stitchable keepsake. Don't be shy about simplifying the color palette. Often, the best projects are the ones that are a genuine pleasure to create.
Can I Turn Any Photo into a Pattern?
Technically, you can feed any image into a pattern generator, but that doesn't mean you'll get a good result. The photos that make the best cross-stitch patterns almost always have a few things in common:
- A clear, focused subject. You should know instantly what the "hero" of the image is.
- Good lighting and high contrast. The difference between light and dark areas helps define shapes.
- A simple, uncluttered background. A busy background will just compete with your main subject and create a muddled pattern.
Photos that are poorly lit, too busy, or lack a clear focal point tend to translate into a confusing mess of stitches. It's always worth taking a few minutes to crop and edit your photo first to really make your subject shine. To get a better feel for how colors translate to thread, check out our complete DMC thread colour chart.
What if My Pattern Has Too Much Confetti?
Ah, "confetti"—those pesky, single, isolated stitches that slow you down. If your pattern looks like a birthday party exploded on it, the most effective fix is to go back and generate it again with fewer colors. A smaller color palette naturally forces the software to group similar shades together. While some advanced programs let you edit these out by hand, simplifying the color count is always the best place to start for a cleaner chart and a more relaxing stitch.
Ready to turn a cherished memory into a work of art without all the guesswork? The custom kit generator at Cross Stitched handles the hard parts for you. Just upload your photo, select your size, and we'll send you an all-in-one kit with pre-sorted DMC threads, high-quality fabric, and everything you need to begin. Create your custom cross stitch kit now!


