
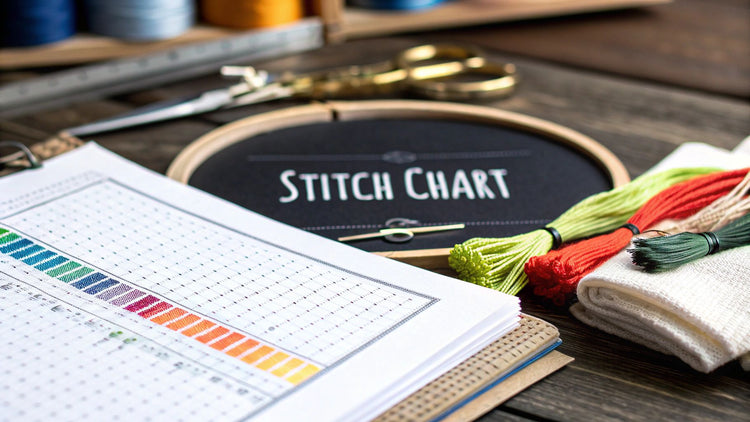
Think of a cross stitch stitches chart as the ultimate Rosetta Stone for your craft. It’s a detailed visual map that shows you the different stitches, what their symbols look like on a pattern, and what they're best used for. This is your go-to guide for turning a flat chart into a piece with incredible texture and detail.
Your Ultimate Cross Stitch Stitches Reference Chart
Welcome to your new best friend in stitching. This section is designed to be your quick-reference guide for the wonderful world of cross stitch, a printable companion for every project you tackle. It’s here to help you instantly recognize stitches, whether you know them by name, their symbol on the chart, or their intended effect.
Learning to master these different stitches is what separates a good project from a great one. It’s how you add that professional touch of depth and detail. Think of this as your visual index for the in-depth tutorials you'll find later in this guide. Use it to jump straight to specific instructions or just as a quick memory-jogger when you're in the middle of a piece.
This handy graphic breaks down the three core elements you'll find in our chart and on pretty much any cross stitch pattern out there.
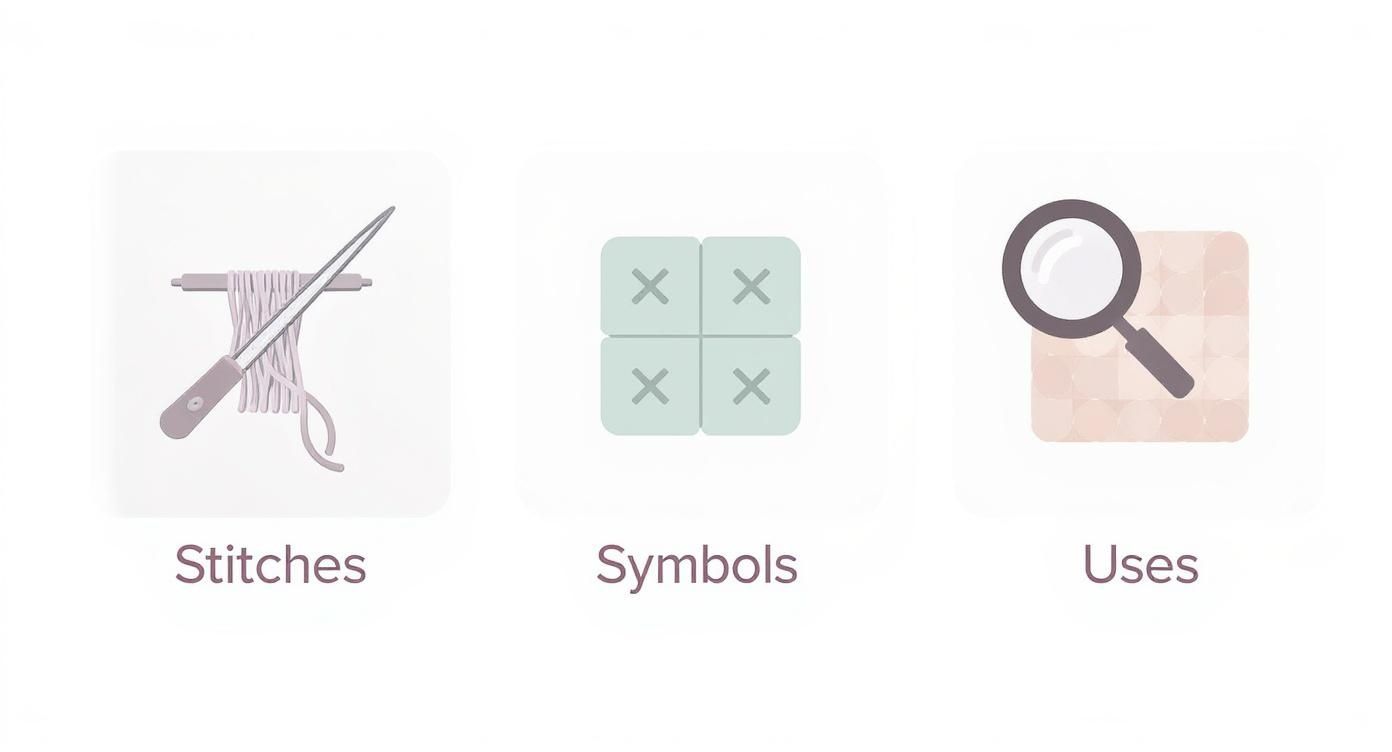
Each piece of the puzzle—the stitch itself, its symbol, and how you use it—comes together to bring a pattern to life.
How to Use the Quick Navigation Chart
Below, you'll find a quick-lookup table designed to get you the information you need, fast. Each entry gives you a snapshot of a stitch and a link to its full, detailed tutorial. This way, you can find exactly what you're looking for without having to scroll through pages of text.
| Stitch Name | Common Symbol | Primary Use | Internal Link |
|---|---|---|---|
| Full Cross Stitch | X, / \ | Filling in the main areas of a design. | Link to Full Cross Stitch Section |
| Half Cross Stitch | / or \ | Creating backgrounds, shading, or a sense of distance. | Link to Half Cross Stitch Section |
| Backstitch | —— | Outlining shapes, adding fine details, and lettering. | backstitch">Link to Backstitch Section |
| French Knot | • (Solid dot) | Adding small, raised dots for eyes, flowers, or texture. | Link to French Knot Section |
This chart is a fantastic learning tool if you're just starting out and a handy refresher for even the most seasoned stitchers. As your skills develop, you’ll also want to get familiar with our complete DMC thread colour chart to make sure your floss choices are always spot-on.
How to Read Cross Stitch Patterns and Symbols
Think of a cross stitch pattern as a map. Before you can stitch a single thread, you have to learn how to read it. This is probably the most essential skill you'll develop, and once you get the hang of it, you can tackle any project with confidence. We’ll walk through the grids, symbols, and keys that are the building blocks of every design.
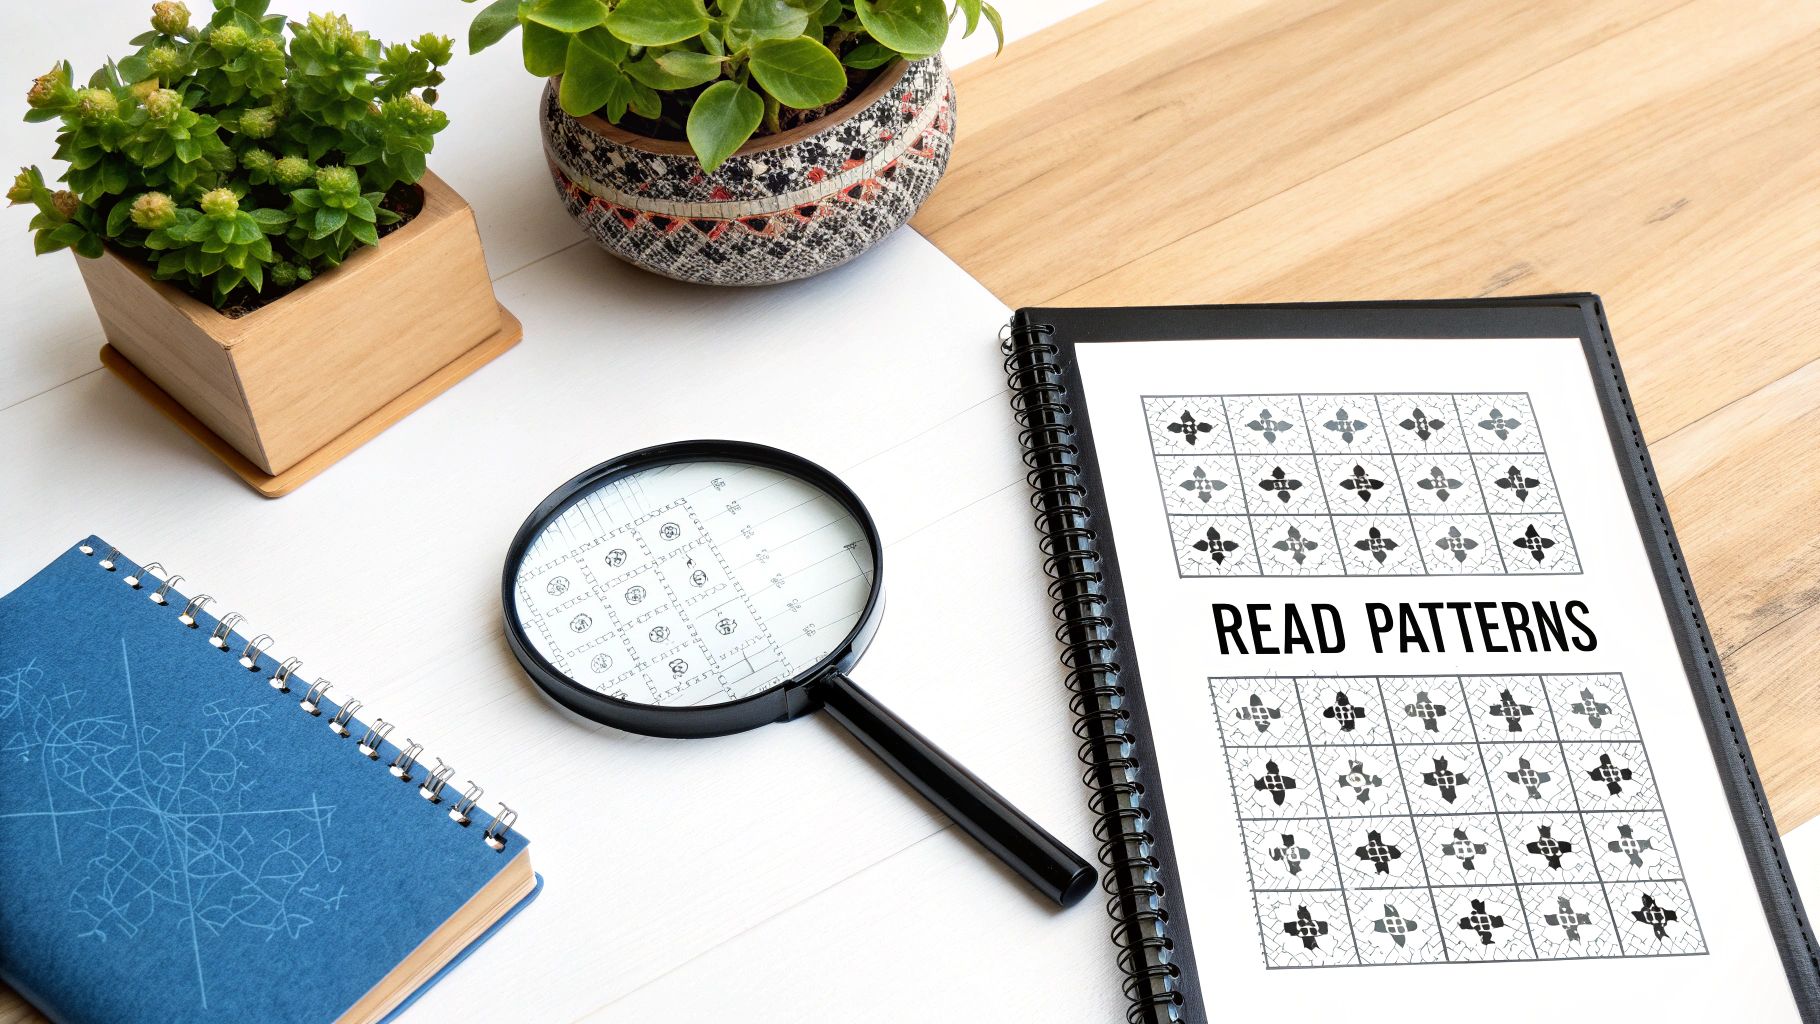
At its core, a cross stitch chart is a simple grid. Each square on that grid corresponds to one stitch on your fabric. The symbols printed inside those squares tell you which color floss to use.
Decoding the Pattern Key or Legend
Every good pattern comes with a key (also called a legend), which is basically your translator. This chart is your best friend, linking the symbols on the grid to the actual threads you'll be using.
Here's what a standard pattern key breaks down for you:
- Symbol: This is the specific character—maybe a star, a triangle, or a letter—that you see on the pattern grid.
- Floss Number: This is the color code for the thread you need. It's most often a DMC number, like DMC 310 for black.
- Color Name: You'll usually see a description of the color, like "Jet Black," to go with the number.
- Strand Count: This tells you how many strands of floss to use for a particular stitch. The standard is often two strands for a full cross stitch on 14-count Aida, but it can vary.
A classic beginner mistake is ignoring the strand count. If the pattern says use two strands but you use all six from the skein, you’ll end up with bulky, distorted stitches that can even pucker your fabric. Always check the legend before you start a new color!
Understanding Common Stitch Symbols
Designers definitely have their own styles, but many symbols have become pretty standard in the cross stitch world. A detailed cross stitch stitches chart is a great resource, but you'll see these basics in almost every pattern:
- Full Cross Stitch: This is usually a colored square or a symbol that completely fills a grid square.
- Backstitch: This appears as a bold line that follows the grid lines. It's used for outlining details and adding text.
- French Knot: You'll typically see this as a solid dot on the chart, often placed where the grid lines intersect.
The love for needlecrafts has absolutely exploded, which means there's a huge variety of patterns out there, from simple little designs to massive, full-coverage masterpieces. The needlecraft market is booming and projected to hit an incredible USD 63,872.9 million by 2035, which just shows how much people love this craft. You can read more about this trend in recent market analysis reports.
Once you've mastered reading the grid and the key, you've unlocked the ability to turn any designer's vision into a real, beautiful piece of stitched art.
Getting to Grips with the Core Stitches
Every incredible cross-stitch piece you've ever admired, no matter how detailed or complex it looks, is built from a few fundamental stitches. Once you get these down, you'll have the skills and confidence to tackle pretty much any pattern out there. Think of this section as your reference guide for those essential building blocks.
We'll walk through the absolute must-knows: the Full Cross Stitch, Half Stitch, and the fractional stitches that add all the detail. Knowing how to make the stitch is one thing; knowing when to use it is what really takes your work to the next level.
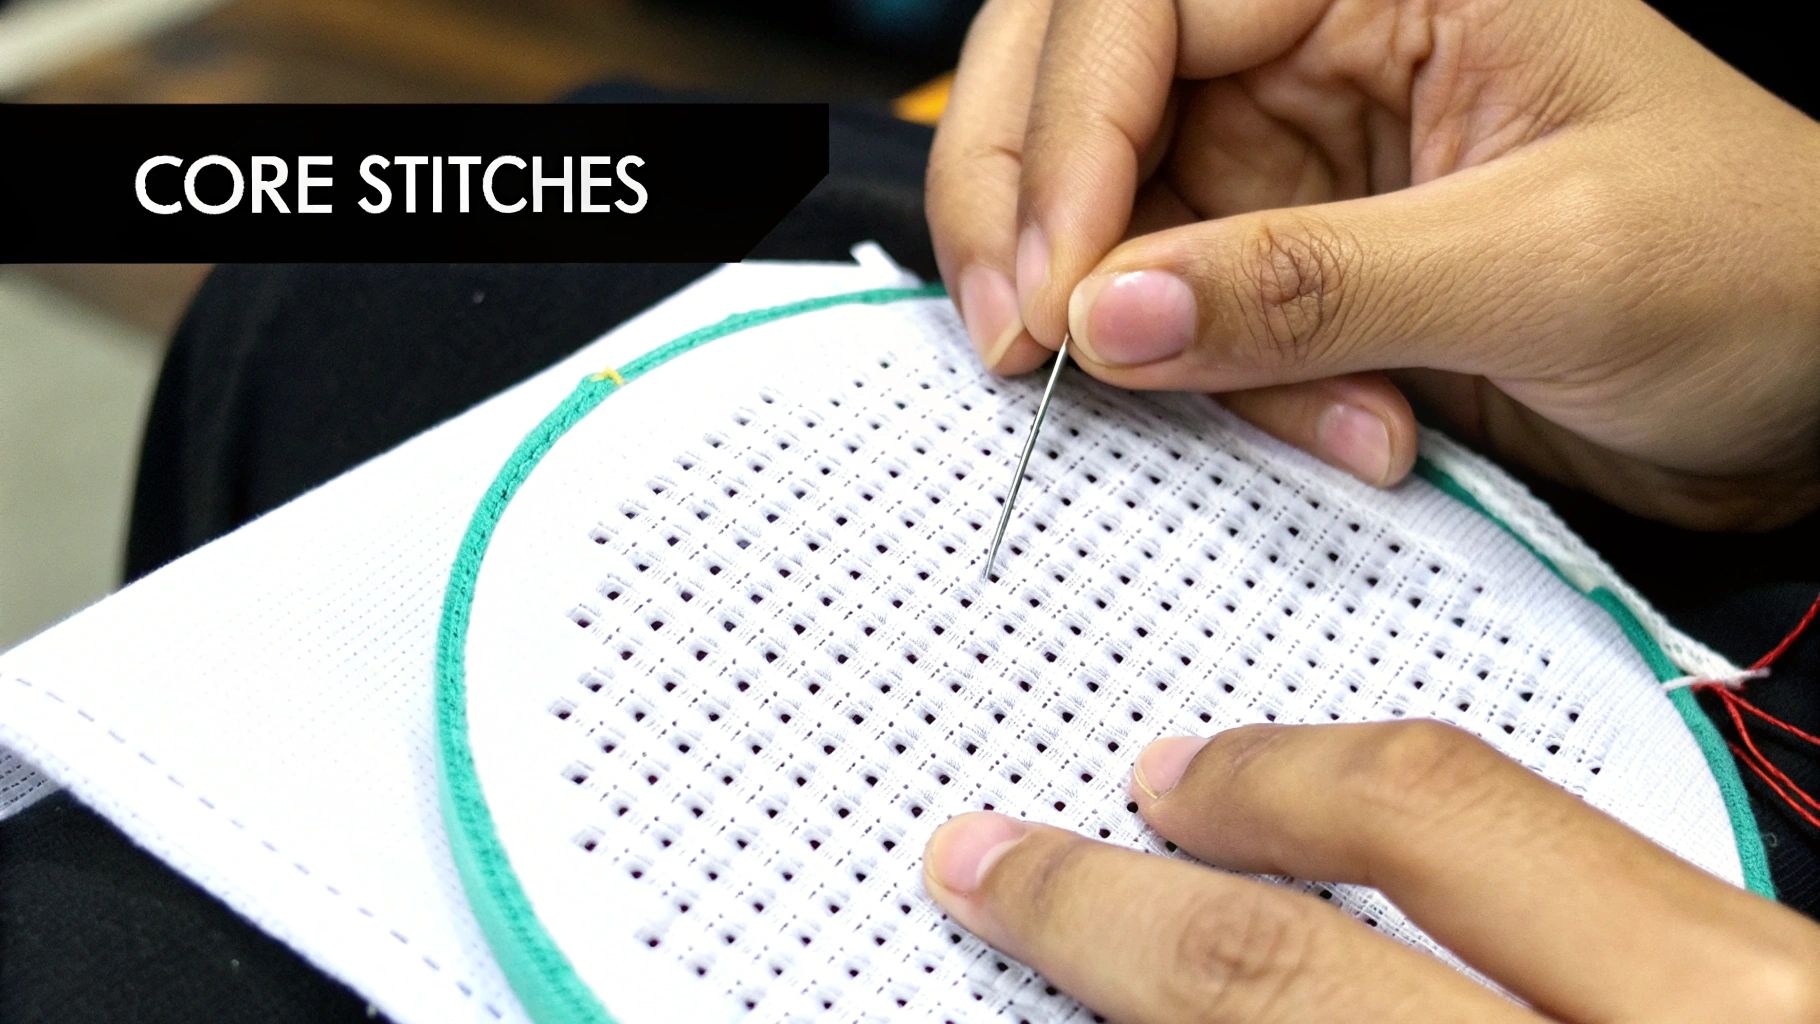 embroidery hoop, with 'CORE STITCHES' text.">
It’s amazing how these simple techniques, and slight variations of them, can create such different textures and effects in your finished project.
The Full Cross Stitch
This is it—the heart and soul of cross-stitch. The Full Cross Stitch is what you'll use for the bulk of any design, filling in areas of color. On a pattern chart, a symbol that takes up an entire grid square, usually looking like an 'X', is calling for a full stitch.
You'll hear stitchers talk about two main ways to form a Full Cross Stitch: the English and Danish methods. They both get you to the same place, but one is often better than the other depending on what you're stitching.
- The English Method (Stitch-by-Stitch): You complete one 'X' entirely before moving on to the next one. This is your best friend when you have single, confetti-like stitches or sections with lots of color changes. It keeps the back of your work much neater by avoiding long, messy strands of thread.
- The Danish Method (Row-by-Row): Here, you work a whole row of the bottom diagonal stitches first (like this: /////), then come back across the row laying the top stitches over them (like this: \\). This method is much faster and more thread-efficient for large, solid blocks of a single color.
No matter which method you prefer, the golden rule for a clean, professional look is consistency. Make sure every single top stitch on your project lies in the same direction. This simple habit helps the light reflect evenly off the floss, giving your piece a beautiful, smooth finish.
The Half Stitch
The Half Stitch is exactly what it sounds like: one diagonal leg of a Full Cross Stitch. Your cross stitch stitches chart will typically show this as a single diagonal slash (/) or () covering just half of a grid square.
Don't underestimate this simple stitch! It’s a powerful tool for adding depth and perspective. Designers often use Half Stitches for backgrounds, skies, or shadows to make them recede and appear softer than the main subject, which is stitched with full crosses.
It’s a subtle touch that can make your work look far more dynamic and three-dimensional.
The Quarter Stitch and Three-Quarter Stitch
When you need to stitch smooth curves or capture fine details, fractional stitches are non-negotiable. Without them, things like lettering, faces, or anything rounded can end up looking blocky and pixelated.
- Quarter Stitch: This is just a short, straight stitch from a corner to the very center of a fabric square, right where the threads intersect. You’ll often see them used in pairs to create tiny details.
- Three-Quarter Stitch: This stitch is a combination of a Quarter Stitch and a Half Stitch. It’s perfect for defining a sharp corner where two different colors meet inside a single square, giving you a much cleaner line than a Full Cross Stitch ever could.
The love for DIY crafts like needlework just keeps growing. In fact, the global embroidery market is projected to hit USD 7,731.47 million by 2033, which shows just how much people value these creative skills. You can dig into more of the data in this comprehensive market report.
Adding Detail With Linear and Outline Stitches
While full cross stitches build the colorful body of your design, it's the linear stitches that give it that sharp, polished look. Think of them as the ink pen in your stitching toolkit; they draw crisp outlines, define shapes, and create elegant text. Without them, a project can feel a bit soft or unfinished, no matter how beautiful the colors are.
Learning a couple of key outline stitches can completely change your work. They're what turn fuzzy shapes into clearly defined objects and simple color blocks into a detailed picture. The two you'll encounter most often on any cross stitch stitches chart are the Backstitch and the Stem Stitch.
The Essential Backstitch
Backstitch is easily the most common outlining stitch you'll come across in cross stitch, and for good reason—it creates clean, distinct lines. It forms a series of small, connected dashes that are perfect for adding sharp detail, defining the edges of shapes, and forming most types of lettering. On a pattern chart, you'll see it shown as bold lines tracing the colored blocks.
To make a backstitch, you bring the needle up one stitch length away from your starting point, then go back down into the hole you started from. It's this "backwards" motion that creates such a solid, clean line on the fabric.
It's an incredibly versatile stitch that brings instant clarity to a design. For a complete walkthrough of the technique, from starting your thread to turning corners like a pro, check out our guide on how to backstitch in our detailed guide.
The Graceful Stem Stitch
Where Backstitch shines with straight lines and sharp angles, Stem Stitch is what you'll want for smooth, flowing curves. This technique produces a lovely, rope-like texture that's ideal for stitching things like flower stems, twisting vines, or delicate script. Because the stitches overlap slightly, you avoid the segmented look that can sometimes happen with backstitching on a curve.
The movement is a bit different. You bring your needle up, go down a stitch length away, but then bring it back up halfway between those two points, making sure to keep your working thread to one side. It’s this overlapping method that creates its signature twisted, corded look.
Pro Tip: The secret to a beautiful Stem Stitch line is consistency. Always keep your working thread on the same side of the needle—either always above it or always below it—as you work. If you switch sides mid-line, you’ll interrupt that lovely twisted pattern.
Choosing Between Backstitch and Stem Stitch
So, which one should you use? It really depends on the effect you're after. Neither is "better" than the other; they just serve different artistic roles.
This quick comparison should help you decide:
| Feature | Backstitch | Stem Stitch |
|---|---|---|
| Appearance | Clean, separate, dashed lines | Twisted, rope-like, continuous line |
| Best For | Geometric shapes, block letters, sharp outlines | Curves, vines, flowing script, natural elements |
| Texture | Flat and defined | Rounded and slightly raised |
| Flexibility | Excellent for sharp corners | Superior for smooth, gradual curves |
Ultimately, choosing the right linear stitch adds a thoughtful layer of detail that can elevate your project from a simple craft to a true piece of art. The best way to get comfortable is to experiment with both and see for yourself which one will best bring your vision to life.
Bringing Your Work to Life With Decorative Stitches
Ready to take your projects from flat to fantastic? Decorative and specialty stitches are where the real magic happens. When you move beyond the standard cross stitch, you start introducing textures that you can actually see and feel, adding a whole new level of dimension to your work. These are the little details that elevate a simple pattern into a genuine piece of art.

In this part of our cross stitch stitches chart, we’ll get hands-on with two of the most popular and versatile decorative stitches out there. We'll break down the classic French Knot—perfect for creating tiny, raised dots—and the elegant Satin Stitch, which is your go-to for filling areas with smooth, solid color. Once you get the hang of these, you'll unlock a huge range of creative options.
It's no surprise that the global cross-stitch market is booming, with its value of USD 0.15 billion in 2024 expected to climb to USD 0.22 billion by 2033. More and more people are discovering just how rewarding it is to create detailed, textured needlework. You can read more about the growing popularity of cross-stitch as a hobby in recent market analyses.
The Timeless French Knot
The French Knot is a small, knotted stitch that creates a raised dot, adding a delightful pop of texture. It might look a little tricky at first, but I promise, a bit of practice is all it takes to get it right. These little knots are perfect for details like flower centers, tiny eyes on a stitched character, or a smattering of stars in a night sky.
Foolproof French Knot Method:
- Bring your needle up through the fabric where you want the knot to sit.
- With your non-dominant hand, hold the thread taut. Now, wrap the thread around your needle twice. (Pro tip: wrap once for a smaller knot, or three times for a chunkier one).
- While keeping the thread tight, push the needle's tip back into the fabric right next to where it came out—but not in the very same hole. This is the key to stopping the knot from slipping through to the back.
- Gently pull the working thread so the wraps tighten snugly against the needle.
- Still holding that tension, slowly pull the needle all the way through to the back. The knot will form right on the surface, firm and secure.
The Smooth Satin Stitch
When a pattern calls for a small area to be filled with solid, glossy color, the Satin Stitch is exactly what you need. This technique is all about laying down a series of straight stitches right next to each other to completely cover a shape. It creates a smooth, almost shiny surface that provides a beautiful contrast to the pixelated texture of regular cross stitches.
Think of it for bold lettering, the glint on a metallic object, or the silky folds of clothing in a design.
To get that flawless, smooth finish, the secret is keeping your stitches perfectly parallel and packed tightly together, but without any overlapping. A great trick is to first outline the shape with Backstitch or Stem Stitch; this gives you a slightly raised edge to tuck your Satin Stitches against, resulting in a super clean and professional look that really makes that part of your design stand out.
Selecting the Right Fabric and Thread for Your Project
The foundation of any great cross stitch piece is a thoughtful choice of materials. Think of it like a painter selecting the perfect canvas and paints—your fabric and thread are just as critical. Getting this right from the beginning is the best way to ensure the vision in your head translates beautifully into a finished piece.
Before you even thread a needle, it helps to have all your supplies handy. Having a well-organized portable sewing kit with threads and needles means you're ready for anything and can keep your focus on the stitching itself.
When it comes to thread, six-strand embroidery floss is the industry standard, with brands like DMC being a favorite for many stitchers. The magic of this floss is that you can separate it, choosing how many strands to use for a particular stitch. This single decision heavily influences the thickness and coverage of your stitches.
Understanding Thread Strands and Fabric Count
The real art lies in the interplay between your thread and your fabric. A term you'll hear constantly is fabric count, which simply means how many stitches you can fit into one inch of fabric. A lower count, like 11-count Aida, has big squares for bigger stitches. A higher count, like 18-count Aida, has much smaller squares, allowing for more detailed work.
To get that plush, professional look, you have to match your strand count to your fabric count. Use too few strands, and the fabric will peek through your stitches. Use too many, and your stitches will look bulky and distorted, crowding each other out.
Here’s a quick-glance guide that works for most projects:
- 11-Count Aida: Use 3 strands for solid, gap-free coverage.
- 14-Count Aida: This is the most popular choice, and 2 strands is the sweet spot.
- 16-Count Aida: 2 strands works perfectly here too, just with a slightly denser look.
- 18-Count Aida: Stick with 2 strands for full crosses, though many stitchers drop down to 1 strand for delicate details like backstitching.
This relationship is truly fundamental to the craft. We dive much deeper into this topic in our guide to understanding cross stitch fabric counts. As always, your pattern is your best friend—the designer will almost always recommend the ideal strand count to achieve their intended look.
Choosing Your Cross Stitch Fabric
While thread is a key ingredient, the fabric is your canvas. There are three main types you'll run into, and each one offers a different stitching experience.
Aida Cloth: This is where nearly every stitcher begins. Aida is a cotton fabric woven with a very clear grid pattern, making it ridiculously easy to see exactly where your needle should go. It’s stiff enough to hold its shape well, which is a huge help when you're just starting out.
The blocky, easy-to-read weave of Aida cloth is perfect for training your eyes and hands. It helps you build confidence and develop a feel for consistent tension and stitch placement.
Evenweave Fabric: Think of evenweave as the next step up. Fabrics like Jobelan or Lugana are woven with single threads going over and under, resulting in a smooth, high-thread-count surface. Stitches are typically done "over two" threads, which gives you the same stitch size as Aida of half the count (for example, stitching over two on 28-count evenweave is identical in size to stitching on 14-count Aida). It’s the perfect choice for patterns loaded with fractional stitches since you can easily pierce the fabric between the main holes.
Linen: For many, linen is the peak of cross stitch fabric, offering an unmatched organic texture. Just like evenweave, it's usually stitched over two threads. What makes linen unique are the natural variations in the thickness of its threads, known as slubs. These slubs give finished pieces a beautifully rustic, heirloom quality, but they can also make it a bit trickier for newcomers to maintain perfectly even stitches.
Frequently Asked Questions About Cross Stitching
As you get more into needlework, you're bound to run into a few questions. This section is designed to be a quick-reference troubleshooting guide for those common little hiccups and queries that pop up while you're stitching. Think of it as having an experienced stitcher right beside you.
While a good cross stitch stitches chart is invaluable for figuring out symbols, sometimes you just need a bit more practical advice. Let's dig into those "what if" and "how do I fix this" moments every stitcher faces.
How Do I Know How Many Strands of Floss to Use?
The number of floss strands you use is a big deal—it completely changes how much your stitches cover the fabric. The main factor guiding this choice is your fabric's count, or how many stitches fit into one inch.
A great starting point is using two strands on 14-count Aida, which is a very common combination that gives you nice, full coverage. If you switch to a finer fabric like 18-count Aida, two strands still works beautifully, but you might want to drop down to a single strand for any delicate backstitching to keep it from looking too heavy.
Always double-check your pattern's key first, though. The designer has already figured out the best strand count to get the look they were going for. But if you're ever in doubt, just remember this simple rule: lower fabric counts generally need more strands, and higher counts need fewer.
What Is the Difference Between Backstitch and Stem Stitch?
Both of these are fantastic for outlining, but they create completely different effects and you usually can't just swap one for the other. A backstitch creates a neat, segmented line, kind of like a dotted line drawn with thread. This precision makes it perfect for outlining sharp, geometric shapes or creating crisp, clear lettering.
On the other hand, a stem stitch forms a lovely, twisted line that looks a bit like a tiny rope. It flows beautifully, which is why it's the go-to choice for elegant curves, trailing vines, or flowing, script-style text. Because the stitches overlap, you get a continuous, fluid line without the breaks you see in backstitching. So, for sharp definition, grab your backstitch; for graceful curves, the stem stitch is your best friend.
The real secret to a perfect French Knot is all in the tension. After you've wrapped the floss around your needle, push the tip back into the fabric right next to where it came out—but not through the exact same hole. Now, gently pull the working thread so the wraps snug up against the needle before you pull it all the way through to the back.
My French Knots Are Always Loose. What Am I Doing Wrong?
Don't worry, this is probably the single most common frustration in all of cross stitch! The good news is that it's an easy fix once you get the hang of managing your thread tension. The most important part of the process happens just before you pull the needle through.
Once you’ve wrapped the floss around the needle, poke the tip back into the fabric very close to where you came up. Before you do anything else, give the working end of the floss a gentle tug so those wraps tighten neatly around the needle's shaft. Keep holding that tension with one hand while you use your other hand to pull the needle and thread all the way through. That one little step is what makes the knot form up tightly against the fabric every single time.
Ready to turn a cherished photo into a stitched masterpiece? At Cross Stitched, we create custom, all-in-one kits from your own pictures, making it simple to start your next project. You can find a new design or create your own personalized kit today at https://cross-stitched.com.


