

There's something truly special about turning a treasured photograph into a cross-stitch pattern. It’s a way to freeze a moment in time, not just in a frame, but with thread and needle. The whole process starts with a digital image and, with the help of some pretty clever software, ends up as a stitchable chart that transforms a personal memory into a handmade work of art.
Bringing Your Photos to Life, One Stitch at a Time
Think about that perfect shot—a candid family portrait, your goofy pet in mid-nap, or a stunning vacation landscape. Now, imagine translating that image into a tangible, textured piece of art. This isn't just another craft project; it’s about creating a personal heirloom, a story told in stitches. The process marries modern digital tools with the timeless skill of needlework, effectively letting anyone step into the role of a pattern designer.
This blend of old and new has sparked a huge resurgence in cross-stitching. The global market was valued at around USD 0.15 billion in 2024 and is still climbing. A big reason for this is the accessibility of tools that let stitchers create completely custom designs from their own photos. You can read the full research about the cross-stitch market's growth and trends to see just how popular this has become.
The Basic Workflow
So, how do you get from a digital file on your phone to a finished piece on your wall? The path is actually more straightforward than you might think. You don't need to be a graphic designer or a tech guru to get started. The heart of it is simply picking a great photo and letting a pattern generator do the initial heavy lifting. After that, it’s all about making your own creative tweaks.
This diagram breaks down the three core stages of the journey.
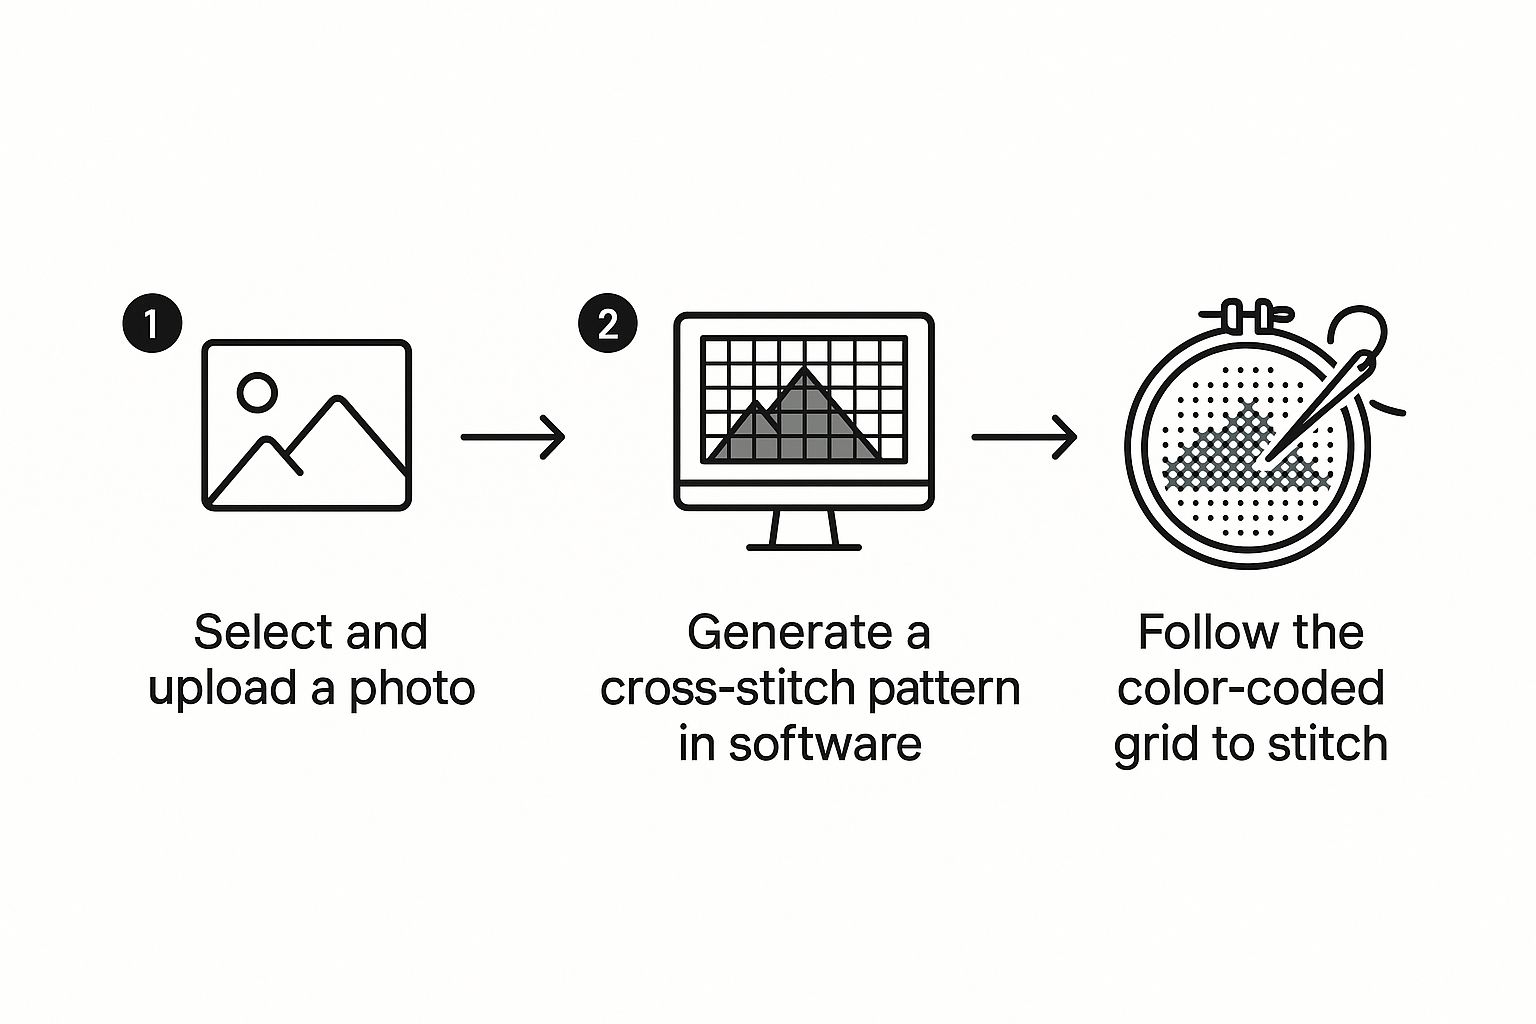
As you can see, the software-driven conversion is the bridge between your digital picture and the hands-on craft of stitching.
To give you a clearer picture, here's a quick summary of what's involved at each stage of the process.
Photo to Pattern Process at a Glance
| Stage | Primary Goal | Key Consideration |
|---|---|---|
| 1. Photo Preparation | Select and edit the best possible source image. | High resolution, good contrast, and a clear focal point are essential. |
| 2. Pattern Generation | Convert the digital image into a stitchable grid chart. | Choosing the right software and setting the final size and color count. |
| 3. Refinement & Stitching | Clean up the pattern and begin the physical craft. | Manually adjusting colors, removing "confetti" stitches, and gathering materials. |
This table lays out the fundamental steps, but the real magic happens in those details.
The most crucial part of the process is the generation and refinement stage. Starting with a great photo makes everything easier, but it's your personal adjustments to the digital pattern that will truly make the final piece sing.
In this guide, we'll walk through each of these steps in detail. We'll cover everything from picking the perfect picture and the best conversion tools to fine-tuning your chart for a smooth, enjoyable stitching experience. By the time you're done, you'll feel ready to turn any photo you love into a beautiful cross-stitch project.
Choosing a Photograph That Converts Beautifully
The journey from a digital photo to cross stitch pattern really begins before you even touch a piece of software. I can't stress this enough: the image you start with is the single most important factor that will make or break your final project. Think of it as the foundation of a house—if it's weak, nothing you build on top of it will be stable.
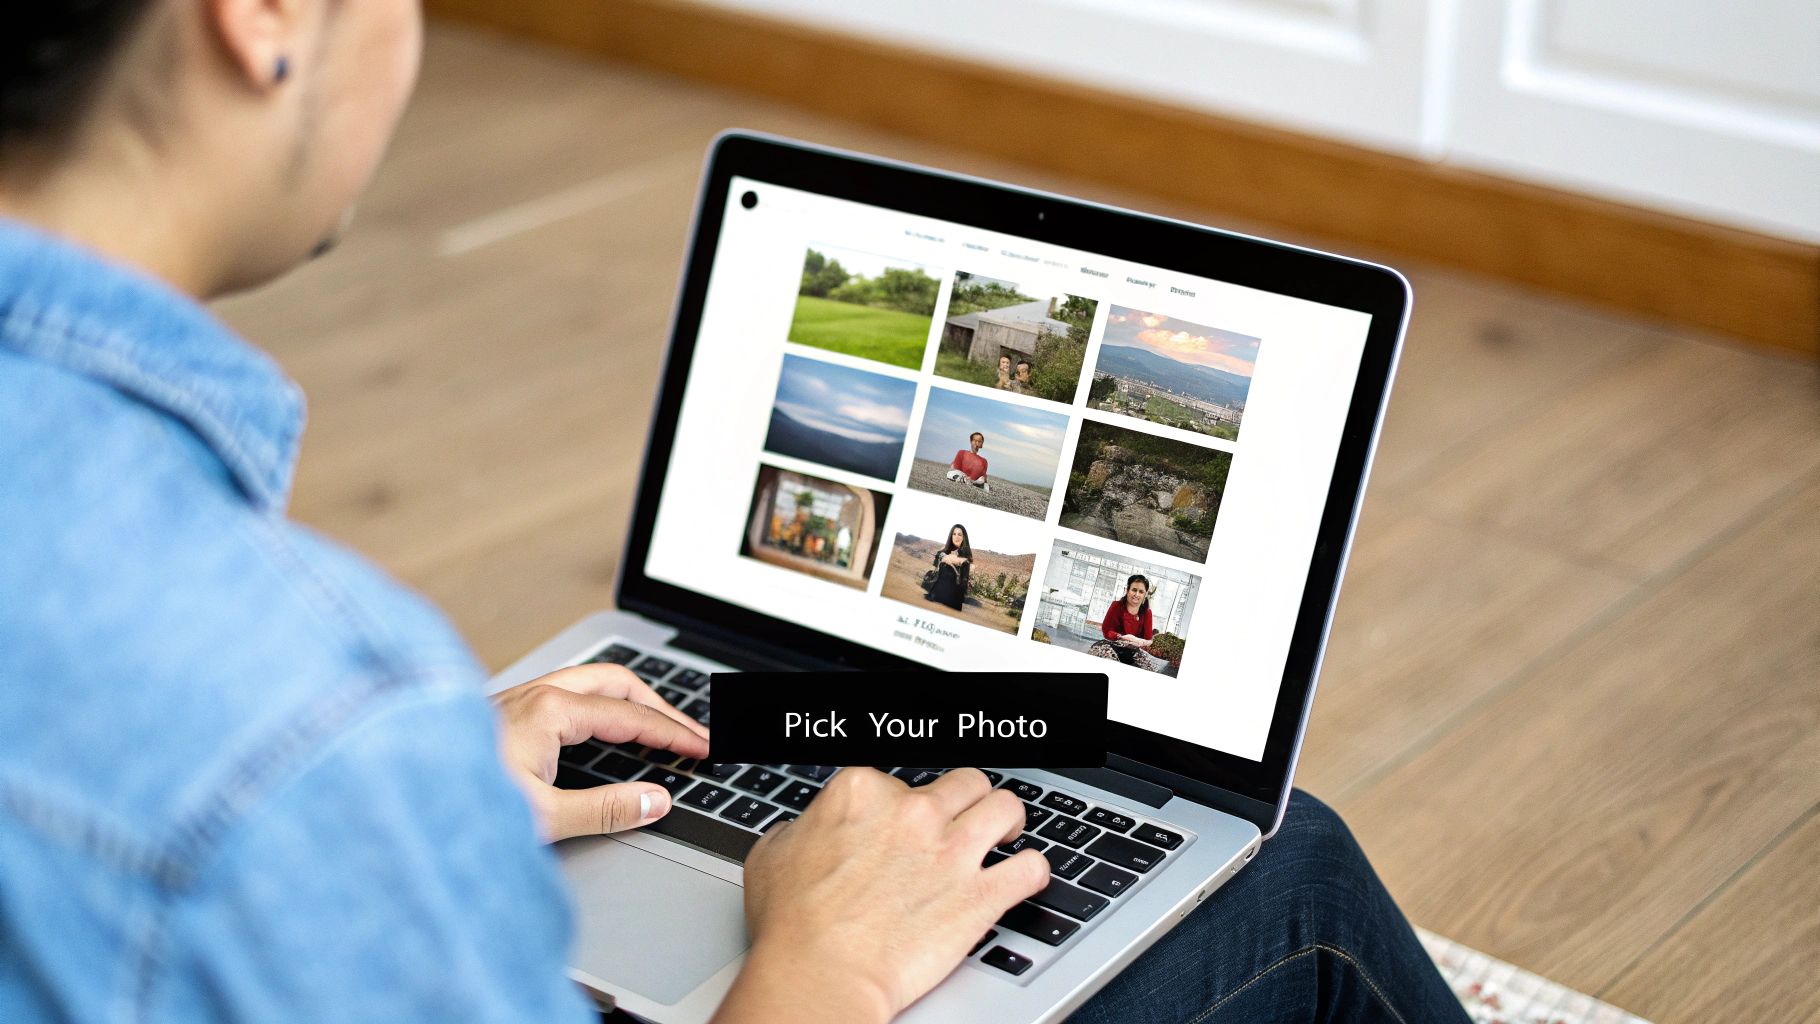
It’s a common pitfall to assume any photo that looks great on your phone screen will automatically work. Unfortunately, that’s not the case. An image can look stunning on a backlit screen but translate into a muddy, confusing mess of stitches once converted. The trick is learning to see your photos the way a pattern generator does and picking one it can interpret cleanly.
What to Look for in a Source Photo
From my experience, the best photos for conversion all share a few key traits. If you focus on finding an image with these qualities, you'll save yourself hours of digital cleanup and frustration down the line. A high-resolution photo is absolutely non-negotiable; it gives the software all the pixel data it needs to create a detailed, accurate grid.
Keep an eye out for these essential qualities:
- A Clear Focal Point: Your subject—whether it's a person, a beloved pet, or a landmark—needs to be sharp and in focus. The software can't invent detail that doesn't exist, so starting with a blurry image will only ever give you a blurry pattern.
- A Simple Background: Busy, cluttered backgrounds are the enemy. They compete for attention with your main subject and create unnecessary complexity in the pattern. A plain wall, a soft-focus landscape, or a simple studio backdrop is perfect because it lets your subject shine.
- Good, Even Lighting: Soft, natural light is your best friend here. It illuminates your subject beautifully without creating harsh, dark shadows or "blown-out" highlights where all the detail is lost to pure white.
A well-lit portrait with a simple, out-of-focus background is the gold standard for photo-to-pattern conversions. It has a clear subject, minimal background noise, and a balanced range of light and shadow for the software to work with.
Potential Problems to Avoid
Knowing what to look for is only half the battle; knowing what to avoid is just as crucial. Certain photographic flaws get magnified tenfold during the conversion process, leading to a pattern that's a nightmare to stitch. Learning to spot these red flags is a skill that will serve you well.
For instance, a photo taken in low light often looks grainy or has digital "noise." When the software sees this, it translates those random pixels into hundreds of misplaced, single-colored stitches. Stitchers call this "confetti," and it’s incredibly tedious to work with.
Deep, dark shadows are another major problem. They just become large, undetailed blocks of black or dark grey thread, losing all the subtle texture you might have seen in the original photo. On the flip side, overly bright spots, where the light washes out all color, become flat, uninteresting patches of white. A beautiful sunset photo is a classic trap—those subtle gradients are nearly impossible for thread to replicate, often resulting in jarring, unrealistic bands of color in your final piece.
Finding the Right Photo Conversion Tool for You
Choosing the right software is probably the single most important decision you'll make when turning a photo into a cross-stitch pattern. The tool you pick directly impacts everything—the quality of your final chart, how much control you have, and honestly, how much time you'll spend fiddling with the design. Your choices really boil down to two main camps: powerful desktop software and quick-and-easy online generators.
Desktop programs are usually a one-time purchase, but they give you an incredible amount of control over the final product. I like to think of them as the professional-grade kitchen of pattern making. Everything you could possibly need is right there, from super-detailed color manipulation to editing individual stitches by hand. They're perfect for stitchers who know they’ll be creating a lot of custom patterns or for those who want to get every single detail just right.
On the other hand, online generators are fantastic because you can use them instantly. Many are free or have very affordable options, which makes them a great way to dip your toes in the water without a big commitment. They're built for speed and simplicity, letting you upload a picture and get a usable pattern in just a few minutes.
Desktop Software vs. Online Generators
So, which path should you take? It really depends on your project goals, your budget, and how comfortable you are with new software. Neither one is "better"—they just serve different purposes. If you're tackling a complex family portrait that you plan to spend months stitching, the precision of a desktop program is worth its weight in gold. But for a quick, fun pattern of your cat? An online tool is probably all you need.
Here’s a quick look at how they stack up:
| Feature | Desktop Software (e.g., PC Stitch) | Online Generators (e.g., Pic2Pat) |
|---|---|---|
| Control | High level of manual control over colors, symbols, and grid edits. | Limited; primarily automated conversion with basic adjustments. |
| Cost | Typically a one-time purchase, can be more expensive upfront. | Often free, with paid tiers for advanced features. |
| Convenience | Requires installation and learning a new program. | Accessible from any browser, no installation needed. |
| Features | Advanced options like backstitching, fractional stitches, and custom floss palettes. | Core functionality focuses on basic pattern generation. |
This should give you a clearer idea of which option aligns with what you're looking to achieve.
Must-Have Features to Look For
No matter which route you go, there are a few features that any good conversion tool absolutely must have. These are the non-negotiables that ensure you end up with a high-quality, stitchable pattern that actually looks like your photo. Modern software like PC Stitch lets you upload a digital photo and convert it into a detailed chart in minutes. It also gives you tools to adjust brightness, contrast, and saturation to get the image just right before it generates the pattern. These programs also let you pick from popular floss brands (DMC, Anchor, Kreinik), so you can be sure the colors will be a close match.
When you're looking at different options, make sure they include:
- Floss Brand Selection: Being able to choose your preferred brand (like DMC or Anchor) is critical for getting the colors right.
- Final Size Control: You have to be able to set the final dimensions of your project, whether in inches or by the total stitch count.
- Color Count Adjustment: Good software lets you manually change the number of thread colors. This helps you find that sweet spot between a highly detailed design and one that isn't a nightmare to stitch.
The ability to manually edit the generated chart is a total game-changer. This is what lets you clean up stray "confetti" stitches and merge similar colors, transforming a machine-generated draft into a polished, artistically refined pattern.
Ultimately, the best tool is the one that helps you bring your vision to life. To see how these features come together in a real project, you can learn more about custom cross stitch patterns from a photo in our article. Making a smart choice now will save you a lot of headaches later and make the whole process so much more enjoyable.
How to Refine and Perfect Your Digital Pattern
Okay, the software has worked its magic and spat out a first draft of your pattern. Don't start stitching just yet! Think of this as your raw clay; now comes the real artistry of sculpting it into something special. This is where you, the stitcher, add the human touch that transforms a basic photo to cross stitch pattern into a piece of art.
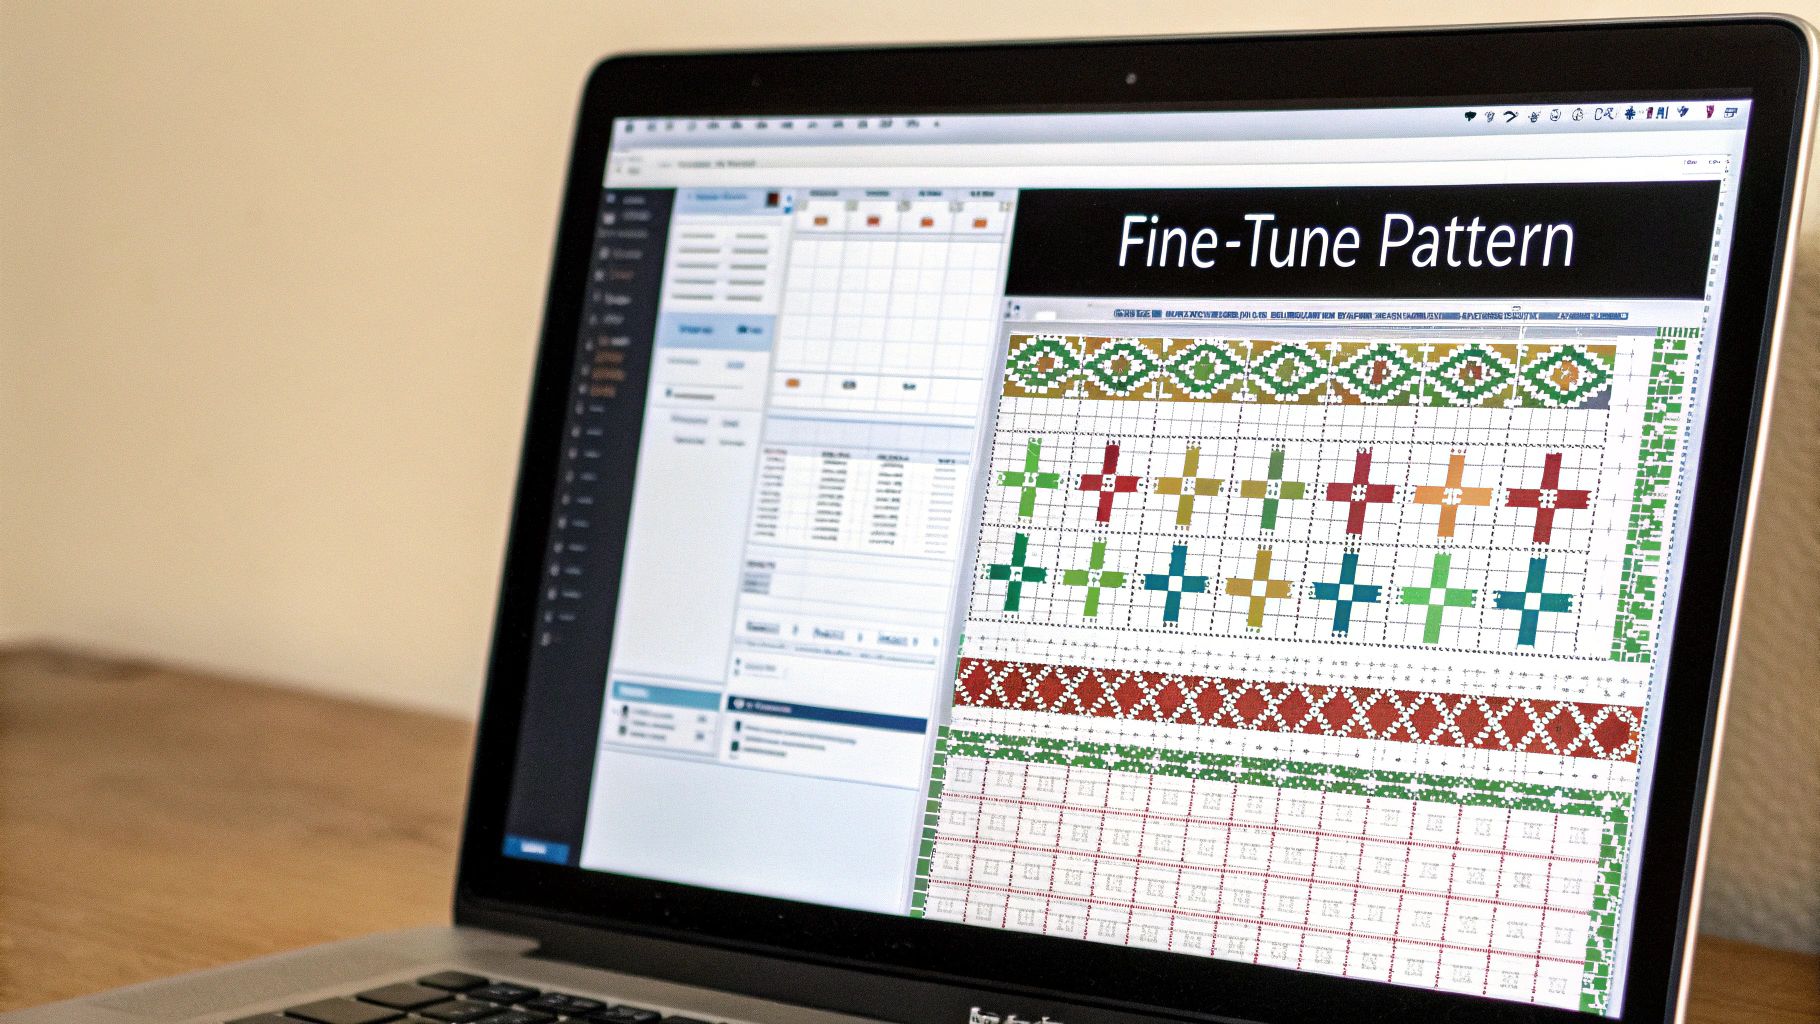
The first pattern you see is usually a very literal, almost pixel-for-pixel translation of your photo. That’s often not what makes a great stitched piece. Your goal is to find that sweet spot between capturing the detail of the original image and creating a pattern that's actually enjoyable to work on. This is where the most important decisions are made.
Tackling Confetti and Simplifying Your Color Palette
One of the biggest giveaways of a computer-generated pattern is what we call "confetti"—those annoying, isolated single stitches of colour scattered all over the place. They pop up because the software is trying to replicate every subtle shade in the photo, leading to a chart that’s a headache to stitch. The fix? Smart color reduction.
A complex portrait might look fantastic with 40-50 colors, but the software could easily suggest 70 or more. Your first task is to get that number under control.
Start by hunting for colours that are nearly identical. For example, the program might have given you three shades of dark grey for one shadow area that are barely distinguishable. Manually merge them into a single, dominant shade. This simple edit can instantly get rid of hundreds of confetti stitches and makes the whole area look much smoother.
Think of yourself as a digital painter, not just a stitcher. You're blending colors and smoothing transitions. Every tweak you make improves the final piece and, more importantly, your stitching experience.
Smoothing Pixelated Sections and Merging Colors
Once you've trimmed down the colour list, it's time to zoom in on the important parts of your pattern—think faces, flowers, or any delicate focal point. Software often creates blocky, pixelated lines that just don't look natural when stitched. Here’s how you can smooth things out by hand.
- Round out curves: If a smile or a cheekbone looks jagged and harsh, step in and manually change a few key stitches. This can create a much softer, more organic line.
- Replace stray stitches: Find those single, out-of-place stitches that are completely surrounded by another colour. Change them to match their neighbours to clean up the visual "noise."
- Create gentle gradients: Look for spots where colours shift abruptly. If the transition feels too harsh, you can add a few stitches of a medium shade to create a smoother blend between the light and dark areas.
The tools we have today are a huge leap forward for the craft. The rise of computer-aided embroidery makes it possible to get incredible precision when converting photos, but it's the stitcher's eye that really personalizes the final artwork. You can find more insights on how technology has improved embroidery productivity on businessresearchinsights.com.
Final Review and Symbol Check
Before you call it done, do one last check. I like to either print a small test section or just step back and look at it from a distance on my screen. Does it still feel like the original photo? Are the colors balanced?
This is also the perfect moment to check your symbols. Make sure every color has been assigned a clear symbol that’s easy to tell apart from the others. If two symbols are too similar (like a filled circle and a hollow one), change one of them now. Trust me, this tiny step will save you from a lot of frustration and potential mistakes down the road. For a closer look at the entire process, check out our guide on how to turn a picture into a cross stitch pattern. Your perfected chart is the blueprint for your entire project, so it’s well worth the extra time to get it right.
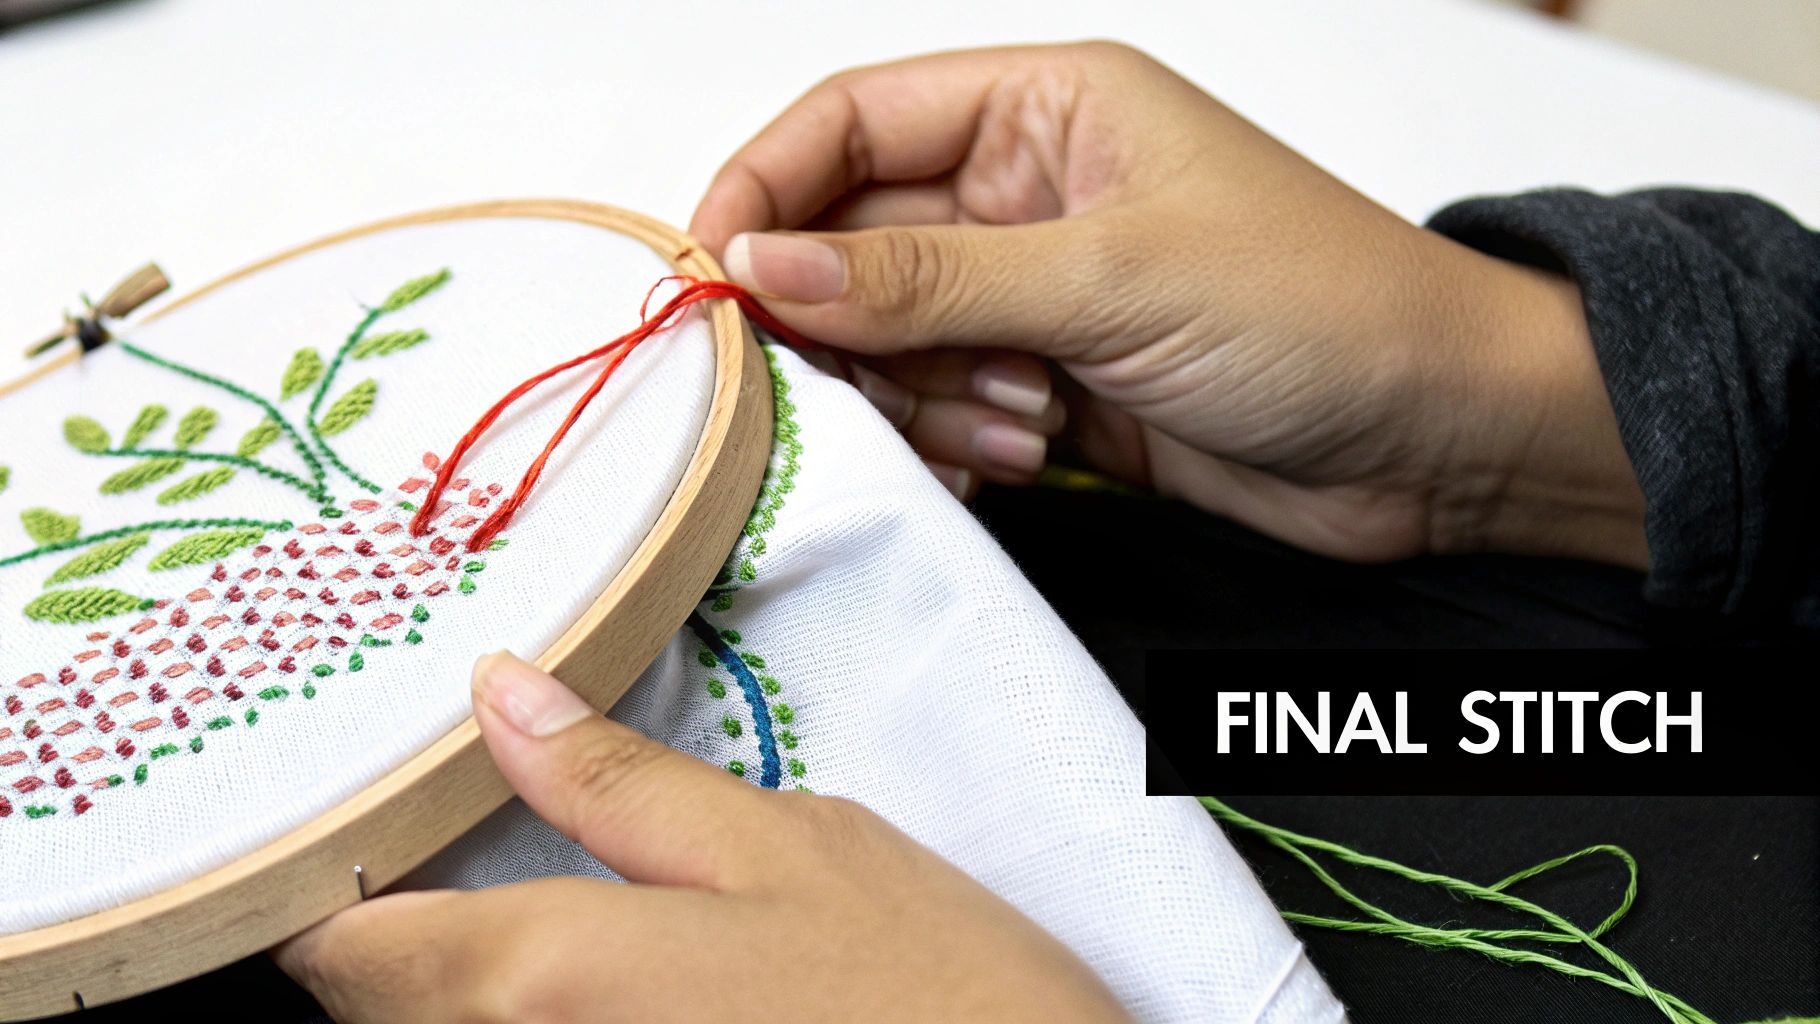
Getting Your Fabric and Floss Ready to Go
Okay, you've done the digital legwork and your pattern is looking perfect on the screen. This is where the real fun begins—translating that file into fabric, floss, and the satisfying pull of a needle. Getting everything prepped now is the key to a smooth, enjoyable stitching experience.
First things first, let's figure out your fabric. Your pattern software should give you the final dimensions in a stitch count—something like 140 stitches wide by 200 stitches high. This number is your starting point for everything.
How Much Fabric Do You Really Need?
The "count" of your fabric, like 14-count Aida versus 18-count Aida, directly impacts the final size of your piece. A lower count number means bigger squares and a larger finished project. A higher count gives you smaller, more detailed stitches.
Here's the quick math I use every time:
- (Stitch Width / Fabric Count) + Border = Fabric Width in Inches
- (Stitch Height / Fabric Count) + Border = Fabric Height in Inches
So, if your pattern is 140 stitches wide and you're using 14-count Aida, the stitched area will be exactly 10 inches wide (140 ÷ 14). But don't stop there! Always add a generous border of at least 3-4 inches on every side. This gives you plenty of room for your hoop or frame and makes finishing it for display so much easier. For that 10-inch design, you'd want a piece of fabric that's at least 16 inches wide.
Trust me on this: don't skimp on the border. It might feel wasteful, but a too-small border is one of the most common and frustrating mistakes. It makes it nearly impossible to get good tension and can be a total nightmare when it comes time to frame your masterpiece.
Printing the Chart and Making Your Shopping List
Now, let's get that chart from your screen into your hands. How you print your photo to cross stitch pattern really comes down to what works for you.
- Full-Color Print: Some people love having a color printout that looks just like the finished piece. It can be a great visual guide.
- Symbols-Only (Black & White): My personal preference. It saves a ton of printer ink, and I find it's often easier to read, especially in sections with very similar, subtly different colors.
Of course, many of us have gone digital. Using an app like Pattern Keeper on a tablet is a game-changer for these complex photo patterns. You can search for symbols, highlight all instances of one color, and track your progress stitch by stitch. It’s fantastic.
With your chart in hand (or on screen), you can build your supply list. The pattern's floss key will tell you everything: the brand (most often DMC), the exact color codes, and usually an estimate of how many skeins of each color you'll need.
Last but not least, grab your needle. A size 24 tapestry needle is the go-to for 14-count Aida. If you're working on a higher-count fabric, you'll want a smaller needle, like a size 26 or 28. And that's it—you're officially ready to bring that photo to life, one X at a time.
Common Questions About Photo to Stitch Conversion
Alright, you've got your pattern, and you're itching to get started. But before you thread that first needle, a few questions might be bubbling up. When you're tackling something as personal as a photo to cross stitch pattern, it's only natural to have some last-minute thoughts about getting the materials and the final look just right.
Let's walk through some of the most common things people ask at this stage. Getting these details ironed out now will give you the confidence to dive in and make the whole process a lot more fun.
How Many Colors Should I Use?
This is the big one, and the answer really depends on your photo and the look you're going for. For a really detailed portrait that captures all the subtle shading, you'll probably land somewhere in the 35-50 color range. This gives you enough variety for realism without making the project a nightmare to manage.
If your image is simpler, like a logo or a cartoon, you can often get a fantastic result with just 20-30 shades.
Most pattern software will give you a suggested number of colors. My advice? Use that as a starting point. Then, go in and manually reduce it a bit to get rid of those random, isolated "confetti" stitches. Merging shades that are super similar will give you a cleaner pattern that’s much more enjoyable to stitch.
What Is the Best Fabric Count?
For those highly detailed photo patterns, I almost always recommend a higher-count fabric like 16-count or 18-count Aida. Why? Because a higher count gives you smaller stitches. This lets you pack much more detail into a smaller space, making your finished piece look less "blocky" and more like a smooth, blended photograph.
That said, 14-count Aida is incredibly popular for a reason. It's a great all-rounder, and the stitches are larger and easier on the eyes, which is perfect if you're new to the craft or just prefer a more relaxed stitching experience. Just remember to calculate your final project size based on the fabric you choose before you cut anything!
While you can technically convert any digital image, the best results will always come from high-quality source photos. An image with good lighting, a clear subject, and a simple background requires far less digital cleanup and translates more beautifully into thread.
Can I Convert Any Photo?
Technically, yes, you can feed any image into the software. But will it produce a great pattern? Not always.
The most successful projects start with photos that are sharp, well-lit, and have good contrast between the main subject and the background. If you start with a blurry, low-resolution, or super busy photo, you’re likely to end up with a muddled chart that's confusing to stitch and disappointing to look at. For a deeper look at this, check out our guide on creating beautiful cross stitch from photographs.
A little prep work goes a long way. Always try to edit and crop your photo for clarity before you upload it.


