

Learning how to cross stitch is a simple, meditative craft built on a single, easy-to-learn 'X' stitch. It's an incredibly accessible hobby, especially for complete beginners, and all-in-one kits provide every single tool you need to get started. The result is a beautiful piece of art made one calming stitch at a time.
Why Cross Stitch Is Your Next Favorite Hobby
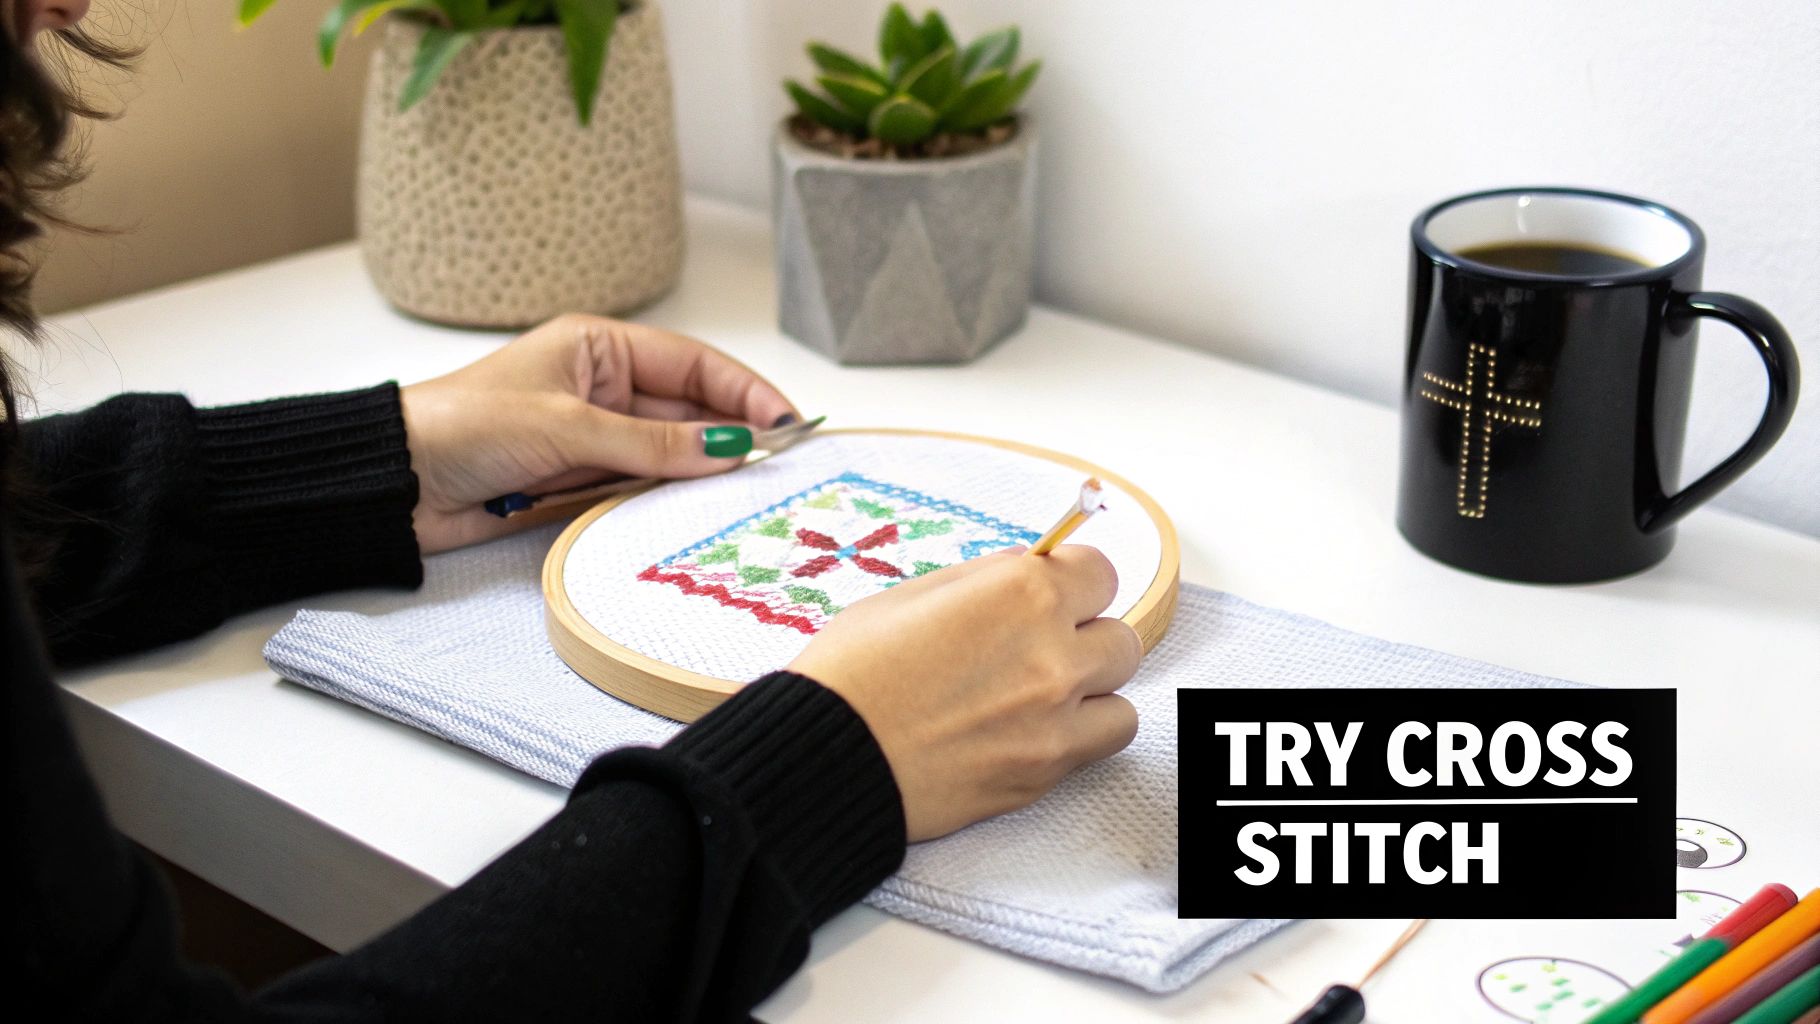
If you're looking for a hobby that marries creativity with mindfulness, you’ve found it. Cross stitch has shaken off its old-fashioned reputation and found a huge audience of people searching for a peaceful escape from all the digital noise. There's something incredibly calming about the rhythmic motion of pulling a needle and thread through fabric—it’s a true form of active meditation.
The real beauty of this craft is its simplicity. At its core, you’re just making a series of X-shaped stitches that build on one another to create a picture. Think of it like pixel art, but with thread. This straightforward technique means you can pick it up in minutes and start creating something you're proud of right away.
An Incredibly Accessible Craft
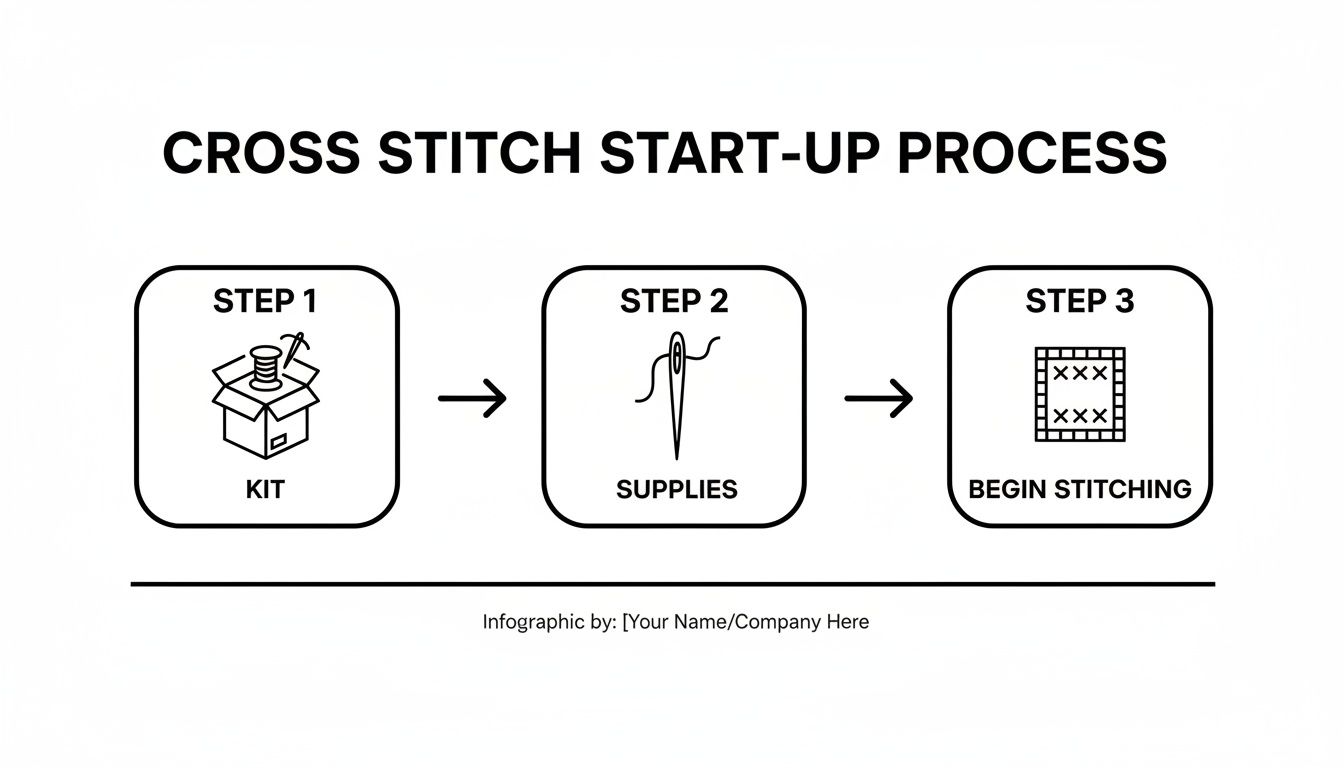
One of the best things for anyone just starting out is the sheer availability of all-in-one kits. These packages take all the guesswork and intimidation out of the equation. No more wandering the craft store aisles trying to figure out fabric counts or match thread colors.
A good kit hands you everything you need in one box:
- Pre-cut Aida fabric, which is the perfect canvas for beginners.
- All the thread colors you'll need, usually pre-sorted and labeled.
- A tapestry needle that’s just the right size for the fabric.
- A clear, easy-to-follow pattern and instructions.
This streamlined approach makes learning how to cross stitch a genuinely fun experience from the very first stitch, letting you focus on the creative part without any of the setup stress.
From Personal Photos to Stitched Art
Beyond the pre-made designs you'll find in kits, cross stitch gives you a unique way to make your art truly personal. Imagine turning a favorite family portrait, a photo of your pet, or a cherished vacation snapshot into a stitched keepsake. Modern tools can actually translate your photos into custom patterns, assigning a specific thread color to each pixel in your image.
This elevates the craft from a simple hobby into a way of preserving memories. It’s your chance to create deeply personal and heartfelt gifts that mean so much more than anything you could buy in a store. This desire for custom, handmade decor is a big deal; the global cross-stitch market is projected to hit USD 0.22 billion by 2033, a boom driven by enthusiasts just like you. You can explore the full market research on this trend to see just how popular it's become.
Cross stitch isn't just about following a pattern; it's about slowing down, creating with your hands, and making something that truly matters. It’s a quiet rebellion against the fast-paced world, one stitch at a time.
Setting Up Your Cross Stitch Toolkit
Before you can make that very first stitch, you need to gather your gear. But don't worry—getting started with cross stitch doesn't require a huge, complicated shopping list. A few core supplies are all you need to get going, and understanding them is the first real step on your stitching journey.
The Foundation: Fabric, Floss, and Needles
It all starts with the fabric. For anyone new to this craft, Aida cloth is your best friend. It’s a cotton fabric woven with a very clear, grid-like pattern of holes that shows you exactly where your needle should go. This makes creating those neat, uniform stitches a breeze.
Aida fabric comes in different "counts," which just means how many squares (or stitches) fit into one inch of fabric.
- 11-count Aida: Has bigger squares, making it super easy to see and work with.
- 14-count Aida: This is the sweet spot and the most common size you'll find in kits. It's the perfect balance of easy-to-see squares and a nice, detailed finished look.
- 18-count Aida: The squares are smaller, which allows for more intricate patterns, but it does require a bit more focus.
My advice? Stick with 14-count Aida for your first few projects. It’s big enough to be comfortable but small enough to give you that classic cross stitch look.
Next up, you'll need thread, or as it's known in the stitching world, floss. DMC cotton floss is the gold standard. You'll find it everywhere, it comes in a rainbow of hundreds of colors, and the quality is fantastic. Each bundle, called a skein, is made up of six individual strands. For most projects on 14-count Aida, you'll separate these and use just two strands at a time.
You’ll also need a tapestry needle. These are different from regular sewing needles—they have a blunt tip and a bigger eye. The blunt end keeps you from accidentally splitting the fabric threads, and the large eye makes threading your floss much less of a headache. A size 24 tapestry needle is the perfect match for 14-count Aida.
To pull it all together, you'll want an embroidery hoop or a Q-snap frame to hold your fabric tight while you work. This is a game-changer for keeping your stitches even. And of course, a small, sharp pair of scissors is a must-have for clean thread snips. You can dive deeper into these essentials in our complete guide on what you need for cross stitch.
The Big Decision: Kit vs. Individual Supplies
So, do you hunt down all these items yourself, or just grab an all-in-one kit? For anyone just dipping their toes into cross stitch, a kit is almost always the way to go. It completely removes the guesswork and makes sure you have exactly what you need for a specific design.
This convenience is a huge reason why needlecrafts are booming. The market for needlecraft patterns is already valued at a massive USD 34,026.8 million and is expected to climb to USD 63,872.9 million by 2035. This incredible growth is fueled by how easy it is for anyone to get started with kits and custom patterns. You can read more about this growing DIY trend from Future Market Insights.
If I could give a beginner just one piece of advice, it would be this: start with a kit. It clears away all the initial hurdles and lets you jump right into the fun part—the actual stitching—knowing you're perfectly set up for success.
Let's break down how the two approaches really stack up.
Starting Your Cross Stitch Journey: Kit vs Individual Supplies
For newcomers, deciding how to source your materials can feel like the first big test. Here’s a quick comparison to help you figure out which path is right for you.
| Factor | All-in-One Kit | Buying Supplies Individually |
|---|---|---|
| Convenience | The clear winner. Everything you need for one project is right there in the bag, ready to go. | Takes more effort. You'll need to visit a craft store or browse multiple websites to gather every single item. |
| Cost-Effectiveness | Fantastic value for a single project. Kits bundle everything together at a lower price than buying it all separately. | Can be more costly upfront, since you're buying full skeins of floss and larger cuts of fabric you may not fully use. |
| Project Matching | Foolproof. The fabric, floss, and needle are all specifically chosen and measured out for that one pattern. | Involves some guesswork. It’s easy to buy the wrong fabric count, not enough thread, or the wrong shades of color. |
| Skill Level | Perfect for beginners. Kits eliminate decision-making and let you focus purely on learning the stitches. | Best for experienced stitchers who know their preferences and likely have a stash of supplies to pull from. |
Ultimately, starting with a kit is the most direct route to a finished project you can be proud of. Once you have a few projects under your belt, you’ll have the confidence and experience to start branching out and building your own supply collection.
Your First Stitches and Core Techniques
Alright, this is where the magic happens. You’ve got your supplies, you’re feeling inspired, and now it’s time to put thread to fabric. Don't be intimidated! The core of cross stitch is a simple, rhythmic motion that quickly becomes second nature. Let’s get you started.
Getting Your Thread Ready
First things first, let's talk about the floss. That lovely six-strand cotton thread needs to be separated before you begin. Most patterns, especially those on 14-count Aida cloth, look best with just two strands. To do this without creating a tangled mess, pinch the end of the floss and gently pull out one strand at a time. It’ll slide out smoothly. Repeat for the second strand, and you're good to go.
Now, for threading the needle. This can feel a bit fiddly at first, but I have a go-to trick. Take the ends of your two strands and fold them over the needle. Pinch that little loop tightly between your thumb and forefinger, then slip the needle out. What you’re left with is a tiny, stiff loop that’s much easier to push through the eye of the needle.
As you can see, using a kit really simplifies these first steps, letting you jump right into the best part—the actual stitching.
Mastering the Basic Cross Stitch
The heart of this craft is the humble 'X'. Seriously, every incredible piece you’ve admired is just a collection of these simple stitches. There are two main ways to make them, and you’ll likely use both.
-
The English Method (or Cross Country): This is where you complete one full 'X' before moving on. You'll make a diagonal stitch (/) and immediately cross it back (\). It’s perfect for tackling those random, single stitches of one color that pop up in a pattern—what stitchers often call "confetti."
-
The Danish Method: This is your best friend for stitching rows of the same color. You create a whole row of bottom stitches going in one direction (like this: /////), then come back along the row to complete each 'X' with the top stitch (like this: \\\). It's faster and helps keep your tension beautifully even.
My two cents? I almost always use the Danish method for blocks of color and switch to the English method for the one-off stitches. This hybrid approach gives you the best of both worlds: speed where you can get it, and precision where you need it.
Starting and Ending Without Knots
Here’s a tip that will instantly make your work look more professional: never use knots. They create little bumps on the back that can show through to the front and make framing a real headache. Instead, we anchor our threads right into the stitches themselves.
To start: Bring your needle up from the back, but leave about a one-inch tail of thread behind the fabric. As you make your first few stitches, make sure you're catching and stitching over that tail on the back. After three or four stitches have locked it down, you can snip off the excess. It's totally secure.
To end: When your thread is running short, just flip your work over. Weave the needle under the last three or four stitches on the back, pull it through, and snip the thread close to the fabric. This keeps the back of your project looking almost as neat as the front. If you'd like to explore other techniques, our guide to different cross stitch stitches has you covered.
Achieving That Polished, Professional Look
Two final habits separate a good project from a great one: consistent stitch direction and even tension. Nail these, and you'll look like you've been stitching for years.
First, make sure all your top stitches slant in the same direction. It doesn't matter if they all go /// or \, but you have to pick one and stick with it for the entire piece. This consistency creates a uniform surface that reflects light evenly, giving your finished work a gorgeous, smooth sheen.
Second, get a feel for your tension. Your stitches should lie flat against the fabric, pulled just snugly enough that they aren't loose or baggy. If you pull too tight, you'll warp the Aida cloth and distort the grid. It’s a bit like handwriting—after a little practice, you'll find a relaxed, even rhythm that becomes your signature.
Cracking the Code: How to Read Cross Stitch Patterns and Color Charts
At first glance, a cross stitch pattern can look like a page of hieroglyphics. But it's actually a simple, brilliant map for your needle and thread.
The best way to think of it is like a grown-up version of paint-by-numbers. Every pattern is laid out on a grid, and each tiny square on that grid corresponds to one single cross stitch on your Aida fabric. Once you learn to "read" it—which takes all of five minutes—you'll be able to translate those symbols into a beautiful, stitched picture.
The All-Important Symbol Key
Every pattern comes with a symbol key, sometimes called a legend. This is your Rosetta Stone. It’s a little chart, usually off to the side, that tells you exactly which thread color goes with which symbol.
For example, a solid black circle symbol (●) might tell you to use DMC thread color #310 (a classic black). A little triangle (▲) could be your cue for DMC #666, which is that perfect, bright Christmas red. All you have to do is find a symbol on the pattern, look it up in the key, grab that specific floss, and stitch it into the matching square on your fabric.
The real "aha!" moment for every new stitcher is realizing the pattern isn't just a suggestion—it's a direct, one-to-one guide. A square on the paper is a stitch on the fabric. It’s that straightforward.
This simple system is what makes cross stitch so easy to get into. You can work methodically, finishing all the stitches of one color before moving to the next, or you can go row-by-row, changing colors as you go. To get a feel for the most common colors, take a look at our handy DMC conversion chart.
Turning Your Photos into Stitchable Art
What if you want to stitch something totally unique, like a portrait of your beloved pet or a favorite family photo? This is where a little bit of tech makes the craft even more personal and exciting. You can turn just about any image into a custom cross stitch pattern.
There are online tools that use specialized algorithms, often called Pic2Pat technology, to do the heavy lifting for you. You upload your photo, and the software gets to work. It does two main things:
- It analyzes all the colors in your picture and matches them to the closest available shades in the massive DMC thread library.
- It generates a brand-new grid pattern complete with symbols, just like one you'd buy from a designer.
The process essentially "pixelates" your image, creating a clear roadmap for you to recreate it with thread. This is how stitchers create those stunningly realistic portraits and landscapes—it turns your own memories into a piece of art you can hang on the wall.
This kind of accessibility has played a huge role in the craft's modern revival. Digital patterns are the fastest-growing segment of the needlecraft market, giving people instant access to designs from all over the world. This trend is what powers free tools like Pic2Pat generators and downloadable charts, making it easier than ever to dive in.
A Quick Example: Reading a Pattern Snippet
Let's break it down with a tiny example. Imagine you have a pattern, and the key tells you the following:
| Symbol | Thread Color (from the key) |
|---|---|
| X | DMC #817 (Dark Red) |
| O | DMC #743 (Yellow) |
| / | DMC #905 (Dark Green) |
Now, you look at a small 3x3 section of the main pattern grid, and it looks like this:
| X | O | X |
|---|---|---|
| / | O | / |
| X | X | X |
All you do is stitch that exact layout. You’d start the top row with one dark red stitch, followed by one yellow stitch, and another dark red one. The row right below it would be a dark green, a yellow, and another dark green. To finish, the bottom row would be three dark red stitches in a row.
That’s it. You’re just recreating the grid, one square at a time. Once you get that, you can stitch anything.
Finishing and Framing Your Masterpiece
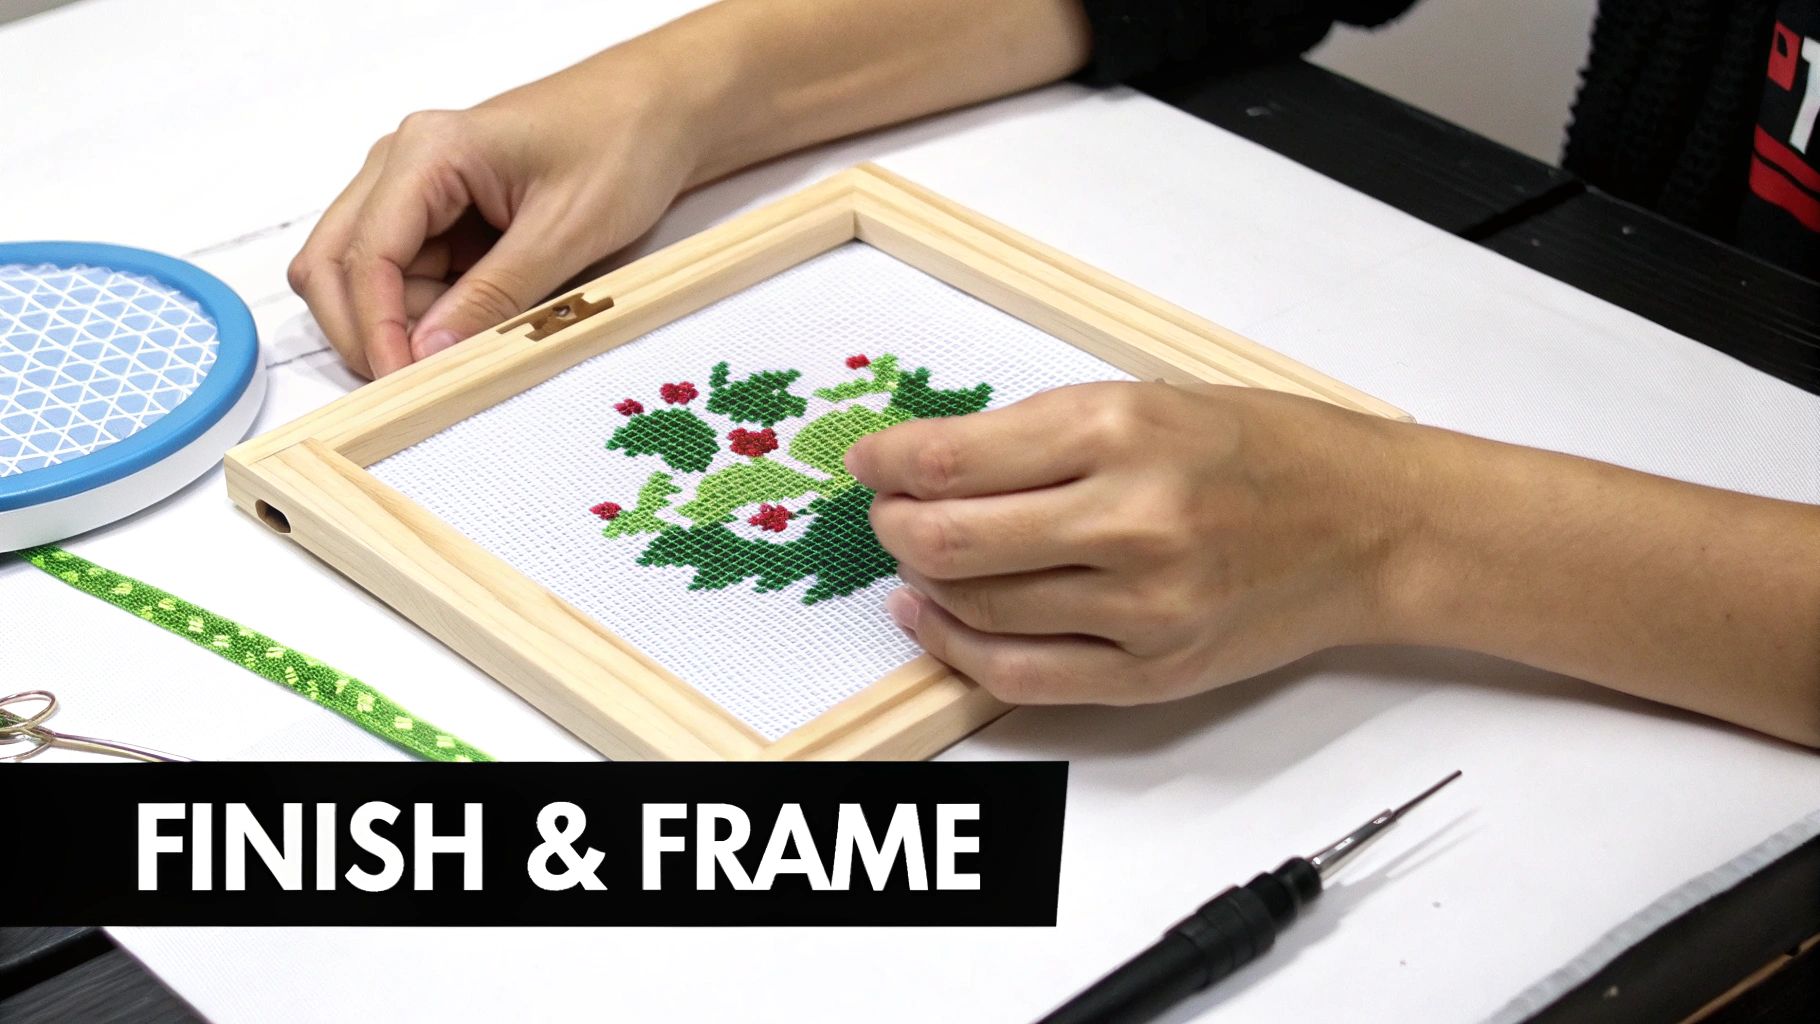
You’ve placed that final, triumphant stitch. Congratulations! The creative journey of learning how to cross stitch has led you here, but don't put everything away just yet. A few final steps will transform your project from a work-in-progress into a true piece of art.
Taking the time to finish your work properly not only makes it look polished but also protects it for years to come. Think of it as the victory lap—just as important as the first stitch you made.
The Gentle Wash and Press
After hours of being handled and stretched in a hoop, your fabric has picked up natural oils from your hands, a bit of dust, and probably a few stubborn creases. A gentle bath is the perfect remedy.
First, grab a clean basin and fill it with lukewarm water. Add a tiny drop of a mild, clear soap or a specialized textile wash. Let your cross stitch soak for about 15 minutes. You can swish it around gently, but resist the urge to scrub or wring it out, as that can easily damage your hard work.
Once it's soaked, rinse the piece thoroughly under cool, running water until you can’t see any more suds. Next, lay it flat on a thick, clean towel. Place another towel on top and roll the whole thing up like a jelly roll, pressing firmly to squeeze out the excess water.
Expert Tip: Never, ever wring out your cross stitch! Twisting the fabric will distort your stitches and can pull the Aida cloth permanently out of shape. The gentle towel-press method is much safer and works like a charm.
While the fabric is still a little damp, it’s time to iron. Place your piece face down on a clean, fluffy towel—this protects your stitches and stops them from getting squashed flat. Use a medium heat setting on your iron (no steam!) and press gently until it's perfectly smooth and dry. Now it's ready for its grand debut.
Creative Ways to Display Your Work
Okay, now for the really fun part—showing off your creation! You have so many options beyond just sticking it in a standard picture frame.
- Traditional Framing: This is a classic choice for a reason. It protects your work behind glass and gives it a formal, gallery-worthy look.
- Embroidery Hoop Frame: For a more modern, rustic vibe, why not display it in the hoop? Just center your finished piece in a clean wooden hoop, trim the excess fabric around the back, and it's ready to hang.
- Stitched Into an Object: Turn your small designs into functional art! They can become the centerpiece of a decorative pillow, a unique pincushion, a sweet holiday ornament, or even a bookmark.
Presentation is everything. For a broader look at displaying fabric art, this excellent guide on framing textile pieces has some fantastic general techniques that you can easily adapt for your cross stitch projects.
Long-Term Care and Preservation
To keep your masterpiece looking brand new, a few simple care tips go a long way. If your piece is framed behind glass, it’s already well-protected from dust. For projects displayed in hoops or made into pillows, a gentle dusting or a quick pass with a lint roller is usually all that’s needed.
My biggest piece of advice is to avoid displaying your cross stitch in direct sunlight. UV rays are the enemy of vibrant thread, causing colors to fade over time. With the right finishing touches and a little care, the project you poured your heart into will remain a beautiful keepsake for many years.
Answering Your Top Cross Stitch Questions
Everyone has questions when they start a new craft, and cross stitch is no exception. In fact, asking questions is a great sign—it means you're diving in and figuring things out! Let's tackle some of the most common queries that pop up for new stitchers.
What Are the Biggest Mistakes Beginners Make?
It’s easy to spot a few common habits with newcomers, but they’re all simple to fix once you know what to look for.
The number one giveaway is using knots to start or end a thread. It feels intuitive, I know, but those little bumps create lumps on the back of your work. This can make your piece look uneven from the front and becomes a real headache when you try to frame it. Instead, you'll learn to secure the thread tail right under your first few stitches, giving you a perfectly flat, clean finish.
Another classic slip-up is letting your stitches go in different directions. For a beautiful, polished look, every single top stitch should slant the same way across the entire project (either all /// or all \). This creates a consistent texture that catches the light evenly. When they're mixed, the finish can look a bit chaotic.
Finally, a lot of beginners pull their stitches way too tight. It's a natural tendency, but yanking the thread can warp the Aida fabric, scrunching up the squares and making the whole piece look puckered. Your stitches should lie gently on top of the fabric, not strangle it. Just aim for a relaxed, even tension.
How Do I Pick a Good First Project?
My best advice? Start small and simple. It's so tempting to go for that epic, full-coverage landscape you saw on Pinterest, but that's a surefire way to get frustrated and quit. The goal of your first project is to build confidence and have fun.
Look for a beginner-friendly kit that has:
- A simple color palette: A design with fewer than 10 colors is perfect. You'll spend more time stitching and less time stopping to change your thread.
- Only basic stitches: Find a pattern that just uses the full cross stitch. Save the fancy stuff like fractional stitches (quarter or three-quarter stitches) and backstitching for later.
- A manageable size: Think about a bookmark, a coaster, or a little holiday ornament. Something you can finish in a weekend. Getting that quick win of a finished piece is a fantastic motivator!
Most importantly, pick a design you actually like! Your excitement to see the final picture come to life will carry you through the learning curve.
My Thread Keeps Tangling! What Am I Doing Wrong?
Ah, the dreaded thread knot. This is probably the most universal frustration in cross stitch, but the good news is there are a few easy fixes. If your floss is constantly tying itself into tiny, maddening knots, it's usually one of three things.
First, your piece of thread is probably too long. As a rule of thumb, cut a length no longer than 18 inches—about the distance from your fingertips to your elbow. Anything longer is guaranteed to twist and tangle as you pull it through the fabric dozens of times.
Second, check how you're separating your floss. A standard skein of DMC floss has six strands, but most patterns only call for two. The trick is to pull them out one strand at a time. If you try to pull two or three out at once, you’ll end up with a knotted mess before you even start.
Pro Tip: Every few stitches, just let your needle and thread dangle from the fabric. Watch it spin for a second or two as it naturally untwists itself. This simple habit prevents the twisting that causes knots in the first place and will save you a world of headaches.
What Does "Fabric Count" Mean and Which One Should I Use?
Fabric count sounds way more technical than it is. It's simply the number of squares (or stitches) per inch. So, 14-count Aida has 14 squares per inch, and 18-count Aida has 18 tiny squares crammed into that same inch.
A lower number means bigger squares and bigger holes, which is exactly what you want as a beginner. That's why 14-count Aida is the gold standard for anyone starting out. The holes are easy to see, making the whole process much less of a strain on your eyes.
As you get more comfortable, you might want to try higher counts like 16-count or 18-count. Using smaller stitches allows for much more detail, giving your finished piece a smoother, more "pixel-perfect" look. But for your first few projects, sticking with 14-count Aida is the best way to make sure your introduction to cross stitch is a happy one.
Ready to turn a favorite memory into a work of art? At Cross Stitched, we make it easy to create a custom cross stitch kit from any photo you love. Just upload your picture, and we’ll send you everything you need—from pre-sorted DMC threads to the perfect fabric—to start stitching your very own masterpiece.


