
You've poured so much care and countless hours into every single stitch. Now, it's time for the final, incredibly rewarding step: giving your project the professional finish it deserves. Mounting is what elevates your beautiful needlework from a simple piece of fabric into a true work of art, ready to be admired.
This isn't just about sticking it in a frame. Proper mounting is the secret to a polished, gallery-worthy presentation and ensuring your hard work lasts a lifetime.
Giving Your Cross Stitch a Professional Finish
Think of mounting as the crucial bridge between your last stitch and the final display. It's the process of securing your cleaned and ironed fabric onto a firm backing—like foam core or a canvas—to keep it perfectly taut and wrinkle-free. This step is what makes your stitches pop and prevents the fabric from sagging inside the frame over the years.
This guide will walk you through the entire process. We’ll cover the essential prep work, explore different mounting techniques, and help you choose the best display method, whether you're dreaming of a classic frame, a modern hoop, or a sleek canvas wrap.

Why Bother With Mounting?
I get it, you're excited to be done! But skipping this step can undo all your hard work. Think of mounting as the foundation for your frame; even the most expensive frame can't save a piece that's crooked or puckered.
Taking the time to mount your project correctly ensures:
- A Flawless Surface: It pulls the fabric taut, eliminating any lingering wrinkles or distortions. This makes your stitchwork the true star of the show.
- Longevity and Protection: Using the right acid-free materials is key. It prevents the dreaded yellowing and deterioration of your precious fabric and threads over time.
- Serious Visual Impact: A perfectly centered and tensioned piece just looks right. It looks intentional and professional, truly honoring the effort you put in.
To help you decide which path to take, here’s a quick look at the most common methods.
Choosing Your Mounting Method
This table offers a quick comparison of popular cross-stitch mounting methods to help you select the best approach for your project.
| Mounting Method | Best For | Difficulty Level | Required Materials |
|---|---|---|---|
| Lacing | Archival-quality framing, heirlooms | Intermediate | Acid-free board, strong thread, needle |
| Adhesive Board | Quick finishes, smaller projects | Beginner | Self-stick mounting board, brayer/roller |
| Stretcher Bars | Canvas-like gallery wrap finish | Intermediate | Stretcher bars, staple gun or tacks |
| Hoop Finishing | Modern, decorative display | Beginner | Display hoop, backing fabric, glue/thread |
Each technique has its place, from traditional lacing for heirloom pieces to modern adhesive boards for a quick and easy finish. For a deeper dive into all your finishing options, check out our detailed guide: https://cross-stitched.com/blogs/what-is-cross-stitch/finish-cross-stitch.
Once your cross-stitch is meticulously mounted and framed, the only thing left is to find the perfect spot for it on your wall. For detailed guidance on how to hang your framed cross stitch securely and aesthetically, refer to this step-by-step-guide on hanging pictures. Following these steps will help you complete the journey from needle and thread to a stunning piece of home decor you can be proud of.
Getting Your Fabric Ready for a Flawless Finish
Before you even reach for a frame, your stitched piece needs a little TLC. This prep work is the secret to a professional-looking finish—it's what makes your project look crisp, clean, and perfectly square in its final home.
Skipping these steps is a classic mistake, and trust me, it shows. You end up with puckered fabric, a slightly crooked design, or a finish that just doesn't do justice to the hours you poured into it. Taking the time to properly wash, block, and iron your piece is what elevates it from a nice project to a true work of art.
The Gentle Art of Washing
Think about it—over all those hours of stitching, your fabric has picked up oils from your hands, a bit of dust, and maybe a stubborn hoop mark or two. A gentle bath is the first step to making it look brand new again.
This isn't like doing a load of laundry; it's more like a spa treatment for your stitchery. You'll want to use lukewarm water and just a tiny bit of mild, pH-neutral soap. Specialized quilt washes work great, too. Steer clear of harsh detergents or fabric softeners, as they can be tough on your delicate threads and fabric.
- Submerge and Soak: Gently push your piece into the soapy water and let it soak for about 15-20 minutes. Whatever you do, don't wring or scrub it! That’s a surefire way to distort your beautiful stitches.
- Rinse It Right: Drain the basin and refill it with clean, cool water. Gently press the fabric against the side to work the soap out. Repeat this until the water runs completely clear.
- Blot It Dry: Lay your project flat on a thick, clean towel. Roll up the towel with your cross-stitch inside and press down gently. This soaks up most of the moisture without any rough handling.
For a more detailed walkthrough, you can explore our comprehensive guide on how to clean a cross stitch. It's packed with extra tips for handling tricky stains while keeping your colors bright.
Squaring Up Your Work with Blocking
Blocking is the magic wand you wave to fix any pulling or distortion that happened while your project was stretched in a hoop. It’s a simple process that gently coaxes your damp fabric back into a perfect square, making it a dream to mount.
Blocking might feel like an optional, fussy step, but honestly, it’s what separates a good finish from a great one. This is your best defense against that slightly off-kilter look that can plague a finished piece once it’s framed.
All you need is a foam blocking mat and some rust-proof T-pins. If you don't have a mat, a thick, clean towel on a waterproof surface works in a pinch. Lay your damp cross stitch on the board, face up. Start at the corners and gently stretch the fabric until the weave is straight and square. Pin it down every inch or two along the edges to hold it in place. Now, just let it air dry completely—this can sometimes take up to 24 hours, so be patient!
The Final Press
Once your piece is clean, blocked, and totally dry, the last step is a careful press with an iron. This smooths out any final wrinkles without crushing the lovely texture of your stitches.
Here's the most important part: always iron your cross stitch from the back. Place it face down on a thick, clean towel. The plushness of the towel cushions your stitches and keeps the iron from flattening them.
Set your iron to a medium heat setting and turn the steam off. Gently glide the iron across the back of the fabric, never letting it sit in one spot for too long. The goal is to smooth the fabric, not to flatten your beautiful work.
This careful preparation is more important than ever. Stitchers are increasingly focused on preserving their work, and the entire approach to mounting cross-stitch has shifted toward using archival-quality materials. In fact, industry reports show the use of acid-free backing boards and UV-protective glass has jumped by 25% in recent years. It's a clear sign we're all thinking about how to protect our creations for generations to come.
You've washed, blocked, and ironed your piece to perfection. Now for the fun part—turning that flat piece of fabric into a taut, display-ready work of art. The mounting technique you choose really shapes the final look, and it all comes down to personal preference, the tools you have on hand, and how much time you want to invest.
Let's walk through a few of the most popular and effective ways to mount your cross-stitch, from the time-honored traditional methods to quicker, more modern approaches.
The Classic Lacing Method
For stitchers who prioritize a truly archival, heirloom-quality finish, lacing is the gold standard. This technique uses a strong thread to create a web of stitches on the back of a mounting board, pulling the fabric perfectly even from every direction. The best part? It’s completely reversible, uses zero adhesives, and gives you incredibly precise control over the tension.
To get started, you'll need just a few things:
- An acid-free mounting board (this is non-negotiable for preventing long-term yellowing).
- Some strong thread—upholstery thread is ideal, but even doubled-up embroidery floss will do in a pinch.
- A long needle, like one used for doll-making or upholstery, which makes the job much easier.
First, center your ironed piece on the board, making sure you have an equal border of extra fabric on all sides. Fold two opposite sides over the back. Starting from the middle, begin stitching back and forth between the two fabric edges, almost like you're lacing up a corset. Pull each stitch snug, but be careful not to pull so hard that you warp the board or distort the Aida.
Once those two sides are secure, just repeat the process for the other two. You'll be left with a flawlessly tensioned piece, held securely by that neat network of threads on the back.
The prep work you did earlier is what really makes this step shine.
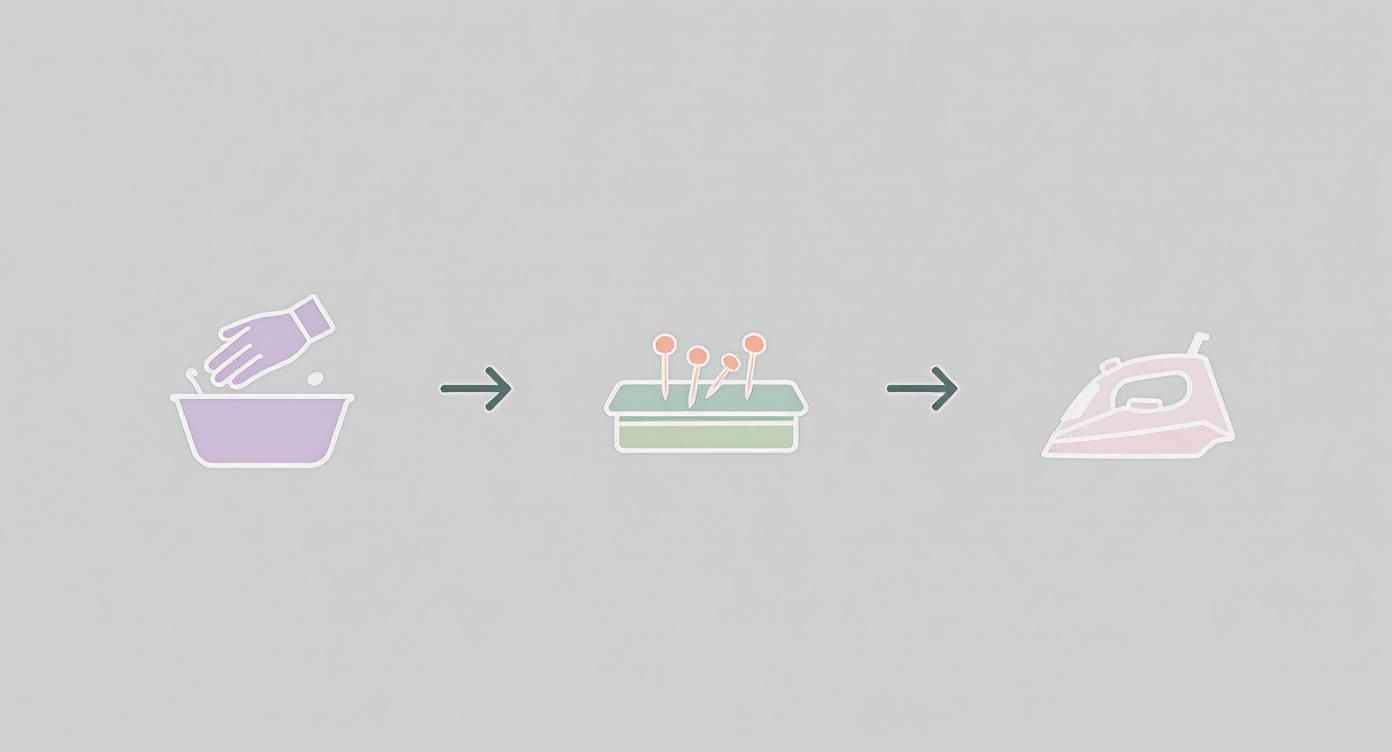
As this shows, the washing, blocking, and ironing stages all build on each other to give you the perfect canvas for a professional mounting job.
Mounting with Stretcher Bars
If you're after a more modern, gallery-wrapped look, stretcher bars are a fantastic choice. This method involves stretching your fabric over a simple wooden frame, creating a finish that looks great hung as-is or popped into a "floater" frame. It's especially good for larger projects where keeping that tension perfectly even can be a challenge.
There's a reason this is such a popular option. In fact, industry data shows that over 60% of stitchers prefer using either stretcher bars or embroidery hoops for their final finishing. Bars are a top pick for bigger pieces because they're brilliant at keeping the fabric taut and preventing any kind of sagging over time. If you're curious about stitching trends, you can dig into the numbers in this comprehensive industry report.
For this, you'll need a set of stretcher bars slightly smaller than your fabric, a staple gun, and a good eye for getting things straight.
Pro Tip: When buying stretcher bars, pick a size that leaves you with about 1.5 to 2 inches of bare fabric around your stitched design. This gives you plenty of material to grip and wrap around the frame without the wood getting in the way of your hard work.
Lay your fabric face-down on a clean surface and place the assembled frame on top, taking a moment to get your design perfectly centered. Pull one side of the fabric taut and put a single staple in the center of that bar's back. Now, move to the opposite side, pull it firm, and add another staple. Do the same for the top and bottom.
From there, just keep working your way out from the center on all four sides, alternating as you go to maintain that even tension. The corners are the final hurdle—fold them neatly, like you're wrapping a gift, and staple them down securely.
Choosing between two popular mounting techniques? This comparison breaks down the pros and cons to help you decide.
Comparing Lacing vs Stretcher Bars
| Feature | Lacing Method | Stretcher Bar Method |
|---|---|---|
| Best For | Archival, heirloom pieces | Modern, gallery-wrapped look |
| Reversibility | Completely reversible without damage | Partially reversible (staple holes) |
| Tools Needed | Board, needle, strong thread | Stretcher bars, staple gun |
| Tension Control | Excellent and precise | Very good, but relies on hand strength |
| Display Style | Requires a traditional frame | Can be hung as-is or in a floater frame |
| Skill Level | Intermediate; requires patience | Beginner-friendly |
Ultimately, both methods give you a professional-looking finish. Your choice really depends on the final aesthetic you want and the tools you're most comfortable using.
The Pin and Foam Core Method
Looking for a straightforward, forgiving approach that still gives a great result? Mounting on acid-free foam core with pins is a winner. It delivers a sharp, clean finish and is incredibly easy to adjust if you don't get the alignment quite right on the first go. This is an excellent starting point if you're just learning how to mount cross stitch.
Your main supply here is a sheet of acid-free foam core, which you’ll cut to the exact size of your frame's opening. You'll also want some rust-proof pins (T-pins work great) or a staple gun.
Once your foam core is cut to size, center your cross-stitch on top of it. Carefully flip the whole thing over while holding the fabric in place. Much like with stretcher bars, you’ll start by securing the center of all four sides. If you're using pins, push them straight into the edge of the foam core at a slight inward angle. If you're using staples, secure the fabric to the back.
With the center points anchored, just work your way out toward the corners, placing pins or staples every half-inch or so. Keep flipping it over to check the front, making sure your design stays straight and you don't have any puckers. The beauty of this method is its adjustability—if you spot a wrinkle, you can just pull out a few pins, give the fabric a little tug, and pin it again. Easy.
Choosing Your Frame, Mat, and Glass
You’ve done the hard work. Your project is washed, ironed, and perfectly mounted. Now comes the really fun part—transforming your beautiful needlework into a true piece of art ready for the wall.
Choosing the right frame, mat, and glass is what brings everything together. It's more than just a finishing touch; it’s about making deliberate choices that will protect your work and make it shine for years to come.
Finding the Perfect Frame Style
The first rule of framing is that the frame should serve the artwork, not overpower it. Think of it as the supporting actor, not the star. Your choice can take a piece from a charming rustic craft to a sleek, modern display.
What's the vibe of your project? A whimsical floral piece might look fantastic in a simple, light-colored wood frame. A classic, intricate sampler, on the other hand, might call for something more elegant and traditional, like a frame with a touch of gold.
Here are a few styles to consider:
- Modern: Look for clean lines and simple profiles. Thin black, white, or metallic frames are perfect for letting your stitchwork take center stage without distraction.
- Traditional: Ornate frames with carved details or rich, dark wood finishes bring a sense of history and importance. They work beautifully for samplers and classic designs.
- Rustic: Think barnwood, distressed finishes, or natural, unpolished wood. These add a cozy, handcrafted charm that’s a perfect match for nature scenes or country-themed pieces.
The Critical Role of Matting
A mat—that cardstock border between your fabric and the frame—does two very important things. First and foremost, it creates a small air gap that keeps your stitches from being smooshed against the glass. This is non-negotiable for preventing moisture buildup and potential mildew down the road.
But beyond protection, a mat gives your work visual breathing room. It creates a neutral space that draws the eye inward, making even a small project feel more substantial and gallery-worthy.
A well-chosen mat is one of the most effective tools for making your cross-stitch "pop." It can draw out subtle colors from your threads and provide a visual pause that makes the entire piece more impactful.
You can go with a classic single mat, but a double mat can add incredible depth. A great professional trick is to use a neutral top mat (like cream or off-white) with a thin sliver of a second, colored mat underneath that picks up a minor color from your stitching. It’s a subtle detail that ties the whole presentation together beautifully.
For a deeper dive into all the nuances of framing, our guide on https://cross-stitched.com/blogs/what-is-cross-stitch/framing-counted-cross-stitch-pictures offers even more tips to help you make the perfect choice.
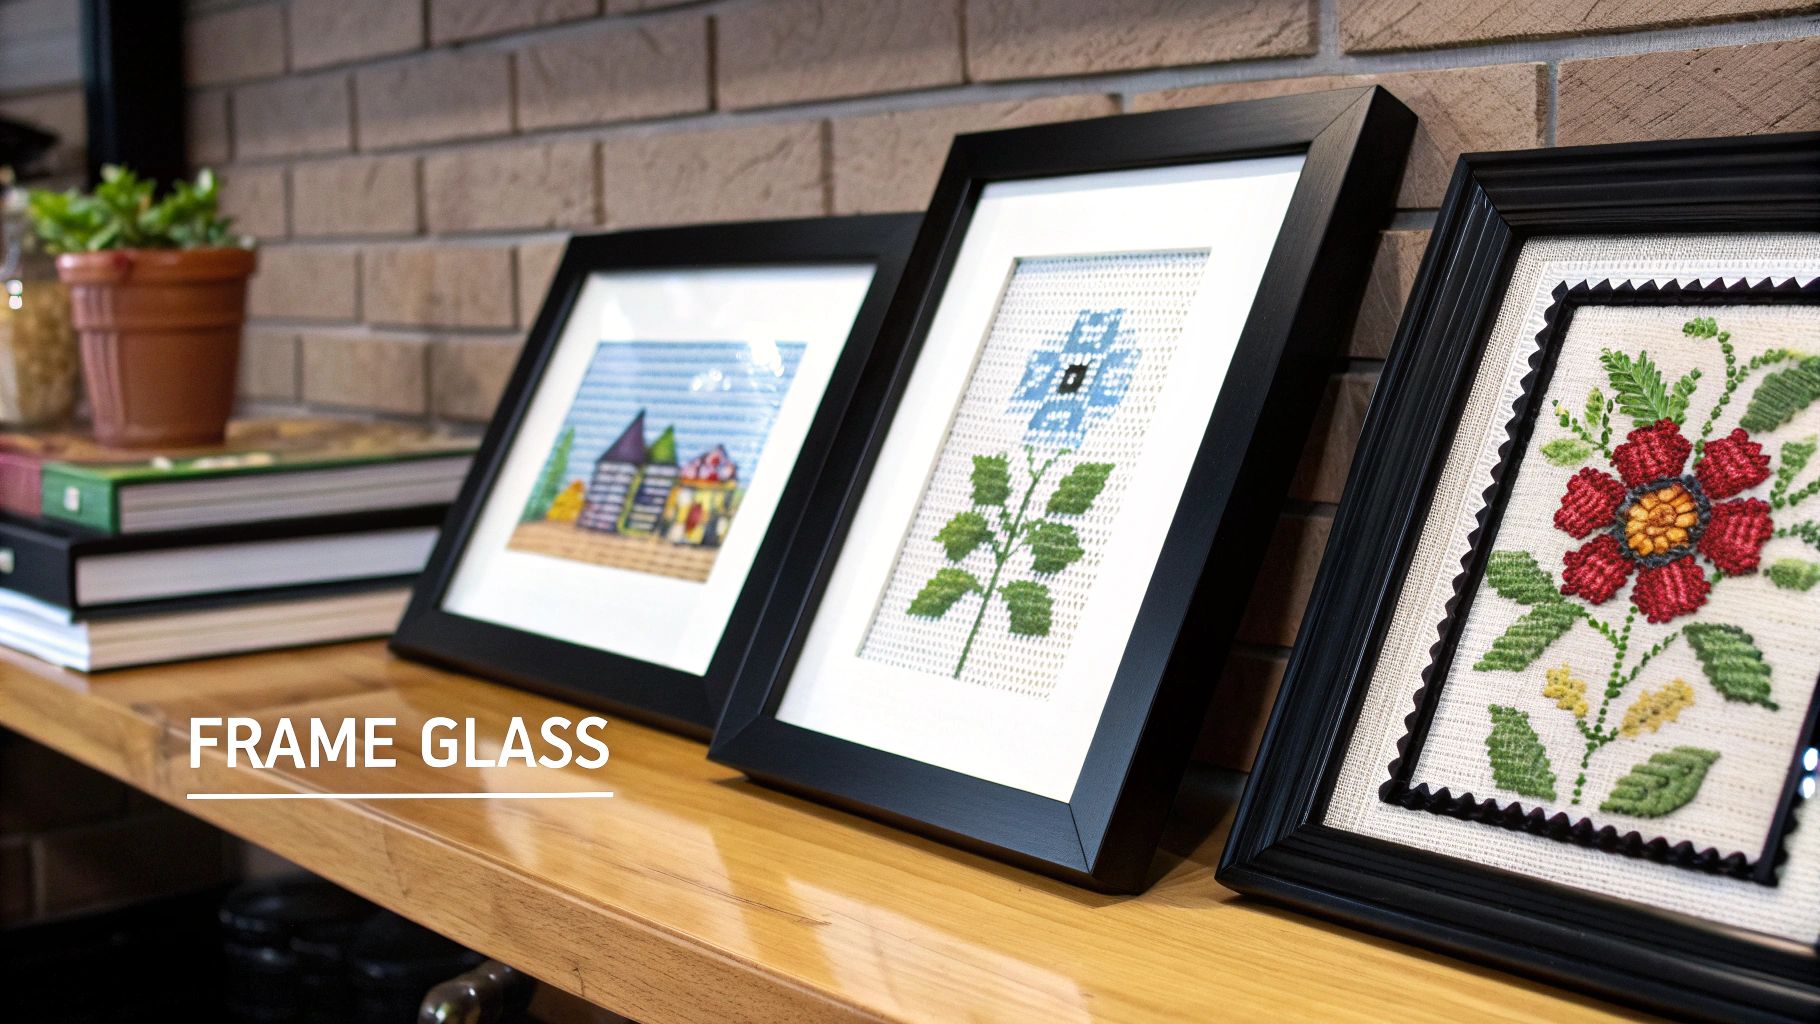
Selecting the Right Glass for Protection
The glass is your project’s shield against dust, humidity, and its biggest enemy: ultraviolet (UV) light. Fading from sunlight is irreversible, so this is a critical decision, especially if your piece will hang in a bright room.
You have a few main options, each with a different level of protection:
- Standard Glass: This is the most affordable choice you'll find in ready-made frames. It protects against dust but offers very little UV protection (blocking only about 45% of rays) and can have a lot of glare.
- UV-Protective Glass: Often called "conservation glass," this is a huge step up and what I recommend as the minimum for any piece you care about. It’s coated to block up to 99% of harmful UV rays, which will dramatically slow down any potential fading.
- Museum Glass: This is the best of the best. It combines that 99% UV protection with an incredible anti-reflective coating that makes the glass seem to disappear. The clarity is just stunning—it looks like there’s nothing between you and your stitches.
While museum glass costs more, it's a worthwhile investment for a true heirloom piece that you poured hundreds of hours into. Your final choice really comes down to your budget and how critical long-term preservation is to you.
How to Avoid Common Mounting Mistakes
You’ve poured hours, maybe even months, into every single stitch. The last thing you want is a simple mounting mistake to undo all that hard work. Trust me, even the most seasoned stitchers run into trouble now and then, but knowing what to watch out for is half the battle.
Let’s walk through some of the most common pitfalls I see and, more importantly, how to fix them so your finished piece looks absolutely perfect.
Solving Fabric Puckering and Tension Troubles
There’s nothing more frustrating than fabric that ripples or puckers after you’ve mounted it. This is almost always a sign that the tension is uneven. It happens when you pull one side way tighter than the others, creating a subtle distortion that messes up that smooth, drum-tight finish we all want.
The solution is all about balance. The trick is to always work from the center out and tackle opposite sides together.
- Start in the Middle: Whether you're lacing, pinning, or stapling, secure the very center of the top edge first.
- Go to the Opposite Side: Gently pull the fabric taut and then secure the center of the bottom edge.
- Repeat on the Sides: Now do the same for the left and right sides. Only after these four points are anchored should you start filling in the gaps.
This "star" pattern creates a foundation of even tension right from the start. It makes working your way out to the corners so much easier, preventing those annoying ripples. If you do see a pucker start to form, don't sweat it. Just undo a few pins or staples, smooth it out, and try again. Patience pays off here.
The Peril of Cutting Your Fabric Too Short
It’s a heart-stopping moment: you go to wrap your fabric around the mounting board and realize you’ve cut the border way too small. Take a deep breath! You still have options. While it might rule out a traditional lacing method, you can definitely still get a beautiful result.
The easiest workaround is to switch to pinning. You only need enough fabric to fold over the edge of the foam core, not wrap all the way around to the back. As long as you have about half an inch to work with, you can secure it neatly with pins pushed directly into the sides of the board.
Pro Tip: If your fabric is cut right down to the wire, you can carefully sew strips of scrap fabric to the edges. This gives you extra "handles" to pull and secure the piece with any method you like, and the added fabric will be completely hidden from the front.
Ensuring a Perfectly Centered Design
A slightly crooked design is one of those things that will bug you forever. Eyeballing the center is a gamble that rarely pays off. The real key is to measure twice and mark your guides before a single pin goes in.
First, find the center of your mounting board. Just draw faint pencil lines from corner to corner to make an "X." The middle is where they cross. Next, find the center of your design by gently folding your fabric in half vertically, then horizontally. Use these center points to line everything up perfectly before you start securing it. This simple step takes just a couple of minutes but saves you from the frustration of a crooked finish.
It's no surprise that while about 30% of stitchers go for professional framing, the vast majority—a full 70%—choose to mount their own work. Learning these little tricks is what gives your DIY finish that polished, professional look.
Avoiding Harmful Materials That Damage Your Work
This is, without a doubt, the most critical mistake to avoid. The damage from using the wrong materials is often slow, creeping up over years, and is usually irreversible. The wrong stuff can cause your beautiful fabric and threads to yellow, stain, and literally fall apart.
Never, ever use:
- Regular Cardboard: It’s full of acid that will leach into your fabric, making it yellow and brittle. Always look for materials specifically labeled as acid-free or archival-quality.
- Craft Glues or School Tape: Most adhesives contain chemicals that can bleed through the fabric over time, leaving behind ugly, permanent stains. Stick to fully reversible methods like lacing or pinning.
- Non-Rustproof Pins: If your piece is ever displayed in a humid room, standard steel pins can rust and leave stains that are impossible to get out. Always use stainless steel or rust-proof T-pins.
Once your piece is mounted and framed just right, the only thing left is to show it off. For that final step, you might find this guide to hanging your picture with precision to be a super helpful resource.
Common Questions About Mounting Your Cross-Stitch
Once you’ve tied off that last thread, a whole new set of questions can pop up. Finishing your cross-stitch is one thing, but getting it ready for display is another challenge entirely. Don't worry, these are questions every stitcher asks, from beginners to seasoned pros. Let's walk through some of the most common ones.
First off, you might be wondering if all this prep work is even worth it. The answer is a huge "yes!" Proper mounting is what elevates your project from a simple piece of stitched fabric to a finished work of art. It’s the final, crucial step that protects your hard work and gives it that polished, professional look you see in galleries.
And it's a craft worth preserving. Needlecraft is booming—the global market for patterns was valued at around USD 1.2 billion in 2023 and is expected to hit USD 2.4 billion by 2032. That's a lot of beautiful stitching that deserves a great finish! You can actually discover more insights about the needlecraft market growth and see just how popular the hobby has become.
What’s the Best Backing Material to Use?
If you remember only one thing, make it this: use an acid-free material. That regular cardboard or foam board you have lying around is full of acids that will seep into your fabric over time. This causes that dreaded yellowing and can even make the fibers brittle.
For a finish that will stand the test of time, you really want to stick with one of these options:
- Acid-Free Foam Core: This is what most stitchers, including myself, swear by. It’s light but sturdy, super easy to cut to size, and gives you a perfectly flat surface for pinning or lacing.
- Archival Mat Board: Another fantastic choice. It's a bit thinner than foam core but is made to conservation standards, so you know it’s safe for your fabric.
Key Takeaway: No matter what you grab, look for the words "acid-free," "archival," or "conservation-quality" on the packaging. This is absolutely non-negotiable if you want to protect your piece for years to come.
Can I Just Glue My Project Down?
I’d strongly advise against using liquid glues, glue sticks, or even most spray adhesives. The big problem is that most of them are not archival and can soak right through the fabric. You might not see it right away, but months or years down the line, ugly, oily-looking stains can appear and ruin your work.
Besides the risk of staining, glue is permanent. It’s an incredibly unforgiving method—if you don't get your piece centered perfectly on the first try, there’s no going back without likely destroying the project. Reversible techniques like lacing or pinning are always the safer, more professional choice.
How Much Extra Fabric Should I Leave?
This is a brilliant question, and the best time to ask it is before you even make your first stitch! My rule of thumb is to leave a bare fabric border of at least two to three inches on all four sides of your design.
Having that extra margin is a lifesaver for a few reasons:
- Grip and Tension: It gives you plenty of fabric to hold onto and pull taut, which is essential for any mounting method, whether you're lacing it up or stretching it over a frame.
- Framing Space: It ensures the edges of your beautiful stitching won't get covered up by the lip of the frame or mat.
- A Little Wiggle Room: It’s a buffer for human error. If your measurements are a tiny bit off or the fabric frays while you're working with it, you'll be glad you have that extra space.
Running out of fabric is one of the most stressful problems you can face at the mounting stage. Giving yourself a generous border from the very beginning will save you from a major headache later.
Ready to turn your favorite memories into a work of art? At Cross Stitched, we make it easy with custom, all-in-one kits created from your own photos. Explore our personalized kits and start your next masterpiece today at https://cross-stitched.com.


