
Turning one of your favorite photos into a hand-stitched work of art is a surprisingly straightforward and rewarding process. At its core, you'll start by picking a great digital photo, use a specialized online tool to transform it into a stitchable chart, and then gather your Aida cloth and floss to bring it to life.
Bringing Your Photos to Life, Thread by Thread
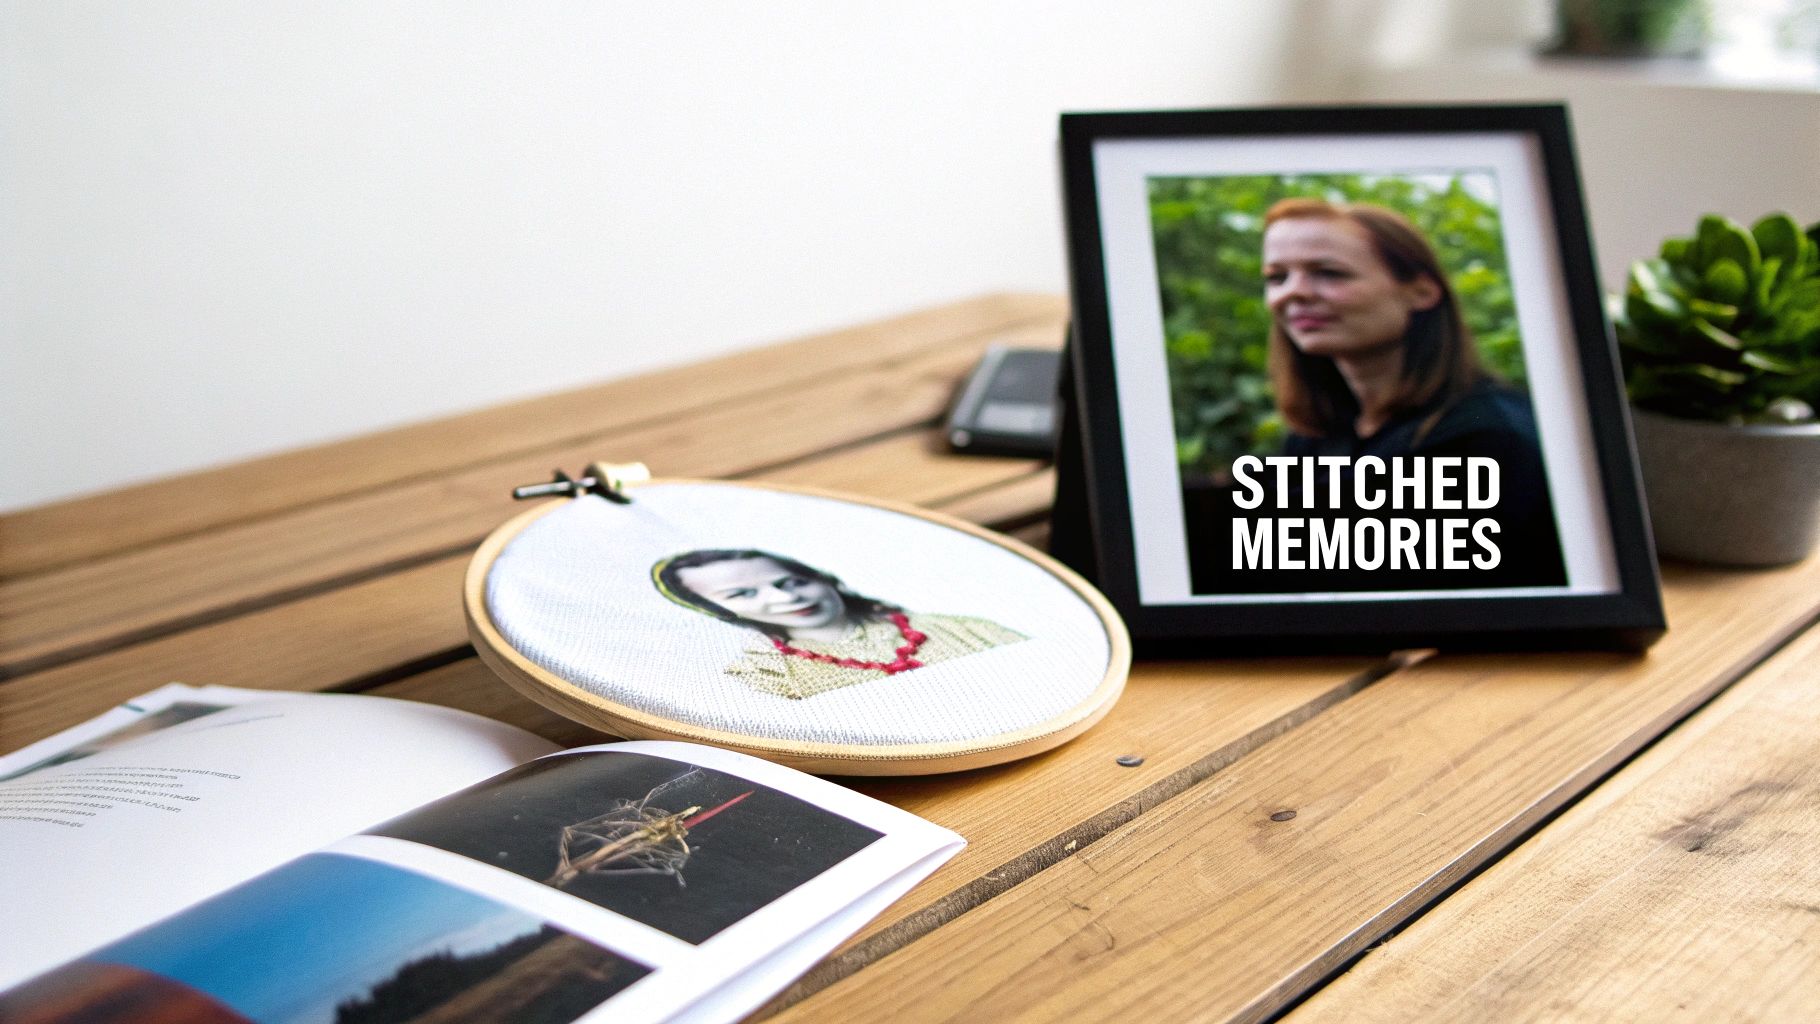
Just think about it: that perfect family portrait, a silly snapshot of your pet, or a breathtaking landscape from your last vacation can become a tangible, textured heirloom. This guide is here to walk you through how to make a cross-stitch pattern from a photo, showing you how modern tech has opened up this timeless craft for everyone.
The real magic isn't just in the finished piece, but in the personal journey of creating it. It’s a beautiful blend of digital ease and the simple, tactile satisfaction of needle and thread.
Your Photo to Pattern Journey at a Glance
Every great cross-stitch project starts with a solid plan. Before we dive into the nitty-gritty details, let’s look at the big picture. This table breaks down the main stages you'll go through, from the initial idea to the moment you thread your needle.
| Stage | Key Action | Why It Matters |
|---|---|---|
| Photo Selection | Pick a high-resolution image with clear focus and good contrast. | A sharp, well-lit photo creates a much cleaner and more recognizable pattern. |
| Pattern Generation | Upload your chosen image to an online pattern maker. | This is where the software does the heavy lifting, creating the grid and color key. |
| Customization | Tweak the final size, fabric count, and the number of thread colors. | These choices directly control the project's finished dimensions and its level of detail. |
| Supply Gathering | Get your hands on the specified Aida fabric, DMC threads, and needles. | Having the right gear from the start makes the whole process smoother and more enjoyable. |
| Stitching | Follow your printed pattern grid and symbol chart, one "X" at a time. | This is the fun part! You're finally turning that digital plan into a physical piece of art. |
Think of this process as immortalizing a moment in a truly unique medium. Each stitch acts like a tiny pixel of your memory, all woven together to tell a story that’s completely your own.
This unique approach allows you to craft unforgettable gifts for weddings, anniversaries, or new babies—or just make something special for your own wall. For another beautiful way to immortalize your memories in textile form, explore guides on creating woven photo blankets.
In the sections ahead, we’ll get into the specifics of each stage. We'll cover everything from simple photo editing tricks that make a huge difference to choosing the best pattern generator for your needs, so you’ll feel ready and excited to get started.
Choosing the Perfect Photo for Your Project
The secret to a stunning cross-stitch piece isn't your needle or thread—it's the photograph you start with. Getting this first step right is the difference between a clear, beautiful design and a muddy, confusing mess of stitches.
Think of your photo as the blueprint for your project. A picture with a clear subject, good lighting, and a simple composition will always give you a better pattern to work from. It's the foundation for everything that follows.
Look for High Contrast and Sharp Focus
If there's one thing to remember, it's this: strong contrast is non-negotiable. You need clear, defined differences between the light and dark areas of your image. Good contrast is what helps pattern-generating software "see" the different elements, which translates into clean lines and recognizable shapes in your final chart.
Imagine trying to stitch a photo of a black dog on a dark brown rug in a dimly lit room. The software will struggle to tell where the dog ends and the rug begins, leaving you with a blob of similar dark colors. Now, picture that same black dog on a light-colored blanket in bright, natural sunlight. That's the kind of image that creates a sharp, well-defined pattern.
The importance of this can't be overstated. Data from popular pattern makers show that images with a strong contrast—at least a 60% difference between light and dark areas—produce 85% clearer results in automated conversions. This isn't just a theory; it's based on the experiences of thousands of stitchers.
My rule of thumb is simple: if the main subject doesn't "pop" from the background in the photo, it's not going to pop when you stitch it, either.
Keep It Simple
When you convert a photo into a cross-stitch pattern, every single detail gets turned into stitches. This includes that busy, distracting background you didn't pay much attention to. A cluttered background makes your subject harder to see and, worse, adds dozens of unnecessary colors and "confetti" stitches—those annoying single stitches scattered all over the place.
To sidestep this headache, look for photos with simple, uncluttered backgrounds.
- For portraits: A headshot against a plain wall or a soft, out-of-focus backdrop works beautifully.
- For pets: Try to snap your furry friend on a simple blanket, a patch of green grass, or a solid-colored floor.
- For landscapes: Pick scenes with a clear focal point, like a lone tree against the sky, not a dense, chaotic forest.
Don't panic if your favorite photo has a messy background. A quick crop is often all you need. Just use a basic photo editor to zoom in on your subject and cut out the noise. This tiny adjustment can make a massive difference in your final pattern.
Why Photo Quality and Resolution Matter
The technical quality of your photo is just as crucial as its composition. A high-resolution image is packed with more data, giving the pattern generator more information to work with. The result is a more detailed and accurate chart. If you start with a low-resolution, pixelated photo, you'll end up with a blurry, indistinct pattern.
Always use the original, full-size image file. Photos you've saved from social media are usually compressed to save space, and a ton of detail gets lost in that process. They're almost never a good choice for pattern conversion.
To really set your project up for success, starting with a quality photo is key; you might even want to look into choosing the best camera for photography to capture that perfect shot. While a modern smartphone can do a great job, knowing a little about what makes a good photo will help you create the ideal source image for your next masterpiece. Before you upload, give it one last check: if it looks even slightly blurry on your screen, it's going to look ten times worse in thread.
Using a Pattern Generator to Convert Your Photo
Alright, you’ve picked the perfect photo. Now for the really fun part: turning that digital image into a stitchable blueprint. This is where the magic happens, thanks to online pattern generators. These tools are designed to look at your picture, break it down pixel by pixel, and translate it into a gridded chart complete with thread color suggestions. What used to be a long, manual process is now something anyone can do in just a few minutes.
This tech has completely changed the game for crafters. The use of automated photo-to-pattern software has shot up by 400% since 2015, which makes sense when you see the cross-stitch industry is on track to hit USD 0.15 billion by 2024. Tools like Pic2Pat are at the forefront, turning images into printable charts with the right DMC floss codes built right in. While these programs can pull from all 489 DMC colors, the best designs often stick to around 40 hues. Data from Etsy actually shows that patterns with simpler color palettes can sell up to 50% faster. If you're curious about how technology is shaping the crafting world, this video on crafting technology's growth is a fascinating watch.
Navigating an Online Pattern Converter
Let's walk through the process using Pic2Pat. It’s a popular, free online tool that’s perfect if you’re just starting out. While there are tons of great options out there, this one gives a really clear look at the kind of settings you'll find on almost any generator. It's always a good idea to play around with different platforms to see which one you like best—we even have a detailed guide on the best cross stitch pattern maker tools to help you compare.
No matter which tool you use, the first thing you'll do is upload your photo. You'll see a button that says "Upload" or "Choose File," where you can select the image you've already prepped.
Just as a reminder, getting the photo right before you upload is crucial. This little flowchart covers the three big things to look for.
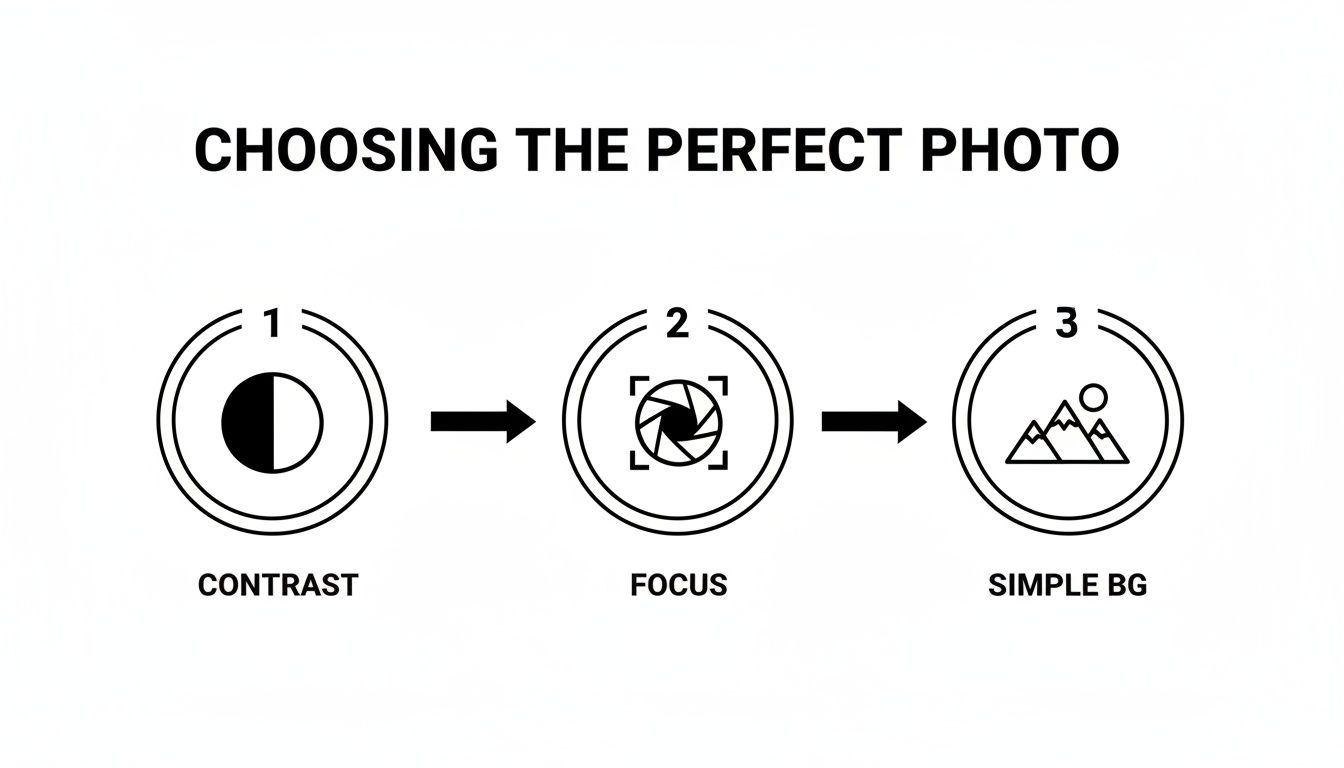
Starting with a photo that has great contrast, sharp focus, and a clean background is the secret to a pattern that looks amazing instead of messy.
Fine-Tuning Your Pattern Settings
Once your image is loaded, you'll see a dashboard of options. This is your control panel for customizing the final pattern. Don't let the terms throw you off; they're all pretty straightforward once you know what they do.
Fabric Count
This is just a way of saying how many stitches fit into one inch of your fabric. The most common choices you'll see are 14-count and 18-count Aida cloth.
- A lower number (like 14) means fewer, larger stitches per inch, which gives you a bigger finished piece.
- A higher number (like 18) means smaller, tighter stitches, which results in a smaller and more detailed project.
Think of it like the resolution on a TV screen. A higher fabric count is like a 4K screen—it packs more detail into the same amount of space. For your first project, 14-count Aida is a fantastic choice because the holes are bigger and much easier to see.
Final Size and Stitch Count
Most tools let you decide how big you want your final piece to be, either in inches or in the total number of stitches wide. When you change the fabric count, you'll see these dimensions update automatically. For instance, a design that's 140 stitches wide will be 10 inches across on 14-count fabric (140 ÷ 14). But on 18-count fabric, that same design will only be about 7.8 inches wide (140 ÷ 18).
Number of Colors
This is probably the most important setting you'll adjust. The software will suggest a number of DMC thread colors, but you almost always have the power to change it.
- Fewer Colors (20-30): This gives your pattern a more graphic, "posterized" look. It's much easier to stitch, less expensive to buy thread for, and a great starting point for beginners.
- More Colors (40-60+): This will capture all the subtle shading and tiny details, creating a very photorealistic finish. The trade-off is more complexity, more "confetti" (single, scattered stitches), and a bigger shopping list for floss.
It’s all about finding the right balance. For a portrait, you might lean toward more colors to get the skin tones just right. For a simple landscape, you could probably cut the colors way down without losing the overall feel.
Understanding Your Generated Pattern
After you've locked in your settings, the generator will create a multi-page PDF for you. This is your roadmap. Here's a quick guide to reading it.
- The Grid Chart: This is the core of your pattern. It's a grid where every single square, marked with a symbol, represents one cross stitch.
- The Symbol Legend: Think of this as your decoder key. It tells you which symbol on the chart matches which DMC floss color. For example, a black circle symbol (●) might tell you to use DMC 310 (Black).
- The Floss List: This is your shopping list! It lists every DMC color number you'll need for the project and often estimates how many skeins of each you should buy. It's a lifesaver for avoiding that mid-project dash to the craft store.
Before you get too excited and start stitching, take a moment to look over the generated chart. Does it look way too complicated? Are there huge patches of confetti stitches that look like they'll be a nightmare to work on? If something feels off, don't be afraid to go back and tweak your settings. Reducing the number of colors is usually the quickest way to simplify a pattern. Getting it right at this stage is the key to creating a project you'll actually enjoy from the first stitch to the last.
Gathering Your Supplies: Fabric, Floss, and Tools
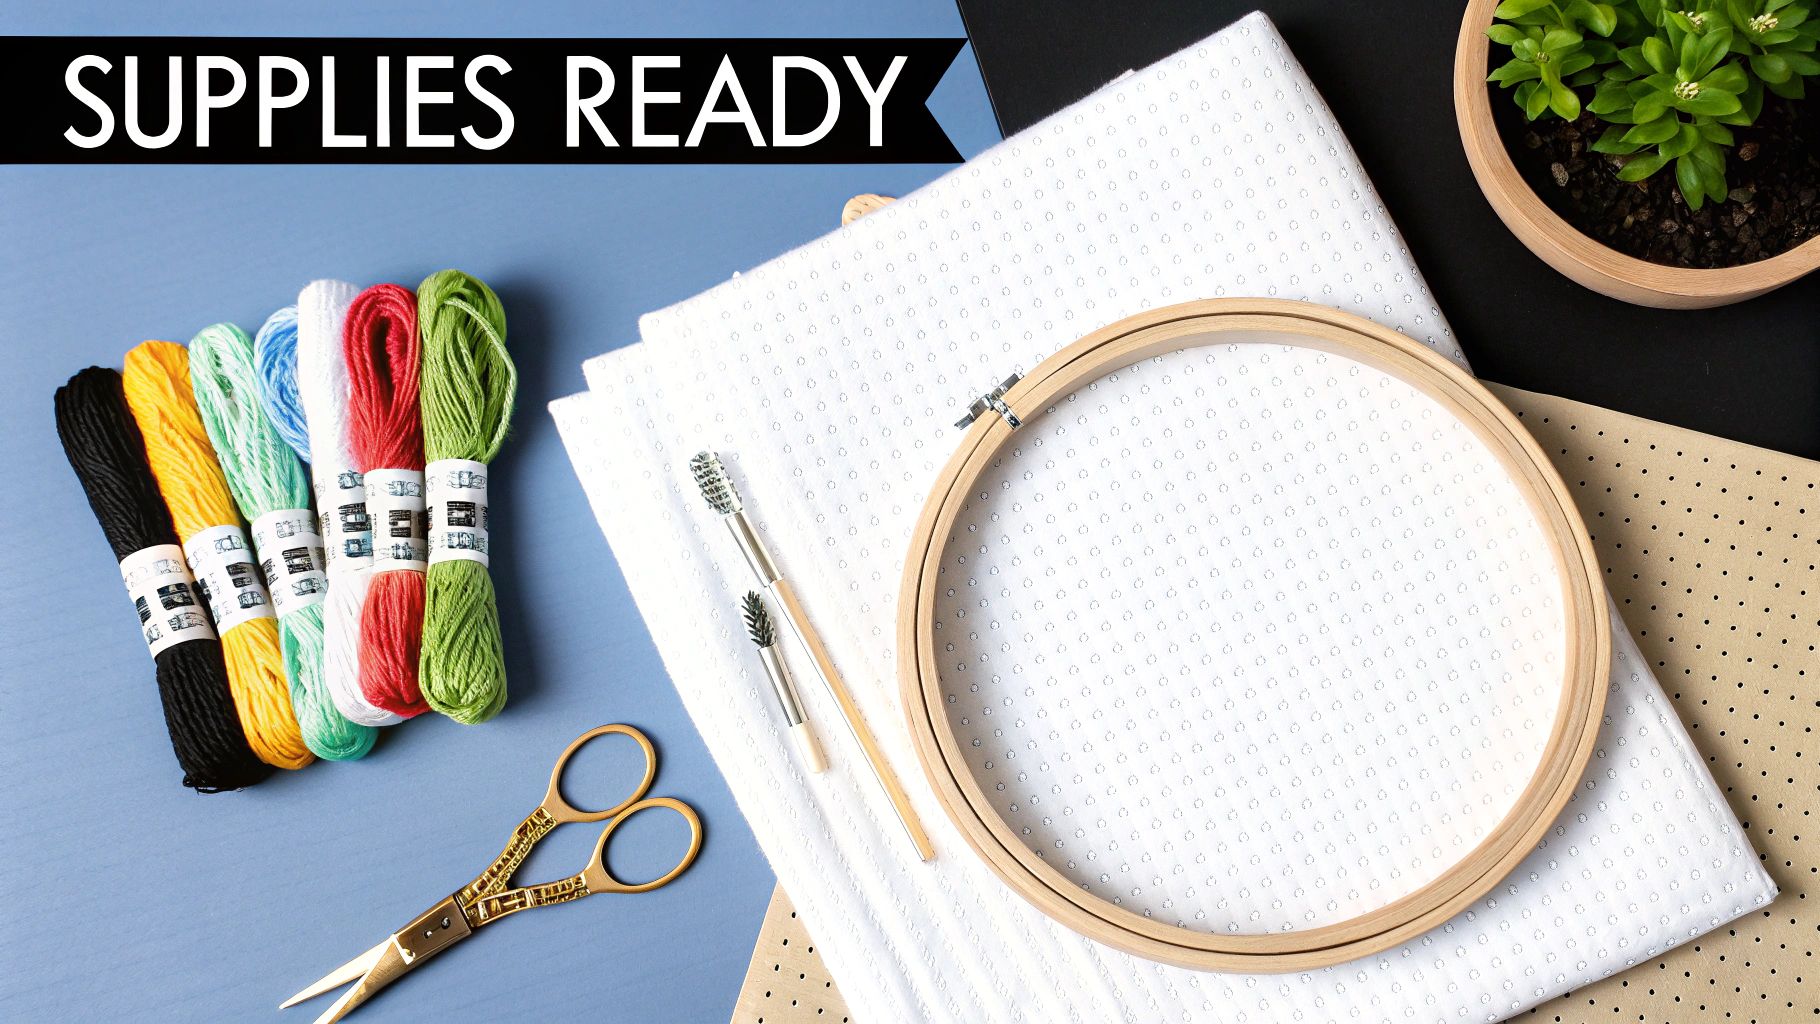
Alright, your digital pattern is done. Now for the fun part—turning that file on your screen into a real, tangible project. This is where you get to gather all the physical materials that will bring your photo to life, one stitch at a time. Picking the right supplies is more than just a preliminary step; it makes the whole process smoother and ensures your finished piece looks incredible.
Picking the Perfect Fabric
The fabric is the canvas for your masterpiece. For photo-based patterns, which are often "full coverage" (meaning every inch is stitched), your fabric choice really matters. The "count" of the fabric, which tells you how many stitches fit into one inch, is what determines the final size and level of detail in your project.
Here’s a quick rundown of your main options:
- Aida Cloth: This is the fabric we all know and love, especially when starting out. It's a stiff cotton material woven with a very clear grid of holes, which makes counting and stitching a breeze. For a detailed photo project, 14-count Aida is a fantastic choice.
- Evenweave: Materials like Jobelan or Lugana are much softer and have a tighter weave. You typically stitch "over two" threads on these, which gives the finished piece a beautifully smooth look. They can be a bit trickier for beginners, though.
- Linen: This is the premium, traditional choice for seasoned stitchers. Its beautiful, slightly irregular texture gives projects a unique character, but that same irregularity demands a very steady hand. I'd save this one for a future project, not your first photo conversion.
My advice? Stick with 14-count or 16-count Aida cloth for your first custom photo pattern. The clear grid takes all the guesswork out of where to put your needle, so you can focus on the colors instead of struggling with the fabric.
Decoding Your Floss Shopping List
Your pattern generator has handed you a shopping list in the form of DMC color codes. DMC is the gold standard for embroidery floss, offering an incredible palette of over 480 shades and consistent quality you can trust.
On your pattern’s legend, you'll see a symbol paired with a DMC number (like ● = DMC 310). Your pattern should also give you a rough estimate of how many skeins you'll need for each color. Here’s a pro tip: always buy one extra skein of the main colors, especially for backgrounds or large blocks of black. There’s nothing worse than playing "thread chicken" and losing right at the end of a project.
To save yourself a massive headache later, get some cheap plastic or cardboard bobbins and wind each floss color onto them, labeling each with its DMC number. This simple step will save you from a tangled nightmare.
The Tools of the Trade
You don't need a studio full of expensive gear, but a few basics will make your stitching experience so much better. If you want the full-blown list, we have a complete guide on what you need for cross stitch right here.
Your Must-Have Toolkit:
- Tapestry Needles: These are your best friends. They have a blunt tip and a large eye, so they glide right through the holes in Aida cloth without splitting any threads. A size 24 tapestry needle is the perfect partner for 14-count Aida.
- Embroidery Hoop or Frame: A good hoop keeps your fabric tight, which is the secret to beautifully even stitches. For a big photo project, you might want to look into a Q-Snap frame—it holds a larger area of fabric taut without leaving stubborn hoop-rings.
- Sharp Scissors: A small, sharp pair of embroidery scissors is non-negotiable for snipping your threads cleanly and close to the fabric.
Once you have your fabric chosen, your floss organized, and these essential tools by your side, you're officially ready to start stitching.
Pro Tips for Stitching Your Photo Pattern
Tackling a large, full-coverage project made from a photo can feel intimidating, but it’s really just a series of small, manageable steps. The secret isn't just in the stitching, but in your entire approach. A bit of prep work and a smart strategy can turn a complex chart into a genuinely rewarding creative process.
Before you even thread your needle, find the center of your fabric. The easiest way is to fold it in half lengthwise, then in half widthwise. The corner where the folds meet is your dead center. Do the same with your printed pattern, and you've got a perfect starting point that guarantees your finished piece will be beautifully centered.
Choosing Your Stitching Method
When you're staring down a pattern with dozens of colors, your technique is everything. There are a couple of popular ways to handle this, and most seasoned stitchers have a strong preference for one over the other.
- Cross-Country Stitching: This is where you complete all the stitches of a single color in a section (or across the whole piece) before switching to the next floss. It's incredibly satisfying to see a color completely filled in.
- The Parking Method: With this technique, you work in small, neat blocks, usually 10x10 squares. You complete all the stitches within that block, then carry your threads to the next spot they appear and "park" them there until you need them again.
For photorealistic patterns dense with color changes, the parking method is often the fan favorite. It drastically cuts down on counting errors across large areas and helps keep the back of your work much tidier—a real lifesaver when you're juggling tons of similar shades.
Want to get into the weeds on these? We break it all down in our guide on advanced cross stitch techniques.
Managing Confetti and Lighting
One of the biggest headaches when you make a cross stitch pattern from a photo is dealing with confetti stitches. These are those isolated, single stitches of one color scattered all over the place. They're essential for creating that subtle, realistic shading, but they can be a real pain to stitch.
To secure the thread for a single stitch without a messy knot, try the loop start method (if you're using two strands) or just carefully tuck the tail under four or five nearby stitches on the back.
Good lighting isn't a luxury; it's a necessity. A daylight lamp or a small clip-on light for your hoop will save you from major eye strain and help you tell the difference between nearly identical colors like DMC 3752 and DMC 963.
As stitching has boomed in Europe, some interesting data has emerged. Advanced methods, like finishing all stitches of one color within a section, can slice your stitching time on a shaded portrait by up to 25% compared to a rigid row-by-row approach. It's no wonder that 60% of professional stitchers lean on this method for better color blending. You can read more about these stitching efficiency findings and see how they apply to bigger projects.
In the end, the best advice is simple: slow down and enjoy the journey. There's nothing quite like watching your favorite photo come to life, one tiny 'x' at a time.
Common Questions About Turning Photos into Patterns
Even when you follow all the steps, you're bound to run into a few head-scratchers when turning a photo into a cross-stitch pattern. It happens to everyone. This is where we tackle those common hurdles with some practical, field-tested advice to keep you on track.
Think of this as your troubleshooting guide for those "what do I do now?" moments. We'll get into everything from figuring out the final dimensions of your piece to making sure the faces in your portrait actually look like the people you love.
How Do I Figure Out the Final Size of My Project?
This sounds more complicated than it is. The finished size of your cross-stitch project really just depends on two things: the stitch count of your pattern (width and height in stitches) and your fabric count (the number of stitches per inch).
The math is straightforward: just divide the stitch count by the fabric count. So, if your pattern is 140 stitches wide and you're stitching on 14-count Aida, your finished piece will be 10 inches wide (140 ÷ 14 = 10). Do the same thing for the height, and you've got your dimensions.
The good news is that you rarely have to do this calculation yourself. Nearly every online pattern generator, including tools like Pic2Pat, will show you the final dimensions in inches or centimeters. As you change the fabric count in the settings, you'll see those numbers update in real-time, which completely removes the guesswork.
Can I Use a Black and White Photo?
Absolutely! In fact, you really should try it. Black and white or sepia photos can create some of the most stunning and elegant cross-stitch pieces. There’s a timeless, classic feel to them that’s hard to beat. The conversion process works exactly the same way as it does for a full-color image.
When you upload a black and white photo, the software just maps the image to a palette of greys, blacks, and whites from the DMC floss range. It's also a fantastic option if you're just starting out, since these patterns usually require far fewer colors than a vibrant photo, making them simpler and cheaper to get started on.
What if My Pattern Has Too Many Similar Colors?
This happens all the time, especially with detailed photos like landscapes or portraits with soft, subtle lighting. You might generate a pattern that calls for five different shades of beige that look almost identical on the chart and are a nightmare to tell apart when you're sorting your floss.
The easiest fix is to simply go back to the pattern generator and reduce the total number of colors. If the tool initially suggested 50 colors, try running it again with a hard limit of 35 or 40. This forces the software to merge those nearly-identical shades into a single, more distinct color. While you might lose an incredibly subtle bit of shading, the trade-off is a project that's much easier to stitch and often looks cleaner and more cohesive in the end.
How Can I Make Faces in a Portrait Look Better?
Getting faces right is easily the trickiest part of a photo-to-pattern project. We are hardwired to spot even tiny imperfections in facial features, so it’s something you want to nail. Your best bet is to start with a fantastic source image: choose a high-resolution, clearly lit photo where the face is the main event.
When you're generating the pattern, don't shy away from a slightly larger finished size and a higher color count. This is especially true for portraits. More stitches and more colors give the software more to work with, allowing it to render the delicate curves and skin tones much more accurately. Some stitchers even take it a step further by manually editing the final chart to remove stray "confetti" stitches from the face or adding backstitching around the eyes and mouth to create crisp, clear definition.
Ready to skip the guesswork and jump straight to the fun part? At Cross Stitched, we'll do the hard work for you. Just upload your favorite photo, and we’ll prepare a complete, ready-to-stitch kit with everything you need: pre-sorted DMC threads, high-quality Aida fabric, needles, and a perfectly clear pattern. Start creating your personalized masterpiece today!


