
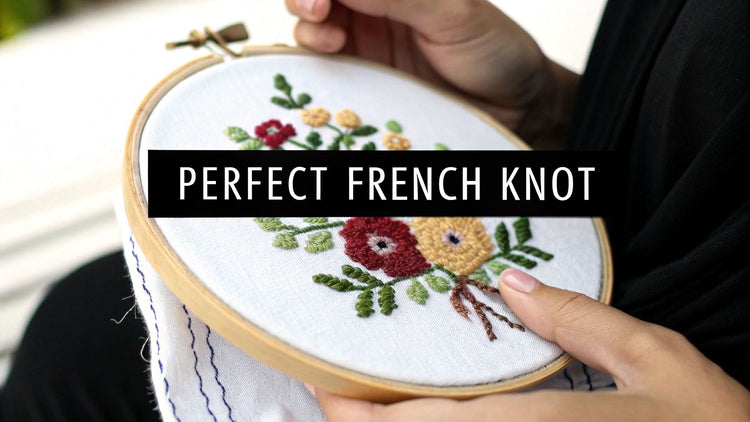
If you’ve ever wanted to add little pops of texture—think flower centers, sparkling stars, or the shine in an animal’s eye—a French knot is your go-to. It’s just floss wrapped around the needle and pulled through the fabric, but the result feels almost sculptural.
Why The French Knot Is A Stitch Worth Mastering
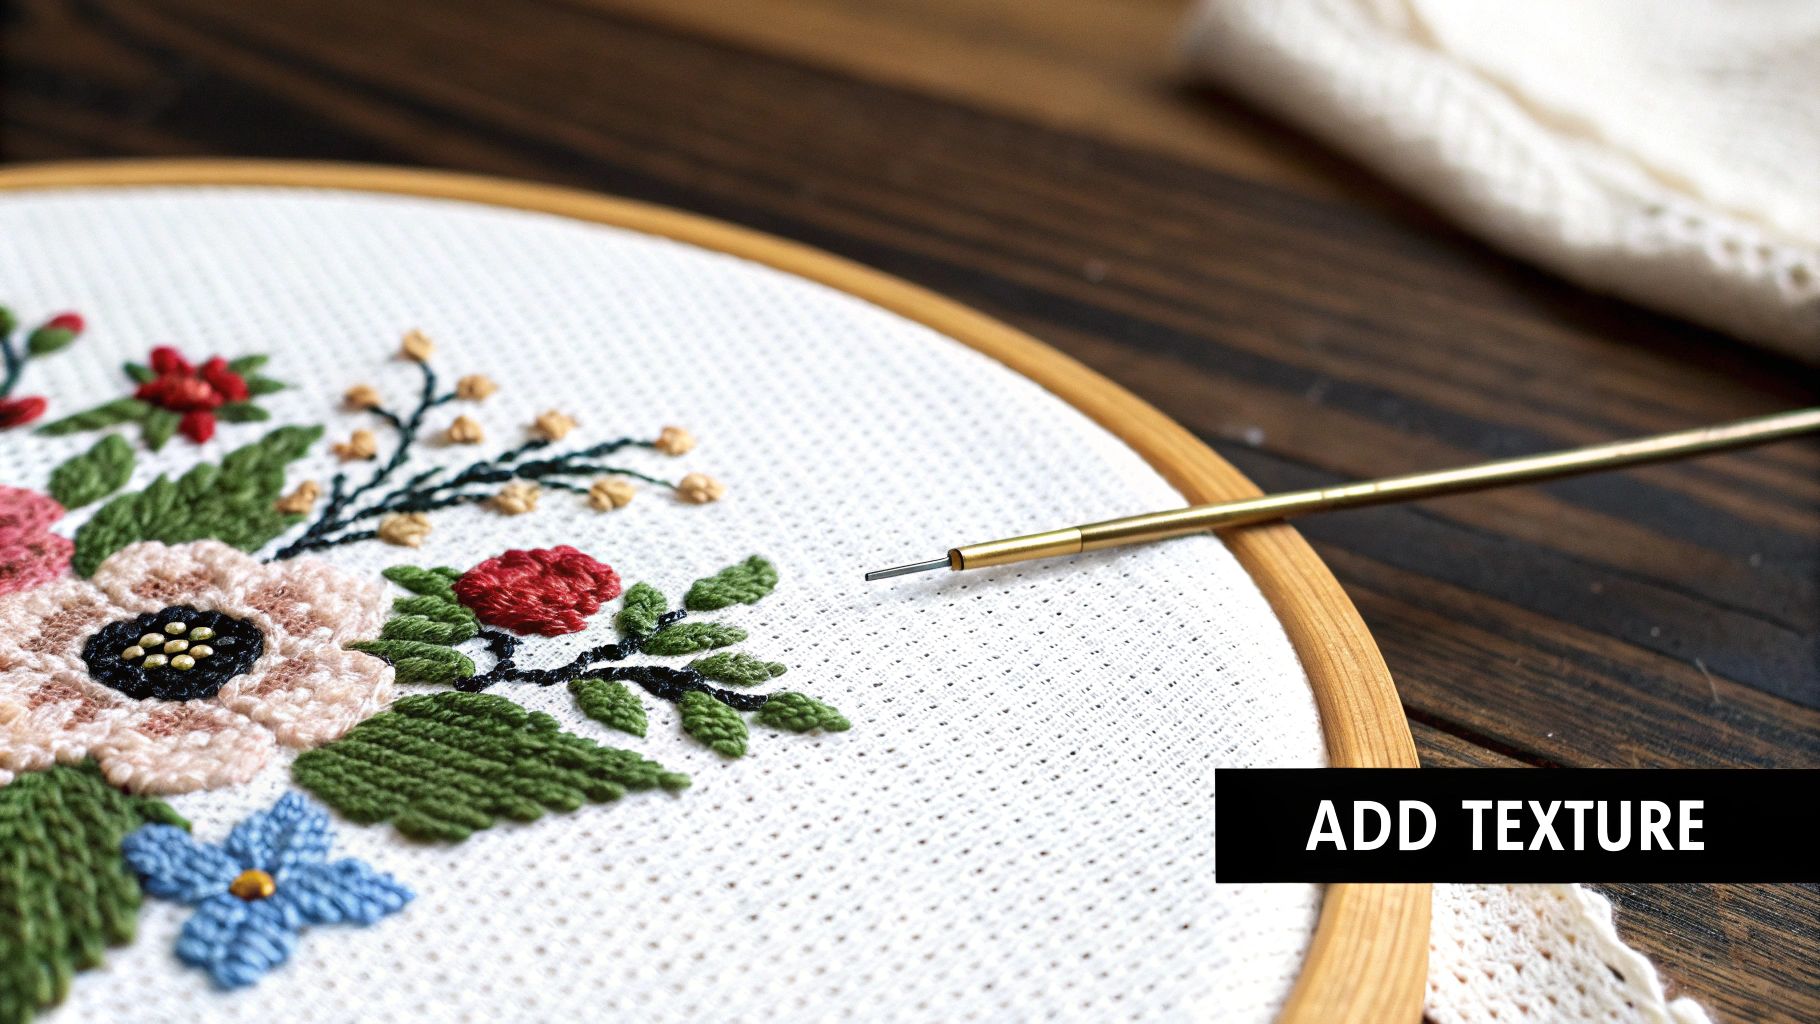
Before you wrap thread around the needle, imagine adding tiny beads of color that sit proudly above the fabric. That’s exactly what a French knot does—it brings designs to life with 3D effect.
Patterns often call for these knots when you need:
- The gleam in a creature’s eye
- Soft buds blooming on a twig
- Plump berries on holly clusters
- Gentle snowflakes drifting across your scene
That little bump makes all the difference compared to a flat cross stitch.
A Stitch With Rich History
Needleworkers have cherished the French knot for centuries. It first gained fame in Europe during the 16th and 17th centuries, adorning everything from courtly robes to lavish table linens.
Today, more than 65% of experienced stitchers rely on this knot to introduce dimension. If you want to see how these tiny loops evolved, check out this helpful video on historical stitching.
Elevating Your Textile Art
Once you’ve got the knot technique down, you’ll see endless creative opportunities. Instead of settling for flat color, use knots as focal points that draw attention exactly where you want it.
A subtle French knot can be the finishing detail that elevates your design, adding a refined touch that tiny beads or sequins struggle to match.
For even deeper insight into fabric structure and thread interplay, explore general weaving techniques. That background will enrich every stitch you create.
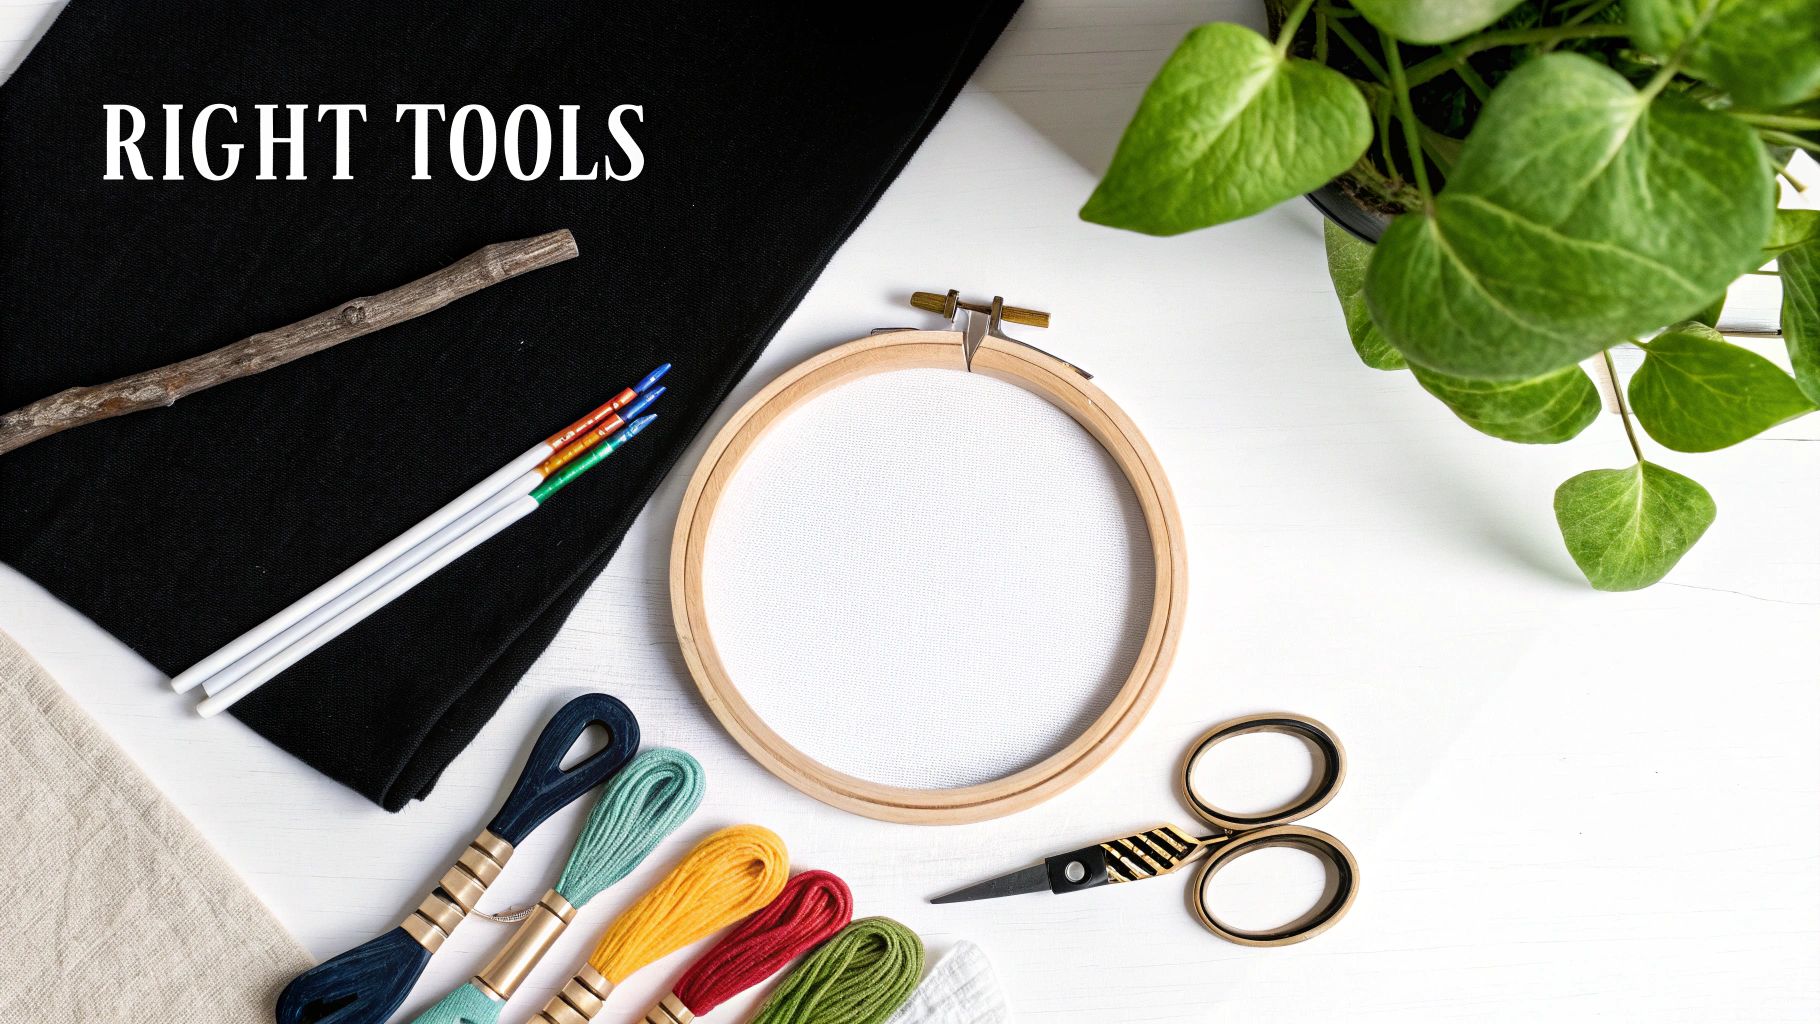
Setting Up for Success with the Right Tools
 embroidery hoop.">
Before you even think about making that first wrap, let's talk about gear. Having the right supplies on hand is what separates a frustrating afternoon from a row of beautiful, consistent French knots. It really does make all the difference.
The most important tool for a perfect French knot? An embroidery hoop. Keeping your fabric drum-tight is absolutely crucial for controlling thread tension. Without a hoop holding your Aida or evenweave taut, you'll struggle to get those neat, even knots we're all after.
Choosing Your Needle and Thread
The right needle and thread combo is just as critical. For cross-stitch, you'll want a tapestry needle. Its blunt, rounded tip is designed to slip easily through the holes in the fabric, not pierce the threads themselves. This keeps your work area clean and prevents you from splitting the fibers of the cloth.
Now for the thread. The number of strands you use will directly determine the size and impact of your knot.
- For delicate details: Using just two strands of floss will give you a tiny, seed-like knot. It's perfect for things like tiny flower centers or eyes on a small character.
- For a bolder look: Bumping up to three strands creates a much plumper, more noticeable knot that really stands out.
If you want to get really nerdy about thread choices, our guide on https://cross-stitched.com/blogs/what-is-cross-stitch/embroidery-floss-for-cross-stitch is a great resource. It covers everything from picking colors to managing your strands.
Getting a feel for how thread thickness affects your work is a game-changer. A little background knowledge in understanding sewing thread sizes can really help you predict how bulky your knots will turn out before you even start stitching.
Your Guide To Creating The Perfect French Knot
Imagine settling in with your favorite cross-stitch project, ready to add tiny pops of texture. This method isn’t about strict rules—it’s about finding a rhythm that feels natural and builds confidence one stitch at a time.
Begin by tacking your thread on the back of the fabric. Bring the needle up through the exact point where you want that little knot to sit. Pull gently until the floss lies snug against the cloth.
The Crucial Wrapping Motion
Grasp the needle firmly in your dominant hand and hold the floss with your other. Keep that strand pulled taut—this tension prevents loose loops and gives your knot a crisp outline.
Next, guide the needle in front of the thread and start wrapping. Decide how bold you want your dot to be.
- One wrap creates a petite, delicate knot—ideal for subtle accents.
- Two wraps form a plump, eye-catching knot that really stands out.
Pro Tip: When stitching a field of stars or snowflakes, use the same number of wraps every time. Consistent loops produce an elegant, uniform effect.
The Final Move Securing Your Knot
With the wraps snug around the needle, keep holding that tension. Pivot the tip and slide it back through the fabric, aiming just a hair’s breadth away from your entry point. Re-inserting too close—or in the same hole—will pull the knot right through to the back.
As the needle pulls through, maintain your floss tension until the loops settle flush against the fabric. Only then should you release and draw the remaining thread to the back.
Give yourself a few minutes on a scrap of Aida cloth to practice this fluid motion. Before long, those perfect little dots will feel like second nature.
How to Control Your Knot Size and Placement
The real magic of the French knot is its versatility. You can make anything from a tiny speck of color to a bold, berry-like dot just by tweaking your technique. Getting a feel for this control is what makes the French knot such a game-changer in any cross-stitch project.
So, how do you get the size you want? It really comes down to two things: how many strands of floss you’re using and how many times you wrap that floss around your needle. Think of them as your volume dials for texture and impact. More strands and more wraps will give you a bigger, more dramatic knot every time.
This infographic gives you a great visual of the basic movement.
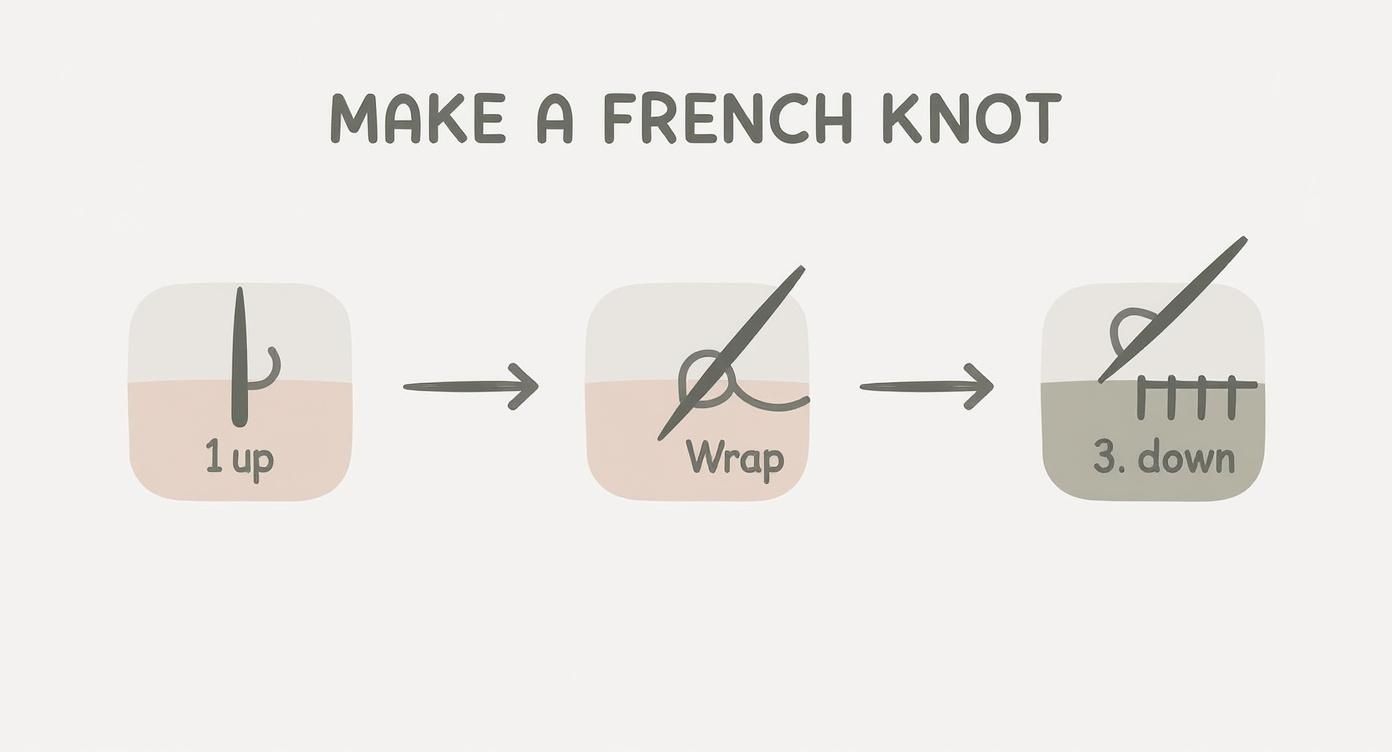
As you can see, it’s a simple flow: come up through the fabric, wrap the needle, and go back down. This is the core motion you'll use to create knots of any size.
Customizing Your Knot Size
Let's put this into practice. Say you're stitching a starry night sky. For those faint, distant stars, you’d probably want to use just two strands of floss and wrap it around the needle only once. This gives you a delicate, almost seed-like knot that adds a subtle twinkle without stealing the show.
But what if you're working on the center of a big, vibrant sunflower? You'll need something much bolder. This is where you might use three or even four strands of floss and wrap it two or three times. The result is a plump, textured knot that really captures the seedy core of the flower.
I've put together a quick reference table to help you visualize how these adjustments work.
French Knot Size Guide
| Number of Floss Strands | Number of Wraps | Resulting Knot Size | Best Used For |
|---|---|---|---|
| 1-2 | 1 | Small, delicate | Eyes on small figures, stars, tiny flower buds |
| 2-3 | 2 | Medium, pronounced | Flower centers, berry details, textured lettering |
| 4-6 | 2-3 | Large, bold, and rounded | Fluffy textures (sheep's wool), large decorative dots |
Keep this handy as you work. It’s a great starting point, and you'll quickly develop an instinct for what combination works best for your specific design.
One more tip: The needle you use matters more than you might think. A needle with an eye that’s too wide for your floss can make it tough to pull through the fabric, sometimes distorting your knot. If you're curious, we have a helpful guide on choosing the right cross stitch needle size.
Strategic Knot Placement
Beyond just the size, where you put your knots can completely transform a piece. For example, clustering a bunch of small knots together is a brilliant way to create a dense, bumpy fill. I love using this technique for things like fluffy sheep's wool or the fuzzy skin of a peach.
These little 3D effects are a big deal in modern cross-stitch. In fact, some craft surveys show that around 70% of stitchers use French knots to add lifelike details to flowers and animals, like adding pupils to eyes or creating textured flower centers. This is why mastering this stitch is so worthwhile—it’s an essential tool for adding depth and realism to your work.
Working Through Common French Knot Frustrations
Let's be honest, even experienced stitchers sometimes create a French knot that misbehaves. It’s a rite of passage! But the good news is that most knot-related problems come down to just a few common slip-ups in technique. Once you know what to look for, you can fix them for good.
One of the most common issues? The entire knot just vanishes, pulling right through to the back of your fabric. This is almost always because the needle went back down into the exact same hole it came up from.
Why Your Knot Disappears
Here’s the golden rule for French knots: always re-insert your needle right next to the hole you came up from, never back into it.
Think of it this way: you need to give the knot something to grip onto. By making a new hole in the fabric weave, you create an anchor that holds the knot securely on the surface.
Solving Loose or Uneven Knots
Another classic headache is the loose, loopy knot that looks more like a messy tangle than a tidy little dot. This one is all about tension. If you don't hold the floss taut, the wraps will slacken and create a jumbled mess as you pull the needle through.
The secret to a perfectly round French knot is to keep a firm, even tension on your floss from the moment you start wrapping until the knot is pulled tight against the fabric.
Hold that working thread firmly with your non-dominant hand. You want to guide the knot down the needle and help it settle snugly onto your fabric without letting any slack creep in.
If you find your knots are all over the place—some big, some tiny, some tight, some loose—it’s usually one of two culprits.
- Tension Troubles: Practice keeping the floss snug, but don’t strangle the needle. The wraps should be tight enough not to slip, but just loose enough for the needle to glide through them smoothly.
- Inconsistent Wraps: Decide on your knot size and stick with it. Generally, one wrap is for a delicate dot, and two wraps create a bolder, more pronounced knot. Consistency is key for a polished look.
Don't forget that your fabric can play a role, too. Aida cloth, for example, has a very open, grid-like weave that can make it tricky to place your needle just beside the original hole without slipping back into it. If you find this happening a lot, understanding what is Aida fabric and its structure can help you navigate its unique challenges.
Common Questions About French Knots
Even after you've stitched a few, French knots can still throw you a curveball. Let's tackle some of the most common questions that pop up, whether you're a beginner or have been stitching for years.
How Do I Get All My Knots to Be the Same Size?
Ah, the quest for the perfectly uniform knot! It really boils down to two things: consistency in your thread strands and consistency in your wraps.
If you're using two strands of floss and wrapping the needle twice for one knot, just keep doing that for all the others in that part of your design. Sticking to the same formula is the simplest way to get that clean, polished look we're all after.
Help! Why Does My Thread Keep Getting Tangled?
Tangled floss is the bane of every stitcher's existence, isn't it? More often than not, the culprit is a piece of thread that's just too long. A good rule of thumb is to cut a length no longer than from your fingertips to your elbow.
Another little trick is to just let your needle and thread dangle every few stitches. This lets the floss naturally untwist itself before it has a chance to cause any trouble.
When a knot turns into a tangled mess instead of a neat little bump, it’s almost always a tension issue. If you let the wraps loosen up on your needle right before you pull the thread through, they’ll snag and create a tangle. Keeping that thread taut is everything.


