

Getting started with cross stitch doesn't require a mountain of gear. In fact, the beauty of this craft lies in its simplicity. You only really need four core items to begin: fabric, thread, a needle, and a hoop. That's it. These four things are the foundation for every single project you'll ever do.
Your Essential Cross Stitching Toolkit
Walking into a craft store can be overwhelming. You'll see walls of colorful threads and gadgets you don't recognize. But don't let that intimidate you! The basic toolkit for a cross stitcher is wonderfully small and affordable.
Think of it like this: the fabric is your canvas, the thread is your paint, the needle is your brush, and the hoop keeps that canvas tight and ready to work on. Once you get a feel for how these four elements work together, you'll be well on your way.
Understanding the Core Four
Each of these essential cross stitching materials has a specific job to do. Knowing what each one is for will make picking out your supplies a breeze and set you up for a great first experience.
- Fabric: This is the gridded canvas where your design comes to life. Most beginners start with something called Aida cloth. Its weave creates very obvious, square holes that are super easy to see, taking the guesswork out of where to put your needle.
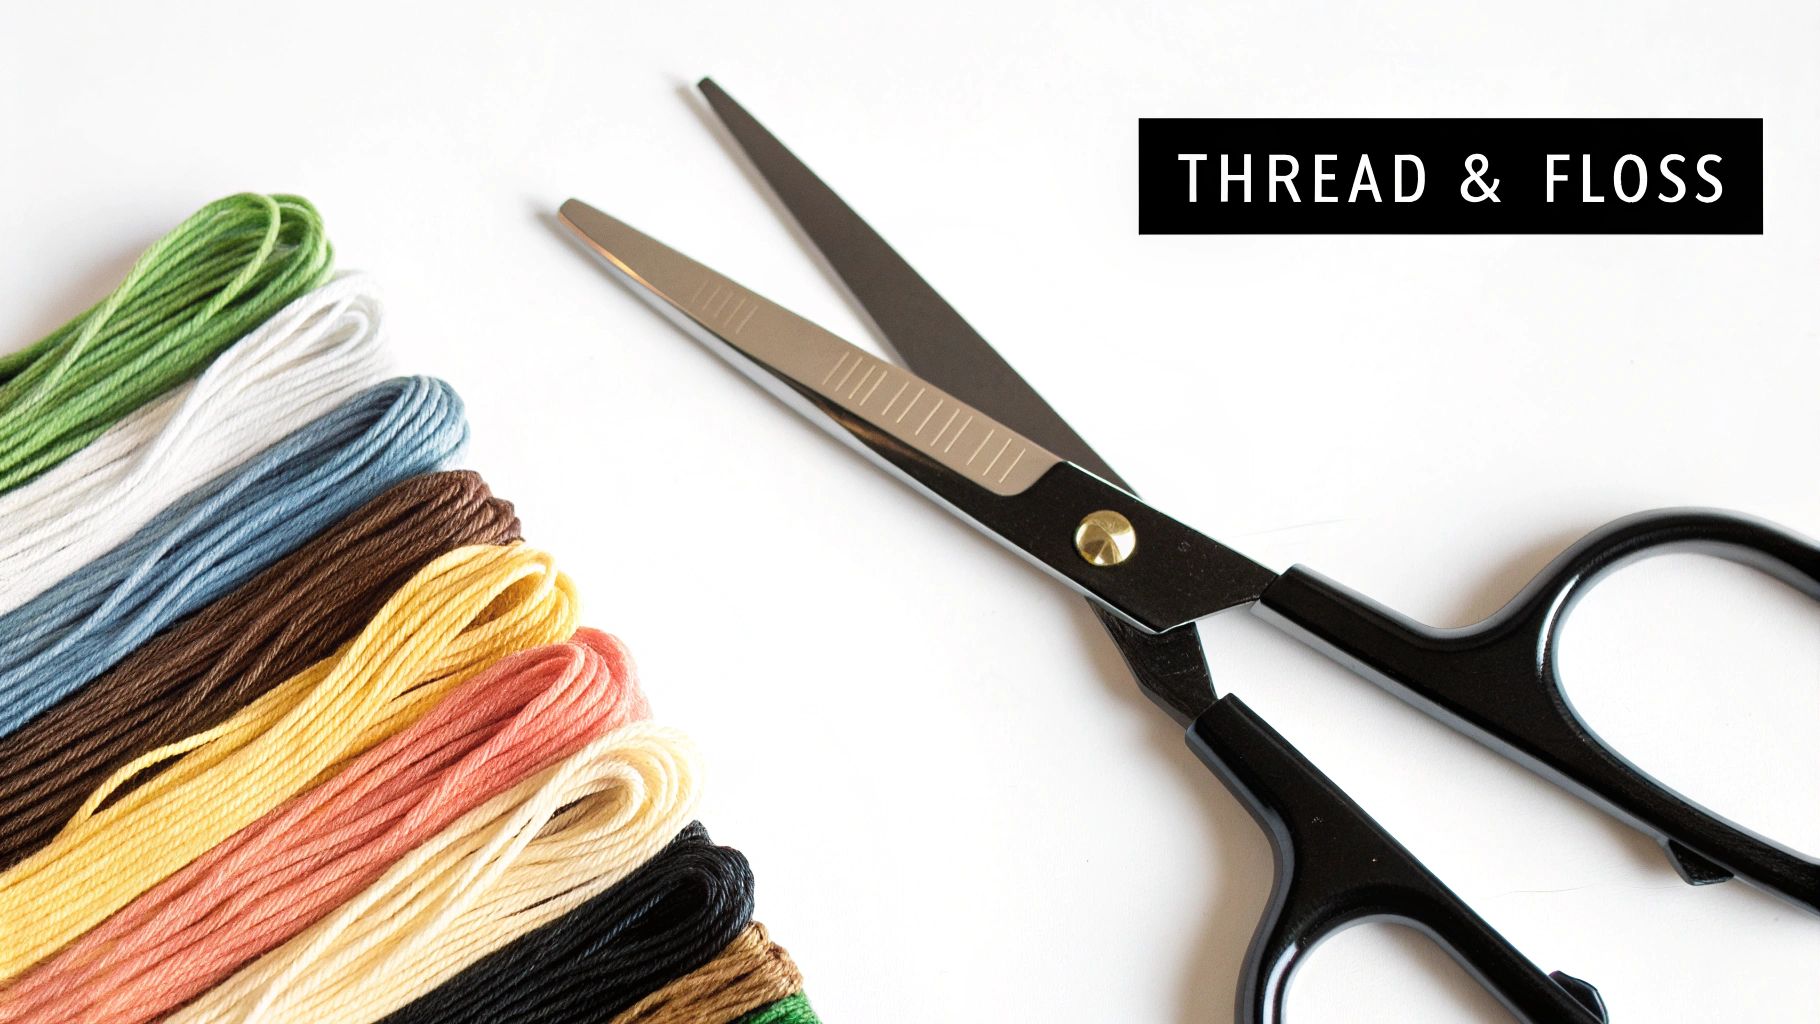
- Thread (Floss): This is what brings the color and life to your piece. The go-to for stitchers is six-strand cotton embroidery floss. You can separate the strands to make your stitches thicker or thinner, giving you a ton of control over the final look.
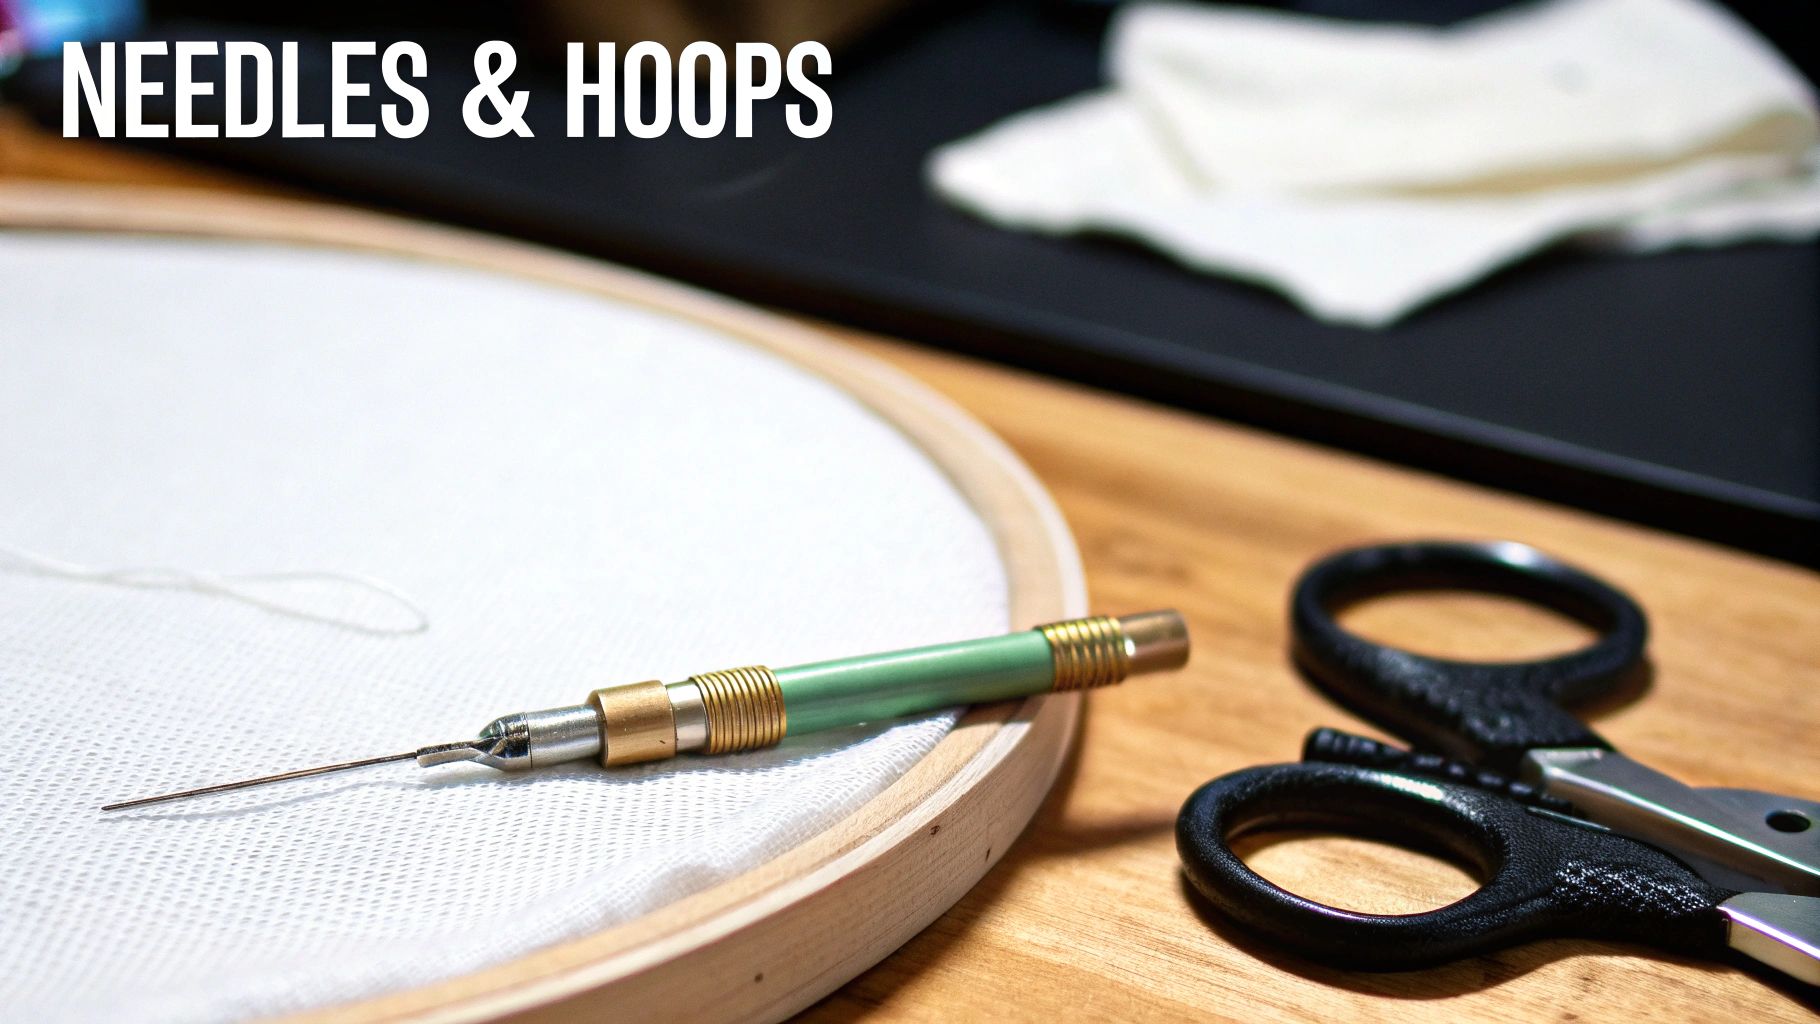
- Needle: You don't just want any old needle. You need a tapestry needle. Unlike sharp sewing needles, these have a blunt tip and a larger eye. The blunt end is designed to glide right through the holes in your Aida fabric instead of accidentally piercing the threads, which keeps your work looking clean.
- Hoop or Frame: This little gadget is a game-changer for keeping your stitches even. It holds the fabric taut while you work, which is the secret to preventing your stitches from looking puckered or uneven. A simple wooden or plastic hoop is all you need to start.
A classic rookie mistake is grabbing a standard sewing needle. A blunt tapestry needle is your best friend in cross stitch—it’s designed to find the fabric's natural holes, not create new ones. This single choice makes a huge difference in how neat your finished project looks.
To give you a clearer picture, I've put together a quick table summarizing the essentials. Think of this as your first shopping list.
Core Cross Stitching Materials at a Glance
This table breaks down the absolute must-haves for any cross stitch project. It outlines what each item does and what a beginner should look for at the craft store.
| Material Category | Primary Purpose | Common Types for Beginners |
|---|---|---|
| Fabric | Provides the structured grid for stitching | 14-count Aida cloth |
| Thread / Floss | Creates the colored stitches of the design | Six-strand cotton embroidery floss (like DMC) |
| Needle | Guides the thread through the fabric holes | Size 24 Tapestry Needle |
| Hoop / Frame | Keeps the fabric taut for even stitching | 5-7 inch wooden or plastic embroidery hoop |
And there you have it. With just these four simple tools, you are 100% ready to tackle your first cross stitch pattern. This accessibility is a huge part of what makes cross stitch such a well-loved craft for people all over the world.
Choosing the Right Fabric for Your Project
Picking the right fabric is like choosing the perfect canvas for a painting. It sets the foundation for your entire project, influencing everything from the final look to how enjoyable the stitching process is. The world of cross-stitch fabric might seem a little overwhelming at first, but it really boils down to three popular choices: Aida, linen, and evenweave.
Think of fabric count like the resolution of a screen. A lower-count fabric, like 11 or 14-count Aida, is like a standard-definition TV—the individual squares are bigger and easier to see. A higher-count fabric, like 32-count linen, is more like a 4K display. The individual threads are much finer, allowing for a sharper, more detailed final picture.
Aida: The Beginner's Best Friend
For anyone just starting their cross-stitch journey, Aida cloth is the undisputed champion. It's a cotton fabric woven into a perfect grid of easy-to-see holes, which completely removes the guesswork of where to put your needle. It was literally designed to help you create neat, uniform stitches right from the get-go.
The most common and highly recommended size for beginners is 14-count Aida. This simply means there are 14 squares (which means 14 stitches) per inch of fabric. It hits that sweet spot—it's large enough to work with comfortably without eye strain, but still small enough to create a beautiful, clear design. Once you get the hang of it, you can easily move to 16 or 18-count Aida for a smaller, more detailed finish.

These four simple elements—fabric, thread, needle, and a hoop—are the core of every single cross-stitch project.
Graduating to Linen and Evenweave
Once you're feeling confident with Aida, you might find yourself itching to try linen or evenweave. The big difference here is that these fabrics don't have those obvious, pre-made holes. Instead, you stitch "over two," meaning each X-stitch crosses over two threads of the fabric.
Stitching over two threads on a 28-count linen fabric creates stitches that are the exact same size as those on 14-count Aida (28 ÷ 2 = 14). This little trick gives you the refined look of a high-count fabric while keeping the familiar stitch size you're used to.
So, why make the switch? Linen and evenweave lend a more delicate, traditional, and graceful background to your work. The stitches seem to melt into the fabric, giving your finished piece a softer, more integrated look that many stitchers absolutely love for heirloom-quality projects.
- Linen: Woven from flax, linen has a beautiful, slightly irregular texture that adds real character. It’s a top-tier choice for fine art pieces or historical reproductions.
- Evenweave: This is typically a cotton or cotton-blend fabric made to mimic linen but with a perfectly uniform weave. This consistency makes it a bit easier to handle than pure linen.
If you're ready to explore these beautiful fabrics, our guide on the best fabric for cross stitch goes into much more detail.
Specialty Fabrics for Creative Projects
Don't feel limited to creating art for a frame! Specialty materials let you add stitched flair to just about anything you can imagine.
Waste canvas is a genius invention for stitching on fabrics without a grid, like a denim jacket, a tote bag, or a t-shirt. You simply tack this gridded canvas onto your item, stitch your design right through it, and then, when you're done, you carefully pull out the canvas threads one by one. All that’s left behind is your amazing stitching.
Another fantastic option is soluble canvas. It works in a similar way, but instead of being pulled out, it dissolves completely in water after you've finished. This is perfect for more delicate fabrics where tugging on waste canvas threads might cause damage. These materials truly open up a new world of possibilities for personalizing your wardrobe and home.
A Guide to Cross Stitch Threads and Floss
If fabric is the canvas, then thread is the paint. It’s what brings your design to life with color and texture. In the world of cross stitch, we usually call this thread floss, and it's easily the most expressive part of your toolkit. Getting to know the different kinds of floss is a huge step in creating beautiful, eye-catching projects.
The go-to for stitchers everywhere is six-strand cotton embroidery floss. Just think of it as a tiny rope made of six individual threads twisted together. This clever design gives you total control over the thickness of your stitches. For most projects, especially on 14-count Aida, you’ll only need two of those six strands.
So, how do you separate them? Simple. Cut a manageable length of floss—about 18 inches is a good starting point to avoid tangles. Then, just pinch the end and gently pull one strand out from the group until it’s free. Repeat for a second strand, and you're ready to stitch. Using two or three strands gives you a nice, full look, while a single strand is perfect for fine details or outlining with backstitch.
Why Brand Names Matter
You'll quickly notice that a few brand names pop up everywhere, with DMC being the most well-known. This isn't just clever marketing; it’s all about consistency. Big names like DMC guarantee that a specific color number—say, the classic DMC 310 black—will be the exact same shade whether you buy it today in Ohio or five years from now in Italy.
This kind of reliability is a lifesaver for larger projects where you might run out of a color midway through. Sticking with a trusted brand means you can buy another skein with confidence, knowing it will match perfectly. No one wants surprise color variations ruining their hard work.
The demand for quality thread is massive. The sewing thread market, which includes our beloved floss, was valued at USD 3.69 billion in 2025 and is expected to grow to USD 4.84 billion by 2034. A huge chunk of that—48% of global revenue—comes from the Asia-Pacific region, which shows just how central textiles are to the global economy. You can find more details in this report on the growth of the global sewing thread market.
Exploring Specialty Threads
While six-strand cotton is the reliable workhorse, specialty threads are where the real fun begins. They let you inject personality and unique textures into your work, completely transforming a design.
Using specialty threads is like adding a secret ingredient to a familiar recipe. A simple design stitched in standard cotton becomes a dazzling piece when you introduce the shimmer of a metallic or the subtle color shifts of a variegated floss.
Ready to experiment? Here are a few popular types to try:
- Variegated Floss: This floss is dyed with several shades or colors that change as you go. It creates beautiful, organic-looking gradients without any extra effort, making it perfect for things like skies, water, or wildflower petals.
- Metallic Threads: Need a bit of bling? Metallic threads are fantastic for holiday patterns, stars, or anything that needs a touch of magic. They can be a little slippery to work with at first, but the stunning effect is totally worth it.
- Silk Floss: For that truly luxurious, heirloom feel, nothing compares to silk. It has a gorgeous high-sheen finish that glides through fabric like a dream. It's a bit of a splurge, but for a special project, it’s unbeatable.
The floss you choose is one of your biggest creative decisions. To dive deeper into the different types and get tips on using them, check out our complete guide on embroidery floss for cross stitch. Don't be afraid to play around—it’s how you’ll unlock a whole new level of artistry.
Needles, Hoops, and Other Essential Tools
While fabric and floss tend to steal the spotlight, the right tools are the real unsung heroes of cross stitch. They're what make the whole process feel smooth and enjoyable rather than a frustrating chore. A good needle and a way to hold your fabric taut are just as crucial as the prettiest cross stitching materials.
Your needle is the workhorse of your project, guiding the floss where it needs to go. In cross stitch, you aren't trying to pierce new holes in the fabric; you're just gliding through the ones that are already there. That’s why a tapestry needle is an absolute must-have. Unlike a sharp sewing needle, a tapestry needle has a blunt, rounded tip and a larger eye, designed specifically to slip through the holes of Aida or linen without snagging or splitting the threads.
Matching Your Needle to Your Fabric
Picking the right needle size is one of those little things that makes a huge difference in your stitching rhythm. If your needle is too big, it will wrestle with the fabric, stretching out the holes. Too small, and you’ll struggle to thread it, and your floss will start to fray from the friction.
The rule of thumb is wonderfully simple: the higher the fabric count, the higher the needle size. A higher number means a finer needle for those smaller squares.
Here’s a quick cheat sheet to get you started:
- 11-14 count Aida: Go for a size 24 tapestry needle.
- 16-18 count Aida: A size 26 tapestry needle is your best bet.
- 28-32 count linen/evenweave: You’ll want a delicate size 28 tapestry needle.
The right needle should feel almost effortless. If you find yourself forcing the needle through the fabric or hearing a little "pop" with every stitch, it's a dead giveaway that your needle is too big. Making the switch can instantly make stitching faster and far more comfortable.
Keeping It Taut: Hoops and Frames
Ever tried writing on a crumpled-up napkin? That’s pretty much what stitching on loose fabric feels like. Hoops and frames are your best friends for keeping the fabric tension even, which is the secret ingredient for perfectly uniform stitches that lay flat and look amazing. Good tension is what prevents your finished piece from puckering or looking distorted.
You’ll find that every stitcher has their favorite, and the best choice really boils down to your personal comfort and the size of your project.
1. Traditional Embroidery Hoops
These are the classic wooden or plastic rings you see everywhere. They’re cheap, easy to find, and ideal for smaller projects. A 5 to 7-inch hoop is a fantastic place for most beginners to start. They're super portable, but a word of caution: don't leave them clamped on your project for days at a time, or you’ll be left with some stubborn creases to iron out.
2. Q-Snaps
Think of these as the modern, square-shaped cousin to the traditional hoop. Q-Snaps are plastic frames with clamps that snap onto the edges of your fabric. They give you incredible, drum-tight tension across your whole working area and are much less likely to leave marks than a hoop. They've become a huge favorite for stitchers tackling medium-sized pieces.
3. Scroll Frames
When you’re ready to take on a massive, epic project, a scroll frame is your ultimate tool. Your fabric attaches to two rollers, allowing you to simply scroll through the design as you complete sections. This keeps the entire piece clean, protected, and completely crease-free, making it the go-to for heirloom-quality work. They take a bit more effort to set up, but for serious stitchers, they're an investment that pays off big time.
Helpful Accessories to Improve Your Stitching
Once you’ve gathered your core supplies—fabric, floss, a needle, and a hoop—you're technically ready to stitch. But let's be honest, a few clever accessories can take your experience from good to great, making the whole process smoother, more organized, and just plain more fun. Think of these tools not as requirements, but as little upgrades that turn a hobby into a truly relaxing and efficient craft.
It’s a great time to be a stitcher. The global cross-stitch market was valued at around USD 0.15 billion in 2024 and is expected to hit USD 0.22 billion by 2033, which means more people are discovering the joy of this craft. This boom has led to some fantastic new tools designed to solve those little annoyances every stitcher faces. You can learn more about the trends shaping the cross-stitch market and see just how popular our hobby has become.
Keeping Your Work Tidy and Organized
One of the first hurdles every new stitcher encounters is the dreaded "floss monster"—that tangled nest of threads that seems to appear out of nowhere. A good organization system is your best friend here.
- Floss Bobbins: These are simple little cards, usually plastic or cardboard, that you wind your floss around. They keep every color separate and tangle-free. Just be sure to label each one with the floss number so you can find it later!
- Organizer Boxes: Those clear plastic boxes with little dividers are perfect for storing your bobbins. You can sort them by color or project number, making it a breeze to grab the exact shade you need.
- Needle Minders: These are a total game-changer. A needle minder is just a pair of small, decorative magnets. You place one on top of your fabric and the other underneath, and they hold your needle securely whenever you pause. No more lost needles in the sofa cushions!
Don't think of a seam ripper as a sign of failure—it's an essential tool. Every single stitcher, from absolute beginners to seasoned experts, makes mistakes. A good seam ripper turns a potential catastrophe into a minor, fixable blip.
Tools for Comfort and Precision
Beyond just staying organized, some tools are all about making you more accurate and comfortable, so you can stitch for longer without strain.
Sharp Embroidery Scissors
A small, sharp pair of embroidery scissors is an absolute must-have. Their tiny, pointed tips let you snip threads right up against the fabric without any risk of cutting your actual stitches. Your regular kitchen scissors just can't compete.
Lighting and Magnification
Good light is everything. It saves you from eye strain, especially when you're working on dark fabric or high-count linen. A daylight lamp can make a world of difference. And for those really tiny, detailed projects, a clip-on magnifier can help you see every single stitch with perfect clarity.
Grime Guards
What's a grime guard? It’s a simple tube of fabric with elastic ends that fits snugly around your hoop or frame. It does two things beautifully: it tucks away all that extra fabric and protects the edges of your work from the natural oils on your hands. This little accessory ensures your project stays clean and pristine from start to finish.
These are just a handful of the brilliant gadgets out there. For a deeper dive into these and other handy tools, be sure to read our complete guide to cross stitch accessories.
Using Cross Stitch Patterns and Kits
https://www.youtube.com/embed/SKQYNVoCEH4
So, you’ve gathered all your supplies—the fabric, the colorful floss, the needles, and your trusty hoop. Now what? You need a plan, and in the world of cross stitch, that plan is your pattern. Think of it as the blueprint for your stitched masterpiece.
Learning to read a pattern is the final step before you can start creating, and it's much more intuitive than it might look at first glance.
A cross stitch pattern is essentially a grid map. Each little square on the paper corresponds directly to a square on your Aida fabric. Inside each square on the pattern, you’ll find a symbol, and that symbol is the key—it tells you exactly which color of floss to use for that single stitch. It’s a simple, visual, one-to-one guide.
Every pattern also comes with a color key, or legend. This is your translator. It matches every symbol on the grid to a specific floss number (for example, a black circle symbol might correspond to DMC 310, the code for black floss). Just find the symbol on your grid, look it up in the key, and you know exactly which thread to grab.
The All-in-One Convenience of Kits
If you're just starting out, cross stitch kits are your best friend. They are a wonderfully stress-free way to dive into the hobby because they bundle everything you need for a single project into one neat package. All the guesswork of gathering supplies is completely gone.
A typical kit will contain:
- The complete pattern chart and instructions
- A piece of Aida fabric, already cut to the right size and count
- All the floss colors needed, often pre-sorted and labeled on an organizer
- A tapestry needle that’s the perfect size for the included fabric
This approach is a lifesaver for beginners. You don't have to stress about buying too much fabric, running out of a crucial floss color halfway through, or accidentally picking the wrong needle size. It's all been figured out for you, letting you focus on the fun part: the actual stitching. You can see how these materials come together to create unique projects like this Stitched Halloween Lantern.
Kits vs. Sourcing Your Own Materials
Of course, as you get more comfortable, you'll probably want to branch out and start picking your own patterns and materials. With the needlecraft patterns market valued at USD 1.2 billion in 2023 and projected to nearly double to USD 2.4 billion by 2032, there are more patterns and supplies available than ever before.
So, how do you decide whether to grab a kit or go it alone? Let's break down the pros and cons of each approach.
Buying Materials Individually vs. Using a Kit
| Factor | Sourcing Individually | Buying a Kit |
|---|---|---|
| Convenience | You’ll need to visit stores or browse multiple websites to gather every single item. | Everything you need arrives in one simple, convenient package. |
| Cost | Can be more budget-friendly if you already have a stash of floss, needles, or fabric. | Often a fantastic value since buying the items bundled is cheaper than buying them separately. |
| Skill Level | Great for intermediate or advanced stitchers who know what they want for a specific project. | Highly recommended for beginners to avoid getting overwhelmed by choices. |
| Customization | Gives you total creative freedom to swap out colors, change the fabric, or add your own flair. | Designed for a specific result, with all the materials pre-selected for you. |
Ultimately, there's no right or wrong answer. Kits are perfect for getting started or for a quick, relaxing project. Sourcing your own materials opens up a world of creativity once you’ve found your stitching rhythm. Many stitchers (myself included!) do both, depending on the project and the mood.
Answering Your Top Cross Stitch Questions
Once you’ve got your materials and are ready to dive in, a few questions always seem to come up. It's totally normal! Let’s tackle some of the most common ones so you can feel confident as you get started.
Think of this as your go-to cheat sheet for those little "wait, how do I do that?" moments.
How Much Fabric Do I Actually Need?
Getting your fabric size right is a huge deal—it makes the difference between a project that’s a dream to frame and one that’s a total headache. The good news is, the math is straightforward.
Here’s how to figure it out:
- Check Your Pattern’s Stitch Count: Your pattern will list the design size in stitches, something like "140 wide by 70 high."
-
Figure Out the Design Area: Just divide the stitch count by your fabric count. So, if you're using 14-count Aida, the math looks like this:
- 140 stitches ÷ 14 count = 10 inches wide
- 70 stitches ÷ 14 count = 5 inches high
- So, your stitched design will be 10x5 inches.
- Add a Big Border: This is the step you absolutely cannot skip! You need to add a border of at least 3 inches on every single side. This extra fabric is what you’ll use to secure your project in a hoop while you work and what a professional framer needs to mount it properly.
For our 10x5 inch example, that means adding 6 inches to the width (3 on the left + 3 on the right) and 6 inches to the height (3 on the top + 3 on the bottom). You'll need a piece of fabric that's at least 16x11 inches.
Can I Wash My Finished Piece?
Yes, you can—and you really should! A gentle wash works wonders, removing any natural oils from your hands, pesky hoop marks, or bits of dust. It just makes the final piece look so much brighter and more professional.
The key is to be gentle. Always hand wash in cool water with a tiny drop of a mild, clear detergent. Let it soak for about 15 minutes, then rinse it carefully until the water is completely clear. Whatever you do, don't wring it out! That will pull your stitches out of shape. Instead, roll your project in a clean towel to blot out the extra water, then lay it on a fresh, dry towel to air dry. To get that perfectly flat, crisp finish, iron it from the back while it's still just a little damp.
What Does "Stitching Over Two" Mean?
You’ll hear this term a lot when people talk about stitching on linen or evenweave. Unlike Aida where you stitch inside a single square, "stitching over two" means your 'X' crosses over two fabric threads horizontally and two threads vertically.
This technique is the magic behind getting beautiful, full-looking stitches on high-count fabrics. Stitching over two on 28-count linen gives you stitches that are the exact same size as stitching on 14-count Aida (because 28 ÷ 2 = 14). You get the delicate, elegant look of linen without having to make microscopic stitches.
Many stitchers fall in love with this method because it creates a softer, more blended look, where the stitches feel like they're truly part of the fabric.
What's the Best Way to Store My Leftover Thread?
A tangled mess of thread is every stitcher’s nightmare. The best way to keep your leftovers organized and ready for the next project is to wind them onto bobbins—you can find simple cardboard or more durable plastic ones.
Once they're on bobbins, you can line them up in a clear, divided organizer box. It's so satisfying to see all your colors lined up and ready to go! As for leftover fabric, store it either flat or gently rolled in a dry spot away from direct sunlight to keep it clean and prevent fading.
Ready to turn your favorite memories into a work of art? At Cross Stitched, we take the guesswork out of gathering supplies. Our custom kits come with everything you need, from pre-sorted threads to the perfect piece of fabric. Start creating your personalized masterpiece today by visiting https://cross-stitched.com.


