

A cross-stitch family tree is a truly special project. It’s where your love for needlecraft meets your family's history, letting you create a tangible piece of art that tells a deeply personal story. Whether you lean towards a classic sampler style or something more modern and minimalist, you're not just stitching a pattern; you're crafting an heirloom.
Why Stitch Your Family Story?
Deciding to stitch a family tree is about so much more than just starting another craft project. It’s a genuine act of connection and preservation. With every single stitch, you’re linking yourself to your ancestors, turning a list of names and dates into a visual legacy that can be cherished for generations. This is your chance to create something with real emotional weight and historical meaning.
This kind of needlework has a rich past. Cross-stitch family trees have deep roots, blending the art of genealogical record-keeping with traditional fiber arts. Years ago, these pieces were both decorative and functional, serving as beautiful records of a family's lineage. They were often created to mark big life events, like a wedding or the birth of a child. Most patterns today still include alphabets, giving you the freedom to customize every detail and make your family's story truly one-of-a-kind. You can see how these historical designs have evolved at the Historical Sampler Company.
It’s a Mindful and Meaningful Process
Beyond the stunning finished product, the journey of stitching it is incredibly rewarding. The focused, rhythmic motion of cross-stitching can be surprisingly meditative. It’s a fantastic way to unwind and practice mindfulness. In fact, many people find the calming effects of repetitive stitching to be a major benefit of the craft.
A family tree cross stitch is one of the most personal projects you can undertake. It’s a slow, deliberate art form that forces you to spend time with each ancestor's name, reflecting on their place in your history.
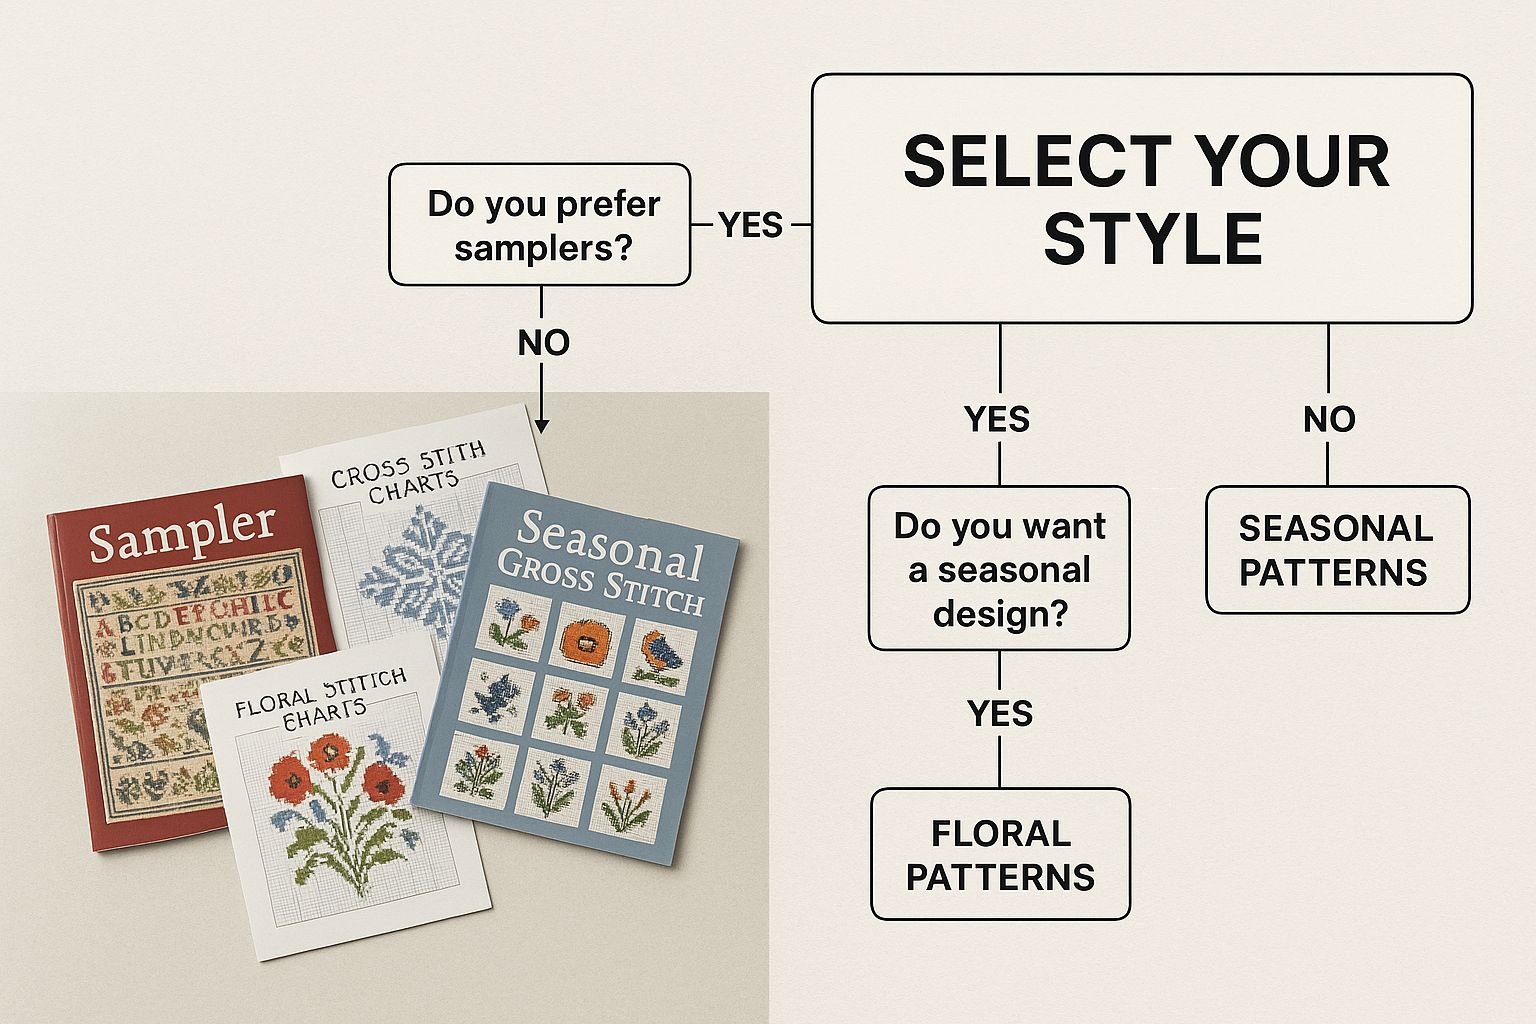
What’s Your Family’s Style?
One of the best things about these projects is the sheer variety available. You're not stuck with one look. Think about what fits your family’s vibe and your own personal taste.
- Traditional Samplers: Picture a large, majestic tree with sprawling branches, elegant script, and classic motifs like hearts, birds, and acorns. These have a timeless, almost antique quality.
- Modern & Minimalist: This style is all about clean lines, simple fonts, and often a geometric layout. The focus is squarely on the names and their connections, using a pared-down color palette for a chic, sophisticated feel.
- Whimsical & Pictorial: Get creative! This fun approach adds small icons or tiny pictures that represent each person's hobbies, job, or personality. It turns your family tree into a vibrant, colorful storybook.
Choosing the Right Pattern for Your Family Story
The first big step in creating your family tree cross-stitch is picking the right pattern. This isn't just a small detail—it shapes the entire project, from how it looks hanging on the wall to your experience stitching it. You've got two main routes you can take: an all-in-one kit or a downloadable PDF pattern. Each has its own perks, and the best one for you really depends on your style and what you already have in your craft corner.
To help you decide, let's break down the differences between a kit and a PDF pattern.
Kit vs. PDF Pattern: Which Is Right for You?
Choosing between a complete kit and a downloadable pattern can feel like a tough call. A kit offers convenience, while a PDF provides flexibility. This table compares the key features to help you figure out which path best suits your project and stitching habits.
| Feature | Complete Kit | Downloadable PDF Pattern |
|---|---|---|
| Convenience | Excellent. Everything you need is in one box. | Good. Instant download, but you source materials. |
| Customization | Limited. You use the provided colors and fabric. | High. Total control over fabric, floss, and colors. |
| Upfront Cost | Higher. You're paying for all materials at once. | Lower. You only pay for the design itself. |
| Skill Level | Great for beginners or those short on time. | Ideal for intermediate/advanced stitchers with supplies. |
| Start Time | Immediate. Just open the box and start stitching. | Delayed. You'll need to gather your supplies first. |
Ultimately, there's no wrong answer here. If you love the thrill of the hunt for the perfect fabric and have a floss stash calling your name, a PDF pattern gives you the creative freedom you crave. But if you want to skip the prep work and dive right into stitching, a kit is your best friend.
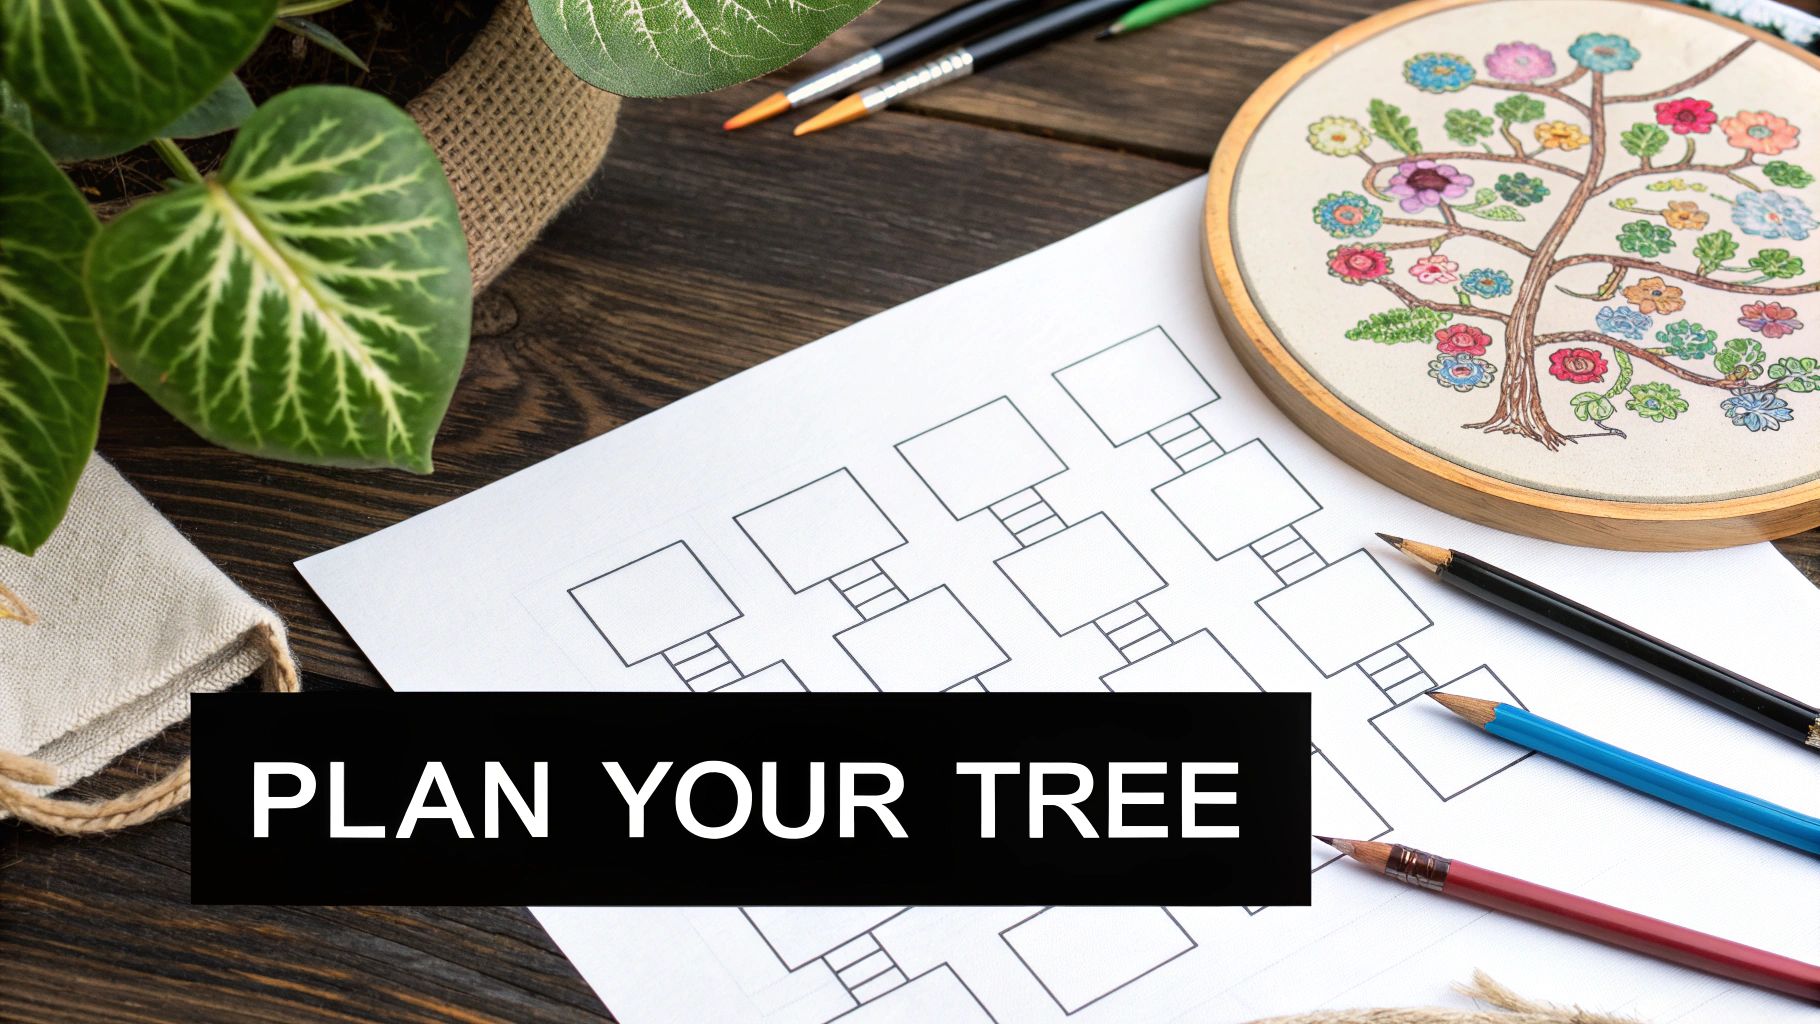
Defining Your Project’s Scope
Before you get carried away by a beautiful design, take a moment to think practically about the size of your family tree. How many generations are you aiming to include? A sweet little pattern for three generations is going to have a completely different structure than one built to handle five or more.
The surge in genealogy research has pushed designers to create more specialized patterns. I've seen this evolve firsthand. Even back in 2009, designers were creating kits for four-generation trees and pedigree-style charts for up to five generations. It was a direct response to people wanting to display their detailed family history in a beautiful, handmade way.
To help narrow down your pattern search, ask yourself these questions:
- How many names? Get a real headcount. Make sure the pattern you choose has enough leaves, banners, or branches for everyone.
- Is there enough room? Some designs are compact, while others are sprawling and artistic. You don’t want your finished piece to feel crowded.
- What about the future? Do you anticipate needing to add new family members down the line? If so, look for a pattern with some "breathing room" or extra branches.
I've learned this one the hard way: always pick a pattern that feels a little bigger than you think you'll need. It's much, much easier to leave a branch elegantly empty than it is to cram a new name into a space that just isn't there.
Finding a High-Quality Pattern
Once you know the "what" and "how big," it's time to find a great pattern. Look for a design from a trusted source. A high-quality pattern will have a clear, easy-to-read chart with symbols you can actually tell apart, a detailed floss key, and straightforward instructions. Reading reviews from fellow stitchers is one of the best ways to vet a pattern's quality before you commit.
And remember, you're not limited to traditional tree designs. If you have a family photo you absolutely adore, you could create something truly personal. Our guide on how to turn a picture into a cross stitch pattern shows you how to transform a photograph into a one-of-a-kind heirloom chart.
Getting Your Stitching Supplies Ready
So, you’ve picked out the perfect cross-stitch family tree pattern. Now for the really fun part: gathering all your supplies! If you're working from a PDF pattern, this is your complete shopping list. Even if you snagged an all-in-one kit, it’s worth knowing why each item is included—it’ll make you a much more savvy stitcher in the long run.
This isn't just about grabbing some fabric and thread. The right tools can genuinely make the difference between a project you enjoy and one that feels like a chore. Every choice you make from here on out will influence the final look and longevity of your beautiful heirloom.
The Fabric: Your Project's Foundation
Think of your fabric as the canvas where your family’s story will unfold. The most critical detail to consider is the fabric count, which simply means how many stitches you can fit into one inch. This single decision has the biggest impact on the final size of your stitched tree.
-
Aida Cloth: This is the fabric most stitchers, especially those just starting out, reach for. Its weave creates a very clear grid of holes, so you never have to guess where your needle goes. A 14-count Aida is a fantastic choice for family trees, as it provides a great balance of visible detail without being too tiny to work on.
-
Evenweave Fabric (like Linen or Lugana): For a more refined look, you might try an evenweave. These fabrics have a higher thread count (often 28-count or 32-count) and a much smoother surface. You’ll typically stitch "over two" threads, which gives you a finished stitch size similar to 14 or 16-count Aida but allows for more delicate, fractional stitches.
Thankfully, many modern family tree kits bundle everything for you. A great example is the popular Bothy Threads My Family Tree kit. It comes with a piece of 14-count white Zweigart Aida cloth, all the pre-sorted floss you'll need, needles, and a full alphabet for personalization. The 14-count fabric (meaning 14 stitches per inch) is an ideal middle ground—it’s detailed enough to look impressive but still easy enough for most stitchers to handle. You can see what comes in this kit over at Herrschners.com.
Floss, Needles, and Other Must-Haves
With your fabric sorted, it's time to think about the colors and the tools that bring it all together. This is where quality really counts. Low-quality floss can fray, tangle, and even fade over time, while a good needle can save your hands from a lot of strain.
Embroidery Floss
Most patterns are designed for standard six-strand cotton floss. You can't go wrong with trusted brands like DMC or Anchor, which are known for their consistency and huge range of colors. A simple set of bobbins or a floss organizer is a lifesaver, especially for a family tree pattern that might have dozens of different shades.
Tapestry Needles
These are the right tools for the job. Tapestry needles have a blunt tip and a large eye, which lets them slide easily through the holes in Aida or between the threads of evenweave without splitting them.
- For 14-count Aida, a size 24 needle is perfect.
- For higher-count fabrics (like 28-count or 32-count), you'll want a finer needle, like a size 26 or 28.
A common mistake is using a needle that's too big for the fabric. It will stretch out the holes, making your stitches look uneven and messy. Always match your needle size to your fabric count for the best results.
Finally, don't overlook the accessories that make the entire process more comfortable and precise. An embroidery hoop or a Q-Snap frame is essential for keeping your fabric tight, which leads to much neater stitches. And good lighting, like a small craft lamp you can clip onto your work, is absolutely non-negotiable for saving your eyes, especially when you settle in for a long evening of stitching.
Bringing Your Family Tree to Life with Personal Touches
This is my favorite part of the process. It's where a simple chart begins to breathe and tell a story—your family's story. Personalizing a family tree pattern is what transforms it from a craft project into a genuine heirloom, weaving your family’s unique history into every single stitch. You're not just charting names; you're creating a visual narrative.
Before you even thread your needle, I highly recommend grabbing a pencil and a photocopy of your pattern. Trust me, a little planning now saves a mountain of frustration later. This is your chance to map out every name and date, making sure the placement and spacing feel just right.
I always write everything out on a printed copy of the chart first. It's the only way to really see how a longer name like "Christopher" fits next to a short one like "Ann." This lets you visually balance the whole design, so one side doesn’t end up looking crowded or heavier than the other.
Mastering Names and Dates
Most family tree patterns will come with a full alphabet chart—this is your personalization toolkit. Typically, you'll get uppercase letters, lowercase letters, and numbers. The first thing you should do is get comfortable with it.
A great way to start is by practicing on a scrap piece of Aida cloth. Stitch a few of the names from your tree to get a real feel for the letter shapes and how much room they actually take up. It’s a low-stakes way to build confidence and settle on a font style before you make a single permanent stitch on your good fabric.
Pro Tip: For a more delicate, classic look, try using a single strand of floss for backstitching names and dates. If you want the text to pop and be more prominent, use two strands. This simple tweak can completely change the feel of your lettering.
You can even create different font styles without buying a new pattern. Simple backstitching techniques are your best friend here. A clean, straight backstitch creates a modern look. For something more traditional, try adding tiny serifs—those little extra stitches at the ends of the letter strokes—which gives the text an almost "typewriter" feel.
Adding Meaning Beyond the Text
But personalization goes way beyond just getting the names right. The most cherished family trees are the ones that tell a story through small, symbolic details. This is your chance to add layers of meaning that a simple genealogical chart can't capture. Think about the people themselves—what were their passions, their professions, their heritage?
You can weave these stories in with tiny motifs. They don't have to be complicated; sometimes, just a few well-placed stitches can create a powerful symbol.
Here are a few ideas I've seen and loved:
- A small, simple anchor next to the name of a seafaring ancestor.
- A tiny open book or an apple for a beloved family teacher.
- A single, colorful flower or a green leaf for a passionate gardener.
- A subtle, tiny shamrock to honor a family's Irish roots.
These little additions are what make the finished piece uniquely yours. They become conversation starters, allowing you to share deeper stories about the people on the branches. Finding the perfect little motif can be a fun, creative hunt. And if you want something truly specific, you can even create a cross stitch pattern from a picture to immortalize a family pet or a childhood home.
From First Stitch to Finished Heirloom
Alright, you’ve picked your pattern, gathered your supplies, and you’re ready to go. This is the moment it all comes together. The quiet hours you spend now, pulling thread through fabric, are what transform a simple chart into a treasure your family will pass down for generations.
Let's get right into the nuts and bolts, starting with the very first stitch. Forget bulky knots on the back of your work; they can create ugly lumps on the front. We can do better.
For a beautifully clean start, try the loop start. It's perfect when you're using two strands of floss, which is standard for most projects. Just take a single strand of floss, fold it in half, and thread the two cut ends through your needle. Push your needle up from the back of the fabric, but don't pull it all the way through—leave a small loop of the folded end on the back. When you bring your needle back down to complete the first half of your stitch, just pass it through that loop. Pull it snug, and you’ve anchored your thread. No knot, no bulk.
When you’re ready to end a thread, it's just as simple. Flip your work over and gently weave your needle under the last three or four stitches you made. Trim the excess floss close to the fabric, and you're done. It’s secure, flat, and invisible from the front.
Finding Your Stitching Rhythm
The real secret to making your cross-stitch look polished and professional is consistent tension. You're aiming for stitches that lay flat and full on the fabric, not so tight that they pucker the Aida cloth or so loose that they look sloppy. This is something you develop a feel for over time. Don't stress about perfection at first; just focus on finding a comfortable, natural rhythm.
When you hit a big area of a single color, like the leaves on the tree or a large banner for the family name, working in rows is your best friend. Instead of completing one full "X" at a time, stitch a whole row of half stitches first (like this: ////). Then, work your way back across that same row to complete the crosses (\\). This is sometimes called the "Danish method," and it’s a game-changer. It’s not just faster; it also helps keep your stitches looking uniform and prevents your floss from getting twisted up.
If there's one piece of advice I give every new stitcher, it's this: always make your top stitch lie in the same direction. For instance, decide that your top stitch will always go from the bottom-left to the top-right. This tiny detail creates a subtle, uniform sheen across the entire piece that just screams quality.
Dealing with the Inevitable "Oops" Moments
Look, no one is perfect. Even after years of stitching, I still make mistakes. The trick isn't avoiding them entirely, but knowing how to fix them without getting flustered.
- You've Miscounted: First, take a breath. If you’re only off by a square or two and it doesn't throw off the whole design (like a letter in a name), you might just leave it. No one will ever notice. For bigger blunders, you'll need to unpick. Gently use the eye or the blunt tip of your needle—not the sharp point—to carefully pull out the misplaced stitches one by one.
- Your Floss is a Tangled Mess: This usually happens when you’re working with a piece of thread that's way too long. Stick to a manageable length, about 18 inches or the distance from your fingertips to your elbow. If you do get a knot, stop and try to tease it apart with your needle. Sometimes, just letting your needle dangle and spin freely will untwist the floss enough to solve the problem.
The Finishing Touches: Washing, Pressing, and Framing
You’ve placed the very last stitch—congratulations! Now for the final steps that will make your work truly shine.
It's a good idea to gently hand-wash your finished piece, even if it looks clean. Our hands have oils that can yellow the fabric over time. Just use a basin of cool water and a drop of a very mild soap (like Orvus Paste or a gentle dish soap). Swish it around, rinse it well, and then gently roll it up in a clean, fluffy towel to press out the excess water. Never wring it out!
While it's still damp, place it face-down on another clean, thick towel. Press it from the back with your iron on a medium setting. The towel protects your beautiful stitches from getting squashed flat, keeping them looking plump and defined.
Finally, it's time to frame your masterpiece. Framing is what elevates your project from a craft into a true heirloom, protecting it from dust, light, and humidity. Whether you choose a ready-made frame or take it to a professional framer, you've officially done it. You’ve created a beautiful family tree, ready to be hung on the wall and loved for years to come.
Common Questions About Family Tree Cross Stitch

When you take on a project as personal as a family tree, a few questions are bound to come up along the way. That’s perfectly normal! Getting these things sorted out before you get too deep into the stitching will give you the confidence to create a piece you’ll be proud of for years to come.
Let's walk through some of the most common puzzles stitchers face. We’ll cover everything from making room for new arrivals to picking the perfect fabric for all those tiny details.
How Do I Add New Family Members to a Finished Tree?
This is such a great question because it shows you're thinking of your family tree as a living document, not just a static picture. The absolute best approach is to plan for it from the very beginning. When you're laying out your pattern, try to leave a few branches or open spaces intentionally blank for future additions.
What if your piece is already stitched, framed, and hanging on the wall? Don't worry, you can still add to it. It just requires a little care.
- First, you'll need to carefully unframe your work.
- It's absolutely critical to use the exact same floss color and fabric count to ensure the new stitches blend in perfectly.
- Stitch the new names and dates in the spots you've chosen.
- Once you're done, a quick, gentle press with an iron will smooth everything out before you pop it back in the frame.
What Is the Best Fabric for a Detailed Pattern?
Your choice of fabric can make or break a really intricate family tree. While 14-count Aida is a fantastic, user-friendly option for many projects, patterns packed with names, dates, and fine details really come alive on a higher-count fabric.
I almost always recommend a 28-count or 32-count evenweave or linen for these heirloom pieces. On these fabrics, you typically stitch over two threads, which gives you the coverage of 14 or 16-count Aida but on a much smoother, more refined canvas. This is a game-changer for patterns that use fractional stitches to create clean lettering and delicate curves.
Choosing a higher-count fabric gives you so much more precision. It allows you to create sharper, clearer text and more intricate motifs, elevating your family tree from a simple craft to a work of fine art.
How Should I Handle Complicated Family Situations?
Families are beautifully complex, and your cross-stitch can absolutely reflect that reality. There is no single "right" way to chart blended families, adoptions, or other unique relationships—the most important thing is that it feels true to you.
Get creative with your visual language! You could use different thread colors to connect different family lines, or maybe a dotted backstitch line instead of a solid one to signify an adoptive or step-relationship. Small, consistent symbols can also work wonders.
And if you’re missing a key piece of information, like a birth or death date? You can simply leave the space blank. Another option I like is to stitch a subtle placeholder, like a single tiny leaf or flower. This marks the spot, and you can always fill it in later if you find the information.
Ready to turn your most cherished family photos into a timeless cross stitch heirloom? At Cross Stitched, our custom photo-to-pattern kits give you everything you need to start stitching your memories. Create your personalized kit today!


