

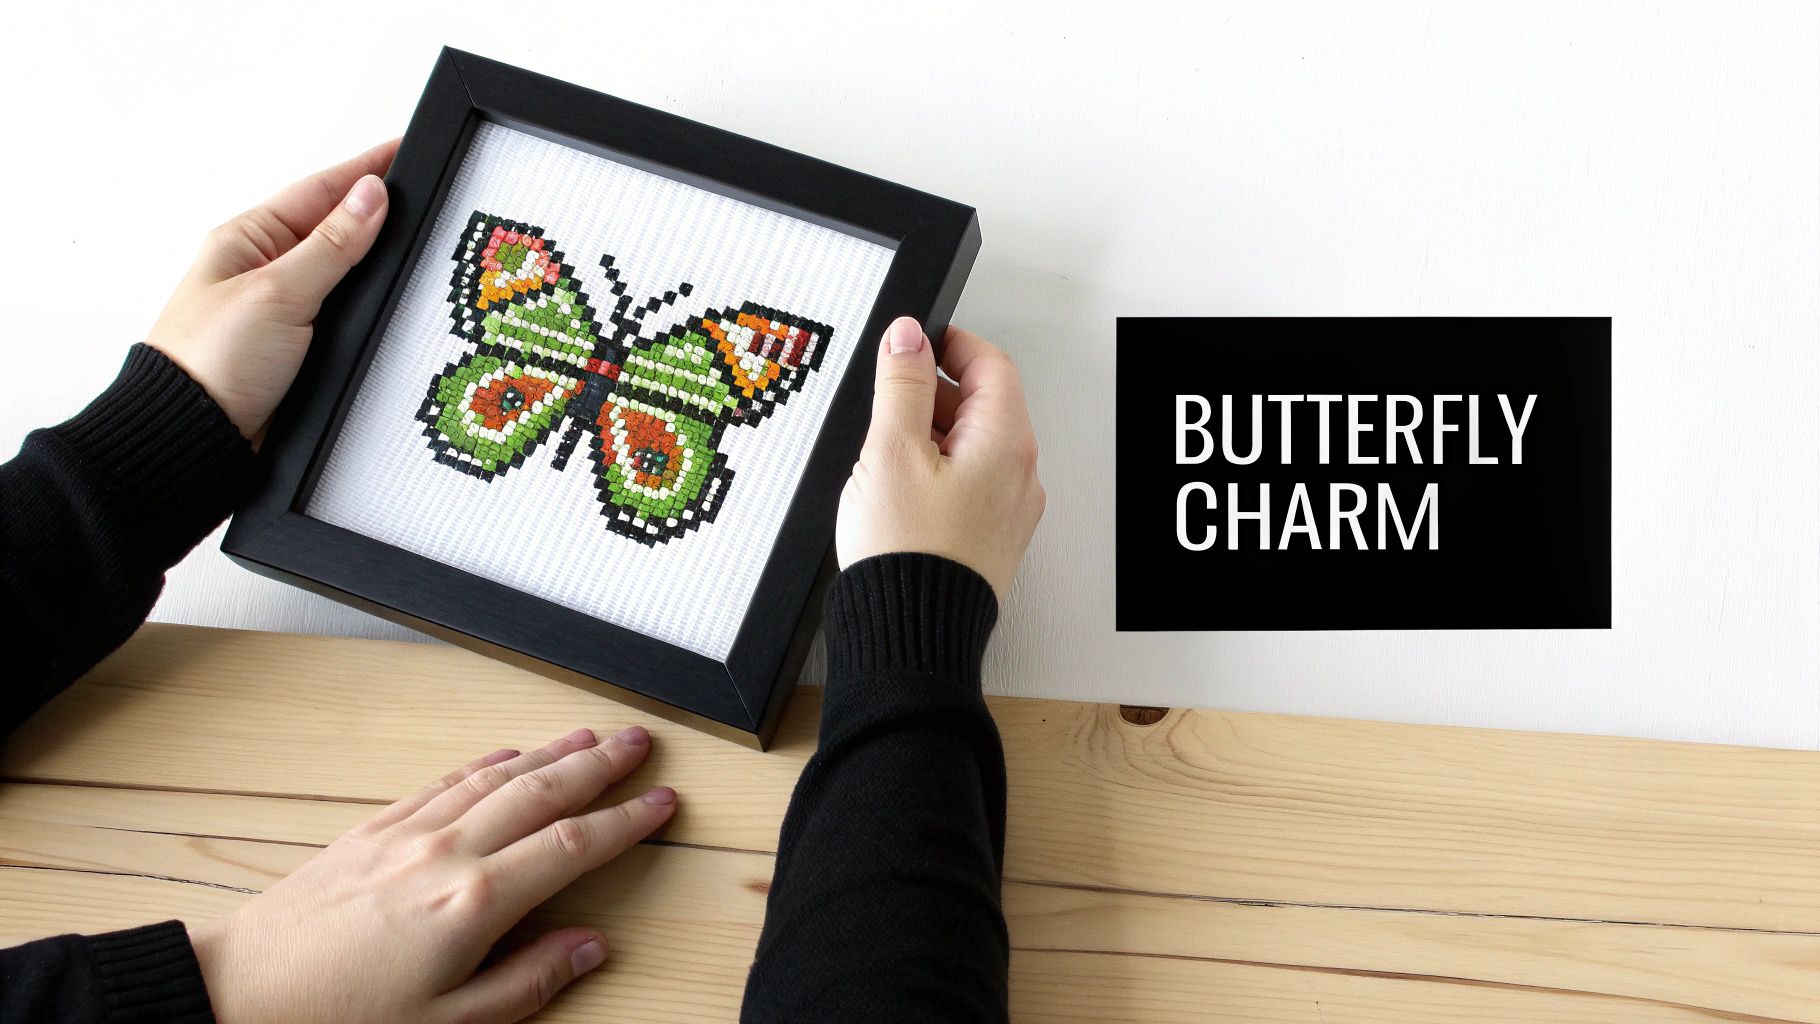
Butterfly cross-stitch patterns are a timeless way to bring a little bit of nature's magic indoors, one stitch at a time. These designs capture everything from the simplest, most charming butterfly motifs—perfect for a weekend project—to stunningly realistic portraits that will challenge even the most seasoned stitcher. It's no wonder they're one of the most beloved subjects in the entire crafting world.
Why Do We Love Stitching Butterflies?
There's something truly special about watching a butterfly come to life on your fabric. Each tiny 'x' is like a brushstroke, slowly building a creature that symbolizes transformation, grace, and the fleeting beauty of a summer garden. This universal appeal is what keeps crafters of all ages and skill levels coming back to them.
For anyone just starting their cross-stitch journey, a simple butterfly is an ideal first project. The symmetrical wings are great for practicing your stitches, and you get to work with a beautiful, manageable colour palette. That feeling of accomplishment when you finish your first vibrant piece is what hooks so many of us on this craft for life.
On the other hand, experienced stitchers find a whole different kind of challenge in more complex designs. Recreating the iridescent shimmer of a Blue Morpho's wing or the delicate, stained-glass patterns of a Monarch requires real skill and advanced techniques, turning a simple hobby into a true work of art.
A Timeless Motif in Needlework
Butterflies and needlework have a long history together. These elegant motifs have fluttered across cross-stitch samplers for centuries, weaving together artistic expression and tradition. Back in the 1920s, French artist E.A. Seguy published Papillions, a book filled with incredibly detailed, hand-painted butterfly illustrations that became direct inspiration for needlework artists. Even today, their popularity holds strong; modern pattern platforms report that butterfly designs make up a whopping 15-20% of all nature-themed pattern sales. For more on the deep roots of this craft, you can explore the history and evolution of cross-stitch.
A butterfly cross stitch is more than just a project—it’s a mindful escape. The rhythmic motion of the needle, paired with the slow emergence of a beautiful image, creates a calming, almost meditative experience that many of us stitchers truly cherish.
From Hobby to Heirloom
Whether you're making a small ornament for the holidays, a colourful piece of hoop art for the wall, or a decorative pillow for the sofa, a finished butterfly cross-stitch is a testament to your patience and creativity. These projects often become the most cherished handmade gifts or even beautiful heirlooms passed down through generations.
Think of this guide as your roadmap to starting that creative process. We're going to dive into:
- The different artistic styles you’ll find in butterfly patterns.
- How to pick the perfect design for your current skill level.
- The essentials of choosing the right threads and fabrics to make your vision a reality.
- Even some fun techniques for creating your own custom butterfly pattern from a photo
Exploring the Different Styles of Butterfly Patterns
Picking a butterfly cross stitch pattern is a lot like choosing art for your walls. The style you land on says a lot about your personal taste and the feeling you want to bring to life with your needle and thread. And trust me, the world of butterfly designs is huge—there’s truly something for every stitcher, whether you’re after photorealistic detail or something bold and modern.
Think of it this way: each style is a different artist’s interpretation of a butterfly. Some designers use a massive palette of colors and a whole toolbox of stitch types to capture nature with breathtaking accuracy. Others strip it all back, using simple shapes and wild colors to make a contemporary statement. Let's walk through the four main styles you’ll come across.
Realistic and Botanical Accuracy
If you want a project that looks like a high-definition photograph, you're looking for a realistic pattern. These are the fine art portraits of the cross-stitch world. The entire goal is to replicate a butterfly so perfectly you can almost see the delicate veins on a Monarch’s wing or the shimmery, iridescent glow of a Blue Morpho.
To pull off this level of detail, designers lean heavily on a large number of thread colors—we're often talking 50 or more—to create those soft, subtle gradients. These patterns aren't for the faint of heart; they usually call for some more advanced stitches to get those smooth curves and fine lines just right.
- Fractional Stitches: You’ll see quarter (¼) and three-quarter (¾) stitches used to round out the edges of the wings, which helps avoid that classic “blocky” look.
- Backstitching: This is your finishing touch. Think of it as outlining with a fine-tipped pen to define the butterfly’s body, highlight wing patterns, and create those wispy antennae.
- Confetti Stitches: These are just single, scattered stitches of different colors. They look chaotic up close but from a distance, they create incredible depth and texture, just like the tiny scales on a real butterfly's wing.
Tackling a realistic butterfly is a rewarding challenge. When you're done, you don't just have a stitched piece; you have a breathtaking work of art.
Stylized and Abstract Designs
If realistic patterns are the portraits, stylized designs are the pop art. These butterfly cross stitch patterns are all about artistic expression, not scientific accuracy. They take the familiar butterfly shape and run with it, playing with wild colors and abstract forms to create something visually striking. Imagine a butterfly with wings filled with swirling paisley or rendered in sharp, geometric blocks of color.
This style is fantastic if you're stitching something for a modern home. You’ll often find them defined by:
- Bold Color Palettes: Don’t be surprised to see a butterfly stitched in turquoise and magenta—the more unconventional, the better.
- Minimalist Details: These patterns often do away with things like antennae or tiny wing spots, focusing instead on clean lines and powerful shapes.
- Artistic Freedom: The butterfly becomes a canvas. It’s a chance to merge that iconic silhouette with other creative concepts.
Stylized patterns are a stitcher’s playground. You get to break free from the rules of realism and create a piece that’s vibrant, personal, and totally one-of-a-kind.
Mandala and Geometric Patterns
For a stitching experience that feels almost meditative, look no further than mandala or geometric butterfly patterns. This style beautifully merges the organic symmetry of a butterfly with the intricate, repeating motifs found in mandalas. The result is a design that’s both hypnotic and deeply harmonious.
There's something incredibly calming about stitching these patterns. The predictable, repeating sections let you find a comfortable rhythm, making it the perfect project to unwind with. The wings are often filled with symmetrical geometric shapes, floral-inspired swirls, and kaleidoscope-like color schemes. They look absolutely stunning finished in a hoop or as the centerpiece of a decorative pillow.
Pixel Art and Simple Motifs
Last but not least, we have the charming world of pixel art and simple butterfly motifs. These are your go-to for a quick, fun, and satisfying stitch. They are the perfect entry point for absolute beginners or anyone who just wants a fast project without a huge commitment. They typically use a very limited color palette and stick to full cross stitches, making the chart a breeze to follow.
Because they’re so small and straightforward, their versatility is their superpower. You can whip one up in an afternoon and turn it into all sorts of lovely things:
- A cute magnet for the fridge
- A keychain or a little charm for a bag
- A handmade gift tag for a special present
- A custom patch for a denim jacket
These simple butterfly cross stitch patterns are proof that a project doesn't need to be massive or complex to be beautiful. They’re a wonderful way to practice your stitches, use up some of that leftover thread you’ve been saving, and add a little handmade joy to everyday items.
How to Choose a Pattern for Your Skill Level
Picking the right butterfly cross stitch pattern is probably the single most important thing you can do to make sure your project is a joy, not a chore. I like to think of it like learning to cook. You wouldn't try to tackle a five-course gourmet meal on your first day, right? You'd start with something simple and satisfying, building your skills and confidence as you go.
The same logic holds true for cross stitch. When you choose a pattern that matches your current ability, you’re setting yourself up for a relaxing, rewarding experience. It's all about finding that sweet spot—where you're challenged just enough to learn something new, but not so overwhelmed that you get frustrated and give up.
Finding Your Starting Point as a Beginner
If you're brand new to cross stitch or just getting back into it after a long break, a beginner-friendly pattern is your best friend. These designs are made to be straightforward and quick to finish, giving you that wonderful feeling of accomplishment that gets so many of us hooked on this craft for life.
A beginner butterfly pattern will usually have:
- A small size: Typically under 50x50 stitches, meaning you can knock it out in just a few evenings.
- A limited color palette: Often using fewer than 10 different thread colors, which keeps the chart simple and easy to follow.
- Whole stitches only: These patterns stick to the basic "X" stitch and skip more complex techniques like fractional stitches or backstitching.
This simplicity is what makes them great. You get to focus on the fundamentals—threading your needle, making neat stitches, and reading a chart—without any confusing extras getting in the way.
Progressing to Intermediate Designs
Once you have a few small projects under your belt and feel comfortable with the basics, you're ready to step up to an intermediate pattern. This is where butterfly cross stitch patterns start to show off more detail and visual richness. Think of it as moving from a quick pencil sketch to a more developed drawing with shading and depth.
Intermediate designs introduce a few new challenges that build on what you already know. They’re often larger, involve more color changes, and might include techniques that add definition and texture. You'll likely run into backstitching, which is used to outline the delicate wings or create fine antennae, giving your butterfly a crisp, defined look.
The history of accessible patterns like these is pretty fascinating. The 19th century saw a huge boom in cross-stitch popularity, with an estimated 14,000 designs—many featuring butterflies—becoming widely available through Berlin Woolwork. These affordable, single-sheet patterns helped the hobby flourish, with over 40% of Victorian households in Britain and the US stitching by 1890. This historical surge really set the stage for the vibrant market we enjoy today. You can learn more about the history of cross stitch and its evolution in this fantastic article.
This diagram shows how the main butterfly pattern styles fit together, from simple to complex.
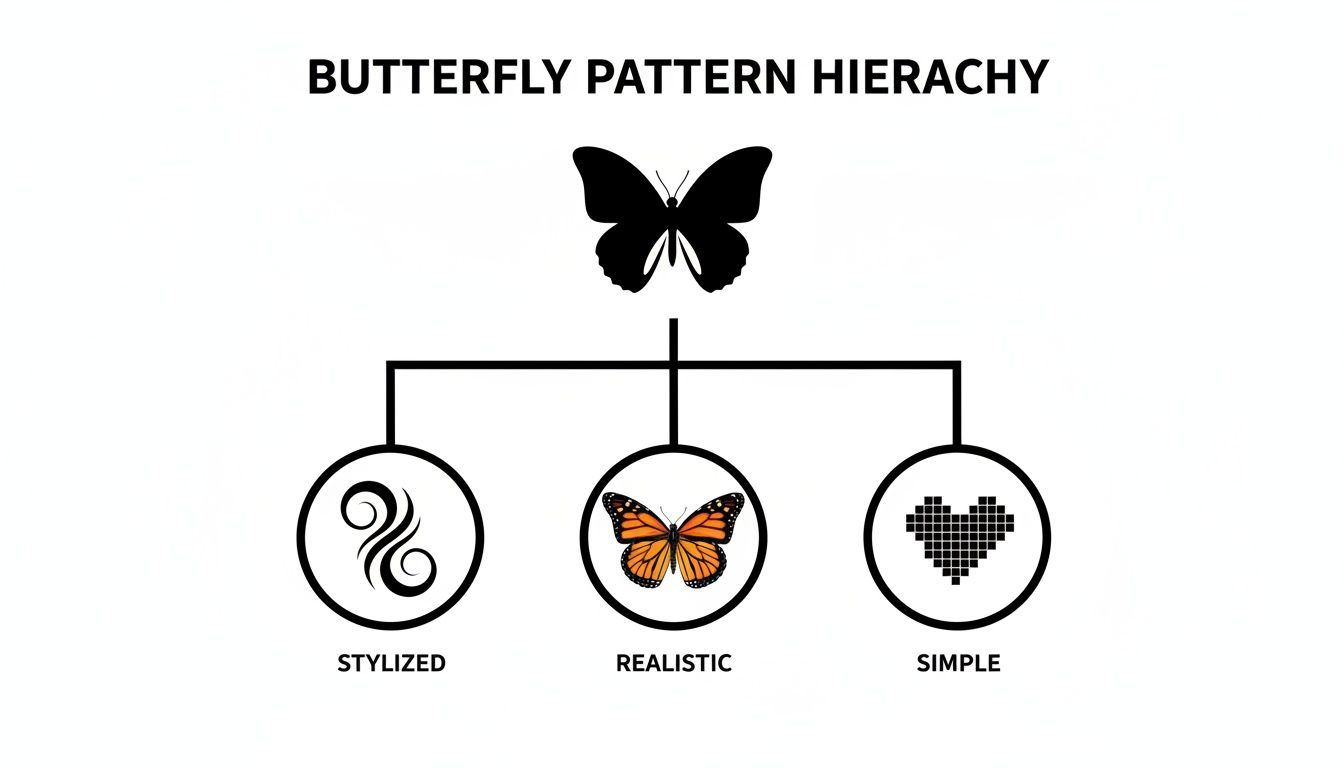
As you can see, the patterns range from simple, pixelated motifs perfect for beginners to highly realistic and stylized designs that offer a greater challenge for more experienced stitchers.
To help you decide what's right for you, here's a quick breakdown of what to expect at each level.
Butterfly Pattern Complexity by Skill Level
| Feature | Beginner Level | Intermediate Level | Advanced Level |
|---|---|---|---|
| Stitch Count | Typically under 50x50 stitches | 50x50 to 150x150 stitches | Over 150x150 stitches |
| Color Palette | Fewer than 10 colors | 10-40 colors | 50-100+ colors |
| Stitch Types | Whole cross stitches only | Whole stitches, backstitch, some half stitches | Full range: whole, fractional, blending |
| Detail Level | Simple, blocky shapes | Defined shapes with outlines and moderate shading | Photorealistic detail, complex shading |
| "Confetti" | None | Minimal, if any | Frequent, scattered single stitches |
| Time Commitment | A few hours to a weekend | A few weeks | Several months to over a year |
This table should give you a good sense of how a project's demands change as you move up in skill. It’s all about finding a comfortable and enjoyable challenge.
Taking on an Advanced Masterpiece
Advanced patterns are where cross stitch truly becomes textile art. These are the showstoppers—large, intricate, and breathtakingly detailed designs that can take months, or even years, to complete. They are best suited for seasoned stitchers who are comfortable with a whole toolbox of techniques and love the challenge of a long-term project.
Choosing an advanced pattern is a commitment to creating an heirloom. The complexity is part of the appeal, offering a deeply immersive and meditative stitching experience that results in a one-of-a-kind piece of art.
These patterns will push your skills to their absolute limits with features like:
- Vast color palettes: Often using 50 to 100+ different DMC thread colors to achieve subtle gradients.
- Complex stitches: Requiring a mastery of fractional stitches (like quarter and three-quarter stitches) to create smooth curves and tiny details.
- Advanced techniques: Using thread blending (stitching with two different colored strands at once) and "confetti" stitches (single, scattered stitches) to create photorealistic shading.
Tackling an advanced butterfly pattern is a serious undertaking, but the final result is an incredible testament to your dedication and skill. You'll end up with a stunning piece you can be proud of for a lifetime.
Selecting Your Threads and Fabric
Once you've found a pattern you love, the real fun begins: choosing the materials that will bring your butterfly to life. Think of your threads and fabric as the paint and canvas for your needlework masterpiece. This decision shapes everything, from how vibrant your butterfly looks to its final size and detail.
The thread is your project's voice. Will it be a shout of bold, brilliant colors, or a whisper of soft, delicate pastels? The color palette is your first big chance to inject your own personality into the design.
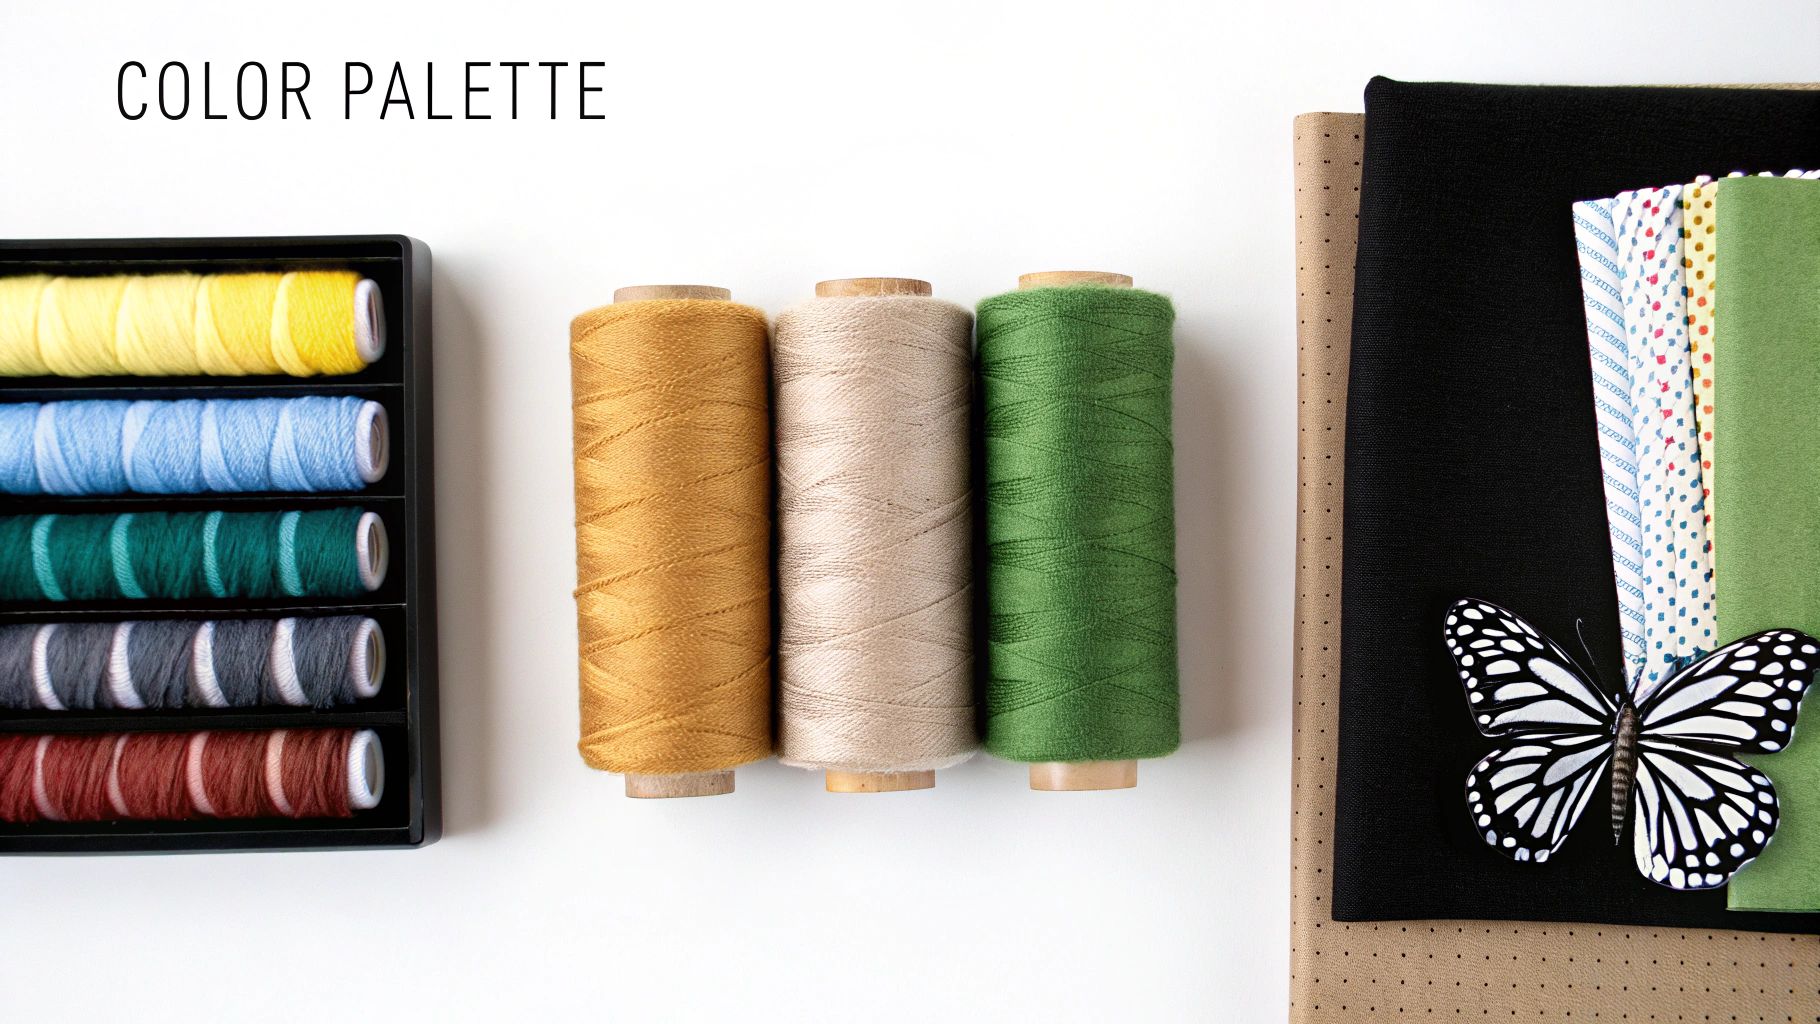
Choosing Your Color Palette
Most butterfly cross stitch patterns will provide a shopping list of suggested colors, usually with DMC thread codes. DMC is the go-to for a reason. Their six-strand cotton floss is high-quality, reliable, and comes in an incredible range of over 500 colors, so you can always find the exact shade you need.
But don't feel chained to the designer's recommendations! This is where you get to be the artist. A little bit of color theory goes a long way in helping you make substitutions that look intentional and beautiful.
- Analogous Colors: These are neighbors on the color wheel—think blue, teal, and green. Using them together creates a wonderfully smooth and natural gradient, perfect for the subtle shading on a butterfly's wings.
- Complementary Colors: These sit opposite each other on the color wheel, like a punchy orange and a cool blue. When you put them side-by-side, they make each other pop, creating a dynamic, high-contrast look that's fantastic for stylized butterfly designs.
Your thread choice is the first brushstroke in your textile painting. Selecting colors isn't just about matching a chart; it's about setting the mood and creating the visual impact you envision for your finished butterfly.
You can also add a bit of magic with specialty threads. Weaving a single strand of metallic floss through the wings can mimic the iridescent shimmer of a real butterfly. Or, try variegated threads, which change color as you stitch, to create gorgeous, one-of-a-kind effects in simpler patterns.
Selecting the Right Fabric
The fabric is the foundation of your entire project. For most cross-stitchers, the fabric of choice is Aida cloth. It’s a cotton fabric woven into a perfect grid of holes, making it incredibly easy to create neat, uniform stitches every time. The most important thing to know about Aida is its “count,” which simply means the number of squares (or stitches) you can fit into one inch.
The easiest way to think about fabric count is to compare it to the resolution of a photo.
- Low Count (e.g., 11 or 14-count): This fabric has bigger squares and fewer stitches per inch. It’s like a low-resolution image where you can see the individual pixels. This makes it perfect for beginners, kids, or anyone who finds tiny stitches a strain on their eyes.
- High Count (e.g., 16 or 18-count): Here, the squares are smaller and packed together more tightly. Like a high-res photo, it lets you fit more stitches into the same space, giving you a smaller, more detailed, and polished final piece.
The fabric count has a direct impact on how big your finished butterfly will be. For example, a pattern that is 70 stitches wide will measure 5 inches on 14-count Aida (70 ÷ 14 = 5). But on 18-count Aida, that same pattern will only be about 3.9 inches wide (70 ÷ 18 ≈ 3.9). Choosing the right count is key to making sure your project fits the frame or hoop you have in mind.
If you're feeling a bit more adventurous, fabrics like Evenweave and Linen offer a different stitching experience. They have a higher thread count and you typically stitch "over two" threads, which results in a smoother, more traditional look that's often used for heirloom-quality pieces. If you want to dive deeper, our guide to the best fabric for cross stitch breaks down all your options. Making a confident choice now takes the guesswork out of the process and sets you up for a beautiful finish.
Using Advanced Stitches for Lifelike Detail
Ready to take your stitching to the next level? Once you've got the basic 'X' down, a few extra techniques can turn a simple butterfly pattern into something truly special. These stitches are the secret sauce for creating those smooth curves, sharp details, and subtle color shifts that make a piece look incredibly realistic.
Think of them as the fine-tuning that brings your butterfly to life on the fabric. They might sound a bit fancy, but you'll be surprised how quickly you can pick them up. Each one has a specific job, and adding them to your skillset will open up a whole new world of stunningly intricate patterns.
The Art of the Outline with Backstitching
Imagine you've just finished a watercolor painting, and now you're going over it with a fine-tipped ink pen to make everything pop. That's pretty much what backstitching does for cross stitch. It's a simple, straight stitch used to outline shapes and add delicate details that a blocky cross stitch just can't handle.
In a butterfly pattern, backstitching is your go-to for:
- Crisp Wing Edges: It creates a clean, sharp line that separates the butterfly from the background.
- Intricate Wing Patterns: It's perfect for defining the delicate veins and patterns inside the wings.
- Fine Details: You'll use it for those slender antennae and tiny legs.
This one technique adds a layer of polish and clarity that makes the whole design look complete and professional. It’s often the final step that ties everything together.
Creating Smooth Curves with Fractional Stitches
By its nature, a standard cross stitch creates a pixelated look. That's part of its charm, but it’s not always ideal when you're trying to capture the gentle, sweeping curves of a butterfly's wings. This is where fractional stitches save the day.
Just like the name suggests, these are literally fractions of a full stitch. You'll see quarter stitches (¼) and three-quarter stitches (¾) used in more complex patterns. By working with just part of a square on your Aida cloth, you can smooth out those "stair-step" edges and create lines that flow much more naturally. If you want a deep dive, check out our guide to these advanced cross stitch techniques.
Fractional stitches are the key to breaking free from the grid. They allow you to soften edges and create a more fluid, painterly effect—absolutely crucial for capturing the natural grace of a butterfly.
Achieving Subtle Gradients with Blended Threads
Here’s where things get really artistic. Using blended threads means taking a single strand from two different colors of floss and stitching with them together as if they were one. This clever trick creates a totally new, in-between color that’s perfect for subtle shading and soft gradients.
For a butterfly's wing, you could blend a dark blue strand with a light blue one to get a beautiful, gradual shift in tone. It looks so much more natural than just putting two solid blocks of color next to each other. This technique adds incredible depth and realism, making it a favorite for advanced butterfly cross stitch patterns.
The enduring appeal of detailed needlecraft is undeniable. As the market grows, patterns often become valuable collector's items. In fact, a review of the top 25 most expensive cross-stitch patterns on eBay showed they averaged $450, with some designs featuring butterflies selling for as much as $1,200.
How to Create Your Own Custom Butterfly Pattern
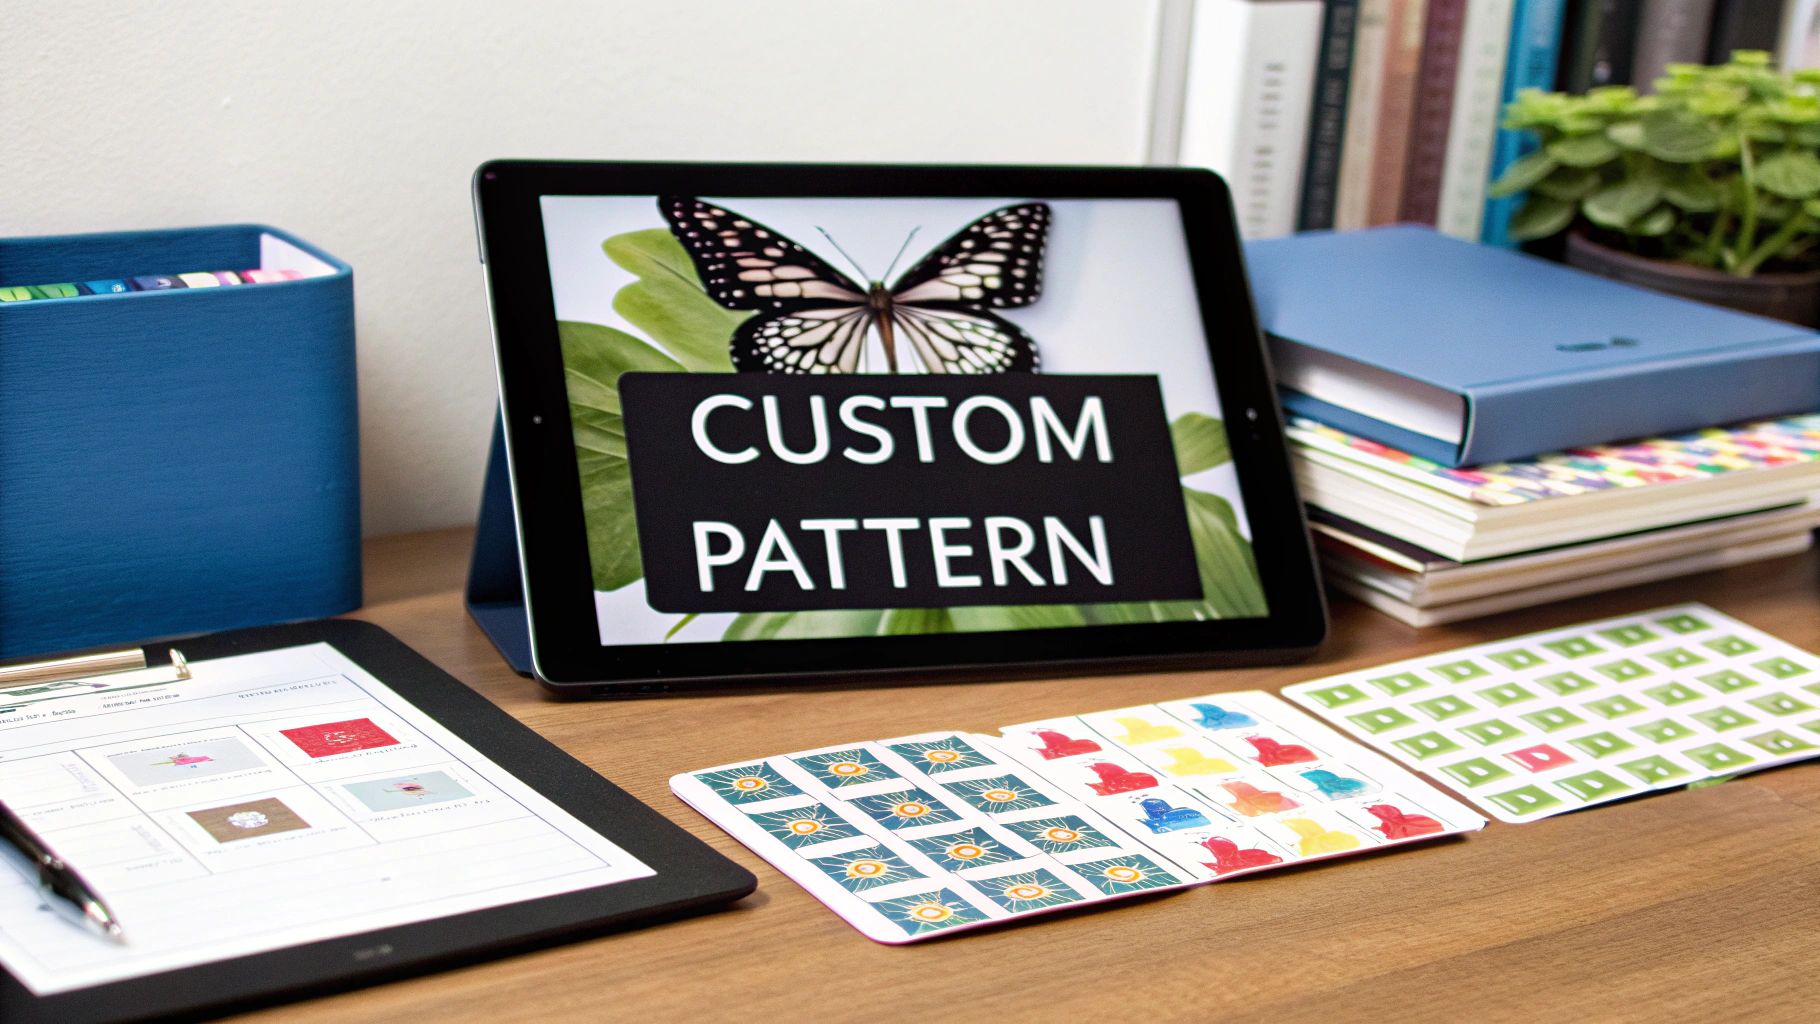
While there are thousands of stunning butterfly cross stitch patterns out there, there's something truly special about stitching a design that's all yours. Think about turning a photo you took of a butterfly in your garden, or even a drawing your child made, into a completely unique piece of art. That’s where photo-to-pattern generators come in.
These tools are brilliant—they take an image you upload and translate it into a gridded cross stitch chart. The software scans your picture, smartly matching the colors to specific DMC thread codes. It’s a pretty seamless way to ensure the finished piece captures the shading and vibrancy of your original image.
Turning Your Photo into Stitches
What makes these generators so great is how much you can tweak the final pattern. You get to call the shots on everything from the final size to the level of detail.
Want a super-realistic, detailed monarch? You can crank up the number of thread colors. Prefer something more minimalist and modern? Just reduce the color count for a more stylized look. This control lets you match the pattern to your skill level and personal taste. If you're new to this, we have a complete guide on how to create your own cross stitch patterns that breaks it all down.
The best tools let you plug in your fabric count and the dimensions you're aiming for, which helps the software adjust the pattern's complexity automatically.
Step-By-Step Custom Pattern Creation
Making your own pattern is more than just a technical process; it connects you to your project on a whole new level. You end up with something that tells a story, making it a perfect heartfelt gift or a piece you'll treasure for years.
Here’s a quick rundown of how it usually works:
- Pick Your Image: Start with a clear, well-lit photo of a butterfly. Images with good contrast and defined colors tend to work best.
- Upload to a Generator: Use a tool like Pic2Pat or a similar pattern maker to upload your picture.
- Dial in the Settings: This is where you work your magic. Enter the fabric count you plan to use (like 14-count Aida) and the final size you want in inches or centimeters.
- Choose Your Color Palette: Decide on the maximum number of DMC colors for your pattern. For a realistic butterfly, 40-60 colors is a solid range. For a simpler, more graphic design, try sticking to 15-25 colors.
- Generate and Download: The tool will cook up a downloadable PDF pattern for you, complete with a color chart, symbol key, and a full thread list.
By converting a personal photo, you’re not just stitching a butterfly; you're preserving a memory. Each stitch becomes a part of a larger story, creating a piece that’s deeply meaningful and entirely your own.
Got a Question? Let's Talk It Through
As you get ready to start your butterfly cross-stitch, you’ll probably have a few questions pop into your head. That’s perfectly normal! Getting these details sorted out first will make your stitching time much more relaxing and fun.
From figuring out fabric cuts to dealing with those pesky single stitches, let's clear up some of the common things stitchers wonder about when they tackle a butterfly pattern.
How Do I Figure Out My Fabric Size?
Getting your fabric size right is one of the most important first steps. It's actually pretty simple math. Grab your pattern and find the stitch count—let's say it's 140 stitches wide and 100 stitches high. Then, just divide those numbers by your fabric's "count," like 14-count Aida.
- Width: 140 stitches ÷ 14 stitches per inch = 10 inches wide.
- Height: 100 stitches ÷ 14 stitches per inch = about 7.14 inches high.
That tells you the size of the finished picture, but don't cut your fabric to that size! You need to add extra room all around. I always recommend adding at least 3 inches to each side. This gives you plenty of space to clamp it into a hoop or Q-snap and makes framing a breeze later. So for this project, you'd want a piece of Aida that's 16 inches by 13.14 inches.
What’s the Best Way to Deal With Confetti Stitches?
Ah, confetti stitches—those single, isolated stitches that give realistic butterflies their amazing detail. They look incredible, but they can make the back of your work look like a tangled mess if you're not careful.
The secret is to treat each one as its own mini-project. Resist the urge to drag your thread across the back. Instead, start each stitch individually (the loop start method is perfect here), complete your little 'X', and then anchor the thread securely on the back before trimming. It takes a little more time, but the clean finish is totally worth it.
Can I Swap Out the Colors in a Pattern?
Of course! Changing the colors is one of the best ways to make a butterfly cross stitch pattern your own. The real trick to making it work isn't just about picking colors you like, but about understanding their value—how light or dark they are.
A good rule of thumb is to swap light for light and dark for dark. If the pattern calls for a dark navy, switching to a deep forest green will keep the shading and contrast intact. But if you swapped that dark navy for a pale yellow, you'd lose all the definition.
This is where a DMC color card becomes your best friend. It lets you lay the threads out side-by-side and see if your new choices have the same "weight" as the originals, ensuring your finished butterfly looks just as stunning as the designer intended.
Ready to stitch something that's 100% you? At Cross Stitched, we can turn your favorite photo into a complete, ready-to-stitch kit. It comes with everything you need to bring your memory to life. Explore custom kits and patterns at https://cross-stitched.com.


