
Finding the right project is often the most exciting part of starting embroidery. The best part? You don't have to spend a dime to get going. Kicking things off with free beginner embroidery patterns is, in my experience, the smartest way to learn the ropes without the pressure of a big investment. These simple, no-cost designs are perfect for building your confidence one stitch at a time.
Your First Stitch Starts With the Perfect Pattern
Jumping into a new craft can feel a little intimidating, but embroidery is one of the most welcoming hobbies out there. That journey from a blank piece of fabric to a finished piece of art is way shorter than you might think, especially when you start with a clear, simple plan. Let's forget about those overwhelming kits or pricey designs for now. The real goal is just to get comfortable with a needle and thread.
The beauty of starting with free patterns is that they let you just play. You can experiment with different styles—maybe some minimalist botanicals or a few charming animal motifs—and figure out what you genuinely enjoy stitching. It's all about learning the rhythm of the craft, not about producing a flawless masterpiece on your first go.
What to Expect From Beginner Patterns
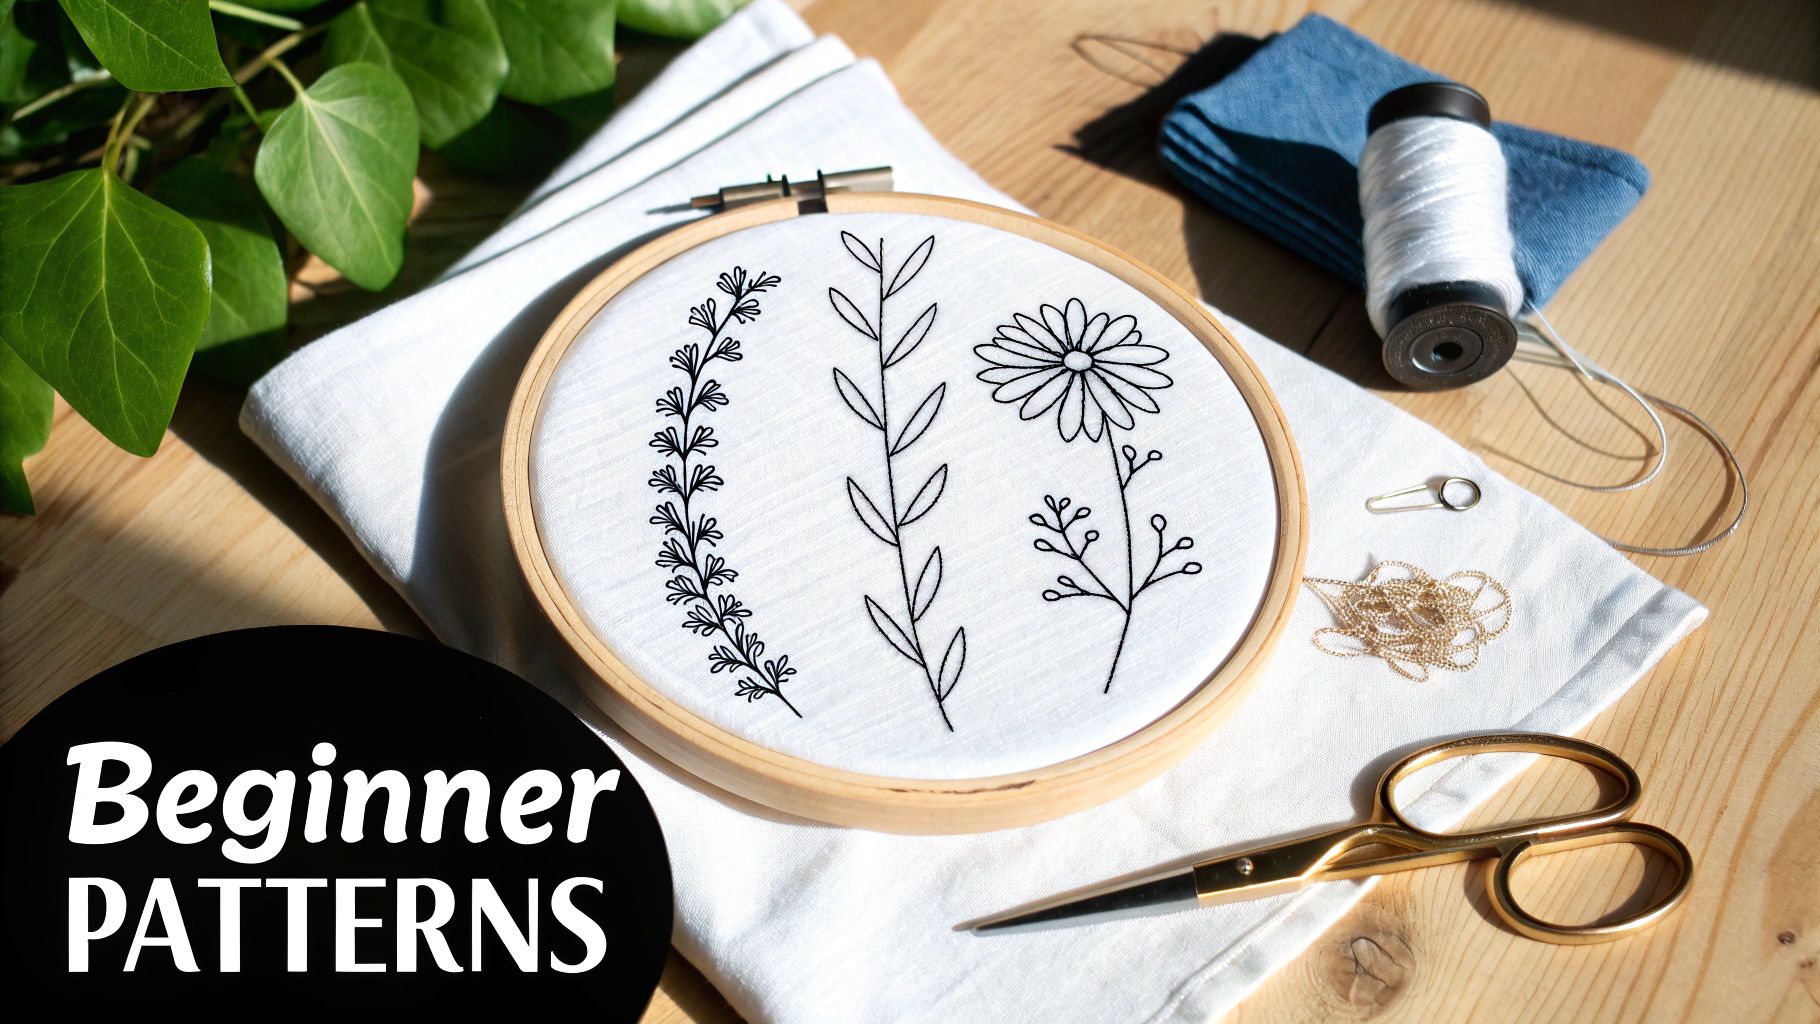
Think of a good beginner pattern as your personal roadmap. It’s not going to throw you into the deep end with a dozen complicated stitches or a dizzying array of colors. Instead, it sticks to the fundamentals.
When you're searching, keep an eye out for designs that have:
- Clean, simple lines that are a breeze to trace and follow.
- A limited color palette, usually five colors or fewer, which keeps thread management from getting chaotic.
- Basic stitches like the backstitch, satin stitch, and maybe a French knot or two.
The best free beginner patterns are designed to teach, not just to be decorative. They're like your first instructor, guiding your needle and helping you build a solid foundation of skills you'll carry into every project you ever make.
This guide will walk you through everything—from finding high-quality free patterns and getting them onto your fabric to mastering those first essential stitches. I'm here to show you that creating something beautiful is completely within your reach, starting right now.
Finding High-Quality Free Embroidery Patterns
The internet is absolutely swimming with options for free embroidery patterns, but let's be honest—the quality can be a real mixed bag. When you're just starting out, the last thing you want is a frustrating pattern. Sifting through endless designs can feel like a chore, so let's cut through the noise and talk about how to find patterns that will actually set you up for a great stitching experience.
My personal rule for spotting a good beginner pattern is simple: I look for designs with clean, easy-to-trace lines and a limited color palette. A design that uses fewer than five colors is perfect. It keeps things manageable while you're still getting the hang of the physical motions of stitching.
Where to Look for Reliable Patterns
You'll save a ton of time by heading straight to platforms known for their curated collections. Online marketplaces like Lovecrafts are a goldmine, hosting over 400 free hand embroidery designs. You'll find tons of beginner-friendly options like simple florals and monograms. Best of all, you can filter by difficulty, which is a huge plus considering about 60% of hobby embroidery searches are for beginner projects.
Another fantastic resource is the websites of reputable thread companies like DMC. They offer huge libraries of high-quality free patterns, often designed by professionals and paired with crystal-clear instructions.
Pro Tip: Always check if the free pattern includes a stitch guide. A good beginner pattern won't just give you a picture; it will tell you exactly which stitches to use (like backstitch for outlines and satin stitch for fills) and where they go. It completely removes the guesswork.
Vetting Your Chosen Design
Once you've found a pattern that catches your eye, take a quick minute to vet it before you commit. A little check upfront can save you a headache later.
Ask yourself these questions:
- Is the line art clear and unbroken? Sketchy or messy lines are a nightmare to transfer onto fabric and even harder to follow with your needle.
- Does the design rely on just a few basic stitches? It's much better to master a couple of core stitches before jumping into more complex ones.
- Is the size right for a first project? Aim for something small enough to finish in a few evenings. That quick win will keep your motivation soaring.
For a handpicked list of my favorite starter-friendly designs, you can check out our own curated list of free embroidery patterns for beginners. And if you're on the hunt for other creative projects for the family, you can also find fun stuff like free Halloween game printables for kids.
By being a little thoughtful in your choice, you can make sure your first foray into embroidery is a truly enjoyable one.
How to Prepare and Transfer Your Pattern
You’ve found the perfect free pattern—awesome! Now comes the crucial part: getting that beautiful design from your screen onto your fabric. This is where the magic really starts, and a good, clean transfer is the secret to getting those neat, even stitches you’re aiming for. It might sound a bit technical, but I promise it's easier than you think. I'll walk you through a couple of my go-to methods.
But before we even think about tracing, there’s one non-negotiable step: pre-wash and iron your fabric. Trust me on this. Fabrics like cotton and linen, which are fantastic for beginners, have a tendency to shrink. If you skip this, your finished masterpiece could pucker and warp after its first wash, and that's a heartache we want to avoid. Just a quick cycle in the machine and a once-over with a hot iron is all it takes.
Choosing Your Transfer Method
There are a few solid ways to get your pattern onto the fabric, and the best one for you often depends on your fabric color and the complexity of the design.
For light-colored fabrics, the old-school window method is a classic for a reason—it’s simple and free. Just tape your printed pattern to a bright window, layer your fabric on top, and you’ll see the design shine through. Then, you just trace the lines with a water-soluble pen. Easy.
If you're working with darker fabrics or a more detailed pattern, a water-soluble stabilizer is your best friend. I'm a huge fan of products like Sulky Stick 'n' Stitch. You print the design right onto the sticky-backed sheet, press it onto your fabric, and stitch directly through it. When you’re finished, a quick soak in warm water makes the stabilizer dissolve completely, leaving just your gorgeous stitches behind.
I’ll be honest, I use water-soluble stabilizer for nearly all my projects now. It completely removes the risk of shaky, traced lines and gives you a flawless guide. For a beginner, that extra bit of confidence is priceless.
This handy little decision tree can also help you spot a great beginner-friendly pattern before you even get to the transfer stage.
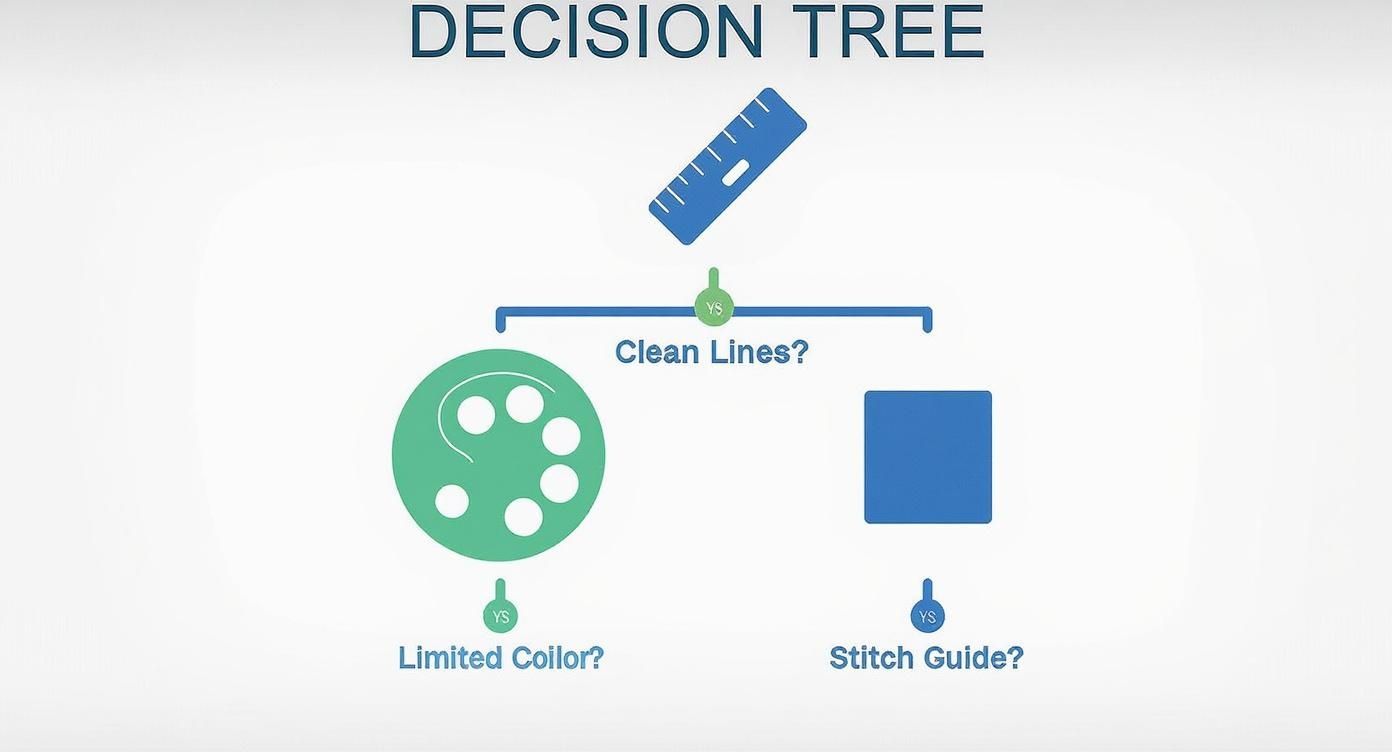
As you can see, patterns with clean lines and a simple color scheme are ideal. They not only make the stitching easier but also simplify the transfer process.
To help you decide which approach is right for your project, I've put together a quick comparison of the most common methods.
Pattern Transfer Method Comparison
| Method | Best For | Pros | Cons |
|---|---|---|---|
| Light Box/Window | Simple designs on light-colored fabric | Free and requires no special supplies | Difficult to see on thick or dark fabric; can lead to inaccurate tracing |
| Water-Soluble Stabilizer | Complex designs, dark fabrics, or lettering | Extremely accurate; no tracing needed; dissolves away | Costs money; can sometimes feel a bit stiff to stitch through |
| Heat Transfer Pencil | Reusing a pattern multiple times; simple line art | Creates a permanent or semi-permanent mark; quick to apply | Lines are often thick and not easily removable if you make a mistake |
| Carbon/Tracing Paper | Dark fabrics when a stabilizer isn't available | Good for transferring onto a variety of surfaces | Can be messy and smudge; the lines can be hard to remove completely |
Each method has its place, but for a beginner, I’d suggest starting with the window method for a simple project and then trying a water-soluble stabilizer to see what you think.
Ultimately, no matter which technique you choose, the key is to take your time. A careful, precise transfer is the foundation for a fun, relaxing stitching experience. If you'd like to dive deeper, you can learn more about how to transfer designs onto fabric in our complete guide. It’s all about setting yourself up for success from the very first step.
Building Your Skills With Stitch Samplers
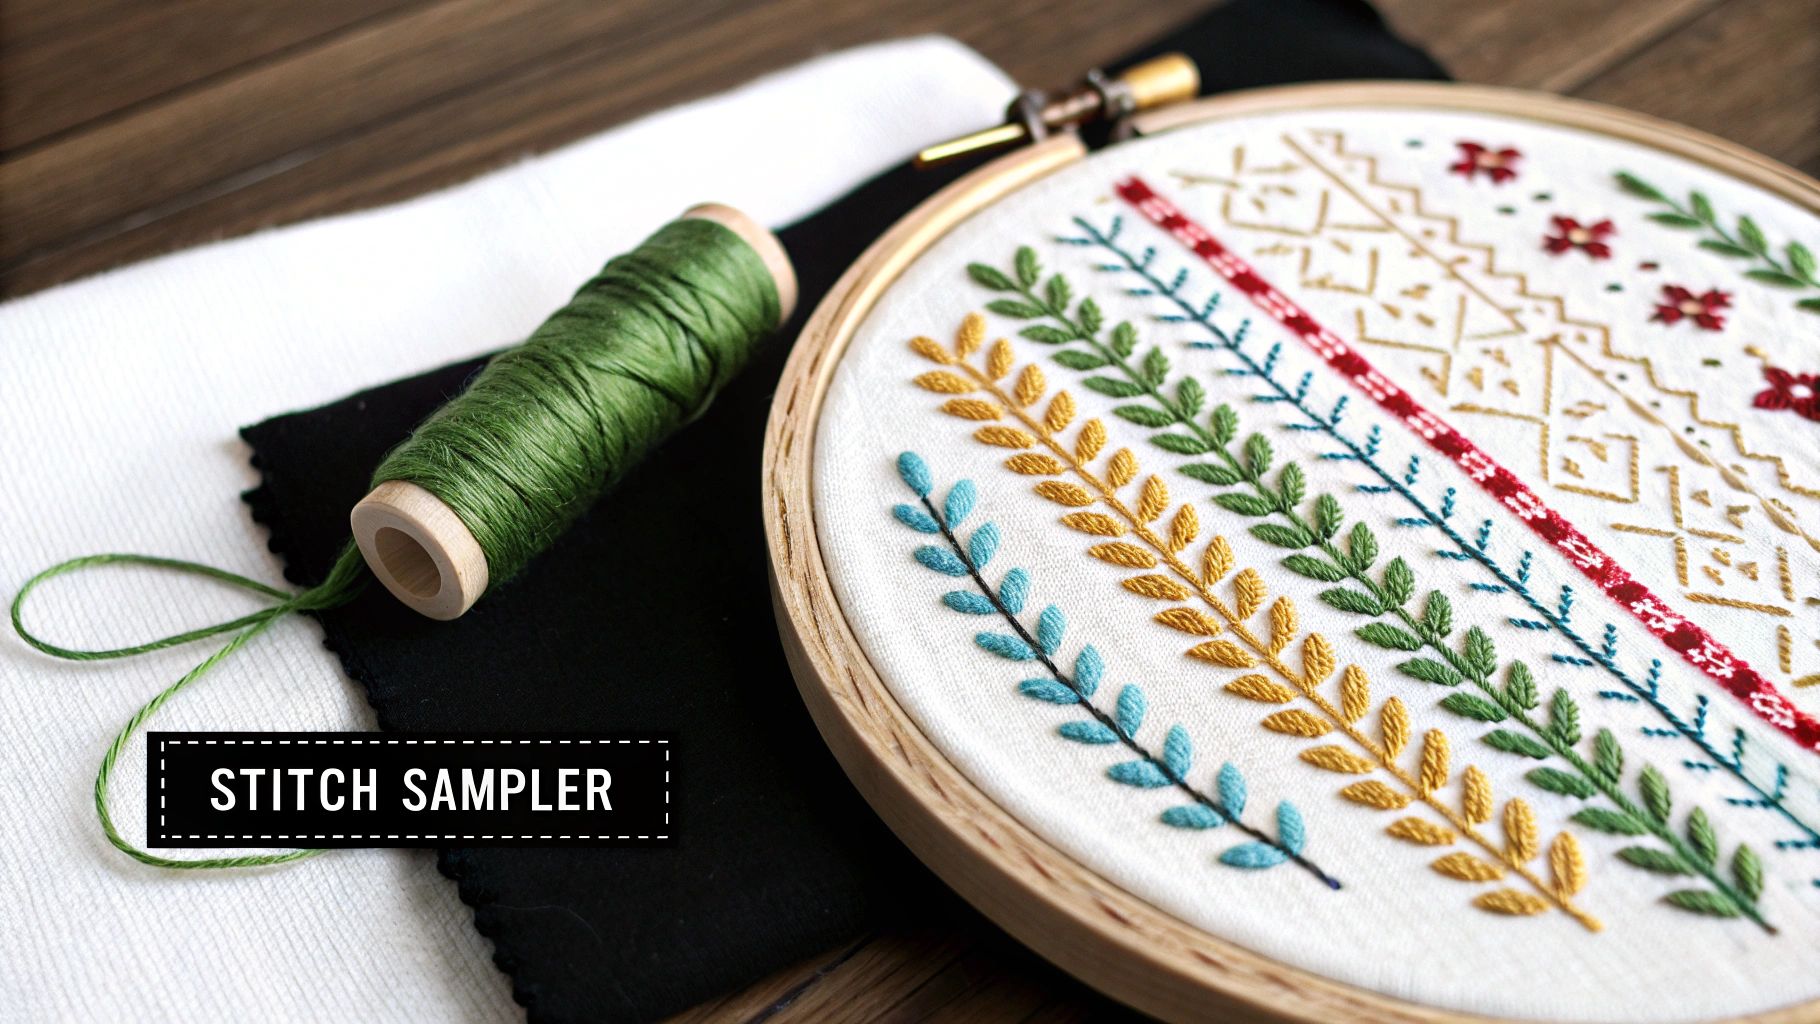
If you're just starting out, some of the best free patterns you can find aren't just for making pretty pictures—they're your personal training ground. I'm talking about stitch samplers. These are patterns designed specifically to teach you the foundational stitches you’ll rely on for years to come.
Think of a sampler as a guided workout for your embroidery skills. Instead of fumbling with a backstitch on a tricky floral curve, you get to practice it on a simple, straight line. This approach lets you isolate each technique and really focus on getting the feel for it.
 French knots, and backstitch in different colors.">
From Practice to Reference
The real magic of a sampler is that you’re not just practicing—you're creating your very own physical reference guide. Months from now, when a pattern calls for a French knot and you can't quite remember the motion, you can just pull out your sampler and see exactly how you made one you were proud of.
A fantastic resource for this is Jessica Long Embroidery, which offers a free "Beginner Embroidery Sampler" pattern. This single pattern walks you through about 14 foundational stitches and pairs the printable PDF with video tutorials. For anyone who's a visual learner, seeing the stitch happen in real-time is an absolute game-changer.
Completing a sampler as your first project builds what I call "stitch memory." Your hands learn the rhythm and tension needed for each stitch, which builds an incredible amount of confidence.
Once you've mastered these core skills on a sampler, you'll be ready to tackle more intricate designs. You can explore the different types of embroidery stitches and practice them in a totally low-pressure way. Honestly, it's the perfect first step.
So you've decided to dive into the world of machine embroidery—fantastic choice! While hand stitching has a certain charm, there's nothing quite like the speed and precision you get from a machine. The best part? You don't have to spend a fortune on designs. There's a huge community of designers offering free patterns, and they're the perfect training ground for you and your new machine.
https://www.youtube.com/embed/mkDAF3PHtrw
Starting out with professionally digitized files is the single smartest thing you can do. These patterns are built to stitch out flawlessly, which means you can focus on learning your machine without the headache of a buggy design. Think of these freebies as the hands-on tutorials that didn't come in the box.
For your first few projects, keep it simple and aim for a quick win. I always tell beginners to find designs that don't involve a dozen thread changes. This approach lets you master the real fundamentals, like getting your fabric hooped just right and finding your way around the machine's control screen.
Simple Projects to Get You Started
When you're searching, look for beginner embroidery patterns free of dense fills or microscopic details. Small, single-color designs are your best friends right now.
- Monograms and Fonts: A single initial on a tea towel or napkin is a classic first project. It's a quick stitch-out that teaches you everything you need to know about placement and using stabilizer.
- Simple Appliqué Shapes: Appliqué is a great skill to learn early. You can find tons of free patterns where the machine stitches a guide, you place your fabric, and it finishes the edges for you. It looks impressive but is surprisingly easy.
- Small Themed Motifs: Think little hearts, simple stars, or basic flowers. These are perfect for running a few practice rounds on scrap fabric before you commit to your good towels.
Here's a piece of advice I give every new machine embroiderer: get obsessed with file formats. Your machine is picky and will only read certain types. That might be PES for a Brother machine, JEF for a Janome, or DST for many commercial models. Before you even think about stitching, double-check that the free pattern you downloaded is in a format your machine can actually read.
You'll find that many designers and online shops are incredibly generous with starter patterns. Websites like EmbroideryDesigns.com and Designs by JuJu have sections with over 30 free machine embroidery designs ready for instant download. They're a fantastic way to build your confidence and your design library. For even more resources, you can explore the ultimate guide to machine embroidery designs.
Getting comfortable with these high-quality freebies is the key to a fun and successful start in machine embroidery.
A Few Common Questions About Free Embroidery Patterns
It's totally normal to have a bunch of questions when you're just starting out. When you're diving into the world of free embroidery patterns, getting the basics right from the get-go makes all the difference. Let's walk through a couple of the most common things new stitchers ask me, so you can pick up that needle and thread with confidence.
Probably the biggest question I hear is about supplies. It's so easy to walk into a craft store and feel completely overwhelmed, but honestly, you only need a handful of things to start your first project.
What Supplies Do I Really Need to Start?
You definitely don't need to break the bank. A simple, basic kit is more than enough to handle almost any free beginner pattern you'll find online.
Here's your no-fuss shopping list:
- A 6-inch embroidery hoop is a great starting size for keeping your fabric tight.
- Embroidery floss in the colors your pattern suggests.
- A light-colored piece of cotton or linen fabric.
- A small pack of embroidery needles.
- A pair of small, sharp scissors.
Most patterns will list the exact floss colors you need, which takes all the guesswork out of shopping. I always recommend beginners start with a medium-weight, non-stretchy fabric like a quilter's cotton. It's really forgiving and shows off your stitches beautifully.
Can I Sell the Finished Pieces I Make?
This is such a great question, and it's a really important one. The short answer is: it depends entirely on the designer and the terms they've set for their free patterns.
As a rule of thumb, the vast majority of free embroidery patterns are licensed for personal use only. This means you can stitch them for yourself or give them as gifts, but you can't sell the final product.
Before you start stitching with dollar signs in your eyes, always look for a "licensing" or "terms of use" page on the creator's website. If you can't find clear permission, the safest and most respectful thing to do is assume it's not for commercial use. It's never okay to sell work made from beginner embroidery patterns free to download unless the artist has explicitly said you can.
Ready to turn a favorite photo into a stitched work of art? At Cross Stitched, our custom photo-to-pattern kits come with everything you need to create a truly personal masterpiece. Start your custom kit today!


