

If you're into cross-stitch, you'll quickly hear about 16-count Aida cloth. Think of it as the ultimate "sweet spot" fabric. It's the perfect middle ground, giving you a wonderful level of detail without making you squint.
With 16 stitches per inch, the weave is tighter than the chunkier 14-count, which really helps your finished work look more refined. At the same time, it’s still much easier on the eyes than higher counts like 18 or 22. It’s my go-to when I want a project to look sharp and detailed but don't want to break out the magnifying glass just yet.
What Does "16-Count" Actually Mean?
Choosing your fabric is one of the first big decisions you make for any project, and understanding the "count" is key. The count of an Aida cloth is simply the number of squares (or stitches) you can fit into one linear inch of the fabric. So, for 16-count Aida, you get a grid of 16 neat little squares per inch, both across and down.
This number has a direct impact on how your finished piece turns out. A pattern stitched on 16-count fabric will come out smaller and look more detailed than the exact same design on 14-count because the stitches are physically smaller and packed closer together. This quality makes it a fantastic all-rounder.
The Goldilocks of Cross-Stitch Fabric
I often hear experienced stitchers call 16-count the "Goldilocks" fabric, and it's a perfect description—it's just right. It avoids the sometimes blocky look of lower counts while steering clear of the eye-straining fineness of higher counts. That’s what makes it such a crowd-pleaser.
- For newer stitchers: It’s a great next step after you've mastered 14-count. It lets you tackle more intricate patterns and see your skills translate into a more professional-looking finish.
- For seasoned pros: It's a reliable workhorse for complex designs, especially those packed with color changes or fractional stitches where precision is everything.
This diagram really breaks down the nuts and bolts of what makes 16-count Aida so special, showing off its weave and stitch density.
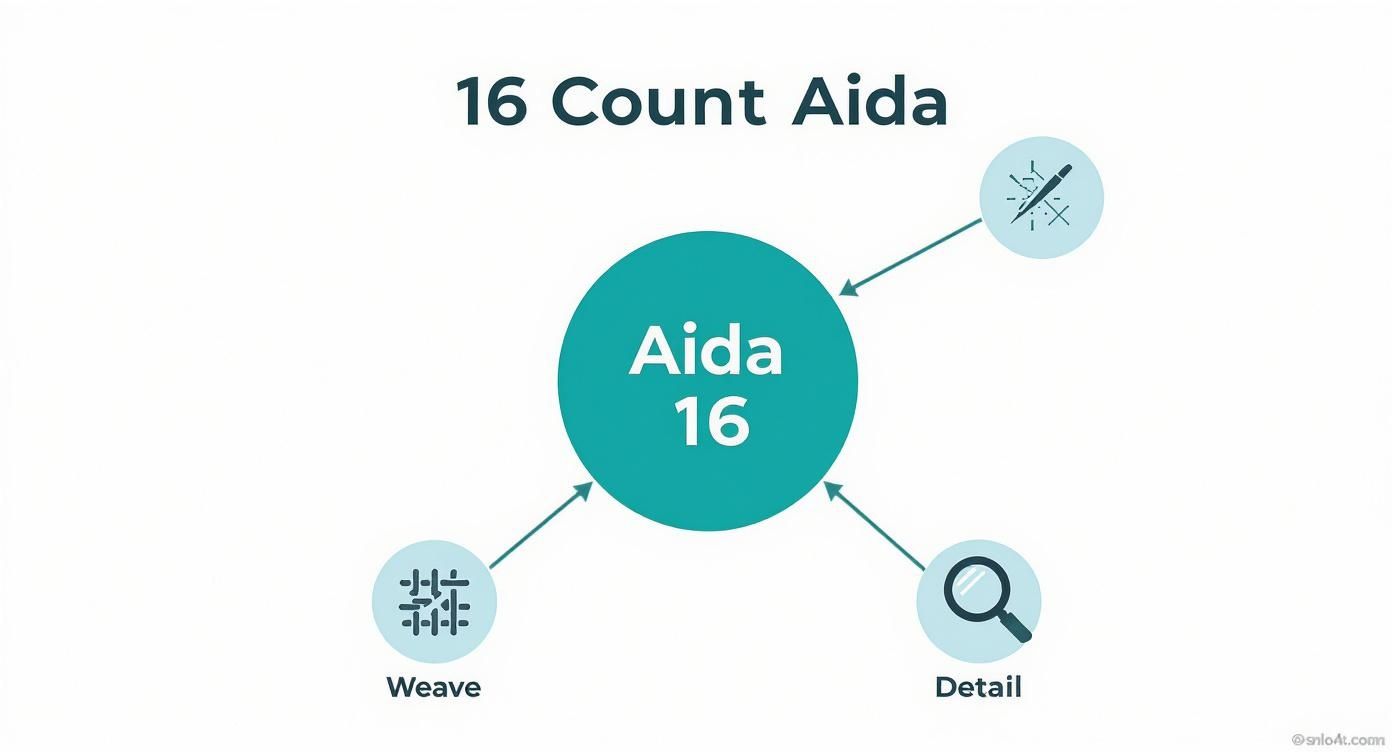
As you can see, it hits that perfect balance. It’s no wonder 16-count has become a staple in the stitching world. It's versatile enough for a beginner's first detailed project and dependable enough for an expert's masterpiece.
Aida Count Comparison At a Glance
To really see where 16-count fits in, it helps to put it side-by-side with its neighbors. This quick table breaks down the most popular Aida counts.
| Aida Count | Stitches Per Inch (SPI) | Finished Stitch Size | Best For | Ease of Use |
|---|---|---|---|---|
| 14 | 14 | Larger, more visible | Beginners, kids, projects with bold designs | Easiest to see and stitch |
| 16 | 16 | Medium, balanced | Intermediate stitchers, detailed projects | Good balance of detail and visibility |
| 18 | 18 | Smaller, very fine | Advanced stitchers, intricate portraits | Can be challenging without good lighting/magnifier |
This shows why so many of us land on 16-count—it's the ideal compromise between the ease of 14-count and the fine detail of 18-count.
The Signature Aida Weave
The real magic of Aida cloth is its unique, grid-like structure. The threads are woven in little bundles, creating obvious holes at the corners of each square. This design does the hard work for you, acting as a natural guide for your needle and ensuring every stitch is uniform and perfectly placed.
On 16-count fabric, those holes are spaced just right to give you excellent thread coverage, especially when using the standard two strands of floss.
The grid system of Aida is what makes cross-stitch so approachable. It takes the guesswork out of where your needle should go, letting you just enjoy the process of painting with thread.
This built-in guide is precisely why Aida is almost always recommended over fabrics like linen or evenweave, particularly when you're just getting started. If you want to go deeper into how fabric choice affects your work, our guide on choosing the right cross-stitch fabric counts has all the details you’ll need.
Getting Your Needles and Thread Just Right
Picking the right tools for your 16-count Aida cloth is a bit like a chef choosing the perfect knife. The right needle and floss combo will make your stitching feel effortless and the final result look absolutely stunning. Get it right, and you'll have neat stitches, beautiful coverage, and happy fabric.
The Perfect Needle for 16-Count Aida
When you're working with 16-count Aida, you'll want to reach for a size 26 tapestry needle. These aren't your typical sharp sewing needles. Tapestry needles have a blunt, rounded tip for a very specific reason: they're designed to glide smoothly through the existing holes in the Aida weave, not pierce the threads.
A size 26 needle is the ideal match for this fabric. It's slim enough to pass through the holes without stretching them out of shape, but the eye is still large enough to thread your floss without a struggle. For a deeper dive, our complete guide to cross-stitch needle sizes can help you sort out all the different types.
Finding the Sweet Spot with Floss
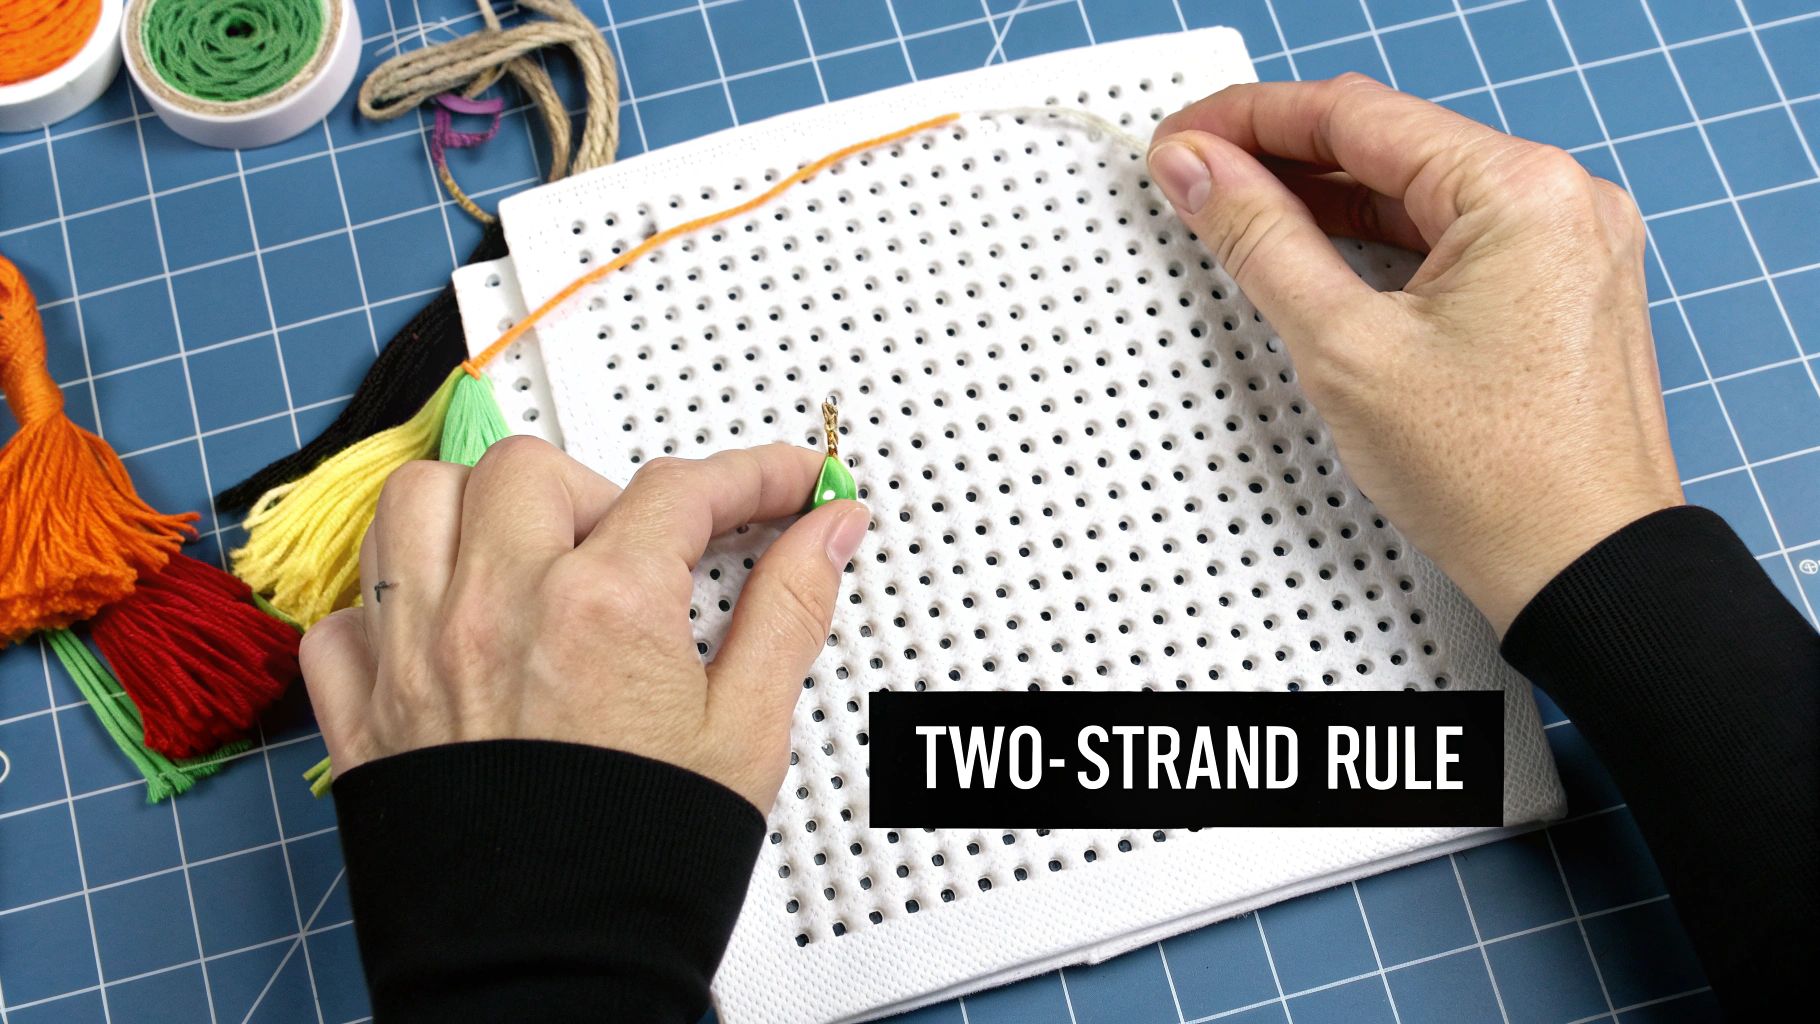
Just as crucial as your needle is the embroidery floss. For 16-count Aida cloth, the sweet spot is almost always two strands of standard six-strand embroidery floss. This gives you what experienced stitchers call "perfect coverage." It’s just enough thread to fill the square and hide the fabric underneath, but not so much that your stitches look bulky or cramped.
Think of it like painting a room. One thin coat might look streaky, while a super thick coat gets clumpy. Two coats give you that smooth, solid color you’re looking for. It’s the exact same idea with cross-stitch.
Using two strands on 16-count Aida strikes a perfect balance. Your stitches will look full and vibrant, letting the design's colors truly shine without overwhelming the fabric's delicate grid.
Of course, rules are sometimes made to be broken! You can definitely experiment with the number of strands to create different textures and effects. Here’s a quick guide:
- One Strand: This creates a lighter, more delicate look, almost like a pencil sketch. It's fantastic for subtle shading, tiny details, or if you're aiming for a vintage, airy feel.
- Two Strands (Recommended): This is your go-to for most projects. It provides that classic, tidy stitch with excellent color saturation that works for just about any pattern.
- Three Strands: For a really bold, plush look, three strands will give you maximum coverage. Use this when you want absolutely no fabric peeking through, creating a rich, almost tapestry-like finish.
Thankfully, the crafting world has made things pretty easy for us. Most threads, dyes, and fabrics from different brands work beautifully together, with an estimated 95% cross-compatibility. This means you can focus on picking the colors you love without worrying if your supplies will play nicely together.
How to Correctly Calculate Your Project Size
One of the biggest anxieties for any stitcher, new or experienced, is the dreaded fear of running out of fabric halfway through a project. Fortunately, figuring out how much 16-count Aida cloth you need is incredibly simple and takes all the guesswork out of the equation.
The magic formula is surprisingly straightforward. All you need is your pattern's stitch count, which you'll typically find listed as width by height (something like 80w x 96h).
Once you have that, you just divide each of those numbers by 16.
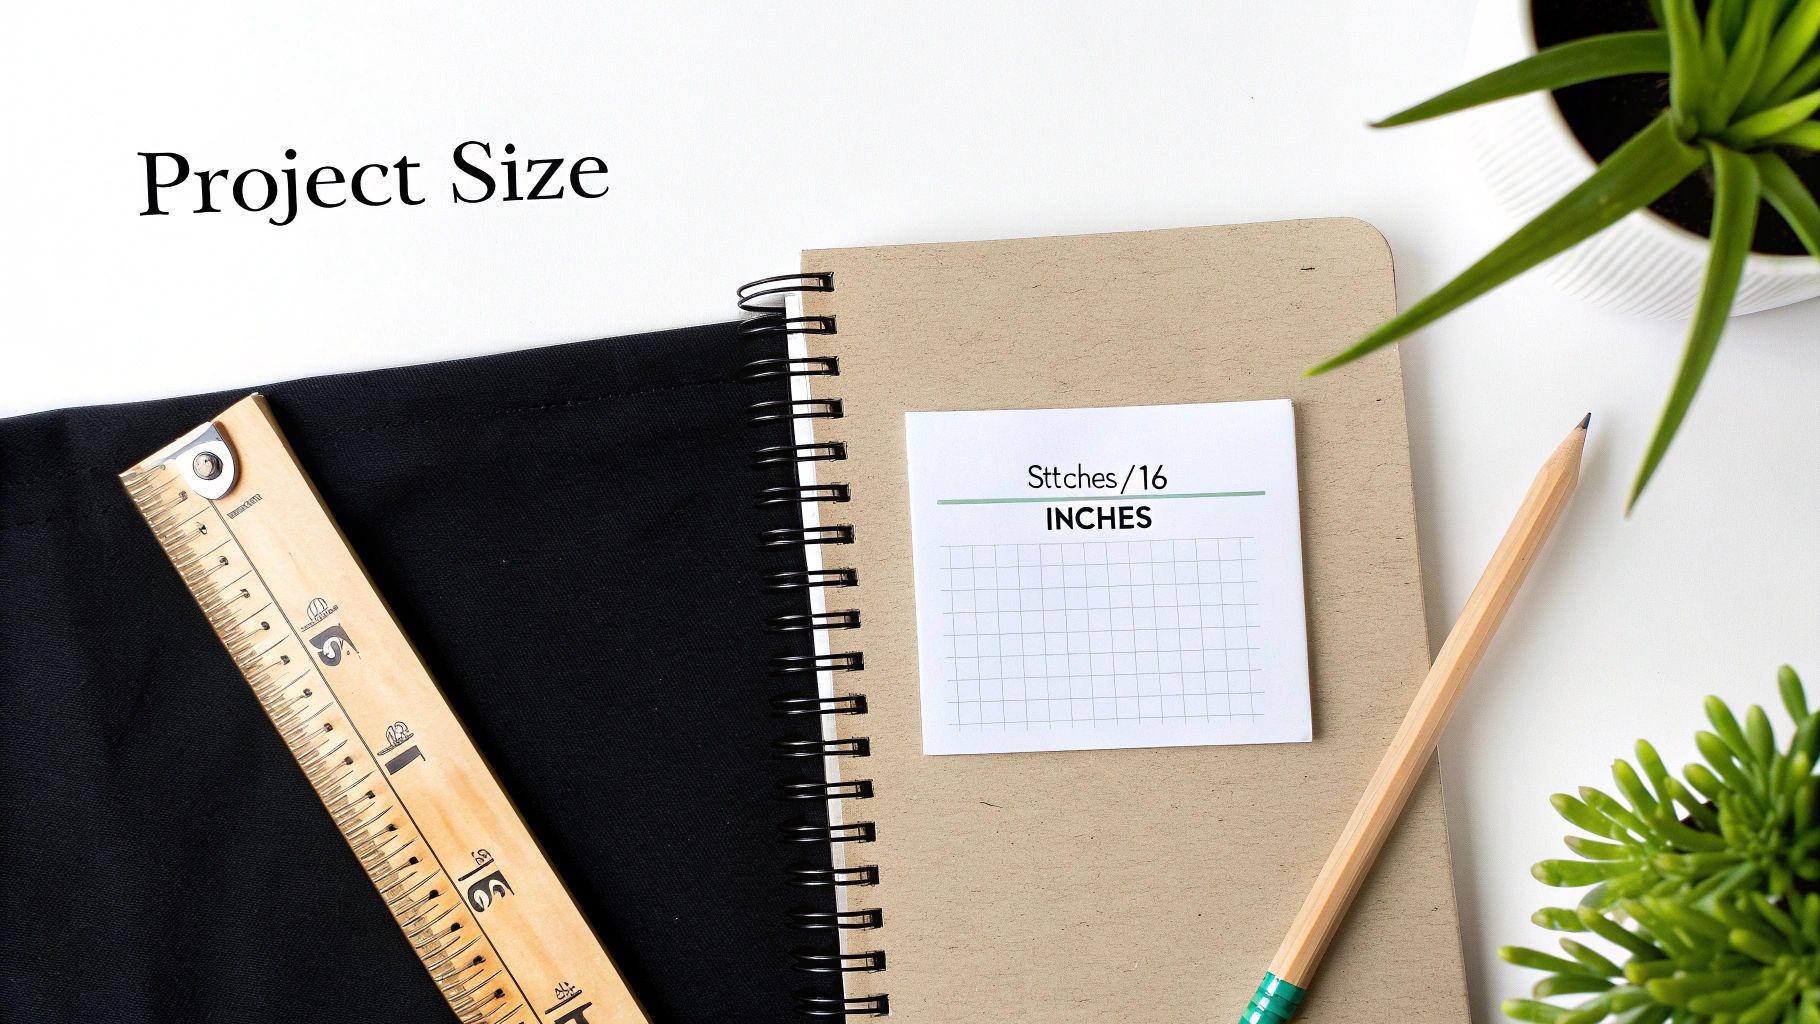
The Formula: (Number of Stitches) / 16 = Design Size in Inches
This little bit of math gives you the exact dimensions your stitched area will occupy. No more crossing your fingers and hoping for the best!
Putting the Formula into Practice
Let's walk through a quick example to see it in action. Imagine you've fallen in love with a pattern that is 80 stitches wide by 112 stitches high.
- Calculate the Width: 80 stitches ÷ 16 stitches per inch = 5 inches
- Calculate the Height: 112 stitches ÷ 16 stitches per inch = 7 inches
And just like that, you know your finished design will measure 5 inches by 7 inches. If you'd rather not do the math yourself, a good cross-stitch size calculator can do the heavy lifting for you.
Why You Must Add a Border
Now, this next part is a non-negotiable rule of cross-stitch that beginners often overlook: always add a border. Never, ever cut your fabric to the exact size of your finished design. This extra margin is crucial for a couple of really important reasons.
- For Stitching: It gives your hoop or Q-snap frame something to hold onto without clamping down on your actual stitches, ensuring your fabric stays nice and taut.
- For Framing: Professional framers need this space to properly stretch, mount, and secure your work. Without it, you risk part of your beautiful design being hidden behind the frame.
A good rule of thumb is to add at least a 2-to-3-inch border on all four sides. So, for our 5" x 7" example, adding a 3-inch border would mean you need to cut a piece of fabric that's 11 inches by 13 inches (5 + 3 + 3 by 7 + 3 + 3). Building this buffer in from the start is the secret to a stress-free project all the way to the finish line.
Projects That Shine on 16 Count Aida
The real magic of 16 count Aida cloth is just how incredibly versatile it is. I've seen it used for just about everything! Its perfectly balanced weave creates a canvas that can handle a huge range of projects, from highly detailed wall art to functional, everyday items you can actually use.
Think of it as the sweet spot in the Aida family. It gives you far more detail than 14 count, making delicate backstitching and intricate patterns pop with crisp, clean lines. At the same time, it’s not so dense that it becomes a chore to work with, keeping your project a manageable size.
Ideal for Detailed Artwork and Samplers
If your project is all about the fine details, 16 count is hands-down the best choice. That slightly tighter weave is exactly what you need for complex designs where every single stitch is telling part of the story.
- Full-Coverage Pieces: For those big, ambitious patterns where every inch of fabric will be covered in stitches, 16 count ensures a lush, seamless finish without any distracting gaps of fabric peeking through.
- Intricate Samplers: Classic samplers are filled with different motifs and tiny, delicate lettering. The 16 stitches-per-inch density keeps every element sharp and easy to read.
- Photorealistic Patterns: When you're turning a photo into a cross-stitch pattern, like with our custom kits at Cross Stitched, you need a fabric that can handle subtle color changes and fine details. 16 count provides the perfect resolution for that.
This fabric count is the perfect middle ground. It gives your work a professional, gallery-worthy finish but is still completely approachable for stitchers ready to graduate from beginner fabrics. It just elevates your work and makes every stitch count.
This blend of detail and usability is a huge part of why it's so popular. In fact, some market data shows that 16 count Aida is used in roughly 80% of intermediate cross-stitch kits sold, cementing its place as a go-to fabric. You can find more Aida cloth market trends on martinispa.com if you're curious.
The table below breaks down how different project types match up with common Aida counts, really showing where 16 count hits that perfect balance.
Project Suitability by Aida Count
| Project Type | 14 Count | 16 Count (Recommended) | 18 Count |
|---|---|---|---|
| Simple Bookmarks & Coasters | Good for beginners, fast stitching. | Excellent for adding a bit more detail. | Very detailed, but may be too dense. |
| Decorative Pillows & Bags | Works well, but can look blocky. | Ideal. Durable with a polished look. | Great detail, but less flexible fabric. |
| Holiday Ornaments | Good for larger, simpler designs. | Perfect. Allows for detail without being bulky. | Excellent for small, intricate ornaments. |
| Intricate Samplers | Okay, but letters can look clunky. | Highly Recommended. Keeps lettering crisp. | Fantastic for fine, heirloom-quality work. |
| Full-Coverage Artwork | Fast, but may show fabric gaps. | The Sweet Spot. Great coverage and detail. | The best coverage, but a longer project. |
As you can see, while other counts have their strengths, 16 count consistently proves to be the most adaptable choice for a wide variety of beautiful and functional pieces.
Perfect for Functional and Giftable Items
Beyond just being framed and hung on a wall, 16 count Aida cloth is a fantastic choice for creating things that are meant to be used and loved. Its fabric is sturdy but still flexible, so it holds up beautifully to everyday handling.
That tighter weave results in a cleaner, more durable finish—something you definitely want for handmade goods. I’ve seen stitchers create amazing things with it, like:
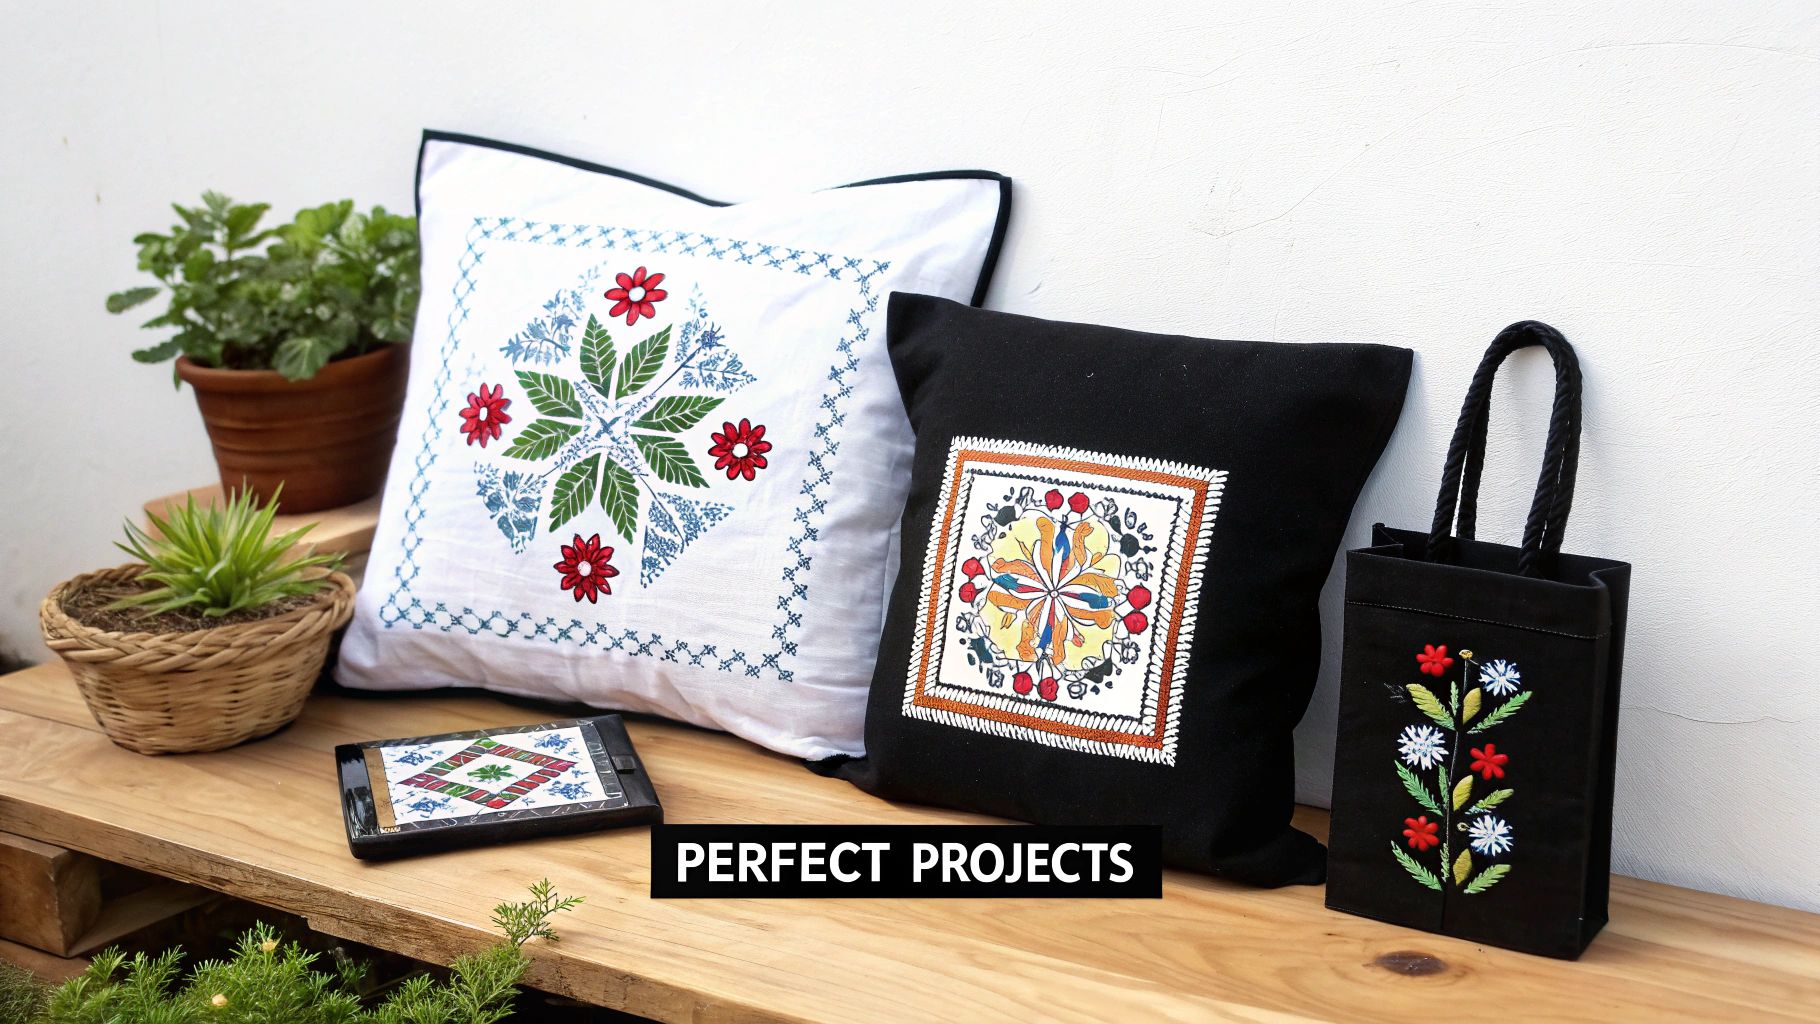
- Decorative Pillows: A stitched panel on a cushion adds such a personal, elegant touch to home decor.
- Holiday Ornaments: The smaller stitch size lets you create beautifully detailed ornaments that aren’t too big or heavy for the tree.
- Tote Bags and Pouches: A custom cross-stitched accent on a bag makes for a unique, high-quality accessory that really stands out.
- Bookmarks and Coasters: These are quick, satisfying projects that make for thoughtful and genuinely useful handmade gifts.
Whether you’re stitching a complex heirloom piece that will be passed down for generations or a simple, charming gift for a friend, 16 count Aida gives you the ideal foundation for a polished, professional-looking finish every time.
Essential Tips for Stitching and Finishing
After spending hours bringing your design to life, the final steps are what really make it shine. A few simple stitching and finishing tricks for 16 count Aida cloth can take your piece from a fun project to something you're truly proud to display.
Let's start with the back of your work. The secret to a tidy project, both front and back, is avoiding knots. Bulky knots can create annoying lumps under your fabric, so I always recommend the loop start method instead. It’s a clean, flat way to begin, and it's perfect when you're using two strands of floss.
Just take one long strand of floss, double it over, and thread the two cut ends through your needle. You'll have a neat little loop at the other end. As you bring your needle up for the first stitch, just pass it through that loop on the back of the fabric. It secures your thread instantly—no knot required.
Keeping Your Tension Consistent
Even tension is the key to those plump, uniform stitches we all strive for. If you pull your stitches too tight, the Aida cloth 16 count can pucker and warp. If they're too loose, they'll look a bit floppy and uneven. You're aiming for stitches that lie smoothly on the fabric without pulling on it.
The goal is to find that "just right" pull on your thread for every single stitch. Think of it less as pulling and more as gently guiding the floss into place. Getting this right is probably the single most important habit for a beautiful, professional-looking finish.
I can't recommend an embroidery hoop or a Q-snap frame enough. Keeping the fabric taut while you stitch makes it so much easier to get your tension right, and it also saves your hands from cramping up during those longer stitching sessions.
The Final Wash and Press
Once that last stitch is in place, it’s time for a gentle bath. This isn’t a step to skip! Washing removes oils from your hands, any dust that’s settled, and those stubborn hoop marks, leaving your fabric pristine and your colors looking their best.
Here’s my go-to method for cleaning a finished piece:
- Wash Gently: Grab a clean sink or basin and fill it with lukewarm water and a drop of mild soap. A clear dish soap or a dedicated textile wash works great. Let your project soak and swish it around gently for a few minutes.
- Rinse Thoroughly: Drain the soapy water and rinse your piece under cool running water until it’s completely free of suds. Whatever you do, don't wring or twist the fabric!
- Dry Flat: Place your project on a clean, thick towel. Roll it up like a burrito and press gently to soak up the extra water. Then, unroll it and lay it on a fresh, dry towel to air dry completely.
- Press Carefully: When the fabric is still just a little damp, place it face-down on another clean towel. With your iron on a medium heat setting (and no steam), press the back of your work. The towel underneath protects your stitches, keeping them from getting flattened so they stay nice and plump.
With these finishing touches, your beautiful work on 16 count Aida will be perfectly clean, flat, and ready to be framed or finished.
Where to Buy Quality 16 Count Aida
Finding the right piece of aida cloth 16 count is the first, crucial step toward bringing your cross stitch project to life. While you can find Aida in most craft stores, knowing what to look for will guarantee you end up with a quality canvas that’s a pleasure to work with.
When you have a piece of Aida in your hands, hold it up to the light. The tiny squares of the grid should look perfectly even, with no thin spots or warped areas. A good piece of fabric feels substantial but still flexible, not stiff and papery like a low-quality imitation. Brands like Zweigart and DMC are household names for a reason—they’re known for their reliable, even weaves and consistent colors.
Navigating Your Buying Options
You’ll find 16 count Aida sold in a few different ways, and each one is suited for different kinds of projects. Figuring out which format you need helps you buy just enough for your pattern without overspending or running out halfway through.
-
Pre-Cut Pieces: These are perfect for smaller projects like ornaments, coasters, or greeting cards. They typically come in standard sizes (like 9"x12" or 15"x18") and are a great way to get started without a huge commitment.
-
Fabric Tubes: If you're tackling a medium-sized project, fabric sold in a tube is a fantastic option. It gives you a larger piece without the stubborn creases you often get from folded packages.
-
Fabric-by-the-Yard: Planning a big, full-coverage piece? Or maybe you just want to build up your craft stash? Buying by the yard (or meter) right off the bolt is easily the most budget-friendly choice.
This fabric count's popularity is undeniable. It makes up roughly 35-45% of all Aida fabric sales at major craft retailers, which really speaks to its amazing versatility. A quick browse of the market for 16 count Aida fabric on Etsy.com will show you just how many options are out there.
Specialty and Creative Choices
Don't feel limited to the standard white or ecru! There's a whole world of specialty aida cloth 16 count out there waiting for you. Hand-dyed fabrics from independent artists offer breathtaking, variegated colors that can add incredible depth and a one-of-a-kind feel to your work.
You can also find opalescent Aida, which has a shimmery, glittery thread woven right into the fabric. It adds a subtle sparkle that's absolutely perfect for fantasy pieces, magical scenes, or festive holiday designs.
When you choose a quality fabric, you're not just buying material; you're investing in a better stitching experience. An even weave and consistent dye lot mean your stitches will lie smoothly and your finished piece will look polished and professional.
Common Questions About 16 Count Aida
Even after you've got your supplies lined up, a few questions always seem to pop up when you're starting with a new fabric. Let's tackle some of the most common ones stitchers have about 16 count Aida.
Can I Use 3 Strands of Floss?
You absolutely can! Using three strands of floss on this fabric will give you incredibly full, plush stitches. This technique provides excellent coverage, making it perfect for designs where you don't want any fabric peeking through the threads. It creates a rich, almost tapestry-like look.
That said, two strands is the standard for a reason. It offers a clean, balanced appearance that lets the crisp "X" of each stitch shine without crowding the holes or making them difficult to push your needle through.
Think of it as a personal choice. Two strands will give you a classic, tidy finish. Three strands will give you a bold, high-coverage effect. Neither is right or wrong—it just depends on the look you're going for.
Do I Really Need a Hoop or Frame?
Technically, you can stitch without one, but I strongly recommend using a hoop, Q-snap, or scroll frame with 16 count Aida. Keeping the fabric taut is the secret to getting perfectly uniform stitches and maintaining even tension across your entire project.
When your fabric is pulled tight, it prevents puckering and is much easier to hold. This also helps reduce hand fatigue, meaning you can enjoy longer, more comfortable stitching sessions without your work getting limp and frustrating.
Is 16 Count Aida Good for Beginners?
It's a fantastic choice, especially for a beginner's second project or for someone who has pretty good eyesight. While 14 count has slightly larger holes and is often the first go-to, 16 count is what I'd call the perfect "step-up" fabric.
It allows you to work on more intricate patterns than 14 count can handle, giving you a more detailed and refined-looking piece when you're done. At the same time, it’s still much easier to see and work with than higher counts like 18 or 22, striking a wonderful balance between detail and ease of use.
Ready to turn your favorite photos into timeless art? At Cross Stitched, we create custom kits with everything you need, including high-quality Aida fabric. Start your personalized cross-stitch project today.


