
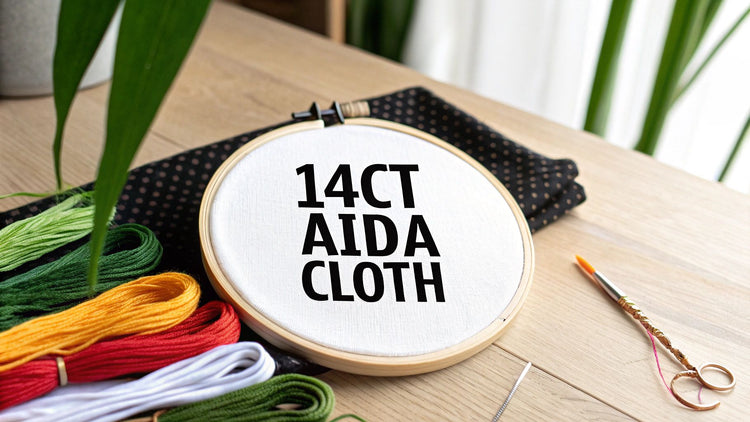
If you're just dipping your toes into the world of cross-stitch, think of 14 count Aida as your trusty guide. It’s the fabric most of us start with, and honestly, it’s a favorite that many experienced stitchers stick with for good reason. It simply hits the sweet spot between being easy to work with and producing a beautiful finished piece.
What Makes 14 Count Aida The Standard
 Aida cloth, showing the distinct grid pattern of the fabric with colorful threads.">
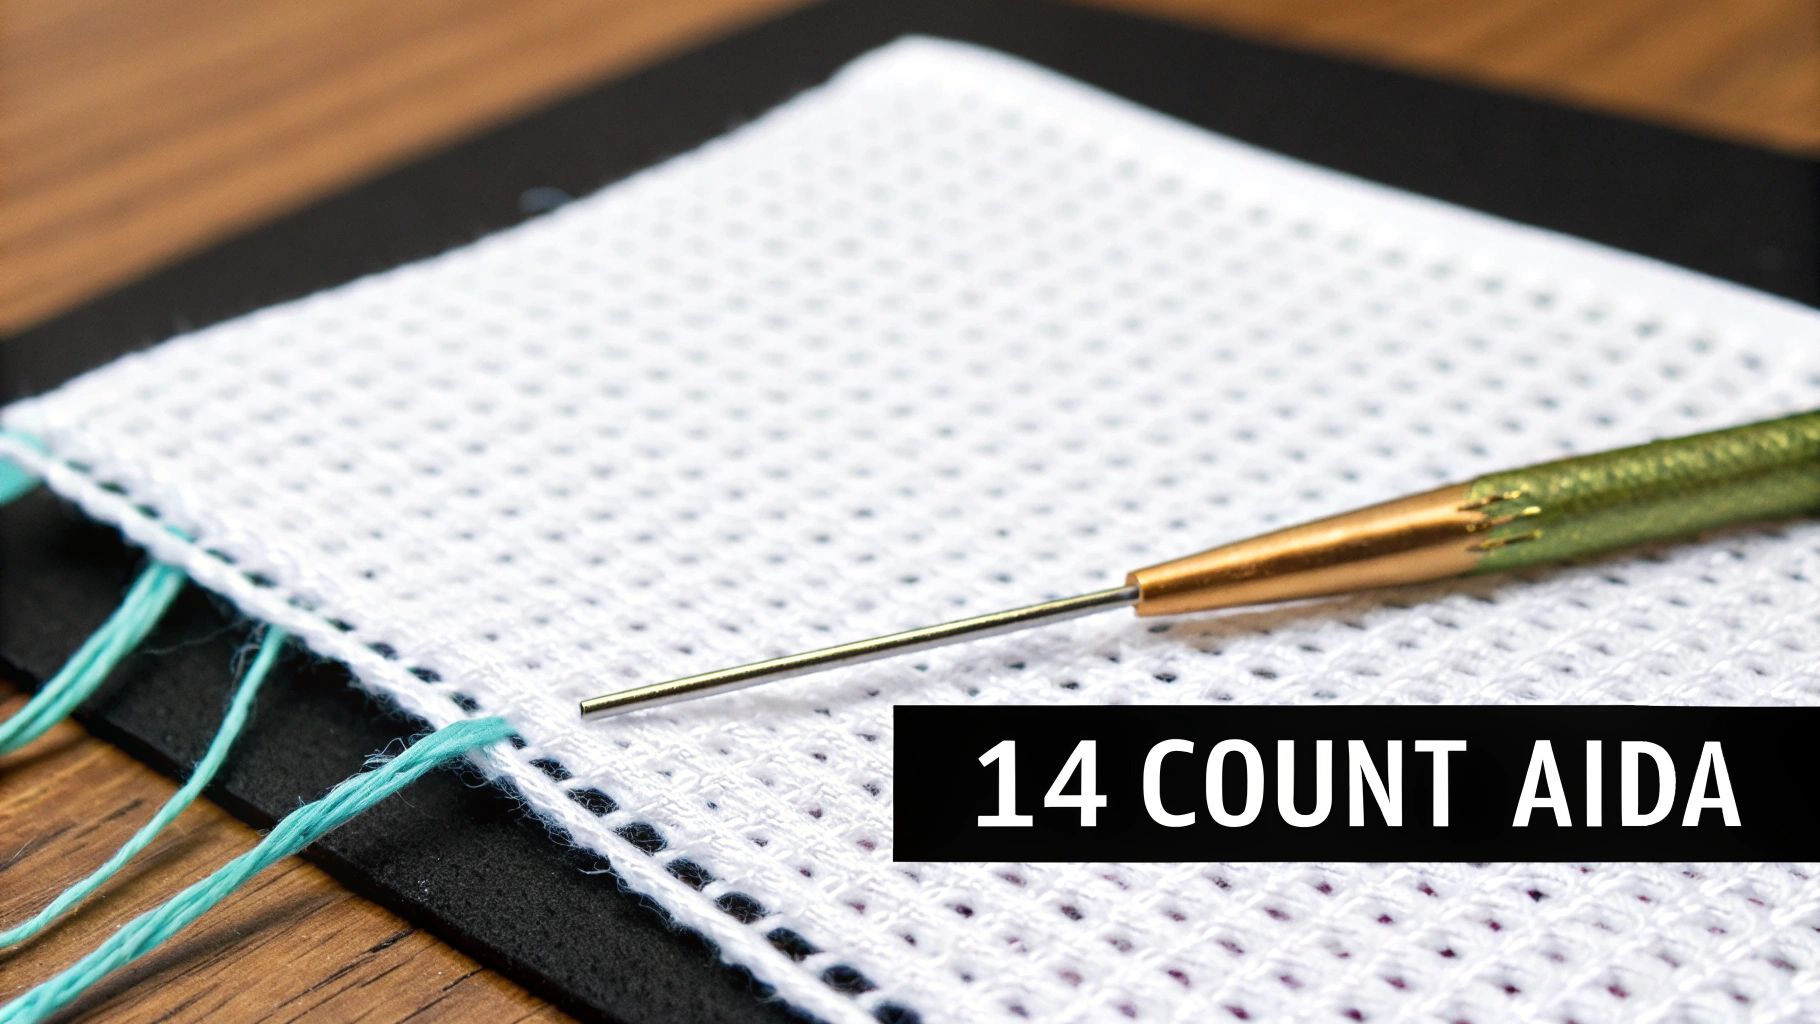
So, what does "14 count" actually mean? It’s pretty straightforward: it tells you there are 14 squares (or stitches) for every linear inch of fabric. This creates a visible, easy-to-follow grid that guides your needle right where it needs to go.
That perfect grid is the secret to its popularity. The holes are big enough that you aren't squinting to find them, but the stitches are still small enough to blend together nicely and form a detailed, cohesive picture. It’s a wonderful balance that makes the entire stitching process more relaxing and enjoyable.
The Foundation Of A Great Project
Most 14 count Aida you'll find is made from 100% cotton. This gives it a fantastic feel—it's soft to the touch but has just enough stiffness to hold its shape as you stitch. You won’t have to worry about your stitches getting warped or uneven, which is a huge plus. This reliable quality is precisely why it’s the default fabric included in the majority of cross-stitch kits you see on store shelves.
And it’s no accident that it's so common. Market data from 2023 revealed that 14 count Aida makes up a huge slice of the pie, accounting for somewhere between 35% and 50% of all Aida fabric sales globally. Its dominance really speaks to how well it works for stitchers of all stripes.
The real magic of 14 count Aida is how forgiving it is. It provides a structured, predictable canvas that helps beginners build confidence while offering the reliable consistency that seasoned stitchers need for their more ambitious projects.
To give you a quick overview, here are the essential details of this go-to fabric.
14 Count Aida at a Glance
| Attribute | Description | Best For |
|---|---|---|
| Stitches Per Inch | 14 | Beginners and projects needing clear detail. |
| Material | Typically 100% Cotton | Durability and a comfortable stitching experience. |
| Recommended Floss | 2 Strands | Excellent coverage without bulky stitches. |
| Visibility | High | Easy to see and count squares, reducing eye strain. |
| Project Versatility | Wide Range | Great for everything from small kits to large patterns. |
This table sums up why 14 count Aida is such a beloved staple in the cross-stitch community.
Why It’s The Go-To Choice
The reasons it’s become the industry standard are all about the user experience. For anyone just starting out, this fabric smooths over many of the initial hurdles that can sometimes make needlecrafts feel intimidating. If you want to see how it stacks up against other options, you can find a helpful breakdown of the different cross-stitch fabric counts here.
Here’s why so many people reach for it first:
- Excellent Visibility: The 14-squares-per-inch grid makes counting a breeze, which means fewer mistakes and less time spent unpicking stitches.
- Ideal Stitch Coverage: Using two strands of floss—the standard for this count—gives you full, lush stitches that cover the fabric beautifully. No annoying gaps.
- Versatility: It’s a true workhorse. It’s just as suitable for a quick weekend project like an ornament as it is for a sprawling, detailed landscape that takes months to complete.
At the end of the day, 14 count Aida earned its top-dog status because it consistently delivers a successful and satisfying stitching experience. It provides the perfect canvas to bring a cherished photo to life as a timeless work of art, and that’s what this craft is all about.
Finding That Perfect Sweet Spot
There's a reason so many stitchers swear by 14 count aida cloth. It really is the "Goldilocks" of the cross-stitch world—not so loose that your work looks pixelated, and not so tight that you're squinting at every stitch. It's just right.
The fabric has a clear, open weave with 14 squares per inch, so you can easily see where your needle needs to go. This makes the whole process feel much more relaxing. At the same time, the stitches are small enough to blend together nicely, creating a smooth and detailed final picture. It's this perfect balance that lets you get lost in the rhythm of stitching without getting frustrated.
Matching Your Fabric with the Right Tools
To make your experience with 14 count aida as smooth as possible, you'll want to use the right needle. The undisputed champion for this fabric is a size 24 tapestry needle.
This needle is the perfect match for the weave. It’s slender enough to pass through the holes without stretching or distorting them, but it has a big enough eye to comfortably thread two strands of floss, which is standard for this fabric count.
Using the wrong size can really throw a wrench in things:
- A needle that's too big will force the holes open, leaving little gaps around your stitches that won't close up.
- A needle that's too small can be fiddly, and you might accidentally split the fabric threads instead of going cleanly through the hole.
Stick with a size 24 needle, and you'll get those neat, uniform stitches every time.
The connection between 14 count Aida and a size 24 needle is one of those fundamental pairings in cross-stitch. When you get it right, all the technical fuss disappears, and you can just focus on the joy of creating.
The Perfect Next Step for Advancing Stitchers
Because of this unique blend of ease and detail, 14 count Aida is the ideal choice when you're ready to level up your skills. It offers a clear grid that’s easy to count, making it a fantastic middle ground between lower-count fabrics (less detail) and finer, higher-count fabrics (more eye strain). This is exactly why it’s so often recommended when you're moving beyond simple kits to more complex patterns. You can find more great tips for selecting the best aida cloth on dragoneyecreative.com.
When you feel ready to tackle a project with lots of color changes, subtle shading, or fine backstitching, this fabric gives you the perfect canvas. It supports a much higher level of detail without the intimidating leap to something like an 18 or 22 count. Think of it as a bridge, helping you build confidence and take on bigger, more exciting projects without the struggle.
Calculating Your Project Size with Confidence
One of the best feelings in cross-stitch is seeing your finished piece come to life, but that vision starts with a little bit of planning. Before you even thread your needle, figuring out the final dimensions of your project is key. It ensures you buy enough 14 ct aida cloth and have a game plan for framing later on.
Luckily, you don't need to be a math whiz to get it right. The calculation is surprisingly simple and takes all the guesswork out of the equation.
The Basic Formula for 14 Count Aida
To figure out the size of your stitched area, you just need two pieces of information: the total stitch count from your pattern (both width and height) and your fabric count. Since we're working with 14 ct aida cloth, our magic number is 14.
Here’s the simple formula you'll use:
Total Stitch Count ÷ 14 = Finished Design Size in Inches
You’ll do this once for the width and once for the height. Let's walk through a quick example to see how easy it is.
- Example Pattern: A sweet little design that's 70 stitches wide and 98 stitches high.
- Width Calculation: 70 stitches ÷ 14 = 5 inches
- Height Calculation: 98 stitches ÷ 14 = 7 inches
And there you have it! Your finished piece will measure a neat 5x7 inches, which slides perfectly into a standard photo frame. If you're tackling a massive project and want to skip the mental math, a good cross-stitch size calculator can do the heavy lifting for you.
Why You Must Add a Border
Once you have your design dimensions, don't cut your fabric just yet! There's one more crucial step: adding a border. This empty fabric margin around your stitching isn't just for looks; it’s absolutely essential for hooping, handling, and framing your work properly.
As a rule of thumb, always add at least 2 to 3 inches of extra fabric on all four sides. For our 5x7 inch design, that means your total fabric piece should be at least 9x11 inches (5" design + 2" border + 2" border by 7" design + 2" border + 2" border).
Think of this extra fabric as your safety net. It gives you room to grip the project in a hoop or Q-snap without crushing your stitches and prevents the edges from fraying dangerously close to your hard work.
This infographic shows the core tools you'll be working with for a typical 14 count Aida project.
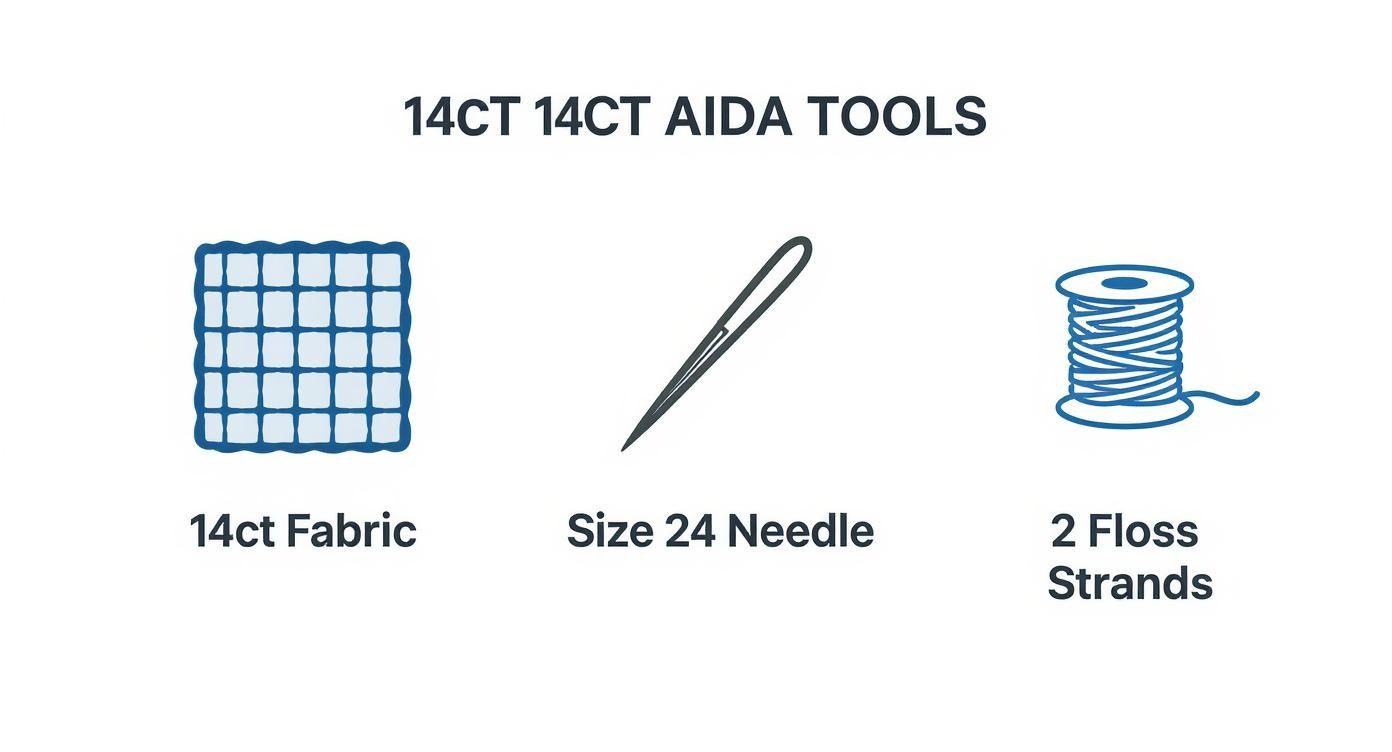
It’s a great visual summary of how the right fabric, needle, and floss come together to create a beautiful result.
How Fabric Count Changes Everything
To really understand why 14 ct aida cloth is the go-to for so many stitchers, it’s helpful to see how much the fabric count can change a project's outcome. Using the exact same pattern on a different count fabric can turn a small, giftable piece into a huge statement for your wall.
Let’s see what happens to a 140-stitch by 70-stitch pattern on various Aida counts.
How Aida Count Affects Finished Size (140x70 Stitch Example)
| Aida Count | Finished Size (Inches) | Level of Detail |
|---|---|---|
| 11 Count | 12.7" x 6.4" | Lower (Larger, more visible stitches) |
| 14 Count | 10" x 5" | Balanced (Clear detail, easy to see) |
| 18 Count | 7.8" x 3.9" | Higher (Smaller, finer stitches) |
As the table shows, a higher fabric count shrinks the finished design, packing the same number of stitches into a smaller space.
This is exactly why so many people love 14 count aida—it hits that sweet spot. You get lovely, clear detail without making the stitches so tiny they become a strain on the eyes, making it the perfect foundation for a well-planned and enjoyable project.
How to Prepare Your Fabric for Stitching

A great cross-stitch piece starts well before you even thread your needle. Taking just a few minutes to prep your 14 ct aida cloth can make all the difference, setting you up for a smooth process and a project you'll be proud of. Think of it as preparing the perfect canvas for your masterpiece.
First things first: let's get rid of those stubborn packaging creases. A quick pass with an iron on a medium or "cotton" setting is usually all it takes. Just be sure to iron on a clean, flat surface so you don't accidentally transfer any stray colors or textures onto your fresh fabric.
Securing the Edges to Prevent Fraying
Once your fabric is nice and smooth, the next job is to tackle the edges. Aida has a tendency to unravel as you work with it, a frustrating process stitchers call fraying. If you don't stop it, you could lose valuable fabric space or, even worse, have the fraying creep into your stitched area.
Luckily, there are several tried-and-true methods to keep your edges neat:
- Masking Tape: This is my go-to for smaller projects. Just fold a strip of painter's or masking tape over the edge. It's fast, cheap, and comes right off when you're done.
- Serging or Zigzag Stitch: If you have a sewing machine handy, running a quick zigzag stitch around the border is a fantastic, long-term solution. It’s perfect for those bigger projects that will be in your hands for months.
- Fray Check Liquid: You can find this clear sealant at most craft stores. A little dab along the edge creates a firm, permanent barrier that stops threads from ever coming loose.
- Whip Stitch: Don't have any of the above? No problem. You can always secure the edges with a simple hand-sewn whip stitch, looping thread over the raw edge. It takes a bit more time but works just as well.
The right method really just comes down to what you have on hand and how long you expect to be working on the piece.
"Gridding is the single most effective way to prevent counting errors. It may seem like extra work upfront, but it saves countless hours of frustration and frogging (unpicking stitches) down the line."
The Power of Gridding Your Fabric
If you're tackling a large or particularly complex pattern, gridding is an absolute lifesaver. This is the process of creating a temporary 10x10 stitch grid on your fabric that mirrors the grid on your chart. It makes finding your place a breeze and dramatically cuts down on counting mistakes.
There are a couple of ways to do it. You can draw the lines directly onto your 14 ct aida cloth with a special washable fabric marker. Another popular method is to use a single strand of a bright, contrasting thread to sew long running stitches that mark out the grid lines.
Both options are designed to be removed once you've finished stitching, just before you wash your project. It’s an extra step, for sure, but trust me, it’s worth it for the peace of mind.
Getting Your Tension Just Right: Hoops, Snaps, and Frames
 embroidery hoop, showing the taut fabric ready for stitching.">
If you want your stitches on 14 ct aida cloth to look perfectly even and professional, the trick is all about tension. I like to think of the fabric in my hoop as a tiny, well-tuned drum. If it's saggy, your stitches will look sloppy and inconsistent. But when it's pulled perfectly taut, every single stitch has a chance to shine.
This is exactly why we use embroidery hoops, Q-snaps, or scroll frames. These tools aren't just for holding your project; their real job is to maintain consistent, drum-tight tension across your stitching area. Without that stability, you’ll fight puckered fabric and end up with a finished piece that just won't lay flat, no matter how much you iron it.
Finding the Right Tool for the Job
What you use to hold your fabric often comes down to the size of your project and what feels most comfortable in your hands. Each tool has its pros and cons, and finding your favorite can make stitching a lot more fun. If you're building your collection, it's worth exploring the wide world of essential sewing tools and materials out there.
Here’s a quick rundown of the go-to options:
- Embroidery Hoops: The classic choice. Wooden or plastic hoops are perfect for small to medium projects and are incredibly easy to use, making them a great starting point for anyone new to 14 ct aida cloth.
- Q-Snaps: These are square or rectangular frames made of PVC pipes that snap together. They're fantastic for providing even tension across a larger area and are less likely to leave deep creases in your fabric.
- Scroll Frames: For the really big, heirloom-level projects, a scroll frame is a game-changer. It holds the entire piece of fabric, letting you scroll from one section to the next while keeping completed areas rolled up, clean, and wrinkle-free.
No matter which one you land on, the mission is the same: create a firm, smooth surface for your needle to work its magic. For a deeper dive into all the gadgets available, our guide on accessories for cross-stitch is a great resource.
A word of caution: You're aiming for taut, not stretched. If you pull the Aida so tight that it distorts the weave, your stitches will end up misshapen. And unfortunately, that’s a mistake that won't just wash out.
A Few Tricks for a Flawless Finish
Learning to hoop your fabric correctly is a skill in itself. The best way is to place your Aida over the inner ring, then gently press the outer ring down over it. Before tightening the screw, go around the edges and pull the fabric evenly until it's snug.
One of my favorite tricks is to bind the inner ring of my hoop with cotton twill tape. This gives the hoop a better grip and helps prevent those dreaded "hoop burn" marks—the stubborn creases that can be a real pain to iron out later.
And if you find yourself stitching close to the edge of your hoop, just tuck a small piece of felt or scrap fabric between the hoop and your finished stitches. This simple buffer protects all your hard work from being crushed. When you're all done, a gentle hand wash and a good press with an iron (face down on a fluffy towel!) will make your piece look absolutely perfect and ready for its frame.
Got Questions About 14-Count Aida?
As you stitch more, you start to run into the same little questions. Let's dig into some of the most common things people wonder about when working with 14-count Aida cloth. Nailing these details is what takes a project from looking homemade to looking truly professional.
How Many Strands of Floss Should I Use?
This is the big one! And thankfully, the answer is pretty straightforward. For your standard cross-stitches on 14-count Aida, two strands of embroidery floss is the magic number.
Using two strands gives you that perfect, lush coverage where the stitches look full and the fabric underneath disappears. It's the sweet spot—enough floss to look solid, but not so much that you're fighting to pull your needle through the holes.
Now, if you're doing fine details like backstitching or outlining letters, drop down to a single strand. This will give you those crisp, clean lines you're looking for. Some stitchers like to experiment with three strands for a super-dense look, but honestly, it can be a real struggle to work with and can even pucker the fabric.
My best advice? Always do a little test patch on a scrap of your Aida before you dive in. Stitch a few X's with two strands and a few with three. Seeing it with your own eyes, with your own floss, is the only way to know for sure what look you're going for.
Can I Wash My Finished Cross-Stitch?
You sure can! Most 14-count Aida cloth is 100% cotton, so a gentle hand wash is perfectly safe. It’s the best way to get rid of any oils from your hands, hoop marks, or creases before you frame your piece.
Here’s my go-to method for a safe and easy wash:
- Fill a clean sink or basin with lukewarm water and just a couple of drops of a gentle, color-safe soap (mild dish soap works great).
- Let your project soak for about 15 minutes, giving it a gentle swish now and then. Whatever you do, don't scrub or wring it out!
- Rinse it really well under cool, running water until you can't see any more suds.
- To get the excess water out, lay the piece flat on a thick, clean towel. Roll up the towel with your stitching inside and give it a good press.
- Finally, unroll it and let it air dry completely on a flat surface.
Is 14-Count Aida Really the Best for Beginners?
Yes, one hundred percent. If you ask any seasoned stitcher what fabric a beginner should start with, they'll almost always say 14-count Aida. It all comes down to its perfect balance of size and detail.
The holes in the grid are big enough to see easily, which makes counting and poking the needle through feel natural, not frustrating. It helps new stitchers find their rhythm and build confidence fast. There's a reason nearly every beginner's cross-stitch kit on the market comes with 14-count Aida—it sets you up for a fun and rewarding first project.
How Do I Iron My Piece Without Squashing the Stitches?
The trick to ironing a finished piece is all about protecting the texture you worked so hard to create. You want to smooth out the fabric, not flatten your beautiful stitches into pancakes.
Here's how: while your piece is still a little damp from washing, place it face-down on a thick, fluffy towel. That soft towel gives your stitches a cushion to sink into as you press from the back.
Set your iron to a medium heat (the 'cotton' setting is usually perfect) and gently press the back of the fabric. I'd recommend avoiding steam, as the intense heat and moisture can sometimes make darker floss colors bleed. This little technique makes all the difference, leaving your Aida crisp and your stitches looking plump and perfect.
Ready to turn a favorite photo into a stitched keepsake? At Cross Stitched, we create custom, all-in-one kits with everything you need to start your next masterpiece. Upload your photo and create your personalized cross-stitch kit today!


