
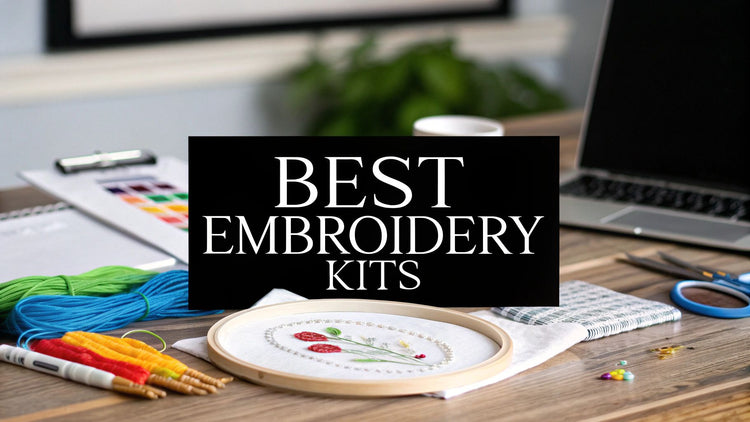
The best embroidery kits for beginners bundle everything you need into one neat package. They typically come with a simple, pre-printed design, quality materials like cotton thread and fabric, and instructions that are actually easy to follow. A great kit takes all the guesswork out of the equation, letting you dive right into the relaxing rhythm of stitching.
Your Embroidery Journey Starts Here
Jumping into a new craft should be exciting, but staring at a wall of supplies can feel a little overwhelming. This guide is here to cut through the noise and make sure your first project is a creative win, not a frustrating puzzle. Our goal is to get you feeling confident and ready to go before you even thread your first needle.
The appeal of embroidery is timeless. It’s a mindful, rewarding art that lets you slow down and create something beautiful with your own two hands. And you’re not alone in this—the global embroidery industry is expected to be worth an incredible $5.71 billion by 2030. People everywhere are discovering that needlecraft is the perfect creative and therapeutic outlet.
 embroidery hoop, colorful threads, and scissors, with instructional text.">
What to Look for in a Beginner Kit
Choosing the right kit is the single most important step for a fun and successful first go. Don't worry about getting bogged down in technical jargon; just focus on a few key things that make a world of difference for newcomers. It’s like baking for the first time—having all the right ingredients pre-measured makes the whole process so much smoother. The joy of creating isn't limited to one craft, either; you might also love a fun project like this DIY Dala Horse kit.
To help you choose wisely, we've put together a quick guide on what makes a beginner kit truly great.
Quick Guide to Choosing Your First Embroidery Kit
This table breaks down the essentials of a high-quality beginner embroidery kit. Think of it as your cheat sheet for spotting a winner.
| Feature | What to Look For | Why It Matters for Beginners |
|---|---|---|
| Pattern | A simple, pre-printed design on the fabric. | This completely removes the tricky step of transferring a pattern, so you can start stitching right away. |
| Instructions | Clear, step-by-step guides with diagrams. | Visuals are everything when you're learning new stitches. Good instructions prevent confusion and build confidence. |
| Completeness | Includes fabric, hoop, all floss, needles, and a threader. | An all-in-one kit means no last-minute trips to the craft store. You'll have every single tool you need. |
| Materials | Quality cotton fabric and DMC (or similar) floss. | Good materials are easier to work with, prevent thread from fraying, and make your finished piece look polished and vibrant. |
Ultimately, a well-designed kit handles all the prep work, freeing you up to simply enjoy the process of bringing your creation to life.
What To Expect Inside Your First Kit
Opening your first embroidery kit is a special kind of magic. It’s a box brimming with creative promise, but if you’re new to the craft, it can also feel a little intimidating. Let’s pop the lid together and walk through everything inside, so you know exactly what you’re looking at from the very start.
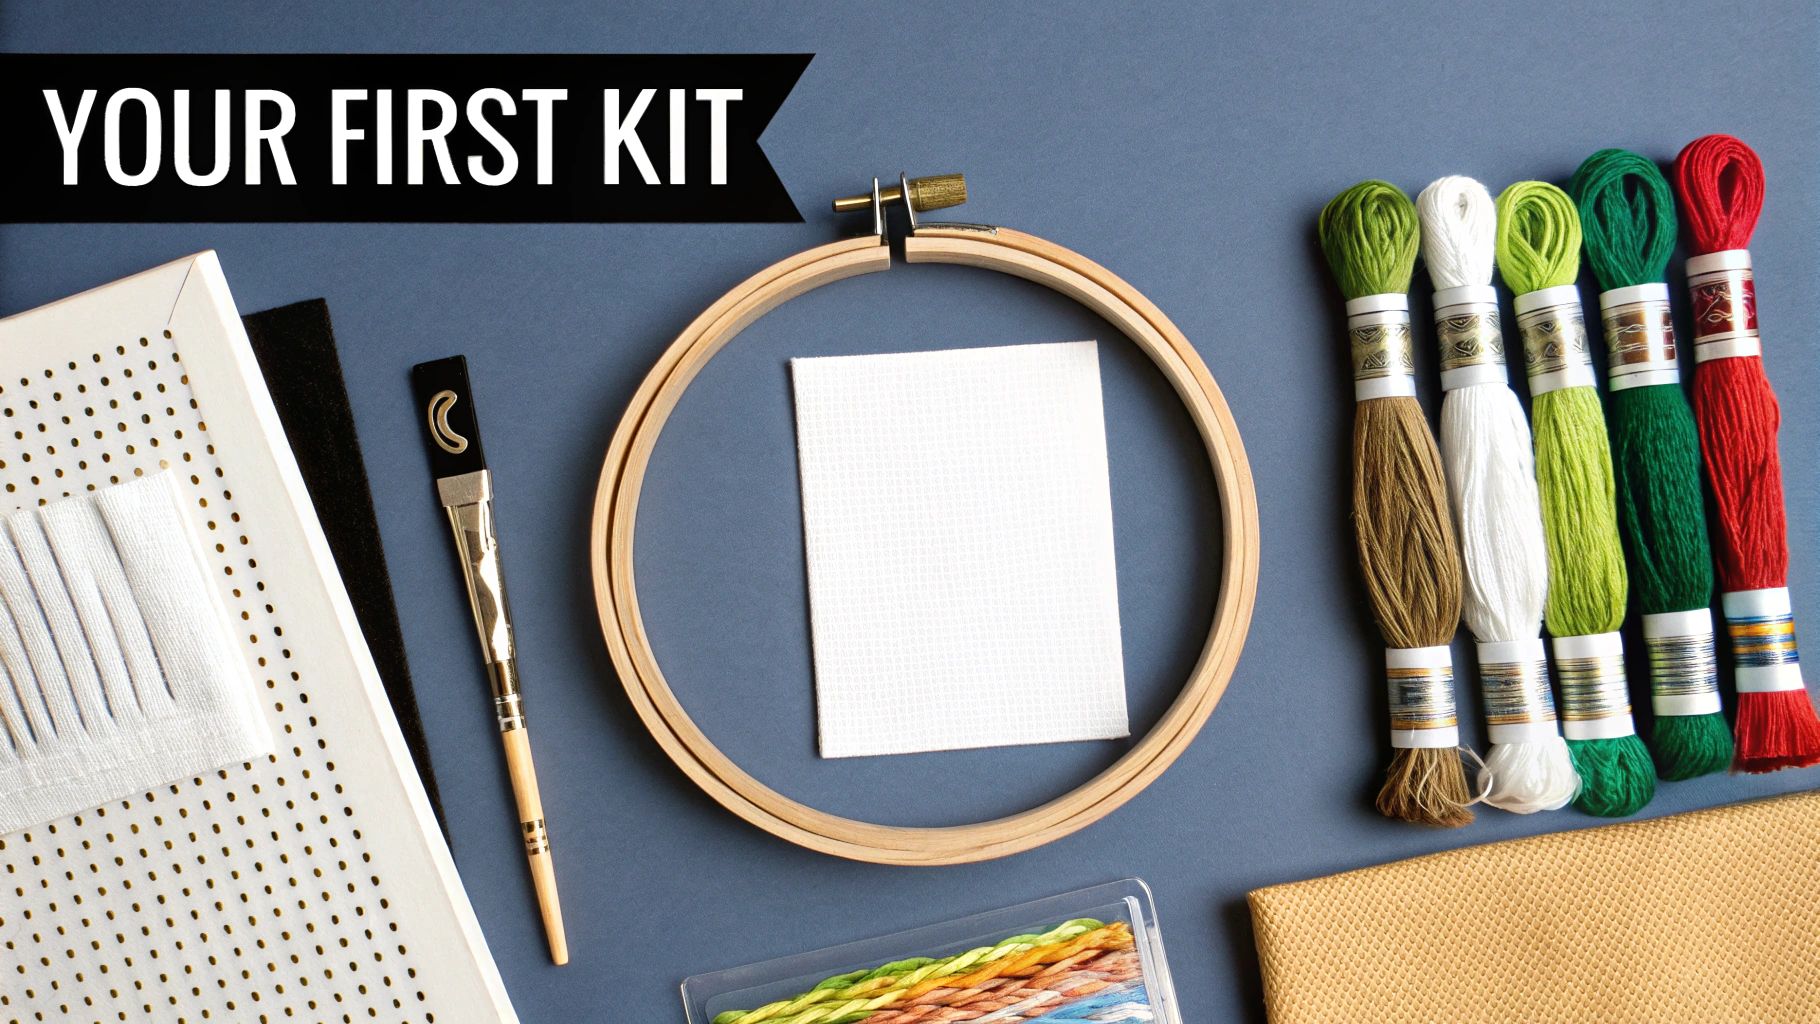
Think of it like getting a high-end meal kit. You have your canvas (the fabric), your paints (the floss), and the easel that holds it all together (the hoop). Let's take a closer look at each piece and why it’s so important for your stitching journey.
The Foundation: Fabric and Hoop
The first things you'll probably grab are the fabric and the embroidery hoop. The fabric itself is your canvas, usually a quality cotton or linen blend. These fabrics are chosen for their smooth, even weave, which is forgiving for newcomers and makes your stitches look fantastic.
The embroidery hoop, though, is your best friend when you're just starting out. It’s made of two rings that fit together, tightened by a small screw. Its one job is to pull your fabric tight—like the skin of a tiny drum. This tension is the secret to clean, uniform stitches. Without it, the fabric can bunch up and your work will look puckered.
This humble tool has become a symbol of the modern crafting revival. In fact, the market for embroidery hoop sets is booming, projected to hit $750 million globally by 2025. It’s all part of a huge return to handmade arts, driven by people looking for a way to unwind and create something personal.
The Colour: Embroidery Floss
Now for the fun part: the colourful bundles of embroidery floss. This is the special thread you’ll use to bring your design to life. The best beginner kits will include high-quality, six-strand cotton floss, very often from a trusted name like DMC.
If you look closely, you’ll see that a single length of floss is actually made of six individual strands twisted together. Your pattern will tell you exactly how many strands to use for different areas—maybe one or two for delicate details, and more for bold lines or filled-in shapes. Separating these strands is one of the first things you'll do before you start stitching.
Beginner Tip: A common headache is tangled thread. To sidestep this, only cut a piece of floss that’s about the length of your forearm—from your fingertips to your elbow. This shorter length is far less likely to tie itself in knots while you work.
Getting to know your floss makes a huge difference in your finished work. For a deeper dive, check out our guide on the different kinds of hand embroidery floss and how to handle them.
The Tools: Needles, Patterns, and Helpful Extras
Of course, you can't stitch without needles. Your kit will come with at least one embroidery needle. You'll notice it has a larger eye than a regular sewing needle, which is designed to make threading the thicker floss much easier. It also has a sharp point to pierce the fabric cleanly.
To help with that threading process, most kits throw in a needle threader. It's a simple little gadget with a tiny wire loop that pulls the floss through the needle’s eye in seconds. It’s a real lifesaver.
Finally, you have your roadmap: the pattern. In a good beginner's kit, the design is often pre-printed right onto the fabric, taking all the guesswork out of where to stitch. You'll also get a paper guide that acts as your key, showing you:
- Which stitch type goes where.
- Which floss colour to use for each section.
- How many strands of floss you need for that particular stitch.
This printed map lets you focus on the satisfying rhythm of stitching instead of worrying about what goes where. With these core components, your first kit gives you absolutely everything you need to turn a blank piece of cloth into your own work of art.
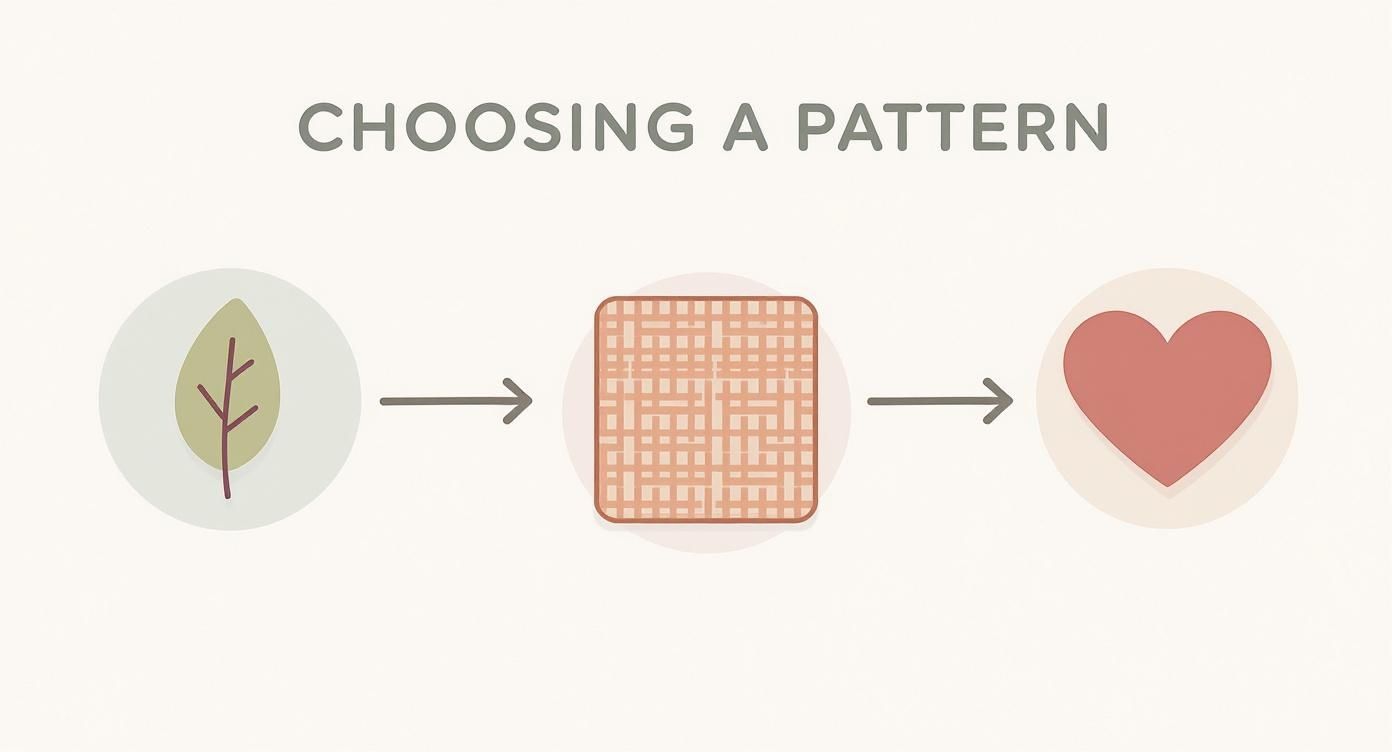
Choosing a Pattern You'll Actually Finish (and Love)
The pattern you choose is, without a doubt, the single most important decision you'll make. It’s the heart of your project, and getting it right is what separates a joyful first experience from a frustrating one that gets shoved in a drawer.
Think of it like learning to cook. You wouldn't tackle a five-course French dinner on your first go. You’d start with something simple and satisfying—a recipe that teaches you the basics and rewards you with a delicious meal. It's the same idea here. The goal is to finish something you're genuinely proud of, because that feeling is what will get you excited to start the next one.
The best embroidery kits for beginners are designed with this very principle in mind. They offer beautiful designs that are specifically created to teach you the ropes without overwhelming you.
Why Pre-Printed Patterns Are a Beginner's Best Friend
For your first few projects, do yourself a huge favor: pick a kit with a pre-printed pattern. I can't stress this enough. It means the design is already printed right there on the fabric in washable ink. All you have to do is stitch over the lines.
This little feature completely removes what is often the trickiest hurdle for new stitchers: transferring the pattern. Without it, you’d be messing around with transfer paper or light boxes, trying to trace a design accurately onto your fabric. A pre-printed pattern lets you skip that headache and get right to the fun part.
By starting with a pre-printed design, you're not bogged down wondering, "Am I even starting in the right place?" Instead, your focus shifts to the magic of watching an image appear. It's an instant confidence boost that keeps you going.
With the lines already there as your guide, you can relax and focus on getting the feel for your stitches and seeing your art come to life, one thread at a time.
How to Spot a Beginner-Friendly Design
So, what makes a pattern "beginner-friendly"? It really comes down to a few key things. When you're looking at kits, keep an eye out for these tell-tale signs:
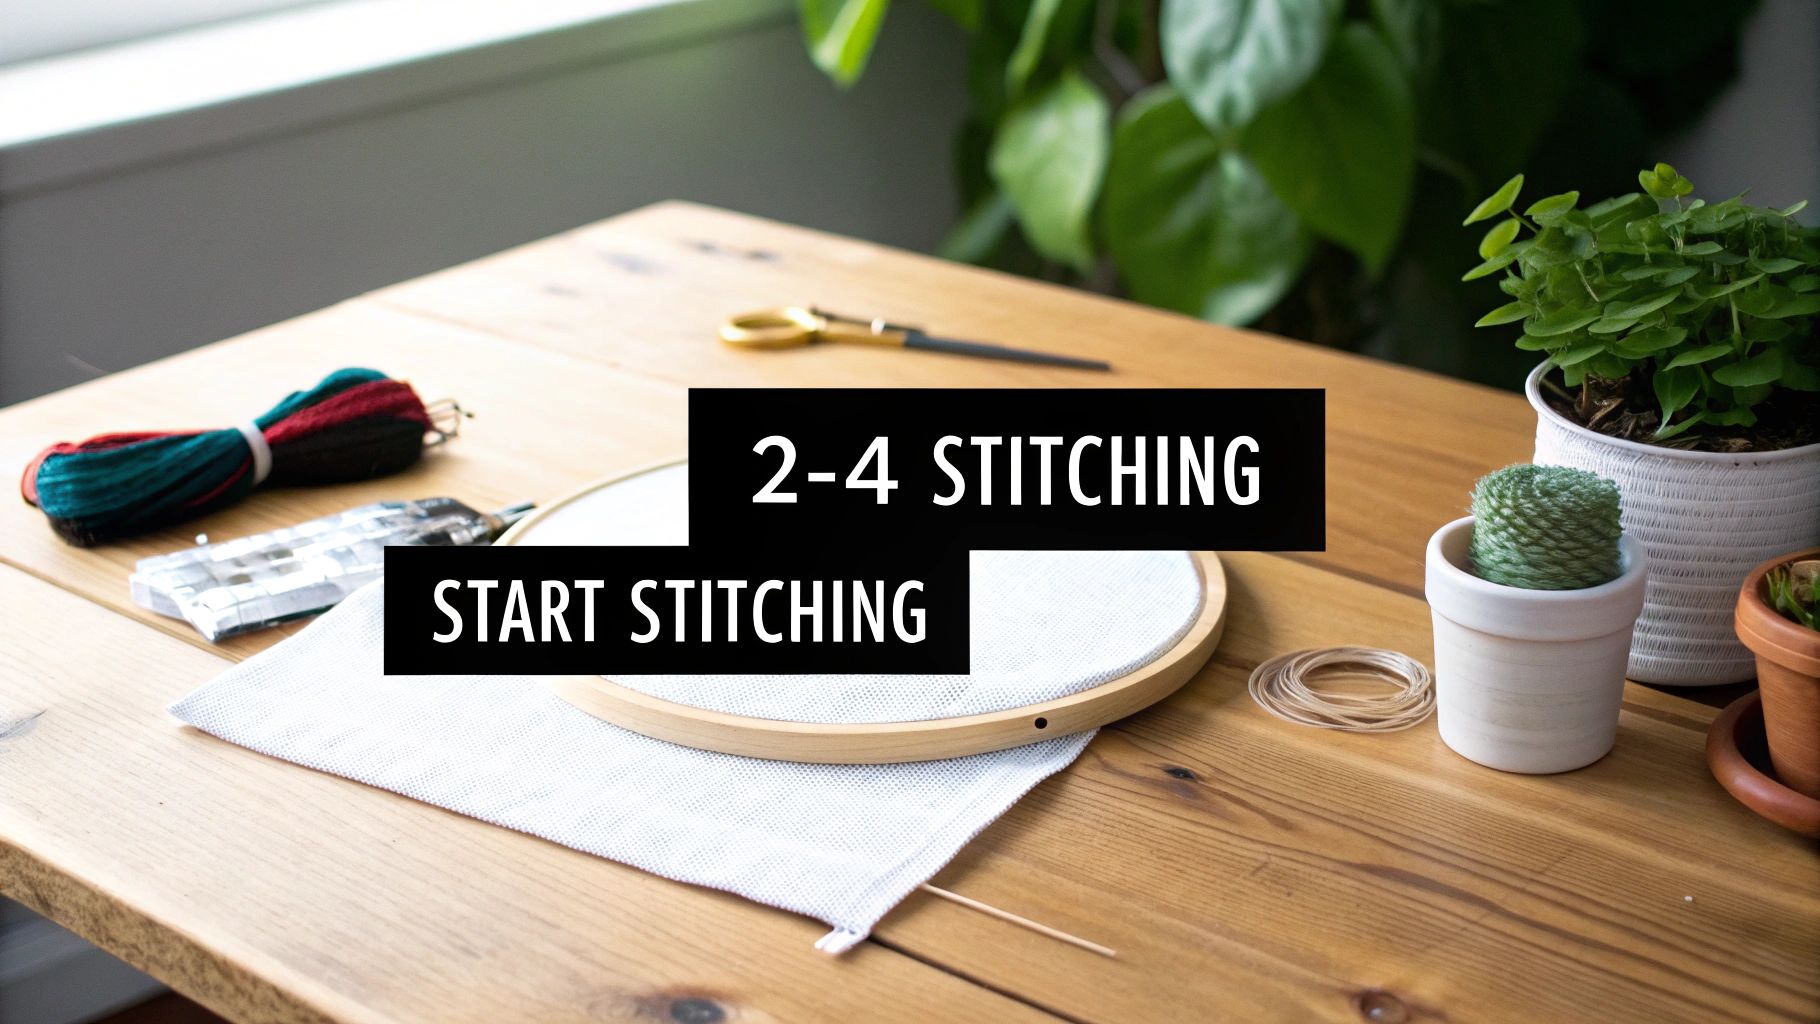
- A Small Stitch Menu: A great starter pattern won't throw the whole stitch dictionary at you. It will focus on just 2-4 foundational stitches, like the backstitch-guide">back stitch for outlines and the satin stitch for filling in shapes. This lets you really master those core skills instead of getting confused by a dozen different techniques.
- A Simple Color Palette: Fewer color changes mean more stitching and less stopping to re-thread your needle. It makes the whole process smoother and more meditative.
- Bold, Open Shapes: Look for patterns with clear, defined areas that aren't too tiny or fiddly. Think modern florals, simple quotes, or cool geometric designs. They’re popular for a reason—their clean lines are perfect for practicing your stitch consistency.
If you want a better feel for what to look for, exploring some free embroidery patterns for beginners is a great way to train your eye. You’ll quickly start to recognize what an achievable first project looks like.
Finding That Perfect First Pattern
The best pattern in the world won't get finished if you don't love it. You're going to be spending a lot of quality time with this design, so make sure it's something that genuinely makes you smile every time you see it.
To help you get a sense of what's out there, I've put together a simple guide to pattern difficulty. Think of it as a roadmap for your first few projects.
Beginner Pattern Difficulty Guide
| Difficulty Level | Key Characteristics | Example Stitch Types | Best For |
|---|---|---|---|
| Very Easy | Simple outlines, minimal color fills, 1-2 stitch types. | Back Stitch, Running Stitch. | Mastering basic line work and getting comfortable holding the needle and hoop. |
| Easy | Bold shapes, 3-5 colors, introduces a filler stitch. | Back Stitch, Satin Stitch, French Knots. | Building confidence with both outlining and filling in color, creating a complete piece. |
| Confident Beginner | More detailed elements, some color blending, 4-6 stitch types. | Stem Stitch, Lazy Daisy, Short & Long Stitch. | Those who have completed one project and are ready to learn more decorative stitches. |
Ultimately, choosing a pattern is your first real creative step. By making sure it's pre-printed, simple, and something you genuinely adore, you're setting yourself up for a wonderful experience that will have you hooked on stitching for years to come.
Learning Your First Foundational Stitches
You've picked your pattern, your tools are laid out, and now for the best part—bringing it all to life. This is that magic moment where a piece of fabric and some colourful thread start to become art. We’re going to walk through this together, step by step, from getting your fabric in the hoop to making those very first stitches.
Forget about trying to decipher confusing diagrams or technical jargon. Think of me as a friend sitting right beside you, showing you the ropes. By the time you're done here, you'll have a handle on a few core stitches that form the backbone of nearly every embroidery design out there.
The goal isn't just to copy the movements; it's to find the rhythm. Before you know it, you'll be creating smooth lines and filling in blocks of colour with a confidence that feels fantastic.
Setting Up Your Workspace
Before a single stitch is made, a good setup is everything. Start by loosening the screw on your embroidery hoop to separate the two rings. Place your fabric over the inner ring, taking a moment to make sure your design is nicely centered.
Now, press the outer ring down over the fabric and the inner ring. You should feel a satisfying little snap as it settles into place. As you tighten the screw, gently pull the edges of the fabric all around. What you're aiming for is a firm, taut surface, almost like a little drum. This tension is the secret to creating beautifully neat and even stitches.
As the picture shows, starting with a simple design you genuinely like is the perfect first step. It makes the whole learning experience so much more enjoyable.
Mastering Three Essential Stitches
The best beginner kits don’t overwhelm you. You don't need to know 50 different stitches to make something wonderful. Let's focus on mastering three of the most common and versatile ones you'll find in your kit.
1. The Back Stitch (For Outlines)
This is the absolute workhorse of embroidery. It’s perfect for creating clean, solid lines—think of it as drawing with thread.
- How to do it: Bring your needle up from the back of the fabric (point A). Make one straight stitch forward, pushing the needle back down (point B). Now, bring the needle up again one stitch-length ahead (point C), but instead of continuing forward, you go backwards, sinking the needle into the very same hole where your first stitch ended (point B).
- Why it's great: It forms a solid, continuous line that looks clean and is surprisingly strong.
2. The Satin Stitch (For Filling Color)
Need to fill in a shape like a leaf, a heart, or a letter? The satin stitch is your best friend. It creates a smooth, solid area of colour.
- How to do it: Come up at one edge of the shape you're filling. Make a single straight stitch directly across to the opposite edge and go back down. Come up again right next to where you started, and lay another stitch right beside the first one. The goal is to place them close together without overlapping.
- Why it's great: It delivers a beautiful, glossy finish that makes your colours pop. The trick is keeping the stitches parallel and the tension just right.
3. The French Knot (For Texture and Details)
Ah, the French knot. It has a bit of a reputation for being tricky, but I promise it's all about one fluid motion. These tiny knots are perfect for adding texture, like the center of a flower or little polka dots.
- How to do it: Bring the needle up through the fabric. With your other hand, hold the thread taut and wrap it around the needle twice. Keep that thread pulled tight as you insert the needle back into the fabric, very close to where you came up (but not in the exact same hole!). Gently pull the needle all the way through to the back, and a perfect little knot will pop into place on top.
Pro Tip for Perfect French Knots: The secret is tension. You have to keep the thread held taut as you push the needle back through the fabric. That single action is what stops it from becoming a tangled, loopy mess.
Once you get comfortable, you'll find there are dozens of other amazing stitches to explore. To get a sneak peek, you can learn more about the different types of embroidery stitches and see what's possible.
Keeping Your Work Tidy
A couple of good habits will make a huge difference in how your final piece looks. First, try to keep the back of your work as neat as you can. This means trimming long thread tails and avoiding the temptation to drag your thread across large empty areas on the back, as it can sometimes show through to the front.
Second, pay close attention to your thread tension. You want your stitches to lie flat and smooth on the fabric—not so tight that they cause the fabric to pucker, and not so loose that they look saggy. You'll get a feel for it with a little practice. These small details are what elevate a project from a simple practice piece to a work of art you'll be excited to show off.
Turning Your Own Ideas Into Stitched Art
After you finish a kit or two, something magical happens. You start seeing the world in tiny squares and smooth threads. That's the creative spark catching fire. You’ll look at a stunning sunset, your dog's goofy face, or a favorite family photo and think, "I could stitch that."
This is when you evolve from following someone else’s map to drawing your own.
Moving past pre-made kits is a huge, exciting step. It’s your chance to take all those skills you’ve been practicing—like using a satin stitch to fill in areas with smooth color or a back stitch for crisp outlines—and pour them into something that is 100% you. It sounds way more intimidating than it actually is, especially with some amazing tools that make the whole process surprisingly simple.
These tools handle the trickiest part: turning your vision into a workable pattern. They can take a photo you love and transform it into a complete, color-by-numbers style chart, even telling you exactly which DMC thread colors you need. This is how you start creating art that truly means something.
From Photo To Pattern
Think about turning a cherished photo—from a wedding, a graduation, or just a random silly moment—into a piece of embroidered art that will last a lifetime. Getting there is easier than you might imagine. There are websites and software that can take an image you upload and instantly convert it into a detailed pattern.
For example, a tool like Pic2Pat gives you a quick glimpse of how this works.
This screenshot shows just how straightforward it is. You upload your picture, pick a size, choose how many colors you want to work with, and poof—you get a preview of what it will look like stitched. This technology does all the heavy lifting, leaving you to enjoy the fun part: the actual stitching.
Suddenly, a whole world of personalized projects opens up. You're no longer limited by what you can find in a craft store. Your own life becomes your pattern book.
- Create Unforgettable Gifts: A hand-stitched portrait of a beloved pet is a gift that will be treasured forever.
- Commemorate Milestones: Stitch the coordinates of where you met your partner or the date of a life-changing event.
- Design Unique Home Decor: Why buy mass-produced art when you can create a piece that perfectly matches your style?
This is where embroidery stops being just a craft and becomes a true form of self-expression. You’re not just making something beautiful; you’re telling a story with a needle and thread, pouring meaning into every single stitch.
Finding Your Unique Style
Once you start designing your own pieces, you’ll naturally begin to develop your own artistic voice. You might discover you have a knack for creating detailed, photorealistic portraits. Or maybe you find more joy in abstract, stylized designs. There are no rules here, and that's the most thrilling part.
For more structured and unique patterns, especially if you're leaning into the cross-stitch look, exploring tools like AI pixel art generators can be a fantastic source of inspiration.
This creative freedom is your playground. Experiment with different elements to make your work stand out.
Ways to Personalize Your Projects:
- Play with Color Palettes: Don't feel tied to the recommended colors. Swap them out for a palette that screams you—maybe you love soft pastels, or perhaps a moody, monochrome look is more your vibe.
- Combine Different Stitches: Mix things up to add texture and depth. You could fill a flower petal with a smooth satin stitch but outline it with a chunkier chain stitch for some dramatic contrast.
- Add Embellishments: Who says you have to stick to just thread? Don't be afraid to incorporate beads, sequins, or even metallic threads to add a little sparkle and make certain details pop.
The best part about making your own designs is that perfection is never the goal. The little quirks, the creative choices, the happy accidents—that’s what gives your work its soul. Every project becomes a reflection of your artistic journey and a tangible piece of your own creativity.
Common Questions from New Stitchers
As you start your stitching journey, you're bound to have some questions. Everyone does! Think of this as a chat with a seasoned stitcher, ready to clear up those common little hurdles before they turn into big frustrations. We want you to enjoy every moment, so let's get these sorted.
Embroidery is a craft you learn one stitch at a time, and every question is part of the process. From the classic "What's the difference, anyway?" to "Oops, how do I fix that?", we've got you covered.
What’s the Difference Between Embroidery and Cross-Stitch?
This is easily the most common question, and it's a great place to start. The easiest way I can explain it is to think about painting versus creating a mosaic.
Embroidery is like painting with thread. You have a whole toolbox of different stitches—like the backstitch for outlines or the satin stitch for filling in shapes—that let you create fluid lines, interesting textures, and solid fields of color. Those beautiful kits with flowing floral designs or elegant script? That's almost always embroidery.
Cross-stitch, on the other hand, is much more like building a picture with tiny tiles, almost like pixel art. You almost exclusively use little X-shaped stitches on a special gridded fabric called Aida. Each "X" fills one square in the grid, and you build your image one "pixel" at a time. It’s a counted, structured technique that’s wonderfully methodical.
How Do I Fix a Mistake?
First off, take a deep breath. Mistakes happen—to everyone!—and they're almost always fixable. Your first projects are for practice, not perfection.
For a single stitch that’s gone rogue, you can often just use the tip of your needle to gently pick the thread out from the back of the fabric. Easy as that.
If you've stitched a whole section in the wrong color or place, it’s time for some minor "stitch surgery."
- Flip your hoop over to look at the back.
- Grab a pair of small, sharp scissors and carefully snip one or two of the stitches you want to remove.
- Use your needle or a pair of tweezers to gently pull the snipped threads out.
The key here is patience. Don't yank or tug, as that can warp your fabric. Remember, every stitcher has a "frog" in their toolkit (because you "rip-it, rip-it" out!).
Why Does My Thread Keep Tangling?
Ah, the dreaded thread knot. This is hands-down the biggest frustration for beginners. It can feel like your floss has a personal vendetta against you, but the cause is usually one of three simple things.
- Your thread is too long. A good rule of thumb? Never cut a piece of floss longer than the distance from your fingertips to your elbow. Anything longer is just inviting tangles to the party.
- You forgot to separate the strands. Most embroidery floss comes as a little bundle of six individual strands. Your pattern will likely ask for just one or two strands at a time. You have to gently separate them before you thread your needle.
- Your thread is getting twisted. As you stitch, the simple act of pulling the thread through the fabric causes it to twist on itself. The fix is wonderfully simple: just let your needle and thread dangle from the hoop every few stitches. It will magically untwist itself.
By keeping your thread short, separating your strands, and letting it untwist, you'll solve about 99% of your tangling problems. This one little habit makes for a much calmer, more enjoyable stitching session.
How Do I Finish and Display My Project?
This is the best part! You’ve spent hours turning a piece of blank fabric into something beautiful, and now you get to show it off. The easiest and most popular way to display your work is to frame it right in the hoop you used to make it.
Once that last stitch is in place, you're ready to frame it up.
- First, make sure your design is clean and perfectly centered in the hoop.
- Flip it over and trim the extra fabric on the back, leaving about a one-inch border around the edge.
- To keep the back neat and tidy, you have a couple of options. You can run a thin line of craft glue along the inside of the inner hoop and press the fabric down, or use a simple running stitch to gather the fabric toward the center.
And that's it! Find the perfect spot on your wall to hang it, step back, and admire what you've created. You took some thread and cloth and made art. That’s an amazing feeling.
Ready to turn your own memories into a work of art? With Cross Stitched, you can upload any photo and get a complete, custom kit with everything you need to create something truly personal. Start your next creative adventure today.


