
Ready to ditch the kits and start designing your own cross-stitch patterns? It’s a game-changer. For most stitchers, the best cross stitch pattern maker hits that sweet spot between powerful features and being easy to actually use. Think dedicated software like PCStitch for deep dives or a super accessible online tool like Pic2Pat for quick projects. These are the tools that let you turn your own photos and ideas into stitched art.
The Joy of Creating Your Own Cross Stitch Designs
There's something incredibly satisfying about taking a favorite photo—a candid shot of your family, your goofy pet, or that one perfect sunset from vacation—and turning it into a real, tangible piece of art. This is exactly where a cross-stitch pattern maker becomes your new best friend. It’s the bridge between the image in your head and a chart you can actually follow, one stitch at a time.
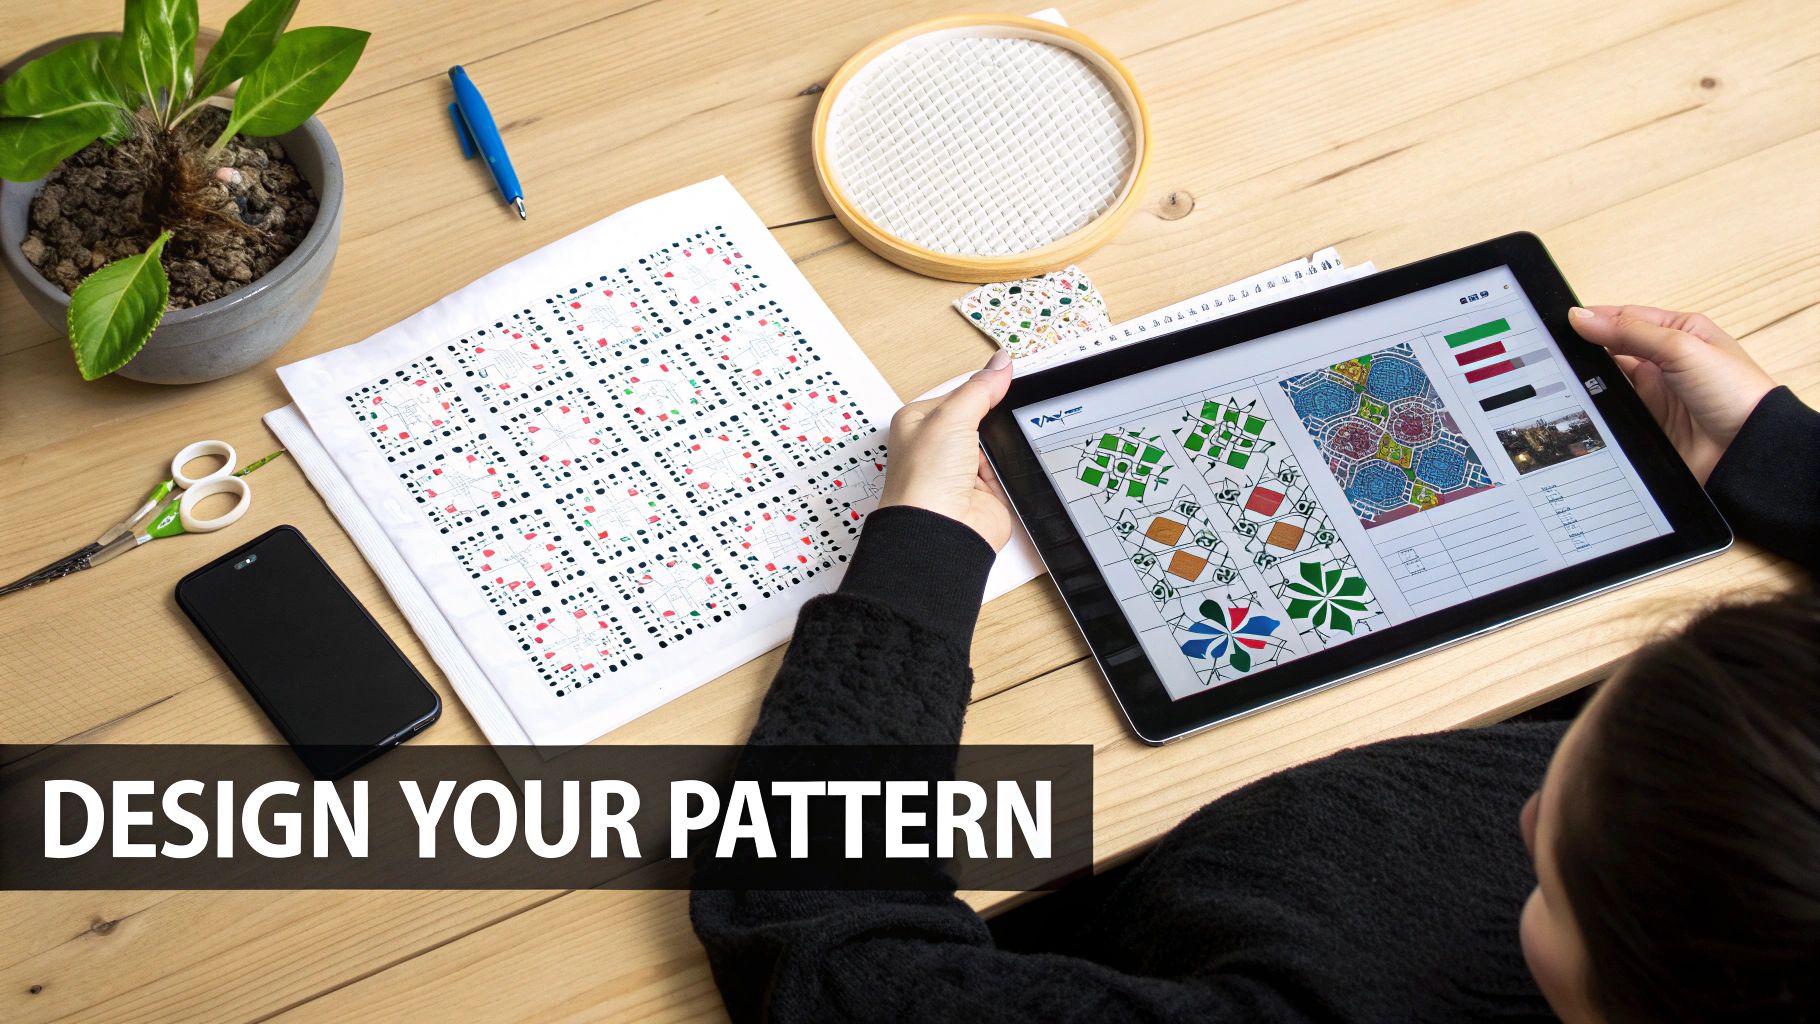
Honestly, the main reason people start making their own patterns is for that feeling of creating something deeply personal. You're not just following someone else's design; you're making something that is 100% uniquely yours. This guide will walk you through exactly how to get started.
Unlocking Your Creative Potential
Using a pattern generator is so much more than just clicking "convert" on a photo. It’s about taking control of your craft. You're the designer now. You get to make the calls on which colors to use, how big the final piece will be, and how much detail you want to include. It connects you to your project on a whole new level, right from the very beginning.
Think about what this really means for your stitching:
- Total Customization: You can turn literally any image into a pattern, whether it's a simple graphic or a detailed, photorealistic portrait.
- Perfectly Sized Projects: Need your design to fit a specific hoop, an odd-sized frame, or the front of a tote bag? You can set the exact dimensions from the get-go.
- Control Over Complexity: You get to decide the final color count. This is huge, as it directly controls how challenging the project will be and how much floss you'll need to buy.
The real magic of a pattern maker is that it lets you stitch what matters to you. It turns memories into heirlooms, one cross at a time, making every project a true labor of love.
My goal here is to help you understand all the features and possibilities out there so you feel totally confident creating your first custom chart. We'll dig into the essential software functions to help you pick the best cross stitch pattern maker for whatever you dream up.
What to Look for in a Pattern Maker
Picking the right cross stitch pattern maker can feel a bit like wading through a sea of options, but a few key things really separate the great tools from the ones that just cause headaches. It’s not just about uploading a photo and getting a grid back; it’s about creating a pattern that you’ll actually enjoy stitching and that will look amazing when you’re done.
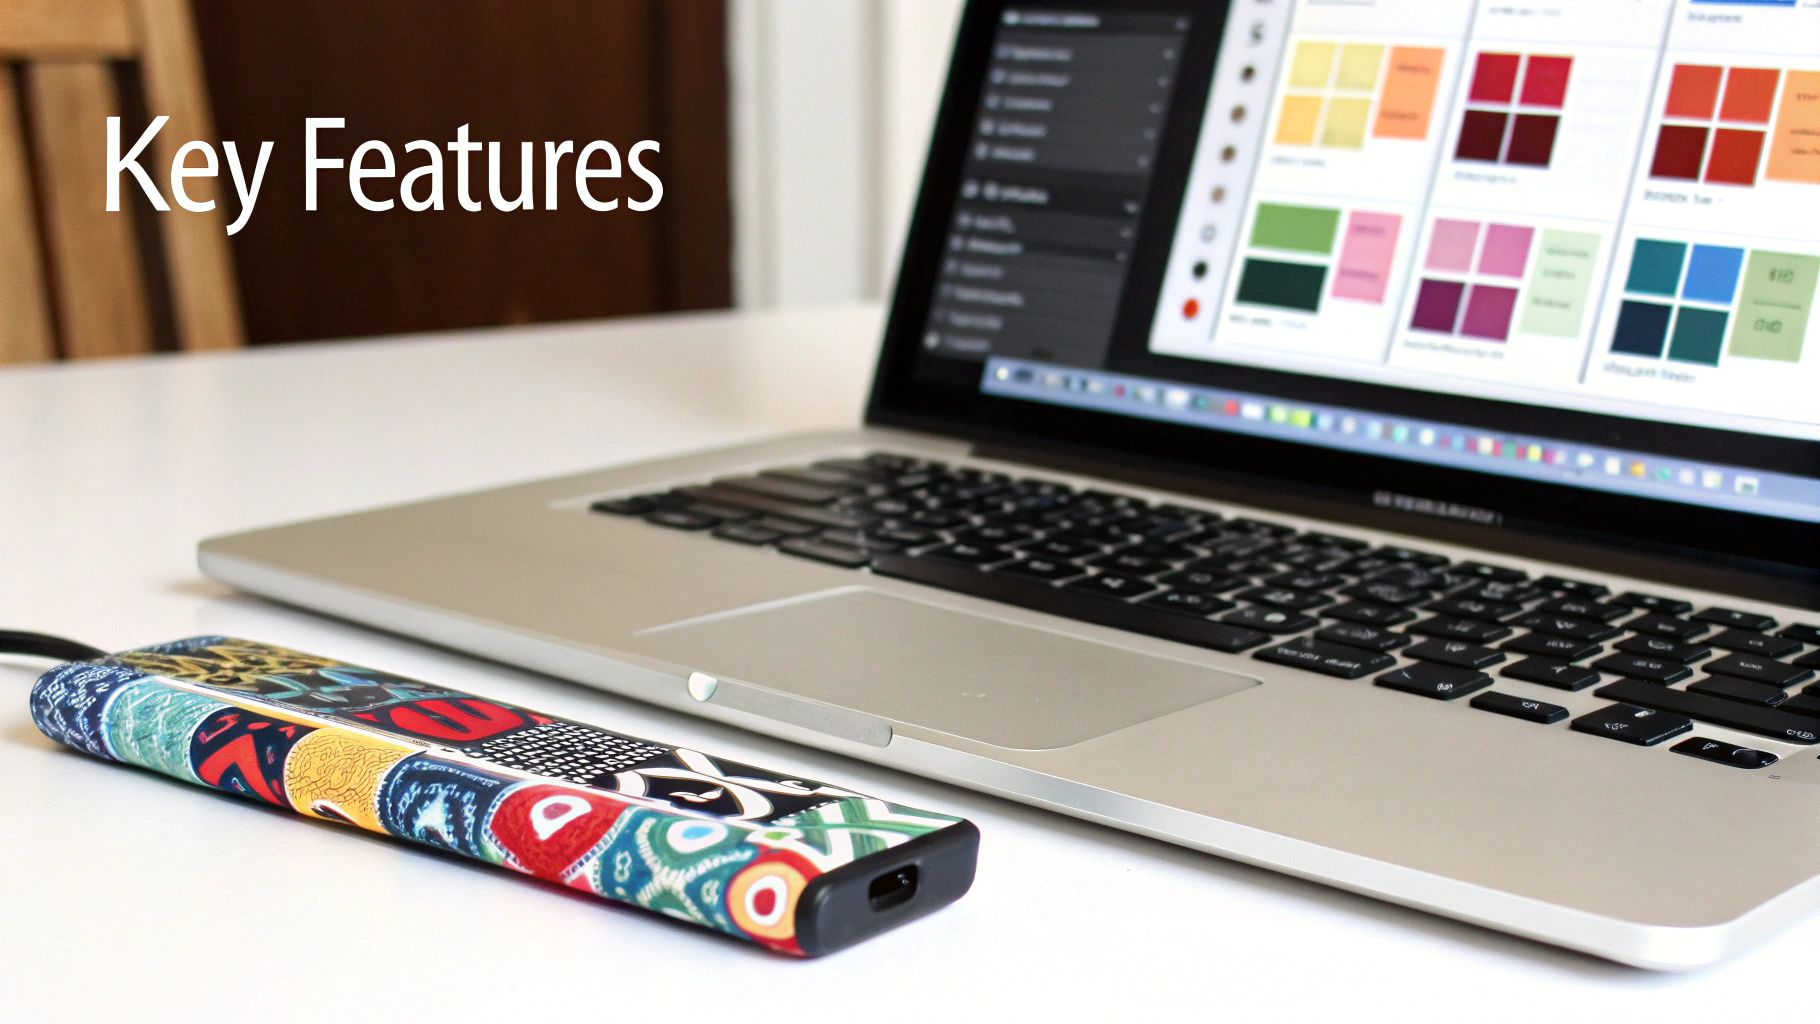
Honestly, the quality of your final pattern boils down to how well the software nails three critical tasks: converting the image, managing the thread palette, and exporting a clean chart. If a tool gets these right, you’re in for a smooth and rewarding creative ride.
High-Quality Image Conversion
At the very core of any pattern maker is its conversion algorithm—the "brain" that looks at your picture and translates it into a stitchable chart. A weak algorithm will give you a messy pattern littered with single, isolated stitches all over the place. We call this "confetti," and trust me, it’s a nightmare to stitch.
A genuinely good tool, on the other hand, is smarter than that. It simplifies colors intelligently, grouping similar shades to create clean blocks. It also uses techniques like dithering to blend colors and create smooth gradients without adding a ton of extra work for you. The goal is to capture the spirit of your image, not to create a pixel-for-pixel copy that’s impossible to stitch.
A top-tier pattern maker doesn't just replicate pixels; it interprets your image. It understands that a good cross stitch pattern is a balance between detail and stitchability, giving you a clean chart that honors your original photo.
A Robust and Flexible Thread Palette
After the software converts your image, it assigns a specific thread color to each symbol on the chart. This is where having a massive, flexible thread library is an absolute must.
Look for a program that comes pre-loaded with the major brands, especially DMC and Anchor, since they're the easiest to find in stores. The best tools not only have huge libraries but also keep them updated when new colors are released. But what’s even more important is the ability to customize that palette.
This control is a game-changer for a few reasons:
- Limit Your Colors: You can tell the software to use a maximum number of colors, which helps keep your project from becoming overwhelming (and expensive!).
- Use Your Stash: My favorite feature! You can restrict the program to only use thread colors you already have on hand. It's a fantastic way to use up leftover floss and save a trip to the store.
- Make Manual Swaps: If the software suggests a color that just doesn't look right to you, you should be able to swap it out for another one with a single click.
For anyone who works with multiple thread brands, having a reliable conversion resource is key. Our guide on DMC conversion charts can be a lifesaver for finding the right substitutes.
Clean Chart Export Options
So you’ve designed the perfect pattern on your screen... now what? If you can't get a usable chart out of the software, all that work was for nothing. The final step is exporting your design into a format you can actually stitch from, and clarity is everything.
A good pattern maker should let you export clean, high-resolution PDFs. These charts need to be crystal clear and easy to read, whether you print them out or view them on a tablet.
Here’s a quick rundown of what to look for in your export options:
- Clear Symbols: The choice between color blocks, black-and-white symbols, or a combination of both.
- Multi-Page Layouts: For big projects, the chart should be split intelligently across several pages with overlap guides so you don’t lose your place.
- An Accurate Floss Key: The export absolutely must include a detailed thread list with the symbol, brand name, color code, and stitch count for each color.
- Floss Usage Estimates: A good estimate of how many skeins of each color you'll need is incredibly helpful for planning your shopping trip.
This growing demand for high-quality digital tools makes sense. The needlecraft patterns market is exploding, and it's projected to grow from $34 billion in 2025 to over $63 billion by 2035, with much of that growth powered by digital innovation. The days of relying solely on paper patterns are long gone
Putting the Top Pattern Makers to the Test
All the theory in the world doesn't mean much until you see how these tools actually perform. To figure out which is the best cross stitch pattern maker, I decided to run a little experiment. I took three of the most popular options—PCStitch, WinStitch, and the online tool Pic2Pat—and gave them the exact same challenge.
The mission? Convert a complex landscape photo into a stitchable pattern. This picture had it all: tricky color gradients in the sky, tons of fine detail in the trees, and subtle shadows. It’s the kind of image that can really trip up an algorithm. This test will show us how each program handles that first conversion, what it’s like to clean up the mess, and what the final chart looks like.
The First Conversion: How Did They Do?
The moment of truth is always that initial conversion. You upload your photo, hold your breath, and see what the software spits out.
- PCStitch: True to its reputation, PCStitch gave me an incredibly detailed first draft. It did a fantastic job capturing the subtle color shifts in the clouds. The downside? A ton of "confetti"—those annoying, single-color stitches that are a headache to deal with.
- WinStitch: I liked that WinStitch let me set some ground rules before it converted the image, like limiting the number of colors. This resulted in a much cleaner pattern right from the start, with way less confetti. It did, however, sacrifice some of the finest details in the process.
- Pic2Pat: For a free, browser-based tool, Pic2Pat was surprisingly quick and effective. It produced a totally workable pattern in seconds. But its color matching wasn't as sophisticated; it tended to lump similar shades together, losing some of the nuance of the original photo.
Right away, you can see the fundamental trade-off: do you want more detail or a cleaner chart? PCStitch goes all-in on accuracy, while WinStitch tries to make the stitching experience easier from the get-go.
The Cleanup Phase: Where the Magic Happens
Let's be real: no automated conversion is ever going to be perfect. The real power of a pattern maker is in its editing tools, which let you step in and apply your own artistic touch.
This is where the dedicated software really shines. Both PCStitch and WinStitch have powerful editing suites that made it easy to tweak the pattern. I could change individual stitches, swap out colors across the entire design, and add backstitching without any trouble. Personally, I found the WinStitch user interface felt a bit more modern and intuitive, which meant I could get things done just a little bit faster.
Pic2Pat, on the other hand, is built for one job: converting images. It doesn't offer any of these manual editing tools. What you see is what you get, which is a major drawback if you're aiming for a polished, professional-looking piece. If you want to learn more about why this step is so crucial, our guide on using a cross stitch pattern maker from a photo gets into the nitty-gritty of editing.
The Grand Finale: The Printed Chart
After all that work, the final step is exporting the pattern. A good, clean PDF is what separates a fun project from a frustrating one.
Both PCStitch and WinStitch passed this test with flying colors. They both generated crisp, multi-page PDFs with easy-to-read symbols and complete floss lists. Each included a symbol key, a map showing how the pages fit together, and precise stitch counts. WinStitch gets a slight bonus point for its floss usage estimator—a super helpful feature that gives you an idea of how many skeins you’ll need for each color.
The real value in dedicated software is revealed during the editing and exporting stages. While a free tool can get you a basic pattern, paid programs provide the control needed to refine that pattern into a work of art.
This hands-on test proves there’s no single "best" tool for everyone; it's about finding the right one for your specific needs. If you crave maximum detail and don't mind putting in the cleanup time, PCStitch is a beast. If you'd rather have a more streamlined process with a user-friendly interface, WinStitch is a fantastic choice. And for those quick-and-dirty projects where "good enough" is all you need, Pic2Pat is an awesome free resource to have bookmarked.
The demand for these kinds of specialized tools just shows how much this craft is booming. The global embroidery market was valued at $3.3 billion in 2025 and is projected to hit $8.0 billion by 2034. It's clear that the interest in creating personalized textile art is only getting stronger, a trend highlighted in recent Dimension Market Research reports.
So, How Do You Actually Make Your First Custom Pattern?
Alright, you've got a handle on what makes a good pattern maker tick. Now for the exciting part—turning that idea in your head into a real, stitchable chart. It's important to know this isn't just a simple one-click process. Think of it as a creative partnership between you and the software, blending automation with your own artistic eye.
The path from a photo on your screen to a finished cross-stitch pattern really breaks down into three main phases. This visual gives you a quick overview of the typical workflow you'll find in most quality pattern makers.
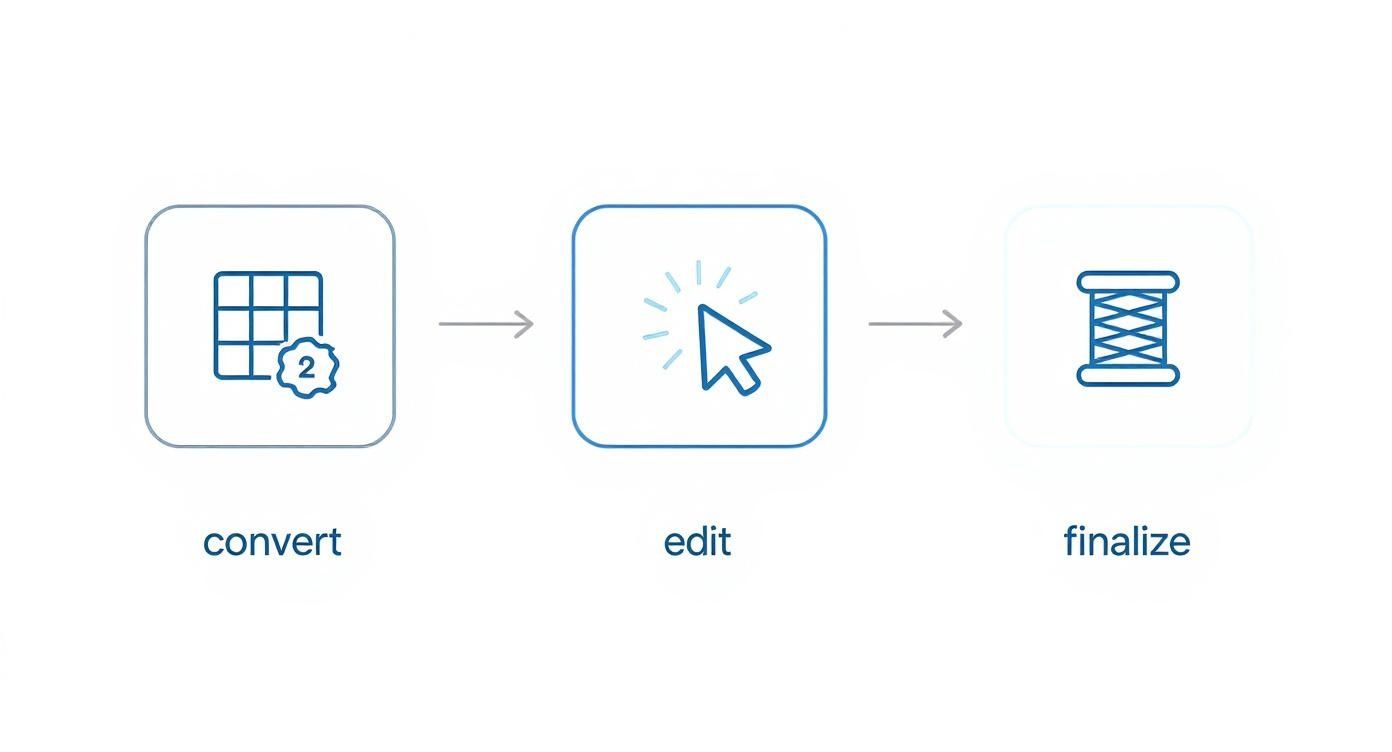
As you can see, that first conversion is really just the starting block. The magic happens in the editing and finalizing, where you get to shape the design into something truly special.
Picking and Prepping Your Image
Here’s a hard truth I learned early on: the quality of your finished pattern is almost entirely dependent on the quality of your starting image. A blurry, low-res photo will only ever produce a muddy, disappointing chart. So, before you even launch your pattern-making software, take a few minutes to get your image ready.
First, pick a photo with good, clear lighting and a well-defined subject. If you’re making a pattern of a person or pet, make sure their face is in sharp focus. For a landscape, look for pictures with distinct shapes and a strong color palette.
Once you’ve found the perfect shot, a few quick edits can make a world of difference:
- Crop it ruthlessly. Get rid of distracting backgrounds and anything that pulls focus from your main subject. Zero in on what matters most.
- Boost the contrast. Nudging the brightness and contrast up just a bit helps the software tell colors apart, which means you'll get a cleaner chart with less color-bleed.
- Simplify the background. If you're able, consider removing or blurring a busy background. This is a game-changer for portraits, making your subject truly stand out.
Think of image prep as laying a good foundation. Seriously, spending five minutes cropping and tweaking a photo can save you hours of frustrating cleanup work on the pattern itself. A clean input image is the secret to a clean output.
From Conversion to Hands-On Cleanup
With your polished image ready to go, it’s time to bring it into your chosen pattern maker. The software will prompt you for a few key details before it gets to work. You'll need to decide on the final size of your project (either in inches or stitch count) and your fabric choice (like 14-count or 18-count Aida). These two settings work together, dictating the pattern's overall dimensions and level of detail.
After the software does its initial conversion, you'll be left with a raw pattern. This is where your real work as a designer begins. No automated tool is perfect, and your first draft will almost certainly have some quirks. The most common headache is "confetti"—those annoying, stray single stitches of a random color that don't seem to belong anywhere.
Your next task is to go in and clean it up by hand. Methodically scan the pattern and replace those lonely confetti stitches with a nearby, more dominant color. Look for spots where the program used, say, four nearly identical shades of green for a single leaf. Merge those into just one or two colors. This not only simplifies your thread list but also creates a bolder, more cohesive look. This is also the perfect time to add backstitching to define sharp edges or add fine details the software couldn't capture on its own. For a much deeper look at this process, our guide on how to create your own cross stitch patterns covers more advanced editing techniques.
This manual editing is what elevates a computer-generated grid into a true piece of art. It’s your chance to make creative choices, streamline the stitching experience, and ensure the final product perfectly matches the vision you started with.
Advanced Techniques for Professional Results
Once you've got the hang of converting photos and making basic edits, it's time to dig into the techniques that separate a decent pattern from a truly professional one. These are the skills that let you add the subtlety and nuance that automated software just can't nail on its own. This is where you really take creative control.
One of the most powerful skills you can learn is manual color reduction. A program might spit out a sky with seven different shades of blue, but you know your stuff. You can see that you'll get a much smoother, less busy effect by carefully blending those down to just four. It's not about randomly deleting colors—it's about thoughtfully merging similar shades to create beautiful, natural gradients.
Mastering the Finer Details
Color is one thing, but the real magic happens when you start working with specialty stitches. The best cross stitch pattern maker will give you the tools for this. Automated conversions stick to full cross stitches, which is why you often get those blocky, pixelated-looking curves. This is where your designer's touch comes in.
By strategically placing fractional stitches, like quarter and three-quarter stitches, you can completely change the game:
- Create Smooth Curves: They're a lifesaver for rounding out the edges of letters, softening the curve on a flower petal, or getting the shape of an eye just right.
- Add Delicate Details: Use them to hint at tiny features a full stitch would just swallow up, like the glint in an eye or the delicate veins on a leaf.
You can also sprinkle in French knots or colonial knots to add texture and create tiny, impactful details, like the center of a flower or twinkling stars in a night sky.
Think of fractional stitches and French knots as your finishing tools. They are the final polish that turns a good pattern into an exceptional one, adding a level of handcrafted detail that makes the final piece truly stand out.
Conquering Complex Elements
Some things are just notoriously tricky for software to handle well, like getting skin tones right or making text look good. For skin tones, you’ll almost certainly need to adjust the color palette by hand. This usually means adding mid-tones and highlights the software missed, which is crucial for avoiding a flat, unnatural look.
And when it comes to text? I almost always recommend adding it manually. Instead of relying on a photo conversion, use a library of pre-designed cross-stitch alphabets. This is the only way to guarantee every letter will be crisp, clean, and perfectly readable when it's stitched.
There's a reason for mastering these skills. The demand for high-quality, unique patterns is booming. In fact, the global cross-stitch market was valued at USD 0.15 billion in 2024 and is expected to hit USD 0.22 billion by 2033. That's a lot of stitchers looking for incredible designs! You can read more about the growth of the cross stitch market from Business Research Insights.
A Few Common Questions About Pattern Makers
Once you start diving into the world of creating your own cross-stitch charts, a few questions tend to pop up again and again. Honestly, most designers hit the same stumbling blocks when they're starting out. The good news is that the solutions are usually pretty simple once you know what to look for.
One of the first frustrations you'll likely encounter is "confetti." That's the stitcher's term for those random, single stitches of color that look like they've been sprinkled all over your pattern. This happens when the software gets a bit overzealous trying to match every last pixel in your original photo, leaving you with a chart that's a nightmare to actually stitch.
The best way to deal with this is to roll up your sleeves and do a little manual editing. Just go into the pattern and change those lonely stitches to a nearby, more dominant color. It's a small tweak, but it makes a world of difference. Your final piece will look cleaner and be so much more enjoyable to work on.
How Many Colors Should I Use?
This is the big one. Everyone asks this, and the honest-to-goodness answer is, "it depends on your picture." There's no magic number. A simple cartoon character might look perfect with only 15-20 colors, but a detailed, realistic portrait could easily need 60 or more to capture all the subtle shading.
A good starting point is to let the software take a first pass. Let it generate a color palette, and then use your own eyes to refine it.
- Check the thread list: Are there two or three shades of green that are almost identical? You can probably merge them into one without losing any important detail in that tree you're designing.
- Think about the focal point: If you're making a portrait, you'll want to keep a wider range of colors for the skin tones to create depth. But the simple, out-of-focus background? You can definitely simplify the colors there.
The real goal is to find that sweet spot: using the fewest colors possible to get the look you want. It's a balancing act between detail and stitchability, and it's a skill you'll hone with every pattern you create.
Can I Sell the Patterns I Make?
Many people get excited about designing and naturally wonder if they can sell their creations. The answer is a classic "it depends," and it really boils down to two things: the software's terms of use and the copyright of the image you started with.
Most paid programs like PCStitch or WinStitch are totally fine with you selling charts made with their software. That's what they're for! But—and this is a big but—that permission doesn't cover the image itself.
You can't just grab a picture of a Disney character, run it through the program, and sell the pattern. That's a copyright violation. To legally sell your charts, you absolutely must use images you have the rights to. This means your own original artwork, photos you took yourself, or images that are explicitly licensed for commercial use. Always double-check both the software's license and the image rights before you even think about selling a pattern.
Ready to turn your favorite memories into beautiful stitched art? Cross Stitched makes it easy with custom photo-to-pattern kits that include everything you need to get started. Create your personalized kit today.


