

There's something truly special about turning a treasured photo into a cross-stitch pattern. You're not just stitching; you're translating a memory, pixel by pixel, into a tangible piece of art. This process uses digital tools to create a stitchable chart from your picture, complete with a full thread list, making it easier than ever to create a deeply personal heirloom.
The Art of Turning Memories into Stitches
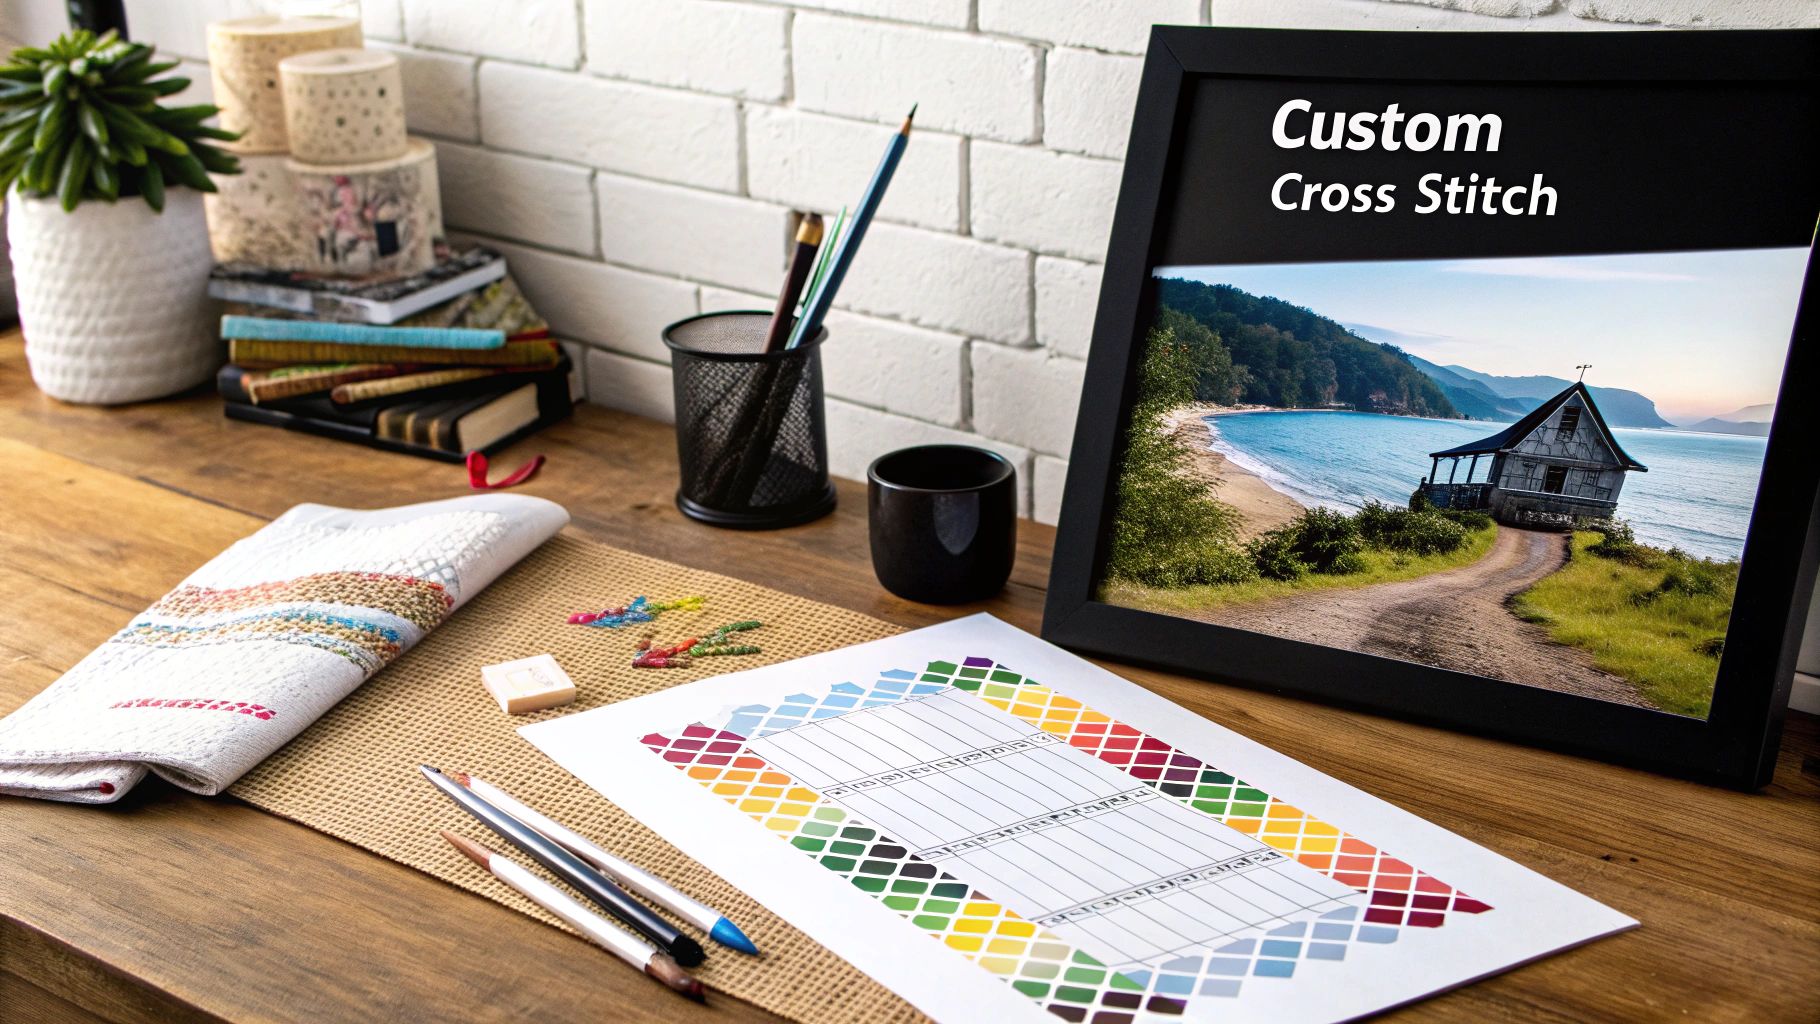
Creating a cross-stitch pattern from a photo is a rewarding journey that beautifully blends a traditional craft with modern technology. It gives you the power to immortalize a special moment—a family portrait, a beloved pet, or that perfect vacation sunset. The finished piece is so much more than a craft project; it becomes a direct, tangible connection to the people and places you hold dear.
I'm going to walk you through the entire process, from picking the perfect image all the way to prepping your final chart for stitching. We'll cover all the key decisions you'll need to make.
Along the way, we'll dive into:
- Choosing the right software: We’ll look at the differences between free online tools and the more powerful paid programs.
- Prepping your image: I'll show you a few simple photo edits that can make a massive difference in your final pattern's quality.
- Understanding fabric count: You'll see exactly how your choice of Aida fabric affects the size and detail of your finished piece.
Why Custom Photo Patterns Are So Popular
The rise of digital tools has been a game-changer, allowing hobbyists to turn a photo into a cross-stitch pattern with incredible precision. Crafters can now use software to dial in specific parameters like stitch count and fabric type, tailoring each project to their skill level. This fusion of classic craft and new tech has helped grow the cross-stitch market to a global value of around $150 million.
The real magic happens when you see a familiar face or a treasured landscape emerge from the fabric, stitch by stitch. It’s an incredibly personal way to create art that tells a story.
Once you get the hang of creating your own patterns, you might even think about sharing your unique designs. Exploring various UGC Creator Platforms can be a fantastic way to showcase your work and connect with a wider community of stitchers. By the time you finish this guide, you'll have a clear roadmap to confidently start your very own custom project.
Choosing and Preparing the Perfect Photo for Conversion
A stunning cross-stitch piece doesn't just happen; the magic begins long before you thread your first needle. It all starts with the photo you choose. Truthfully, not every picture is destined to become a great pattern, and picking the wrong one can leave you with a muddy, confusing chart.
The software that turns your photo into a pattern is essentially translating pixels into stitches. If the original image is poorly lit or has a chaotic background, the program will struggle to create those clean, distinct blocks of color that make a pattern easy to follow.
Key Qualities of a Great Source Photo
From my experience, the best photos for this kind of project all have a few things in common. You'll want to look for pictures with strong, clear lighting. Good lighting creates a natural contrast that helps separate your subject from everything else going on in the picture. A portrait taken in bright, indirect sunlight, for example, will almost always give you a better result than a grainy indoor shot.
The background is just as important. A simple, uncluttered background is your best friend here because it lets the main subject shine. If the background is too busy, it competes for attention and often creates a storm of random, single stitches—what we stitchers affectionately call "confetti."
When you're sifting through your camera roll, keep an eye out for these key ingredients:
- A Clear Focal Point: Your subject should be sharp, in focus, and instantly recognizable.
- Good Contrast: You need a clear difference between the light and dark areas. This is what gives your stitched piece depth and definition.
- High Resolution: Always start with the crispest, clearest photo you have. A blurry or pixelated image will only lead to a vague and frustrating pattern.
If you're looking for more pointers on what makes an image stand out, this guide to creating custom art from photos offers some fantastic insights that can help you start thinking like an artist.
Simple Edits for a Better Pattern
You don’t need to be a Photoshop wizard to dramatically improve your starting image. A couple of simple adjustments can make a world of difference in the final quality of your cross-stitch pattern.
The most powerful edit you can make is cropping. Seriously. Just trim away all the unnecessary background noise and frame your subject tightly. This forces the pattern generator to focus on what's most important, which means you'll get far more detail where it actually counts. If you're creating a portrait of your dog, for instance, crop in close on their face and shoulders.
A good rule of thumb is to remove anything from the photo that doesn't directly contribute to the story you want your stitched piece to tell. Less distraction always leads to a stronger final design.
This simple infographic gives you a great visual of the basic workflow for getting your image ready.
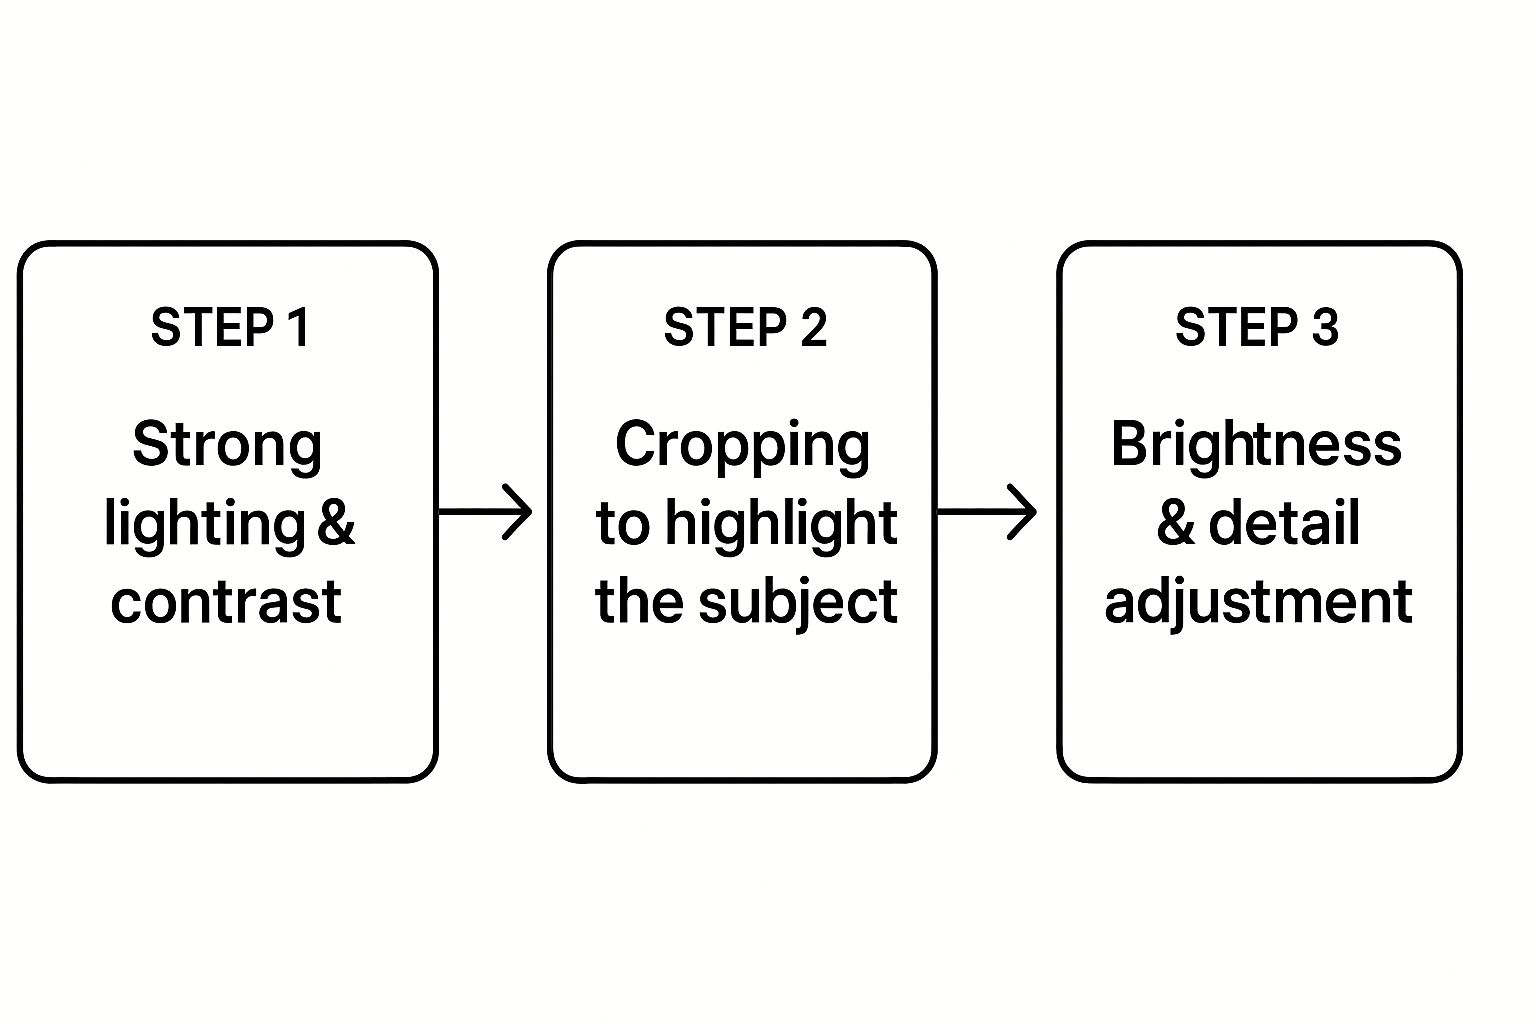 photo into cross stitch pattern">
As you can see, the path is straightforward: start with a good photo, crop it strategically, and make a few small tweaks before you let the software work its magic.
Playing with the brightness and contrast can also be a game-changer. Bumping up the contrast just a little can make the edges of your subject much sharper. If your photo is a bit dark, brightening it can reveal hidden details the software might otherwise gloss over. Keep in mind, most pattern generators work best with high-resolution photos, as the quality directly impacts how cleanly the chart comes out. Think of it this way: more pixels give the program more information to create an accurate, stitchable map.
Selecting the Right Pattern-Making Software

Okay, your photo is prepped and ready to go. Now for the fun part: choosing the right tool to actually turn that photo into a cross stitch pattern. The options out there can feel a little overwhelming, spanning everything from free, browser-based converters to beefy, downloadable software that gives you complete control.
What you choose really boils down to your budget, how complex your project is, and just how much you want to get in there and fine-tune the final chart.
Free online tools are a fantastic place to start, especially if this is your first time. They’re usually dead simple—upload your image, play with a few sliders, and out pops a PDF. The catch? They often limit your pattern size, the number of colors you can use, and your ability to edit the pattern after it’s generated.
Paid software, on the other hand, is a whole different ballgame. These programs open up a world of customization. You get advanced features for cleaning up visual noise, manually swapping out thread colors, and getting rid of all those annoying, isolated stitches known as "confetti."
Key Features to Look For
No matter which path you take, a few core features are non-negotiable. These are the settings that separate a decent, computer-generated pattern from something that looks truly hand-crafted and beautiful.
Make sure any tool you consider lets you adjust the following:
- Color Palette Control: Can you set a hard limit on the number of thread colors? Being able to knock a palette down from 60 colors to a more manageable 30 can make a project much less intimidating (and cheaper!), though you might lose some of the subtle shading.
- Fabric and Stitch Count: You absolutely need to be able to tell the software what fabric you're using, like 14-count or 18-count Aida. This is the only way to get an accurate preview of the finished size and how detailed it will look.
- Symbol Clarity: The generator needs to produce a chart with crisp, easy-to-read symbols. Nothing is more frustrating than trying to stitch from a pattern where the symbols all blur into one another.
If you want to explore the creative side of this process even further, our guide on how to create your own cross stitch patterns has some great insights you'll find useful.
Free Online Converters vs. Paid Desktop Software
Ultimately, the choice comes down to convenience versus control. Free converters are fast and accessible, making them perfect for simpler projects or for anyone just dipping their toes in the water. But for stitchers who plan on creating a lot of custom patterns or who demand professional-quality results, paid software is a worthwhile investment.
The biggest difference I've found is in the post-processing. Paid software often gives you the tools to manually edit the chart, which is where you can truly elevate a computer-generated pattern into a personalized piece of art.
The quality of the conversion itself also varies wildly depending on the software's algorithm. Some tools are just plain better at interpreting colors and details. Independent reviews often test popular online converters by feeding them the same photo with the same settings just to see which one produces the most accurate and stitchable chart. It's fascinating to see how differently each program "sees" the same image.
To help you decide what's right for you, here’s a quick comparison of the features you'll typically find in free versus paid options.
Comparing Pattern Converter Features
This table breaks down the key differences between free and paid tools to help you pick the one that best fits your needs.
| Feature | Free Online Converters | Paid Desktop Software |
|---|---|---|
| Cost | Usually free | One-time fee or subscription |
| Color Control | Basic (e.g., set max colors) | Advanced (manual editing, color blending, dithering) |
| Editing Capability | None or very limited | Full manual pixel-level editing and clean-up tools |
| Pattern Output | Often limited to PDF | Multiple formats (PDF, image files, machine-readable) |
| Convenience | High (browser-based) | Lower (requires installation and setup) |
| Best For | Beginners, simple projects | Serious hobbyists, complex designs, professional use |
As you can see, the "best" tool really depends on the stitcher. If you just want to make a quick pattern of your dog for a gift, a free tool will probably do the trick. But if you're looking to create a detailed family portrait that will become an heirloom, investing in paid software will give you the control you need to get it just right.
How to Refine Your Generated Pattern
The software gets you most of the way there, but turning a good computer-generated pattern into a great one happens in the final edit. This is where your artistic eye comes in. Think of it as polishing a rough draft before you ever pick up a needle and thread—it's the step that elevates the final piece from a pixelated photo copy to a true work of art.
This whole process is about cleaning up the digital chart. We're going to make it easier to stitch and ensure the finished project looks incredible.
Taming the Digital Confetti
Ask any seasoned stitcher what drives them crazy about computer-generated patterns, and they'll likely say one word: "confetti." This is the stitcher's term for those random, single stitches of color that pop up in weird places. They look messy, create a speckled effect, and are a massive headache to stitch.
So, your first job is to play detective. Zoom way in on your digital pattern and hunt down these isolated squares of color. When you find one, simply change it to match one of the colors surrounding it. This one change will immediately make the design look cleaner and more deliberate.
Imagine a single dark green stitch floating in a field of light green grass. Just switch it to light green. The idea is to create smoother, more intentional color blocks instead of a random, pixelated mess.
Honestly, tackling confetti is the single best thing you can do to improve a generated pattern. It makes the final piece look so much better, and it will save you from the absolute frustration of constantly changing your thread for a single stitch.
Smoothing and Blending Colors
With the confetti gone, it's time to look at how the colors flow into one another. The software can be a bit clumsy here, often creating harsh, blocky lines between different shades that just don't look natural. Your eye is a far better judge of where a blend needs to be softened.
Scan the pattern for areas where similar shades meet. In a portrait, you might see a hard edge between two pinks on the curve of a cheek. You can soften this by hand. I like to "dither" the edge by swapping a few stitches along that border, which creates a more gradual, stippled transition that looks much more realistic.
Here are a couple of other tricks I use all the time:
- Merge Similar Shades: Did the program spit out three shades of blue for the sky that are almost indistinguishable? You can probably merge them into one or two. This simplifies your shopping list and reduces thread changes without losing important detail. Our DMC conversion charts are perfect for finding and comparing colors that are super close.
- Check for Odd Colors: Every now and then, a generator just throws a curveball—like a random purple stitch in the middle of a brown dog's fur. This is almost always a digital glitch. Don't hesitate to manually change it to a more suitable brown from your palette.
Sharpening Important Details
Okay, last step. Let's focus on the parts of the image that absolutely have to pop. These are the focal points that draw the viewer's eye. In a human portrait, it’s always the eyes, nose, and mouth. For a pet portrait, it’s their eyes and the specific texture of their fur.
Software often blurs these key features, making them look a bit muddy. This is your chance to bring back that lost definition. You might need to manually redraw the outline of an eye with a darker floss or strategically add a single white stitch to create a catchlight that makes the eye sparkle with life.
This is where you truly become the artist. Don't feel chained to what the computer gave you. By taking a little extra time to refine the chart by hand, you’re ensuring your finished cross-stitch is a thoughtful, beautiful interpretation, not just a simple copy.
Getting Your Stitching Supplies Ready

Alright, your digital pattern is polished and saved. Now for the exciting part—turning that file into a real, tangible project. This is where we gather our physical supplies and get everything set up for a smooth start. A little prep work here makes the entire stitching process so much more enjoyable.
First things first, you need to get that pattern off your screen and into your hands. Your software will likely export the chart as a PDF, which is perfect for printing. While a single-page overview is handy to see the whole picture, I always recommend printing the multi-page version for actual stitching. It breaks the design into larger, more manageable sections, so you aren't squinting at tiny symbols.
From Pattern to Shopping List
Every printed pattern comes with a thread legend or floss key, and this is your best friend. Think of it as your project's recipe. It lists every DMC or Anchor color code you'll need to bring your photo to life. It also estimates how many skeins of each color you'll need, but I've learned from experience to always buy one extra of the main colors. You'll thank yourself later.
Now, let's talk fabric. The pattern software should have calculated the final dimensions of your piece based on the fabric count you chose (like 14-count Aida). When you're at the craft store, don't just buy a piece that's the exact size. You need to add a generous border.
As a rule of thumb, I always add at least three inches to every side of the design's dimensions. This extra fabric is crucial for securing it in a hoop or Q-snap frame and leaves you plenty of room for matting and framing when you're finished.
If you're new to the different kinds of fabrics, needles, and hoops, our detailed guide on cross-stitch materials is a great resource to make sure you grab the right tools for the job.
Taming the Thread Tangle
Before you make that first stitch, take a little time to organize your floss. Trust me on this one. Fumbling through a messy pile of thread is frustrating and will slow you down. A bit of organization now pays off big time once you get into a stitching rhythm.
Here are a few popular ways to keep your threads in check:
- Plastic Bobbins: The classic method. You wind each color onto a small plastic or cardboard bobbin and write the color number on it. It keeps everything neat and tidy.
- Floss Drops: These are perfect if you're short on time. They're little tags with a hole where you can loop your skein. They're faster to load than bobbins and store flat.
- Project Cards: A simple but effective DIY solution. Just punch holes in a piece of sturdy cardstock and write the pattern symbol next to each hole before looping the corresponding thread through.
Taking care of these small details transforms the whole experience. Instead of constantly hunting for colors, you can just relax and enjoy watching your picture emerge from the fabric, one stitch at a time.
Common Questions About Turning Photos into Cross-Stitch Patterns
Jumping into your first custom cross-stitch project is exciting, but it almost always brings up a few questions. That's totally normal. Before you invest your time and precious materials, you want to be sure you're on the right track. Let's walk through some of the most common things people ask when they decide to turn a photo into a cross stitch pattern.
Getting a handle on these details beforehand will give you the confidence to dive in and create something you'll truly love.
How Many Colors Should I Use?
This is probably the number one question I hear, and the answer is all about finding the right balance between detail and simplicity. You might think that more colors automatically means a better, more realistic pattern, but that’s not always the case. Too many colors can create a messy look with tons of isolated "confetti" stitches, making the whole process a lot less fun.
For most photos, especially portraits of people or pets, a range of 30 to 50 colors is the sweet spot. This is usually more than enough to capture beautiful, subtle shading without you having to change your thread every other stitch. If your image is more graphic, like a logo or a simple cartoon, you could get a fantastic result with as few as 15-20 colors.
Here's a pro-tip: Start by letting the software generate the pattern with a higher color count, maybe 60 or so. Then, take a close look at the generated thread list. You'll often find several shades that are so similar you can barely tell them apart. Manually merge those to simplify your palette without losing any real detail.
What’s the Best Photo Resolution?
When it comes to your source photo, higher resolution is always better. A sharp, clear photo gives the conversion software much more information to work with, which directly translates into a more accurate and detailed pattern. If you start with a low-resolution, blurry image, you're going to get a blurry, undefined chart. It’s that simple.
As a rule of thumb, try to use a photo that is at least 1000 pixels on its shortest side—though bigger is always a plus. The good news is that most modern smartphone cameras take pictures that are more than high-quality enough. Just be sure to use the original image file, not a version that’s been compressed and sent through a messaging app, which can seriously degrade the quality.
Can I Change the Size of My Pattern?
Absolutely! This is where you have a ton of control over the final outcome. There are two main ways you can adjust the finished size of your piece.
-
Adjust the Stitch Count: In your pattern-making software, you can set the dimensions of your pattern in stitches (for example, 150 stitches wide by 200 stitches high). A higher stitch count will capture more detail from your photo, but it will also result in a larger finished project.
-
Change the Fabric Count: The very same pattern will come out in different sizes depending on the fabric you use. A piece stitched on 14-count Aida will be significantly larger than the same one stitched on 18-count Aida. Switching to a higher-count fabric is a great trick for making a detailed pattern smaller without sacrificing any of the design.
Most pattern generators let you plug in your fabric count, and they’ll automatically calculate the final dimensions for you. It completely takes the guesswork out of it.
Ready to turn your favorite memories into a beautiful work of art? At Cross Stitched, our custom kits make it incredibly easy. Just upload your photo, and we’ll send you a complete kit with everything you need, from high-quality fabric to pre-sorted DMC threads. Create your personalized cross stitch kit today!


