

Before you even think about picking out a frame, your finished cross-stitch needs a little TLC to look its absolute best. This is the prep work that really makes a difference—cleaning, pressing, and trimming the fabric for a smooth, professional finish. Honestly, getting these initial steps right is the secret to turning your handmade project into a genuine piece of art.
Getting Your Cross Stitch Ready For Framing
The road to a beautifully framed cross-stitch starts long before you start debating wood tones or mat colors. Hours of handling your project can leave behind hoop marks, oils from your skin, and even a bit of dust. A gentle wash is always the first step toward a gallery-worthy display.
Washing And Pressing Your Project
First up, give your piece a gentle bath. I always use lukewarm water with just a tiny amount of a mild, clear soap or a cleaner made specifically for textiles. Let it soak for a few minutes, swish it around gently, and then rinse until the water runs completely clear. Whatever you do, don't wring it out! That’s a surefire way to stretch the fabric. Instead, carefully roll it up in a clean, fluffy towel to blot out the excess water.
Let the project air-dry on a flat surface. When it's just slightly damp, it's time to bring out the iron. The most important thing here is to protect your stitches.
- Lay a thick, clean towel over your ironing board. This creates a soft cushion.
- Place your cross-stitch face-down onto the towel.
- Press from the back with your iron on a medium-heat setting, and make sure the steam is off.
Using this method keeps your stitches from getting flattened, so they stay looking plump and perfectly defined. It also takes care of any lingering wrinkles or creases in the Aida cloth. For a more detailed guide, check out our post on https://cross-stitched.com/blogs/what-is-cross-stitch/how-to-clean-a-cross-stitch.
Don't stress if the back of your project isn't perfectly neat. As long as you don't have big knots or loose threads creating lumps you can see from the front, it's the final presentation that really counts.
Trimming And Final Inspection
Once your piece is clean and pressed, the last prep step is to trim the excess fabric. You'll want to leave a good-sized margin around your stitched area—I usually aim for two to three inches on all sides. This extra fabric is what you’ll use to securely mount the piece later on, whether you're using pins or a lacing technique.
Measure carefully from the edge of your stitching to make sure the border is even all the way around. A rotary cutter and a self-healing mat will give you a crisp, straight edge, but a sharp pair of fabric scissors will do the job just fine.
Before you move on, give it one last look. Snip any stray threads or those little "traveler" threads on the back that might show through, which can be a real issue with dark floss on light fabric. Making sure your project is in pristine condition is the foundation of a great framing job. For more general stitching resources, you can find a lot of helpful information for this and future projects.
Choosing the Right Frame and Mat
Think of the frame and mat as the final, critical touch that turns your finished cross-stitch into a true piece of art. It’s not just about protection; it’s about presentation. The right combination can make your work sing, while the wrong one can feel distracting or out of place. A rustic barn wood frame, for instance, is a natural fit for a pastoral landscape, whereas a sleek, thin black frame might better suit a modern, graphic design.
The key is to create harmony. A simple but effective trick is to look at the secondary colors in your thread palette. If you've stitched a beautiful bouquet with rich green leaves, a frame in a complementary green or a warm, earthy brown can pull the whole look together without overpowering your stitching.
Selecting the Perfect Mat
A mat is more than just a decorative border. It serves two incredibly important purposes. First, it gives your artwork some breathing room, creating a visual pause between the stitching and the frame. Second, and most importantly, it creates a small air gap that keeps your fabric from pressing directly against the glass. This is crucial for preventing moisture buildup, which can lead to mildew or fabric discoloration over the years.
For most projects, a single mat is perfectly sufficient and classic. But if you want to add a little extra flair and a professional touch, a double mat is the way to go.
- A Single Mat: Sticking with a neutral color like an off-white, cream, or a soft gray is usually a safe bet. It lets your handiwork remain the center of attention.
- A Double Mat: This is where you can get creative. The top mat is typically a wider, neutral color. The magic happens with the bottom mat, where you only see a thin sliver of color—called the "reveal." Choose an accent color from your stitching for this reveal; it’s a subtle touch that expertly draws the eye inward.
As a general rule of thumb, aim for a mat border that is at least 1.5 times the width of your frame. This simple proportion ensures the frame doesn't look too bulky and overwhelm your delicate stitches, giving the whole piece a balanced, professional feel.
Measuring for a Professional Look
Precise measurements are the bedrock of a well-framed piece. There's nothing more frustrating than cutting a mat only to find it’s off by a quarter of an inch. Before you do anything else, you need the exact dimensions of your stitched area and a clear idea of how wide you want the mat border to be.
The process boils down to a few key actions: measure your work, mark your mat, and then make a clean, confident cut.
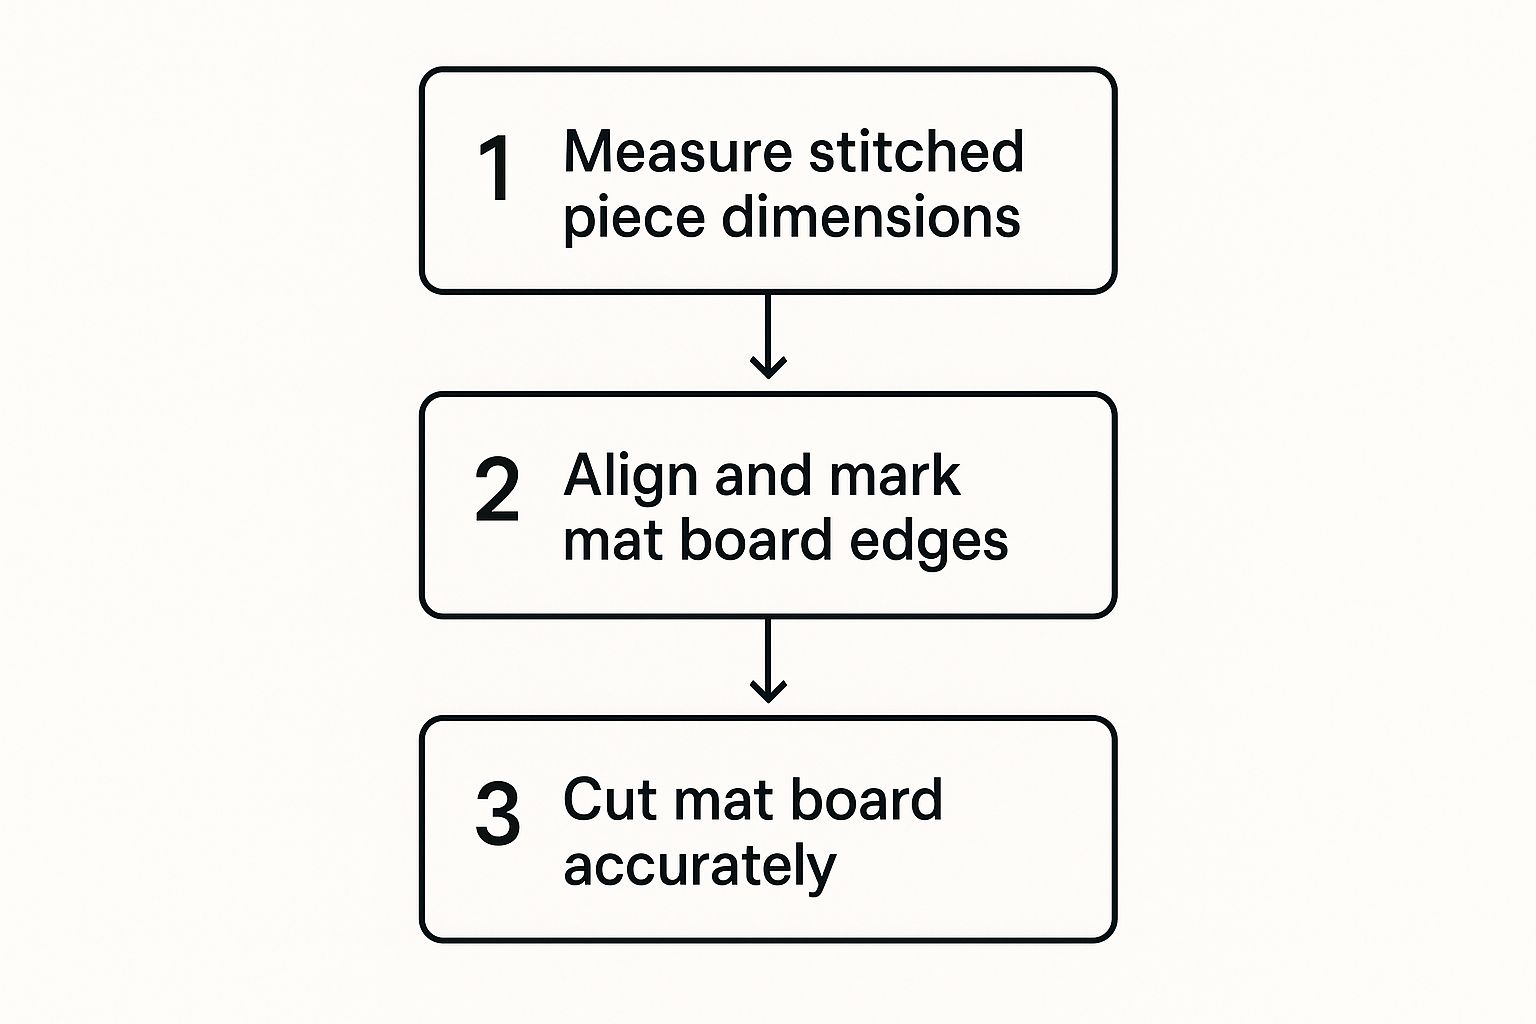
This visual guide breaks it down beautifully. For anyone who gets nervous about the math, especially with fabric counts and borders, using a cross stitch calculator can be a real lifesaver. It takes the guesswork out of the equation and helps prevent costly mistakes.
Now, let's explore some popular combinations to help you find the perfect match for your piece.
Frame and Matting Style Guide
| Style Aesthetic | Recommended Frame Material | Suggested Matting Approach | Best For |
|---|---|---|---|
| Modern & Minimalist | Thin Metal (Black, Silver) | Single, wide mat in crisp white or off-white. No-mat "floated" look. | Geometric patterns, monochrome designs, and contemporary text pieces. |
| Traditional & Classic | Ornate Wood (Walnut, Cherry) | Double mat with a neutral top and a rich inner reveal (e.g., gold, burgundy). | Samplers, historical reproductions, and intricate floral or landscape scenes. |
| Rustic & Farmhouse | Distressed or Barn Wood | Single, wide mat in a warm cream or light beige to complement natural tones. | Nature motifs, primitive-style designs, and pieces with a cozy, handmade feel. |
| Playful & Eclectic | Painted Wood (Bright Colors) | Single or double mat with a bold, contrasting color reveal. | Whimsical characters, colorful quotes, and children's room décor. |
This table is just a starting point, of course. The best choice is always the one that speaks to you and best reflects the personality of your beautiful cross-stitch work. Don't be afraid to experiment
Mounting Your Fabric Like a Professional
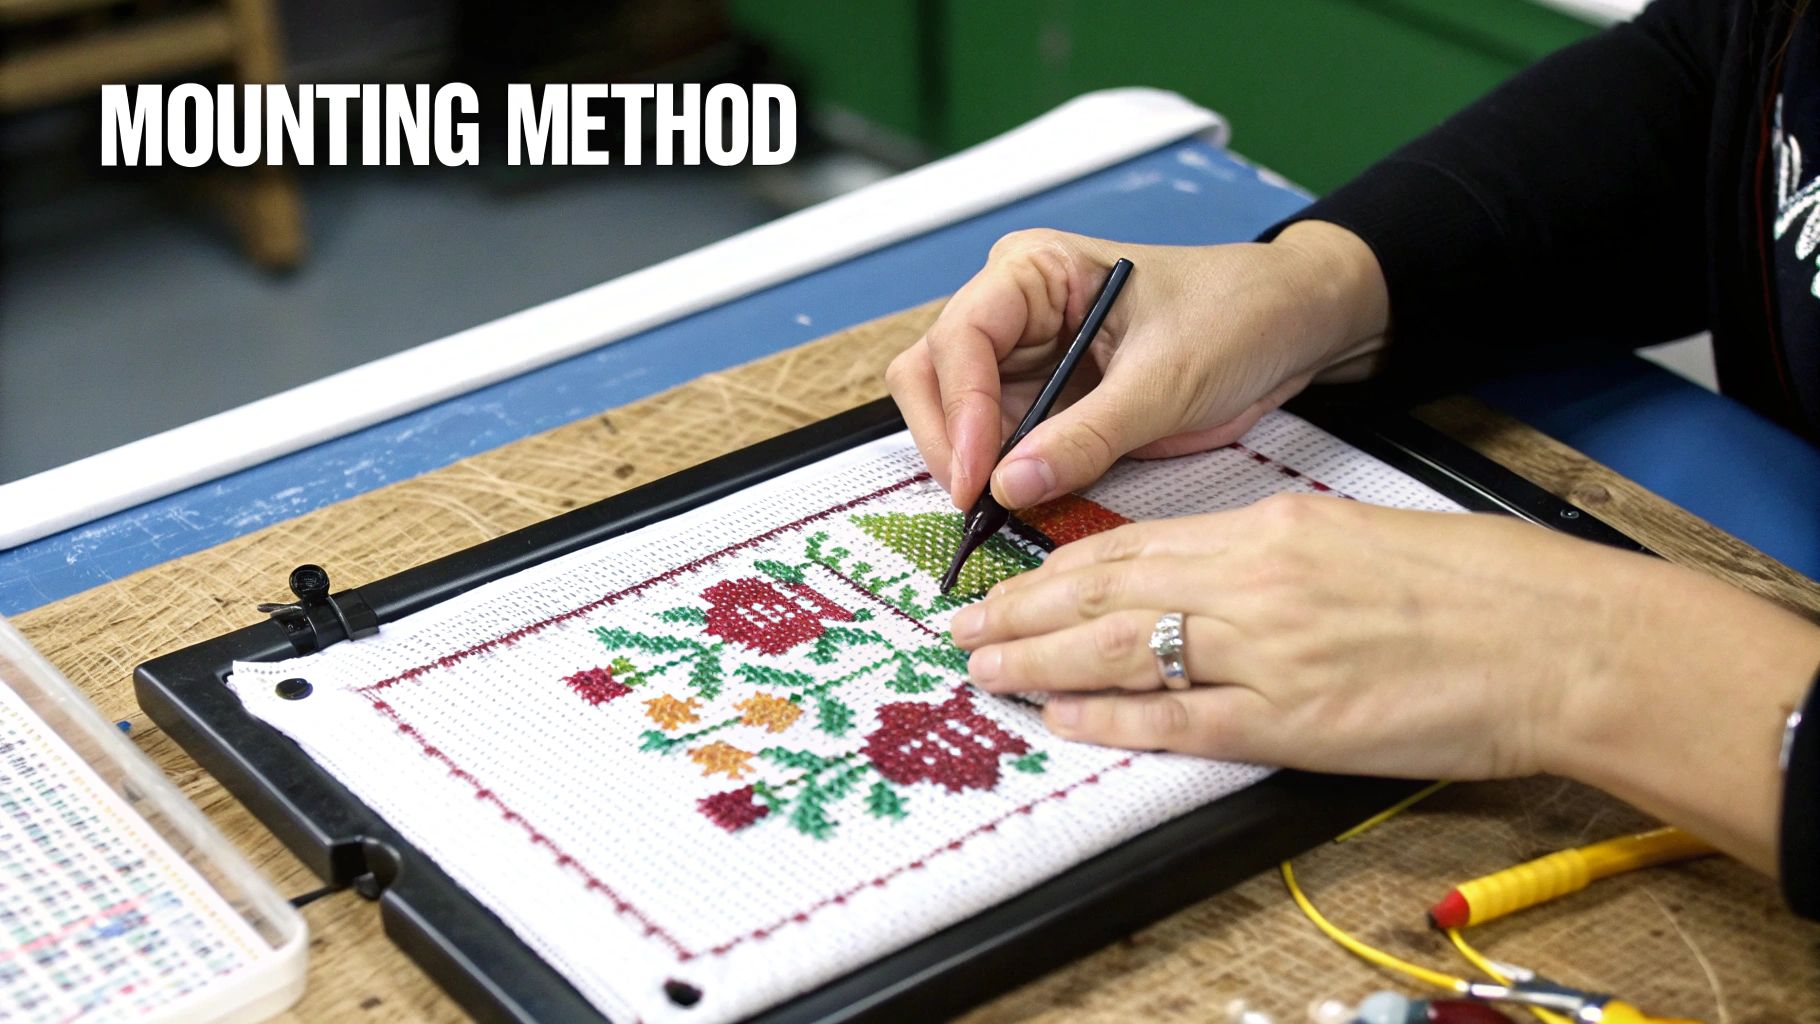
This is where the magic happens. Your flat, finished piece is about to become a taut, perfectly centered work of art. Getting the mounting right is the secret to a professional look, as it gets rid of any wrinkles or sagging that might distract from your hard work. The entire goal here is to secure your fabric smoothly and evenly over a sturdy, acid-free backing.
When it comes to framing cross-stitch pictures, you've got a couple of solid options. The right choice really comes down to how precious the piece is to you and what you're comfortable with. The two most reliable techniques I always come back to are pinning and lacing. Both give you that secure, drum-tight finish that keeps your project looking flawless for years.
The Foam Core Pinning Method
The pinning method is a fantastic go-to because it's both simple and incredibly effective. All you're doing is stretching your fabric over a piece of acid-free foam core board and securing it with rust-proof pins. What's great about this technique is that it's completely reversible, which makes adjusting the tension a breeze if you need to.
First, you'll need to cut a piece of acid-free foam core to the exact size of your frame's opening. Then, lay your pressed cross-stitch piece on the board, taking care to get the design perfectly straight.
- Start by folding one edge of the fabric over to the back.
- Push a pin directly into the side of the foam core, right in the center of that edge.
- Now, move to the opposite side. Gently pull the fabric taut and place another pin in the center there.
- Do the same for the top and bottom, always working from the center of each side outwards.
Keep adding pins about every inch or so, always alternating between opposite sides to keep the tension even. The trick is to create a perfectly smooth surface without any puckering. This is just one of several great cross stitch finishing techniques that can give your project that polished, ready-to-hang look.
A little pro tip: as you pull the fabric, keep flipping it over to check the front. If you see the Aida cloth's grid distorting into a curve, you're pulling too hard in one direction. Ease off a bit and readjust your pins until the fabric’s weave is perfectly square again.
The Traditional Lacing Technique
For those truly special heirloom pieces, lacing is the gold standard. This is the archival method professional framers use, and for good reason. It definitely takes more time, but it provides incredible, even tension across the entire piece and avoids any materials that could potentially rust, however unlikely that may be.
You'll need a strong, neutral-colored thread and a long needle. Think of it like lacing up a corset on the back of your mounting board.
Start by folding the top and bottom edges of the fabric over the back of your acid-free board. You'll then sew long, running stitches back and forth between these two fabric edges, pulling the thread snugly as you work your way across.
Once the horizontal lacing is done, fold the side edges in. You'll repeat the process, lacing them together right over your first set of stitches.
What you end up with is a web of threads on the back that holds the fabric incredibly secure. The result is a perfectly mounted piece, beautifully preserved and ready for the final framing assembly.
Choosing the Right Glass and Backing to Protect Your Work
The last two pieces of the puzzle—the glass and the backing board—are your project's unsung heroes. They stand guard against dust, moisture, and the number one enemy of your thread colors: UV light. Getting this part right is what turns a finished piece into a family heirloom that will last for decades.
When it comes to the glass, or "glazing," it's one of the most important decisions you'll make. Standard picture frame glass is cheap, sure, but it offers almost zero protection from the sun. You might not notice it at first, but even a little indirect sunlight will eventually fade your beautiful, vibrant threads.
A Clear Look at Your Glazing Options
To really keep your stitching safe, you have to go with a glazing that has UV filtering built-in. It costs a bit more, but the peace of mind is priceless.
- UV-Protective Glass: Honestly, this is the best choice for most stitchers. It blocks up to 99% of damaging UV rays, which is exactly what you need to keep your colors looking just as bright as the day you finished. If your piece is going to hang in any room that gets natural light, this is non-negotiable.
- Acrylic (Plexiglass): This is a great alternative. It's much lighter than glass and it won't shatter, making it perfect for really big projects or if you plan on shipping the framed piece. Just like glass, you can get it with UV protection. The only real downside is that it can scratch more easily, so you have to be careful when cleaning it.
I always tell people that framing isn't just for showing off your work; it's for preserving it. Skipping the UV protection is like leaving a hand-stitched quilt out in the rain. Sooner or later, the damage is done, and you can't undo it.
Why You Can't Skimp on Acid-Free Backing
What goes behind your fabric is just as crucial as what goes in front. The backing board gives the whole thing structure and acts as a final barrier against the elements. Whatever you do, never use that thin piece of cardboard that comes with a cheap, store-bought frame. It's loaded with acid and will eventually cause your beautiful fabric to yellow and turn brittle.
Always, always choose an acid-free foam core or backing board. This stuff is chemically stable, so it won’t leach any damaging chemicals into your needlework over the years. It creates a safe, archival-quality home for your project.
This attention to detail is what elevates a craft into a lasting piece of art. It’s also why framing costs can vary so much, from around $20 for a simple DIY job to several hundred for custom work—you're paying for quality protective materials. To learn more about the industry, you can read up on the market dynamics of cross-stitch supplies on statsndata.org.
Assembling the Frame and Displaying Your Art
Alright, all your components are ready to go. This is the exciting part where the frame, mat, glazing, and your beautifully mounted cross-stitch finally come together. It's really satisfying to see it transform into a finished piece. Just take your time here to avoid any frustrating smudges or trapped dust.
First things first: clean your glazing. Give both sides a meticulous, streak-free wipe-down with a good glass cleaner and a lint-free microfiber cloth. Do this in a well-lit space so you can catch every speck. Trust me, there’s nothing more annoying than sealing a fingerprint or a tiny fiber inside the frame, where it will taunt you for years to come.
Building the "Frame Sandwich"
Now it's time to layer everything together. I like to think of this as making a "frame sandwich," with your artwork safely tucked in the middle. The order you stack these layers in is absolutely crucial for a secure fit and a clean look.
Start by laying the empty frame face down on a soft, clean towel or blanket to protect it from scratches.
Next, carefully lower the clean glass or acrylic into the frame. It should sit snugly against the inner lip, which is called the rabbet.
With the glazing in place, gently set your matted cross-stitch piece on top, face down. Take a moment to make sure it's perfectly centered and aligned within the frame's opening.
The final layer is the acid-free backing board. Place this right on top of your mounted fabric. This board adds crucial support and the final layer of protection from the back.
A Quick Pro Tip: Before I add the backing board, I always pick up the frame and hold it at an angle to the light for one last inspection. This is your last chance to spot any sneaky dust particles that might have floated in. A gentle puff from a can of compressed air can be a real lifesaver here, preventing you from having to take it all apart again.
Securing Everything and Hanging Your Art
With all your layers stacked neatly, the last step is to lock it all in. The method depends entirely on the type of frame you bought. Many frames have flexible metal tabs you just bend down. Others use more rigid glazier's points that need to be pushed firmly into the wood. Whatever the mechanism, work your way around the frame, applying even pressure to make sure the whole sandwich is snug and won't shift.
Now for the hanging hardware. Most framing kits include D-rings and picture wire. A good rule of thumb for placement is to measure about one-third of the way down from the top of the frame and screw in a D-ring on each side. Then, string the picture wire between them, but don’t pull it completely taut. You want just enough slack so that the peak of the wire sits an inch or two below the top edge of the frame.
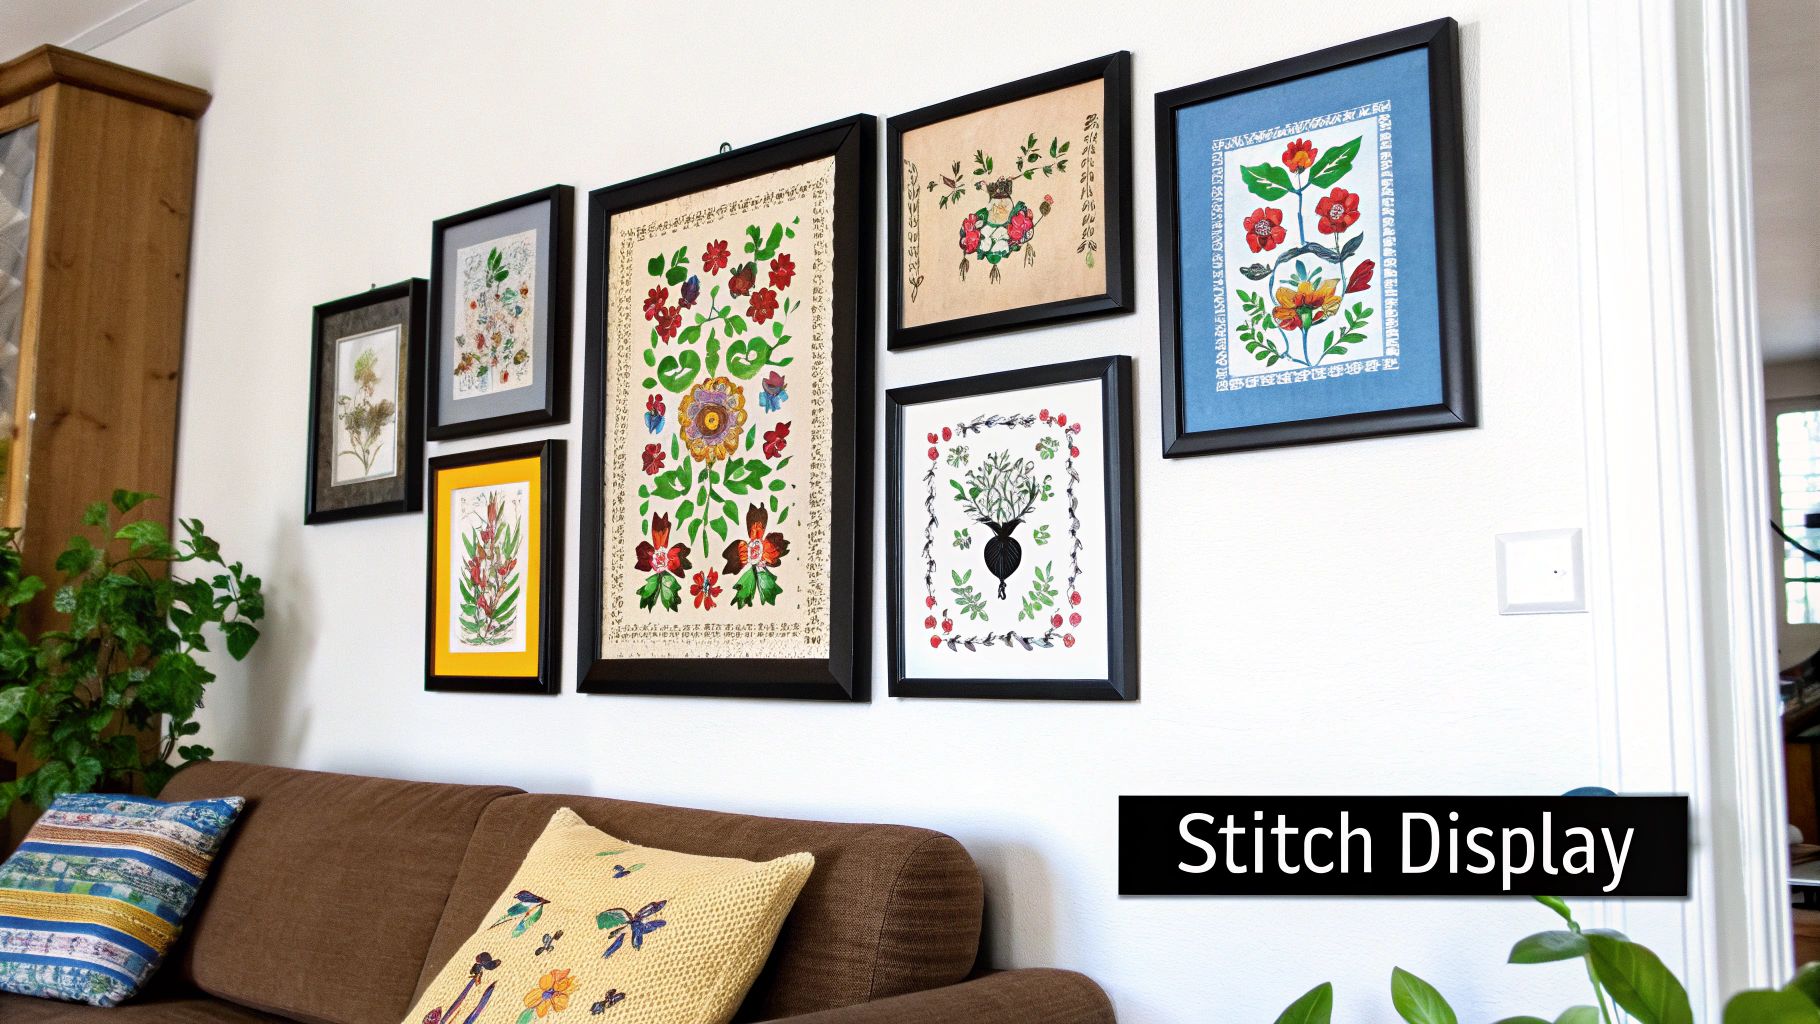
Finally, you get to pick the perfect spot on your wall. Try to avoid places with direct sunlight, as it can fade your work over time—even with UV-protective glass. You’ll also want to steer clear of high-humidity areas, like a bathroom. Find a place where your incredible stitching can be appreciated and bring that unique, handmade warmth to your home.
Common Questions About Framing Cross Stitch
Even with the best guide in hand, you’re bound to hit a few snags or second-guess yourself when framing a cross stitch piece. It happens to everyone. Let's walk through some of the most common questions that pop up, so you can get back to your project with confidence.
Should I Wash My Cross Stitch Piece Before Framing?
Absolutely. This is one step I never, ever skip. Think about it—oils from your hands, dust, and maybe even a stray coffee splash have found their way onto your fabric over the hours you've spent stitching. A gentle hand wash in lukewarm water with a mild soap makes all the difference.
Washing gets rid of all that grime and relaxes any hoop marks, ensuring your work looks pristine. After a good rinse, roll it up in a clean towel (don't wring it out!) to soak up most of the water, then let it air dry flat. When you iron it, always press from the back with a towel underneath to protect those perfect, fluffy stitches you worked so hard on.
What Is the Best Way to Mount Cross Stitch to Prevent Sagging?
Nothing is more frustrating than seeing your beautifully stitched piece sag or pucker inside the frame after a few months. To get that drum-tight, professional finish that lasts, you have two fantastic options: pinning or lacing.
- Pinning: This is a great, straightforward method. You simply stretch your fabric over an acid-free foam core board and use rust-proof pins to secure the edges into the side of the board. It's quick, effective, and you can easily make adjustments if needed.
- Lacing: If you want the gold standard for preservation, lacing is the way to go. This technique involves using a strong thread to stitch the excess fabric together on the back of the board, creating incredible tension. It's the method museums use because it's secure and completely reversible.
A quick word of warning: steer clear of adhesive or "sticky" boards. While they seem easy, the glue can yellow and damage your fabric permanently over time. It's just not worth the risk.
A lot of stitchers worry about having a "messy" back on their work. When it comes to framing, you can relax! As long as you don't have big, bulky knots that create lumps on the front, nobody will ever see the back. The mounting board covers everything.
Do I Really Need UV-Protective Glass for My Project?
If your piece is going to hang anywhere that gets even a little bit of natural light, the answer is a resounding yes. Standard glass does virtually nothing to stop the ultraviolet rays that will fade your thread colors faster than you can imagine.
I like to think of it as sunscreen for your art. You put in countless hours choosing colors and placing every single stitch. Using UV-protective glass is the single most important thing you can do to ensure those colors stay bright and vibrant for years, not just months. It's a small investment to protect a huge one.
Can I Frame a Cross Stitch Project Without a Mat?
You can, but I almost always advise against it. A mat does more than just make your piece look good; it serves a crucial technical purpose. Visually, that bit of "breathing room" between the frame and your stitching helps focus the viewer's eye and makes the whole piece look more polished.
More importantly, the mat creates a critical air gap between the fabric and the glass. Without that space, any condensation that forms on the inside of the glass will be in direct contact with your stitches. This can lead to moisture damage, mold, and mildew. A mat is a key component of proper, archival framing.
Ready to turn your favorite photo into a timeless stitched memory? At Cross Stitched, we make it easy with our custom photo-to-pattern kits that include everything you need to get started.
Create your personalized cross-stitch kit today at Cross Stitched


