

So, you’re thinking about picking up cross stitch? Let me tell you, it's one of the most relaxing and satisfying crafts out there. At its core, it's really just about making tiny 'X' stitches on a special gridded fabric to build a picture. That’s it. We're going to walk through just how easy and fun it is to get started, so you'll feel ready to tackle your first project in no time.
What Exactly Is Cross Stitch?
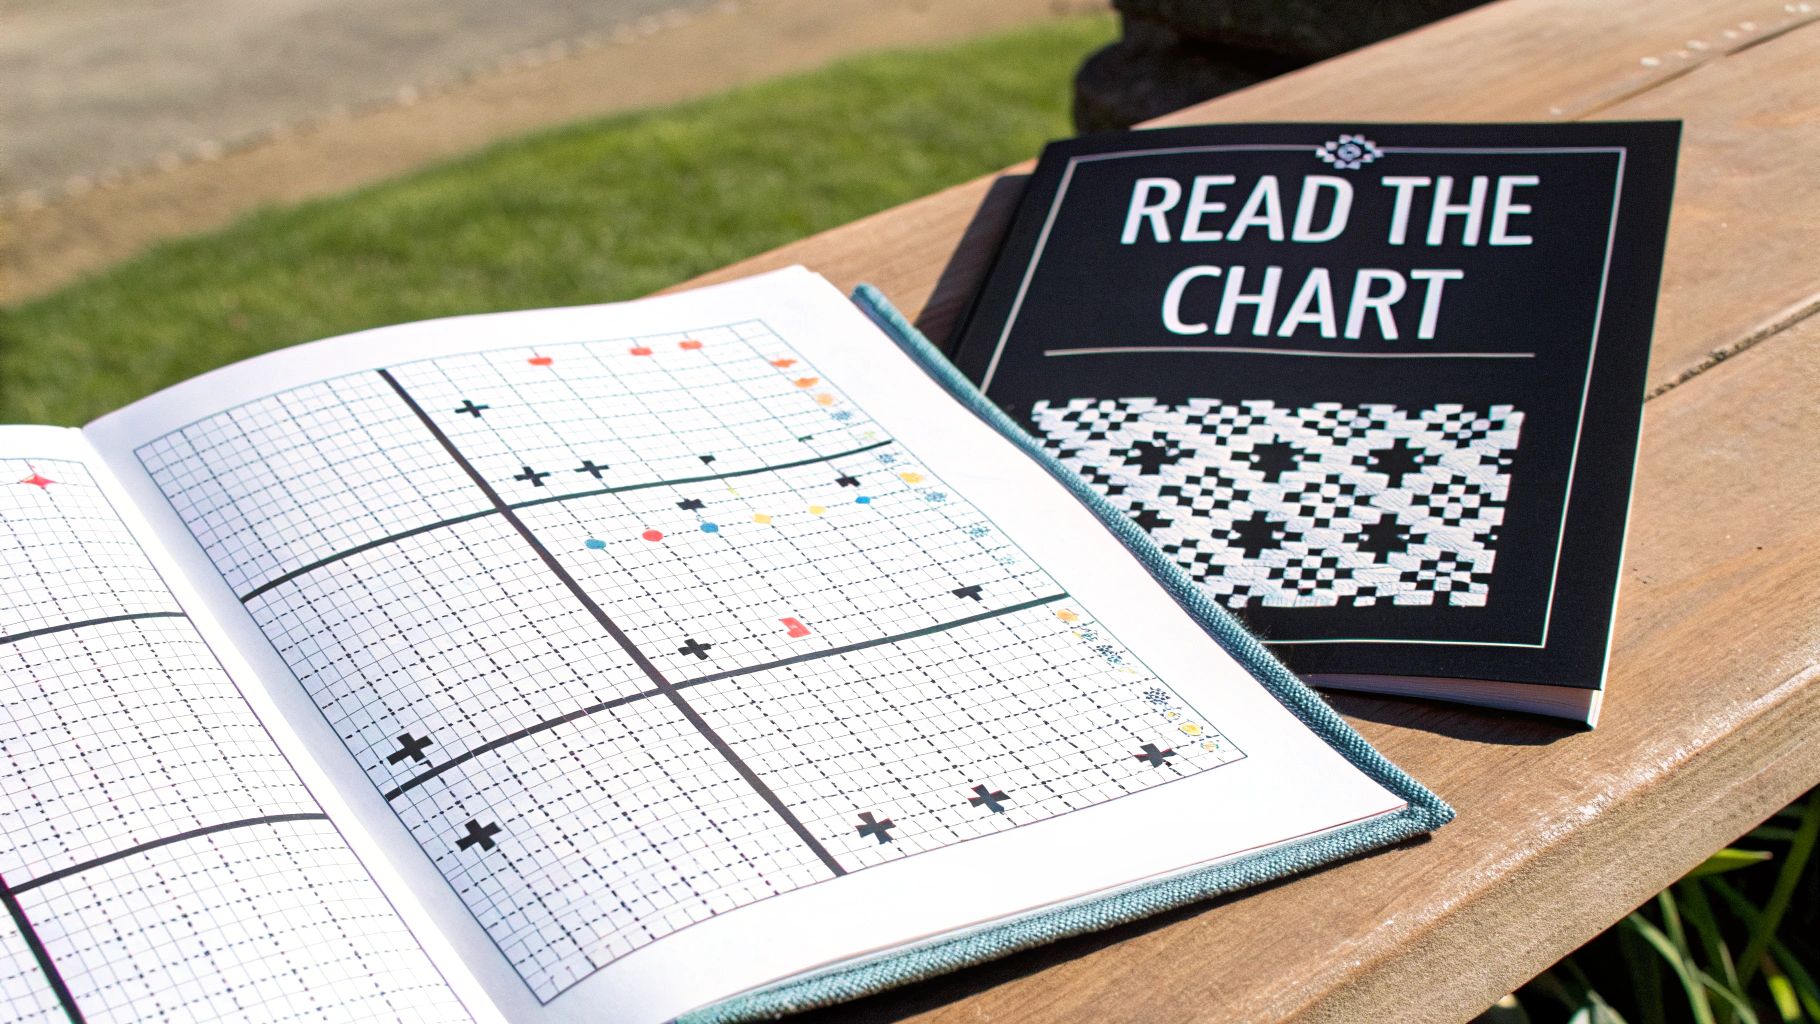
Cross stitch is a classic form of embroidery where you follow a pattern on a grid. Think of it like a low-tech, super-chill version of pixel art. The technique itself has been around for centuries, with roots stretching all the way back to the Middle Ages in Europe.
The "counted" part of its name—counted-thread embroidery—simply means you count the squares on the fabric (Aida cloth is the go-to for beginners) to know where to place your stitches. This ensures every little 'X' is perfectly uniform. If you're curious, you can dive deeper into the history of cross stitch and its market trends.
Lots of people are getting back into this timeless hobby, and for good reason. It’s more than just making something pretty; it’s a fantastic way to practice mindfulness and de-stress. The gentle, repetitive motion of pulling the needle and thread through the fabric has a way of calming a racing mind.
In a world that feels like it’s always on, cross stitch is your chance to disconnect. It's a way to slow down, focus, and create something real and tangible with your hands. It’s a wonderful exercise in patience that leaves you with a real sense of pride.
More Than Just a Craft
This isn't your grandmother's hobby anymore (though she probably had some amazing patterns!). Cross stitch is having a major comeback. It connects us to a long history of craftsmanship but with a modern twist—you can find patterns for everything from beautiful floral arrangements to snarky pop-culture quotes.
But the real magic is in the process, not just the finished piece.
- It’s incredibly relaxing. The rhythmic stitching is almost meditative. Seriously, it’s known to help lower your heart rate and ease anxiety.
- It’s a creative outlet. You get to play with dozens of colors and bring a design to life, all within a simple, easy-to-follow structure.
- You get a real sense of accomplishment. There's nothing quite like finishing that last stitch and seeing your completed project. Even a tiny one feels like a huge win.
As we get into the nitty-gritty, just remember: every single cross stitcher, no matter how experienced, started with that very first 'X'. This guide is here to give you that solid foundation.
Gathering Your Cross Stitch Essentials
Before you even think about making that first stitch, let's talk about gear. The good news is you don't need a craft store's worth of supplies to start cross stitching. Getting your hands on just a few key items will make the whole experience smoother and way more fun. Think of it as building your personal creative toolkit.
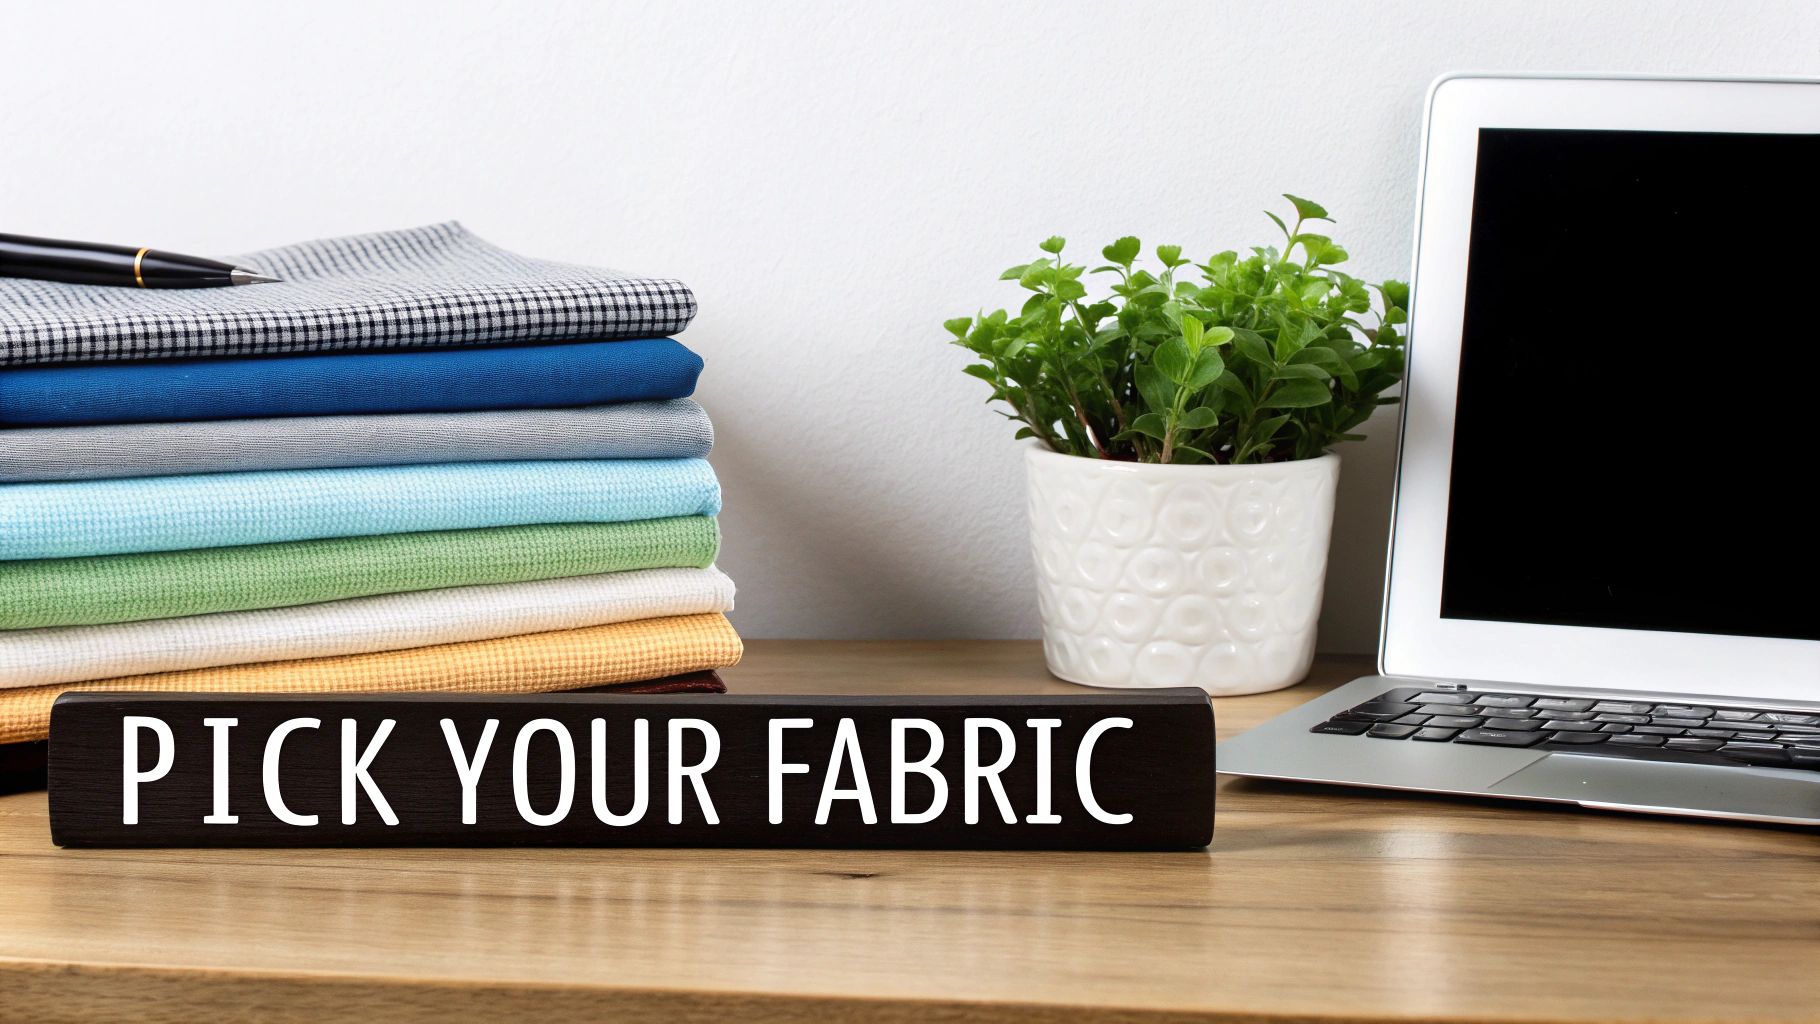
The foundation of any cross stitch project is the fabric. Most of us start with something called Aida cloth. It's a special cotton fabric woven with a handy grid of holes that makes counting your stitches a breeze.
Aida comes in different "counts," which just tells you how many stitches you can fit into one inch. For anyone just starting out, 14-count Aida is the perfect middle ground. The squares are big enough to see and work with easily, so you won't be squinting at your project from day one.
Fabric, Floss, And A Few Other Things
You really only need a handful of core supplies to bring a pattern to life. Getting these basics right from the start helps you avoid some common beginner headaches, like tangled thread or a needle that seems to vanish into thin air.
Here's a quick rundown of the must-haves for your first project.
| Tool | Recommended for Beginners | Why You Need It |
|---|---|---|
| Fabric | 14-count Aida cloth | Its clear grid makes it easy to see where to place your stitches. |
| Embroidery Floss | Standard 6-strand cotton | This is the colorful thread you'll use. You can split it to adjust stitch thickness. |
| Tapestry Needles | Size 24 or 26 | These have blunt tips that glide through fabric holes without splitting fibers. |
| Embroidery Hoop | 5-inch or 6-inch round hoop | Keeps your fabric pulled tight for even, uniform stitches. |
| Scissors | Small, sharp embroidery scissors | Perfect for making clean, precise snips close to your fabric. |
Once you've got your 14-count Aida, you'll want to pair it with tapestry needles in a size like 24 or 26. The standard embroidery floss you'll find everywhere is made of six strands twisted together, but for most projects on this fabric, you'll only use two of those strands at a time.
My Favorite Tip: Get yourself a needle minder. It's a tiny, powerful magnet that attaches to your fabric and holds your needle whenever you need to step away. Trust me, it's a game-changer for avoiding lost needles and surprise pokes!
Honestly, the simplest way to get everything you need is to grab a pre-made kit. It takes all the guesswork out of gathering supplies. If that sounds like the right path for you, take a look at our recommendations for the best cross stitch kits for beginners to find a design you'll love.
Getting Your Fabric and Thread Ready to Go
A little bit of prep work now can save you a world of frustration later. Trust me on this one. Spending just a few minutes getting your fabric and thread in order will make your stitching time so much more relaxing and tangle-free. This is one of those foundational skills that makes all the difference.
First up, the fabric. Before you even think about cutting, take a look at your pattern's final dimensions. You'll want to add a good-sized border all the way around. I always recommend at least a three-inch margin on all sides. This gives you plenty of room to secure the fabric in a hoop and makes framing your finished piece a breeze.
Once you've cut your Aida cloth, it's time to get it into your embroidery hoop. Loosen the screw and separate the two rings. Place the inner ring on a flat surface, lay your fabric over it, and then press the outer ring down on top. You want the fabric to be centered and pulled taut—think tight as a drum. This tension is key to making even stitches.
Taming Your Embroidery Floss
Now, let's talk thread. Standard embroidery floss is a beautiful thing, but it comes in a skein of six individual strands. For most projects on 14-count Aida, you'll only need two strands at a time. If you try to use all six, your stitches will look bulky and crowded.
So, how do you separate them without creating a knotted mess?
- Cut a manageable length of floss first. I find about 18 inches is the sweet spot. Anything longer tends to get tangled as you work.
- Pinch one end of your 18-inch piece and gently pull out a single strand.
- Repeat until you have the two strands you need. Pulling them out one by one like this is the secret to keeping them from twisting up on each other.
Choosing the right floss is where the fun really begins, as you can see below.
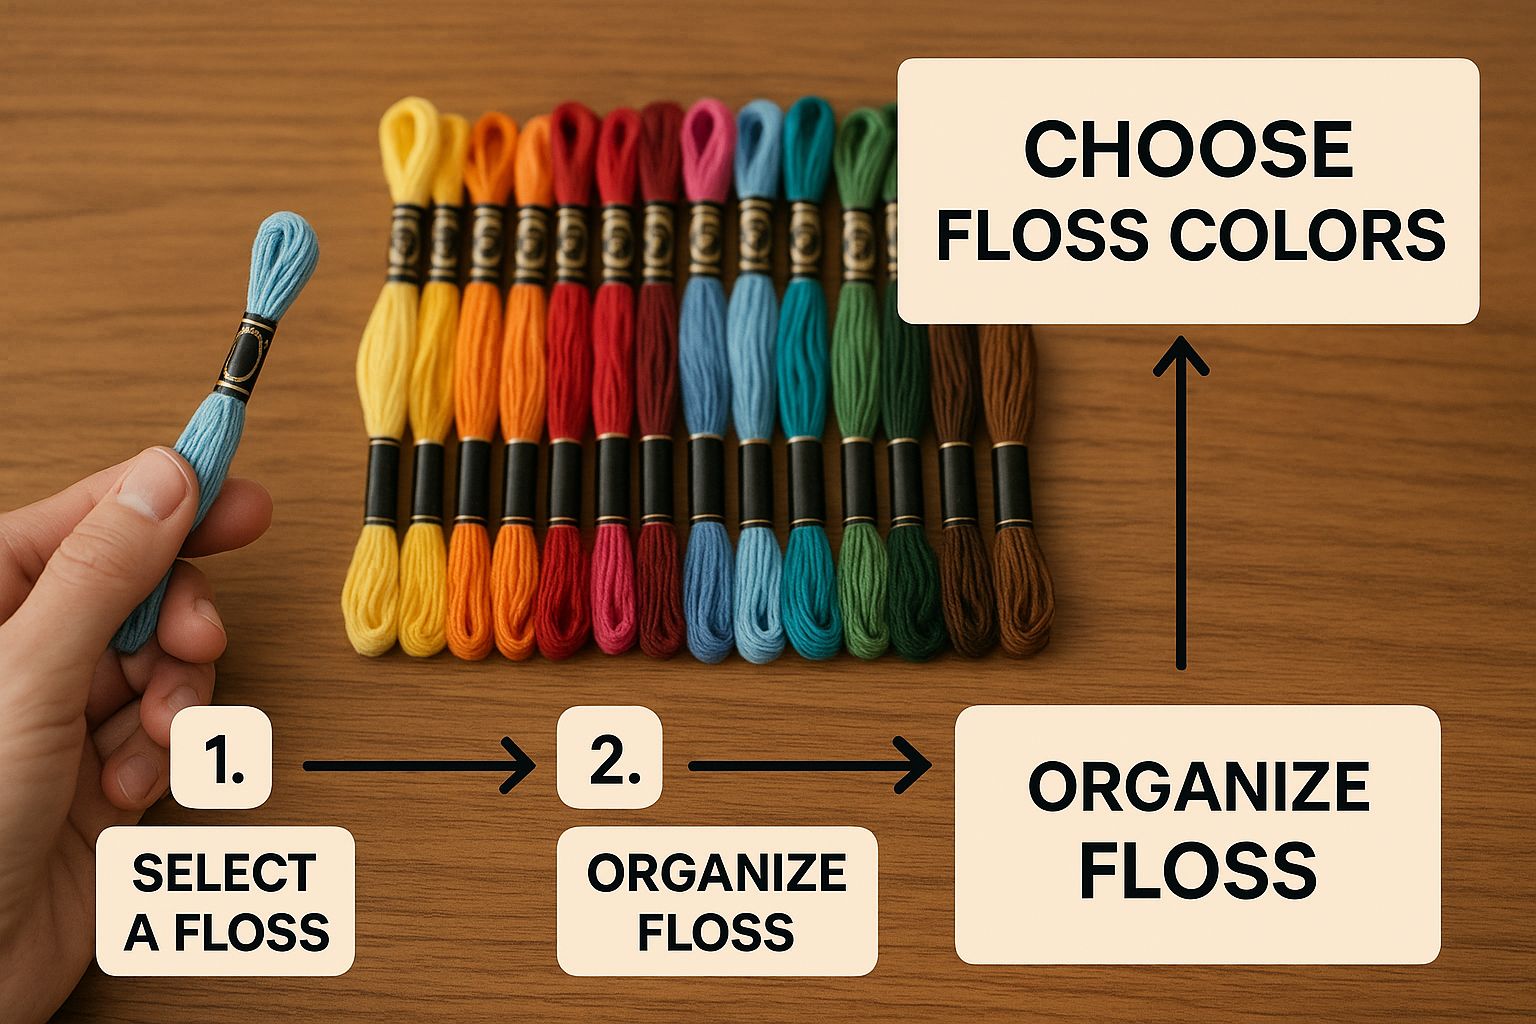
As this shows, picking out your colors is a huge part of the creative process before you ever make a single stitch.
My Go-To Tip: If you notice your thread twisting up as you stitch (and it will!), just let the needle and thread hang freely from your fabric for a few seconds. Gravity will do its thing and untwist it for you. It's a simple trick that keeps your stitches looking neat and flat.
Finally, let’s thread that needle. An easy method is to fold the ends of your separated strands over the needle's eye and pinch them tightly with your thumb and forefinger. When you slide the needle out, you're left with a tiny, firm loop that's much easier to push through the eye. There's a whole world of floss out there, and you can explore the different types of embroidery floss to find the perfect fit for your next project.
Mastering the Fundamental Cross Stitch
Alright, this is the part we've all been waiting for—making that very first stitch. This is where a blank piece of fabric and a bit of thread start to transform into a picture. But before we jump in, let's talk about a little trick that will make your work look polished right from the start: beginning your thread without a knot.
Knots are a beginner's go-to, but they create little bumps on the back of your fabric. Down the road, those bumps can make framing a real headache. The cleaner, more elegant solution is the loop start.
Here’s how it works: just take a single strand of floss, fold it perfectly in half, and then thread the two cut ends through your needle. When you make your first half-stitch from the back to the front, you'll leave a small loop of thread on the back. Simply pass your needle through that loop before making your next stitch, and voilà—it's secure. No knot, no lump, just a perfectly flat finish.
Choosing Your Stitching Method
At its heart, every cross stitch is just a tiny ‘X’. How you form that ‘X’ is up to you. There are two main approaches, and neither is right or wrong. It’s all about finding a rhythm that clicks. You'll figure out what you prefer pretty quickly as you practice.
- The English Method: This is where you complete one full ‘X’ at a time before moving on to the next square. It’s perfect for patterns with lots of scattered, individual stitches, sometimes called "confetti." Think of it as stitch-by-stitch precision.
- The Danish Method: Here, you work in rows. You'll do a whole line of bottom half-stitches (like this: /////) and then work your way back across the row, completing the ‘X’s with the top stitches (like this: \\). This method is a lifesaver for big, solid blocks of color.
Honestly, most stitchers I know use a mix of both. You might use the Danish method to fill in a big patch of blue sky and then switch to the English method for a few tiny, individual stars scattered within it.
The Golden Rule of Cross Stitch: Consistency is key. No matter which method you settle on, always make sure your top stitches slant in the same direction. Whether you work bottom-left to top-right first or the other way around, stick with it for the entire piece. This one habit is what gives a finished project that smooth, professional look.
Keeping Your Stitches Even
The final piece of the puzzle is tension. The goal is to have your stitches lie smoothly on top of the fabric. You don't want to pull so tight that the fabric puckers, but you also don't want them so loose that they look saggy or sloppy.
Finding that sweet spot takes a little practice, but it's one of those things that quickly becomes muscle memory. Don't stress about getting it perfect on your first try. Remember, the repetitive motion is part of the charm—in fact, studies have shown that hobbies like cross stitch can actually lower your resting heart rate. So, take a deep breath, relax into the rhythm, and enjoy watching your creation come to life, one tiny ‘X’ at a time.
Finishing and Displaying Your Creation
That feeling when you put in the very last stitch? It’s fantastic. But the real magic happens next, in the finishing touches that take your project from a piece of fabric to a piece of art.
Before you do anything else, you’ll want to give your project a little bath. I always hand wash my finished pieces in cool water with just a touch of mild soap. This gets rid of any oils from my hands or faint marks the hoop might have left behind. Just let it soak and swish it around a bit—no harsh scrubbing.
When you’re done, don’t wring it out! That can distort the stitches. Instead, gently roll your piece up in a clean, thick towel and press down to soak up most of the water.
Pressing and Framing
Now, it’s time to get it perfectly flat. Lay your slightly damp cross stitch face down on another clean, thick towel and press it with an iron on a low setting from the back. The towel is key here; it cushions your stitches so they don't get squashed flat, keeping that lovely, plump texture you worked so hard on.
Your finished cross stitch is a testament to your patience and creativity. Displaying it properly not only protects your work but also turns it into a cherished keepsake that tells a story.
Once it's pressed and beautiful, the fun part begins: deciding how to show it off. Framing is classic, of course, but don't feel like you have to stop there. I’ve seen small designs turned into amazing patches on a denim jacket, sewn into decorative pillows, or even made into one-of-a-kind Christmas ornaments.
The possibilities are endless. If you need a little spark of inspiration, we've put together a whole guide on different cross stitch finishing techniques to help you find the perfect final home for your masterpiece.
A Few Common Cross Stitch Questions
As you start to get the hang of things, you're bound to run into a few questions. Trust me, every single one of us has been there. Let's walk through some of the most common stumbling blocks so you can stitch with confidence.
"What Should the Back of My Project Look Like?"
This is probably the number one anxiety for new stitchers. You see these impossibly neat project backs online and panic. So, let me be clear: what matters is that the front looks good and the project lies flat.
A slightly messy back is perfectly fine! The main goal is to avoid bulky knots that create bumps, which can make framing a nightmare. Focus on securing your threads neatly and keeping your tension consistent, and don't obsess over the back.
"Why Does My Thread Keep Tangling?"
If your floss is constantly tying itself into knots, the culprit is almost always the length. It's tempting to cut a super long piece so you don't have to re-thread as often, but it just leads to frustration.
A good rule of thumb is to work with a length no longer than from your fingertips to your elbow—about 18 inches is perfect. If you find it’s still twisting up, just let your needle and thread dangle from the fabric for a second. Gravity will work its magic and untwist it for you.
Help, I made a mistake! What do I do?
First, don't panic! If you spot it right away, you can usually just unpick the wrong stitches with your needle. If it's really stuck, a seam ripper can help. If you don't notice it until much later? You have a choice. You can either leave it as a unique quirk of your handmade piece, or you can carefully snip the stitches out and redo the section. No one will know but you.
It's pretty amazing to see how many people are picking up this craft. In fact, this renewed interest is part of a much bigger trend. The global cross-stitch market is expected to grow to around USD 220 million by 2033, which is incredible! You can read more about it in the latest market analysis. It just goes to show you're part of a huge, creative community that finds real joy in putting needle to fabric.
Ready to turn a favorite photo into a work of art? At Cross Stitched, we make it easy. Just upload your image, and we’ll send you a complete, custom kit with everything you need to get started.


