

Taking on a large counted cross stitch pattern is more than just a project; it's a creative marathon. There's a special kind of satisfaction that comes from bringing a detailed, heirloom-quality piece of art to life, one stitch at a time. It’s a serious commitment, for sure, but with modern tools and amazing kits, these massive designs are more approachable than ever.
Why We're Hooked on Huge Cross Stitch Projects
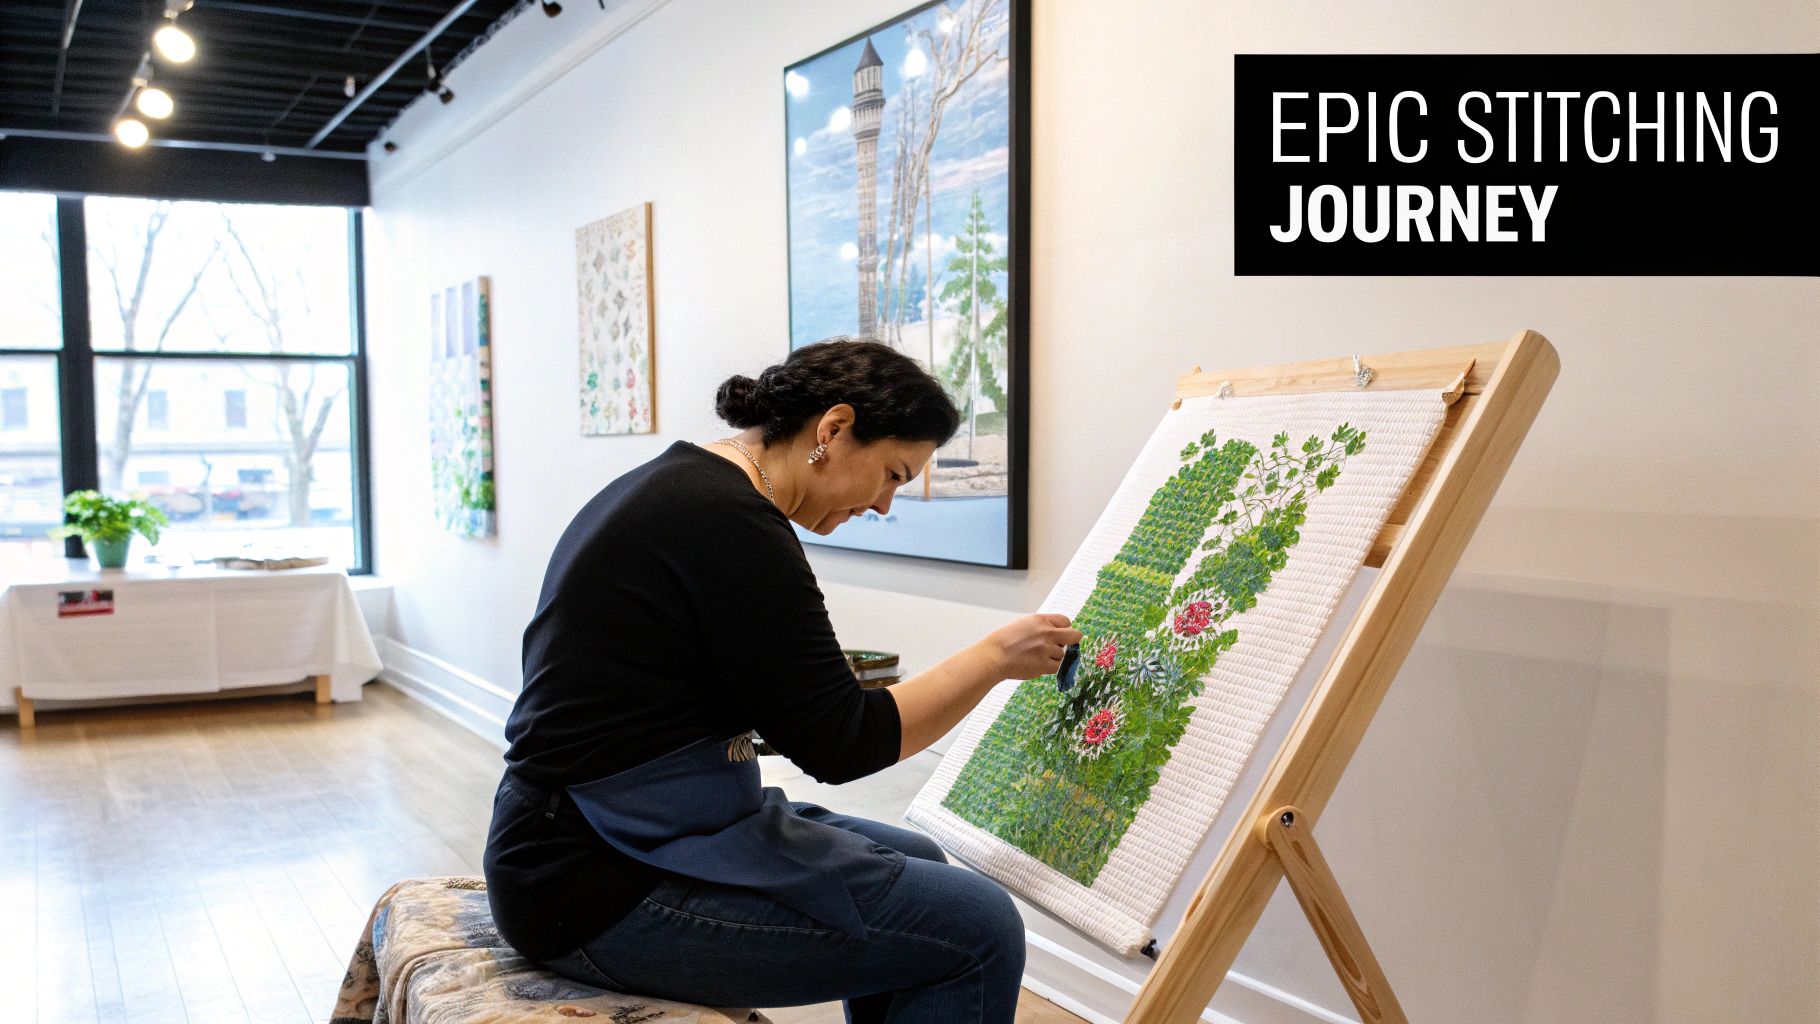
There’s something magical about starting a large-scale cross stitch. It’s a long-term relationship with a piece of art, a slow, almost meditative process where you watch an intricate image emerge from a blank piece of fabric. Every single stitch is a tiny step toward building a grand masterpiece, whether that’s a sprawling fantasy scene, a reproduction of a classic painting, or even a treasured family photo turned into a tangible memory.
The feeling you get when you finally place that last stitch is incredible. It represents hundreds—sometimes thousands—of hours of focus, patience, and pure dedication. The finished piece isn't just another wall hanging; it's a testament to your craft and a personal heirloom you can pass down for generations.
The Growing Appeal of Grand Designs
This isn't just a niche hobby, either. The passion for immersive, detailed crafting is exploding. The needlecraft patterns market, where large counted cross stitch patterns are a huge feature, is seeing some serious growth. Thanks to a boom in DIY crafting and a lot of love on social media, the global market is currently valued at USD 34,026.8 million. It's projected to climb to an astonishing USD 63,872.9 million by 2035, which is a strong compound annual growth rate (CAGR) of 6.5%. You can dive deeper into the growth of the needlecraft market to see the full picture.
The slow, deliberate nature of cross stitch offers a welcome escape. It’s a form of mindfulness where the focus shifts from daily stresses to the simple rhythm of pulling a needle and thread through fabric.
This boom in popularity is fantastic news for us stitchers. It means there are more patterns, tools, and resources available than ever before. You can find just about any ambitious design you can dream of, from full-coverage pieces with over 100 colors to custom kits that can turn any photograph into a stitchable chart.
What to Expect on This Journey
Jumping into a massive project is an exciting adventure, but a little preparation goes a long way. This guide is here to walk you through every stage, from start to finish, so your experience is as smooth as possible and your final piece is something you can be proud of.
We’re going to cover everything you need to know:
- Selecting the Right Foundation: How to choose the perfect fabric count and figure out how much thread you'll actually need.
- Creating Your Own Heirlooms: The best way to turn your personal photos into incredible, stitchable masterpieces.
- Staying Organized: My favorite strategies for taming complex charts and keeping dozens (or hundreds!) of floss colors in check.
- Perfecting Your Display: Pro tips for washing, pressing, and framing your finished art so it looks absolutely flawless.
So, whether you're a seasoned stitcher hungry for your next big challenge or an ambitious beginner ready to create something extraordinary, you’ve come to the right place. Let's get started on your epic stitching adventure.
Choosing Your Fabric and Threads with Confidence
The foundation of any show-stopping large counted cross stitch pattern is built with the right materials. Your choices in fabric and thread aren't just about the stitching experience—they dictate the final size, detail, and overall feel of your masterpiece. Getting this right from the start will save you a world of headaches down the line.
Your first major decision is the fabric. Aida cloth is the go-to for most stitchers, and its "count" simply means how many stitches you can make in one inch. For example, 14-count Aida has 14 little squares per inch, while 18-count Aida packs in 18. This one number dramatically changes how your project turns out.
Decoding Fabric Count and Calculating Size
So, what's the difference in practice? A lower count, like 14-count, gives you bigger stitches and a much larger finished piece. It's often easier on the eyes and can feel like it works up faster. On the other hand, a higher count like 18 or 22-count creates tiny, refined stitches that pack incredible detail into a smaller space, kind of like the pixels in a high-resolution photo.
Let’s put some real numbers to this. Say your pattern is 400 stitches wide by 560 stitches high. Here’s how the math breaks down:
-
On 14-count Aida:
- Width: 400 stitches ÷ 14 stitches/inch = 28.6 inches
- Height: 560 stitches ÷ 14 stitches/inch = 40 inches
-
On 18-count Aida:
- Width: 400 stitches ÷ 18 stitches/inch = 22.2 inches
- Height: 560 stitches ÷ 18 stitches/inch = 31.1 inches
See the difference? The same pattern is almost a foot shorter on 18-count fabric, making it a much more manageable size for certain walls. The choice really depends on the look you're going for and the space you have to display it.
To help visualize this, here's a quick reference table showing how fabric count impacts a 400x300 stitch pattern:
Fabric Count Impact on a 400x300 Stitch Pattern
| Aida Count (Stitches Per Inch) | Finished Size (Inches) | Recommended Use Case |
|---|---|---|
| 11-count | 36.4" x 27.3" | Large, bold designs where individual stitches are part of the look. |
| 14-count | 28.6" x 21.4" | The most common choice; great balance of detail and visibility. |
| 16-count | 25.0" x 18.8" | A popular alternative for slightly more refined detail. |
| 18-count | 22.2" x 16.7" | Excellent for photorealistic patterns without being too tiny. |
| 22-count | 18.2" x 13.6" | For highly detailed, heirloom-quality pieces; requires more focus. |
Choosing the right count is a balance between your desired final size, the level of detail you want to see, and what your eyes are comfortable working with. For a deeper dive, you can explore our full guide on understanding cross stitch fabric counts.
Pro Tip: Always, always add at least three inches of extra fabric to all four sides. This gives you plenty of room to grip the fabric in a frame or hoop and is absolutely essential for professional framing. For our 14-count example (28.6” x 40”), you’d want a piece of Aida that’s at least 34.6” x 46”.
Selecting High-Quality Threads
When you're pouring hundreds of hours into a project, this is not the place to cut corners. Using high-quality floss, like DMC, ensures your colours are consistent from one skein to the next. The last thing you want is to run out of a colour halfway through a giant block of sky, only to find the new skein is a slightly different shade. It’s a stitcher’s worst nightmare.
This commitment to quality is part of a huge resurgence in needlecrafts. In fact, cross-stitch pattern sales recently shot up by 89% in a single year, and sales of needlecraft canvas jumped 88% right alongside them. Clearly, stitchers are embracing ambitious projects! You can read more about these exciting needlecraft trends on countryliving.com.
Estimating floss for a massive project can feel intimidating, but thankfully most pattern generators and professional charts do the heavy lifting for you. They’ll usually tell you how many stitches of each colour are needed and often estimate the number of skeins, too.
Here’s a good rule of thumb for your own calculations:
- Stitches Per Skein: A standard skein of DMC floss has 8.7 yards. When you're using the typical two strands, you can get roughly 2,000 to 2,500 stitches out of it, depending on your tension and fabric count.
- Always Buy Extra: My personal rule is to always buy at least one more skein than the pattern calls for, especially for large background colours. It's far better to have a few leftovers than to scramble to find a matching dye lot months from now.
By carefully planning your fabric and thread from the very beginning, you set yourself up for a smooth and rewarding stitching journey. This groundwork ensures that the time and love you pour into your project result in a beautiful piece of art that will last a lifetime.
Turning Your Photos Into Stitchable Masterpieces
Transforming a treasured photograph into a large counted cross stitch pattern feels deeply personal. You’re not just stitching—you’re giving a snapshot of memory a new life in fabric and thread. Modern pattern generators have made the process approachable, even if you’ve never drawn a single square on graph paper.
Before you dive in, remember: not every image works equally well. A carefully chosen photo ensures your final chart highlights the details you love, instead of turning into a muddled grid of colors.
Selecting The Perfect Photo
Approach your gallery like an art curator. Scan for images where the main subject stands out cleanly against its surroundings. Portraits, pet close-ups or a crisp landscape at golden hour often translate beautifully into stitches.
Key Characteristics:
- High Resolution: A large, sharp photo provides the best source material.
- Good Lighting: Even, natural light preserves shadows and highlights.
- Clear Subject Matter: Avoid cluttered backgrounds that create “confetti” stitches—single dots of color scattered across your work.
Once you’ve zeroed in on the right shot, you’re ready to estimate fabric and thread requirements. The simple flowchart below lays out the major planning steps, from picking your photo to calculating how much Aida and skeins you’ll need.
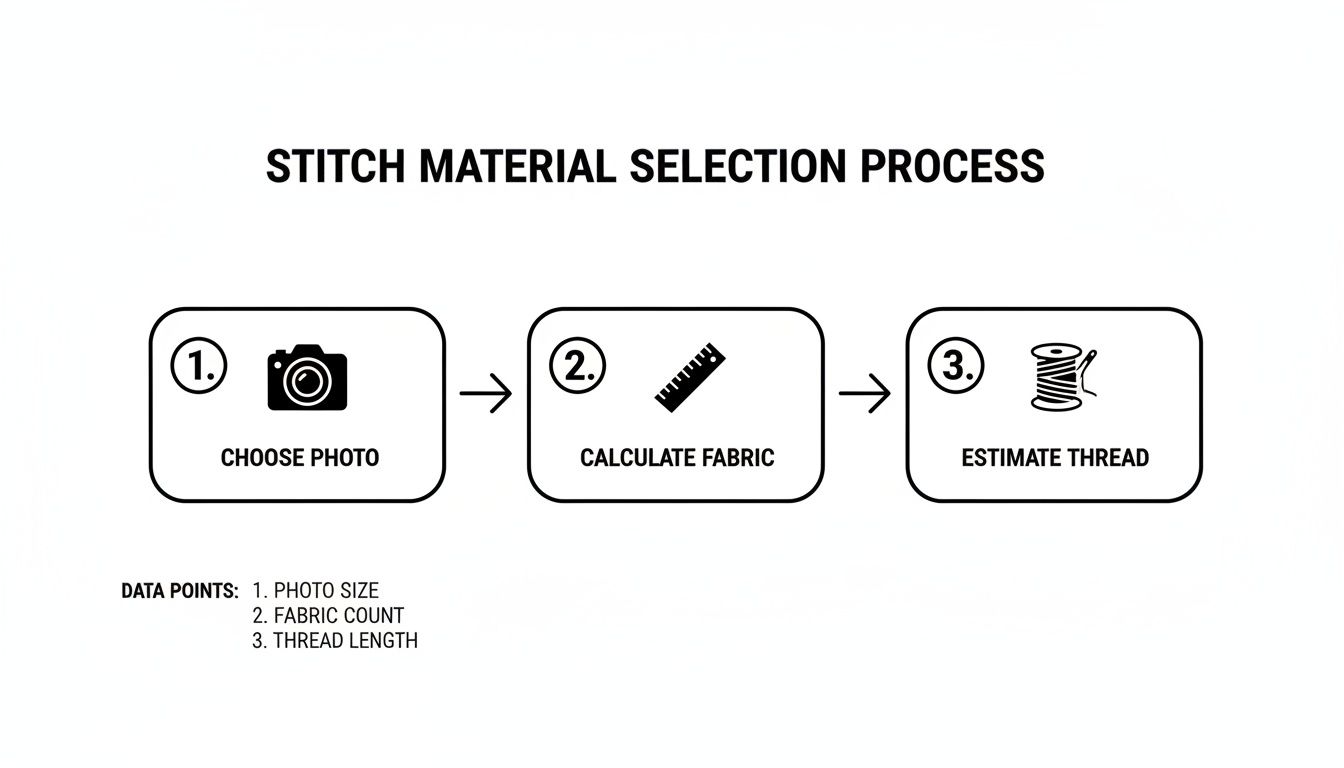
This roadmap reminds you that every successful project starts before the first stitch—by choosing the right image and materials.
Using A Pattern Generator
With your ideal photo on hand, head to a tool like Pic2Pat (a free, web-based generator). Upload your image and you’ll instantly see a preview—complete with a DMC color key and recommended stitch grid.
Important Settings Comparison:
| Setting | What It Affects |
|---|---|
| Stitch Size | Total dimensions: more stitches = finer detail |
| Fabric Count | Final size on 14, 16, or 18-count Aida |
| Color Palette | Number of floss shades. 40–60 colors usually hit the sweet spot |
Here’s what to keep in mind:
- Stitch Size: Bigger grids capture subtle gradients, but tack on more time.
- Fabric Count: Higher counts shrink the physical size but demand sharper eyesight.
- Number of Colors: Too many shades can overwhelm you; too few will flatten your image.
Don’t settle on the first draft. Generate variants with different color limits or stitch counts. You might discover that cutting the palette in half actually sharpens your design.
Refining Your Custom Pattern
That auto-generated chart is just the starting point. A quick manual pass can drastically improve your stitching experience. Start by examining areas dense with “confetti” stitches—single, stray stitches that break up larger swaths of color.
Try these tweaks:
- Merge near-identical hues (for example, DMC 3752 + DMC 931).
- Replace isolated stitches with the dominant surrounding color.
- Simplify complex clusters by smoothing jagged edges.
For a comprehensive walkthrough, check out our guide on how to make cross stitch patterns from photos.
When your digital chart feels just right, it’s time to print. Large patterns can easily span 100+ pages, so consider professional large format printing services. A crisp, easy-to-read chart is worth the small investment—it keeps frustration at bay and helps you focus on what matters: stitching your masterpiece.
By choosing your photo carefully, experimenting with settings, and fine-tuning the final chart, you’ll end up with a one-of-a-kind keepsake that stitches together both memory and creativity.
Managing Your Chart and Floss Like a Pro
Okay, let's be real. That moment when you finally unroll the chart for your dream project and see a list of 80, 100, or even more floss colors can be a little… intimidating. What starts as pure excitement can quickly turn into a wave of "What have I gotten myself into?"
A 100-page chart and a mountain of thread looks like chaos, I get it. But with the right systems, you can turn that chaos into a calm, methodical, and genuinely enjoyable part of the process. Good organization is the secret weapon that keeps you sane and prevents heartbreaking mistakes over the course of a multi-year project.
Before you even think about making your first stitch, the single most important thing you can do is grid your fabric. Seriously, this is non-negotiable. Think of it as your project's insurance policy. Gridding simply means marking a 10x10 stitch grid onto your Aida or evenweave that matches the heavy lines on your chart. It feels like a chore at first, but it will save you countless hours of frustration down the road.
The Magic of a Good Grid
Imagine you're stitching a huge, sprawling sky full of similar shades of blue. Without a grid, it's terrifyingly easy for your count to drift by one or two stitches. You might not even notice the mistake until you're hundreds of hours in. A grid makes every stitch accountable to its little 10x10 block, stopping those counting errors before they can cascade into a disaster.
You've got a few great options for getting that grid on your fabric:
- Water-Soluble Pens: These are fantastic for light-colored fabric. You just draw the grid on, stitch away, and the lines disappear completely with a quick rinse in cool water when you're done. Simple and effective.
- Pre-Gridded Fabric: Want to skip the drawing part entirely? You can buy Aida that comes with a washable grid already printed on it. This is a huge time-saver.
- Fishing Line or Sulky Sliver: This is my personal go-to, especially for dark fabrics or full-coverage pieces where every hole will be filled. You stitch the grid lines with a thin, slick monofilament thread. The best part? It's impossible to accidentally pierce with your needle, and it slides right out when you’re finished.
A well-gridded fabric is the foundation of any successful large cross-stitch project. It transforms a vast, intimidating canvas into a manageable series of small, achievable squares. It builds your confidence one 10x10 block at a time.
Taming the Thread Beast
With your fabric prepped, it's time to face that mountain of floss. Keeping dozens of colors straight isn't just about being tidy; it's about being efficient. When you can grab the exact color you need in seconds, you get to spend more time in that happy stitching zone and less time hunting through a messy pile.
Here's a quick rundown of the most popular ways to organize your threads:
| Method | Pros | Cons | Best For |
|---|---|---|---|
| Bobbins | Keeps floss neat and compact in storage boxes. Super easy to label with the DMC number. | Winding them takes a lot of upfront time. Can leave annoying kinks in the floss. | Stitchers who love a uniform, library-like system and find winding therapeutic. |
| Floss Drops | Very fast to prep. The floss hangs straight, which means no creases or kinks. | Can get tangled if you just toss them in a bag. Best stored on rings or in boxes. | Projects with tons of similar shades that are hard to tell apart on a bobbin. |
| Bag System | The absolute simplest method. Just pop the whole skein into a labeled zip-top bag. | Takes up a lot of space. Skeins can unravel and get messy inside the bags. | Stitchers who want the fastest possible prep and aren't bothered by a bit of bulk. |
There's no single "best" method. The goal is to find a system that just clicks with your brain and fits your workspace. For a closer look at all the options, check out our complete guide on finding the perfect cross stitch thread organizer for you.
Mastering the Parking Technique
When you hit a section of your pattern with a ton of color changes—what stitchers affectionately call "confetti"—the parking method is a total game-changer. Instead of finishing all the stitches of one color before moving to the next (the "cross-country" method), you work stitch by stitch within a small area, like one 10x10 grid square.
Here's the basic idea:
- You make a stitch with a particular color.
- Then, you look at your chart to find the next closest stitch of that same color.
- You bring your needle up in the starting corner of that future stitch and just let the thread hang out, or "park," on the front of your work.
- Then you grab the next color you need for your block and do the same thing.
It sounds a bit complicated on paper, but after a few tries, it becomes a smooth, easy rhythm. Parking is amazing because it keeps the back of your work surprisingly neat, cuts way down on thread waste, and makes tackling those super-detailed areas feel less chaotic and more like painting by numbers. It's a favorite technique of seasoned stitchers for a reason.
This revival of intricate needlecraft is more than just a quiet trend. Younger stitchers under 35 are now driving 60% of the growth in cross-stitch, turning these massive, beautiful patterns into a global phenomenon. It’s all part of a huge DIY resurgence, with some reports showing an 89% jump in pattern sales year-over-year. You can learn more about this crafting boom on wsj.com.
Getting Your Masterpiece Ready for Display
After months, or maybe even years, you’ve finally put in that last stitch. It’s a huge moment! But your journey isn’t quite over yet. The final steps—cleaning, pressing, and framing—are what will turn your beautiful stitching into a true work of art that’s ready to hang on the wall.
It's tempting to rush through this part, but that's a common mistake that can undo hundreds of hours of careful work. Taking your time to properly finish your large counted cross stitch pattern ensures it looks its absolute best and will be preserved for decades. This is the final polish that makes everything shine.
Giving It a Gentle Wash
No matter how careful you've been, a project that's been handled for a long time has picked up oils from your hands, a bit of dust, and maybe some marks from your hoop or frame. A gentle bath is the first step to bringing your fabric back to life and making those floss colors pop.
Before you start, just double-check that your threads are colorfast. High-quality floss like DMC is made to be, but it never hurts to be cautious.
- Find a clean sink or basin and fill it with lukewarm water. Add just a tiny amount of a mild, pH-neutral soap. A gentle wool wash or a special soap for quilts works great.
- Gently place your project in the water and let it soak for about 15-20 minutes. Don't scrub or wring it out! That can really distort your beautiful stitches.
- Drain the soapy water and rinse your piece carefully under cool, running water until you can't see any more suds. Squeeze out the extra water gently, but whatever you do, don't twist the fabric.
- Lay your project flat on a thick, clean towel. Now, roll the towel up with your cross stitch inside, pressing down firmly to soak up most of the water.
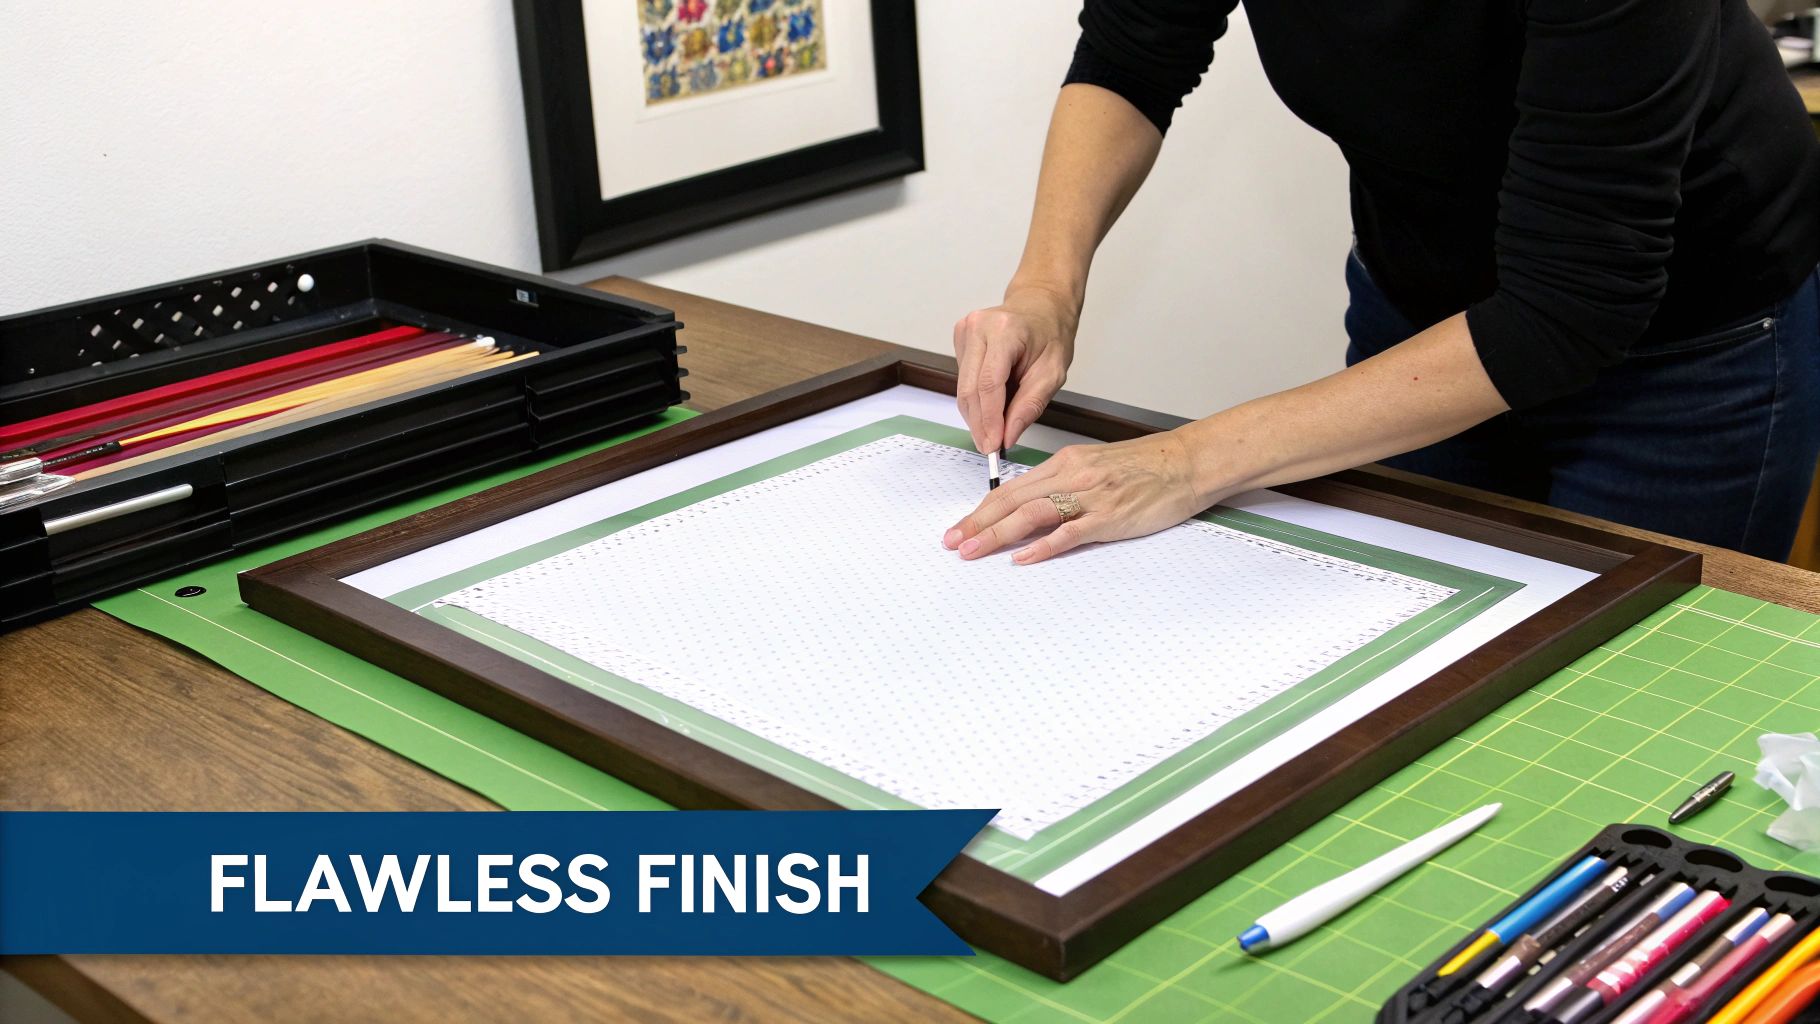
The Art of Pressing and Blocking
Here’s the secret to a perfectly flat, professional look: press your piece while it’s still a little damp. This step smooths out any last-minute wrinkles and helps even out the tension in your stitches, making them look plump and uniform.
Lay your project face down on another clean, thick towel. With your iron on a medium setting and no steam, gently press the back of the fabric. The towel is key here—it protects your stitches from getting squashed, so they stay nicely defined.
Blocking is simply the process of gently stretching and pinning your damp project to a board to make sure it dries perfectly square. For large counted cross stitch patterns, this is an absolute game-changer for getting a flawless, pucker-free finish before framing.
If it still doesn't look perfectly square after pressing, you can "block" it. Pin the damp fabric to a foam or cork board, using rust-proof pins to gently pull the edges until the weave is straight and you have perfect 90-degree angles at the corners. Then, just let it air dry completely.
Mounting and Framing for the Long Haul
Proper mounting is what will keep your artwork looking amazing for years to come. The idea is to keep the fabric taut and smooth without using any glues or adhesives that could damage the fabric or floss over time. Using acid-free materials is not optional—it's essential.
- Mounting Board: Start with an acid-free foam core board cut to the exact size of your frame's opening.
- Lacing Method: This is how the pros do it. Using a strong, neutral-colored thread, you basically "lace" the back by stitching from side to side and top to bottom, pulling the extra fabric taut over the board. It holds everything perfectly tight, and best of all, it's completely reversible if you ever need to reframe it.
When you're choosing a frame, a couple of final details will protect your investment. Always opt for UV-protective glass to stop those gorgeous floss colors from fading. It's also a great idea to ask your framer to use spacers or a mat. This creates a tiny bit of space between the glass and your stitches, so they don't get flattened and air can circulate, which helps prevent any moisture buildup. These finishing touches ensure your magnificent project will be a treasured heirloom for generations.
A Few Common Questions About Big Cross Stitch Projects
Jumping into a massive cross stitch pattern is an exciting commitment, but it’s totally normal to have a few questions before you start. Getting these sorted out from the get-go can make the whole journey a lot more fun and way less intimidating. Let's tackle some of the most common things stitchers ask when they decide to go big.
Seriously, How Long Will This Take to Finish?
This is the million-dollar question, isn't it? The real answer is: it all comes down to the pattern's detail and how fast you stitch. Most people average somewhere around 100-150 stitches an hour.
So, let's say you've picked a huge, full-coverage piece with 100,000 stitches. If you do the math, you're looking at anywhere from 650 to 1,000 hours of actual stitching time. If you can squeeze in an hour every single day, that project will probably take you about two to three years to complete. The trick is to see it as a marathon, not a sprint. Just enjoy the process and celebrate finishing a page or a specific section.
The real joy in a huge cross stitch project isn't about racing to the end. It's in the quiet, meditative rhythm of creating something beautiful with your own hands, one stitch at a time.
What's the Best Way to Store a Huge Project?
When you're working on something for months (or years!), you've got to protect it. Most stitchers handling large patterns find themselves moving on from standard hoops to tools that are better suited for managing all that fabric.
- Frames: Q-Snaps or scroll frames are game-changers. They keep the tension even across a bigger area and you won't get those stubborn hoop creases in your fabric.
- Storage: When you put it away, gently roll your project around a clean, acid-free tube (like the cardboard roll from gift wrap) with the stitches facing out. This stops them from getting squashed.
- Protection: Tuck your rolled-up project somewhere clean and dry, away from sunlight, moisture, and any curious pets. A grime guard—a simple fabric sleeve that fits over your frame—is also a fantastic little tool for keeping the edges of your fabric clean from the natural oils on your hands.
How Can I Avoid All Those Annoying Confetti Stitches?
Ah, "confetti"—those random, single stitches of one color that can drive you crazy. They're tedious to do and can make the back of your work look like a mess. Luckily, you have some control over this, especially if you're making a pattern from a photo.
When using a pattern generator like Pic2Pat, try limiting your color palette. You'd be surprised how often a design with 40-60 colors gives a stunning, detailed result without a ton of confetti. Some pattern programs even have a "reduce stray stitches" setting. You can also just make a judgment call while you're stitching. If you see a single confetti stitch, sometimes it's easier to just substitute it with a nearby, dominant color to keep your flow going.
Should I Buy a Kit or Get My Own Supplies?
This really boils down to your experience level and what you prefer. If this is your first time tackling a giant project, I almost always recommend starting with a full kit.
A kit takes all the scary guesswork out of the equation. It shows up with:
- All the DMC threads you need, already sorted.
- The right size fabric, already cut and prepped.
- The correct needles for the fabric.
- A professionally printed chart that's easy on the eyes.
It saves you from the massive job of figuring out how many skeins of each of the dozens of colors you'll need and ordering a huge piece of fabric.
Now, if you're a seasoned stitcher with a massive floss collection or you're particular about using a specific linen or evenweave, then gathering your own materials gives you total creative freedom. Just know that it requires a lot of planning and organizing before you can even think about making that first stitch.
Ready to turn a favorite photo into your next masterpiece? At Cross Stitched, we take the hassle out of starting. Our custom kits come with everything you need—pre-sorted DMC threads, the perfect fabric, and more—delivered right to you. Create your personalized cross stitch kit today.


