
When you're ready to move beyond the basic 'X' stitch, a whole new world of texture, detail, and artistry opens up. Advanced techniques like fractional stitches, thread blending, and couching are what transform a simple, grid-like pattern into a stunning work of art with a truly professional finish.
What Elevates a Stitch From Basic to Advanced
If you've gotten the hang of the standard cross stitch and are itching for a new challenge, you're in exactly the right place. Stepping up to advanced work isn't about speed or making things complicated just for the sake of it. It’s all about gaining artistic control.
This is what makes the difference between a project that looks good and one that looks absolutely breathtaking. The real distinction is in adding the kind of detail and dimension that a simple grid of 'X's can't quite capture. While your foundational skills build the image, these advanced methods are what breathe life into it.
The Key Pillars of Advanced Stitching
To get there, you'll start to move beyond simple charts and embrace methods that require a bit more finesse. It's about understanding the subtle interplay between thread and fabric. The techniques we'll dive into are designed to solve specific visual challenges, like smoothing out a curve or making an outline pop.
Here’s a taste of what you’ll be able to do:
- Create Smooth Curves: Forget that "blocky" or pixelated look. Fractional stitches are the secret to graceful lines.
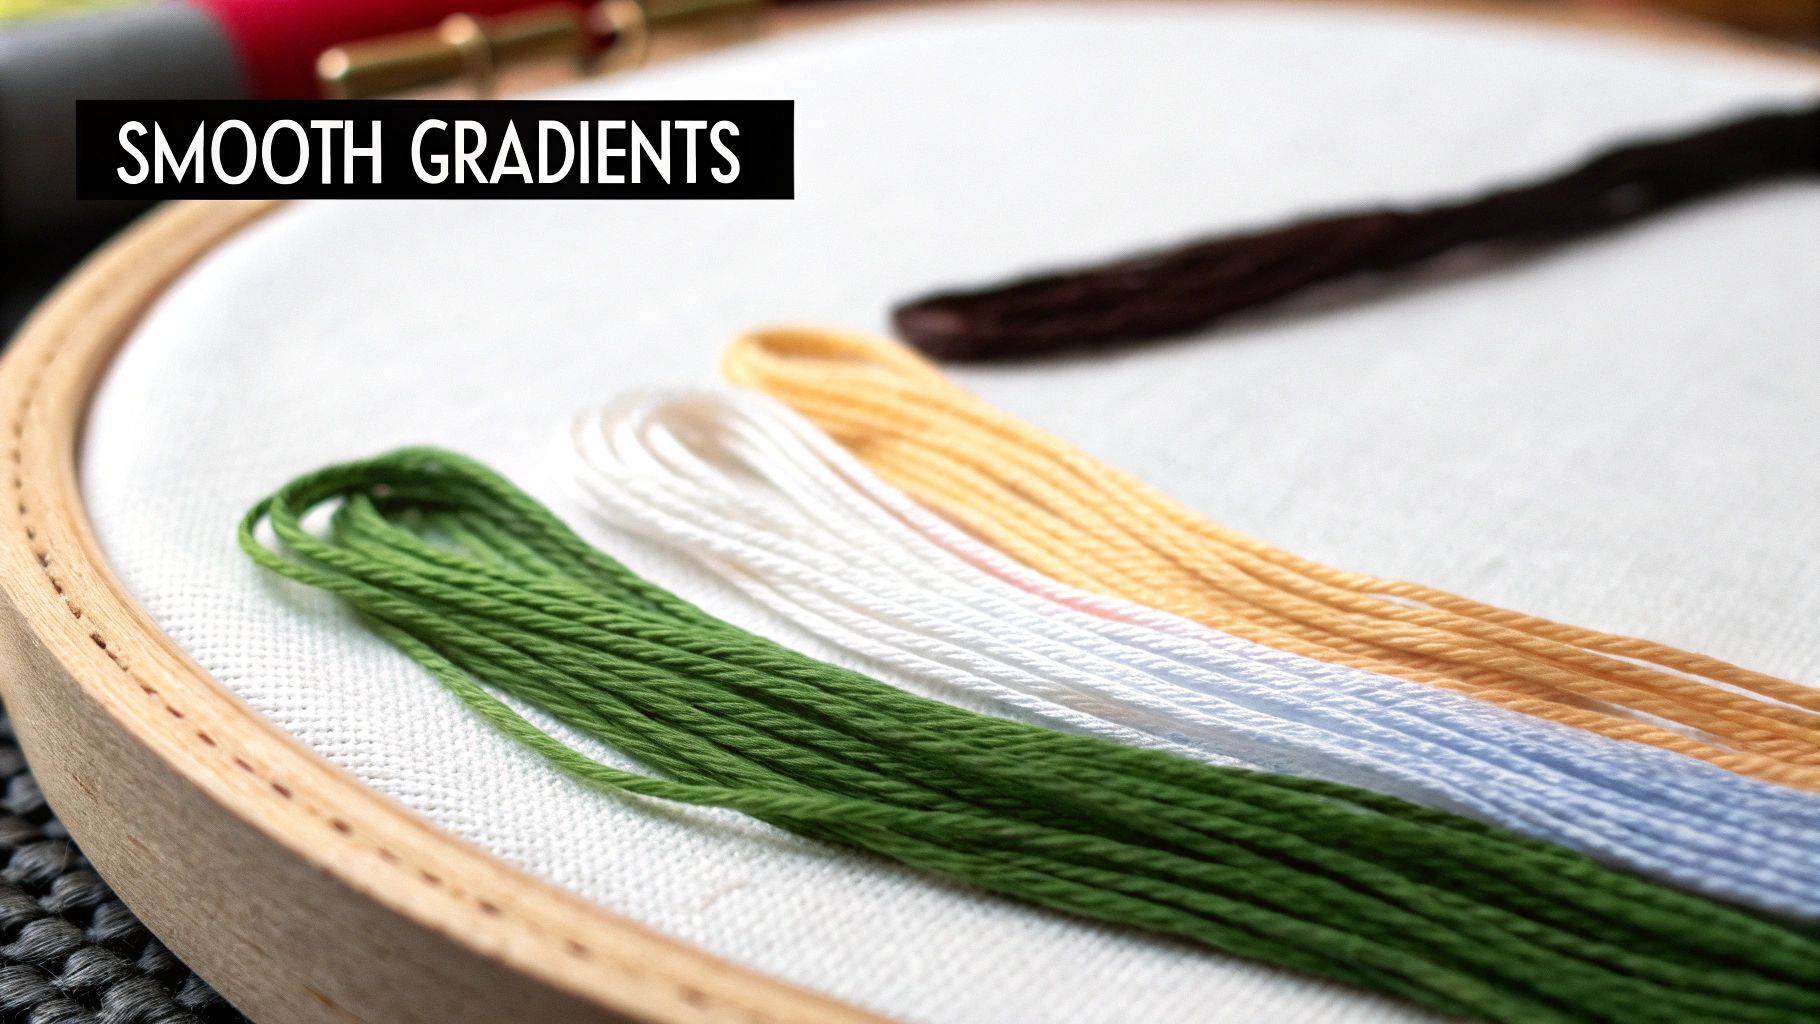
- Achieve Subtle Gradients: Learn to blend different floss colors on a single needle for painterly, soft transitions.
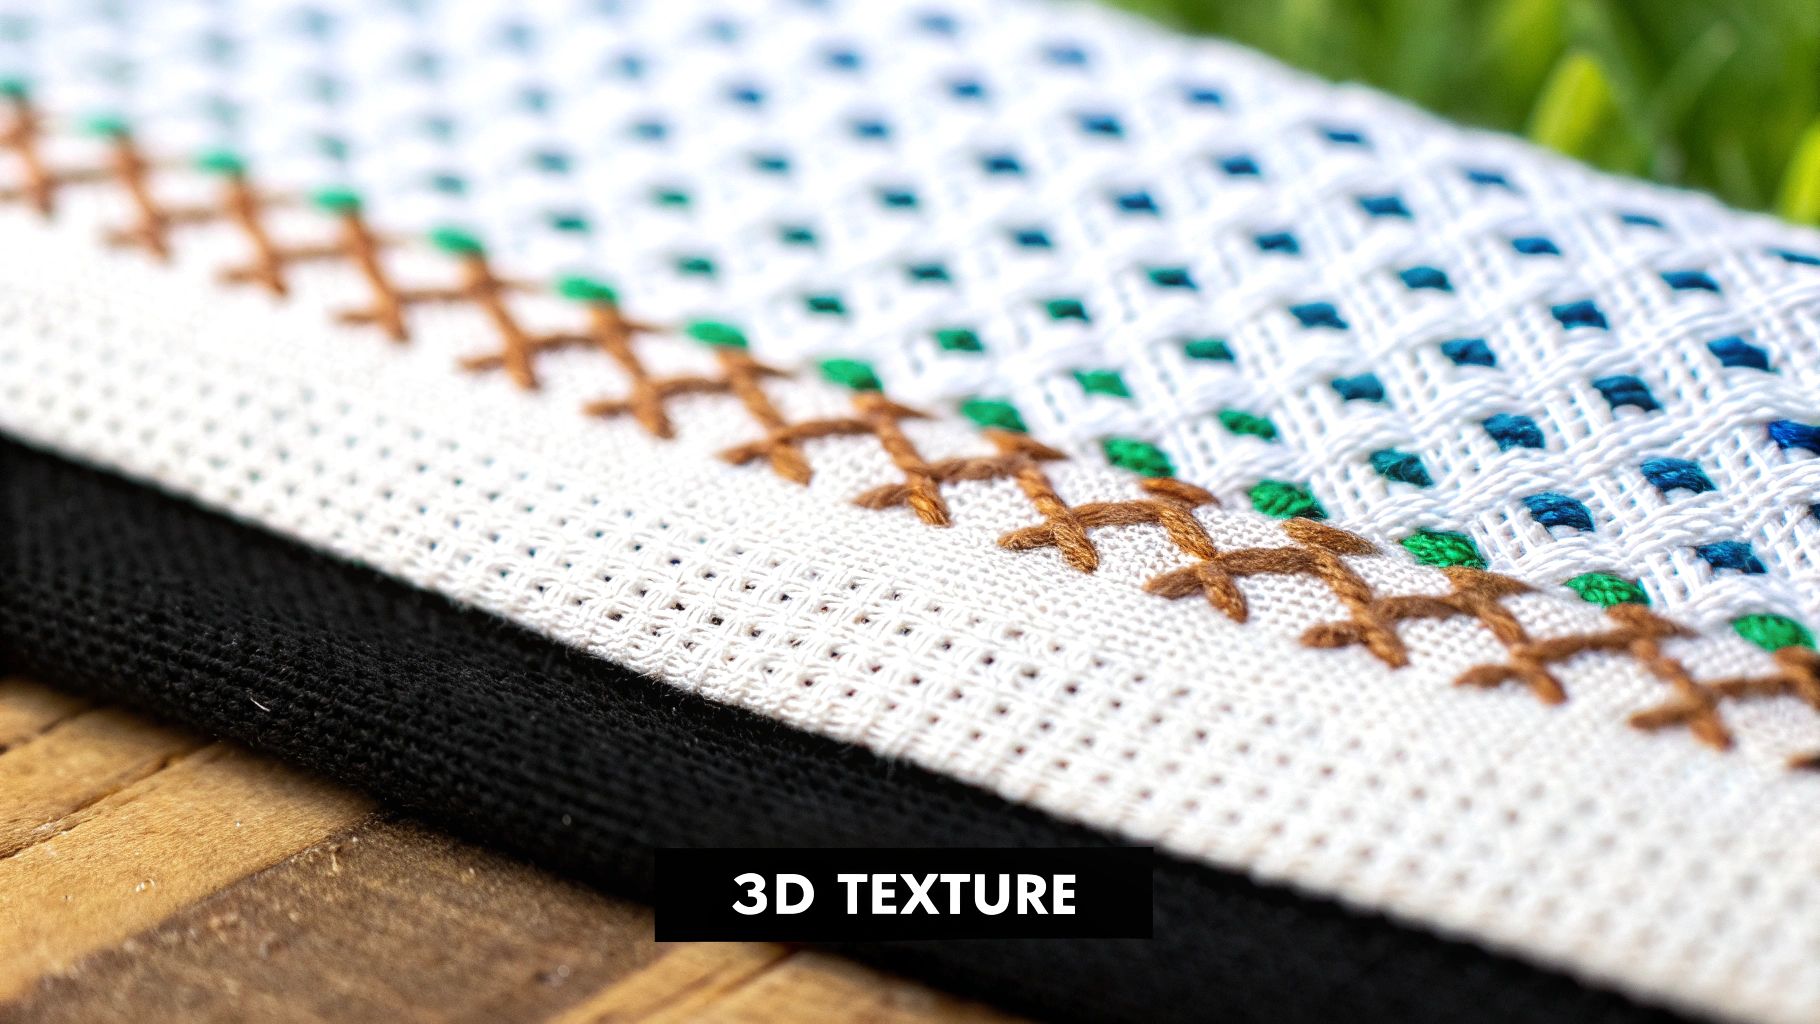
- Add Bold Textures: Use couching and specialty threads to make certain elements physically stand out from the fabric.
- Incorporate Embellishments: We'll even touch on adding beads for that extra bit of sparkle and dimension.
By mastering these skills, you gain the ability to tackle more intricate designs and even create your own. You’re no longer just following a pattern; you are actively shaping the artistic outcome of your work.
To give you a quick overview, here's a handy table summarizing what each technique brings to your projects.
Quick Guide to Advanced Stitching Techniques
| Technique | Primary Purpose | Key Benefit |
|---|---|---|
| Fractional Stitches | Creating smooth curves and fine details | Eliminates the jagged, pixelated look of standard stitches. |
| Thread Blending | Achieving subtle color gradients | Creates a painterly effect with smooth color transitions. |
| Couching | Adding bold outlines or textures | Makes certain elements stand out from the fabric for a 3D effect. |
| Beading & Embellishing | Incorporating non-thread elements | Adds sparkle, dimension, and a unique mixed-media finish. |
These techniques are the building blocks that will elevate your work from a hobby to a true art form.
Preparing for the Next Level
Before you jump in, it’s worth noting that these methods often work best on evenweave fabrics like Lugana or linen, rather than Aida cloth. The looser, more pliable weave of evenweave makes it much easier to pierce the center of a fabric square for those precise fractional stitches.
Likewise, working with specialty threads—think shimmering metallics or smooth silks—requires a different touch. You might need a needle with a larger eye or even a bit of thread conditioner to make the process smoother. You can get a better sense of how these elements come together in complex cross stitch patterns and see how they're constructed.
This guide will walk you through everything, step-by-step, so you can confidently add these advanced techniques to your repertoire and start creating projects that become treasured heirlooms.
Adding Detail with Fractional Stitches
If you're ready to take your cross-stitch from good to great, fractional stitches are where the magic happens. They are what separate a blocky, pixelated design from one with smooth curves and crisp, realistic details. Honestly, learning how to handle fractionals is one of the most important skills you can develop to give your work a truly professional finish.
Instead of making a full "X" in a square on your fabric, fractional stitches only fill a portion of it—either a quarter (¼) or three-quarters (¾). This bit of precision is what allows you to stitch a beautifully rounded flower petal or the delicate curve of an eyelid. A full stitch just can't compete.
You'll find that most intermediate and advanced patterns rely heavily on them, so learning to stitch them cleanly is a real game-changer.
Understanding Quarter Stitches
A quarter stitch (¼) is the smallest fractional and, as you might guess, it’s just one diagonal line going from a corner to the very center of a fabric square. Think of it as the first leg of a normal cross-stitch that just stops halfway.
These little stitches are workhorses for tiny details. Picture stitching a portrait—quarter stitches are perfect for creating that subtle glint in an eye or defining the corner of a mouth. They're also brilliant for small, delicate lettering that would look clunky and unreadable with full stitches.
So, how do you do it? On evenweave or linen, you bring your needle up through a corner hole like you always do. Then, instead of going to the opposite corner, you gently pierce the center of the fabric square to complete the stitch. This is exactly why stitchers often prefer evenweave for complex patterns; its looser weave makes finding and piercing that center point much easier than on Aida.
Mastering Three-Quarter Stitches
The three-quarter stitch (¾) is just a quarter stitch plus a half stitch. The final result looks like a little 'Y' or 'K' sitting inside the fabric square. I use these all the time to soften the transition where two different colors meet on a curve.
For example, if you're stitching a circle with only full stitches, you’ll end up with a jagged, stair-step edge. By placing three-quarter stitches along that curve, you smooth out the transition, making the shape look much more natural and round. Your pattern chart will show you which color gets the longer half stitch and which gets the smaller quarter stitch.
To make one, start by completing the quarter stitch. After that, you'll make a standard half stitch (a full diagonal line from corner to corner) that crosses over it. Just make sure the half stitch part lays in the same direction as the top leg of your regular cross-stitches. This keeps the texture of your entire piece consistent and neat.
Reading Fractional Stitches on a Chart
When you're dealing with fractionals, your pattern key is your best friend. Seriously, check it first. But generally, here’s what you'll see on a chart:
- Tiny Symbols: If you see a tiny version of a color symbol tucked into one corner of a grid square, that’s almost always a quarter stitch in that color.
- Split Squares: Sometimes you’ll see a square on the chart split diagonally with two different symbols inside. This means you need two fractional stitches in that one square.
- The Breakdown: The color in the larger, triangular part of the split square gets the three-quarter stitch, while the color in the smaller triangle gets the quarter stitch.
Always, always check your pattern’s key before you start. Designers have their own ways of marking things, and the key is the only way to know for sure what they intended. It'll save you a lot of guessing and potential frogging!
It's all about control and precision, which applies to other advanced stitches as well. Keeping your thread tension just right is also crucial. If you pull too tight, the fabric will pucker, but if your stitches are too loose, they'll look messy. You're aiming for a seamless blend with the full stitches around them.
Once you get the hang of fractionals, you’ll see a dramatic improvement in your finished work. If you're looking to build your skills even further, you might enjoy exploring our guide on the 7 different types of embroidery stitches to master in 2025.
Creating Painterly Effects with Thread Blending
Ready to step beyond the color key and start painting with thread? Thread blending is one of my favorite advanced cross-stitch techniques because it's where the real artistry begins. It lets you create subtle gradients and custom shades you just can't get straight off a bobbin.
It's a simple concept with stunning results: you just load your needle with strands from two or more different colors and stitch with them together. The effect is soft, dimensional, and adds a level of realism that can completely transform a piece. Think of stitching a sunset; instead of a harsh line where orange meets pink, blending gives you that soft, natural transition.
Blending vs. Tweeding: What's the Difference?
You’ll hear people use these terms interchangeably, but there’s a small but significant difference that affects your final result. Knowing which one you’re aiming for gives you much more control.
- Blending: The goal here is to trick the eye into seeing a new, solid color. When you combine one strand of red with one strand of white, you want the result to read as a soft, uniform pink. The key is getting the strands to lay flat and parallel as you stitch.
- Tweeding: This is all about texture. With tweeding, you want the individual colors to pop, creating a variegated or heathered look. You might even twist the strands a bit as you thread your needle to encourage this effect.
I like to think of it this way: blending is for realism, like creating subtle skin tones. Tweeding is for texture, like stitching a cozy woolen sweater or a field of wildflowers.
Choosing Your Colors and Strands
This is where your creativity really gets to shine. Sometimes a pattern will call for a blended stitch, often showing two different symbols in one square on the chart. But the real fun is experimenting on your own.
When you're starting out, try picking shades that are close neighbors on the color wheel. Blending a light blue with a slightly darker blue, for example, creates a perfect mid-tone for shading water or skies. For a highlight, you can't go wrong blending your main color with a single strand of white or a very light cream.
The strand count is also important. If your project uses two-stranded cross stitch, you’ll simply use one strand of each of your chosen colors to make up your pair.
My go-to trick for perfectly smooth blending is to “railroad” my stitches. After you bring the needle up through the fabric, just slide it between the two strands of floss before you complete the stitch. This little move forces them to lie down flat and parallel, which makes a world of difference in the final color transition.
When to Use Thread Blending
Knowing how to blend is one thing, but knowing when to use it is what elevates your work. It really shines in situations where a single floss color would look too flat or stark.
I often turn to blending for things like:
- Realistic Sunsets and Skies: It’s the best way to capture that soft glow where colors seem to melt into each other.
- Delicate Flower Petals: You can create those subtle color shifts from the base to the tip of a petal.
- Nuanced Skin Tones: This is how you add realistic highlights and shadows that truly bring a portrait to life.
- Animal Fur or Feathers: It’s perfect for achieving a natural, varied look with subtle undertones.
To get set up without a tangled mess, first separate a single strand of each color you want to use. Lay them next to each other, run your fingers down their length to make them perfectly parallel, and then thread them through the eye of your needle together. A little prep work here saves a lot of headaches and ensures your stitches lay just right. Once you get the hang of this, you’ve unlocked a nearly infinite palette, giving you total control over your finished pieces.
Adding Dimension with Couching and Specialty Threads
So, you’ve nailed the basics and are comfortable adding little details to your work. Now, let’s get into the fun stuff—the techniques that really make your projects pop off the fabric. Couching is one of my favorite ways to add incredible texture and dimension, making parts of your design literally stand out.
Think of it this way: instead of stitching through the fabric, you're laying a thicker thread or yarn right on the surface and then tacking it down with smaller, separate stitches. It’s the perfect method for creating bold outlines, beautiful lettering, or flowing decorative swirls that a simple backstitch just can't handle.
The end result is a tactile, three-dimensional effect that gives your piece a truly professional and artistic finish. It’s also a fantastic gateway into mixed media, letting you play with textures far beyond your standard cotton floss.
Getting Started with Couching
The best part about couching is how straightforward it is, even though it looks complex. You're just working with two threads: the laid thread (the thick, decorative one you see on top) and the couching thread (the thinner one you use to hold it down).
For your laid thread, you can get really creative. Some great options to try are:
- Perle Cotton: This creates a lovely, rope-like line with a beautiful sheen.
- Braided Metallics: A must-have for adding a bit of festive sparkle or a touch of regal shine.
- Fine Yarns or Ribbons: These introduce a soft, chunky texture that contrasts wonderfully with the sharp pixels of your cross stitches.
Your couching thread needs to be much finer. I usually find that a single strand of embroidery floss in a matching color does the trick. If you want the tacking stitches to be completely invisible, you can grab a spool of clear, monofilament thread.
How to Do the Couching Stitch
First, bring your laid thread up from the back of the fabric right where you want your line to start. Just let it rest on the surface, don’t take it back down. Position it along the path your pattern shows.
Now, grab your second needle threaded with the couching thread. Come up from the back on one side of the laid thread, then go back down on the opposite side. You’ve just made a tiny, straight stitch that pins the laid thread in place. These little stitches are your tacking stitches.
The secret to a polished look is all in the spacing. For straight lines, placing your tacking stitches about a quarter-inch apart is a good rule of thumb. When you get to curves, you’ll need to place them closer together to create a smooth, flowing arc without any harsh angles.
For really sharp corners, the trick is to place one tacking stitch right at the pivot point. Then, make another one immediately on the other side of the corner. This locks the angle in place and gives you a wonderfully crisp turn.
Taming Those Tricky Specialty Threads
Beyond couching, just trying to stitch with specialty threads can sometimes feel like a battle. We've all been there—metallic and silk threads are notorious for tangling, fraying, and generally misbehaving. But with a few small adjustments, you can get them to cooperate.
Honestly, learning to handle these threads is a huge part of advancing your cross-stitch skills.
Working with Metallic Threads Metallic floss adds a brilliant sparkle, but it can be a real pain. It loves to unravel and snag on everything.
- Use Short Lengths: Seriously, keep your thread length to around 12 inches or even less. The shorter length means less friction from being pulled through the fabric, which is the main cause of fraying.
- Try a Thread Conditioner: A product like Thread Heaven or even a little bit of beeswax can work wonders. It tames the fraying and helps the thread glide right through the fabric.
- Use a Larger Needle: Switching to a needle with a slightly larger eye reduces the strain on the thread as you pull it, preventing a lot of that shredding.
Stitching with Silk Threads Silk gives a piece a luxurious sheen that you just can't get from cotton. While it's less prone to fraying than metallics, it can be slippery and seems to tie itself in knots if you look at it wrong.
The key with silk is maintaining even tension. If your stitches are too loose, they’ll look sloppy, but pull too tight and you’ll pucker the fabric. The "railroading" technique we've talked about is your best friend here—it ensures the strands lay flat and really show off that gorgeous luster.
With these tips in your back pocket, you can confidently add these beautiful, eye-catching fibers to your projects for that extra bit of wow factor.
Finishing Your Projects Like a Professional
That final stitch is in, the last thread tied off—but your work isn't quite done yet. A beautifully stitched piece is only halfway there. It's the final presentation that truly turns your project into a treasured work of art, and these finishing techniques are what separate a nice hobby from a gallery-worthy piece.
Before you even think about framing or mounting, your piece needs a gentle wash. This isn't just about getting it clean; it's about removing the natural oils from your hands, any stubborn hoop marks, and the creases that have inevitably set in. Think of it as prepping the canvas for its final form.
A good wash sets the stage for blocking, which is the secret to getting that perfectly square and taut finish.
Washing and Blocking for a Flawless Foundation
Washing a cross-stitch project is a delicate art. You'll want to use a gentle, pH-neutral soap or a specialized quilt wash in cool or lukewarm water. Let your piece soak for about 15 minutes, swishing it around gently. Whatever you do, don't wring or scrub it!
After its bath, rinse the fabric thoroughly under cool running water until it's completely free of soap. To get the excess water out, lay the piece flat on a thick, clean towel, place another towel on top, and roll the whole thing up like a jelly roll, pressing gently as you go.
Now, it’s time to block. While the fabric is still damp, lay it face down on a fresh towel or a proper blocking mat. Gently pull and pat the fabric until the weave is perfectly straight and the corners form right angles. I like to use rust-proof T-pins to secure the edges to my blocking mat, which guarantees it dries in the exact shape I want. Just let it air dry completely, which might take up to 24 hours.
The Art of Lacing for Perfect Mounting
Once your project is clean, dry, and perfectly square, you’re ready to mount it. While sticky boards have their place, the traditional lacing technique gives you a far superior, archival-quality finish that keeps the fabric drum-tight for decades. This is how the pros do it.
First, you’ll need a piece of acid-free foam core cut to the exact size of your frame or display area. Center your ironed cross-stitch on the board, making sure you have an even margin of fabric—usually about 1.5 to 2 inches—on all sides to wrap around the back.
Here's how to lace it up:
- Anchor the Fabric: Fold two opposite sides of the fabric over the back of the foam core. I use a few pins pushed into the edge of the board to hold them in place temporarily.
- Start Lacing: With a strong thread (heavy-duty sewing thread or even a few strands of floss will work), begin sewing a wide zigzag stitch back and forth between the two folded edges of fabric.
- Build Tension: As you go, pull the lacing thread taut. This is what creates that perfectly smooth, unwrinkled surface on the front of your piece. It's incredibly satisfying to see it tighten up.
- Repeat on the Other Sides: Once the first two sides are laced securely, you can remove the pins and do the exact same thing for the remaining two sides. Pull everything tight to eliminate any remaining slack.
The goal is to create a web of threads on the back that pulls the fabric evenly from all directions. It takes a little more time, but the taut, professional result is absolutely worth the effort.
Transforming Stitches into Functional Art
Of course, not every project is destined for a frame. Some of the most rewarding finishes involve turning your needlework into something you can use every day, like a pillow or a Christmas ornament. It's a fantastic way to bring your stitching into your home decor in a tangible way.
For a pillow, you'll just need some backing fabric and stuffing. Cut your cross-stitch and the backing fabric to the same size (plus a seam allowance). With the right sides together, sew around the edges, leaving a small gap for turning. Turn it right-side out, stuff it to your desired plumpness, and then close the opening with a neat little invisible stitch.
Making an ornament is the same idea on a much smaller scale. You'll often use a piece of felt for the backing and add a loop of ribbon for hanging. These small projects can be just as intricate to finish as they are to stitch. If you want to dive deeper into these methods, you can explore a variety of cross stitch finishing techniques in our dedicated guide. Getting these skills down really rounds out your abilities as an advanced stitcher.
Of course. Here is the rewritten section, designed to sound like it was written by an experienced human expert.
Your Advanced Stitching Questions, Answered
Once you start dipping your toes into more complex patterns, the questions inevitably follow. It's totally normal. Tackling things like fractional stitches or metallic threads can feel like a whole new world, but a few key insights will make all the difference.
I've put together some answers to the most common hurdles I see stitchers face. Think of this as a chat with a stitching friend who’s been there, done that, and probably untangled a few hundred knots along the way.
What’s the Best Fabric for Advanced Techniques?
While good old Aida cloth is a fantastic workhorse for most projects, you'll quickly find that evenweave fabric is your best friend for advanced techniques. Materials like Lugana or linen have a perfectly even weave, making them a dream for intricate work.
The biggest win? How easily they handle fractional stitches. Trying to pierce the middle of a stiff Aida block for a quarter stitch is a real battle. With evenweave, your needle just glides between the threads, letting you place those tiny stitches exactly where they need to go without a fight.
Evenweave also provides a much more stable base for things like beading or couching. The tighter weave prevents the fabric from puckering under the tension and weight of those extra embellishments.
My Personal Takeaway: Always let the pattern guide your fabric choice. If you see a design loaded with graceful curves, confetti stitches, or delicate backstitching, do yourself a favor and switch to a 28-count Lugana or 32-count linen. It will save you a world of frustration and give you a beautifully refined finish.
How Can I Stop Metallic Threads From Fraying?
Ah, metallic threads. We love the sparkle, but oh, the frustration! They have a reputation for fraying, tangling, and generally misbehaving. But don't worry, you can tame them with a few simple tricks.
First, and this is the most important one, work with a much shorter length of thread. I’m talking about 12 inches, max. This one change dramatically reduces the wear and tear on the thread as it passes through the fabric—which is the main reason it shreds in the first place.
A thread conditioner can also be a lifesaver. A quick swipe of beeswax or a product like Thread Magic helps the metallic strands glide through the fabric instead of catching. It's all about reducing friction.
Finally, try using a needle with a larger eye, like a tapestry needle designed for metallics. A bigger eye puts less stress on the thread, helping it stay in one piece from start to finish.
How Do I Make My Backstitching Look Neater?
Clean, crisp backstitching is what makes the details in your project pop, but getting it to look perfectly uniform can be a challenge. The secret isn't complicated: it's all about consistency.
- For smooth, graceful curves, use smaller stitches. This prevents that jagged, almost pixelated look.
- For straight lines, focus on keeping every single stitch the exact same length. It’s this uniformity that makes the outline look polished and intentional.
I also swear by the "stabbing" method for backstitching. Instead of the "sewing" method (where the needle goes in and out in one motion), you push the needle straight down from the front, then bring it straight up from the back for the next stitch. It might feel a bit slower, but it gives you so much more control over placement and tension, resulting in a much cleaner line.
How Do I Read a Chart with All These Weird Symbols?
Advanced charts can look like a secret code at first, sometimes cramming multiple symbols into a single grid square. But once you crack the code, it’s surprisingly simple. Your chart's key is your roadmap—always study it before you stitch a single thing.
You’ll usually run into a few common conventions:
- Split Squares: See a square split diagonally with two different symbols? That means you've got two fractional stitches in one spot. The larger triangle is almost always a three-quarter stitch, and the smaller one is a quarter stitch.
- Corner Symbols: A tiny symbol tucked into a corner of a square is a tell-tale sign of a quarter stitch in that color.
- Combined Symbols: You might see a big symbol with a little one next to it. This often means you’ll do a full cross stitch and then add a French knot or a bead on top.
When in doubt, always trust the designer's key. It’s the ultimate authority and will tell you exactly what every symbol, line, and dot is supposed to be.
Ready to turn your favorite photos into timeless works of art? At Cross Stitched, we provide custom kits with everything you need to start your next masterpiece. Create your personalized cross-stitch pattern today!


