
Every stunning piece of embroidery starts with one thing: a simple, colorful thread. For most of us, that thread is cotton embroidery floss. It's the vibrant, versatile heart of countless handmade projects, loved by stitchers of all stripes for its soft feel, brilliant colors, and straightforward nature.
Getting to Know Cotton Embroidery Floss
If you're ready to dive into the world of stitching, you've come to the right place. We're going to break down everything you need to know about cotton floss, from what it’s made of to how to pick the perfect colors for your next masterpiece. Think of this as a friendly chat to get you comfortable with the basics.
We'll start by looking closely at what makes this thread so special. By understanding how a single strand is constructed, you'll see how it gives you incredible creative control over the texture and detail in your work.
Why Stitchers Swear By Cotton Floss
The love for cotton floss isn't just about sticking with tradition. Its lasting popularity comes down to a fantastic mix of practical benefits and beautiful results, making it the perfect choice for all kinds of needlework.
Here’s a quick look at why it’s a craft-bag essential:
- A Rainbow of Colors: Cotton fibers grab onto dye and hold it tight, giving us a massive spectrum of rich, fade-resistant colors. This is what makes intricate shading and beautifully detailed designs possible.
- A Dream to Work With: The natural fibers are soft, gliding smoothly through fabric without a fight. This makes the whole process of stitching that much more relaxing and enjoyable.
- Built-in Versatility: Standard cotton floss comes as a six-strand thread. The magic is that you can easily separate these strands to control the thickness of your stitches, letting you create everything from delicate lines to bold, solid fills with just one skein.
- Made to Last: With the right care, cotton is surprisingly strong. Your finished projects will hold up beautifully, ready to be treasured for years to come without falling apart.
It's no surprise this humble thread is a cornerstone of the craft world. Its versatility and widespread appeal are big business. The hand embroidery thread market, dominated by cotton floss, is on track to become a global industry worth around USD 1.5 billion by 2025. This boom is fueled by a renewed passion for crafting and DIY, especially when it comes to making personalized gifts. You can see more hand embroidery market trends on archivemarketresearch.com.
By the time we're done, you'll have a solid grasp of how to choose, use, and care for your floss. That knowledge is the key to feeling inspired and ready to tackle any stitching adventure that catches your eye.
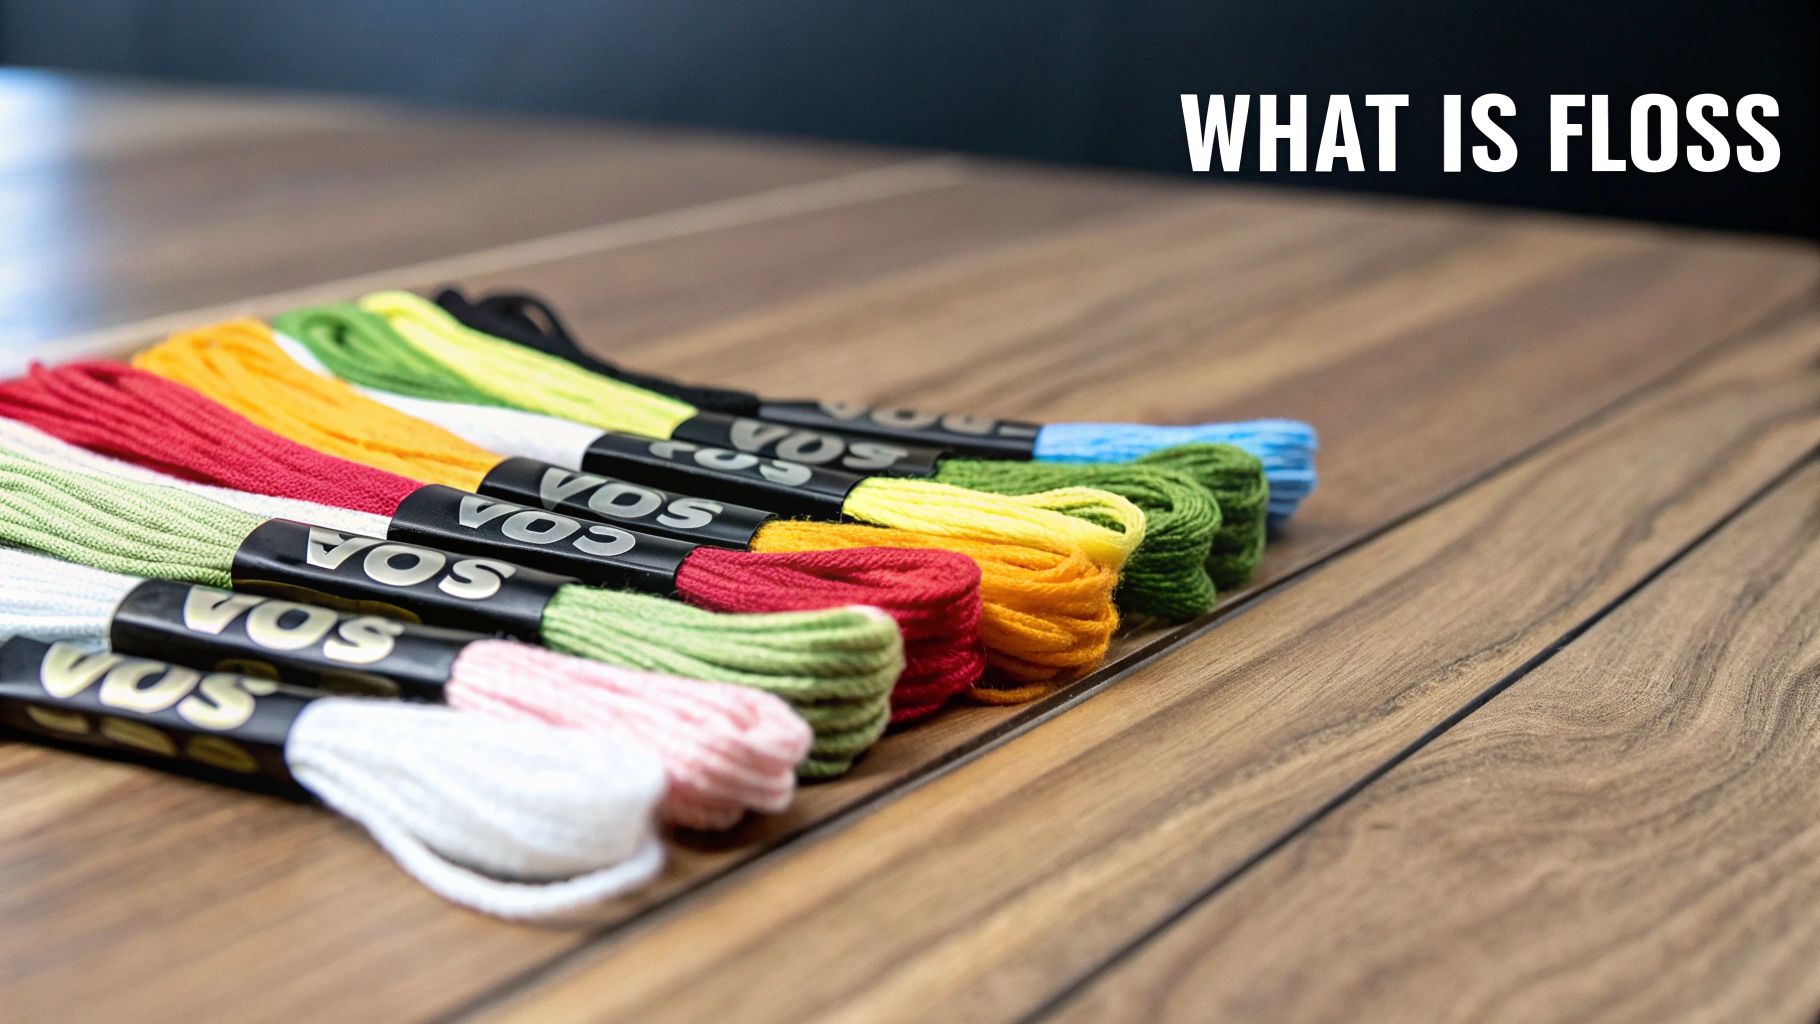
What Exactly Is Cotton Embroidery Floss?
Ever take a close look at a single piece of embroidery floss and wonder what's going on there? It looks like one simple, colorful thread, but its clever construction is the real secret to its versatility in any stitching project.
Standard cotton embroidery floss is actually a tiny bundle of six individual strands of thread. These strands are just loosely twisted together to create that single thread you pull from the skein. This isn't just a random design choice; it’s a brilliant feature that gives stitchers incredible control over the final look of their work.
Think of it like a miniature, colorful rope. If you need a bold, thick line to outline a shape or fill in a big area, you can use the entire six-strand "rope." But what if your design calls for something more delicate, like the soft edge of a flower petal or the fine lines of some text? Simple. You just separate the rope into its individual threads. This ability to choose the thickness of your stitch is precisely what makes cotton floss such a cornerstone for crafters.
The Power of Separating Strands
The real magic of cotton embroidery floss happens when you start playing with the number of strands. By changing how many you thread through your needle, you can create a whole world of different textures and effects without ever changing your stitch or your color. It's a simple trick with a huge impact.
For example, here’s how it typically breaks down:
- One Strand: This is your go-to for the most delicate, subtle details. Think fine lines, tiny facial features on a portrait, or achieving a look that resembles a pencil drawing.
- Two or Three Strands: This is the sweet spot for most cross-stitch and embroidery patterns. It gives you good, solid coverage on the fabric without being too bulky, creating a smooth and balanced finish.
- Four to Six Strands: When you want your stitches to be bold and really stand out, using more strands is the way to go. This creates a thick, lush texture that’s perfect for satin stitches, filling in large blocks of color, or making certain parts of your design pop right off the fabric.
This built-in flexibility is why a single skein of floss can do so much, from incredibly detailed needle-painting to simple, graphic designs.
The Secret Ingredient: Mercerization
Beyond its six-strand structure, another key element gives high-quality cotton floss its signature sheen and strength. It all comes down to a chemical process called mercerization, named after its inventor, John Mercer. This treatment permanently alters the cotton fibers on a microscopic level.
During mercerization, the cotton fibers get a bath in a caustic soda solution. This makes the normally flat, ribbon-like cotton fibers swell up, becoming rounder and much smoother.
You can think of mercerization as giving the cotton thread a complete makeover. It strengthens the fibers, makes them absorb dye more effectively (hello, vibrant colors!), and gives them that beautiful, lustrous sheen that catches the light. This is why good floss doesn't look dull or fuzzy but has a rich, silky finish.
The end result is a thread that not only looks fantastic but is also more durable and less likely to shrink. That smooth, mercerized surface also helps the floss glide through fabric more easily, which means less friction and less fraying while you stitch. Knowing about this process really helps you appreciate why spending a little more on quality, mercerized cotton floss makes such a difference in your finished projects.
Exploring Different Types of Cotton Floss
Picking the right cotton embroidery floss can be the difference between a good project and a truly stunning one. When you understand the different types available, you can start making intentional choices to get the perfect texture, sheen, and color for your design.
For most stitchers, the go-to is the classic six-strand floss. It's what you see lining the walls of craft stores, and for good reason—its divisible strands give you incredible control over the thickness of your stitches.
Then you have pearl cotton, which is a whole different beast. It’s a single, twisted thread that you don’t separate. Its signature look is a beautiful, high-gloss sheen and a distinct, almost rope-like texture that really makes stitches pop.
You’ll also run into variegated floss, which is a game-changer for creating color gradients. It's dyed with multiple shades along a single thread, so the color shifts automatically as you stitch. It's like watercolor painting, but with thread.
For instance, if you're stitching delicate details like the sparkle in an eye, you might pull out just one or two strands of a standard floss. But for a bold, chunky outline or filling in a large area, using all six strands at once gives you fantastic coverage.
Pearl cotton, with its built-in twist and lustrous finish, is perfect for stitches that are meant to be seen. Think of raised, textured stitches or the crisp, shiny edge on an embroidered flower petal. The way light bounces off it just elevates the whole piece.
Comparison Of Common Embroidery Floss Cotton Types
To make sense of it all, it helps to see the main players side-by-side. Think of this table as your cheat sheet for choosing the right thread for the job.
| Floss Type | Structure | Key Feature | Best For |
|---|---|---|---|
| Classic Six-Strand | Six loosely twisted strands | Divisible for variable thickness | Cross-stitch, general embroidery |
| Pearl Cotton | Single non-divisible twisted thread | High sheen and firm texture | Satin stitch, rope stitch accents |
| Variegated Floss | Multi-colored dyed six-strand fiber | Automatic color transitions | Gradient fills, background shading |
As you can see, the thread’s structure has everything to do with how you’ll use it. For a deeper dive, you can check out our complete guide on types of embroidery floss.
This quick comparison shows how each type brings something unique to the table. Variegated floss, for example, does the color-blending work for you, creating beautiful, subtle shifts without you ever needing to change your thread.
When To Use Each Floss Type
So, when do you reach for which one?
Standard six-strand floss is the workhorse of the embroidery world. Its versatility makes it the default choice for most cross-stitch patterns, and it behaves beautifully on common fabrics like Aida and evenweave.
Reach for pearl cotton when you want your stitches to stand out—literally. It creates a bold, shiny line that’s perfect for decorative accents or surface embroidery techniques where you want the thread itself to be the star. It also holds its shape incredibly well and resists fraying.
“In bold satin stitches, Pearl cotton can double the brightness and texture compared to standard floss.”
The image below gives you a nice visual of how these floss types fit together in terms of color and texture.
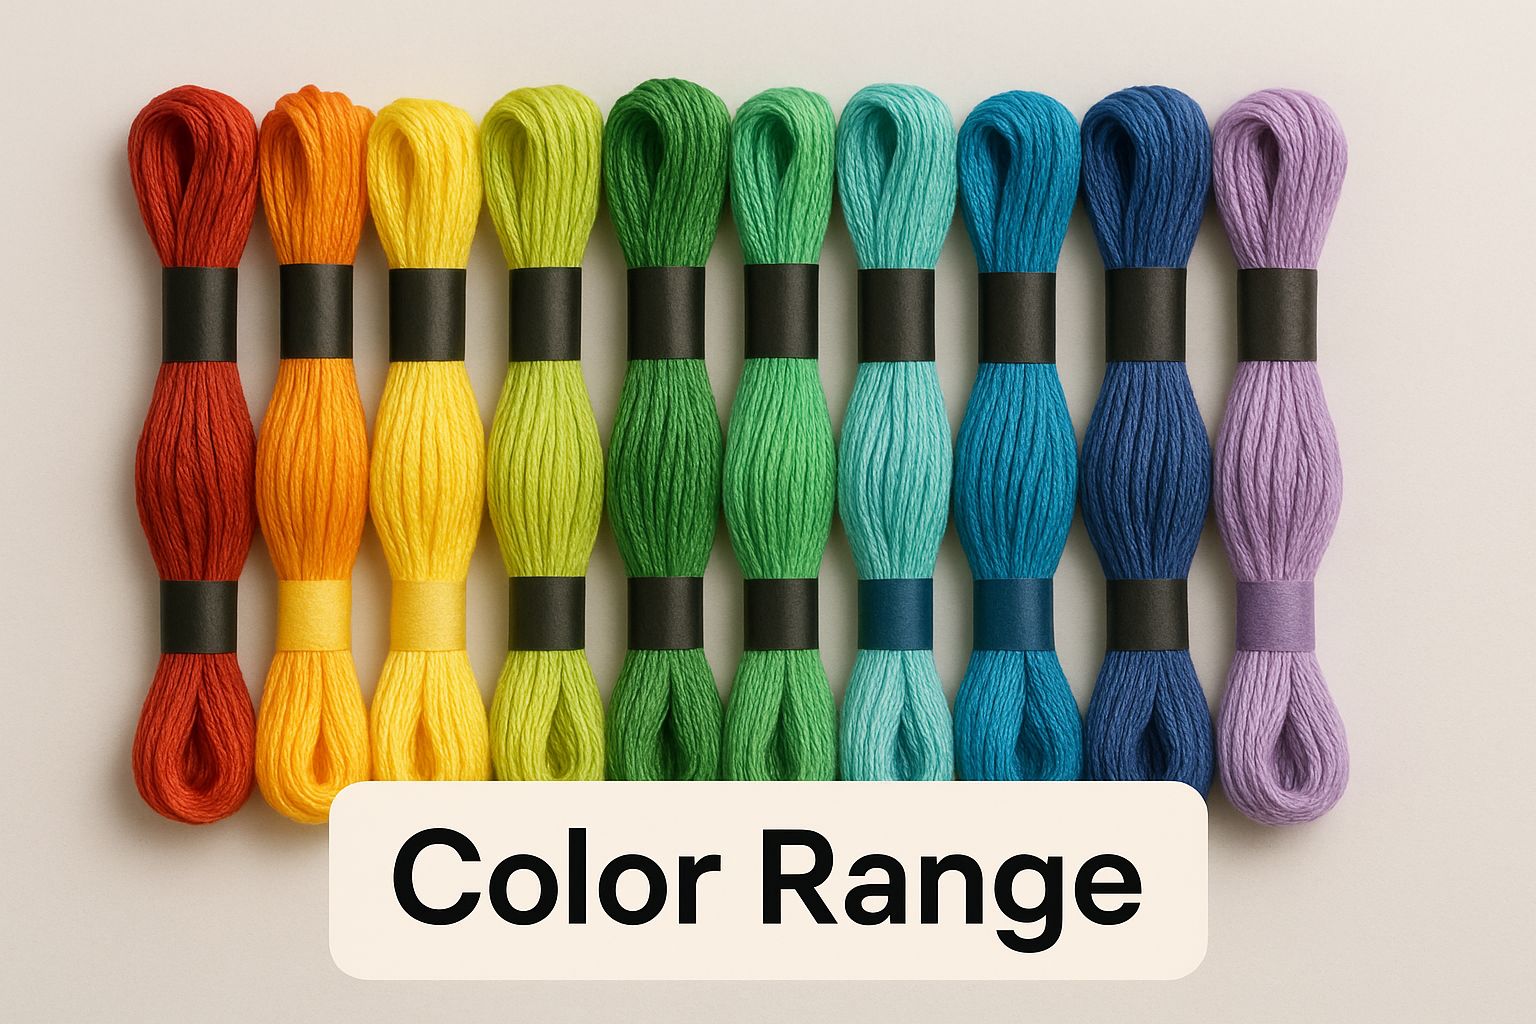
As the diagram shows, variegated floss offers the most dramatic color shifts, while pearl cotton is all about that unmistakable sheen. It’s a trade-off between color depth and light-catching texture.
Use variegated floss when you want to turn a simple area of fill-stitching into something painterly and dynamic. It’s fantastic for backgrounds, skies, or any element where you want a natural, organic flow of color.
A few practical tips from one stitcher to another:
- Start with fewer strands for fine details and add more as you need thicker lines or better coverage.
- Pair pearl cotton with decorative stitches to really show off its gorgeous luster in key areas of your design.
- Stitch a small test patch when using variegated floss to see how the colors will actually play out before you commit.
And a word of caution: always check the dye lot numbers on your skeins, especially for larger projects. Nothing is more frustrating than running out of a color only to find the new skein is a slightly different shade!
Finally, don't be afraid to mix and match brands, but try to stick with similar thread weights and finishes. Just be sure to secure your ends well, as different fibers can have different levels of slipperiness. Ultimately, the threads you choose are part of your unique artistic voice, telling your story one stitch at a time.
How to Choose the Right Cotton Floss for Your Project
Picking the perfect floss involves more than just grabbing a color that catches your eye. To take your work from good to truly great, you have to think about the project's purpose, the fabric you're using, and the final look you're going for. It’s a lot like a chef choosing just the right spice for a dish—the details make all the difference.
First up, think about your fabric. The weight and weave of your material are your primary guides. A light, airy fabric like voile or lawn really needs a delicate touch—using just one or two strands will keep it from puckering. On the other hand, a tough fabric like canvas or denim can easily handle all six strands for a bold, chunky design.
When you match your thread weight to your fabric weight, you get a smooth, professional finish. It just makes sense. Piling too many strands onto a fine fabric will distort the weave and look clumsy. And if you use too few strands on a heavy fabric, your beautiful stitches might just sink in and disappear.
Master the Art of Strand Selection
The real magic of standard six-strand floss is that you can split it. Deciding how many strands to use is one of the biggest creative choices you'll make, and it completely changes the texture and detail of your finished piece.
Think of it like choosing between a fine-tipped pen and a thick marker. Both draw lines, but the effect is worlds apart.
- For Delicate Details (1-2 Strands): When you're stitching tiny text, fine lines, or subtle shading, using just one or two strands is the way to go. This gives your work a delicate, almost drawn-on look that’s perfect for intricate patterns.
- For Standard Coverage (2-3 Strands): This is the sweet spot for most cross-stitch and general embroidery. Two or three strands give you great coverage on common fabrics like Aida without adding too much bulk. The result is smooth, even stitches.
- For Bold Statements (4-6 Strands): Ready to make a statement? Using four to six strands creates a thick, lush texture that really stands out. This is fantastic for filling large areas with satin stitch or making certain parts of your design pop with an almost three-dimensional feel.
Being able to control your stitch thickness this way is a game-changer. It's also why understanding the numbering systems for different floss brands is so helpful; it lets you consistently find the exact colors you need. You can learn more in our guide to DMC embroidery floss numbers, which unpacks one of the most popular systems out there.
Prioritize Colorfastness for Washable Items
If you’re stitching on something you plan to wash—like a t-shirt, a tea towel, or a quilt—then colorfastness is absolutely non-negotiable. A colorfast floss is treated so the dye won't bleed when it gets wet, saving you from the heartbreak of a smudged, rainbow-colored mess in the laundry.
Most high-quality, mercerized cotton floss from big-name brands is already colorfast, but it never hurts to be sure. This is especially true if you’re working with deep reds or blues, which are notorious for bleeding. A quick pre-wash test can save you a world of hurt later.
How to Test for Colorfastness: Snip a small piece of the floss, get it wet, and press it between two pieces of a white paper towel for a few minutes. If no color transfers, you’re good to go.
This simple step ensures all the beautiful work you put into a wearable or functional piece will last through wash after wash, staying vibrant for years.
Match the Sheen to Your Project's Vibe
Finally, think about the finish. Are you going for a subtle, matte look or a bright, lustrous sheen that catches the light?
High-sheen mercerized cotton is perfect for a decorative piece that will live in a hoop on the wall. That beautiful shine really highlights your stitchwork. On the other hand, a more durable, matte cotton might be a better fit for something that will see a lot of love and wear, like a quilt or a patch on a denim jacket.
This kind of thoughtful selection is what the craft is all about, and it's a huge part of its growing appeal. The global embroidery market, which runs on materials like cotton floss, is projected to hit USD 3.71 billion by 2025. This incredible growth just goes to show how many people around the world have a passion for this craft. You can see more details about this expanding market on cognitivemarketresearch.com.
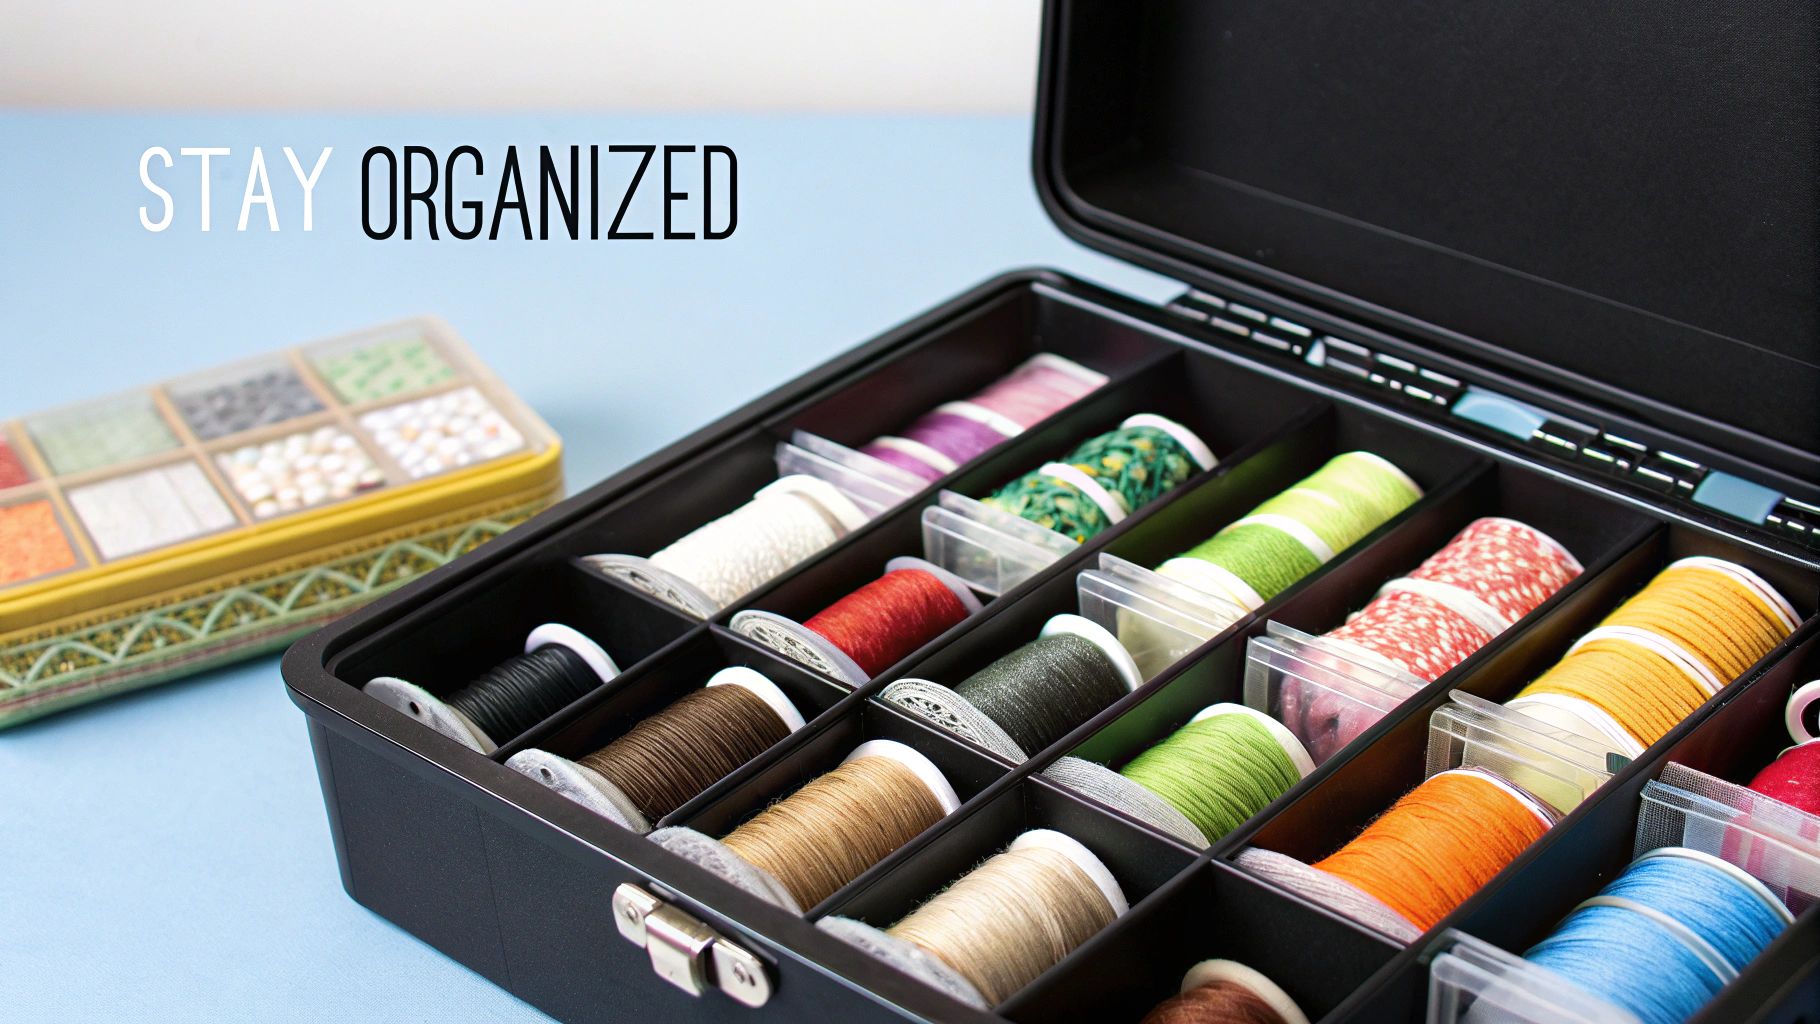
How to Keep Your Floss Collection in Top Shape
A well-kept floss collection is a stitcher’s best friend. It’s not just about looking pretty—though that’s a nice bonus! Keeping your threads organized is the secret to a smooth, frustration-free project. It saves your beautiful cotton floss from tangles and damage, ensuring it's ready to go when inspiration strikes.
There are a bunch of ways to store your collection, and the "best" one really comes down to you. Your budget, how much space you have, and your personal stitching style will all play a part in finding the perfect system.
Finding a Storage System That Clicks
Once you find a storage method you love, you’ll wonder how you ever lived without it. It’s a total game-changer. Not only does it protect the money you've invested in quality embroidery floss cotton, but it also makes grabbing the exact shade you need a piece of cake. No more digging through a messy pile!
Here are a few of the most popular methods stitchers swear by:
- Plastic or Cardboard Bobbins: This is a classic for a reason. Winding each skein onto a little bobbin keeps it perfectly neat. You can jot down the color number right on the bobbin and line them up in clear organizer boxes. It's so satisfying to see them all in order.
- Floss Drops on Rings: If you absolutely can't stand winding bobbins (and many of us can't!), floss drops are for you. Just loop the skein onto a labeled drop and gather them on binder rings. I like to group mine by color family or pull the specific ones I need for a project.
- Clear Zip Bags: This is a super simple and wallet-friendly option. Tuck each skein into its own little labeled zip-top bag. It keeps your threads clean and separated, though it can take up a bit more room than bobbins.
“The whole point of organizing is to make your creative time more enjoyable. A tidy stash lets you focus on the art of stitching, not the headache of untangling a massive knot.”
Whichever system you land on, the real trick is to stick with it. Taking a minute to put your floss away correctly after you stitch will save you hours of detangling later on. Trust me. For a deeper dive, check out our guide on how to organize craft supplies.
Caring for Your Work After the Last Stitch
Once you’ve put in that final stitch, a little TLC will make sure your masterpiece lasts. Properly washing and ironing your finished piece protects the cotton threads, keeping the colors bright and the texture beautiful for years to come.
I know, the idea of washing something you spent hours on can be scary, but it's actually pretty simple if you're gentle. This step is crucial for washing away any oils from your hands, faint hoop marks, or stray fabric pen lines.
How to Wash and Iron Your Finished Piece
Follow these steps, and your project will look pristine. This is the best way to preserve the lovely sheen of your cotton embroidery floss.
- Give It a Gentle Hand Wash: Fill a clean sink or basin with cool to lukewarm water and a drop of very mild, pH-neutral soap. I often use a gentle, clear dish soap or even a bit of baby shampoo. Let your piece soak for about 15 minutes, then swish it around softly. Whatever you do, don't rub or wring it out—that can really mess up your stitches.
- Rinse It Well: Drain the soapy water and refill the basin with fresh, cool water. Gently press and swish the fabric until you're sure all the soap is gone. You might need to do this a couple of times.
- Get the Excess Water Out: Lay your project flat on a thick, clean towel. Roll the towel up with your embroidery nestled inside and press down firmly to soak up the moisture. Again, no wringing!
- Iron While It's Still Damp: Put a fresh, dry towel down on your ironing board. Place your embroidery face down on the towel and iron the back of the fabric using a medium heat setting. Ironing it face down on a soft surface is the key—it prevents your stitches from getting squashed flat and keeps that gorgeous floss texture.
By following these simple steps, you're making sure that every project you pour your heart into becomes a treasure that truly lasts.
The Enduring Popularity of Cotton Embroidery Floss
From grandmother's carefully stitched pillowcases to the custom-embroidered jackets trending on social media, cotton embroidery floss is a common thread that ties generations of crafters together. Its lasting appeal isn't just about nostalgia. It's about its incredible versatility, rich color, and the simple joy of making something beautiful with your own hands.
The DIY movement has definitely fueled its comeback. In a world of fast fashion and mass-produced everything, adding a personal, hand-stitched touch to your belongings feels special. A few simple stitches can turn a plain tote bag or a pair of jeans into something that’s uniquely you. Cotton floss is the perfect tool for this, making it easy and affordable for anyone to get creative.
A Vibrant Global Community
When you thread your needle, you’re doing more than just starting a project—you're plugging into a huge, worldwide community of fellow stitchers. This shared love for the craft has a real economic footprint. The global embroidery thread market is a massive, multi-billion dollar industry, and cotton floss is right at its heart.
This isn't just a niche hobby; it's a major market. In 2024, the industry was valued at an astounding USD 10.25 billion. Projections show it will keep growing over the next decade, all thanks to our collective love for personalized, handcrafted goods. You can dive deeper into the embroidery thread market data on futuremarketreport.com.
So, what does that mean for you? It means your hobby is part of a bigger trend. The demand for high-quality, sustainable threads is pushing manufacturers to innovate, leading to better and more eco-friendly options for all of us. Every skein you buy sends a message.
The Future is Handmade
The desire to create one-of-a-kind items and express ourselves isn't going anywhere. As more people discover how relaxing and rewarding stitching can be, the legacy of cotton embroidery floss is only getting stronger. It's a craft that's constantly evolving while staying true to its roots.
As you get better with a needle and thread, just remember you're part of something much larger than your own project hoop. You're keeping a timeless tradition alive and contributing to a vibrant, creative culture, one stitch at a time.
Even the most experienced stitchers have questions. When you're working with something as fundamental as cotton embroidery floss, it's only natural for practical little queries to pop up. This is where we tackle some of the most common ones that come up time and time again.
Think of this as your quick-reference guide for those "huh, I wonder..." moments. We'll get into everything from mixing floss brands to finally conquering those infuriating thread knots. Let's dig in.
Can I Mix Different Brands of Floss in One Project?
Absolutely. Stitchers do it all the time, especially when they're in a pinch and can't find a specific color from their go-to brand. For the most part, the big names like DMC and Anchor produce six-strand cotton floss that is incredibly similar in thickness and feel.
That said, there are a couple of small things to watch for if you want a perfectly seamless look. Different brands might have a slightly different level of shine because of how they mercerize their cotton. It's usually not noticeable, but if you're worried, just stitch a few test X's on a scrap of Aida cloth. Also, make sure you're comparing apples to apples—stick to mixing six-strand cottons with other six-strand cottons, not with something like pearl cotton, unless that's a specific texture you're going for.
What Do the Numbers on the Skein Mean?
Those little numbers on the paper band wrapped around your floss? They're pure gold. They are the color identification numbers, and they're how you tell one shade of red from a dozen others. Each company has its own system; for example, DMC 310 will always be black, and B5200 is their super bright white.
These numbers are the key to consistency. Make it a habit to jot them down on your pattern or keep the paper bands until your project is completely finished. If you run out of a color halfway through, that number is the only way to be certain you're buying the exact same shade to finish the job.
You might also spot a dye lot number on the band. Modern manufacturing has made this less of a concern, but it's a reminder that tiny variations in color can happen between different production batches.
How Do I Stop My Thread from Twisting and Knotting?
Ah, the tangled knot—the bane of every stitcher's existence. It happens to all of us, but thankfully, there are some simple tricks to keep them from ruining your flow. The main culprit is the natural twist spun into the thread when it's made.
Here are a few tried-and-true ways to keep your thread smooth:
- Shorter is Better: It’s so tempting to cut a long piece of floss so you don't have to re-thread your needle as often, but that's just asking for tangles. A good rule of thumb? Don't use a length longer than the distance from your fingertips to your elbow, which is about 18 inches.
- The Dangle Trick: Every few stitches, just pause and let your needle and thread dangle from your project. You’ll literally see it spin and untwist itself. This quick reset releases all the built-up tension before it can turn into a knot.
- Try a Thread Conditioner: A little bit of beeswax or a synthetic thread conditioner can be a game-changer. When you run your floss through it, the conditioner lightly coats the fibers, helping them slide through the fabric with way less friction and tangling.
Making these small adjustments will make your stitching time so much more relaxing and enjoyable.
Ready to turn your cherished photos into beautiful, lasting art? At Cross Stitched, we provide custom cross-stitch kits with everything you need to start your next masterpiece. Create your personalized kit today.


