
Walking into your craft space should spark joy, not anxiety. When it comes to taming the chaos, the secret isn't complicated. It really just boils down to a simple, three-part flow: sort everything you have, store it in a way that makes sense for your space, and then sustain the system so it doesn't get out of control again. This is how you turn a messy pile of potential into a truly functional creative hub.
From Creative Mess to Functional Workspace
If you've ever spent more time hunting for the right color of floss than actually stitching, you know how frustrating a disorganized stash can be. We're going to move past the generic "put it in a bin" advice and get into a realistic strategy for managing your supplies, especially for hobbies like cross-stitch where tiny, easy-to-lose items are the name of the game.
This isn't about creating some picture-perfect, impossibly clean craft room you'd see on social media. It's about building a practical, sustainable system that works for you and the space you actually have. The real goal is to find what you need when you need it, so you can spend less time searching and more time creating.
The Core Principles of Organization
Before diving in, it’s helpful to understand the basic philosophy behind any good organization project. Think of it as a roadmap. These principles ensure you're not just shuffling messes around but actually creating a system that will last.
Here's a quick look at the foundational pillars that will guide our process:
| Pillar | Core Action | Key Benefit |
|---|---|---|
| Sort & Categorize | Take inventory of everything you own and group similar items together. | You know exactly what you have, avoid buying duplicates, and can easily find things. |
| Store Strategically | Choose containers and storage solutions that fit the supplies you're keeping. | Your supplies are protected, visible, and stored efficiently to maximize your space. |
| Sustain the System | Create simple, easy-to-follow habits for putting things away after each session. | Your craft area stays tidy long-term, preventing the clutter from ever piling up again. |
Following these three pillars in order is what transforms a one-time cleanup into a lasting, functional workspace that truly supports your creativity.
It's clear that more and more people are embracing their creative side. The global arts and crafts market is booming, currently valued at around USD 49.44 billion and on track to hit an incredible USD 79.31 billion by 2030. That’s a whole lot of people buying floss, fabric, and beads—and probably wondering where to put it all!
A well-organized craft space isn't just about looking nice; it's about reducing the friction between having an idea and bringing it to life. When your tools and materials are easy to grab, your creativity can flow without interruption.
Getting organized is a personal journey, and what works for one person might not work for another. If you're looking for even more inspiration, this comprehensive guide on how to organize craft supplies like a pro is packed with extra tips from the experts.
Get a Handle on Your Stash
Before you even think about buying cute new containers, we have to tackle the most important part: figuring out what you actually own. This first pass is the bedrock of a truly organized space. It stops you from buying storage you don't need for supplies you'll never use.
The plan is simple. You're going to touch every single item and make a real decision about its future.
Start by setting up three piles: Keep, Donate, and Discard. As you pick up each item—from that half-finished kit you bought three years ago to a random skein of floss—ask yourself if you genuinely love it and have a plan for it. If the answer is no, it's time to let it go.
Sort Everything Into Logical Groups
Once you've whittled it down to just the keepers, the real fun begins. The secret to organizing your craft supplies is to get specific. Don't just toss everything into a big bin labeled "Thread." You need to break it down. This kind of micro-categorizing is what will save you from future headaches and endless digging.
For us cross-stitchers, a good system might look something like this:
- Floss: I always start by separating my floss by brand (DMC, Anchor, etc.). Then, within each brand, I sort it all numerically. This makes finding the exact shade for your next project an absolute breeze. If you need a refresher, our guide to understanding DMC embroidery floss numbers is a fantastic resource.
- Fabric: Group your Aida, linen, and evenweave separately. From there, organize each type by count (14-count, 18-count, and so on) and then by color. You’ll never have to unfold every single piece of fabric again just to find the right one.
- Tools: Get all your needles, scissors, hoops, and needle minders into their own little families.
This process helps you see exactly what you have, turning that mountain of materials into logical, manageable groups.
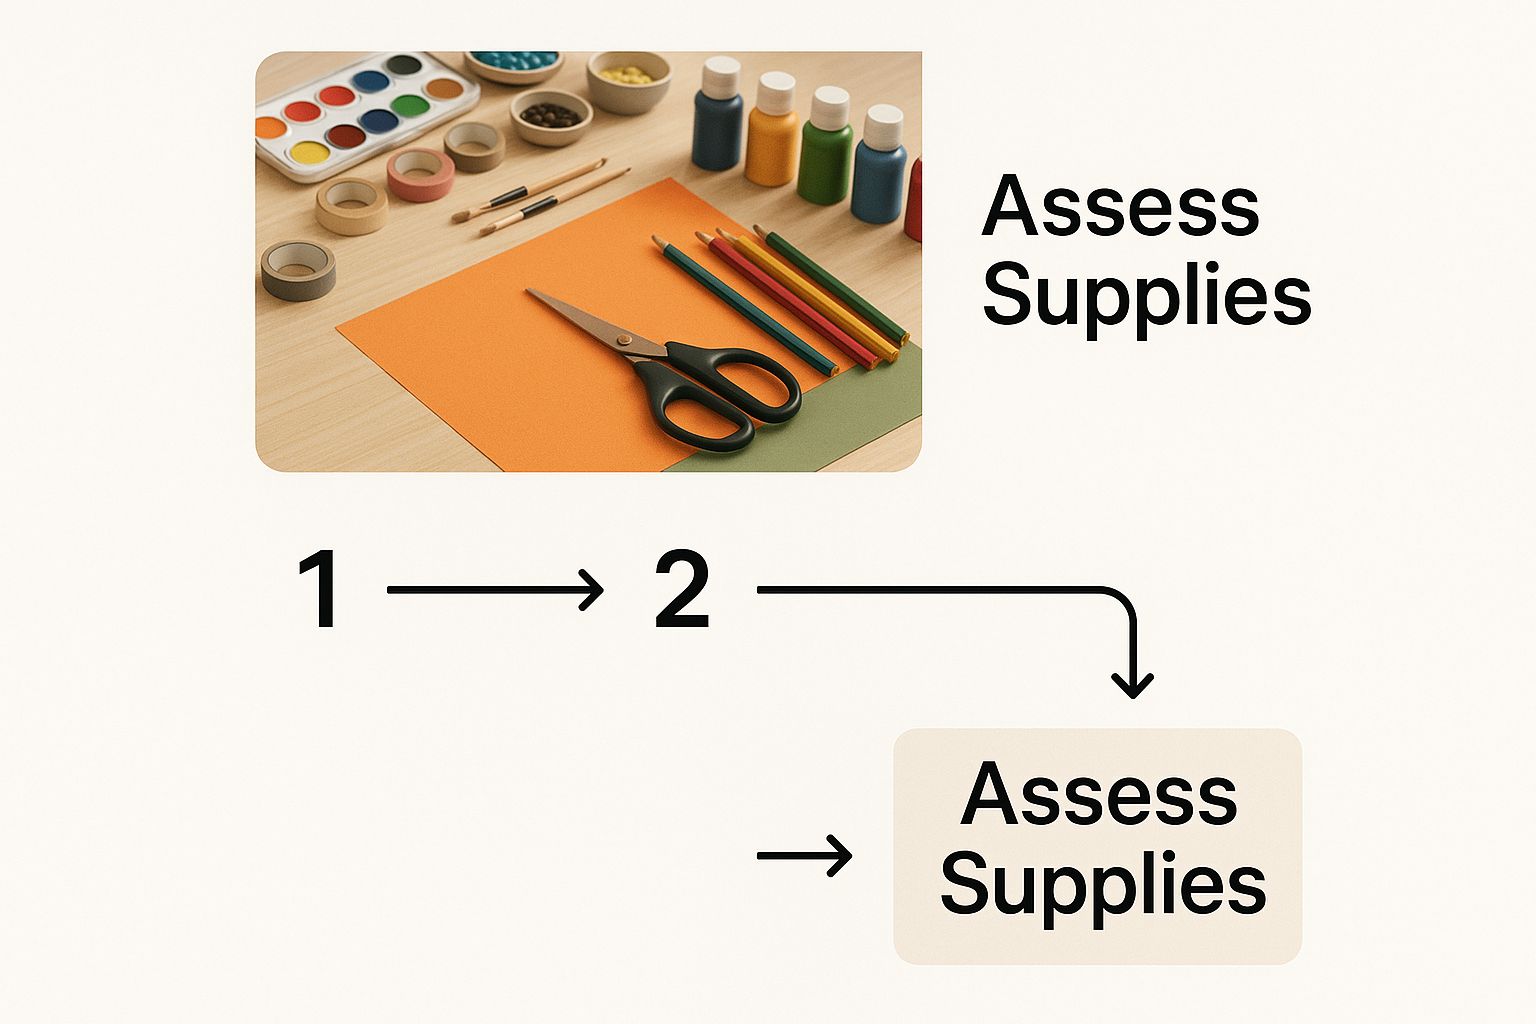
As you can see, this assessment phase is all about gaining clarity before you even start putting things away.
This initial sort isn't just about cleaning up; it's about curating your collection. You're creating a stash filled only with materials that inspire you, which is a total game-changer for your creative motivation.
Give Every Project a Home
Here's one of the best tips I've ever gotten from other stitchers: the "project box" method. It's a simple but brilliant way to handle all your works-in-progress (WIPs).
Instead of letting the supplies for an active project get scattered or mixed back into your main stash, keep them all together in their own dedicated box or bag.
This box should have everything you need for that one project: the fabric, all the floss you'll use, the pattern, your favorite scissors, and a needle. When you feel like stitching, you just grab the box and go. It completely eliminates that frantic search for a missing skein and keeps the rest of your collection perfectly organized.
Choosing Storage That Actually Works
Now that you've sorted and categorized everything, it's time to give all your supplies a proper home. The trick here isn't just about buying a bunch of matching bins; it’s about finding storage solutions that genuinely fit your supplies and, just as importantly, how you actually stitch. You want your go-to items within arm's reach and everything else easy to find when you need it.
Think function over aesthetics. For instance, clear stackable containers are a lifesaver for fabrics like Aida and linen. Why? Because you can see exactly what's inside without having to unstack a tower of bins. That simple bit of visibility saves you from the tedious task of unfolding and refolding five different pieces of fabric just to find the right count or color.
Having a smart storage plan is more important than ever. With roughly 50% of arts and crafts sales now happening online, it’s incredibly easy to build a massive stash without ever leaving the house. A good system helps you manage the influx of all those tempting new goodies.
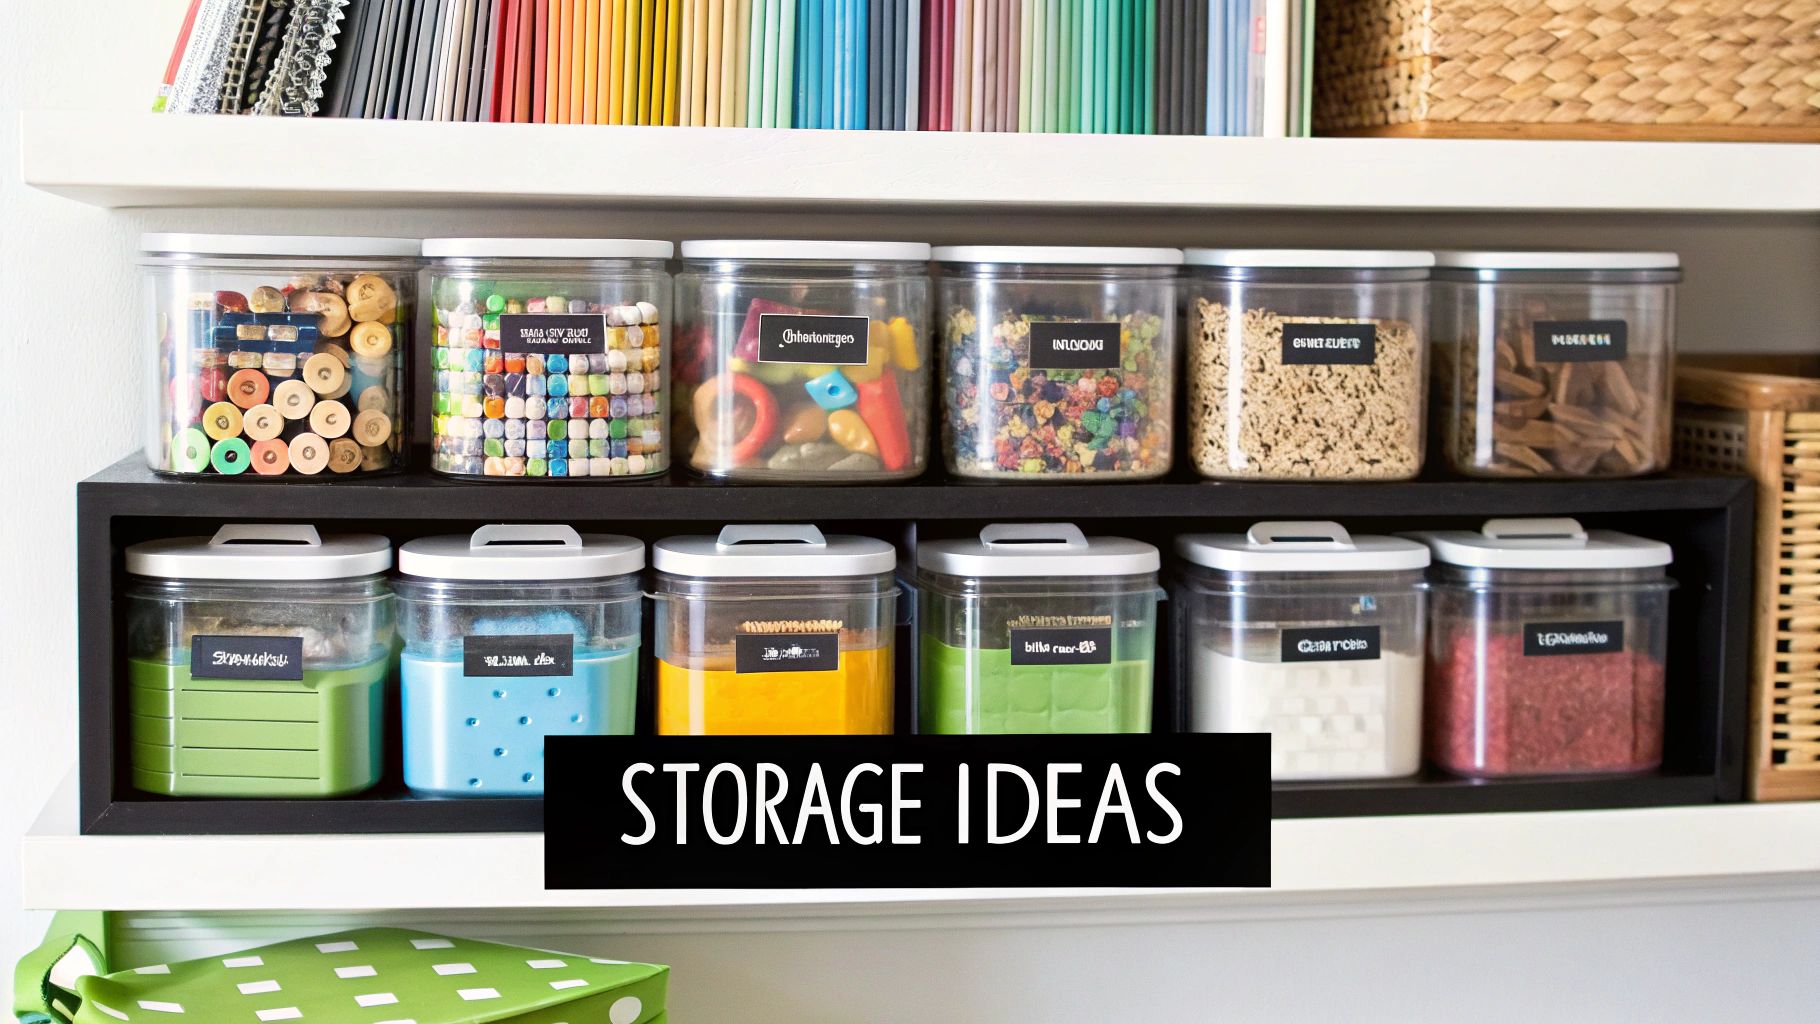
Smart Storage For Specific Supplies
Alright, let's get into the nitty-gritty. You can't just toss everything into one giant tub and call it a day. What works for a bolt of fabric is a disaster for tiny beads. Here are a few tried-and-true ideas that experienced stitchers rely on.
-
Embroidery Floss: This is the big one for us cross-stitchers. Inexpensive plastic photo boxes or dedicated floss organizers with bobbins are your best friends. They keep your hundreds of colors sorted numerically, safe from dust, and incredibly easy to grab. If you work with different brands or materials, learning about the types of embroidery floss can show you why keeping them separate is a great idea.
-
Tools and Notions: Go vertical! A simple pegboard mounted over your desk is a game-changer for hanging scissors, hoops, and rulers. I also love using magnetic strips for holding onto needles and needle minders. For all the little bits and bobs like beads and buttons, small-drawer units (the kind often sold for nuts and bolts) are perfect.
-
Active Projects: A rolling cart is my secret weapon. Load it up with your current work-in-progress—fabric, floss, pattern, and tools—and you’ve created a mobile stitching station. You can easily move it from the living room to your craft corner, or just tuck it away when company comes over.
The best storage system is one you'll actually use. If putting things away feels like a chore, clutter is guaranteed to creep back in. Focus on making it effortless to access the things you use every day.
Maximize Your Space
Don’t forget to look up! The walls are your friends. When you're picking out organizational gear, think beyond floor-level bins. Wall-mounted shelves are fantastic for storing patterns, books, or even displaying finished pieces without sacrificing precious floor space. For some great tips on choosing the perfect shelving storage unit, there's a helpful guide that can walk you through the options.
At the end of the day, the goal is to match the container to its contents. A repurposed fishing tackle box might be the absolute perfect thing for your bead collection, while a simple three-ring binder with sheet protectors can organize dozens of patterns. Take a look at the piles you sorted and find a home for each category that makes sense for its size, shape, and how often you'll be reaching for it.
Making Your System Work with Labels and Lists
You've done the hard work of sorting your supplies and choosing the perfect storage. But let's be honest, an organized space without clear identifiers is just a bunch of mystery boxes. Now it’s time for the final, crucial step: making your system truly functional with labels and lists. This is what turns a tidy space into an efficient one.
Labeling is more than just sticking a name on a bin; it’s about creating a quick, visual language for your entire craft stash. The goal is to make finding what you need an intuitive, split-second process, not a treasure hunt.
Choosing Your Labeling Style
Different containers demand different labels. What works for a clear plastic shoebox won't work for a fabric bolt, so a one-size-fits-all approach is rarely effective. It’s better to mix and match your methods based on what you're storing, thinking about visibility, durability, and whether you’ll need to update the label later on.
Here are a few practical methods that stitchers I know swear by:
- Handwritten Tags: A simple cardstock tag tied on with a bit of string is perfect for things like rolled-up Aida or bolts of linen. It's cheap, easy to swap out, and you can jot down important details like fabric count, dimensions, and even where you bought it.
- Label Maker: For a clean, uniform look on your floss bobbins or project boxes, nothing beats a good label maker. The crisp, printed text is so easy to read at a glance, making it ideal for identifying DMC numbers, pattern names, or categories of beads.
- Chalkboard or Dry-Erase Labels: These are fantastic for containers whose contents change all the time. Got a bin for your current WIP's floss or a jar for miscellaneous notions? Erasable labels let you update them in seconds without any sticky residue.
Think of your labeling system as the user manual for your craft room. The real test? You should be able to find any specific item in under 60 seconds without having to open a single lid. If you can do that, you've nailed it.
Create a Simple Inventory System
Going a step beyond just labeling what’s inside a box, an inventory list is the ultimate hack for saving both time and money. This doesn’t have to be some complex database—a simple spreadsheet or even a dedicated notebook works perfectly. This is how you finally stop buying duplicates.
Picture this: you know exactly which DMC floss colors you own before you even leave for the craft store. A simple checklist can prevent you from buying that same skein of DMC 310 for the tenth time (we've all been there).
This is also incredibly helpful for managing specialty threads from different brands. If a pattern calls for a specific color, our thread color conversion chart can be a lifesaver, allowing you to cross-reference what you already have.
This one small habit makes project planning and supply shopping so much more efficient. You’ll know you have what you need and, more importantly, you won't waste money on things you don't.
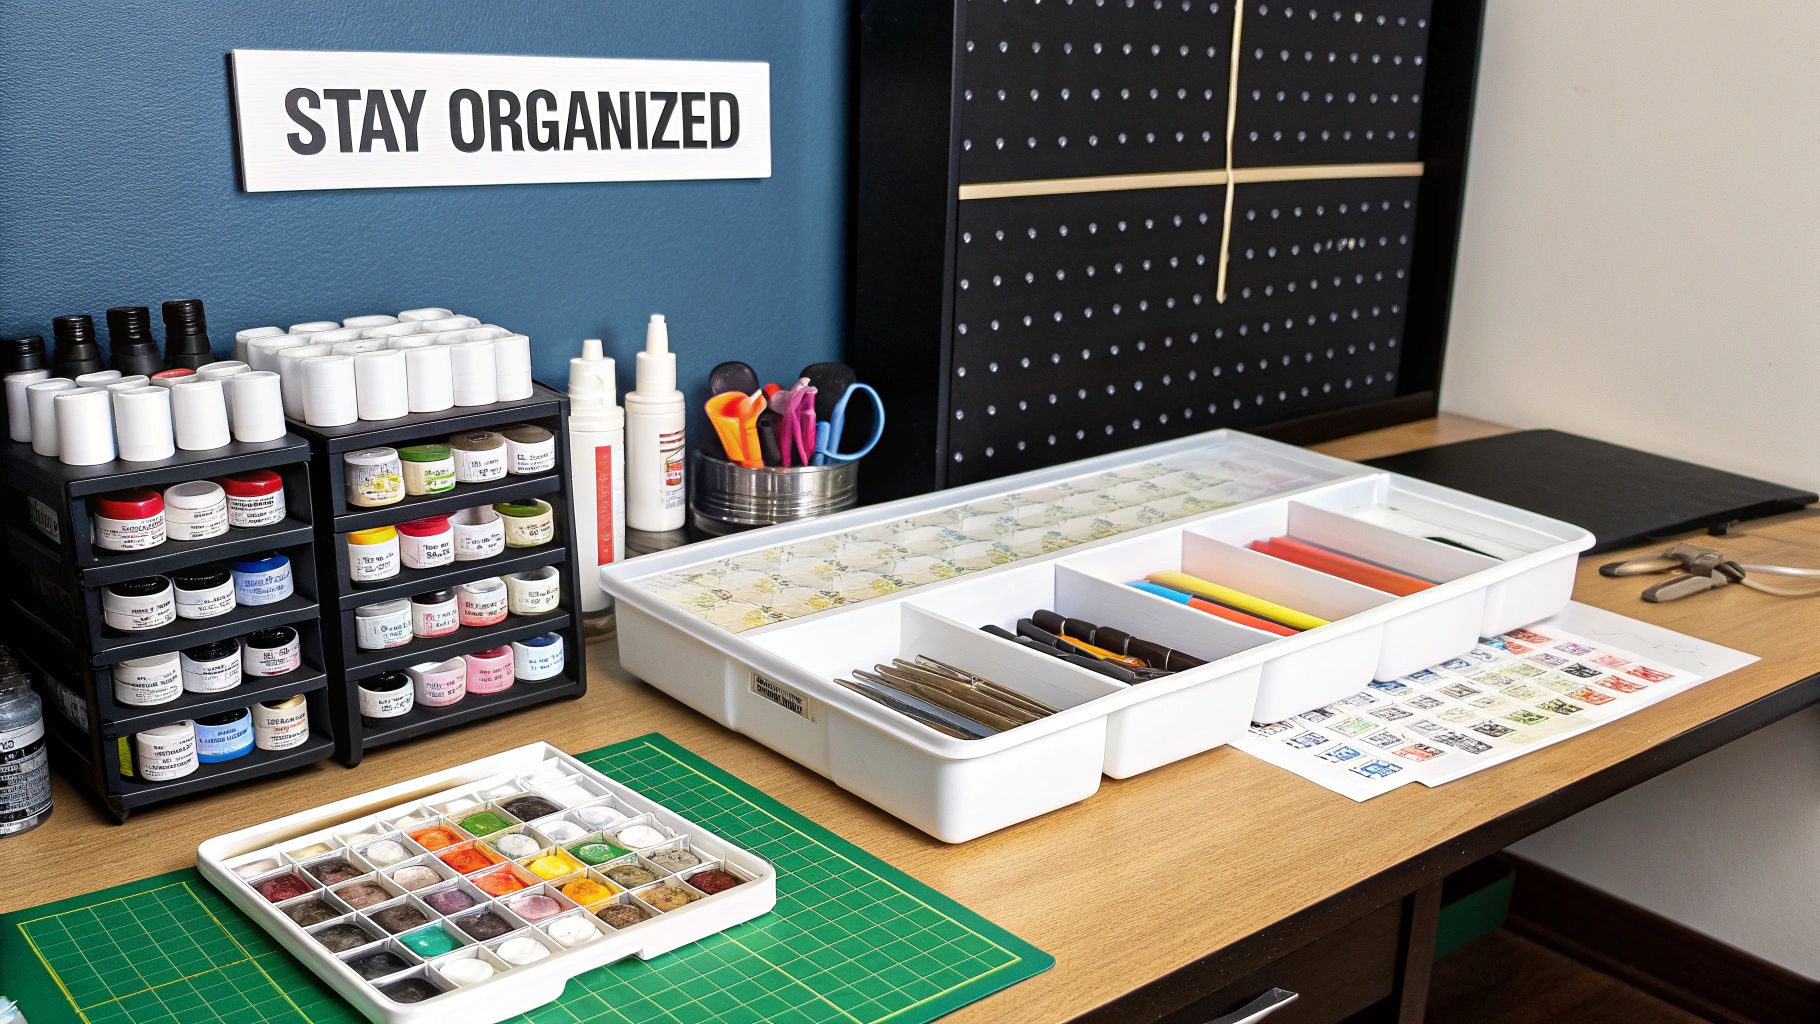
Keeping Your Craft Space Organized for Good
You’ve sorted, stored, and labeled everything. Fantastic! But here’s the real secret every seasoned stitcher knows: getting organized is one thing, but staying organized is a whole different ball game. It’s not about one massive clean-up; it’s about building simple, consistent habits that stop the clutter from ever creeping back in. This is how you protect your creative sanctuary and keep it a place of joy, not stress.
Think of it less like a chore and more like the final, satisfying step of any stitching session. It’s about building little routines that quickly become second nature.
The Five-Minute Tidy-Up Habit
This is hands-down the most effective habit you can adopt. Before you get up and walk away from your project for the day, commit to just five minutes of tidying. It’s that simple.
- Floss away: Wind any loose thread back onto its bobbin and pop it back into its storage box.
- Tools down: Put your scissors, needles, and hoops back in their dedicated spots. No more hunting for them next time.
- File your pattern: Slip that chart back into its binder or folder.
- Fold your fabric: A quick, neat fold prevents stubborn creases in your project.
This tiny reset is a game-changer. It stops that slow, messy pile-up that eventually turns into another weekend-long reorganization project. Your space will always be ready for you when inspiration strikes.
The goal is consistency, not perfection. A quick five-minute reset after each session does 90% of the work for you, keeping your focus on the fun part: creating.
Have a Plan for New Supplies
Let's be honest, new supplies are going to happen. The trick is having a system in place before that beautiful new floss or fabric even comes through the door. I use a designated "inbox"—just a simple basket, really—where all my new purchases go first. This contains the excitement and stops new stuff from scattering all over my desk.
Set aside a little time once a week or so to process what’s in the inbox. That’s when you’ll wind the new skeins, cut and label that new piece of Aida, and add everything to your inventory before putting it away in its permanent home.
The market for arts and crafts tools is always expanding—it's projected to hit $6.727 billion by 2025! That means there will always be tempting new gadgets and materials. This category, which covers everything from markers to specialized tools, needs a solid organizational plan. You can read more about the growth of the craft tools market to see just why having a smart storage system is more important than ever.
Got Questions? We've Got Answers
Even with the best plan, you're bound to hit a few snags. It’s totally normal! Getting your craft supplies in order is a process, and a few questions always pop up along the way. Let's talk through some of the most common hurdles I see stitchers face. Getting over these mental blocks is usually the last step to creating a system that sticks.
You’ve done the hard part—the sorting, the storing, the habit-building—but sometimes you just need a little extra advice for a specific problem. Here’s how to troubleshoot those final tricky spots.
"I'm So Overwhelmed. Where Do I Even Start?"
This is, without a doubt, the number one roadblock. Looking at a whole room overflowing with creative chaos is enough to make anyone want to just close the door and walk away. The biggest mistake you can make is trying to tackle everything at once.
The secret? Start ridiculously small.
Seriously. Forget the entire room. Don't even think about the closet. Pick one tiny, manageable category. Maybe it's just your scissors and cutting tools. Or maybe it's just your box of embroidery floss.
Set aside an afternoon to deal with only that one thing. The feeling you get from completely conquering that small category is a huge motivator. That little win gives you the momentum you need to pick your next small category, and then the next.
The goal isn't to organize the entire house in a day. It's just to take one successful step. That small victory is the fuel that will get you through the rest of it.
"How Can I Get Organized Without a Dedicated Craft Room?"
When you don't have a dedicated space, you have to get a little more creative. The trick is to stop thinking horizontally and start thinking vertically. Every square inch counts!
- Go Vertical: Your walls are prime real estate! A simple pegboard over a desk can hold a surprising number of tools. A few floating shelves can get patterns, fabric, and finished pieces up and out of the way without eating up floor space.
- Embrace Mobile Storage: I'm a huge fan of rolling carts. They're like a little craft station on wheels. You can load it up with your current project, roll it to your favorite comfy chair, and then tuck it away in a closet or corner when you're done.
- Find Hidden Nooks: Think about all the unused space in your home. Over-the-door organizers with clear pockets are fantastic for stashing small bits like floss, needles, and notions. And don't forget furniture that can do double duty, like a storage ottoman to hide your fabric stash.
"What Are Some Good Budget-Friendly Organization Ideas?"
You absolutely do not need to spend a fortune on custom cabinets to get organized. Honestly, some of the best solutions come from repurposing things you probably already have. It's time to apply that creative mind to your storage!
Empty jam jars, for instance, are perfect for holding buttons, beads, and other tiny embellishments. You can cover old shoeboxes with pretty paper to create custom storage for patterns or yarn. A simple three-ring binder with page protectors is a cheap and incredibly effective way to keep your patterns and sticker sheets from getting wrinkled or lost.
Before you run out to the store, take a look around your own home. You might be surprised by what you find. Thrift stores and dollar stores are also treasure troves for inexpensive baskets, bins, and jars that are perfect for craft supplies.
Here at Cross Stitched, we believe an organized space is the first step toward creative freedom. Let us help you turn your favorite photos into art with a custom cross-stitch kit, complete with everything you need to get started.


