

So, you're ready to dive into the wonderfully addictive world of cross-stitch. It's a craft with a kind of quiet magic, connecting us to generations of stitchers through the simple, rhythmic act of pulling thread through fabric. And the best part? It all boils down to just a handful of basic cross-stitch stitches, which are the building blocks for every single pattern out there.
Why We’re Still Hooked on Cross-Stitch
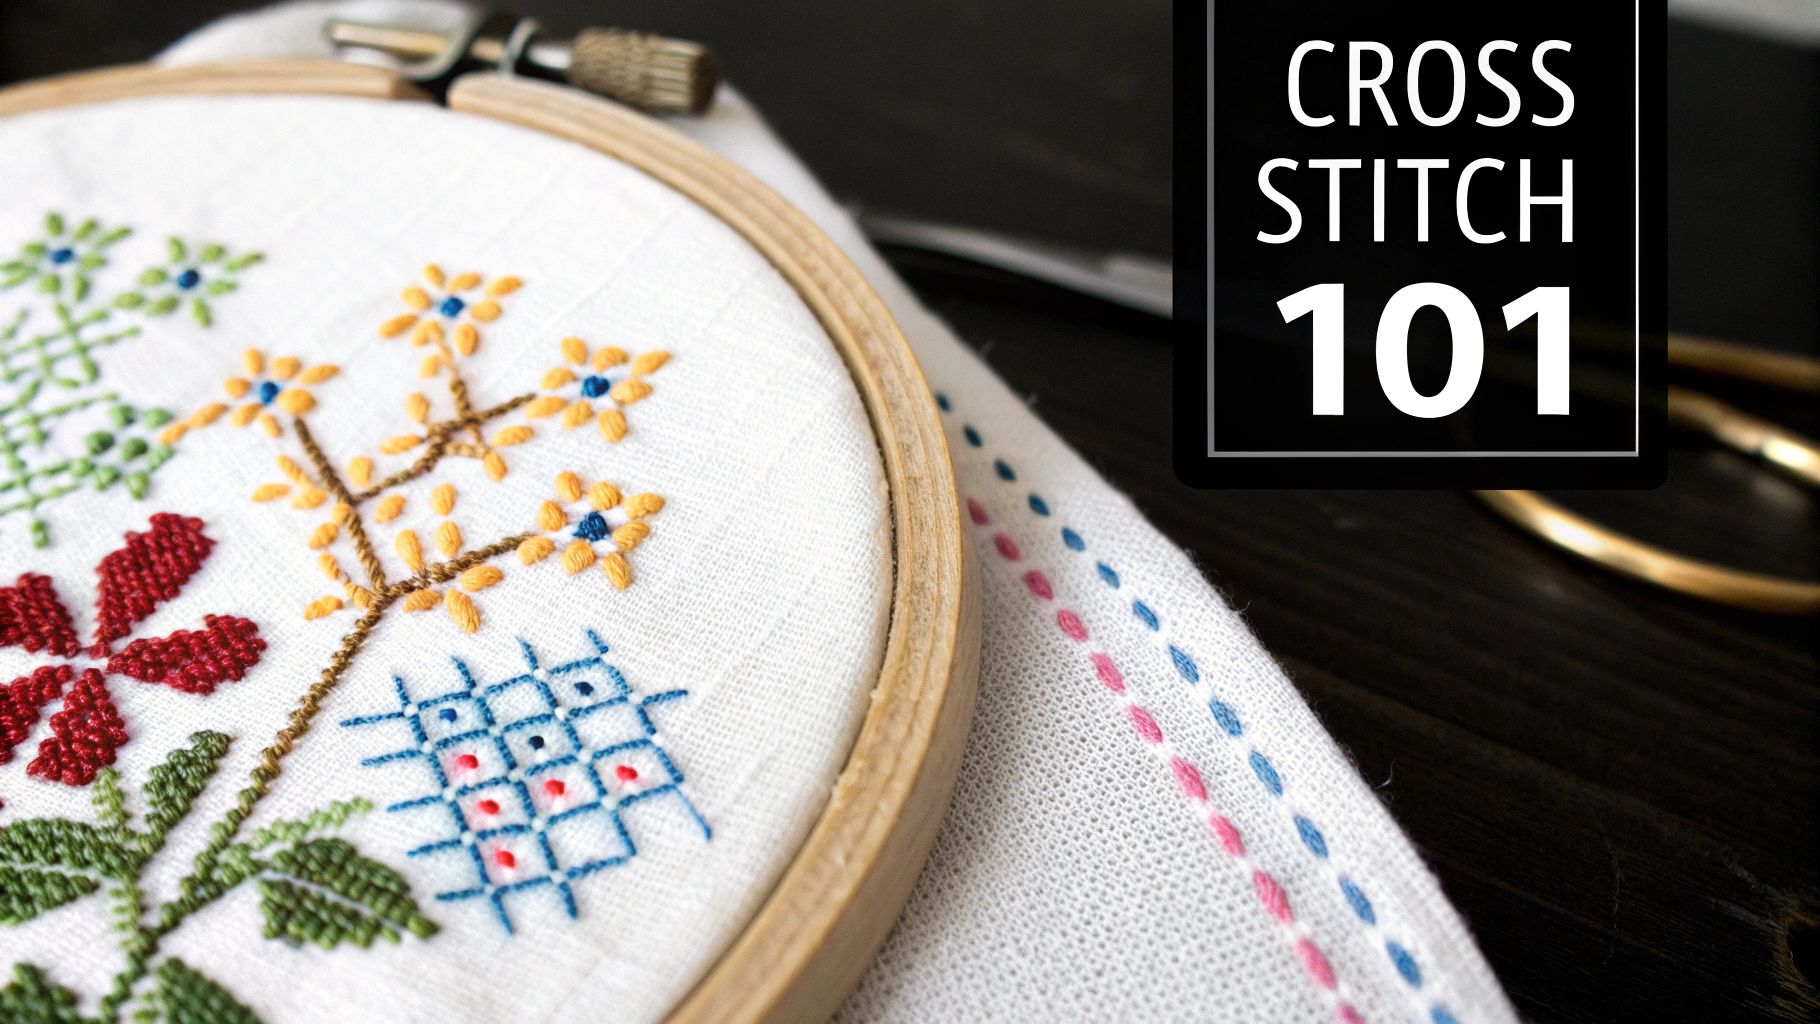
There’s a good reason this classic art form is making such a huge comeback. In our chaotic, always-on world, the slow and steady process of creating something beautiful with your hands is a welcome relief. It’s calming, it’s satisfying, and it’s about so much more than just the finished piece—it's about the peaceful journey of making it.
Cross-stitch has an incredibly deep history, too. It's one of the oldest forms of embroidery we know of, with some evidence pointing as far back as a 6th-century BCE Egyptian tomb. It also flourished in China during the Tang Dynasty, showing just how universal its appeal is. If you're a history buff, you can learn more about the ancient origins of embroidery techniques on egausa.org.
I always tell beginners to think of each stitch as a single pixel on a screen. By patiently placing these simple "pixels," you're building a detailed picture, transforming a blank piece of fabric into your own work of art.
Consider this guide your personal starting point for a hobby that could last a lifetime. We'll walk through the essential stitches that will unlock any design you can find, from a simple little flower to a sprawling, intricate landscape. You'll be amazed at how quickly you can create something incredible with just a few core skills.
People fall in love with cross-stitch for all sorts of reasons, but a few stand out:
- It’s incredibly easy to start. You really only need a few inexpensive supplies to get going.
- It’s a fantastic mindfulness practice. The repetitive, gentle motion is a proven way to soothe stress and calm anxiety.
- The creative possibilities are endless. You can stitch anything, from family portraits to your favorite pop culture characters. If you can imagine it, you can probably find a pattern for it.
Getting Your First Cross Stitch Supplies Together
Before you can make your first stitch, you’ll need to round up a few tools. Walking into a craft store can feel a little overwhelming with all the colorful thread and different gadgets, but don't worry—you only need a handful of key items to get started.
Knowing why you need each tool is the first step to feeling like you know what you're doing. The essentials are fabric, thread, needles, and something to keep your project tight while you work. Getting the right combination makes the whole process so much more fun and way less frustrating.
Fabric and Thread: The Basics
Your starting point is a fabric called Aida cloth. It's specially woven with a grid of tiny holes, which is what helps you create those perfectly even, square stitches. You'll see it sold in different "counts," like 14-count or 18-count. That number just tells you how many stitches you can fit into one inch of fabric.
I always tell absolute beginners to start with a 14-count Aida cloth. It's the perfect sweet spot. The holes are big enough to see easily, but the fabric still feels substantial, making it fantastic for learning the ropes.
Next up is the embroidery floss. The vast majority of cross stitch patterns call for standard six-strand cotton floss. You'll almost never use all six strands at once; for 14-count Aida, you'll typically separate the floss and use just two strands to get the perfect stitch thickness.
Needles and Hoops: Your Essential Tools
You’ll want to grab a pack of tapestry needles. These are different from sewing needles because they have a blunt tip and a much larger eye. That blunt end is designed to slip easily through the holes in your Aida fabric instead of piercing it, which keeps your fabric threads from splitting.
Finally, an embroidery hoop will be your best friend. It holds the fabric taut, which is the secret to getting neat, professional-looking stitches and preventing your work from puckering. For more great advice, check out our complete guide on cross stitch tips for beginners.
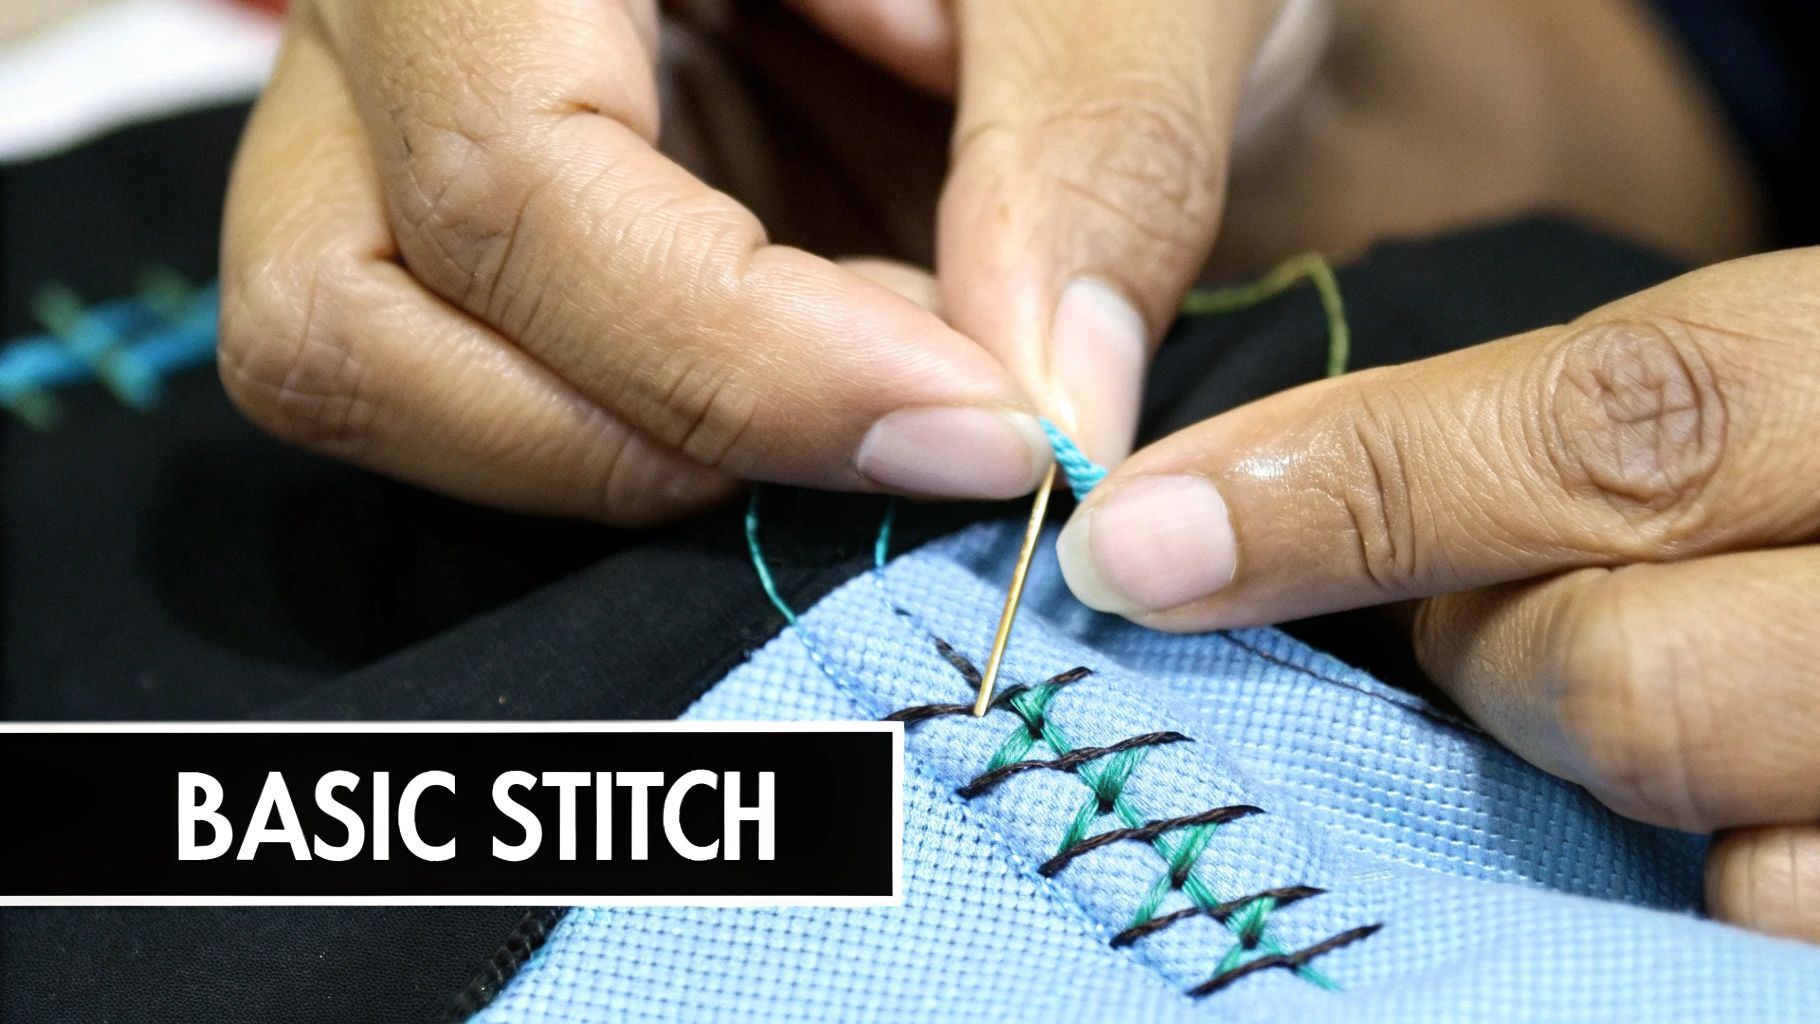
Learning The Core Cross Stitch Stitches
Alright, you’ve got your supplies—now for the fun part. It’s time to put thread to fabric. Learning the basic stitches is way easier than it looks, I promise. Forget those intimidating charts for a moment. These few core techniques are the building blocks for every single pattern you'll ever tackle. Once you get the muscle memory down, you'll be stitching with confidence.
Before we dive in, let's get set up. A little prep work now makes for a much smoother stitching session later.
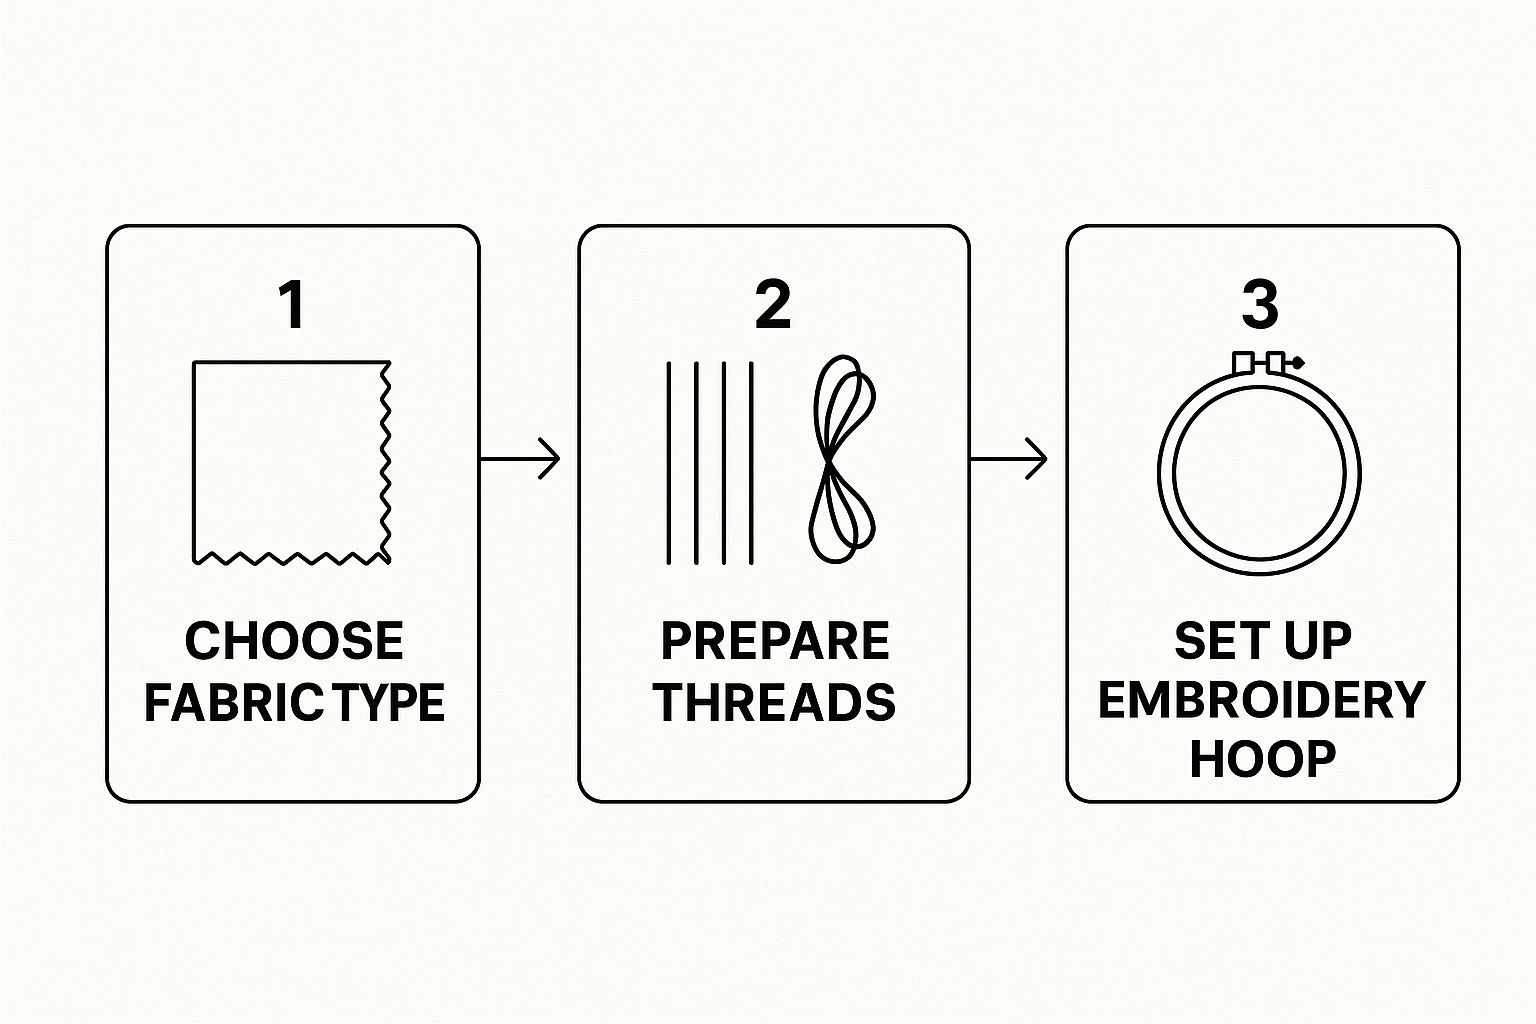
This simple workflow—from picking your fabric to locking it into a hoop—gives you the perfect tension for creating beautifully clean and even stitches right from the start.
To help you keep track of which stitch does what, here's a quick cheat sheet. It’s a handy reference for understanding why a pattern calls for a specific stitch in a certain spot.
Core Stitch Functions at a Glance
| Stitch Type | Primary Use | Best For |
|---|---|---|
| Full Stitch | Forms the main 'X' shape | Filling in large color blocks, creating the core image |
| Half Stitch | Creates a diagonal line '/' | Backgrounds, shading, creating a sense of distance |
| Quarter Stitch | Tiny diagonal from corner to center | Fine details, rounding out sharp corners, eyes |
| Backstitch | Creates outlines and lines | Defining shapes, lettering, adding crisp details |
| French Knot | Makes a small, raised dot | Eyes, flower centers, adding texture |
This table is a great starting point, but the real learning happens when you see how these stitches work together to bring a design to life.
The Full Cross Stitch Explained
The full cross stitch is the heart and soul of this craft. It's the iconic 'X' that makes up the bulk of your designs. In fact, in most beginner patterns, full stitches will probably account for 75-85% of all the work you do, so it's the most important one to get comfortable with.
There are two main ways to approach this stitch, and each has its place:
- The English Method: Think of this as making one complete 'X' at a time before moving to the next square. I find this method works best for "confetti stitches"—those random, single stitches of color that are scattered across a pattern.
- The Danish Method: This is my personal favorite and far more common. You work a whole row of bottom diagonal stitches (like this: ////), then come back across the row, laying the top stitches over them (like this: \\) to complete all the Xs. It's perfect for stitching big blocks of the same color.
My advice to anyone starting out is to get comfortable with the Danish method. It’s not just neater and a bit faster; it also creates a wonderfully uniform look on the back of your fabric and helps you find a relaxing rhythm.
Adding Nuance With Fractional Stitches
While the full stitch does most of the heavy lifting, the smaller "fractional" stitches are what really add the polish and detail. They help smooth out curves and prevent your finished piece from looking too blocky or pixelated.
The half stitch is exactly what it sounds like—it’s just the bottom leg of a full cross stitch (/). Designers often use it for backgrounds or to create shading and depth. For instance, a pattern might use half stitches for distant clouds to make them look softer and less defined than the main subject in the foreground.
For even finer details, you’ll run into quarter and three-quarter stitches. A quarter stitch is a tiny diagonal line that goes from a corner to the very center of an Aida square. A three-quarter stitch is just a quarter stitch combined with a half stitch. These little guys are absolutely essential for creating the delicate curves in lettering or the sharp points on a star.
Learning to handle these fractional stitches is what will take your work from looking good to looking great. When you're ready to give them a try, our guide to easy cross stitch patterns for beginners has some fantastic projects that are perfect for practice.
Giving Your Work Definition with Outlines and Details
Once you've got the hang of the basic stitches that fill in your design, it’s time for the fun part—adding the finishing touches that really make it shine. This is where a project goes from being a collection of colored blocks to a polished piece of art. The two techniques that will get you there are the backstitch and the French knot.
Honestly, getting these two stitches down is a massive step forward in your stitching journey. They provide the crispness and texture that make your designs truly pop right off the fabric.
Creating Crisp Lines with the Backstitch
I like to think of the backstitch as the pen you use to draw on your fabric after you’ve colored everything in. It’s what you'll use for outlining shapes, adding fine details like whiskers on a cat, or stitching any letters a pattern calls for. It’s a complete game-changer for adding definition.
To start, bring your needle up through the fabric. Now, instead of moving forward as you'd expect, you’re going to go backward, pushing the needle down into the hole where your previous stitch started.
Then, you'll bring the needle up one stitch length ahead of your very first entry point and do it again, always going back to meet the end of your last stitch. It creates a solid, continuous line that looks fantastic.
A personal tip I swear by is to use a single strand of floss for backstitching, even if the pattern suggests two. A single strand creates a much finer, more delicate line that looks incredibly sharp and professional. This is especially true for small text or really intricate details.
Conquering the French Knot
Ah, the French knot. It has a reputation for being tricky, but I promise it's worth learning. This stitch creates a tiny, raised dot that adds wonderful texture and dimension. It's perfect for things like the center of a flower, pupils in an animal's eyes, or a field of scattered stars.
Here's my foolproof method for getting it right every single time:
- First, bring your needle and floss up through the fabric where you want your knot to sit.
- Hold the floss taut with your non-dominant hand, keeping it a few inches away from the fabric.
- Now, place your needle in front of that taut floss and wrap the floss around the needle twice. Don't yank it tight—a gentle wrap is all you need.
- Keep holding the floss taut and push the tip of your needle back into the fabric, but not in the exact same hole you came up through. Aim for just beside it. This is the most important step to remember!
- Gently slide the wraps down the needle until they are snug against the fabric surface.
- Finally, pull your needle all the way through to the back, keeping that floss taut until the knot is fully formed on the front.
Following this process anchors the knot securely and stops it from pulling through to the back, which is a common headache when you're just starting out. With a bit of practice, you'll be adding these beautiful, textured dots with total confidence.
Tips for a Neat and Professional Finish
https://www.youtube.com/embed/SKQYNVoCEH4
It’s the little details that truly make a piece of cross-stitch shine. Mastering a few simple habits right from the start will elevate your work, giving all your basic cross stitch stitches that clean, polished look we all strive for. Honestly, these are the secrets that save you a ton of frustration later on.
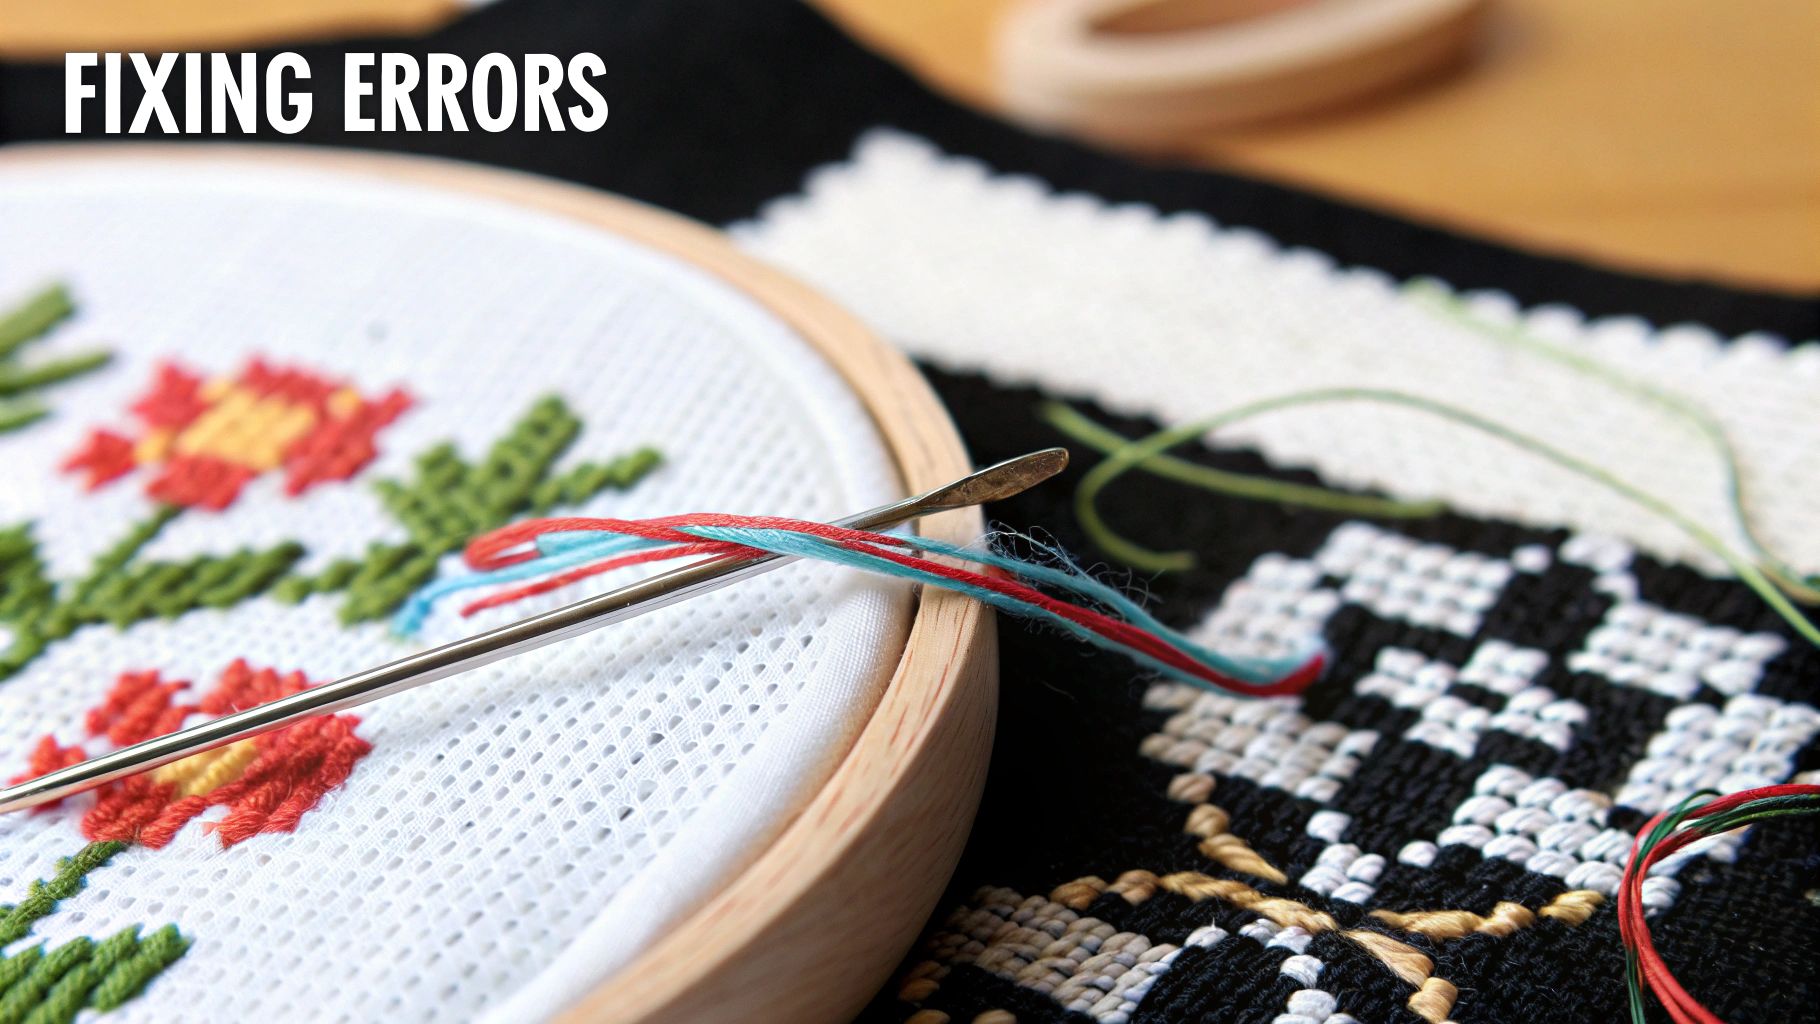
One of the biggest game-changers? How you handle your threads. I can always spot a beginner's work by the knots on the back. Those little bumps create lumps that can easily show through on the front, especially after framing. Instead, get into the habit of securing your thread tails by carefully weaving them under a few completed stitches on the back. It makes a world of difference.
Clean Starts and Consistent Stitches
My absolute favorite technique for starting, especially when using an even number of strands, is the loop start. It's surprisingly simple to master and creates a perfectly neat, knot-free beginning. This one trick alone will make the back of your project look incredibly tidy.
Another habit to build is maintaining consistent stitch direction. It sounds small, but it's crucial. Always make your bottom stitches slant the same way (like ///) and your top stitches the opposite way (like \). This consistency creates a beautiful, uniform sheen across the entire project that just looks so professional.
Focusing on these finishing details connects you to a huge global community of stitchers. The hobby has seen a major resurgence, with Millennials and Gen X women now making up over 60% of the community. It’s amazing to see its appeal grow.
Finally, think about how you prepare your floss. Don't just yank the strands apart from the skein. Gently separate them one by one. This little bit of prep work prevents tangles and knots before you even make a single stitch.
And if you’re making something to gift or sell, adding custom labels with your name or washing instructions is a fantastic professional touch. For even more ideas, be sure to check out our guide on pro cross stitch finishing techniques.
Got Questions? We’ve Got Answers.
As you start getting the hang of the basic stitches, you’re bound to have a few questions. Trust me, we’ve all been there! Sorting these out early on will help you build good habits and save you a lot of headaches down the road.
First up, the big one: how many strands of floss should you use? For most projects on 14-count Aida cloth, the magic number is two strands. This gives you nice, full coverage without making your stitches look bulky. That said, always, always check your pattern first—designers will often change it up for different fabric counts or to create a specific effect.
Handling Common Stitching Snags
We all want the front of our work to be beautiful, but what about the back? A messy back can actually create lumps and bumps on the front. This usually happens when you carry your thread across large open spaces or start with big, clunky knots.
The pro-move here is to tuck your thread tails under a few nearby stitches on the back to secure them. It’s a clean, simple trick that keeps everything looking neat and tidy.
And then there's the dreaded French knot. You wrap it perfectly, pull the needle through, and... it vanishes, popping right through the fabric. So frustrating! This almost always happens because you’ve put the needle back into the very same hole it came out of.
Here’s the fix: When you push your needle back through, aim for the space right next to the original hole, not back into it. This tiny shift is all it takes to anchor the knot firmly on top of the fabric, leaving you with that perfect little dot you were going for.
Ready to stitch a memory? At Cross Stitched, we take your favorite photos and turn them into stunning, easy-to-follow cross stitch kits. You can get started on your own custom project right now at https://cross-stitched.com.


